/


Latest Post

Time of Giving for your Holiday projects with video tutorial.


On last Tuesday's FB Live I focused on the Time of Giving bundle in the current 2021 Holiday Catalog.  This bundle is for many occasions and more fun and versatile than I thought! 

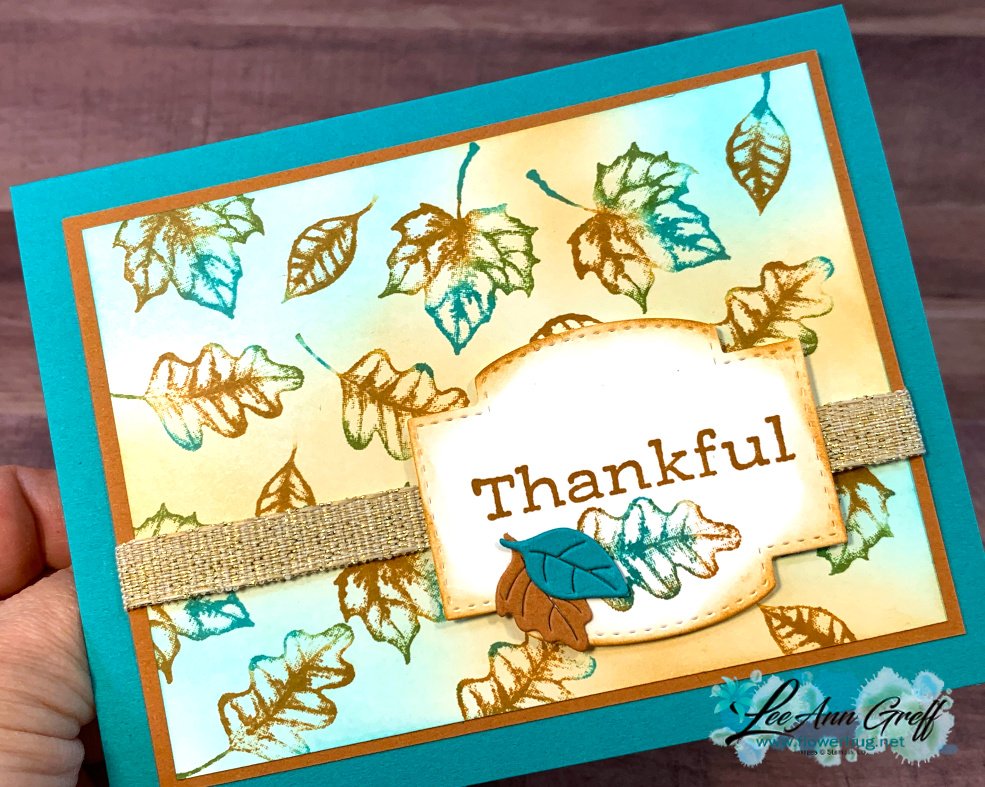
I'll start with the autumn card featuring the baby wipe technique.

Isn't it pretty?!  My colors are Bermuda Bay, Pumpkin Pie & Old Olive. Those are the ink refills I used on my baby wipe. If you haven't done the baby wipe technique please watch the video below or click here.  It's so simple and all you need is a folded baby wipe and a few colors of ink refills.  

The little die-cut leaves on the greeting are also in this bundle.  The Gold Fine Art ribbon is from the annual catalog as well as the white die-cut for the greeting.  It's in the Stitched So Sweetly set.

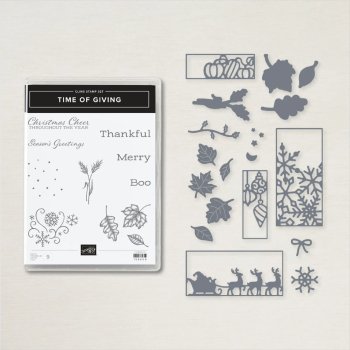
  All of these images & dies are from this Tidings of Giving bundle seen here. 
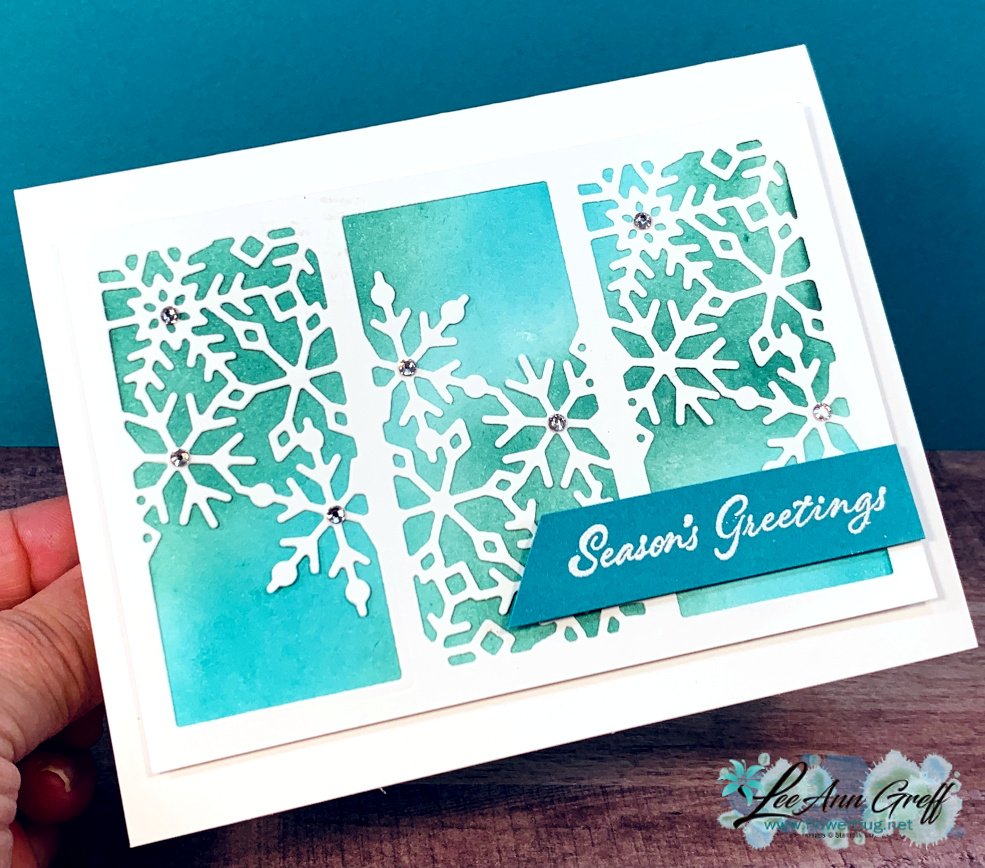
Next is a beautiful snowflake card that's mostly white but the pop of colors shows off this pretty die wonderfully!  It creates a 'window' effect.  I die-cut three dies in a row on my White CS and for the soft colors under it I used my blending brushes with Just Jade & Bermuda Bay ink.
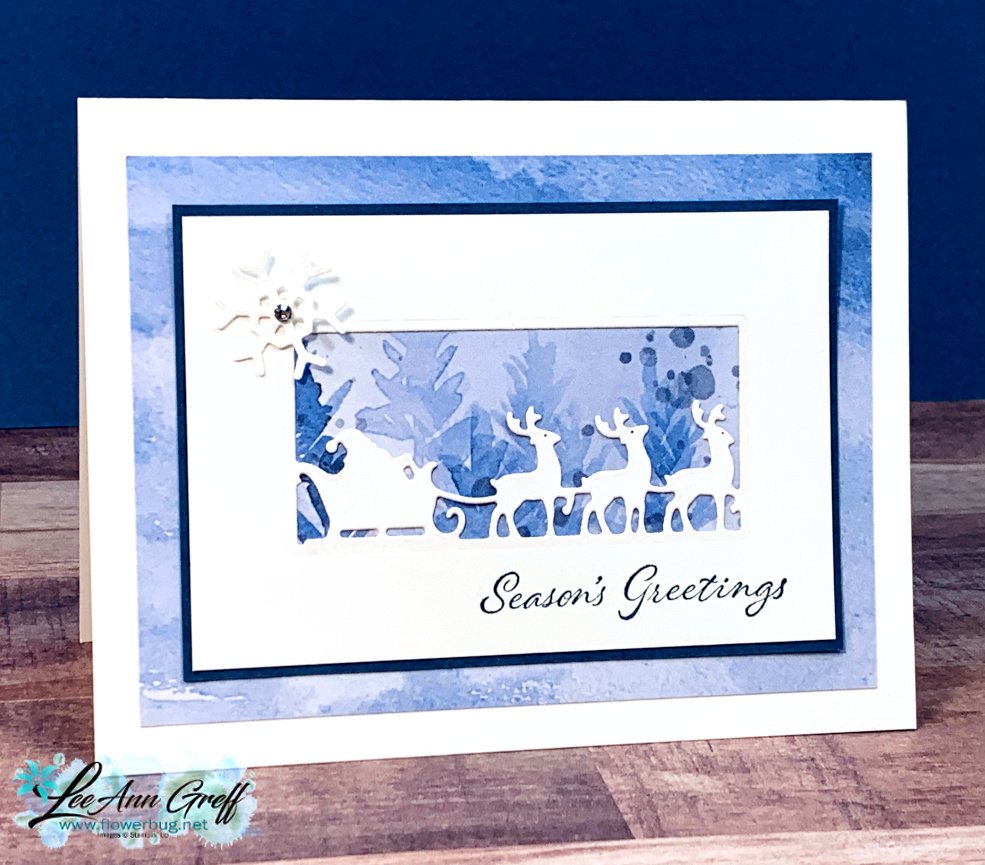
For this next card I chose the Santa & sleigh die.  As you can see I left a wide border on this one so I could stamp the greeting directly on it.  This pretty background paper is from the Beauty of the Earth DSP in the Stampin' Up! annual catalog seen here. 
And here is a card using the ornament die.  Again I cut three in a row, lowering the die each time.  Another bit of the Beauty of the Earth designer paper on the side and a greeting added with the Double Oval Punch.  Glittered white ribbon finishes it off. 

And below is the video where you can see how I achieved these techniques.  I hope you watch!  *Don't forget to subscribe to my YouTube channel here too! 

~~~

October Specials

Host code: G3FX9NGA

*click here to order

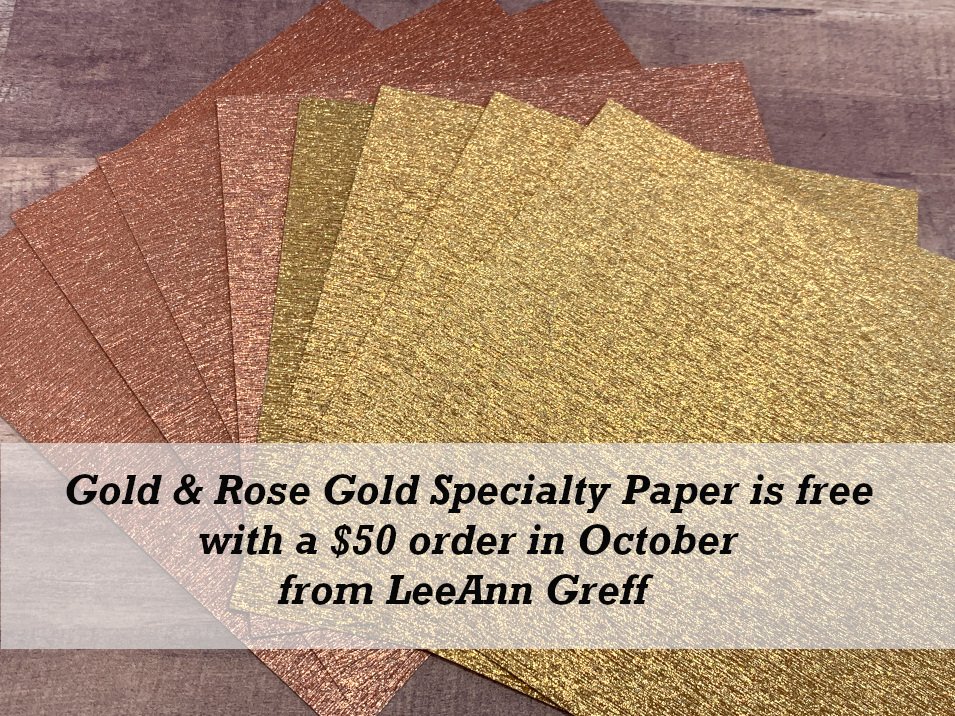
Get a free package of Gold & Rose Gold Metallic specialty paper from me with a $50 online order in October! 
All online orders will receive my October PDF tutorial free! 

This month it features the Gingerbread & Peppermint suite.


All Posts

  • Oh So Ombre cards; quick & easy with my 2-cut template!


    Check out these cute cards made with the upcoming Sale-a-Bration FREE designer paper called 'Oh So Ombre'.  I created them on my Stamp with Me FB Live Monday night.  I created a template to chop up a piece of designer paper into 4 pieces. See the video below. 

    It's a pack of 48 sheets in 6 X 6" size with beautiful colors & patterns with a gradual color change.  One side is smooth and the other features the fun dots.  

    You'll be able to earn this paper pack FREE with a $50 order during our annual Sale-a-Bration promotion.  It starts in just 6 days and runs from January 5th – February 28th, 2021.

    I made these 3 cards with the Dandy Garden Designer Paper (another sneak peak; from the 2021 Spring Catalog) with my template seen below.  

    Start out with a piece of double sided Designer Paper measuring 4" X 5 1/4" and then cut it into 4 pieces using the template below.  Then, mix & match your pieces on a 5 1/2" X 8 1/2" card base.  

    Tips:

    • This is easiest if you use patterns without a direction on them; such as flowers that grow up from the bottom or words. 
    • Choose one pack of DSP that coordinates well and cut 2-3 pieces in a variety of patterns.  It's fun to mix & match them. 

    Watch the video below to see how and get some creative tips:

    ~~~


    December Ordering Special: 

    Current Host code is 399BKWGG

    Order online here

    All online orders will receive my 16 Christmas cards class PDF!

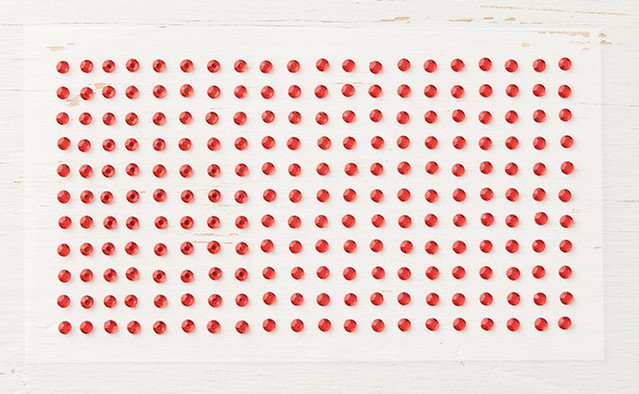
    Get a free package of 220 Red Rhinestones from me with an online order over $50 using the host code above.

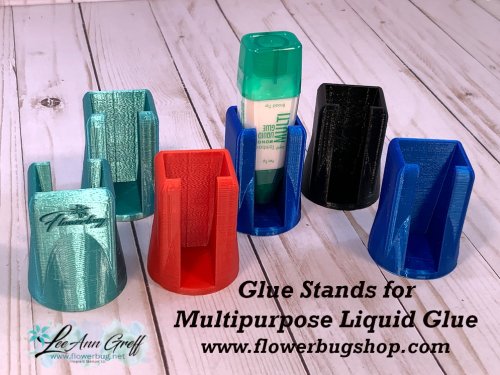
    Below are the Multipurpose Glue stands we're making. They're $6 each and available in my Shop here.  

    Leave a Reply

    Your email address will not be published. Required fields are marked *

  • New: Vine Design Dutch Door fold card


    I made several cards for online swaps featuring products in the upcoming 2021 Spring & Sale-a-Bration catalog.  This pretty fun fold card was one of them.  I gravitate towards anything with leaves or vines so I knew I'd like this set called Vine Design.  

    The colors here are Night of Navy, Seaside Spray & Old Olive with White. I used my Stamparatus for the vine image; it's so perfect for multiple cards!  Perfect inking and placement each time. 

    See that greeting & layered ovals?  We have a new   DOUBLE OVAL PUNCH!!!  I'm so excited about this one.  I've missed out oval punches so much and now both are in one! 

    See the measurements below.

    Supplies:

    • Stamps – Vine  Design (2021 Spring Catalog)
    • Ink – Old Olive, Navy, Seaside Spray
    • CS -  Old Olive, Navy, Seaside Spray, Whisper White
    • Other – Double Oval Punch, Detailed Trio Punch, Well Suited Twine combo pack, Rhinestones, dimensionals, Mini glue dots

    Measurements:

    • Old Olive 5 1/2" X 4 1/4"
    • Night of Navy 2 1/2" X 8 1/2" scored at 4 1/4"
    • Whisper White 3 7/8" X 2 3/4", inside is 2" X 3 3/4"
    • Seaside Spray 4 1/8" X 3"

    ~~~


    December Ordering Special: 

    Current Host code is 399BKWGG

    Order online here

    All online orders will receive my 16 Christmas cards class PDF!

    Get a free package of 220 Red Rhinestones from me with an online order over $50 using the host code above.

    Below are the Multipurpose Glue stands we're making. They're $6 each and available in my Shop here.  

    Leave a Reply

    Your email address will not be published. Required fields are marked *

  • Retro Circles layout with a quick video. So unique & versatile!


    I hope you had a nice Christmas weekend!  We sure did.  It's one of my favorite times of the year; one time where all of my kids are home and we're all together. 

    Here's another card we made at my December card clubs.  It was such a hit on Facebook Live Stamp with Me that I had to do it at Club too.  It's a great way to show off your designer paper with this retro style.  Scroll down to see the video. 

    You just need three circles of different sizes.  I used the Stitched Shapes dies so they have the extra detail of stitches on the edges.  I use these dies so much!  If you don't have them I highly recommend them. See them here. 

    I used the Brightly Gleaming specialty DSP here and instead of the copper foiled side I used the other side which has Navy, Mossy Meadow & Island Indigo.

    The stamped images are from the Itty Bitty Birthday & Lots to Celebrate stamp sets.  Just one ink color; Night of Navy. 

    Below are the cards we made on one of my Monday night Stamp with Me FB lives.  See that video here.  

    The above cards were made with various designer papers & stamp sets.  The top is Classic Christmas, left is Heartwarming Hugs and right is Snowflake Splendor. 

    Measurements:

    • Main card 5 1/2" X 8 1/2"
    • Neutral (White or Vanilla) is 3 1/2" X 4 3/4"
    • Greeting strip is 1/2" X 5" 
    • Circles are the largest three stitched circle dies 1 3/4", 2 3/8" & 2 7/8"

    ~~~


    December Ordering Special: 

    Current Host code is 399BKWGG

    Order online here

    All online orders will receive my 16 Christmas cards class PDF!

    Get a free package of 220 Red Rhinestones from me with an online order over $50 using the host code above.

    Below are the Multipurpose Glue stands we're making. They're $6 each and available in my Shop here.  

    Leave a Reply

    Your email address will not be published. Required fields are marked *


Notice: LeeAnn Greff, Independent Stampin’ Up! Demonstrator, Manager. The content of this website is my sole responsibility as an independent Stampin’ Up! demonstrator and the use of, and content of, the classes, services, or products offered on this website is not endorsed by Stampin’ Up! Copyright 2025