/


Latest Post

Time for Cake Paper Pumpkin kit with a bonus stamp set! Subscribe by Saturday, August 10th!


I'm super excited about this month's Paper Pumpkin kit – it's all about birthdays in style!

This accordion fold card is one of the cards in the kit! You'll get three of these and 6 more cards too. In addition to the stamp set in the kit it also includes a bonus stamp set seen below to help you personalize your cards!
Other details on the Time for Cake kit:

  • The projects have rose gold foil accents and cording.
  • A Night of Navy Classic ink spot
  • The fun fold card seen above is one of the projects included this month!
  • There are 9 cards; 3 of each design
  • Colors include Night of Navy, Moody Mauve, Pecan Pie, Pretty in Pink, Wild Wheat

There are two says to get a Paper Pumpkin craft box. 

  1. Subscribe to receive one each month (you can skip a month at any time). Opt in here. 
  2. Order a pre-paid subscription in 1, 3, 6 or 12 months at a time. Click here for that. 

Top reasons to choose Paper Pumpkin:

If you’re looking for a fun and simple paper crafting this might be your best option! It’s fun, creative, and handmade projects bring joy to you and to others. And nothing makes paper crafting as fun, easy, and creative as Paper Pumpkin!

EVERYTHING YOU NEED IN A CRAFT BOX

One issue crafters often run into is feeling overwhelmed by their project. Lack of inspiration, proper supplies and crafty know-how might discourage you from even starting a project and unlocking your creative potential!

This never happens with a craft subscription box from Paper Pumpkin. That’s because everything you need for your project is included in your monthly art box. All you have to do is open it up and get started. You’ll be able to make cards, treat bags, gift boxes and so much more with your monthly art box subscription.

BUILD YOUR STAMP COLLECTION

Among the items in each Paper Pumpkin monthly craft kit is a reusable rubber stamp set. So after you’re done creating your monthly craft, you’ll have valuable stamps to add to your collection. You even get a free clear stamping block with your first craft box. Plus, you get a different color ink pad every month as well.

PRINT & VIDEO INSTRUCTION MAKE CRAFTING EASY

Even the craftiest among us worry that we’ll have trouble understanding how to do a project, or that we’ll make a mistake. You never have to worry about that with Paper Pumpkin! That’s because not only does each monthly arts and crafts box come with clear, easy-to-understand printed instructions, but we also upload a video to YouTube so you can watch a professional guide you through the craft.

KIDS CAN HELP WITH MONTHLY CRAFT KITS

Although Paper Pumpkin makes craft boxes for adults, they can be fun for the whole family! Use your monthly craft box subscription to introduce your kids to a fun and creative outlet. It’s truly a gift to instill a love of crafting and creativity in kids. You’ll be thrilled to see how their skills grow over time. One day your kids might have their own monthly craft subscription box!

GET FREE BONUS PROJECT IDEAS FROM ME EACH MONTH! 

I send my subscribers a free tutorial with multiple alternative ideas for that month's kit. You'll love these extra project ideas!

Subscribe here today and see for yourself!

~~~

August Specials:

*current host code links: M0Z4KJD7 or BDGBJHAE

Redeem your $5 coupon now! 

~~~

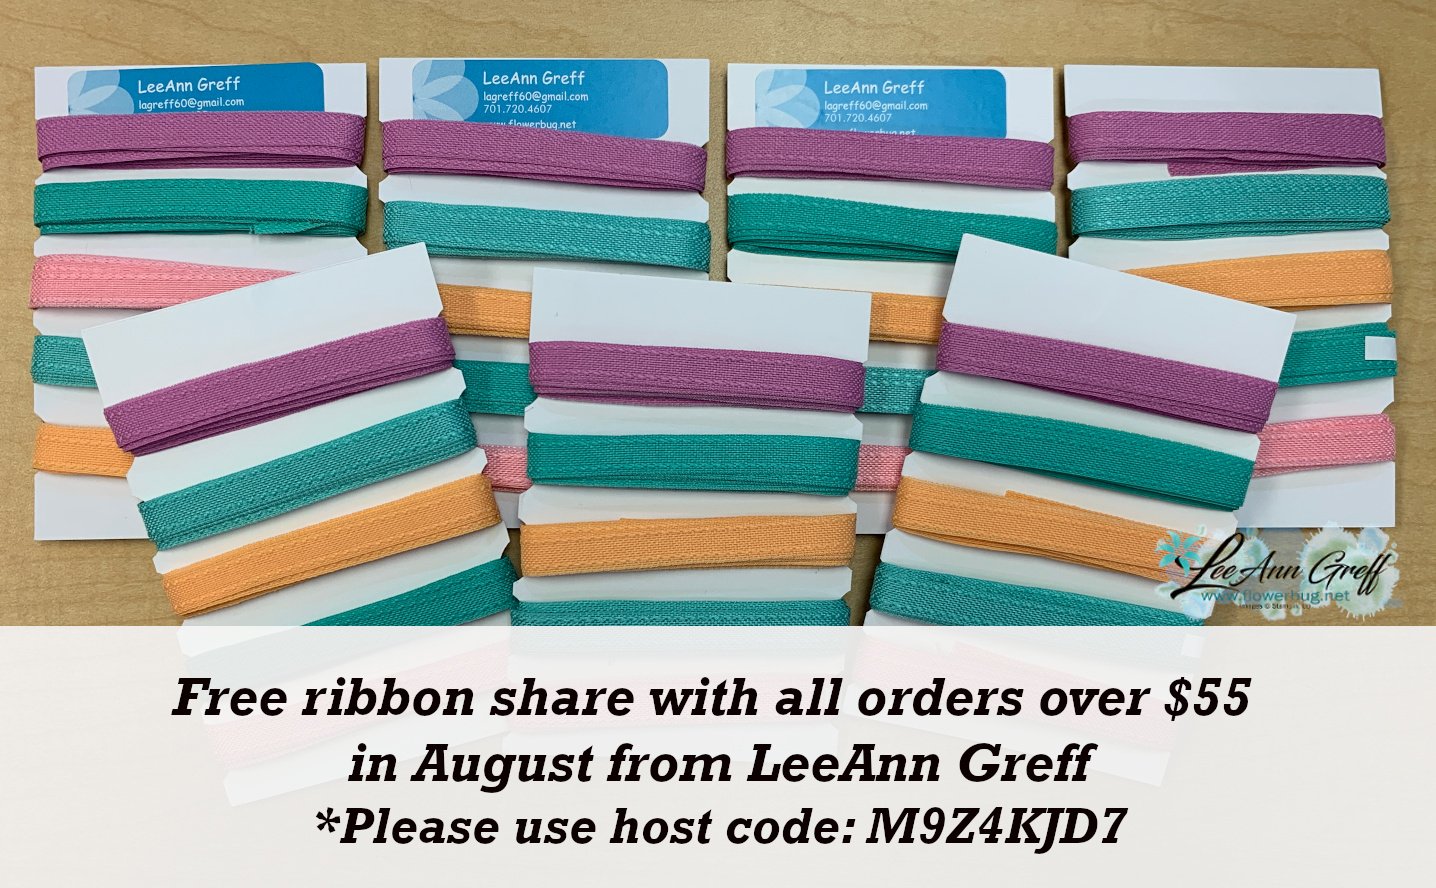
Get a free In Color ribbon share with any online order over $55 from me!

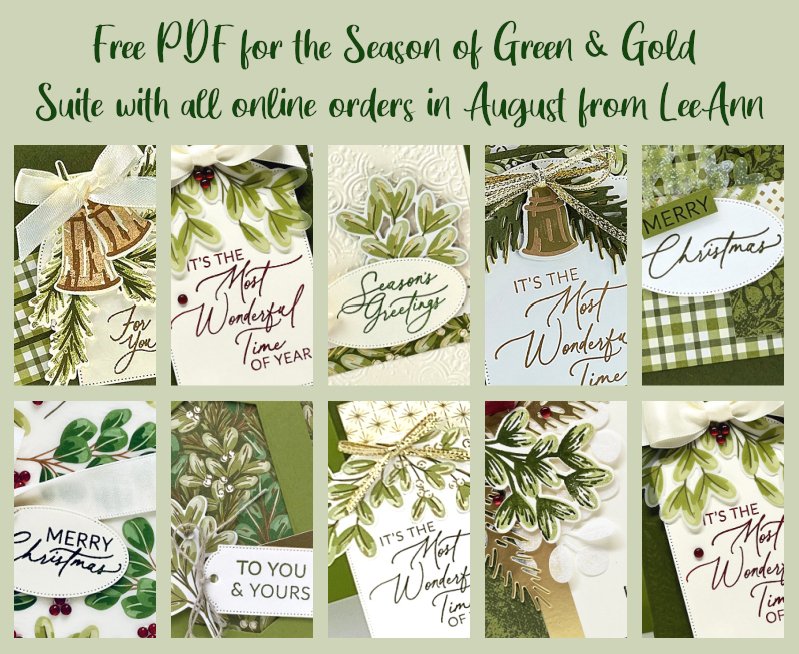
All online orders will receive a free PDF tutorial featuring the

Season of Green & Gold suite
All Posts

  • Star & Snowflake Ornaments; so pretty!


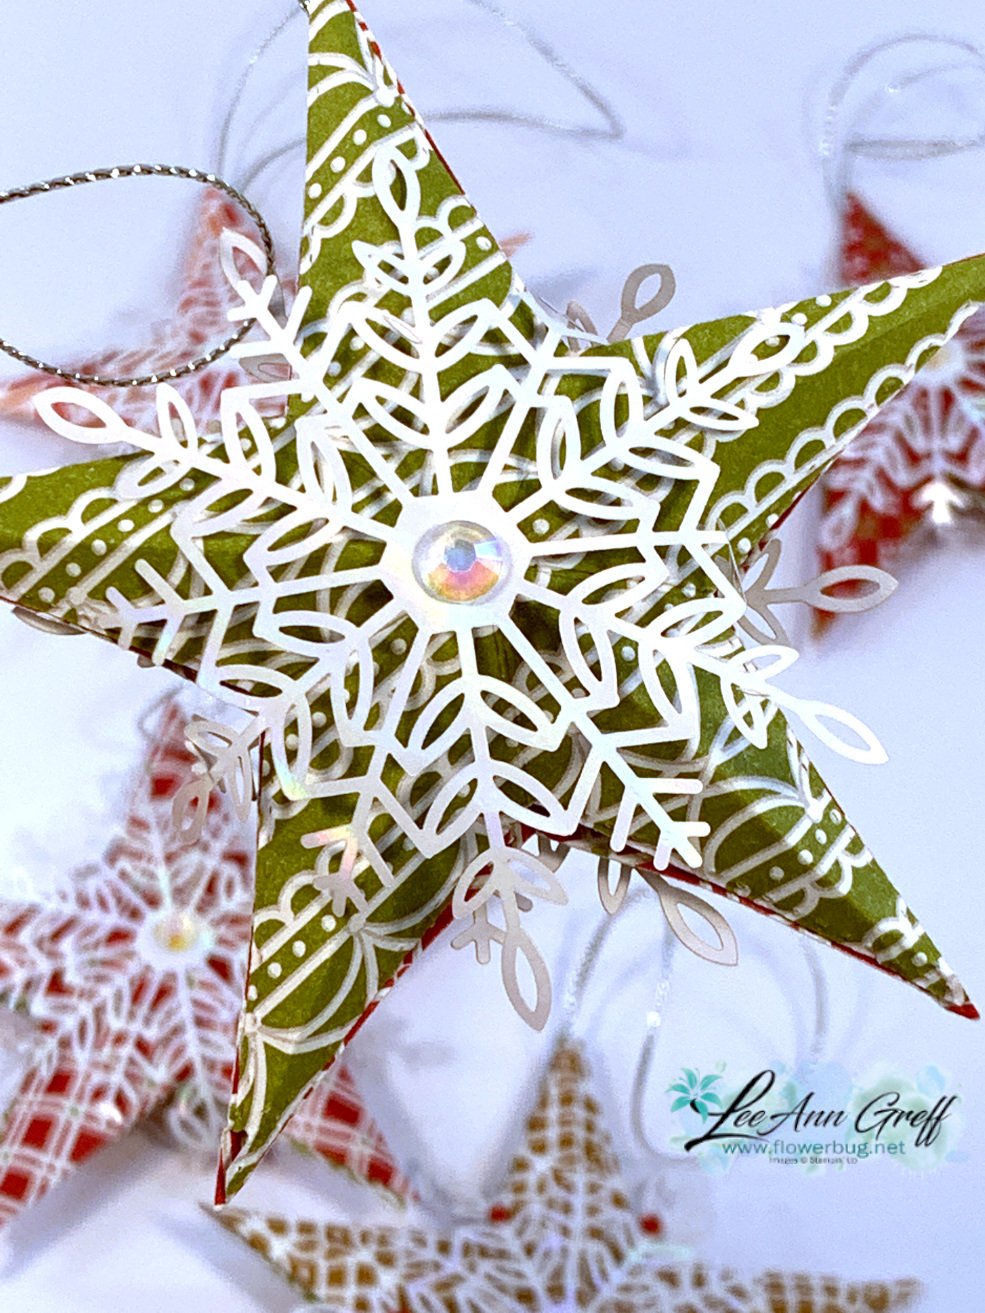
    I had to give these gorgeous star projects a try!  Sara from Stampin' Up! made them for a tree topper but they were one sided.  I decided to turn her idea into ornaments by making them 2-sided.  

    They're made with our Stitched Stars dies seen here.  I used the largest and third smallest to make these. I used the Gingerbread & Peppermint DSP but unfortunately it was on the retired list and is sold out now. 

    You probably wonder where the snowflakes come from.  They are called 'Wonderful Snowflakes' and they also just sold out! The retiring list can be so hard; items you want can be gone in an instant! 

    You need a good stack of Dimensionals between each layer like this: 

    You can see why you need a smaller star inside; to support the stacks of Dimensionals. *There's a second stack under that smaller star.  You'll add a second large star on top of the dimensional stack seen above. 

    Tips:

    • I found a stack of 4 to work best.
    • I added a rolled up mini glue dot to the tip of each star point to secure them together.  It's not necessary but does finish if off so they stay closed. 
    • Add the cord with a glue dot to one of the star points. 

    They were so fun to make I couldn't stop! I plan to add these to my cookie trays or to Christmas presents instead of a traditional bow. 

    I thought this last one would look sort of ho hum in this pattern.  But once I added our Red Rhinestones to the snowflake it sure came to life!  

    Below is the video to see exactly how to make these pretty ornaments.  They're the third project I share. 

    ~~~

    December Specials:

    Host code:  6YCWV7QN

     *click here to order 

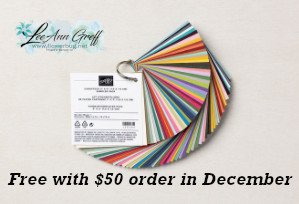
    Use the host code above & get a free card stock sampler ring with a $50 order in December! 

    See the last chance list here

    See the July-December catalog carry over list here

    Leave a Reply

    Your email address will not be published. Required fields are marked *

  • Origami Christmas Tree card; soooo easy!


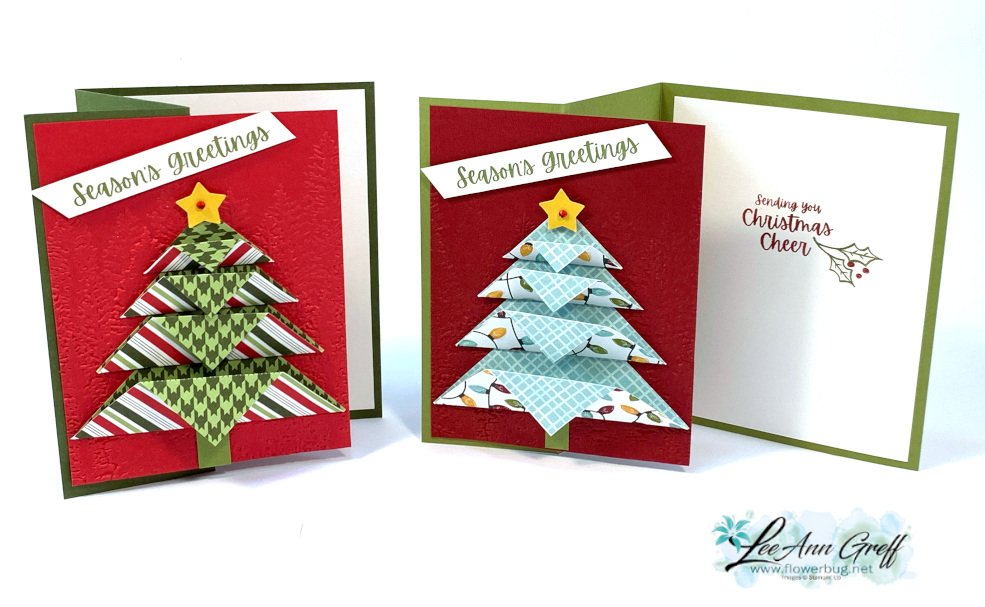
    I make one of these trees almost every year.  Why? Because they are easy & fun and we always have new Designer Paper for me to play with. 

    All you need are four squares of DSP. No scoring or other measurements.  Watch the video here or below to see how it's done. 

    Here are the supplies:

    • Card stock – Old Olive & Mossy Meadow card bases, Real Red & Cherry Cobbler layers, White greeting strip & inside
    • Designer Paper – Heartwarming Hugs (out of stock now) and Sweet Stockings
    • Greeting image from the Christmas Cheer stamp set
    • Star topper from the Starlit punch
    • Embossing folder – Evergreen Forest (out of stock temporarily) 

    Measurements: 

    • Card base 5 ½” X 8 ½”
    • DSP – 4 square pieces at 1 ¼”, 1 ¾”, 2 ¼” & 2 ¾”
    • Textured front & White inside are 4” X 5 ¼”

    Below is the video for you. I share another special card project and some pretty star/snowflake ornaments as well.  

    ~~~

    December Specials:

    Host code:  6YCWV7QN

     *click here to order 

    Use the host code above & get a free card stock sampler ring with a $50 order in December! 

    See the last chance list here

    See the July-December catalog carry over list here

    Leave a Reply

    Your email address will not be published. Required fields are marked *

  • Easy Christmas Ornament card


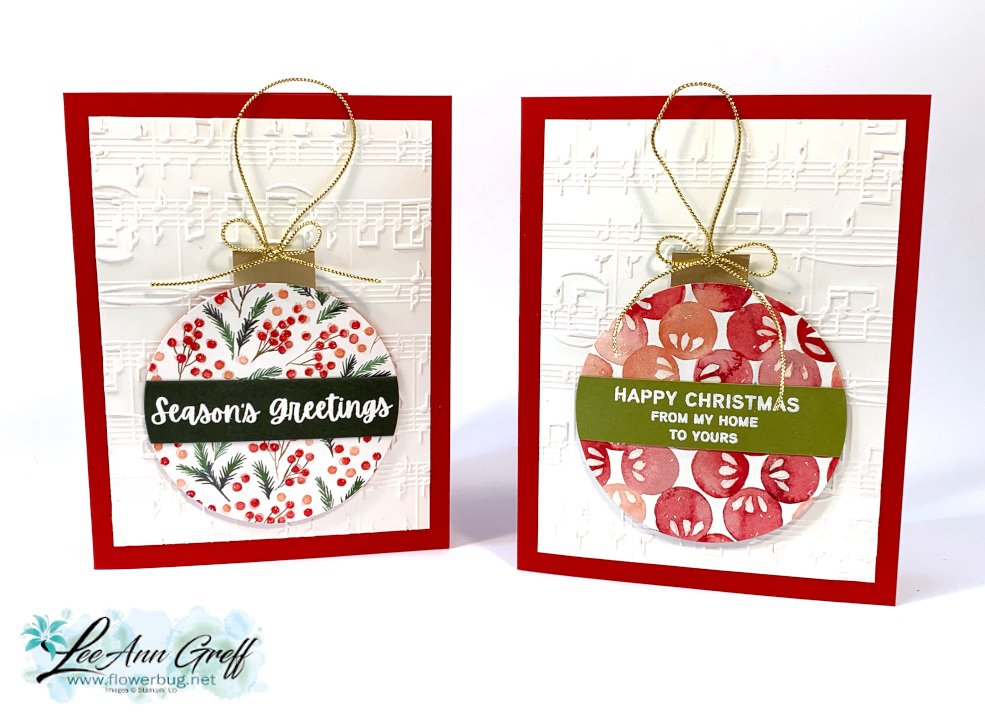
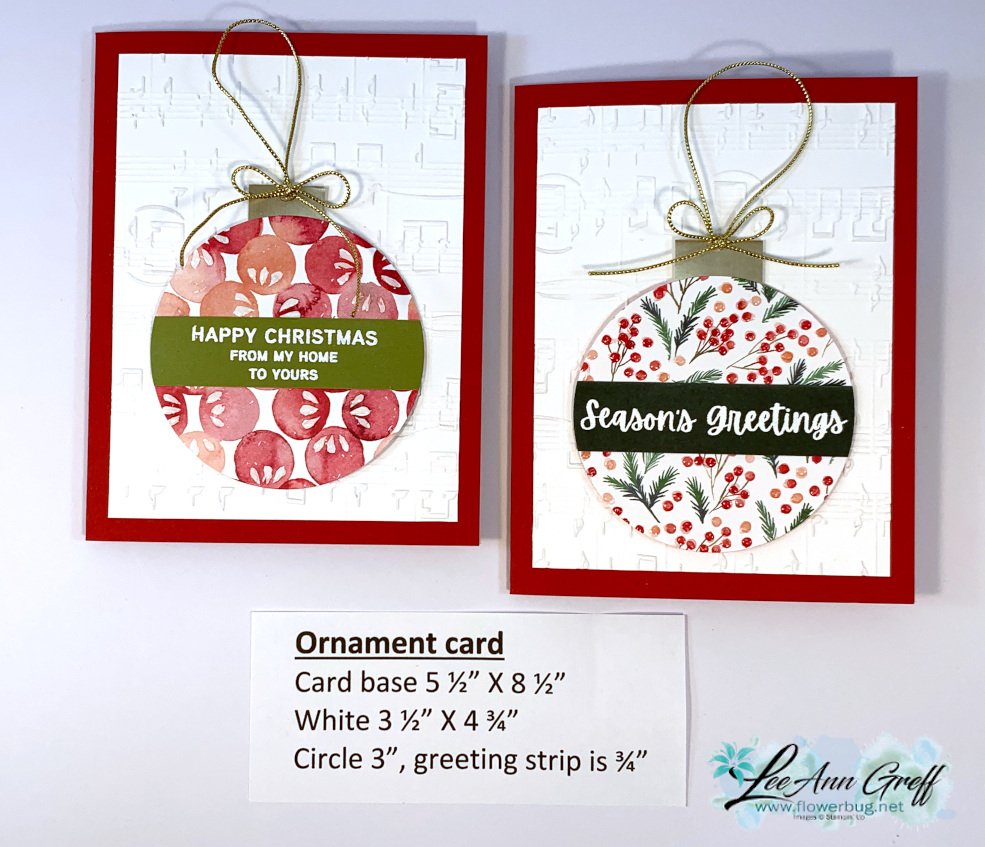
    I think this is pretty clever & unique; it's a 'faux' Christmas ornament on a card. And it's quick & easy too!  

    It looks so real; like you could lift it off!  And you actually could if you use temporary adhesive; or add it to a pocket.  

    I shared this project on a FB Live last week.  It's the second project I made in this video.  

    Products used:

    • Merry Melody embossing folder on the White CS
    • The ornament is made with the largest smooth circle in our Circles dies. 
    • The DSP is called Painted Christmas and is in low inventory right now.  
    • Elegant Trim for the 'hanger'. 
    • Brushed Metallic specialty CS for the 'hanger'. 
    • Heat embossing for the greeting – from the Words of Cheer stamp set. 
    • CS is Real Red, White & Evening Evergreen 

    Here's a close-up of it. 

    I give a few hints in the video on achieving this.  Basically you want to stamp your greeting first and add it to your DSP.  THEN cut both pieces out at the same time with your circle die. 

    Below is the video for you. I share another special card project and some pretty star/snowflake ornaments as well.  

    ~~~

    December Specials:

    Host code:  6YCWV7QN

     *click here to order 

    Use the host code above & get a free card stock sampler ring with a $50 order in December! 

    See the last chance list here

    See the July-December catalog carry over list here

    Leave a Reply

    Your email address will not be published. Required fields are marked *


Notice: LeeAnn Greff, Independent Stampin’ Up! Demonstrator, Manager. The content of this website is my sole responsibility as an independent Stampin’ Up! demonstrator and the use of, and content of, the classes, services, or products offered on this website is not endorsed by Stampin’ Up! Copyright 2025