/


Latest Post

A unique fun-fold card with Thoughtful Moments Hybrid embossing folder tips with video & free project sheet


For last week's video I highlighted the Thoughtful Moments Hybrid embossing folder.  Once I used it I was hooked!  It's fast & easy!  I hope you watch the video here or below; you'll be amazed! 

The cards today are both unique fun folds that can easily include a gift card option.  

This card features Misty Moonlight, White & Fresh Freesia. The pretty paper is the Flight & Airy designer paper from our Sale-a-Bration catalog.  It's free with a $50 order.  See it here. 

Here's how the card opens. See the gift card inserted into the left side pocket?  It's so easy to make – a simple cut on the front layer up to the score line. Then adhere the outer and lower sides to form a pocket.  

I cased this card from my friend Susie Wood; she is a master designer of fun fold cards.  See here blog here; she usually posts measurements and great directions. 

Here's her original card she sent me: 
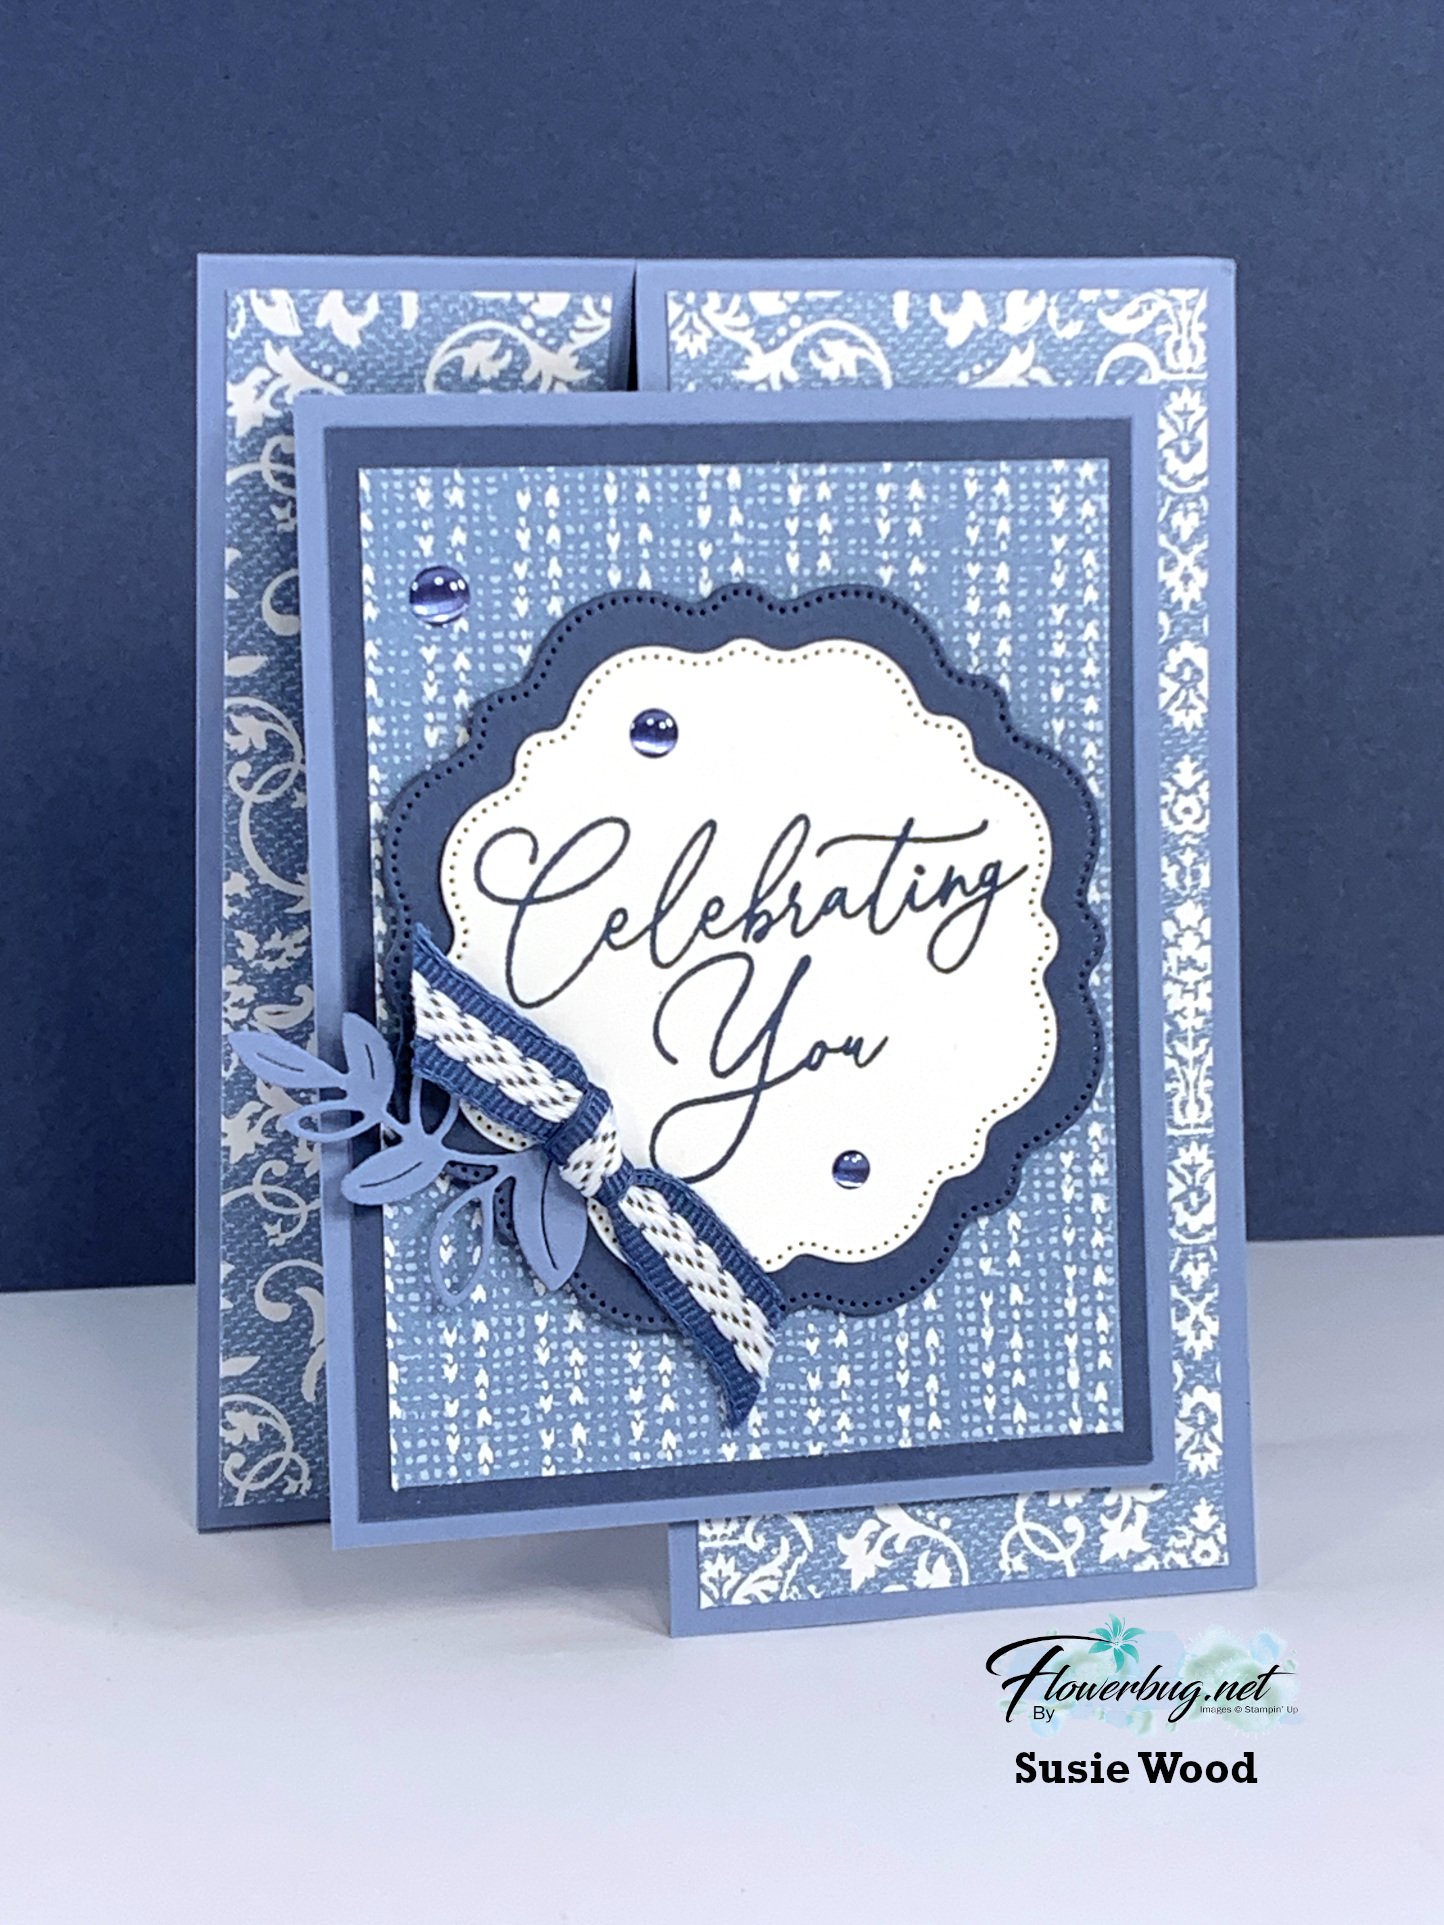
I lover her style so much! She used the Poetic Expressions designer paper and the gorgeous Thoughtful Expressions bundle; both from the 2024 Spring catalog. 

Notice I changed the side I cut the gift card on; see the difference in the two cards below?  I wanted to see how it worked and it is just fine either way. 
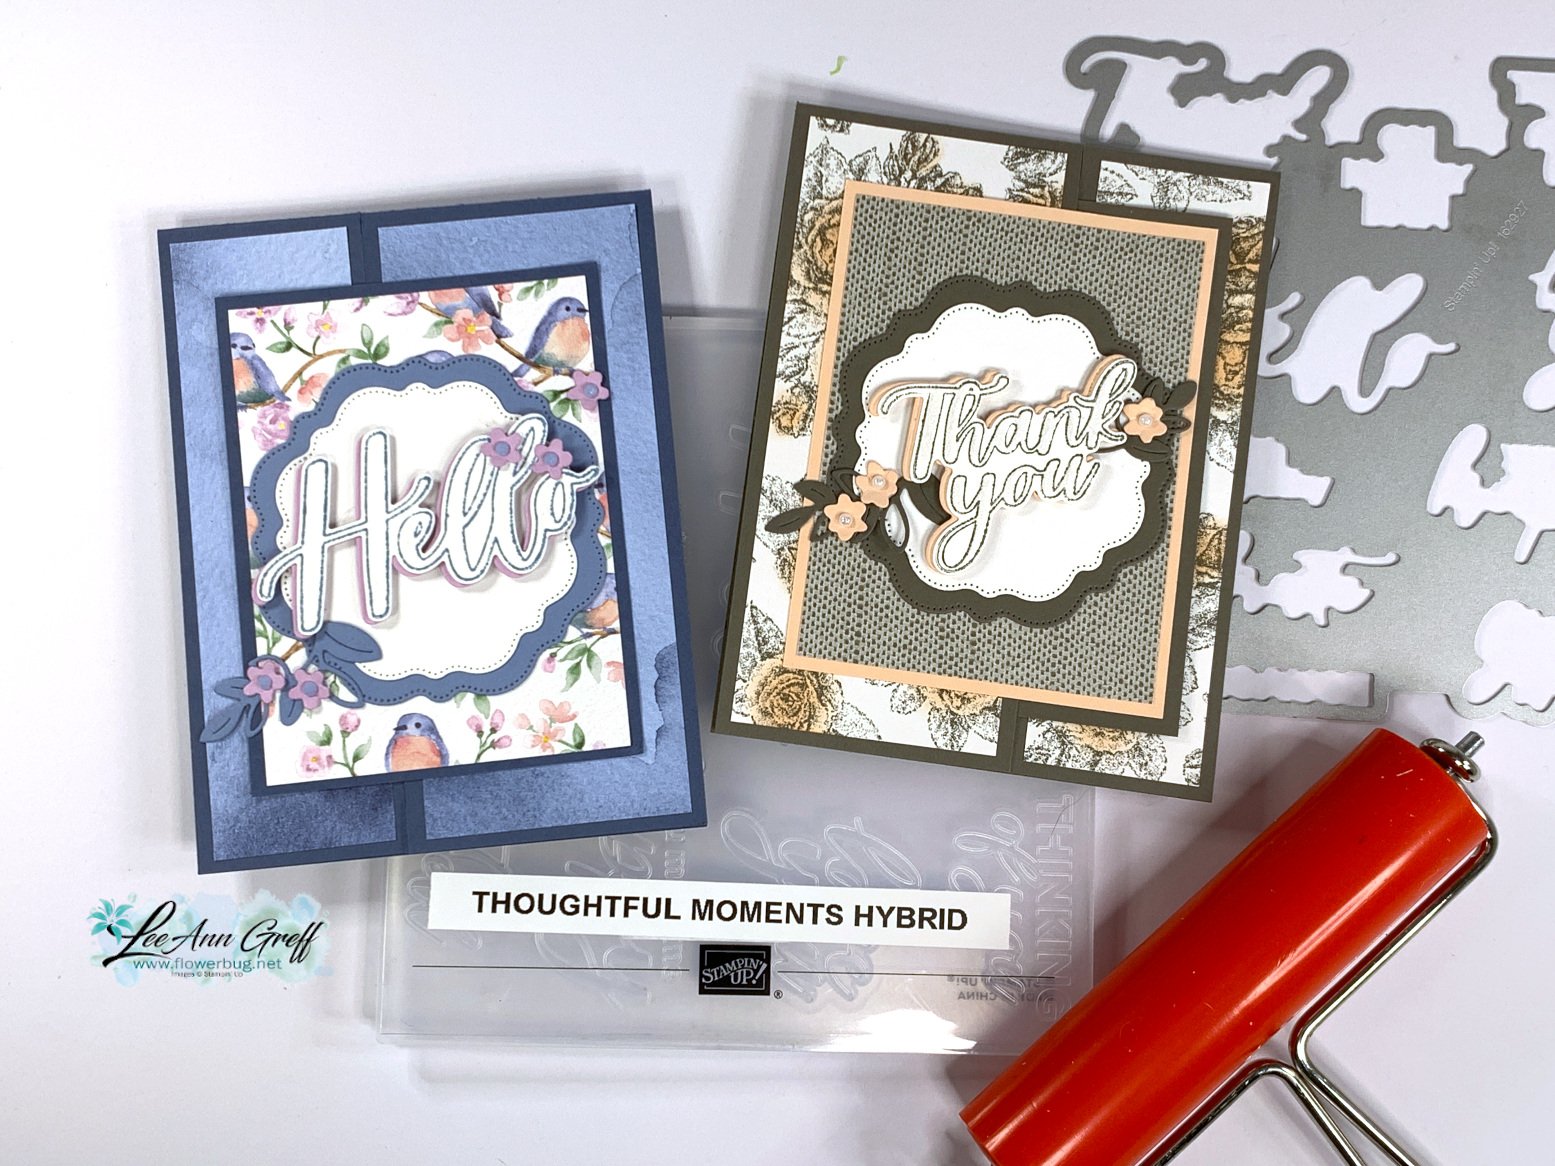
I used the new brayer to add ink to the folder, added the large die, then white card stock before I ran it through my Cut & Emboss machine. I got a nice handful of inked and embossed greetings! It's so very cool; I hope you watch the video!! 

This Thoughtful Moments Hybrid embossing folder comes with a set of dies too.  See it here.  

*Click on this link to see the free project sheet with measurements & photos.  Download Vertical gift card with Thoughtful Moments

I made the pretty card below during the video. 
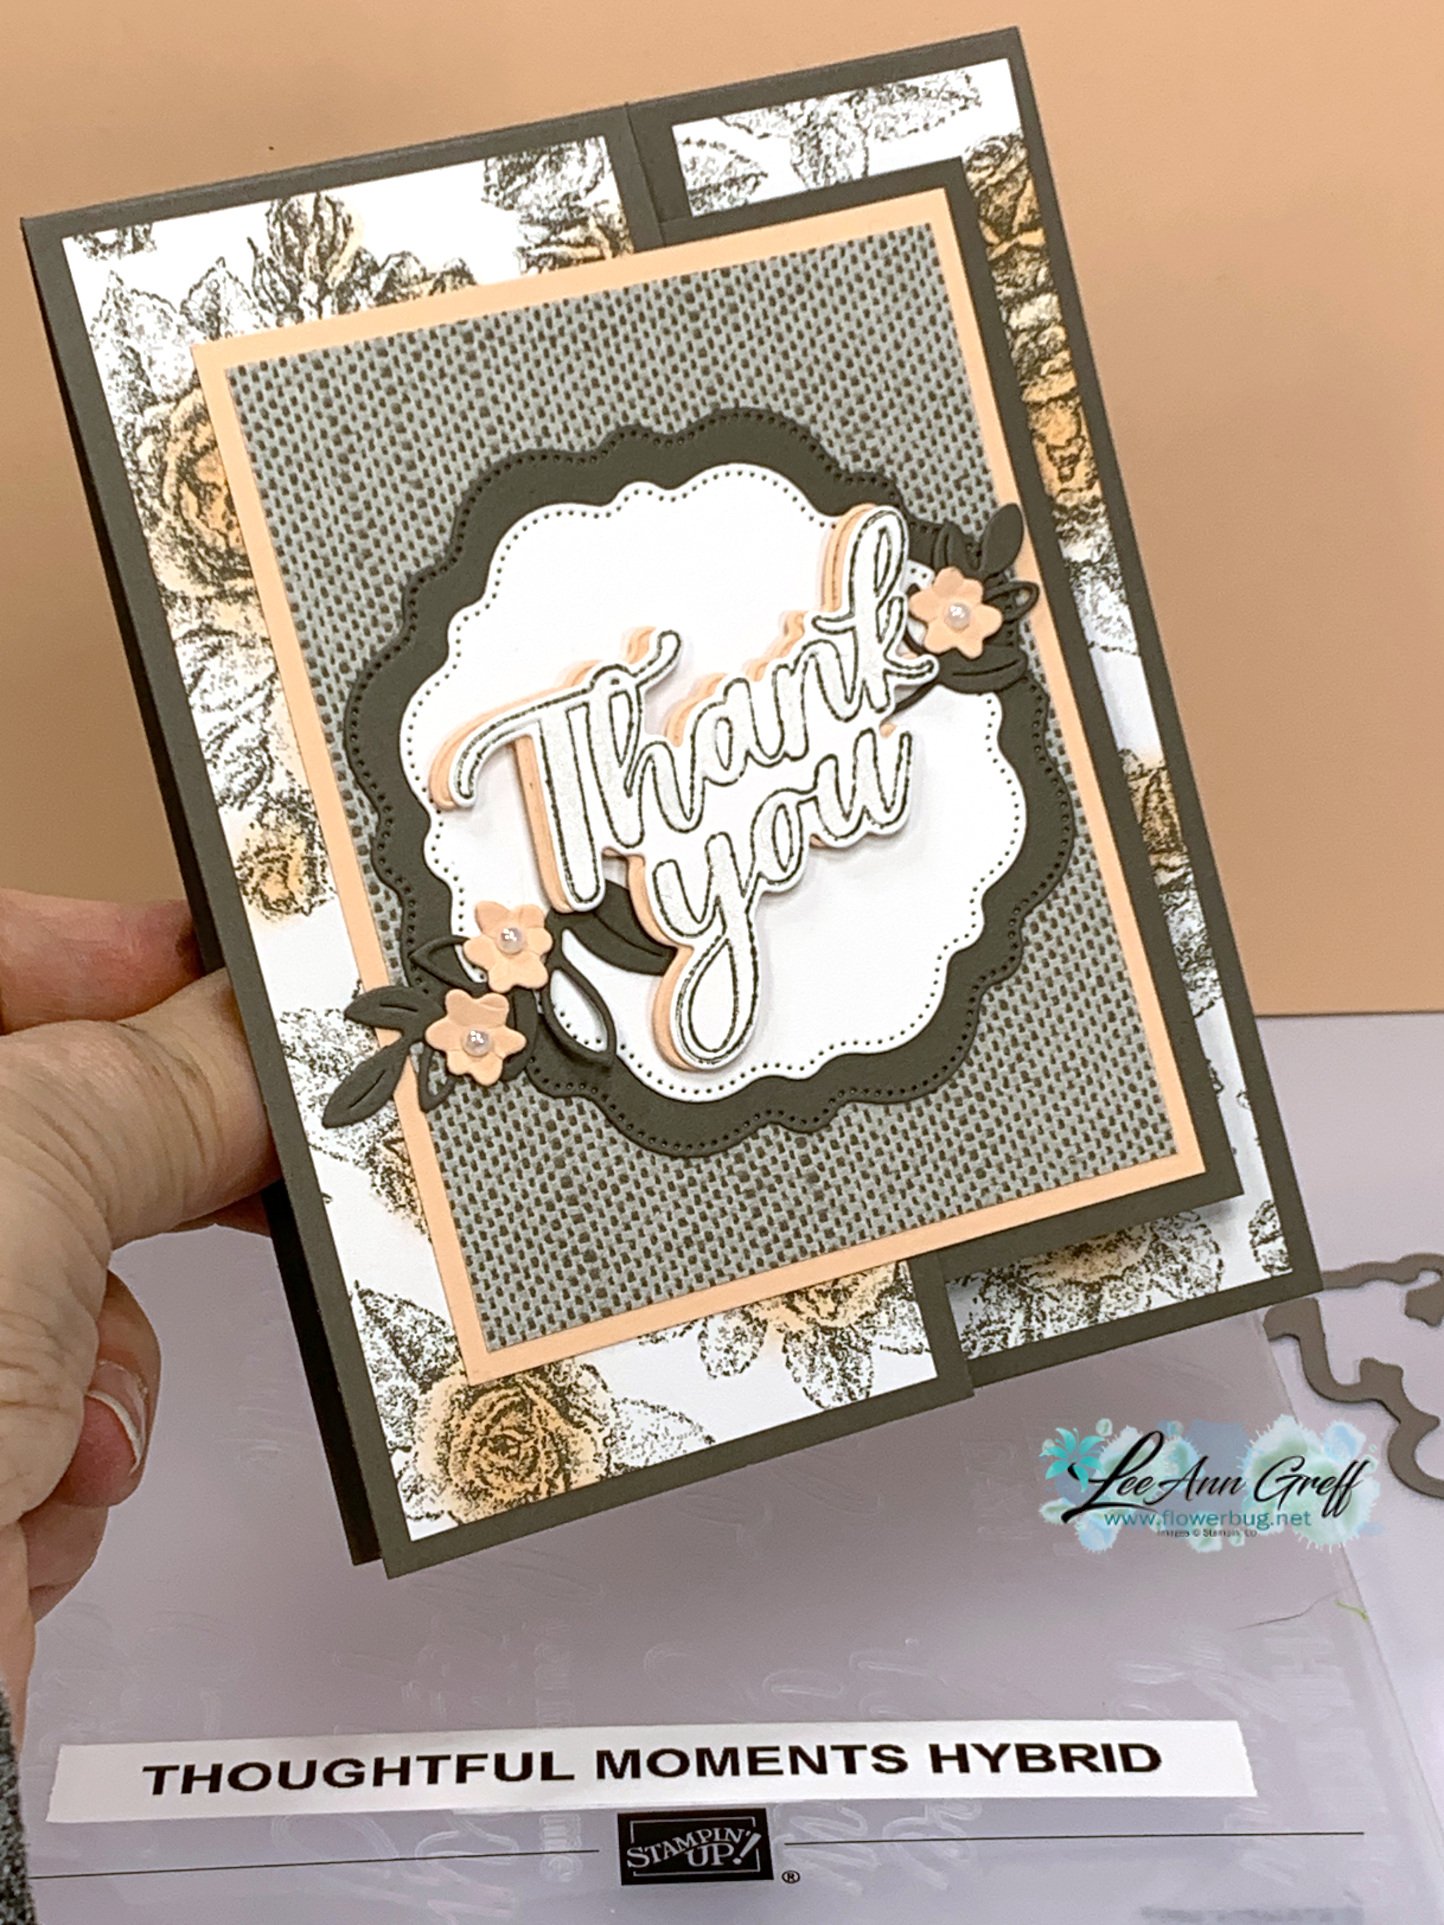
My colors include Pebbled Path, White & Petal Pink.  The pretty papers are from the Softly Stippled designer paper seen here, also in the 2024 Sale-a-Bration catalog.  It's free with any $50 purchase from Stampin' Up! through  February; or while supplies last.  

The floral paper I used is originally white with Pebbled Path; I added Petal Pink ink to the flowers with a sponge dauber. 

Note the layered scalloped labels under the double-layered greeting.  These are from the Thoughtful Expressions dies seen here.  They're a gorgeous set of dies you will want to consider. Originally I did not get the coordinating stamp set, but I did order it now because I've seen so many beautiful samples using it.  We're all enablers! 

Below is a sample of the many ways you can ink the greetings.  I cannot say how much I love this folder & dies bundle!

Details on these die-cuts seen above:

  • The top two in bold Pebbled Path were embossed and cut from White paper. After I cut and embossed them I rolled the inked brayer over them very, very lightly. *see video!
  • Celebrate & Thank you with a thin inking were done by inking the folder with the brayer, adding the die and White card stock, then running it through the Cut & Emboss machine. *it cuts and inks at the same time; with one pass! 
  • The Love You was done with both of the above techniques. Pebbled Path inside the folder and afterwards I brayered Petal Pink over the raised area.  

Below is the video you can watch to see these techniques using this amazing Hybrid embossing folder in action.  Don't forget to follow me on YouTube!  

Catch me Live tomorrow here – every Tuesday at 11 am CT I share a free live class!  

~~~

January Specials: 

Get a free embellishment from the 2024 Spring catalog

with an online order over $55
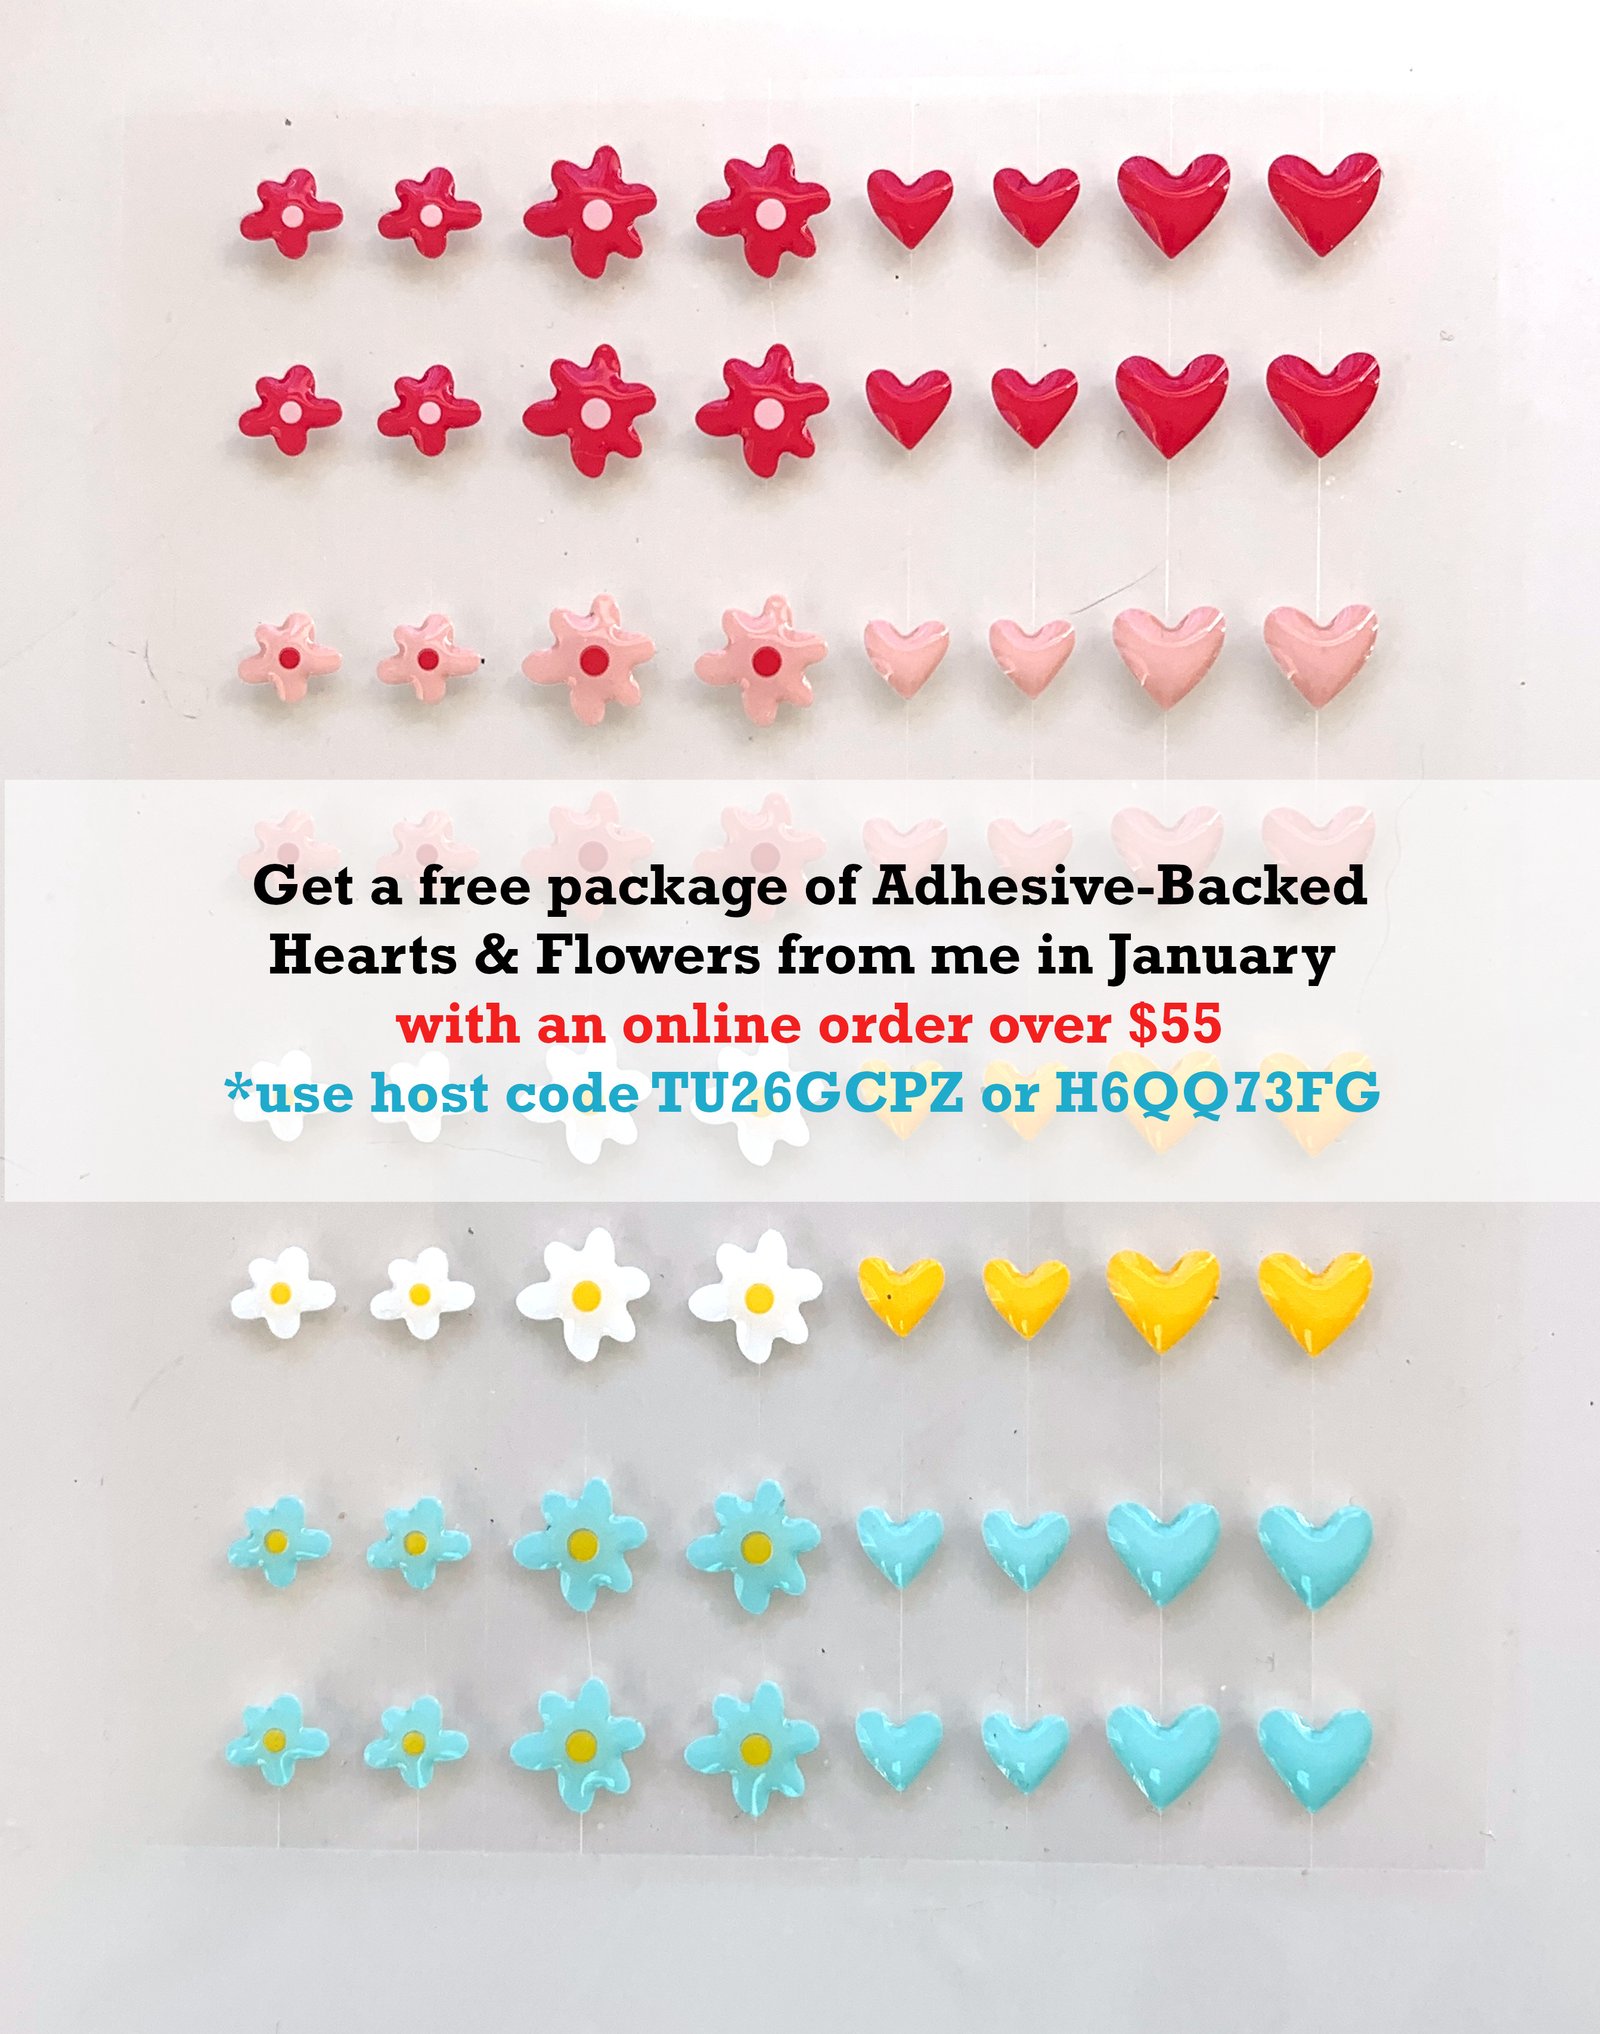

*current host codes: TU26GCPZ or QS26PCUJ

~~~

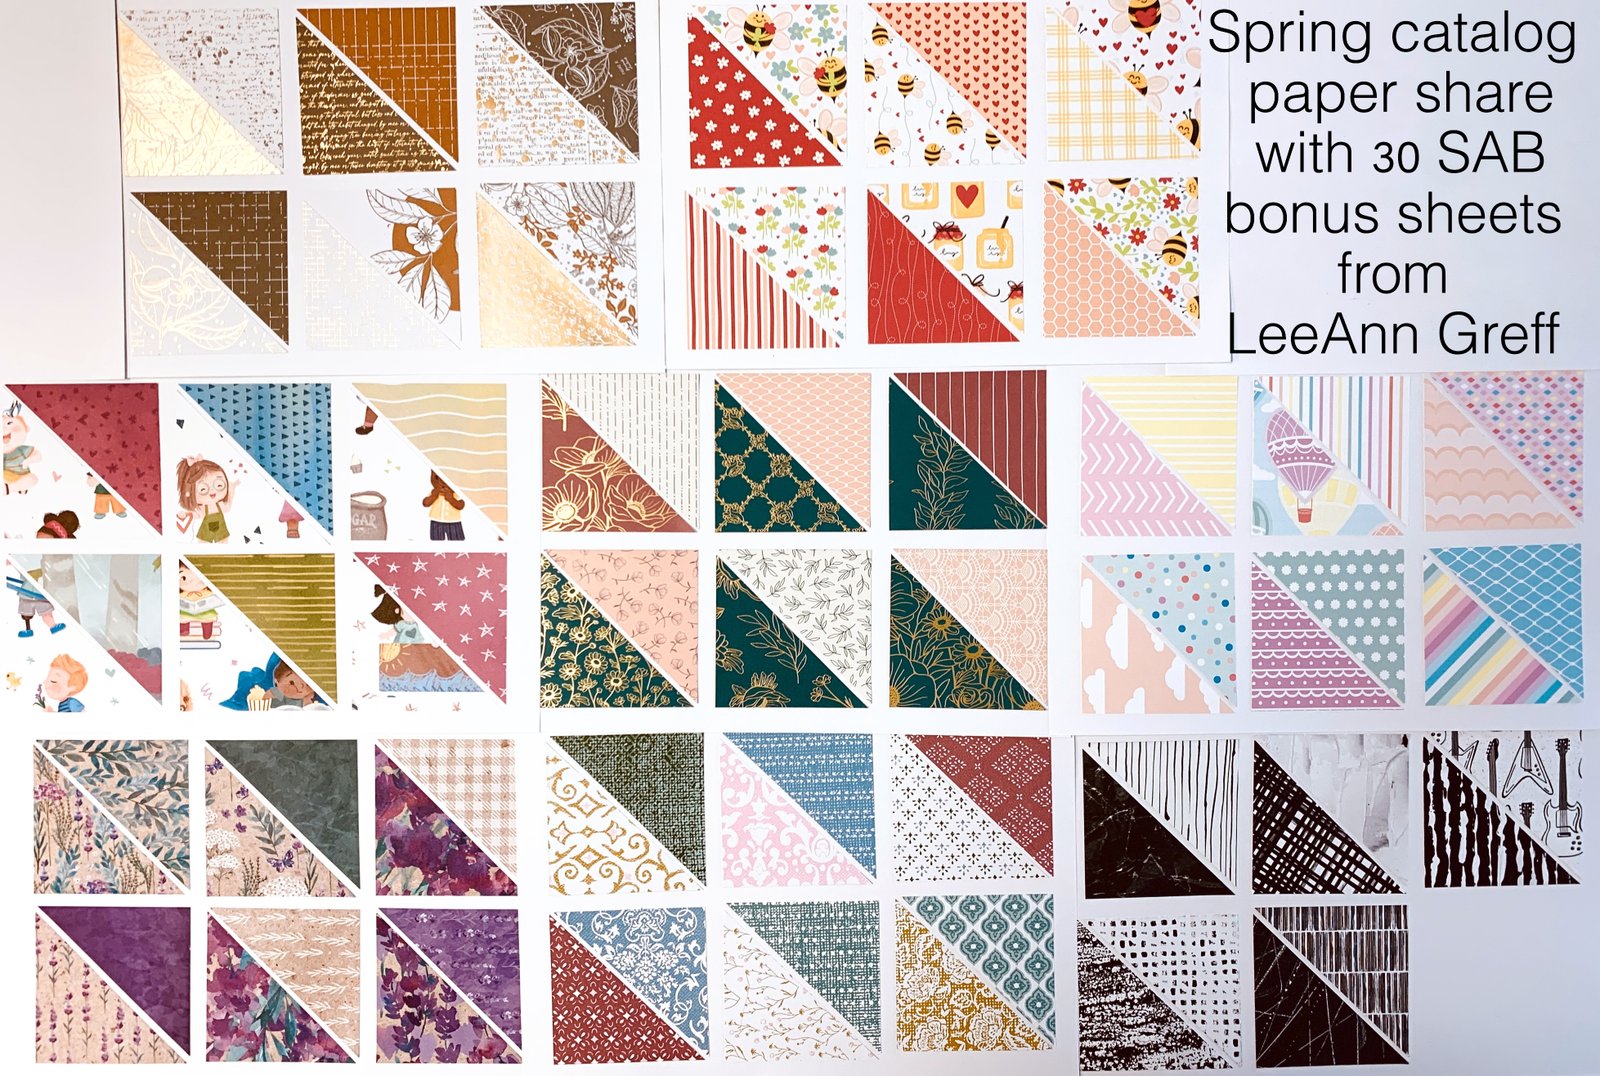
Reserve your Spring & Sale-a-Bration designer paper share

$18 for 78 sheets! (plus $7 shipping). Email me here
~~~

I have several pre-cut card & scrapbook kits to go; ready to mail out!

Click here to see them all.

All Posts

  • Another way to feature your embossing folder…..


    Yesterday I shared one way to use ink on an embossed layer. Today I’m sharing another.

    Look closely at the card below. See how there are two different colors on this textured surface? I shared how to do this on last week’s video (see below).

    This is the Floral Spray 3D embossing folder seen here. It just ran out of stock and may be a month or more before it returns. Please add your email so you’re notified when it’s back.

    Here’s how to do this: I inked the smoother side of my folder (the textured areas are recessed) with Hydrangea Hue ink. I then placed my CS on the opposite side of the folder, closed it and ran it through my Cut & Emboss Machine.
    It leaves the raised areas with the original CS color and the rest darker. It’s truly beautiful.

    Here are both cards; with the addition of Peaceful Pine:

    Simple & gorgeous! These cards will seem like you went above and beyond but they’re so simple!

    I used the Classic Labels Mix & Match Ephemera for my greetings as well as the new stamp set called Scalloped Blooms seen here.

    I also tried it with the Sunflower 3D embossing folder too.

    Below is the video tutorial where I share how to achieve this technique. I hope you watch it and try it!

    Want our BEST DEAL on Stampin’ Up! products? Well that is always the Starter Kit.

    Right now you get to choose from 2 options with the $99 kit. Get either all 5 new Magnetic Ink pads or an extra $35 in product of your choice. That makes it $160 in products for just $99 plus free shipping. It’s a no brainer! Click here.

    Leave a Reply

    Your email address will not be published. Required fields are marked *

  • Get all 5 New Magnetic Ink Pads FREE in May!


    During May you can grab the Starter Kit deal where you get to choose from either the 5 new In Color ink pads or an extra $35 in free product.

    There are so many benefits to joining as a Stampin’ Up! Demonstrator.

    First of all you get 20-25% off all future SU purchases.
    Second is a favorite of many – you can see and pre-order new products before anyone else.
    Third – be on my Flowerbug’s Team! We have a wonderful group of talented, kind and sharing people!

    Thinking about joining my team? New demonstrators now get 50% off their first Paper Pumpkin kit—which is a great way to try this monthly crafting subscription! It’s just one of the perks of getting started.

    Click here to get this deal!

    Enjoy the discount while you can. Or make a little money on the side while enjoying your hobby!

    Leave a Reply

    Your email address will not be published. Required fields are marked *

  • How to make the embossing folder the star of your card; with video!


    I shared a few ways to highlight the texture on your 3D embossing folders on last week’s video. I shared the cards I created with the 5 new In Colors and how it’s done.

    This is the Floral Spray 3D embossing folder seen here. It’s currently out of stock unfortunately. Please put your name on the list to be notified when it’s back.

    Steps: I textured the CS first. Then rubbed my Craft White ink pad over it lightly. It catches on all the pretty raised areas, highlighting them beautifully. This can take some practice and I recommend you ink pad not be fully inked.

    I wrapped matching In Color ribbons across the cards and added a greeting. So simple but stunning in person.

    The greeting die-cuts are from the Scalloped Blooms dies seen here. The greetings are from the Opulent Oasis & Balloon Festoon stamp sets.

    Of course this technique; I’m calling it ‘white-washing’ shows up best on darker card stock. Here’s one I did with the Fern & Flora embossing folder seen here:

    This is our new Peaceful Pine in color. The greeting tag is from the new Classic Labels Mix & Match ephemera seen here. Love these pretty White labels!

    Below is the video tutorial with tips for success on this technique.

    I still have a few Mystery Boxes left! It’s a buy one get two free deal! Each box is valued at over $200 and is shipped to you FREE when you place a $100 order from me (before tax & shipping).

    Be sure to grab a Product of the Month once your order is over $75.

    Leave a Reply

    Your email address will not be published. Required fields are marked *


Notice: LeeAnn Greff, Independent Stampin’ Up! Demonstrator, Manager. The content of this website is my sole responsibility as an independent Stampin’ Up! demonstrator and the use of, and content of, the classes, services, or products offered on this website is not endorsed by Stampin’ Up! Copyright 2025