/


Latest Post

The easy way to make a ‘Fractured’ card! Video tutorial & free project sheet!


You may have seen these cards online lately; they're quite popular.  It looked s bit intimidating to me; I thought I'd have to do a lot of measuring to get the pieces to fit exactly.  

Well my team member Karen shared how to make them at our August Team meeting and I was surprised to learn it's quite easy peasy!  So I had to share the fractured card on a recent Live video so YOU could see how fun & quick it is.
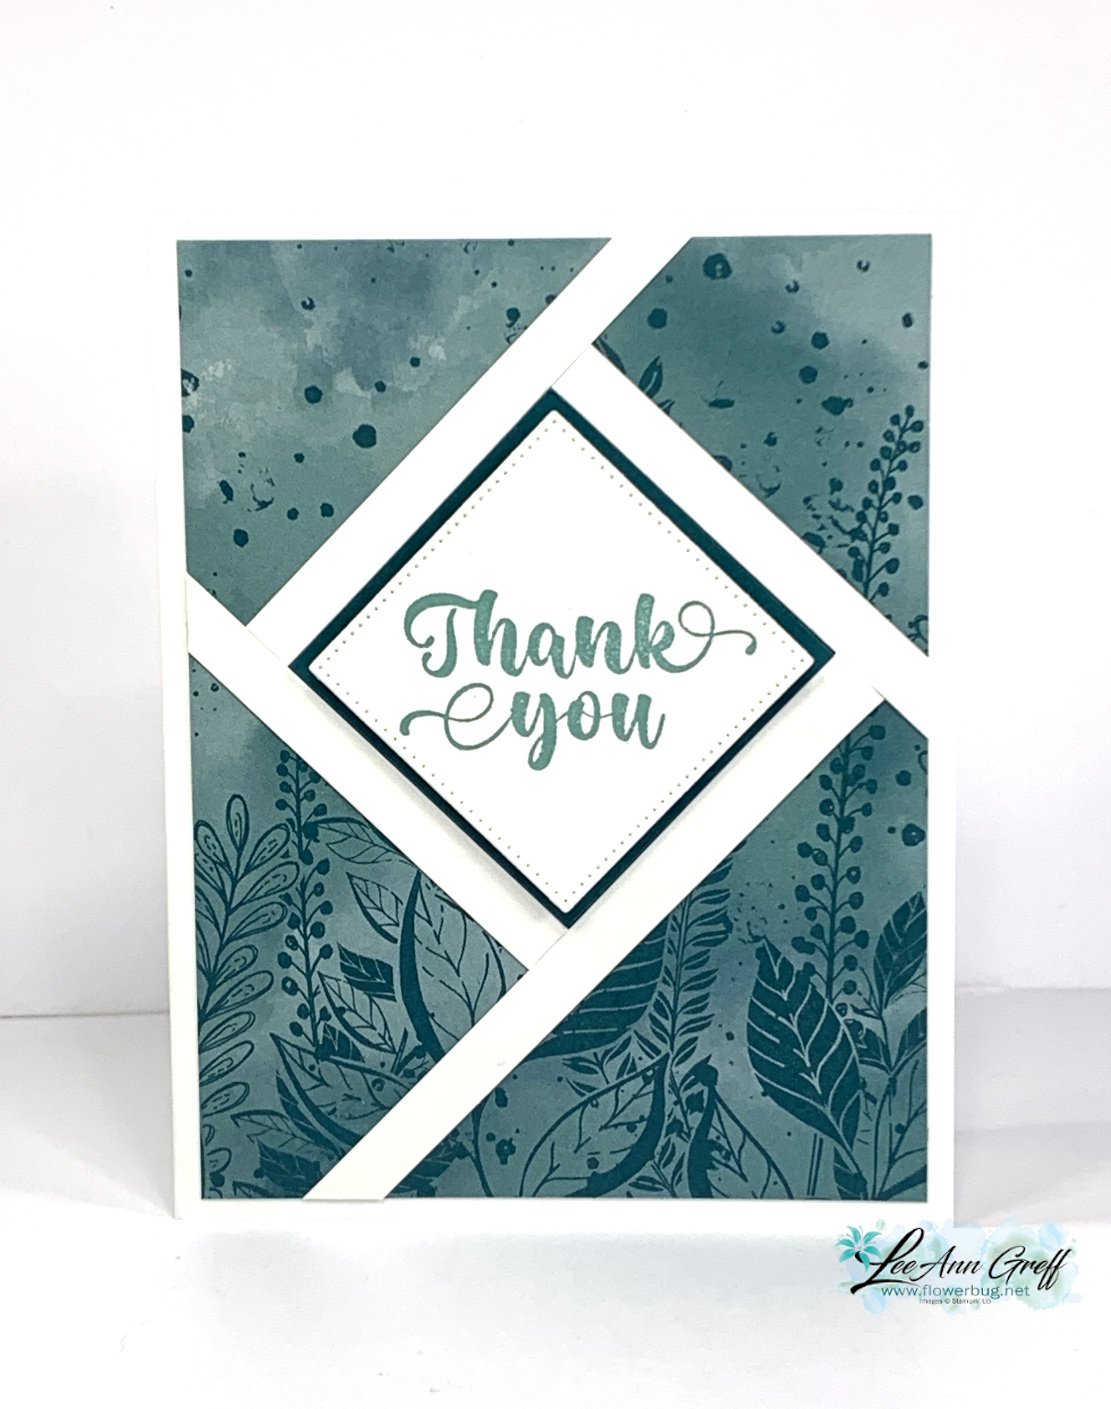
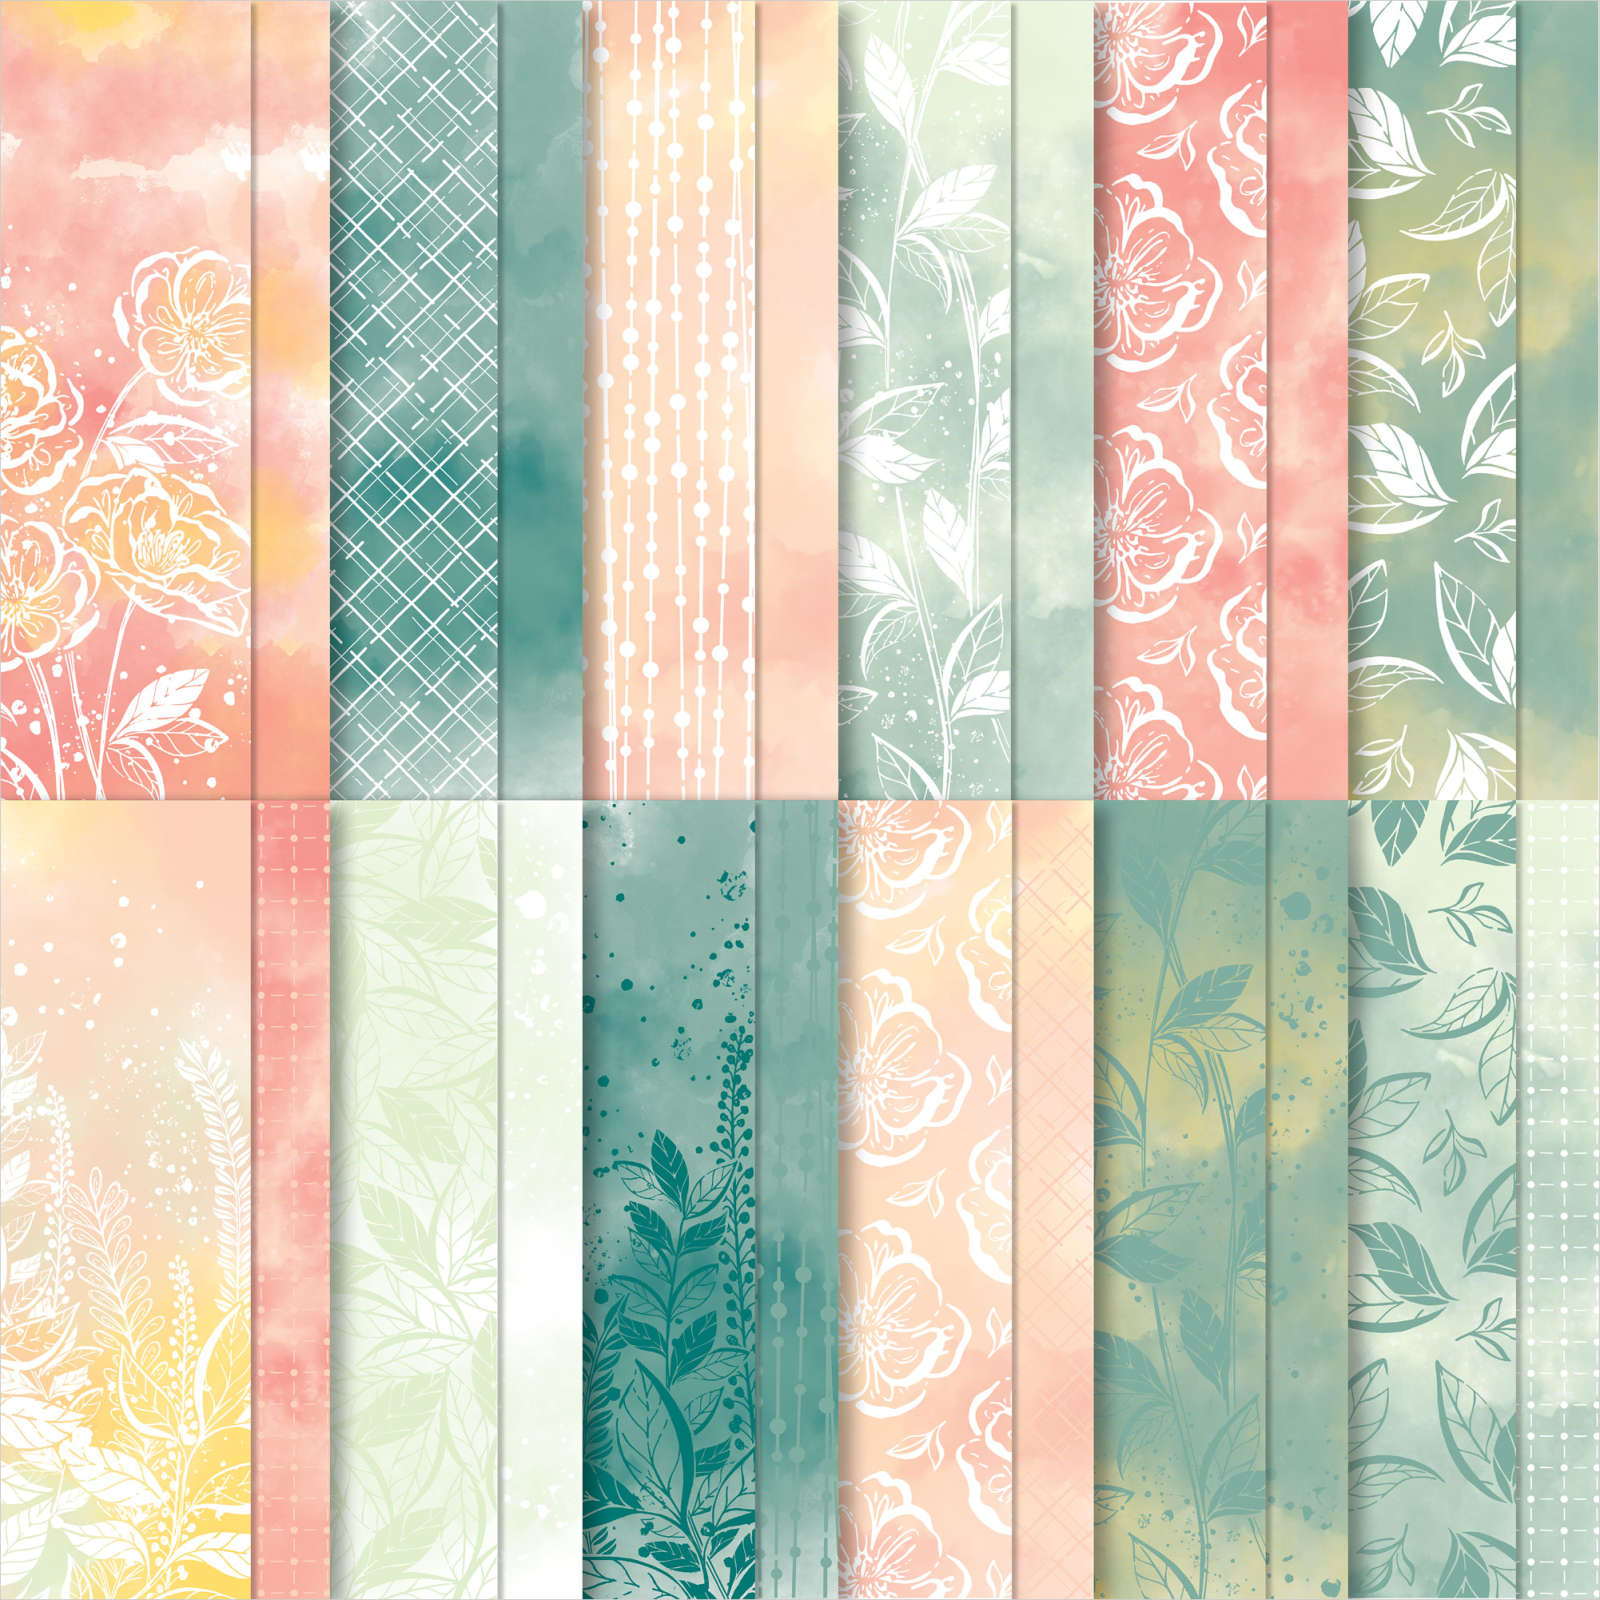
I chose to use the Hello, Irresistible designer paper and the Irresistible Blooms stamp set; both Online Exclusives. See all of our products available online here.  There are so many they have their own category!  

This card starts out with a full 4" X 5 1/4" layer of designer paper.  The center squares and strips are added on directly over the designer paper!  No measuring needed!!  

**Get the free project sheet here Download Irresistible Blooms Fractured card

This pretty designer paper is in low inventory.  Do you have it yet?  It's just beautiful!
My center squares are approximately 2" in size and are from the Stylish Shapes dies – the middle die of the 5 square dies. I chose to add a 2 1/4" layer under my square.  

Tip: Once you adhere your square to the upper center (eyeballing, no measuring needed) you will start adding your 1/4" X 5" strips of card stock.  You start at the upper center.  Leave the excess strips hanging off the card until you're done; then just trim off.  *watch the video below to see my helpful tips for success. 

Here are both cards I shared in the video; one in Pretty Peacock and the other in Petal Pink. 
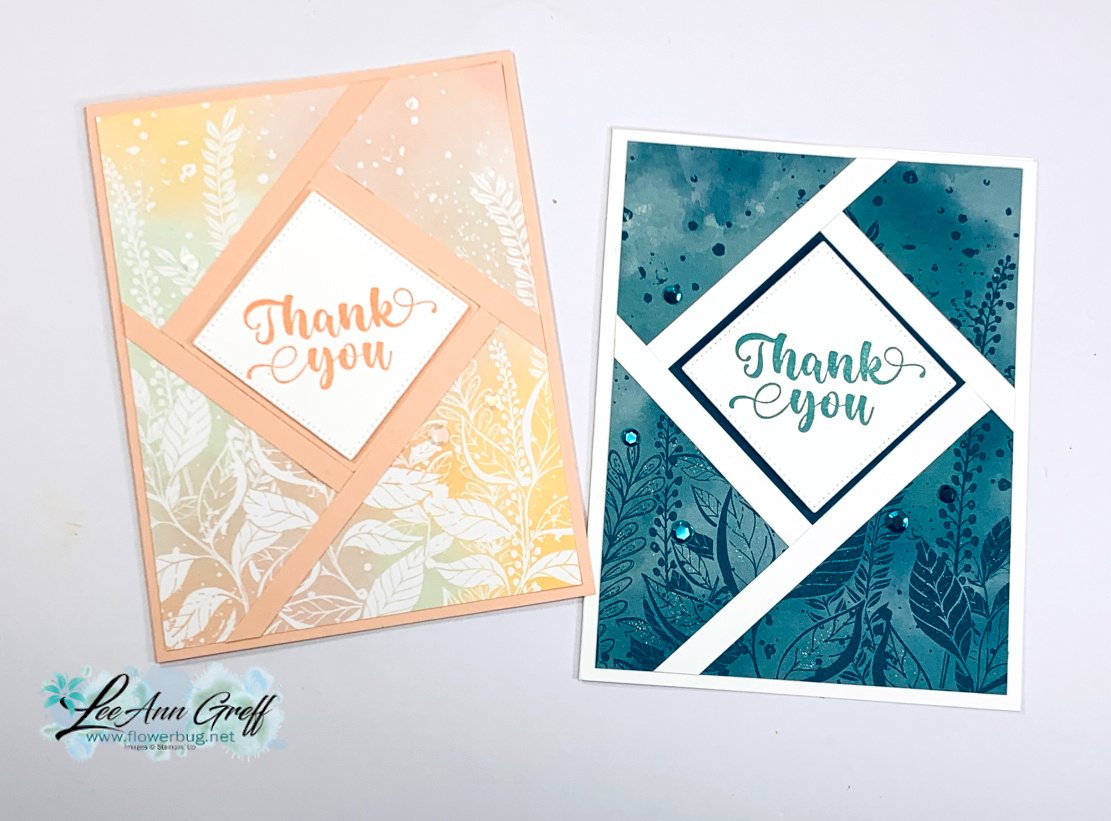
 

Which do you prefer?  One is soft and pretty and the other is vibrant. I like the 1/4" strips to match the card base; I feel it gives a greater sense of continuity.  

I kept these cards quite simple but you could certainly add more to it.  

Click here or on the photo below to watch the video.  I believe it will give you the confidence to try it.  

 ~~~

August Specials: 

 *current host codes: KY99RPXP 
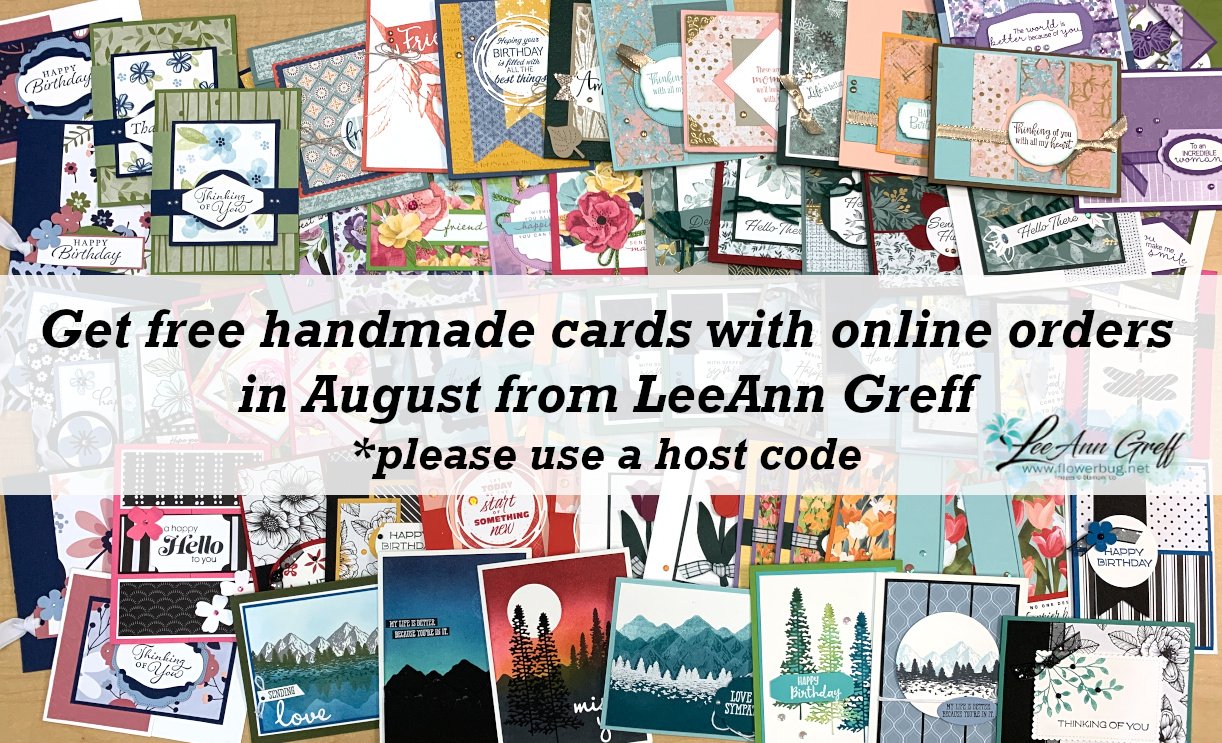
Free Gift with orders in August: 

Get a pack of at least 5 beautiful cards with orders over $50 this month. 

The more you order the more cards you get!

*cards are previous card kits to go; over the top and many fun folds.  
**Redeem your Bonus coupons in August! 
All Posts

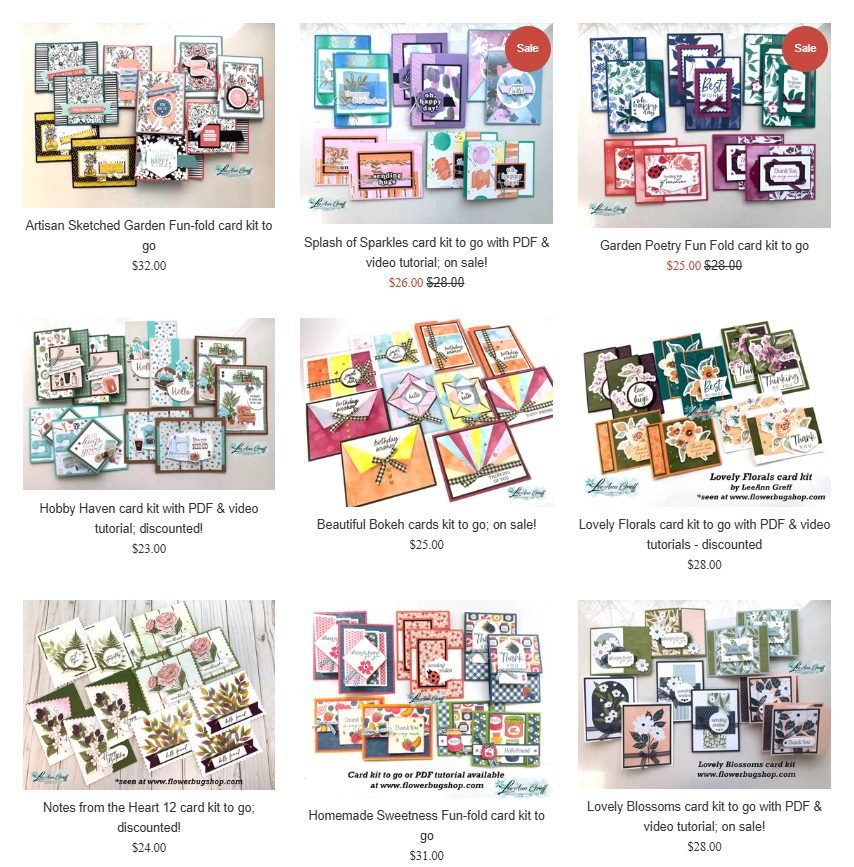
  • Kits to Go Clearance sale starts today! While supplies last!


    I have 14 available kits to go right now and I’ve marked most of them down to de-stash my stock. I want to clear them out before we move in a month.

    Be sure to check them all out here.

    Even if they don’t have a ‘Sale’ icon most are still reduced in price. My kits include about $20 in SU product plus the 10-12 pre-cut cards! Most only need greeting images added. You will need adhesives, ink and a paper trimmer to cut the DSP in most cases.

    These are a steal of a deal!

    They’re so fun to create with and many come with both PDF & video tutorials too. Most will include fun fold layouts and you’ll find new ways to create with my unique layouts.

    Shop all tutorials and kits here.

    Leave a Reply

    Your email address will not be published. Required fields are marked *

  • Beautiful swaps with NEW products!


    We held out Team card swap Saturday and I want to share some of these awesome swaps they made. Our theme was to use new catalog products. This swap was ‘shoebox’ style so we made each other’s cards in person. I love shoebox swaps!

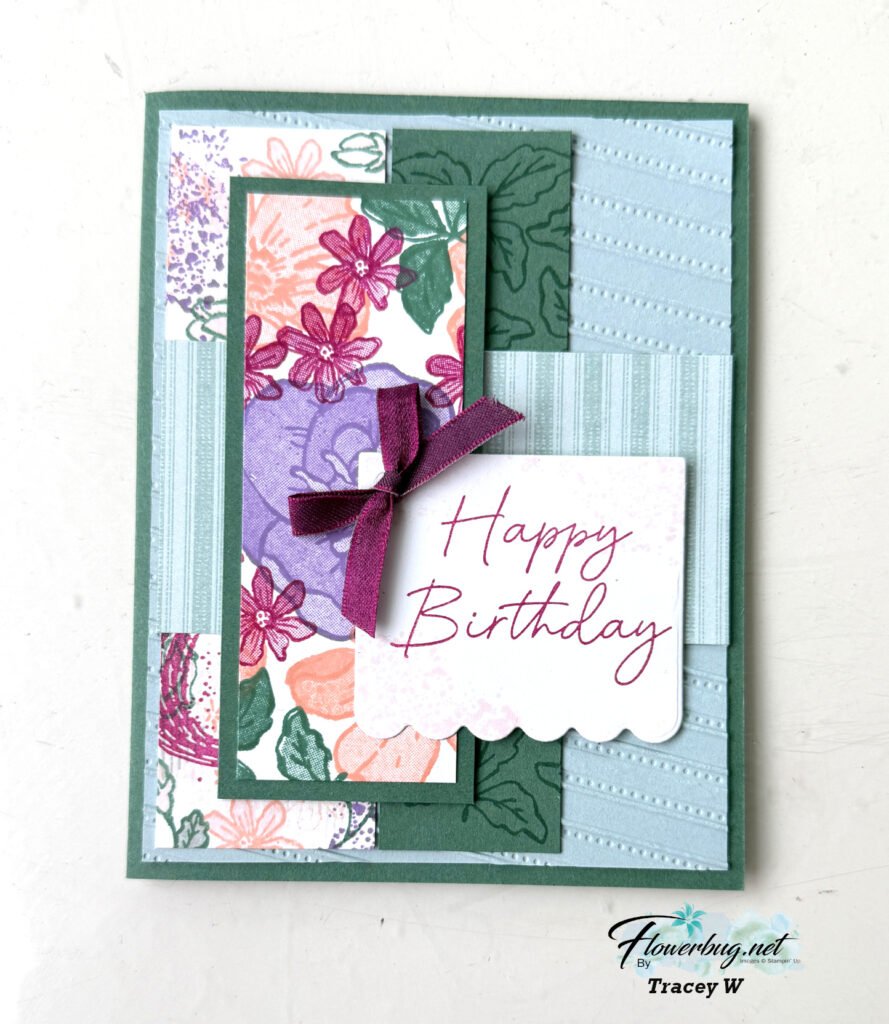
    Tracey created this special card using the new Peaceful Pine in color. She paired it with Cloud Cover and Berry Burst here.

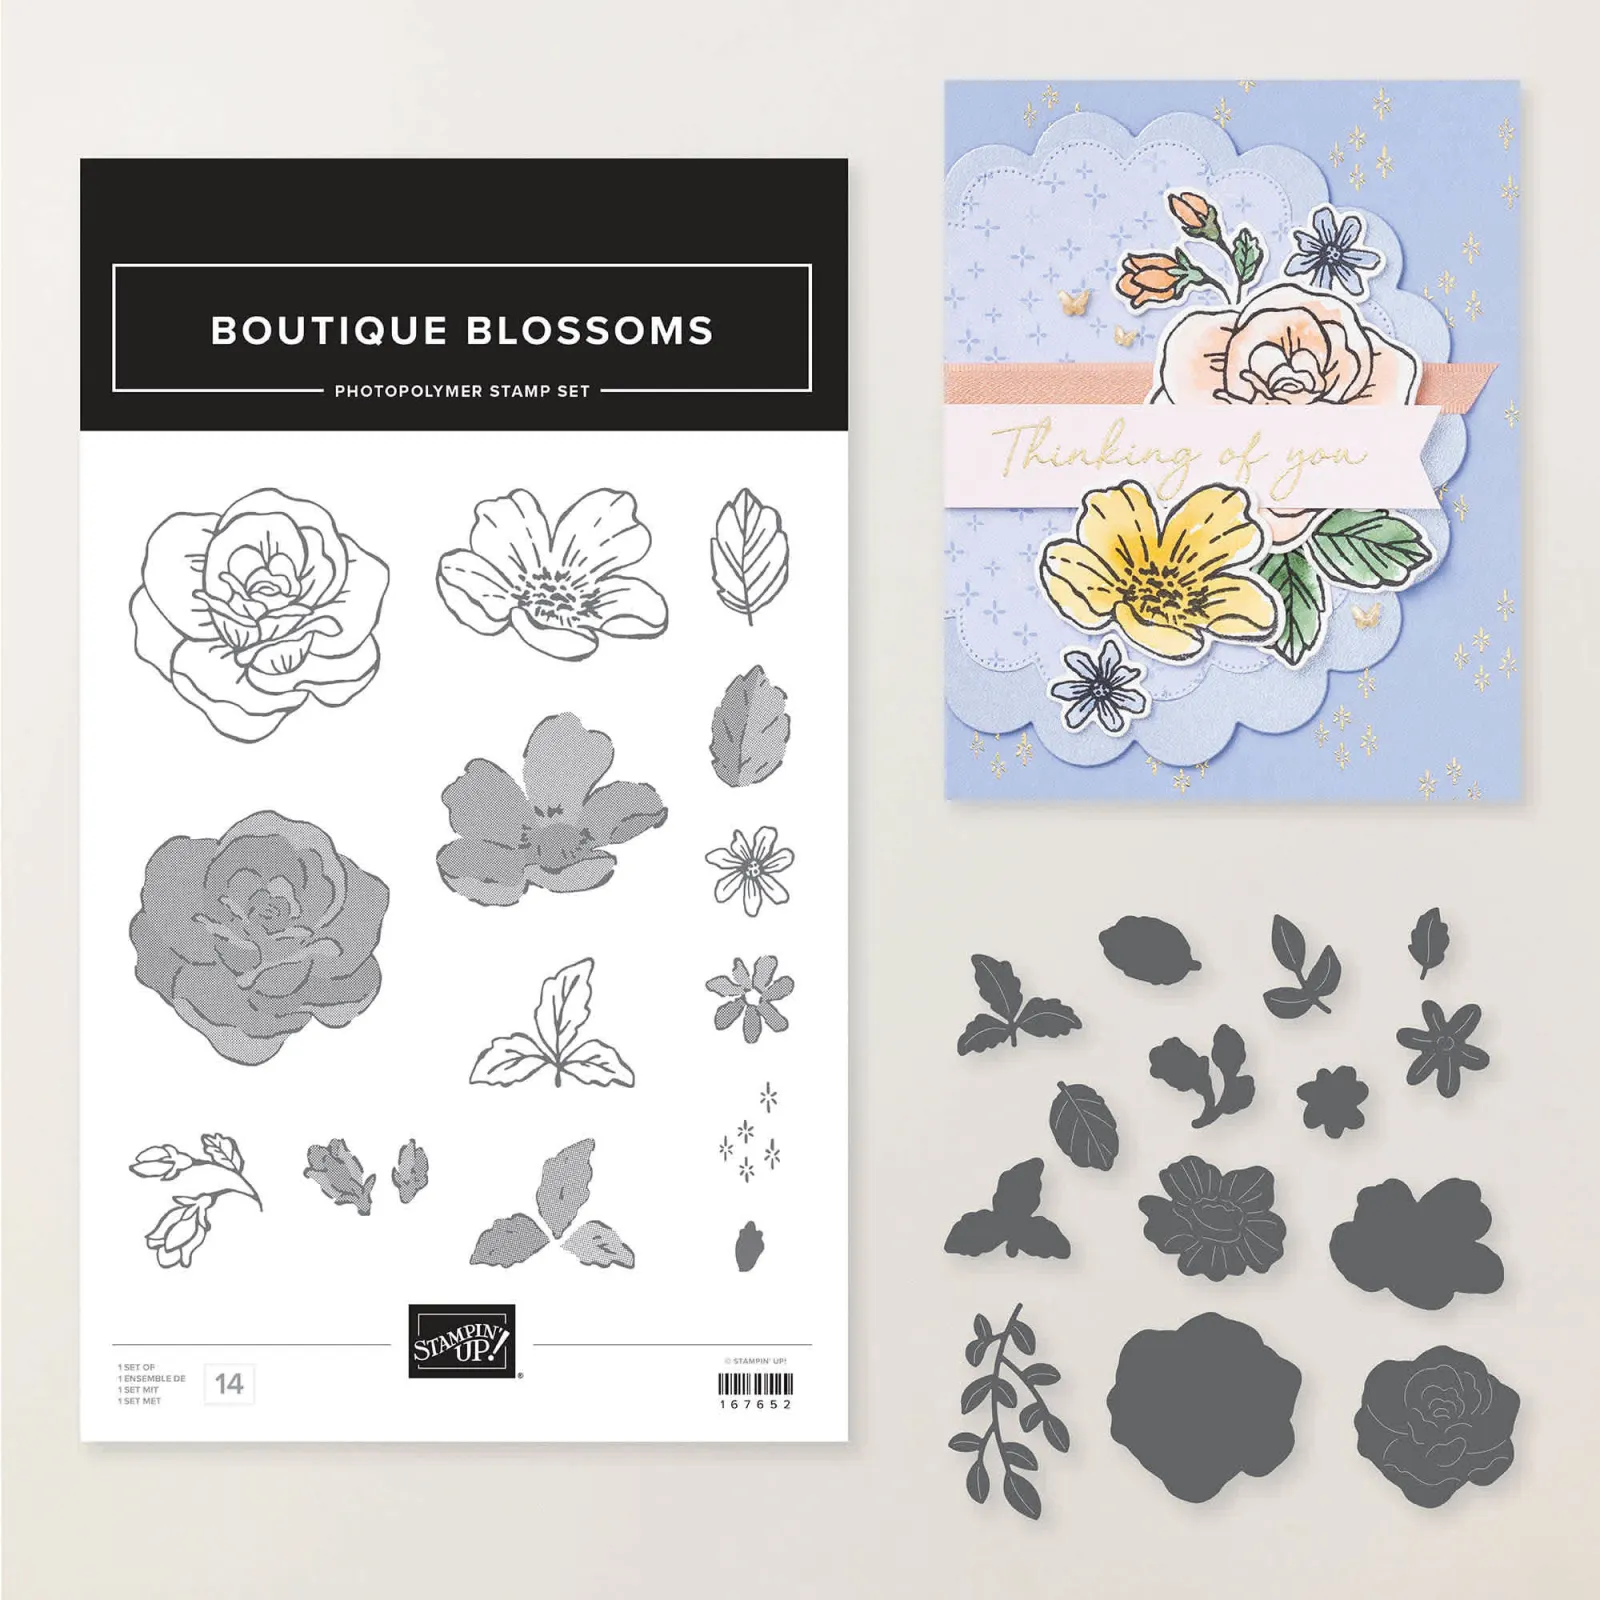
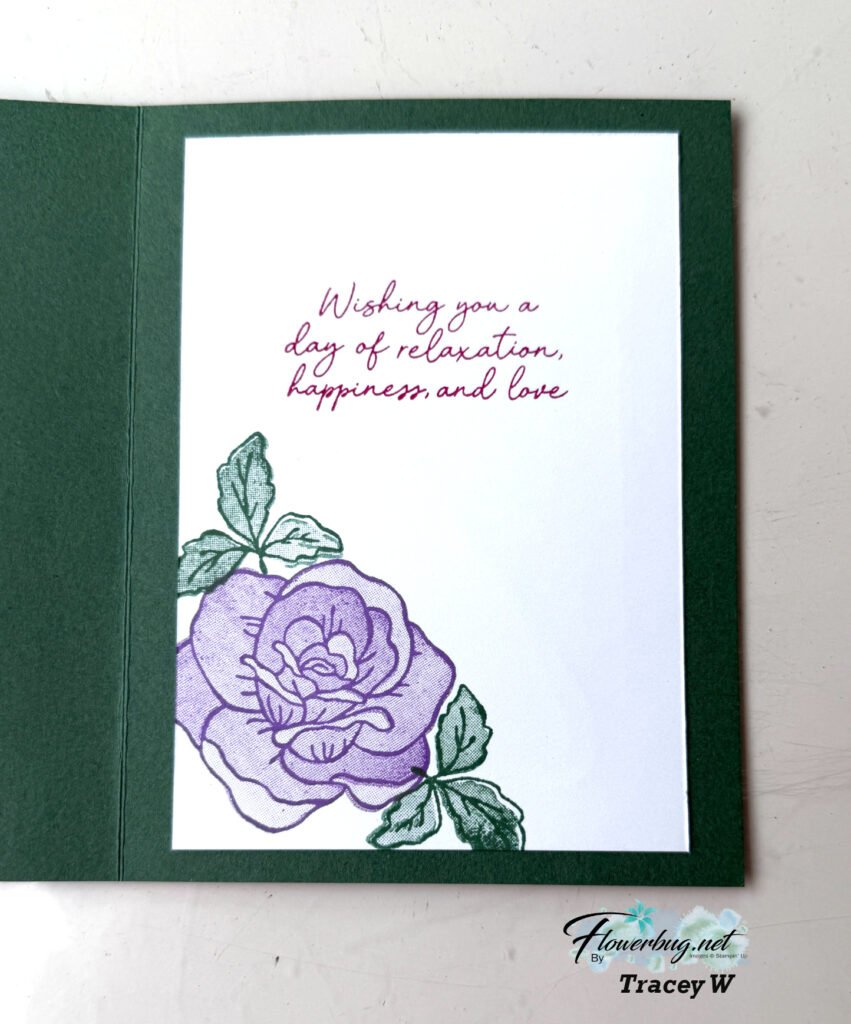
    Look at that stamped panel; it is NOT designer paper! She stamped it because she loves to create with our stamps. And she finds it fun to create unique color combos too. She used the stamps from the Boutique Blossoms bundle seen here.

    The Heirloom Boutique suite is one that Stampin’ Up! says will remain current for a year! I love knowing this; it helps when you join swaps and post projects for customers.

    Here I stamped the outline image in 1st generation ink and the inside of the flower and leaves in 2nd generation ink. *that means stamped off once.

    A fabulous card Tracey!

    ~~~~

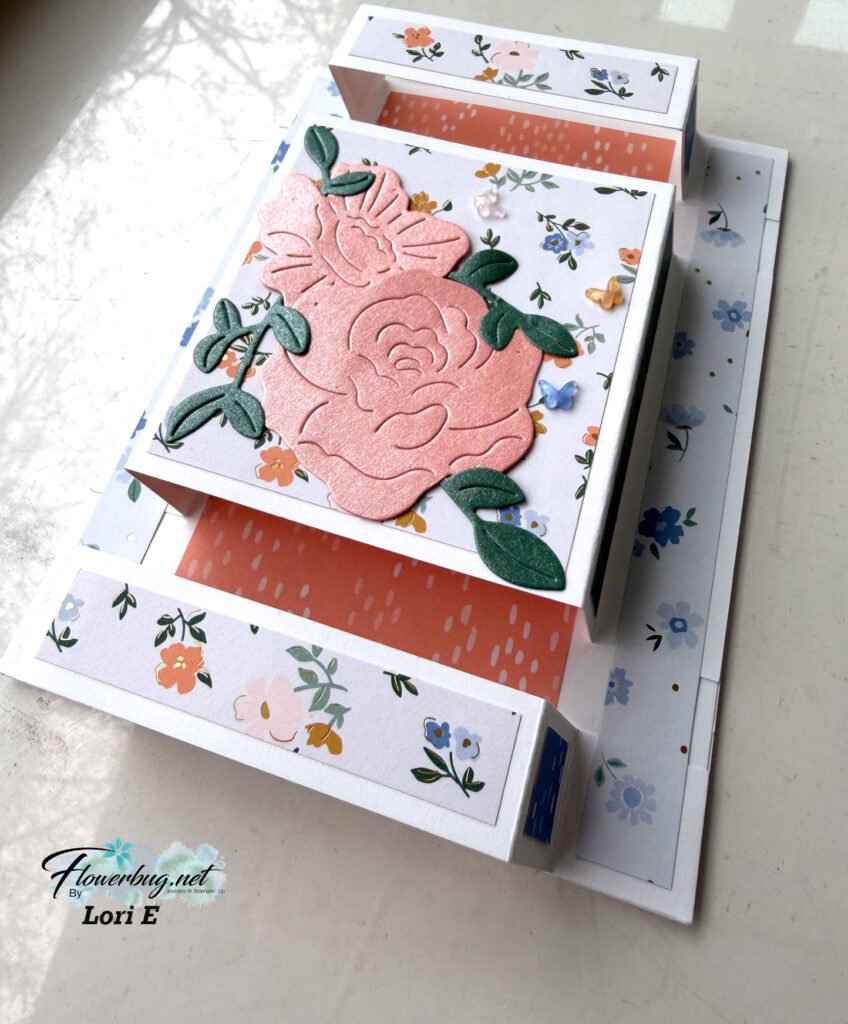
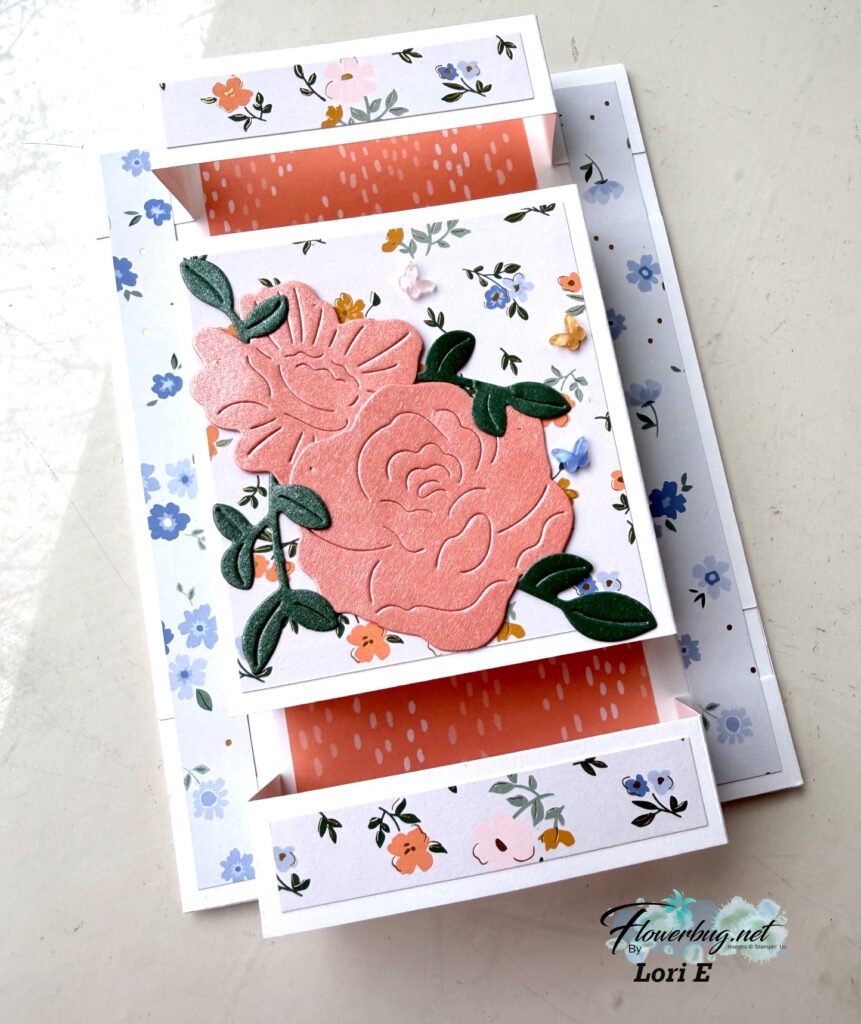
    And here is Lori’s neat pop-up fun fold card:

    It had three layered panels that pop up from the card front. Very cool!
    It also features the Bloom Boutique suite seen here. It was hard to get a good photo of this fun fold card that she cased from Susan Campfield. The die-cuts on the front are cut from the new 2026-28 In Color Pearlized Specialty paper seen here.

    Here are the measurements:

    Card Base 8 1/2″ X 5 1/2″ score at 4 1/4″
    Flaps – center is 3″ X 5 3/4″ score at 3/4″, 1 1/2″, 4 1/4″, 5″
    top & bottom flaps 3/4″ X 5 3/4″ score at 3/4″, 1 1/2″, 4 1/4″, 5″
    Inside panel of DSP 2 1/2″ X 5 1/4″
    DSP – middle is 2 3/4″ X 2 1/2″, top & bottom 1/2″ X 2 1/2″, left & right 1/2″ X 5 1/4″, sides 1/2″ X 2 3/4″, corners 1/2″ square

    What a special card she made!

    ~~~~

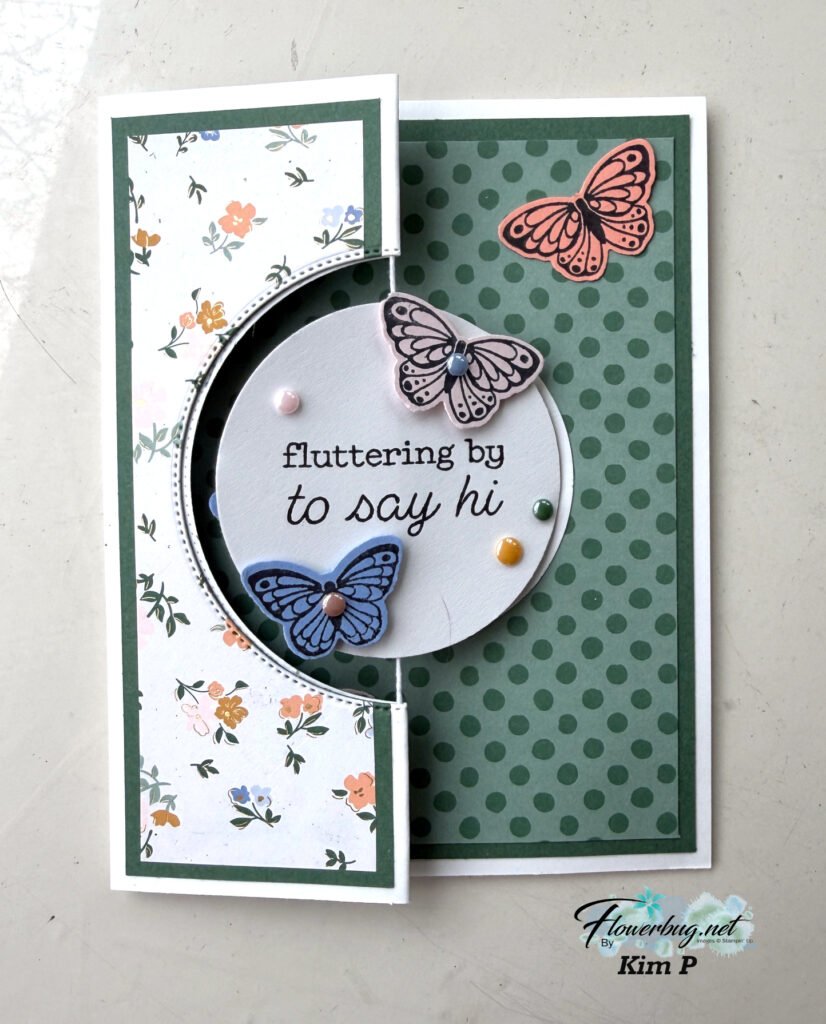
    Next is another special fancy fold card featuring the Bloom Boutique specialty designer paper; this one is created by Kim.

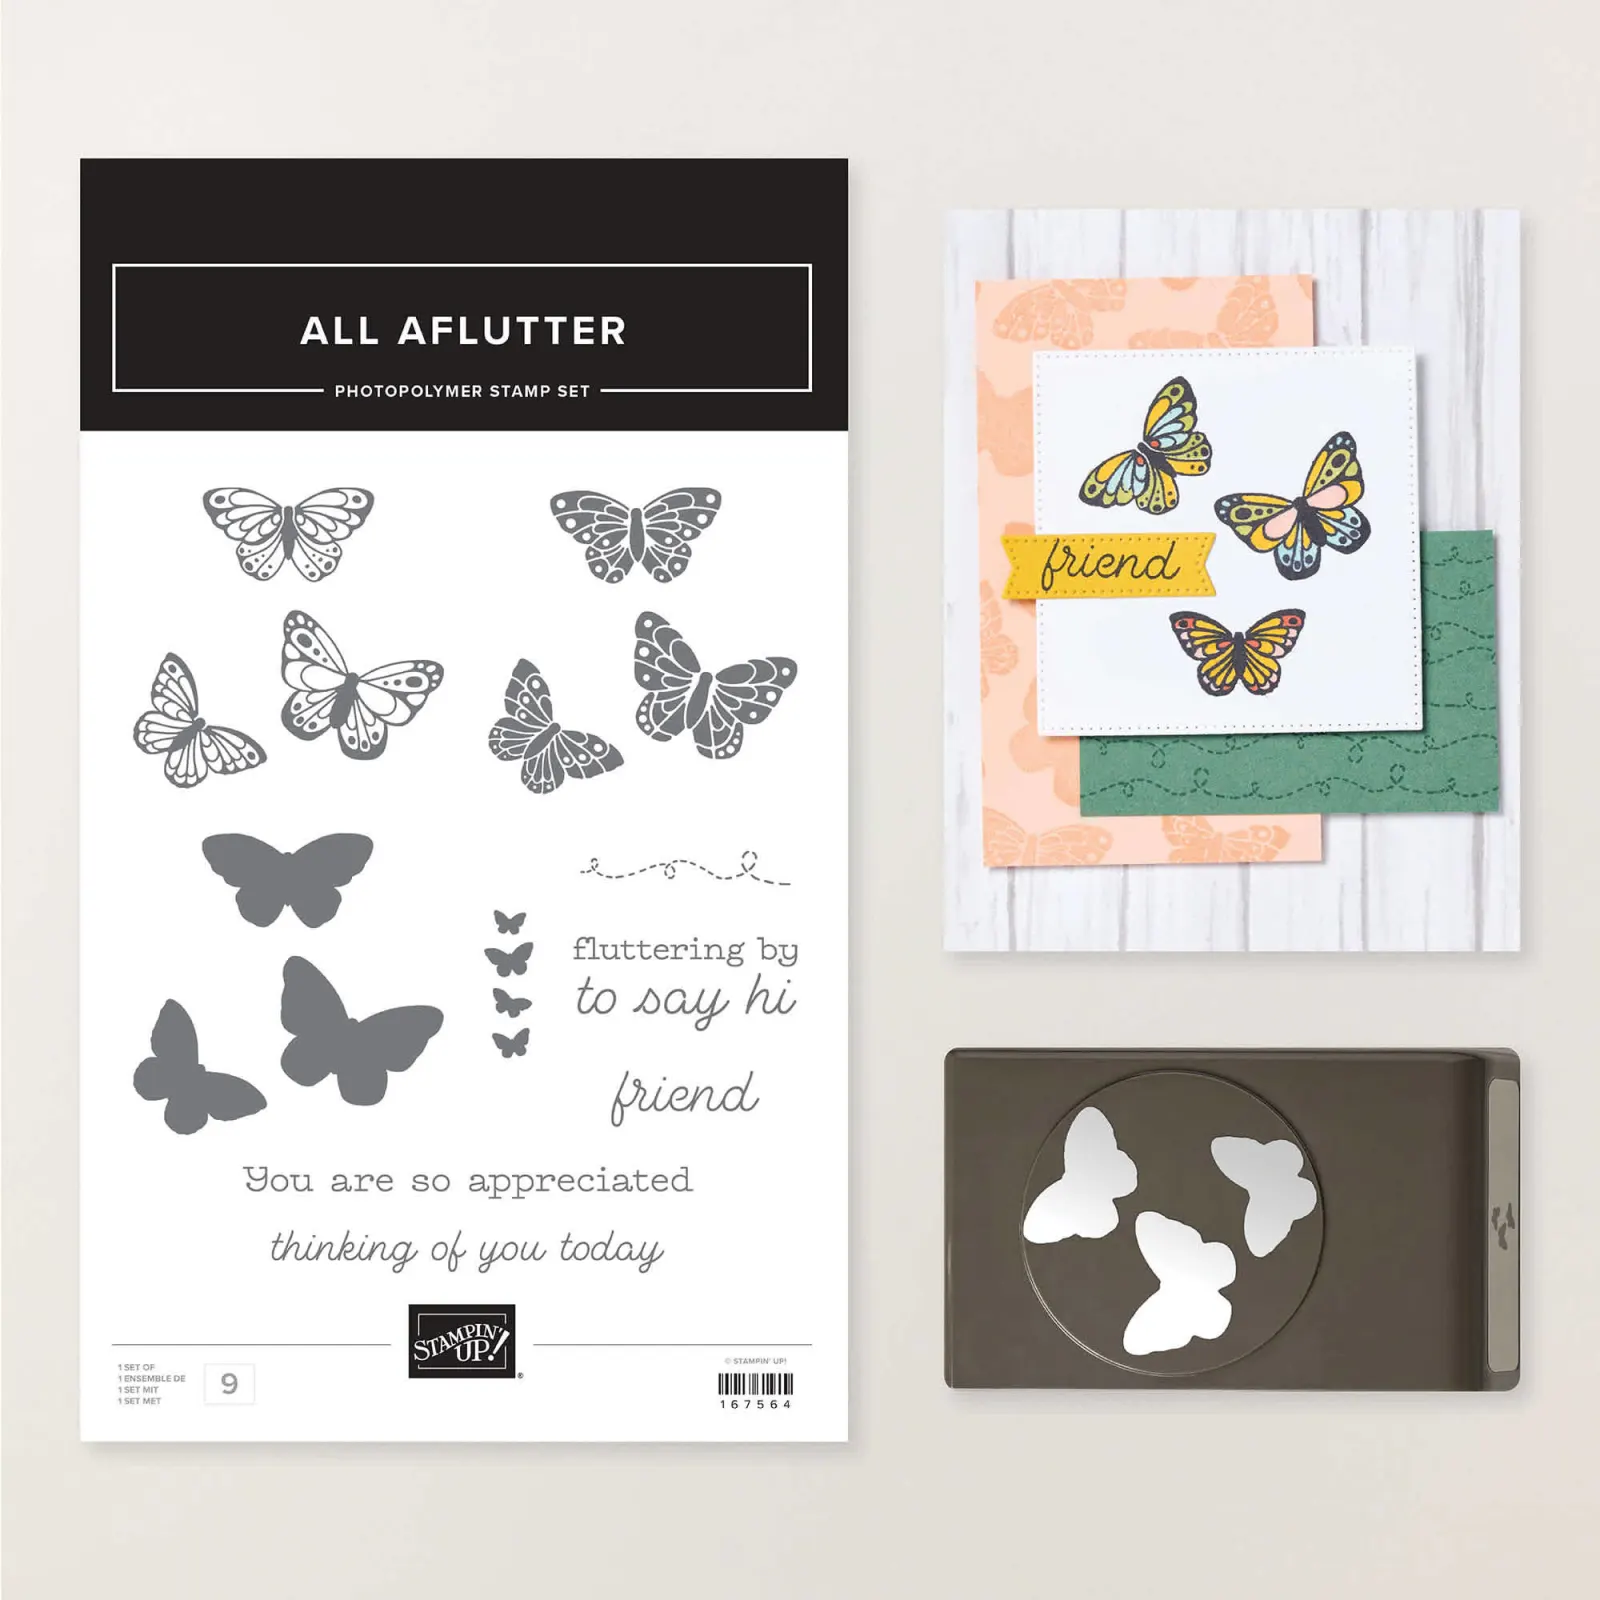
    She featured the All Aflutter punch bundle seen here. I’m so happy we have a new butterfly punch again!

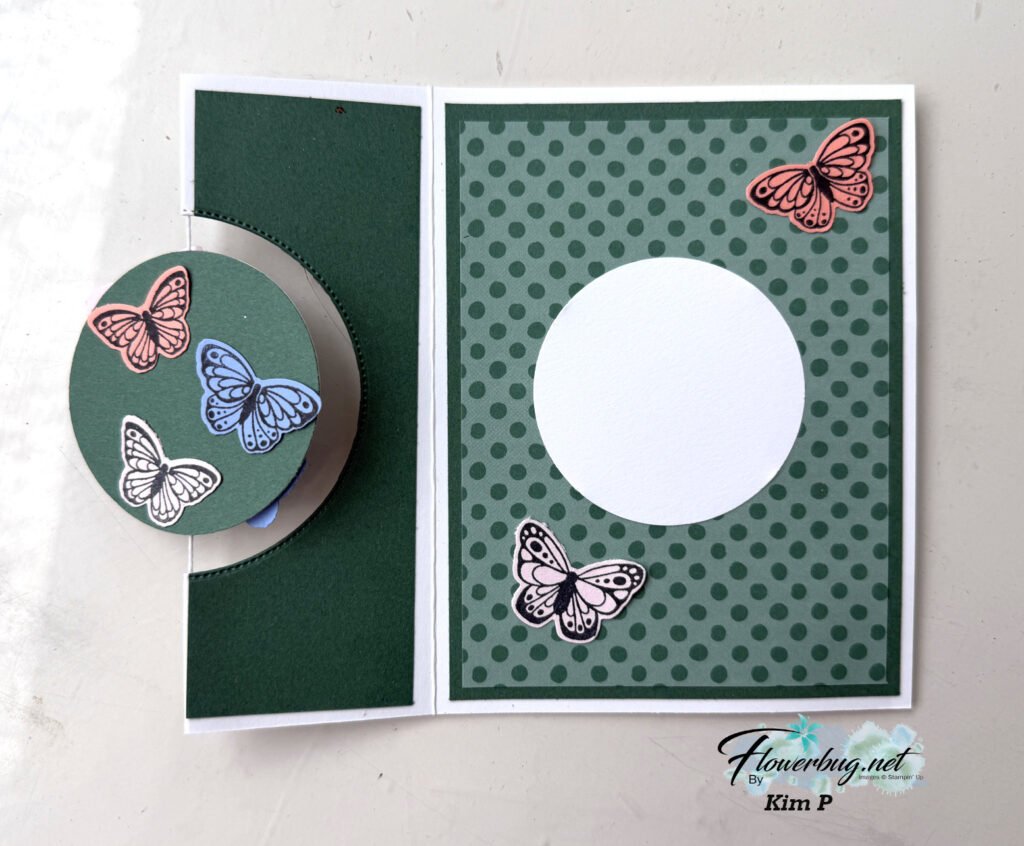
    Her card is a spinner card using Baker’s Twine. It’s fun to set up a card like this so when the recipient removed the card from the envelope the circle spins. You simply wind it up before inserting it in your envelope. So cool!

    We added stamped & punched butterflies all over this card; using the newest In Colors. The inside polka dot DSP panel is from the new Painted Patterns 12 X 12″ DSP seen here. It’s available in most of our color families!

    Before the string is added to the crease of the fold you’ll cut the larger circle from the front. She has so many layers on her card; it can be tricky to get the circle die-cut ‘cut’ through the layers. We ran it back and forth the Cut & Emboss machine but it did cut!

    It’s an amazing card Kim!

    ~~~~~

    Need a few new things from the Summer Catalog?
    Be sure to tack on one of the Product of the Month choices for just $5 (once the order is over $75).

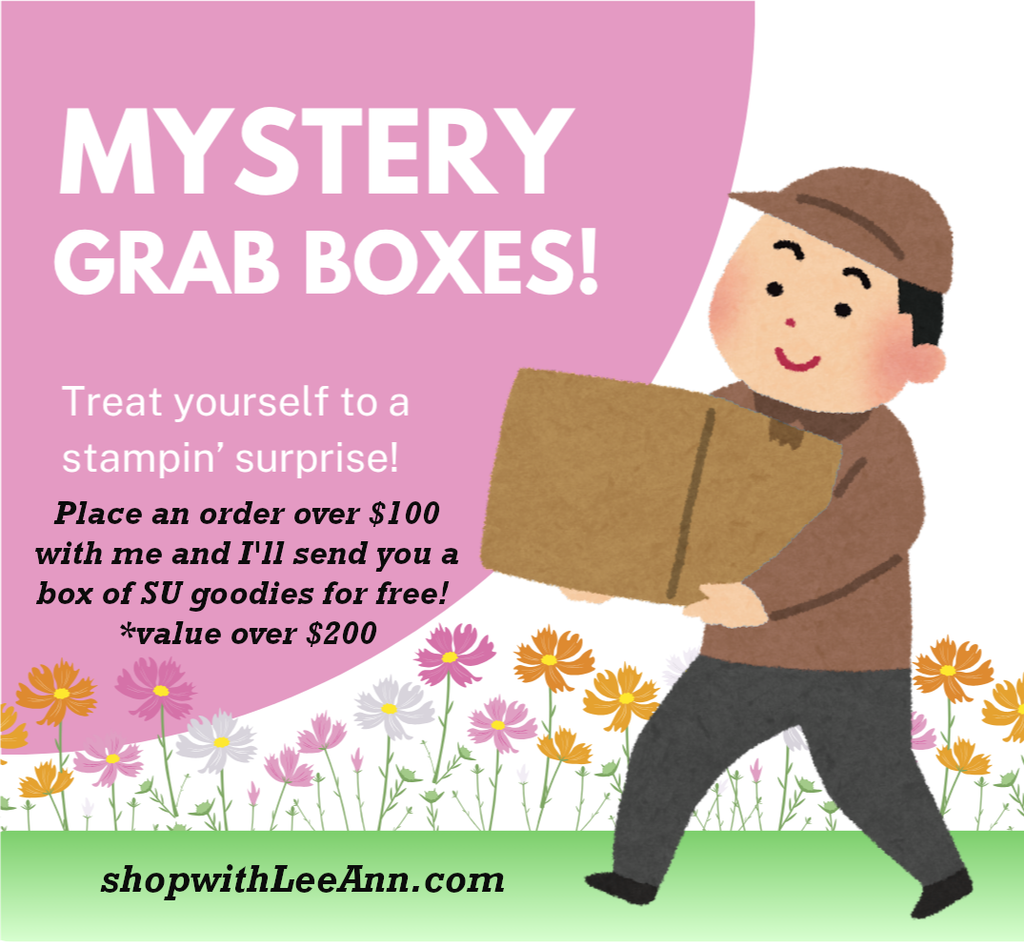
    And if you’re already at $75 bump it up to $100 and earn a FREE Mystery Box from me! I have a few left and they’re stocked up with recently retired Stampin’ Up! products valued at over $200! Shop here.

    Leave a Reply

    Your email address will not be published. Required fields are marked *

  • Another way to feature your embossing folder…..


    Yesterday I shared one way to use ink on an embossed layer. Today I’m sharing another.

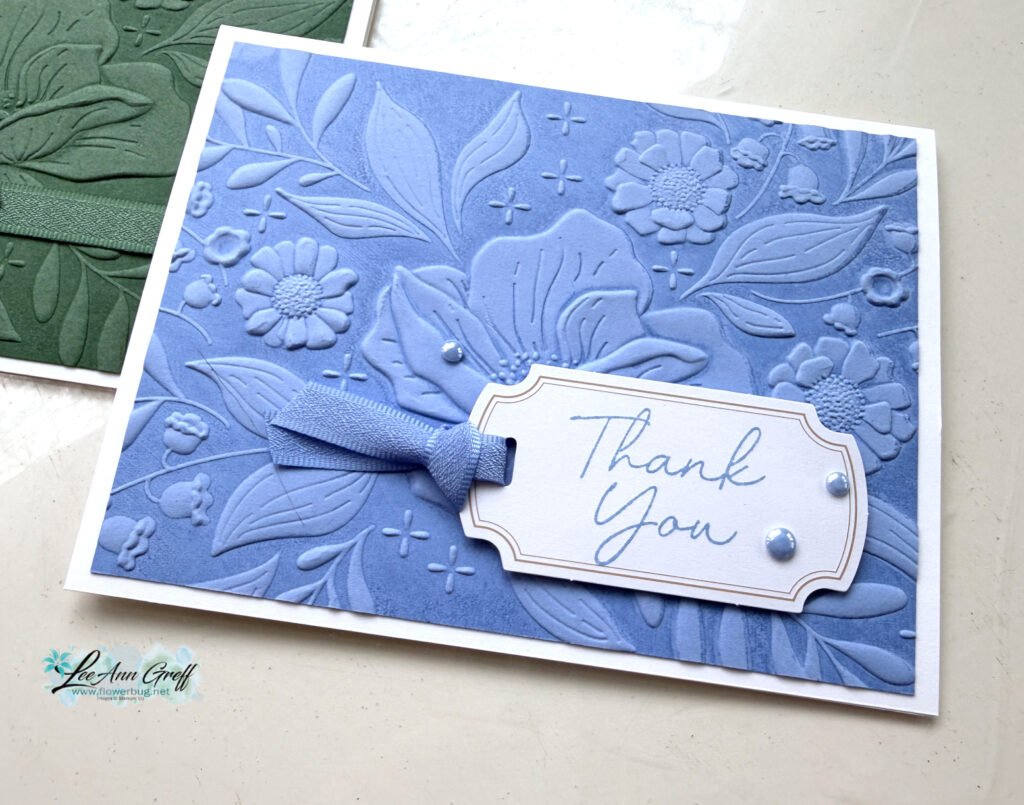
    Look closely at the card below. See how there are two different colors on this textured surface? I shared how to do this on last week’s video (see below).

    This is the Floral Spray 3D embossing folder seen here. It just ran out of stock and may be a month or more before it returns. Please add your email so you’re notified when it’s back.

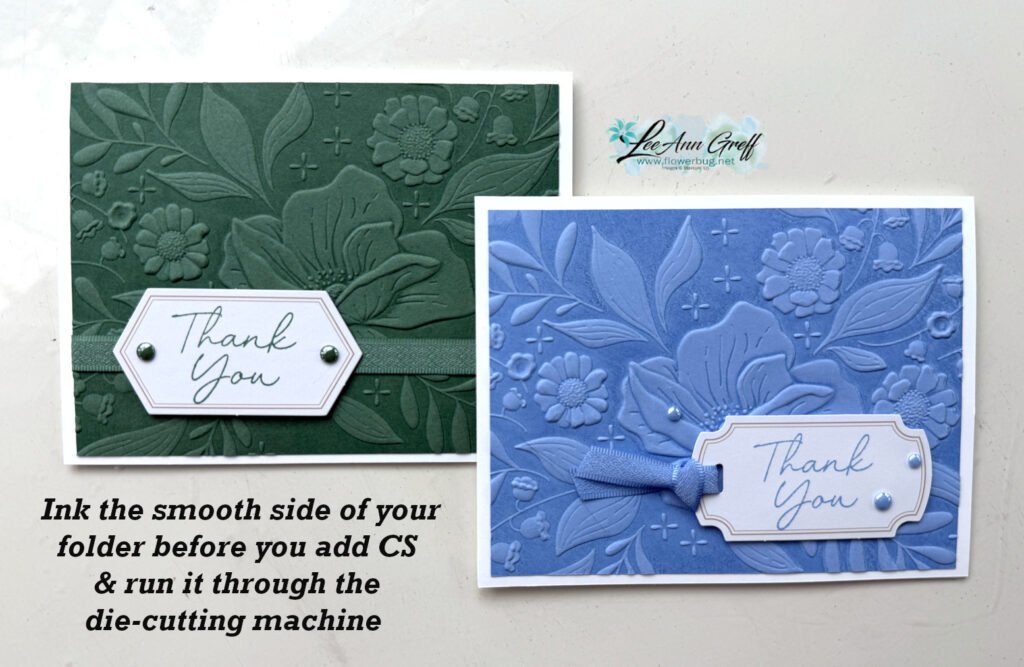
    Here’s how to do this: I inked the smoother side of my folder (the textured areas are recessed) with Hydrangea Hue ink. I then placed my CS on the opposite side of the folder, closed it and ran it through my Cut & Emboss Machine.
    It leaves the raised areas with the original CS color and the rest darker. It’s truly beautiful.

    Here are both cards; with the addition of Peaceful Pine:

    Simple & gorgeous! These cards will seem like you went above and beyond but they’re so simple!

    I used the Classic Labels Mix & Match Ephemera for my greetings as well as the new stamp set called Scalloped Blooms seen here.

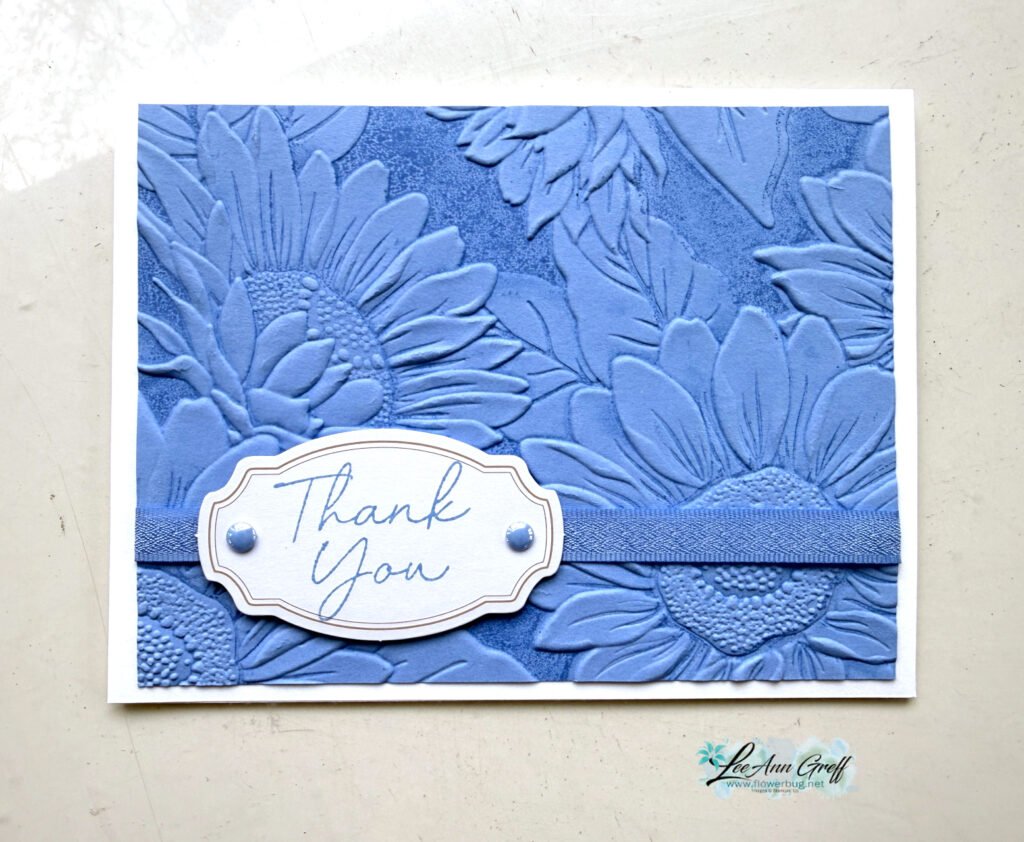
    I also tried it with the Sunflower 3D embossing folder too.

    Below is the video tutorial where I share how to achieve this technique. I hope you watch it and try it!

    Want our BEST DEAL on Stampin’ Up! products? Well that is always the Starter Kit.

    Right now you get to choose from 2 options with the $99 kit. Get either all 5 new Magnetic Ink pads or an extra $35 in product of your choice. That makes it $160 in products for just $99 plus free shipping. It’s a no brainer! Click here.

    Leave a Reply

    Your email address will not be published. Required fields are marked *


Notice: LeeAnn Greff, Independent Stampin’ Up! Demonstrator, Manager. The content of this website is my sole responsibility as an independent Stampin’ Up! demonstrator and the use of, and content of, the classes, services, or products offered on this website is not endorsed by Stampin’ Up! Copyright 2025