/


Latest Post

The Christmas Scottie bundle isn’t just for Christmas! Check out this HAPPY birthday card & video!


We made this adorable birthday card at my September card club classes.  I wanted to showcase this stamp & punch bundle but I wasn't ready to make a Christmas card yet. I came up with this fun birthday card:

Isn't it fun!  It truly is a 'Happy' card perfect for anyone; male, female, kids or adults!  I shared the step by step 'how to' in a recent FB Live video seen here. 
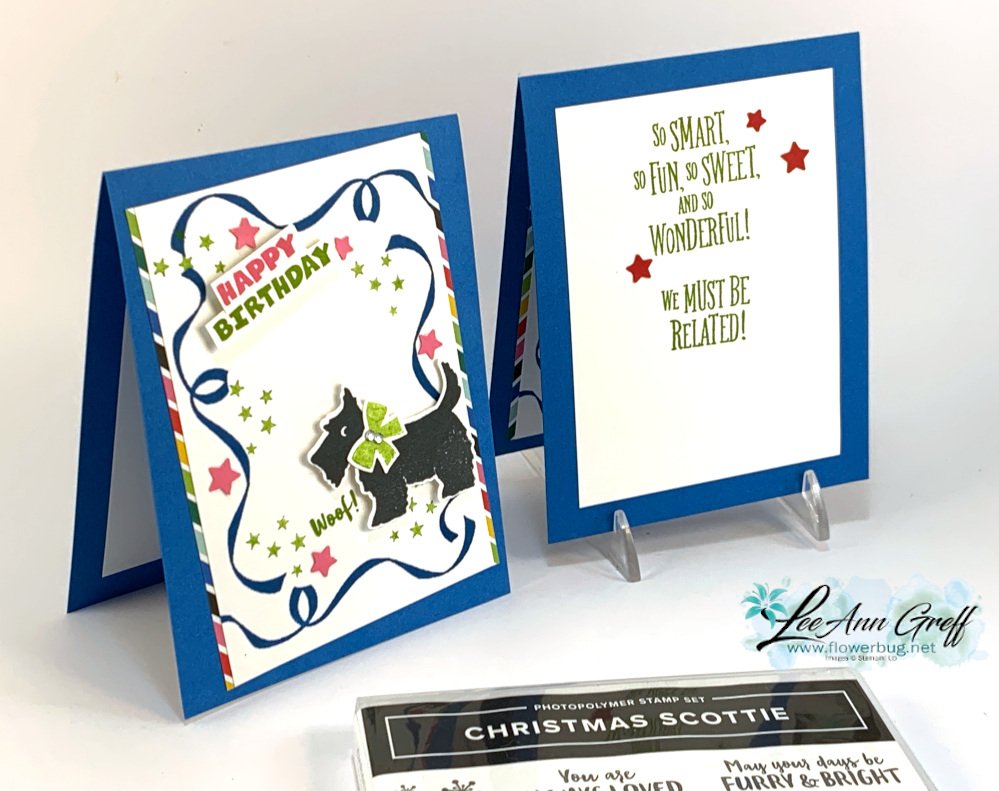
My favorite part of this card is the fun ribbon & star border.  And it's super easy too.

Measurements:

• Pacific Point 4 1/4" X 11" scored at 5 1/2"
• White front 3 1/2" X 5", inside 3 1/2" X 4 3/4"
• White scraps for the dog, bow & greeting
• Polished Pink & Real Red scraps for stars
• Celebrate Everything host DSP 1/2" X 5"

Supplies include:  

  • Inks – Black, Pacific Point, Granny Apple Green, Real Red & Polished Pink
  • Card stock – Pacific Point, White, Polished Pink & Real Red.  Celebrate Everything host DSP
  • Other – Witch Hat Builder punch for stars, Scottie dog punch, paper snips, Basic rhinestone jewels, punched stars are done with the Witch Hat punch
  • Greetings are from the Christmas Scottie & the Grand Kid set.

Besides this card I shared another CUTE Waterfall card in the video.  I just love this bundle!! See it here.

Click on the photo below to see the video.  Or click here. 

~~~

September Specials


New weekly deals come out on September 1st, 8th, 15th & 22nd! 

Order online here

Host code links: KSAEED9Y or JPJ4FKYJ

Get free cards from me with online orders!

Earn free products with my loyalty rewards! 

Click here to download yours and earn a $50 shopping spree!
All Posts

  • How to make a forest of trees from the Wisteria Wishes stamp set!


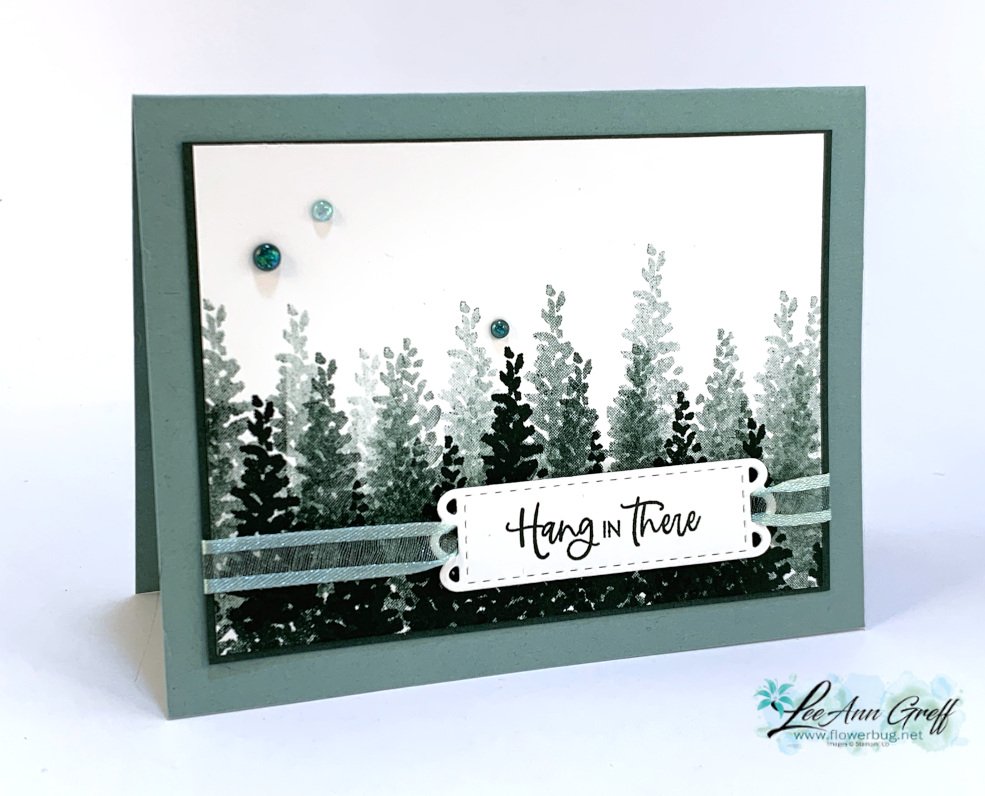
    I thought the flower image in the Wisteria Wishes stamp set would make wonderful trees. So I played around and here's the finished card: 

    I chose to use just one ink color of Evening Evergreen. I made this card in the video below; or click here to see it. 

    Tips on creating the trees:

    • Starting at the bottom with the 3 flower image (turned point side up) stamp in full strength Evening Evergreen ink making sure you stamp some images higher and some lower.  Ink every time filling in the very bottom fully.
    • Now ink the same image and stamp off once before stamping slightly higher than the first 'trees'.  
    • Now ink the image again and stamp off twice before stamping even higher making sure you alter the height now & then.  
    • Wallah; you've created a forest of trees!  

    Did you know that Evening Evergreen and Soft Succulent are a perfect color combination?  Stamping off once or twice can give you almost an exact Soft Succulent color tone.  

    You could make a bunch of these cards quickly and they're perfect for any occasion but to me they'd be great sympathy or men's cards. 

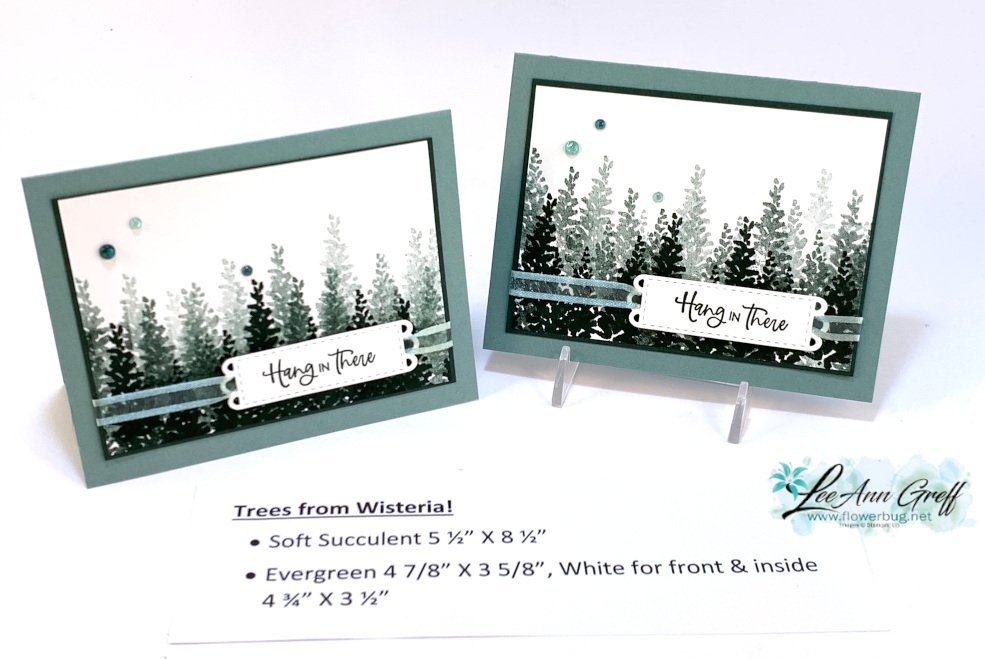
    Here are the other two cards I made with this bundle.  It was super fun to play with! 

    Click on the photo below to watch the video. 

    ~~~

    Last Chance items are selling out!  


    Kits Collection BOGO – buy 1 get 1 50% off!  

    Host codes: 9F9AJHYG

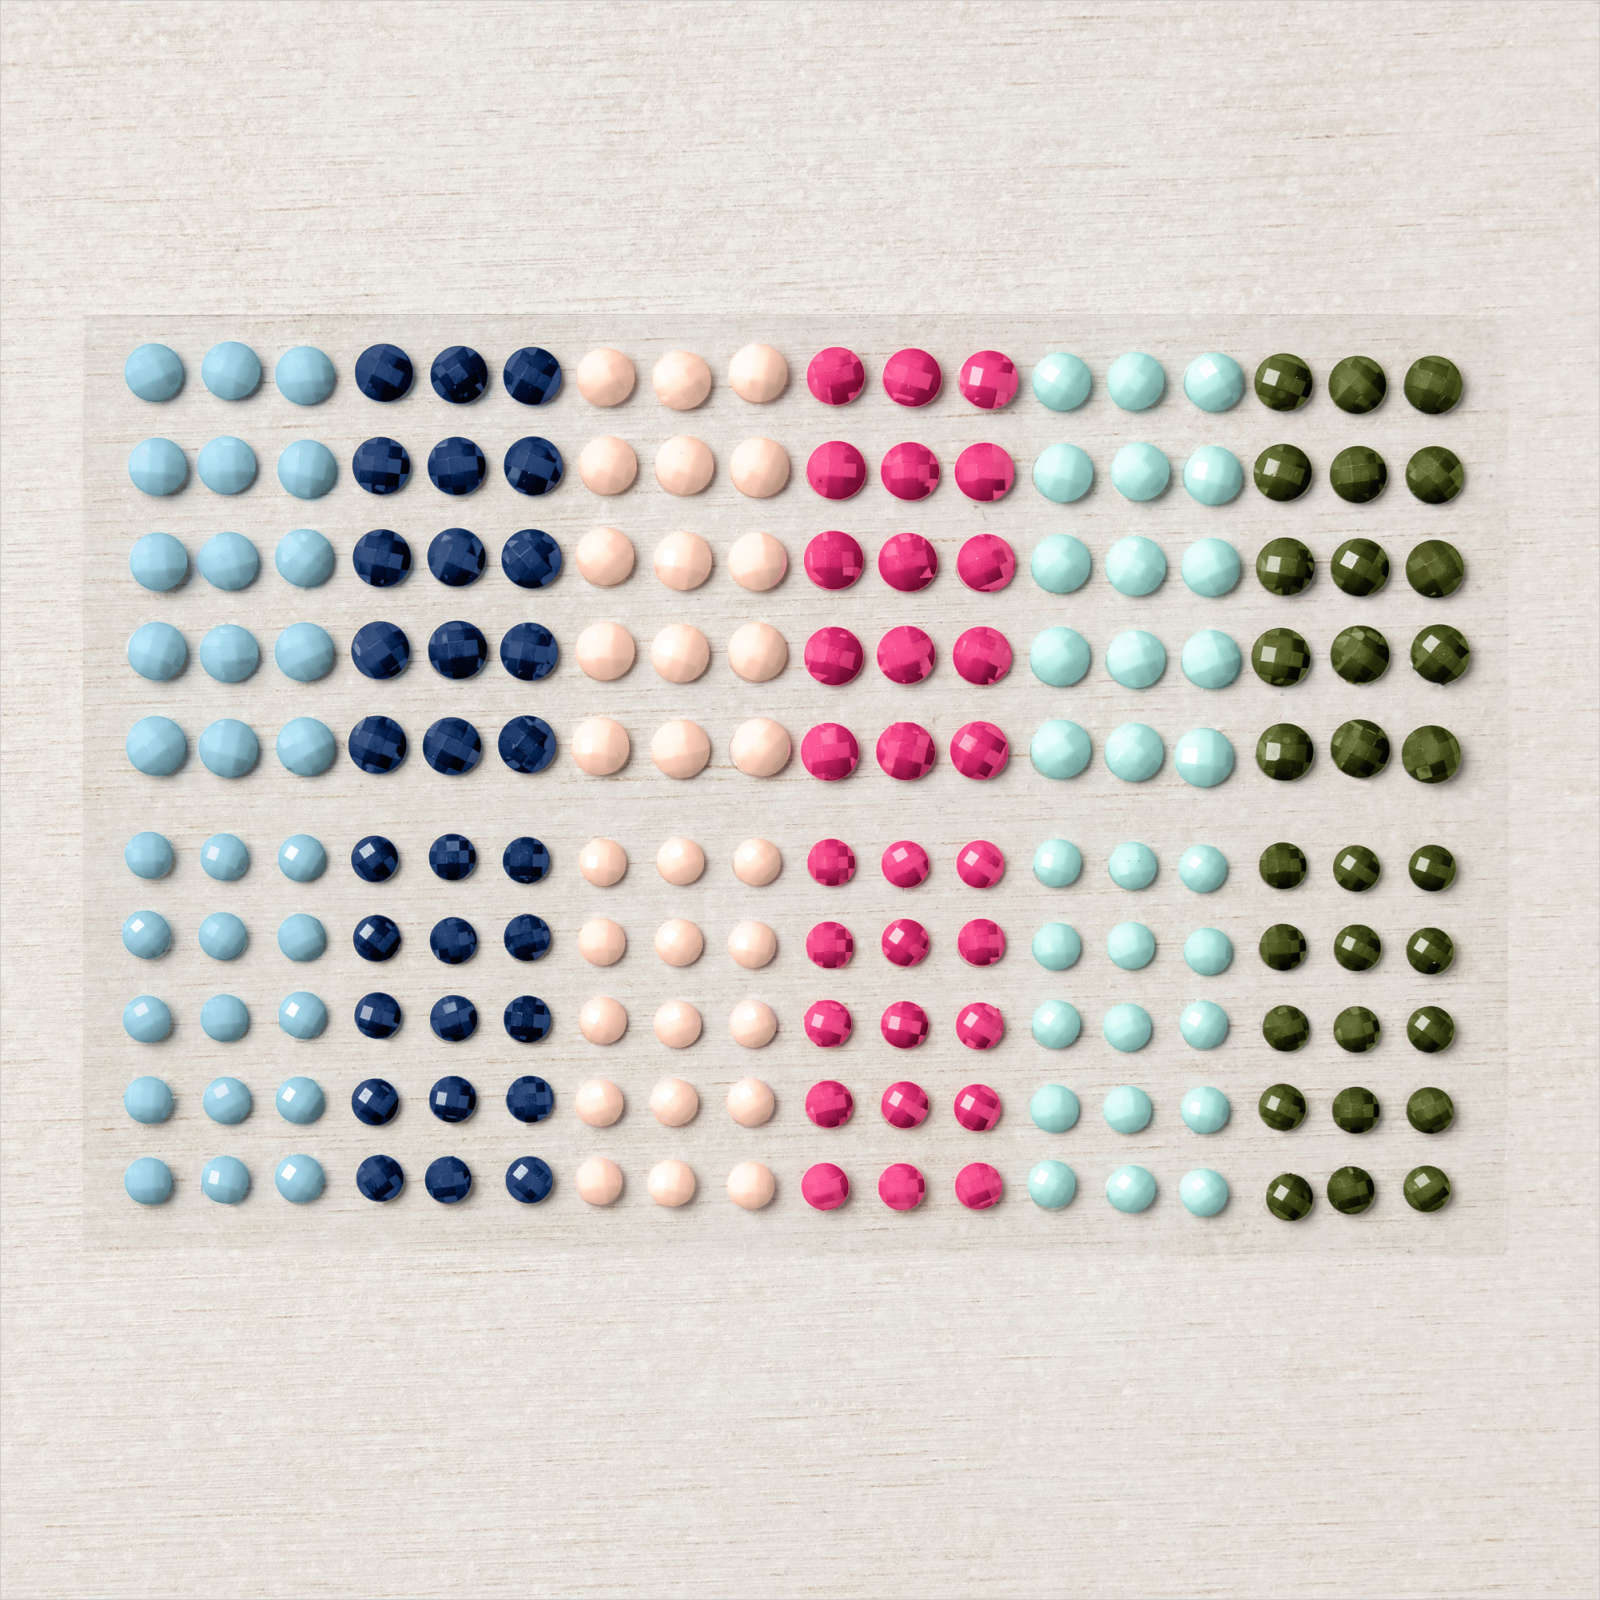
    If your order is over $50 you'll receive a set of Solid Faceted Gems from me. *click here to order 

    Earn free products with my loyalty rewards! 

    Click here to download yours and earn a $50 shopping spree!  
    Leave a Reply

    Your email address will not be published. Required fields are marked *

  • Wisteria Wishes with the new Split Card Textures dies; with video!


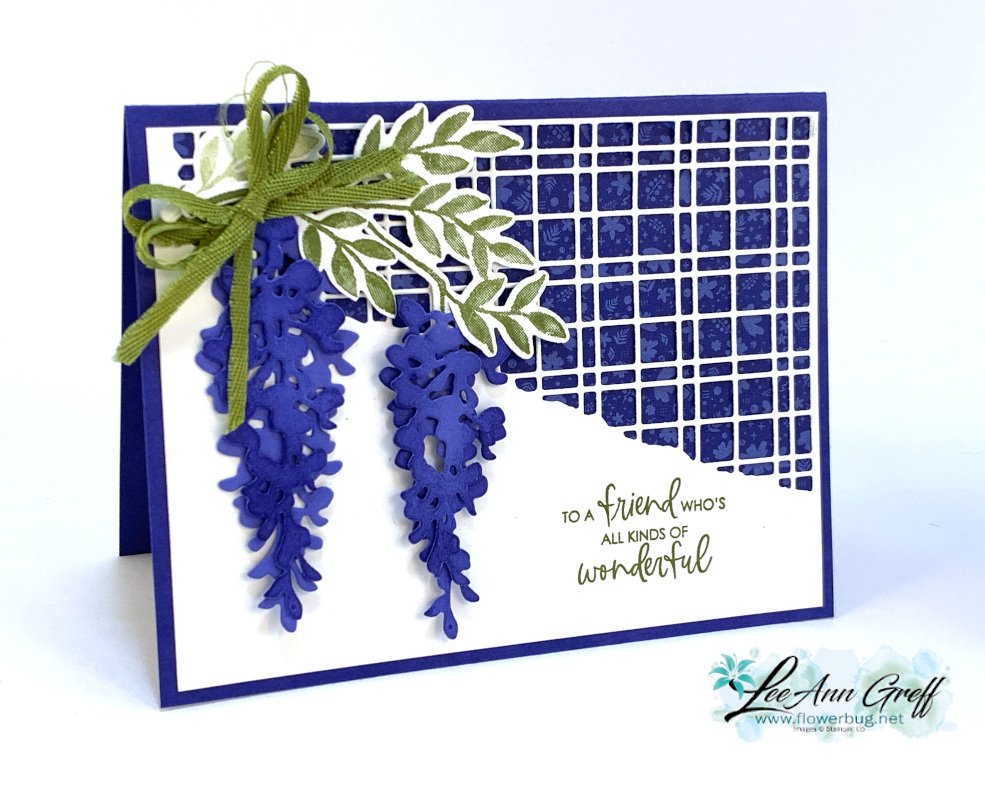
    Today I'm sharing another card featuring the Wisteria Wishes bundle.  I paired it with the Split Card Textures dies seen here:  

    I have to say that I think it's gorgeous!  The Split Card Textures dies are an easy & unique addition to your card projects.  There are two dies in this set; you can see them here.  

    **Get both the Wisteria Wishes bundle and the Split Card Texture dies today

    and you'll get your shipping FREE! 

    My colors are Starry Sky, Old Olive and White.  I cut two sets of Wisteria with the Wisteria Dies and trimmed the smaller one a bit shorter. Then I sponged them with Starry Sky ink on the edges.  I adhered them together with bits of Stampin' Dimensionals for lift.  

    I stamped the greeting in Old Olive directly on the White CS and the leaves are stamped & die-cut. 

    I wanted a fuller bow so I split the Old Olive twill ribbon into two long pieces and tied together in a bow. 

    The photo below includes the measurements. 

    Below are all of the cards I made on the video.  

    Click on the photo below to watch the video. 

    ~~~

    Last Chance items are selling out!  


    Kits Collection BOGO – buy 1 get 1 50% off!  

    Host codes: 9F9AJHYG or SX67P4XQ

    If your order is over $50 you'll receive a set of Solid Faceted Gems from me. *click here to order 

    Earn free products with my loyalty rewards! 

    Click here to download yours and earn a $50 shopping spree!  

    Leave a Reply

    Your email address will not be published. Required fields are marked *

  • Beautiful Wisteria Wishes card with video


    Hot News!!!

    Tomorrow, June 21st is a FREE SHIPPING day!!


    For 24 hours you can get free shipping on any order over $75. 

    This means that the Last Chance List and the Kit Collection BOGO are even better deals! 

    Or get those 'wish list' items from the new Annual Catalog!  

    Order here and use either host code below and you still get my free embellishments too!  WIN WIN!!!

    Host codes: Y23VZ9UC or 9F9AJHYG

    ~~~

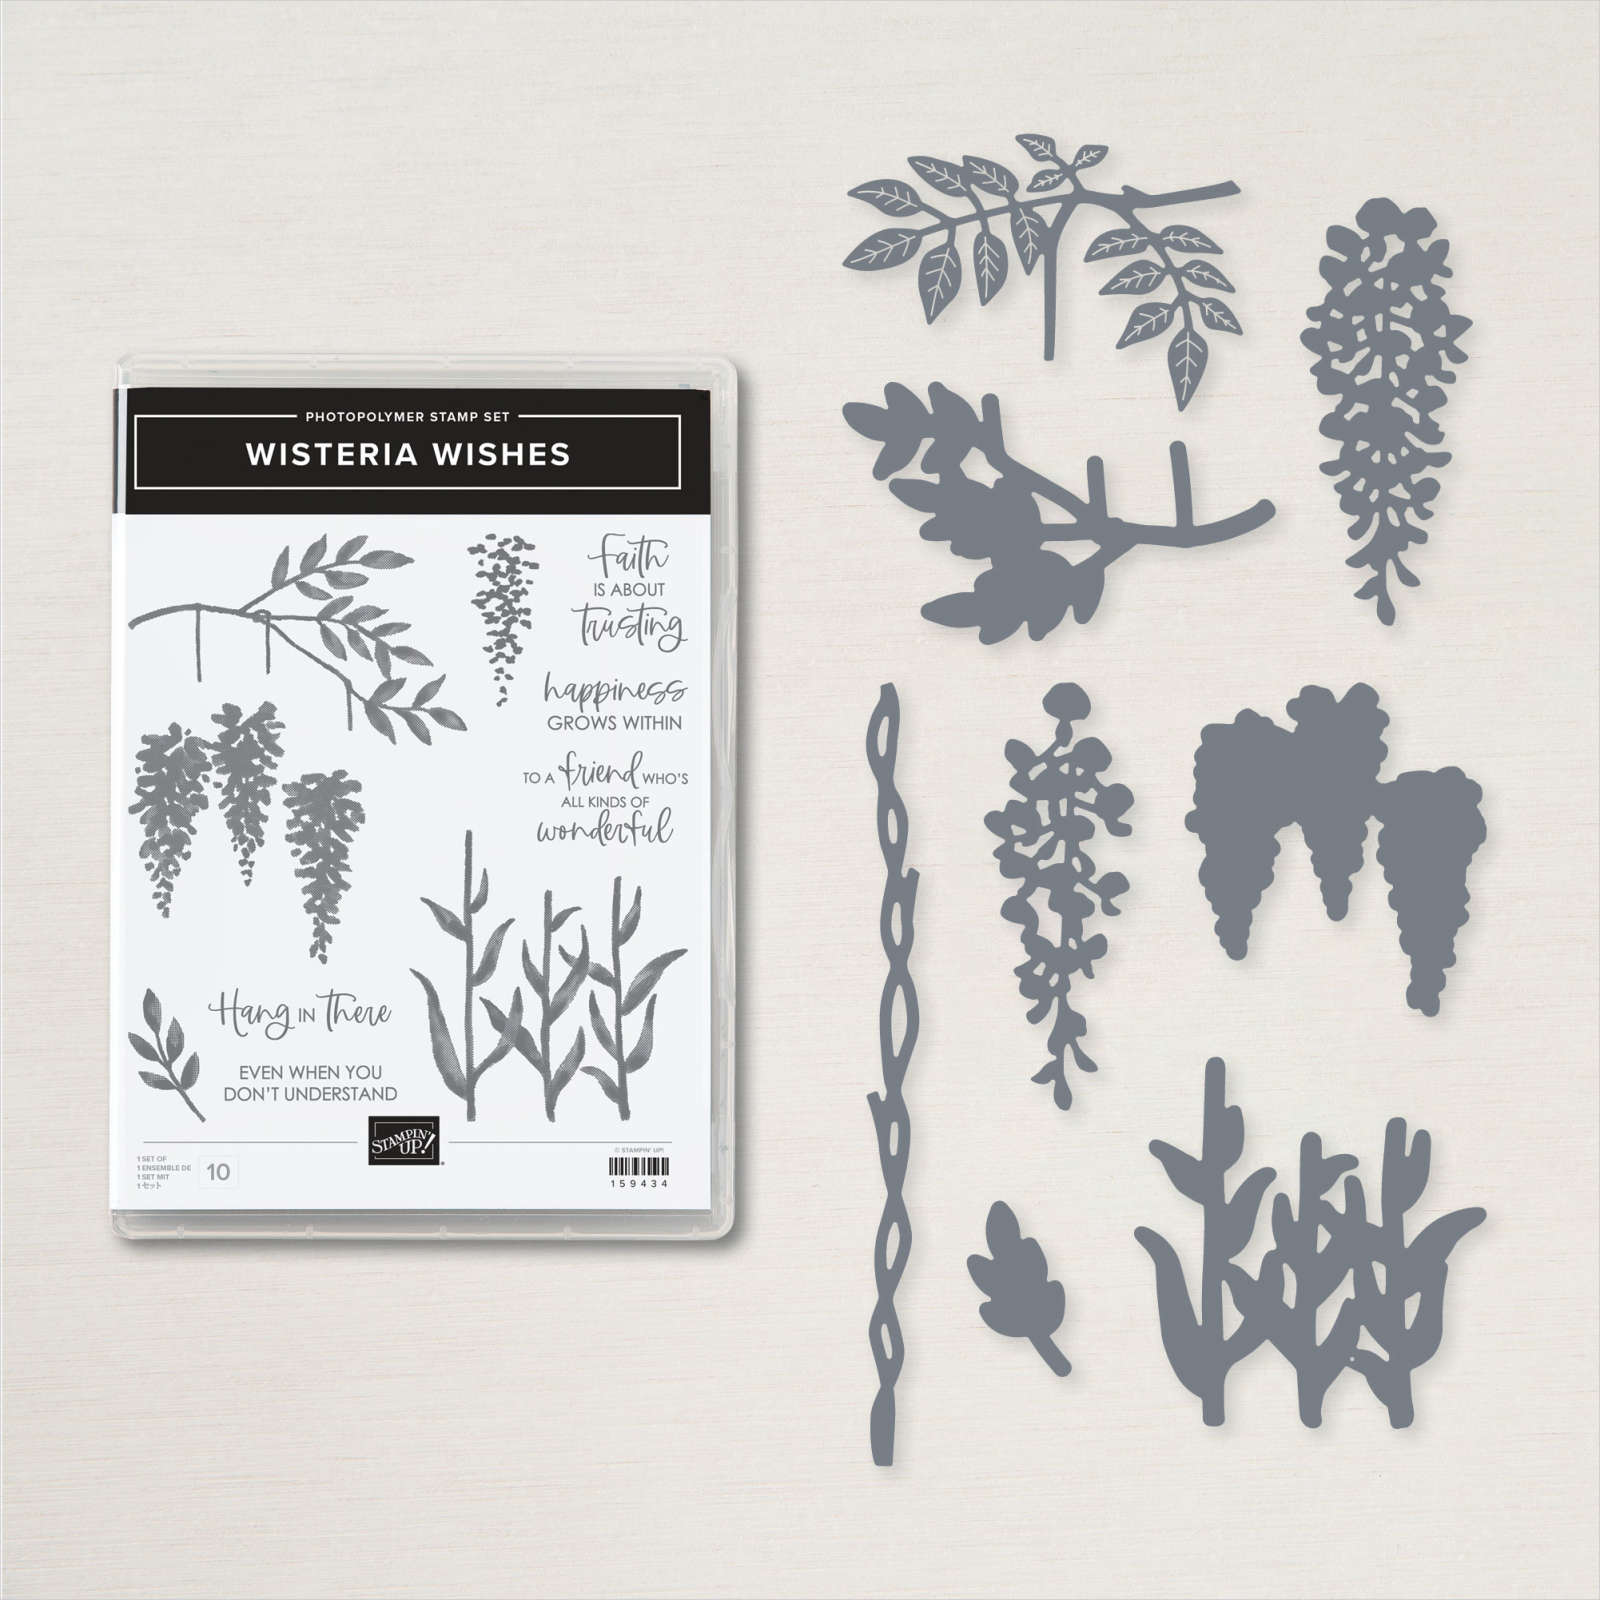
    This week I'll be sharing the cards I made on last week's FB Live video.  I chose to feature the pretty Wisteria Wishes bundle seen here. 

    Join me here for tomorrow's video. 

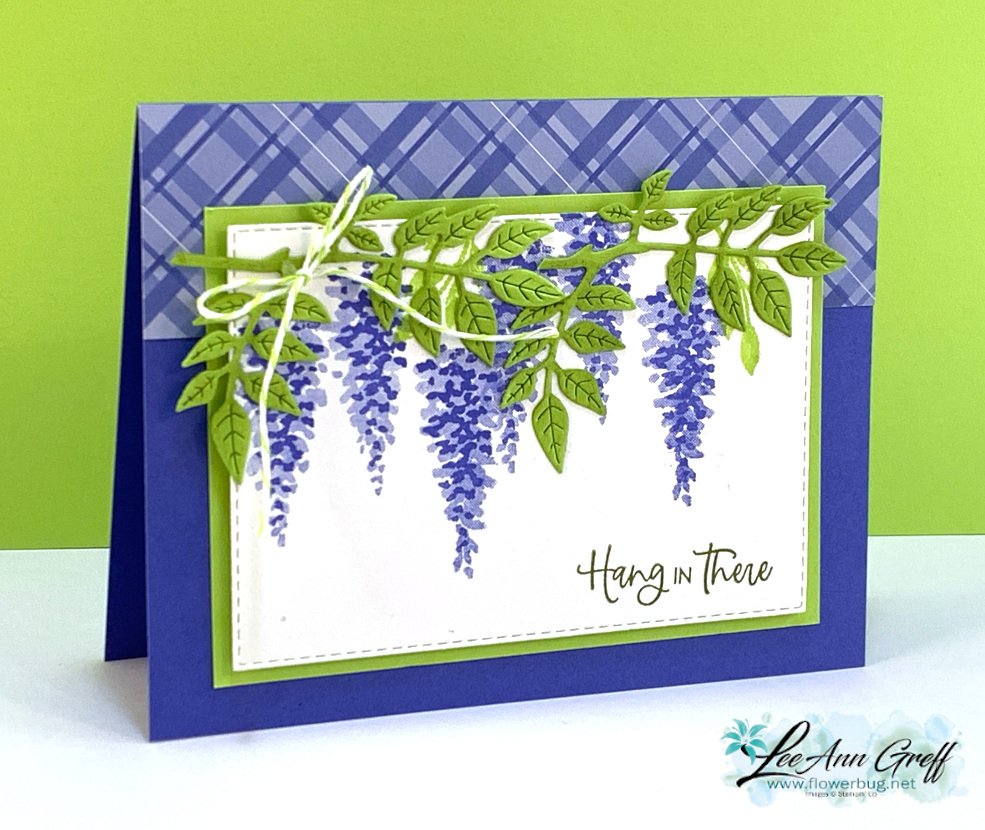
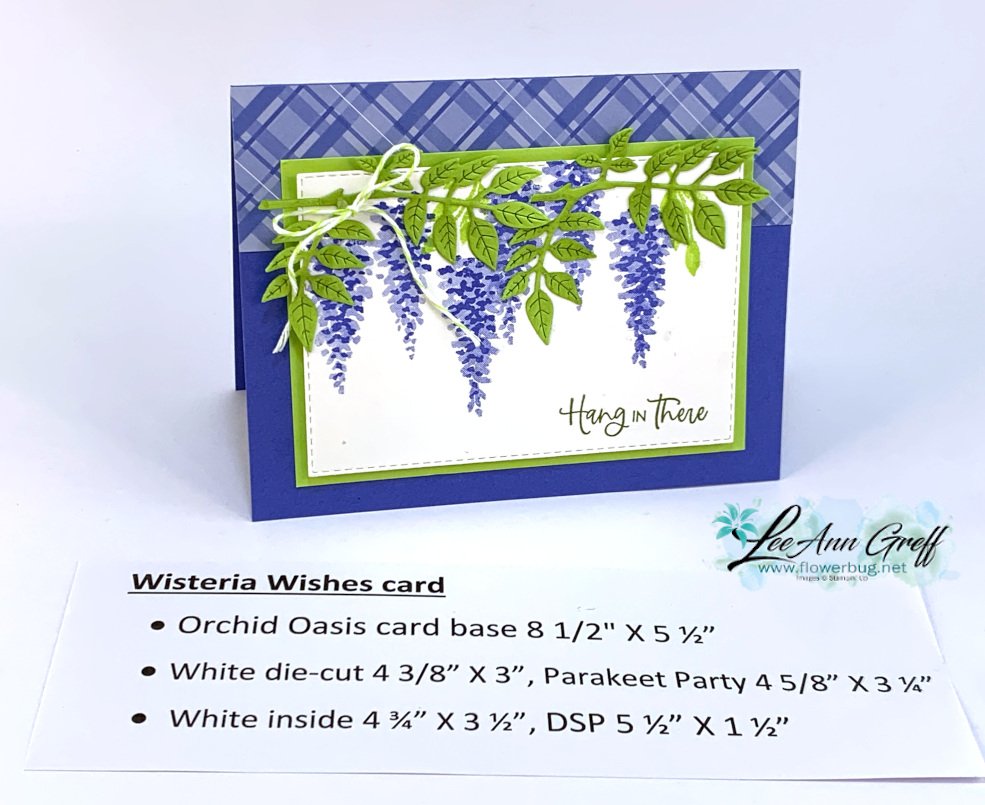
    My colors include Orchid Oasis, Parakeet Party and a little Old Olive with White.  This card was pretty instinctive; hanging wisteria is the first thing that comes to mind.  There are a few tricks I used to alter the leaves die-cuts though.  I trimmed off a few extra pieces to fit the stamped images better.  You can see what I did in the video below.  

    This bundle is super versatile!  I made two more cards in the video plus shared a bunch of swap card ideas as well.  You might be inspired to purchase it once you see them all!  

    Products used:

    • Wisteria Wonder bundle
    • Orchid Oasis and Parakeet Party card stock & ink, Old Olive ink
    • Stitched Rectangle dies
    • Blending Brushes
    • In Color twine combo pack 


    Click on the photo below to watch the video.  

    ~~~

    Last Chance items are selling out!  


    Kits Collection BOGO – buy 1 get 1 50% off!  

    Host codes: Y23VZ9UC or 9F9AJHYG

    If your order is over $50 you'll receive a set of Solid Faceted Gems from me. *click here to order 

    Earn free products with my loyalty rewards! 

    Click here to download yours and earn a $50 shopping spree!  

    Leave a Reply

    Your email address will not be published. Required fields are marked *


Notice: LeeAnn Greff, Independent Stampin’ Up! Demonstrator, Manager. The content of this website is my sole responsibility as an independent Stampin’ Up! demonstrator and the use of, and content of, the classes, services, or products offered on this website is not endorsed by Stampin’ Up! Copyright 2025