/


Latest Post

Textures & Frames; who knew you could create such fun & variety?!


At first this stamp set baffled me; what would I do with it?  Well leave it up to the creativity of others to spark my own!  I got some ideas online and all of a sudden I couldn't stop! 

I shared all of these cards and tips on making them on this week's Tuesday FB Live.  Look!

The card above is my favorite.  It truly makes me smile!  That sentiment is from the In Your Words stamp set in the back of the Sale-a-Bration catalog.  It's free with a $300 order through Sept 30th.  See it here. 
You may wonder how I achieved that perfectly shaped smile on these faces.  I searched all of my stamp sets for a circle shape and found one in the cat in the Cute Halloween set.  Watch the video here or seen below to see how I did it.  The eyes are clear rhinestones colored Black with my Blends marker.  The colors are Bermuda Bay, Granny Apple Green, Fresh Freesia and Pacific Point. 

In the video I also share a neat tip on getting a smaller Postage shape from our Rectangular Postage Stamp punch.  

If you love quirky and unique get this while you can.  This fun Textures & Frames stamp set is free with a $50 through the end of September. *stock up on your favorites and earn it free! 

~~~

This next card uses the same solid circle image to create a colorful background for the nice, large greeting in the Thinking, Thanks & Peace stamp set.  I also used the Basic Border dies to create the eye catching rick-rack border trim. 

These colors include Fresh Freesia, Bermuda Bay & Granny Apple Green. 

~~~

Next I added some vellum dragonflies to a colorful column on this White card using the Dragonfly Dreams stamp set and the Dragonflies punch.  

The greeting is also from the wonderful In Your Words stamp set; I fussy cute it and popped it up with Stampin' Dimensionals. 

~~~

I love this one too!  It's cased from my Team Member Tracey.  I had to make one in these colors.  

The die-cut swirl is from the Painted Labels dies and again the greeting is from the In Your Words stamp set. 

~~~

I was inspired by the card on the lower right (seen by other Demo's) to create one with TALL candles!  I used my Stamparatus for both of these cards!  Watch how in the video below or click here. 
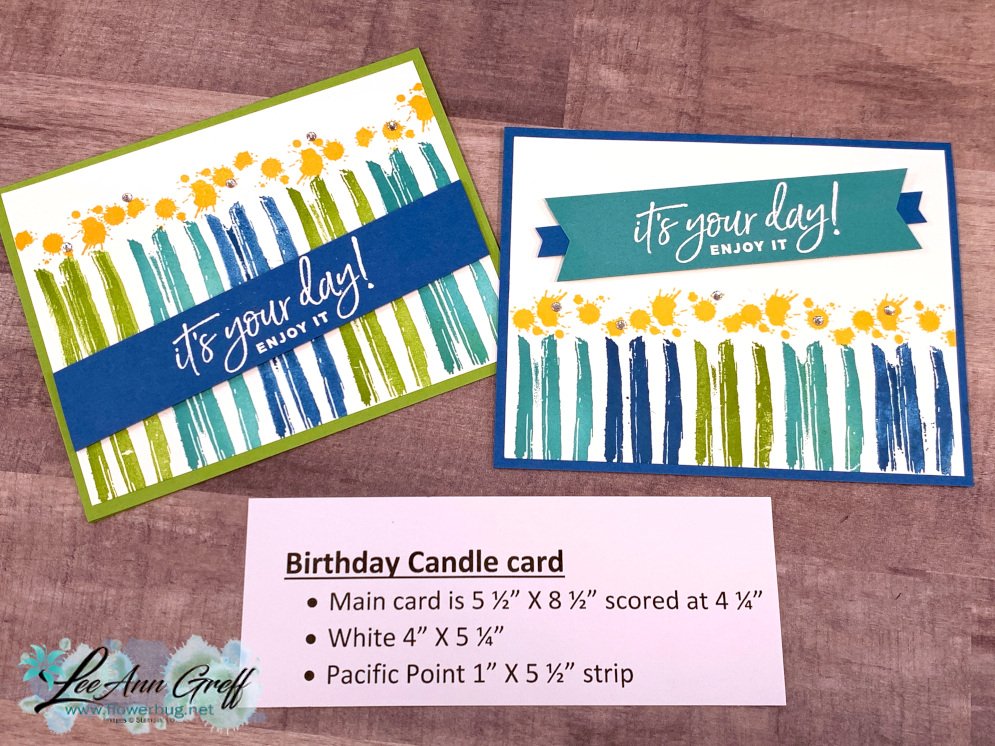
These colors include Granny Apple Green, Bermuda Bay, Pacific Point & Crushed Curry. The greeting is from the Happiest of Birthdays stamp set. 

Which is your favorite??

~~~

And lastly is a simple card using the open circle image and a few stars die-cut with the Stitched Stars dies and our Rainbow Glimmer paper.  

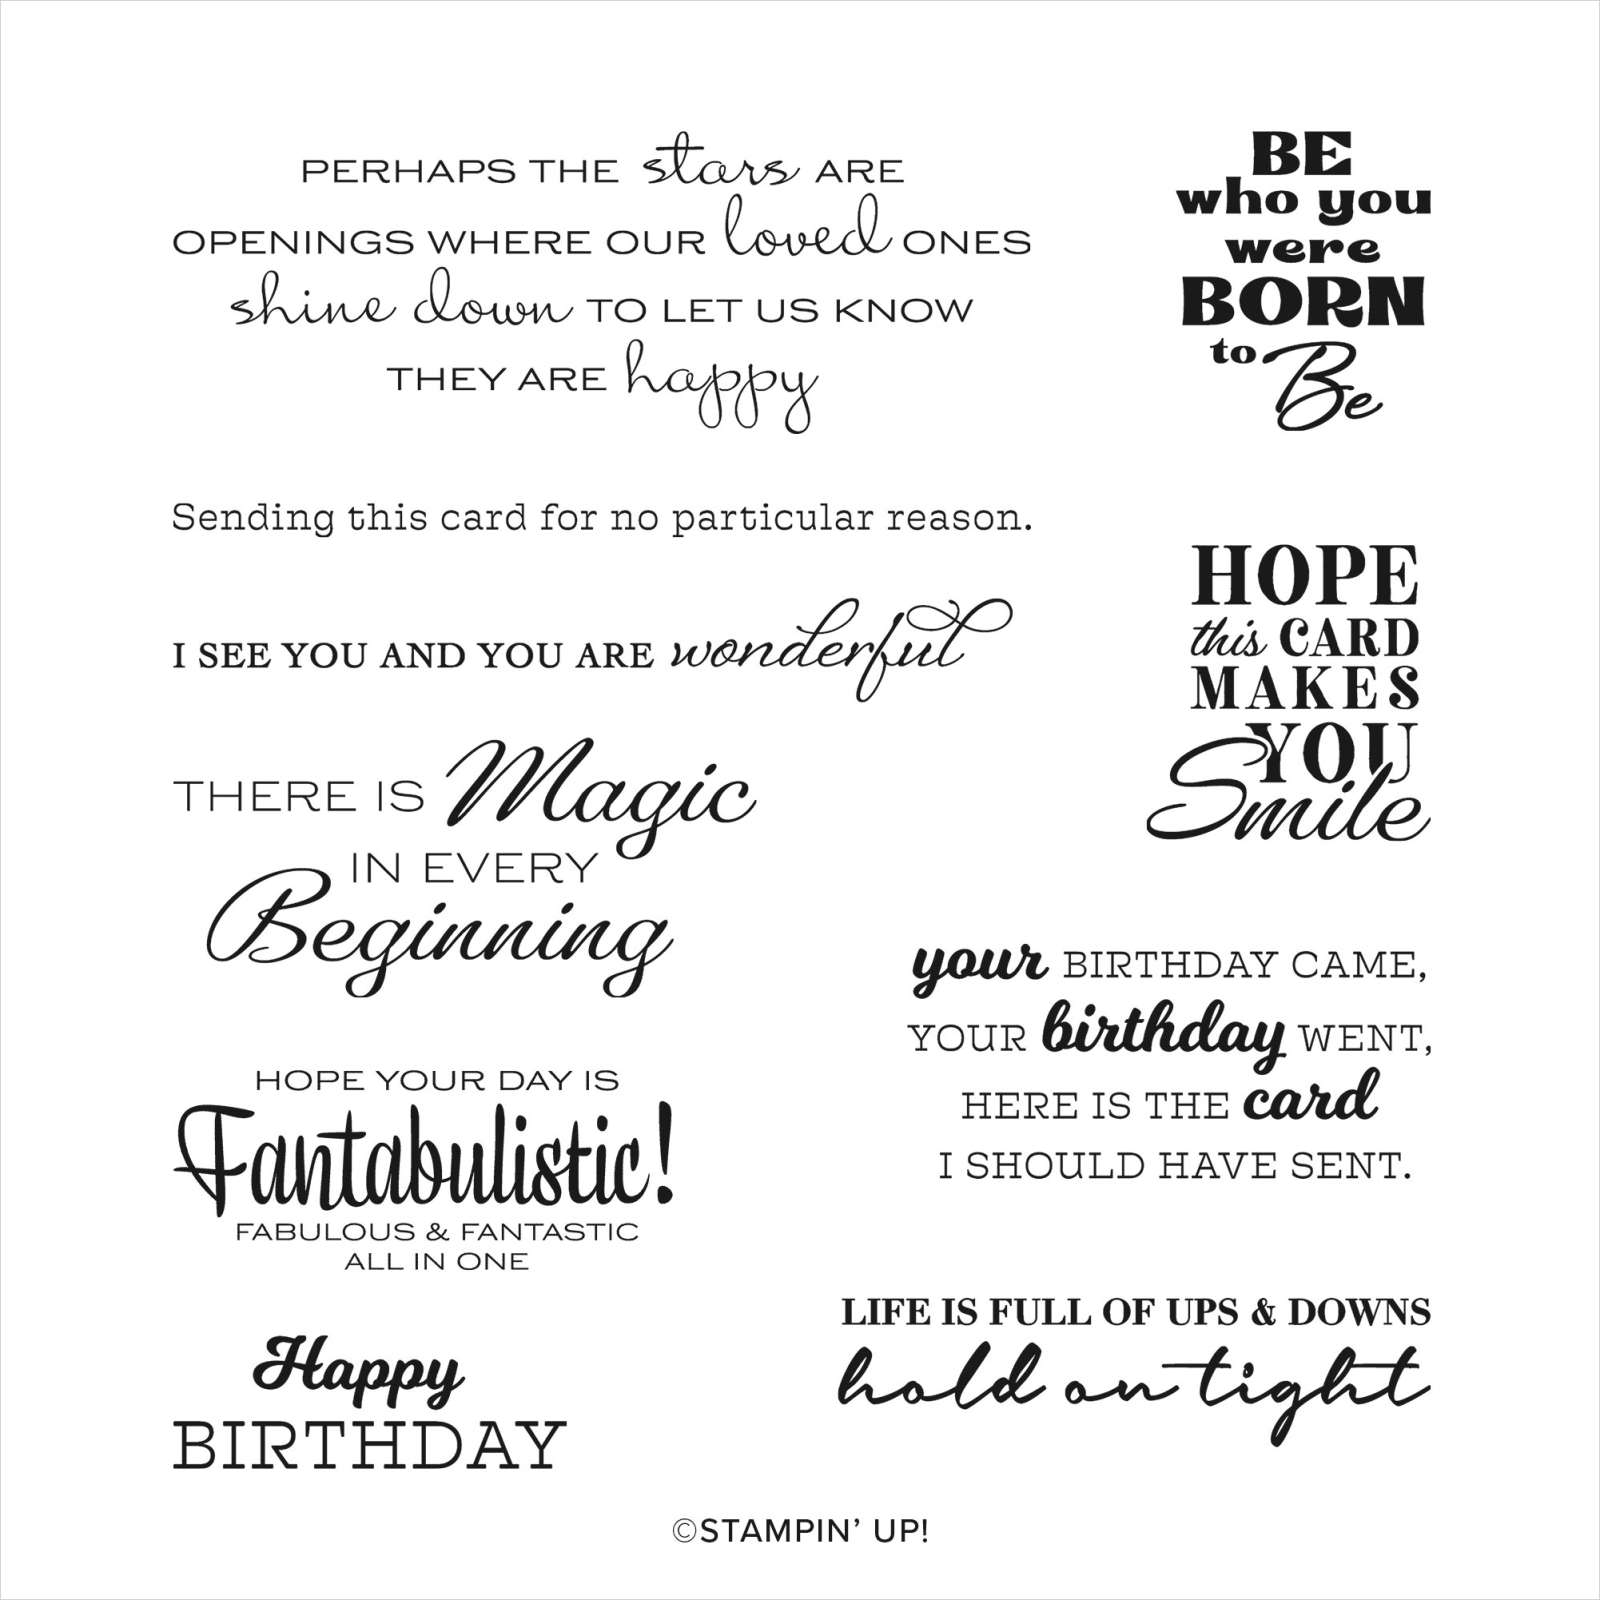
The greeting is from the Happiest of Birthdays stamp set.  I love how easy you can create a masculine card with this unique stamp set!  

Don't miss out if you want this set! It's unavailable after Sept 30th! You'll also get 10 free hand-made cards from me with a $50 order!  Details are below.

Here's the video below: 

~~~

September Specials

Host code: WGVUYXTF

*click here to order

Get 10 beautiful hand-made cards from me with a $50 online order

from September 20-30th! 

All online orders will receive a free PDF tutorial filled with projects featuring

the Painted Christmas Suite!

BEST DEAL!

Get a Free Bundle  from the Holiday Catalog when you choose the Starter kit! 

Plus pick out $125 in product of your choice for just $99 and shipping is free! 

You're getting up to $205 in products for just $99!

All Posts

  • Quadrangle Cards Technique; a great use of your 6 X 6″ Designer Paper!


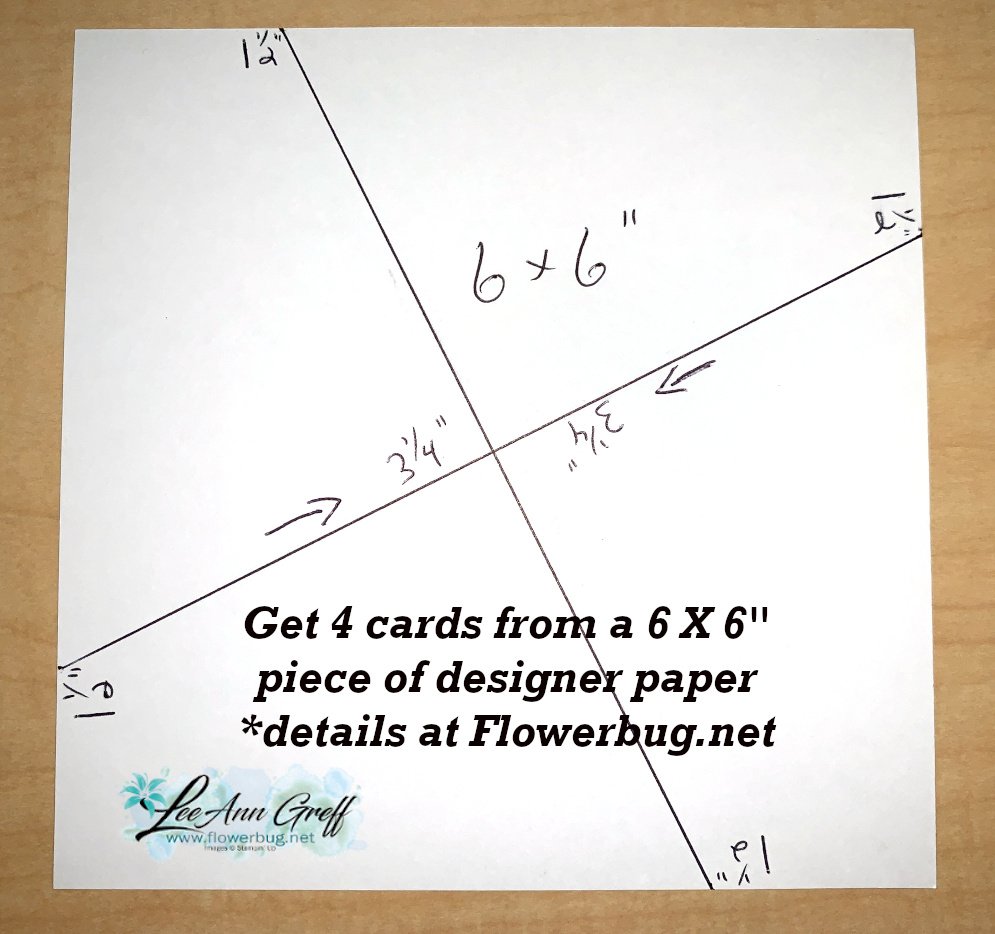
    Check out this great template where you cut a 6 X 6" piece of Designer Paper into 4 pieces for 4 cards.  I also layered it with a 6 1/2" piece of card stock for easy borders!  Look!

    I created the above cards with a sheet of the beautiful Plaid Tidings 6" DSP from the 2020 Stampin' Up! Holiday Catalog.  I also used the Celebrate Sunflowers bundle and the two Daisy punches in the annual catalog.  Super easy cards! 

    The colors are Mango Melody, Rich Razzleberry and Whisper White.  

    Then I used a different sheet of the Plaid Tidings DSP on Facebook Live last week.  I LOVE Black & White with a pop of color so I added Magenta Madness and used the Zany Zebras stamp set seen here.  

    Aren't they fun?!  I wasn't sure if I wanted to add any pink to the zebras but I ended up loving it! I colored just a bit on the zebras with the Magenta Madness Blends marker.   

    If you're wondering just where this stamp set is, you can find it in the Beginner's Brochure or click here to see it online. 

    Below is my template for the Designer Paper. 

    Next you'll see how you can place the DSP pieces onto a piece of 6 1/2" square piece of card stock and get nice layers. 

    You can see how I did it in the video below.  Remember I host 6 FB Live's a week.  Every Tuesday at 11 am CT and the 2nd & 4th Monday's at 7:30 pm.  Check them out here.   Just click on 'more' and then 'videos'. 

    Tip: If you have trouble measuring things I suggest that once you have a template for both the Designer Paper and the layered card stock piece you save one to reuse over and over again.

    I hope you like these cards!  Be sure to watch the video below to catch the tips & tricks on using this template. 

    Here's the FB Live replay for you.  Enjoy!

    ~~~

    Current Host code is 7VPEDARH

    Get a free package of All the Trimming embellishments in September with an

    online order over $55.  But remember if your order is over $99 you can choose to get the Starter kit instead!  

    Order online here

     Get my Beautiful Autumn pdf tutorial free with any online order in September!


    It includes directions, photos and measurements for 13 cards!


    Leave a Reply

    Your email address will not be published. Required fields are marked *

  • Christmas Card classes are starting in September!


    I know it seems early to start on Christmas cards but I have many people that start them way before this.  I am definitely NOT ready for summer to be over!  I want to hang on as long as I can!

    I hold two Christmas Class sessions per month from September through early December.  I know many of you wonder how I can do this during Covid-19 but my classes are not large so there can be quite a bit of space between people.  And masks are encouraged.  

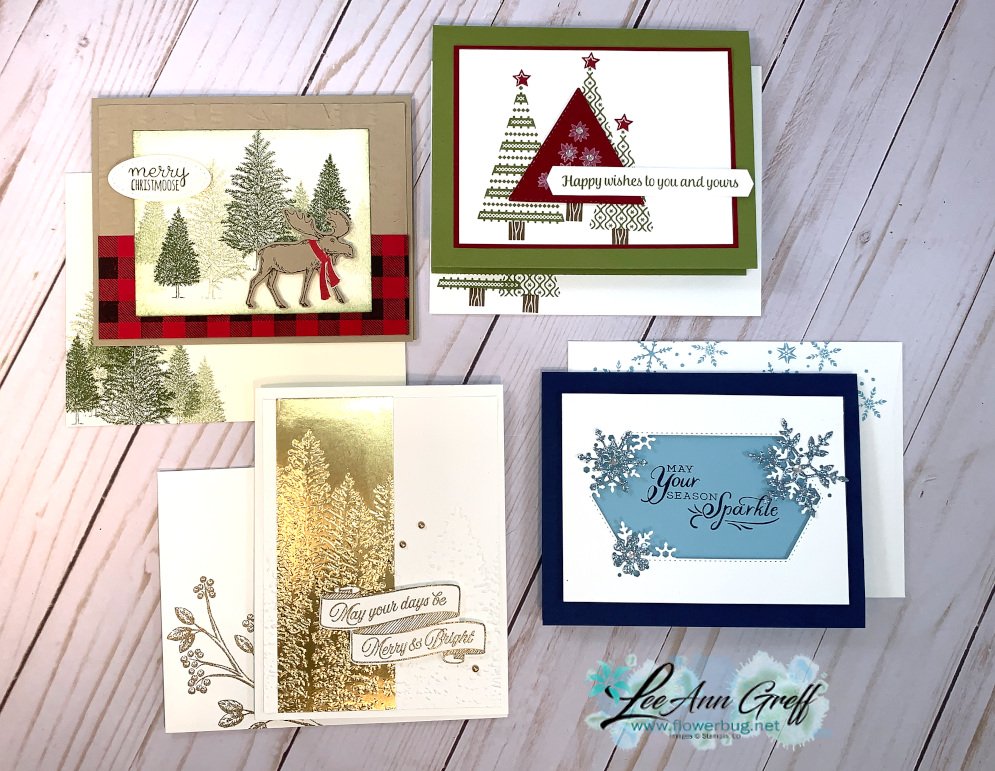
    Here are my first set of cards for September's classes:

    I'm featuring the Snowflake Wishes bundle, the Tree Angle stamp set & Triangle dies, the Evergreen Forest embossing folder & Toille Christmas and lastly the Merry Moose bundle.  

    They'll make 3 of each card with coordinating stamped envelopes for a total of 12 cards per class.  Most people come to all 4 month's of classes and end up with 48 beautiful Christmas cards ready for addressing.  

    The class dates are September 12th at 10 am and 16th at 6 pm.  Please RSVP by September 7th to attend.  

    If you cannot attend class locally in Minot, ND you can choose to order the pdf tutorial for these cards.  They're designed for both  crafters and for demonstrators to use in their classes. Check it out here. 

    ~~~

    Current Host code is 7VPEDARH

    Get a free package of All the Trimming embellishments in September with an

    online order over $55. 

    *Remember that if your order is over $150 do not use the host code above.  You'll get your own host benefits!  

    And if it is over $99 I recommend you choose the Starter kit instead!  It just makes sense! 

    Order online here

     Get my Beautiful Autumn pdf tutorial free with any online order in September!


    It includes directions, photos and measurements for 13 cards!

    Leave a Reply

    Your email address will not be published. Required fields are marked *

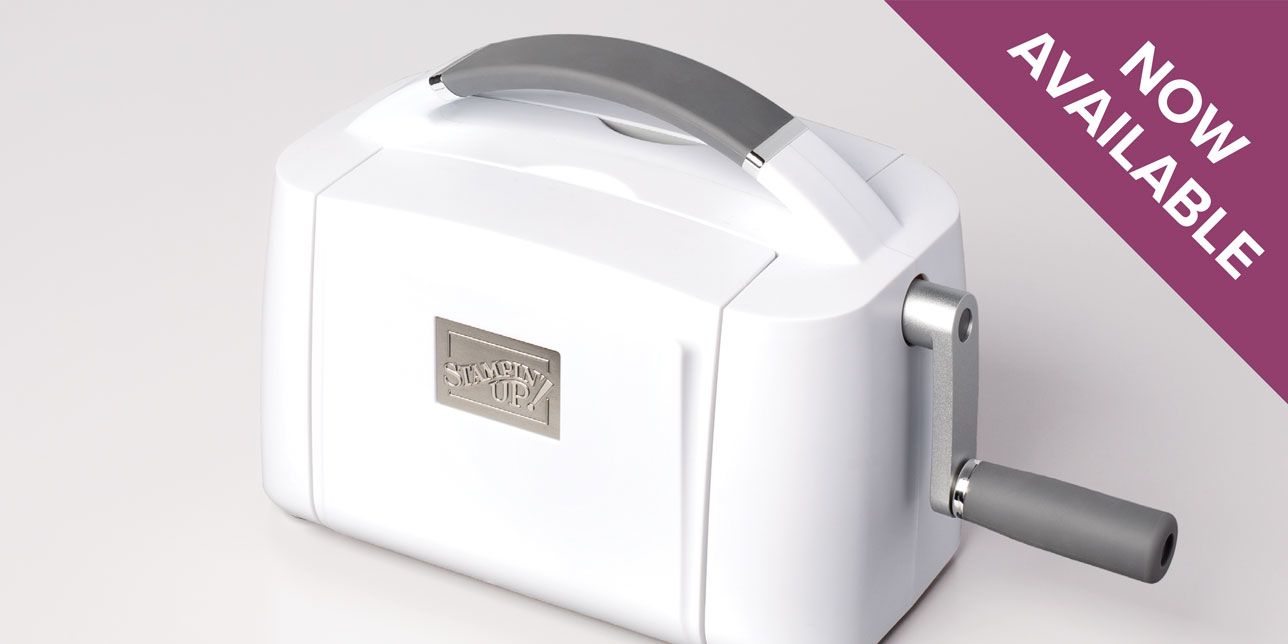
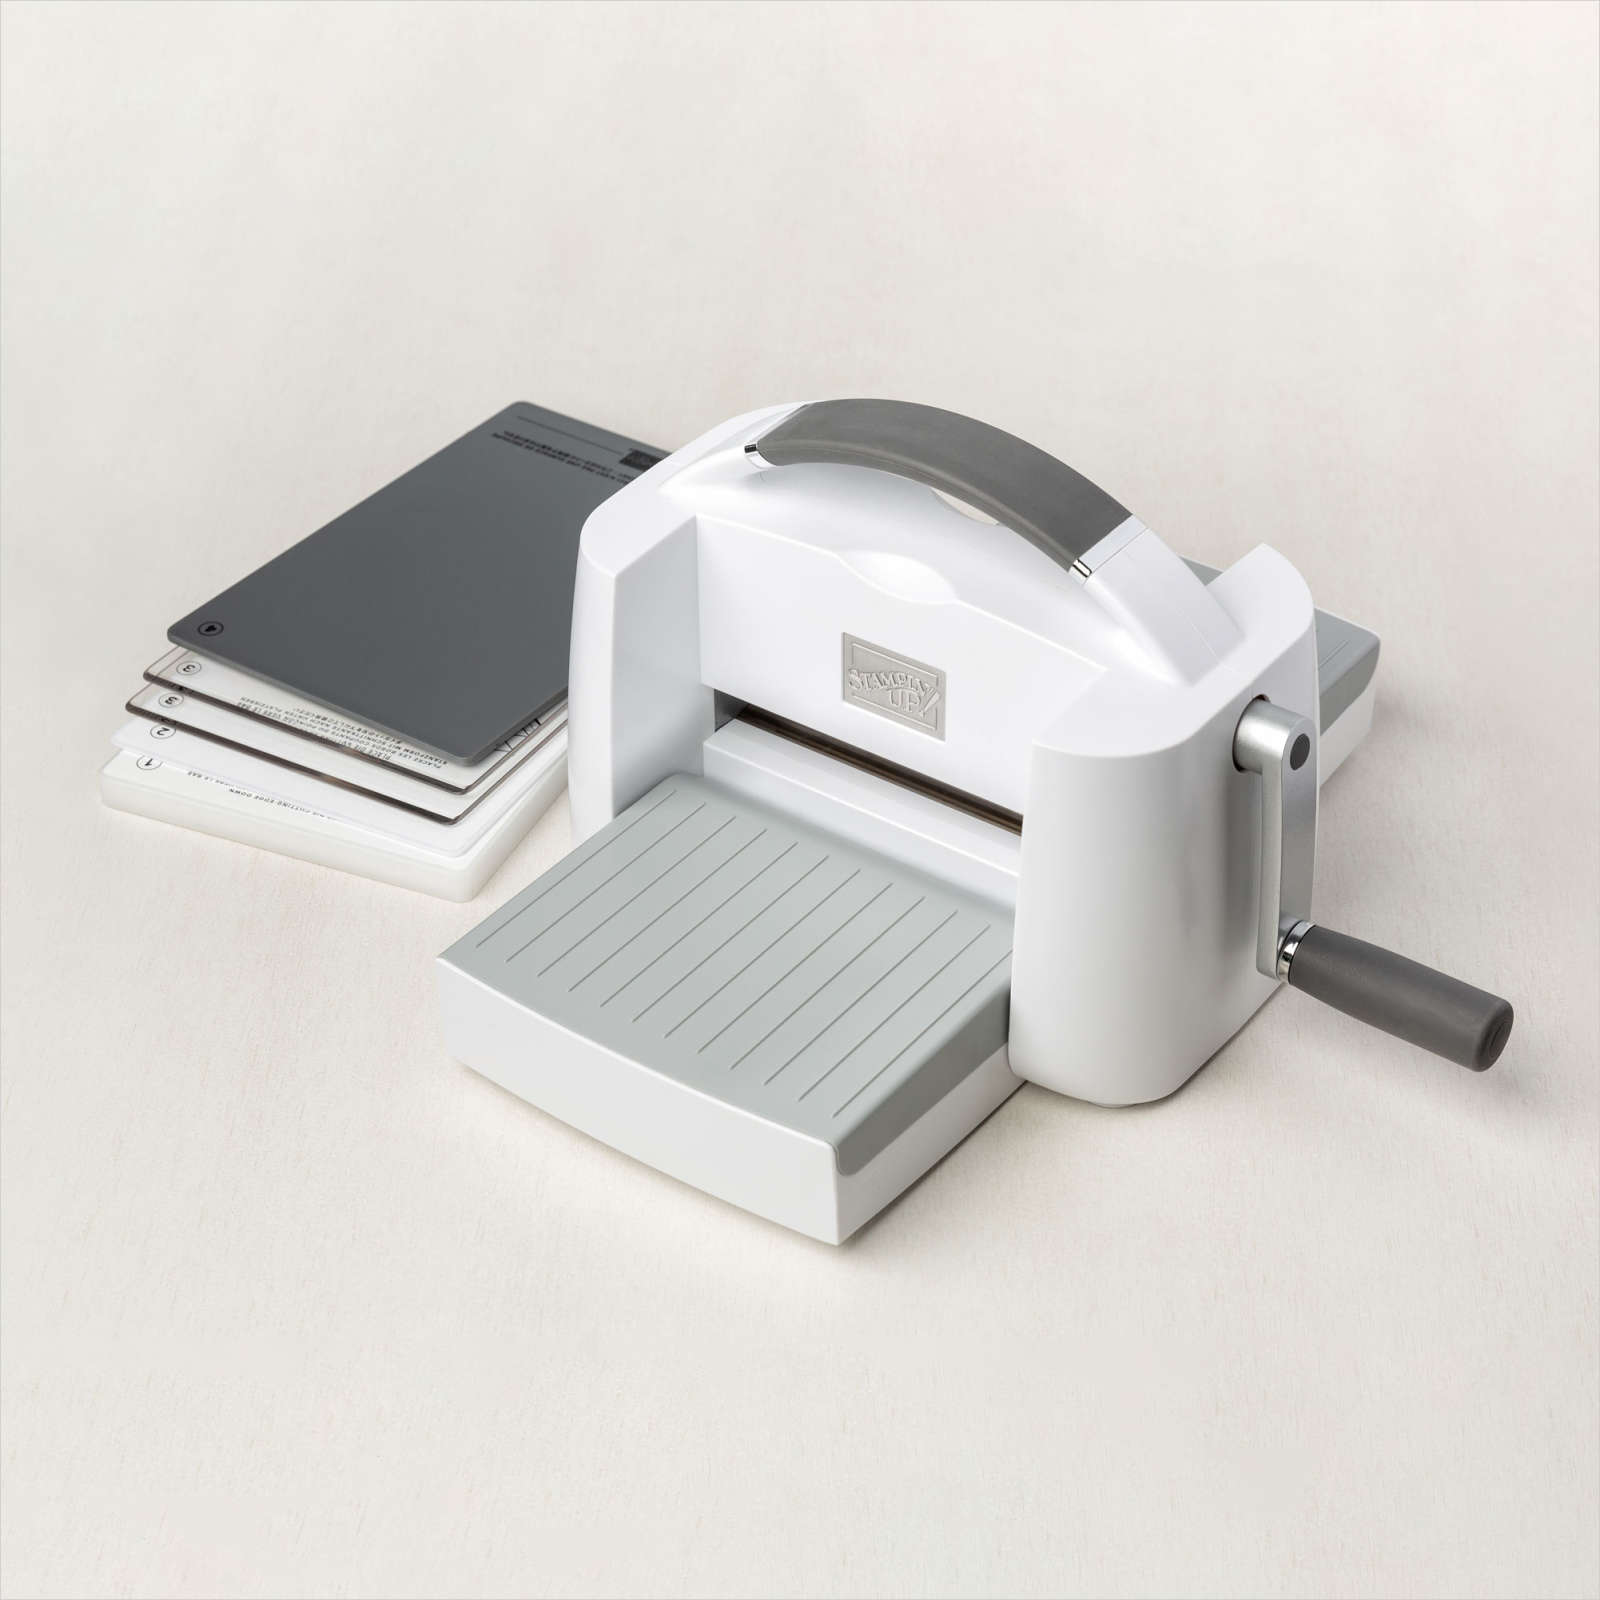
  • Stamp & Cut Emboss Machine is now available!


    It's here and available for everyone!  The brand new die-cutting machine that is.  

    I've been using mine and I love it!  They said it would cut dies with one pass through and it really does!  Even intricate dies!  I love the portability of it and how compact it is for storage.  

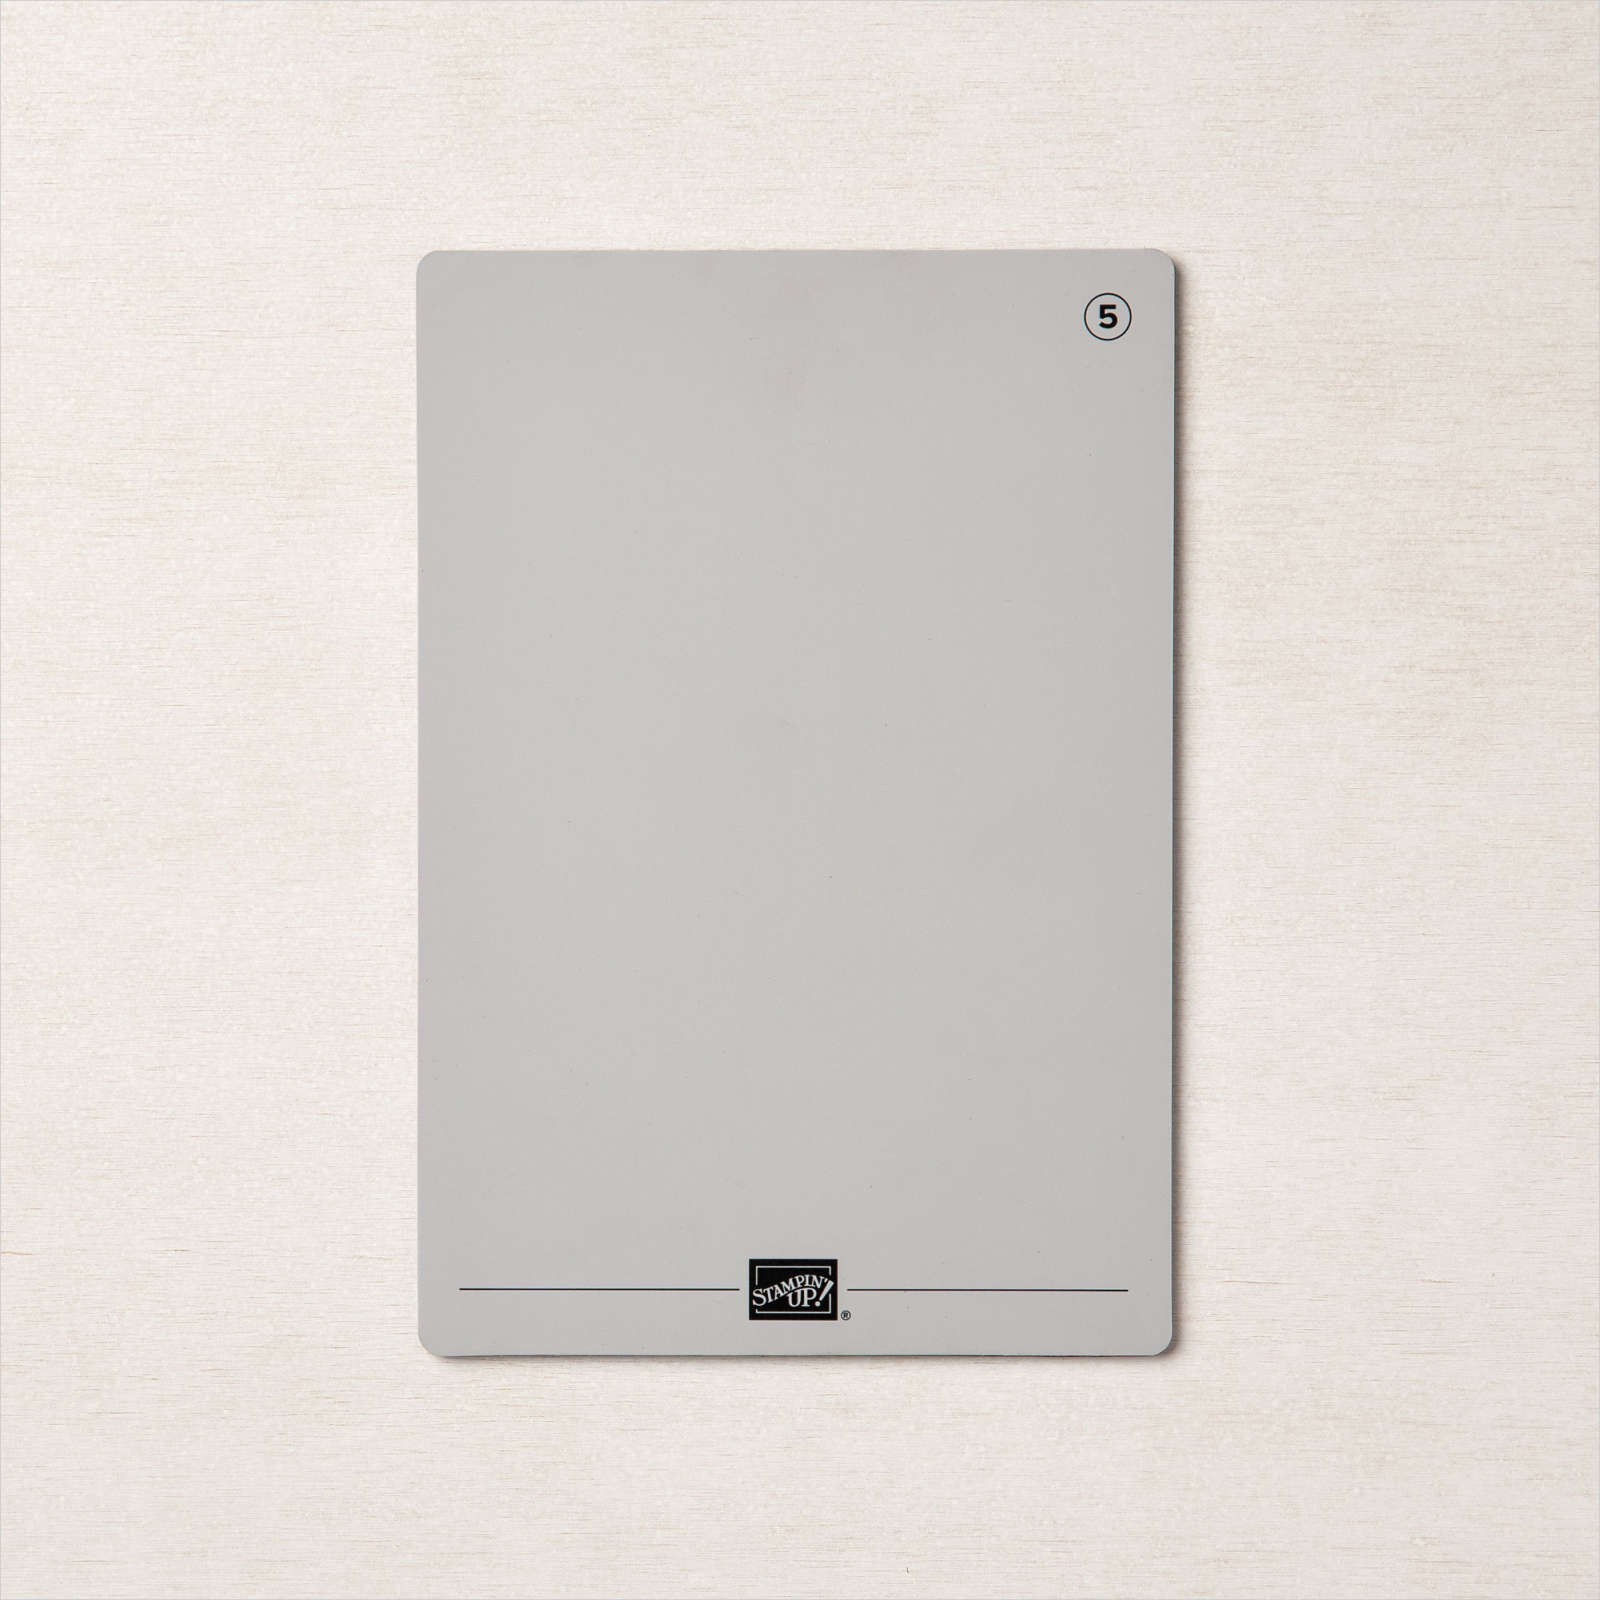
    I'm super excited to get the new Magnetic plate!  Did you know it's super thin, replacing a cutting plate and it's self-healing!?!!  

    Thin, fully magnetic sheet with self-healing cutting surface. Te Magnetic Cutting Plate holds dies securely in place, even nested dies. This slim, portable sheet replaces a Cutting Plate in your sandwich, making it even easier to take with you. It's recommended to use with the Stampin' Cut & Emboss Machine but I will try it in my Big Shot and let you know if it works.

    Did you know you can get this machine at 10% off?  Just add it to your Starter kit!  It's just $99 and you can add up to $125 in products. This machine costs $120.  Go here to do that. 

    ~~~

    Current Host code is 7VPEDARH

    Get a free package of All the Trimming embellishments in September with an

    online order over $55. 

    *Remember if your order is over $150 don't use the host code; you'll get your own host benefits! 

    And if it is over $99 choose the Starter kit instead!  It just makes sense! 

    Order online here

     Get my Beautiful Autumn pdf tutorial free with any online order in September!


    It includes directions, photos and measurements for 13 cards!

    Leave a Reply

    Your email address will not be published. Required fields are marked *


Notice: LeeAnn Greff, Independent Stampin’ Up! Demonstrator, Manager. The content of this website is my sole responsibility as an independent Stampin’ Up! demonstrator and the use of, and content of, the classes, services, or products offered on this website is not endorsed by Stampin’ Up! Copyright 2025