/


Latest Post

Sweet Citrus video; a Grapefruit version with optional gift card


We made this CUTE fun fold card at my February Card Clubs and it was a big hit!  Everyone loved the fresh color combo and how cool the textured fruit images are.  

I used the Sweet Citrus bundle seen here and these colors: Flirty Flamingo, Pale Papaya and Granny Apple Green.  You can sure see the texture in the photo above.  Did you know you can use our Hybrid embossing folders to texture and die-cut all at once?  It's super cool and saves a step. 

I show how in the video along with how to stamp the fruit perfectly using the Stamparatus.  Perfect every time! 

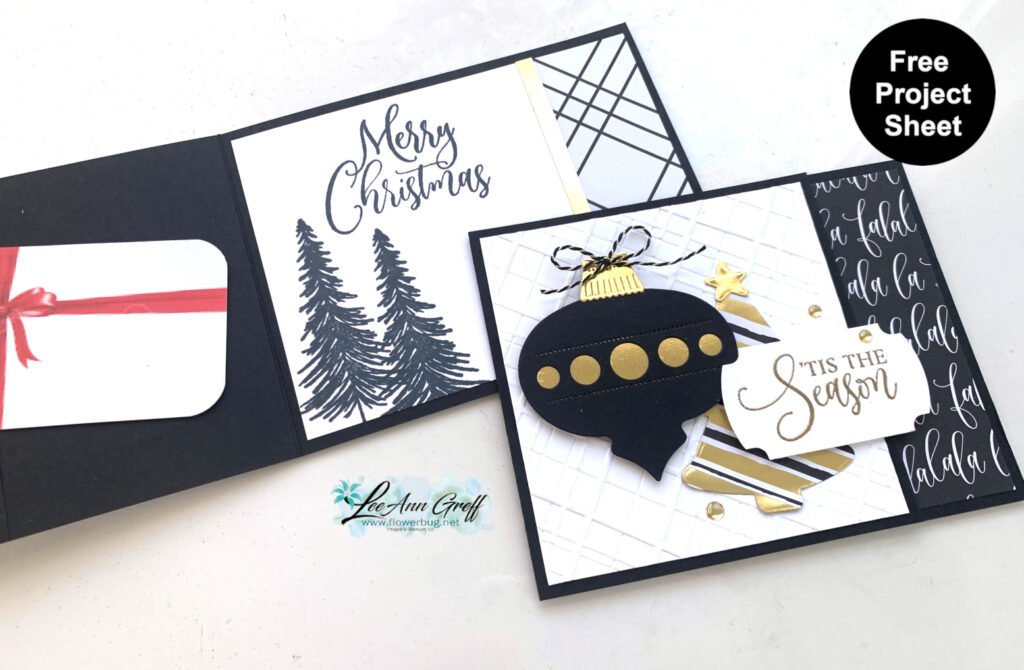
The card is a bit different in that the lower panel can be left open to add a gift card or money into.  Or seal it up; your choice.  

Card measurements: 

  • Card base 4 1/4" X 11" scored at 4" & 9 1/2"
  • White 4" X 3 1/2" for textured front, stamped front panel is 2 7/8" X 4", inside is 4" X 3 1/2"
  • Granny Apple Green 3" X 4 1/8"
  • Pale Papaya strip 4 1/4" X 3/4"
  • Dandy Designs DSP 4" X 1 1/4"

Click on the photo below to watch the video where you'll see more card ideas with this bundle.  Or click here.  

~~~

March Specials:

See the new Online Exclusives here! 

*current host code:  TMJXFR2T or BFE4C2KM

Get a free class kit with online orders over $55 when using the host code above!

Earn free products with my loyalty rewards! 

Click here to download yours and earn a $50 shopping spree!

All Posts

  • A neat Tower card with video & free project sheet with Peaceful Garden


    I just love this fun fold ‘tower’ card layout! It gives you lots of opportunities to feature your designer paper.

    I featured the Peace on Earth bundle and the Modern Garden designer paper. The colors include White, Secret Sea and Silver. The Peace on Earth bundle was a ‘must have’ for me because of the pretty greetings and layering die-cuts. I like that the greetings include more than just Christmas making it quite versatile.

    This Tower card fun fold is made with a 11″ X 4 1/4″ piece of card stock but scored 5 times across the long edge. Then you simply adhere the ends together and allow the other end to open. Genius!

    Note how the center panel swivels a bit…. I stamped one card with a holiday greeting and the other with a sympathy greeting. You can see the back side of the Holiday card here. I pulled out a Paper Pumpkin stamp set to fit.

    I love the textured embossing on the left White panel. That is from the Peaceful Greenery embossing folder seen here. I used just the side of this folder to achieve the textured edge.

    I created a free project sheet for this card; simply click on this link to print or download it.

    Here’s the tip on how the front panel swivels a bit on the fold. So easy to achieve!

    It’s two strips of card stock about 1/2″ wide and 1″ long folded in half. Each half is adhered with the fold on the main card fold.

    Below is the video tutorial for this card, another pretty Christmas card and a candy bar treat holder.

    *You’ll receive a PDF with multiple projects featuring this product
    after the 20th of the month.
    ~~~

    The Last Chance list has been updated!
    Click here to shop.

    Get a free PDF tutorial with any online order from me in December!

    Leave a Reply

    Your email address will not be published. Required fields are marked *

  • The Product of the Month promo starts today!


    Each month Stampin’ Up! will offer a product of the month. It will be brand new product you will ‘earn’ with a qualifying purchase. It’s sort of like Sale-a-Bration every month!

    This month it’s the True Blue Florals 12″ x 12″ Designer Series Paper. See it here.

    Beautiful monochromatic blue prints to match many of our current colors.

    Details:

    • Besides qualifying with a purchase there will be a $5 fee.
    • It will be one per person.
    • The items are while supplies last.
    • There will be many different offerings such as stamp sets, designer series paper and dies.
    • If an item lasts through the entire month it may be carried over into the next month; while supplies last.

    *You’ll receive a PDF with multiple projects featuring this product
    after the 20th of the month.
    ~~~

    The Last Chance list has been updated!
    Click here to shop.

    Get a free PDF tutorial with any online order from me in December!

    Leave a Reply

    Your email address will not be published. Required fields are marked *

  • An easy Gift Card idea for Christmas with free project sheet


    I shared this pretty card on last week’s video. It has an option for a gift card hidden inside.

    Isn’t it pretty? I featured the Modern Christmas suite here with the specialty DSP and the Ornamental Christmas bundle seen here.

    I just love the font on the greetings and the unique coordinating dies in this bundle.
    My colors are classy in Black, White and Gold foil. You might notice two different embossing folders on the White layer. One is the Traditional Wreath 3D and the other is the Forever Plaid 3D.

    There is a scored line on the front layer to create a pocket for a gift card inside. I used a punch to create a bit of interest on it.

    What do you think of this color combination for Christmas? I worried some might not like it but everyone at my Clubs loved this card. The Modern Christmas designer paper seen here is gorgeous with it’s fun patterns.

    I did heat emboss the greeting with Gold embossing powder and punched it out with the Labeled with Love punch. The bits of Gold foil all over this card really make it special!

    I created a free project sheet for this card and also a video with tips & step by step directions. Click here to print or download it.

    You can watch the video below to see how to assemble this card. There are also two more projects you’ll want to see!

    *You’ll receive a PDF with multiple projects featuring this product
    after the 20th of the month.
    ~~~

    The Last Chance list has been updated!
    Click here to shop.

    Get a free PDF tutorial with any online order from me in December!

    Leave a Reply

    Your email address will not be published. Required fields are marked *


Notice: LeeAnn Greff, Independent Stampin’ Up! Demonstrator, Manager. The content of this website is my sole responsibility as an independent Stampin’ Up! demonstrator and the use of, and content of, the classes, services, or products offered on this website is not endorsed by Stampin’ Up! Copyright 2025