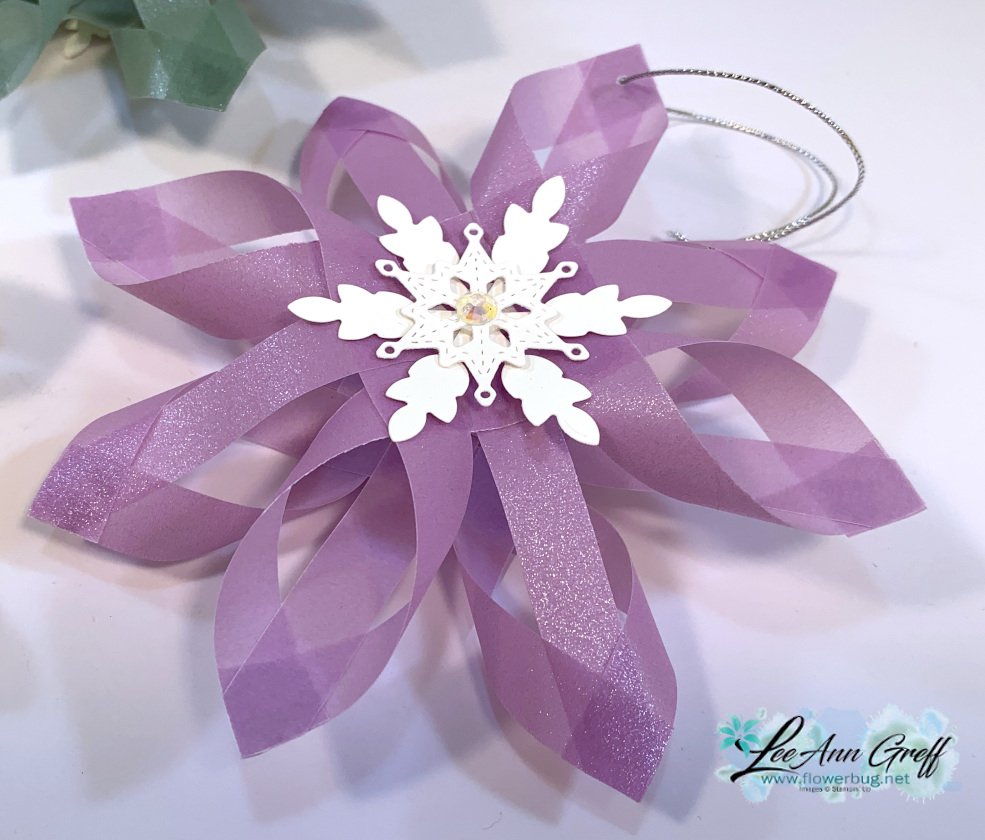
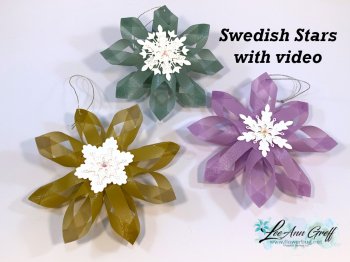
Swedish Stars in both Shimmer Vellum & Simply Marbelous Designer Paper with easy video tutorial
Have you seen some of these fancy folded stars online and thought you could never make them? Well this one is so much easier than it looks and I made them on a FB Live recently.
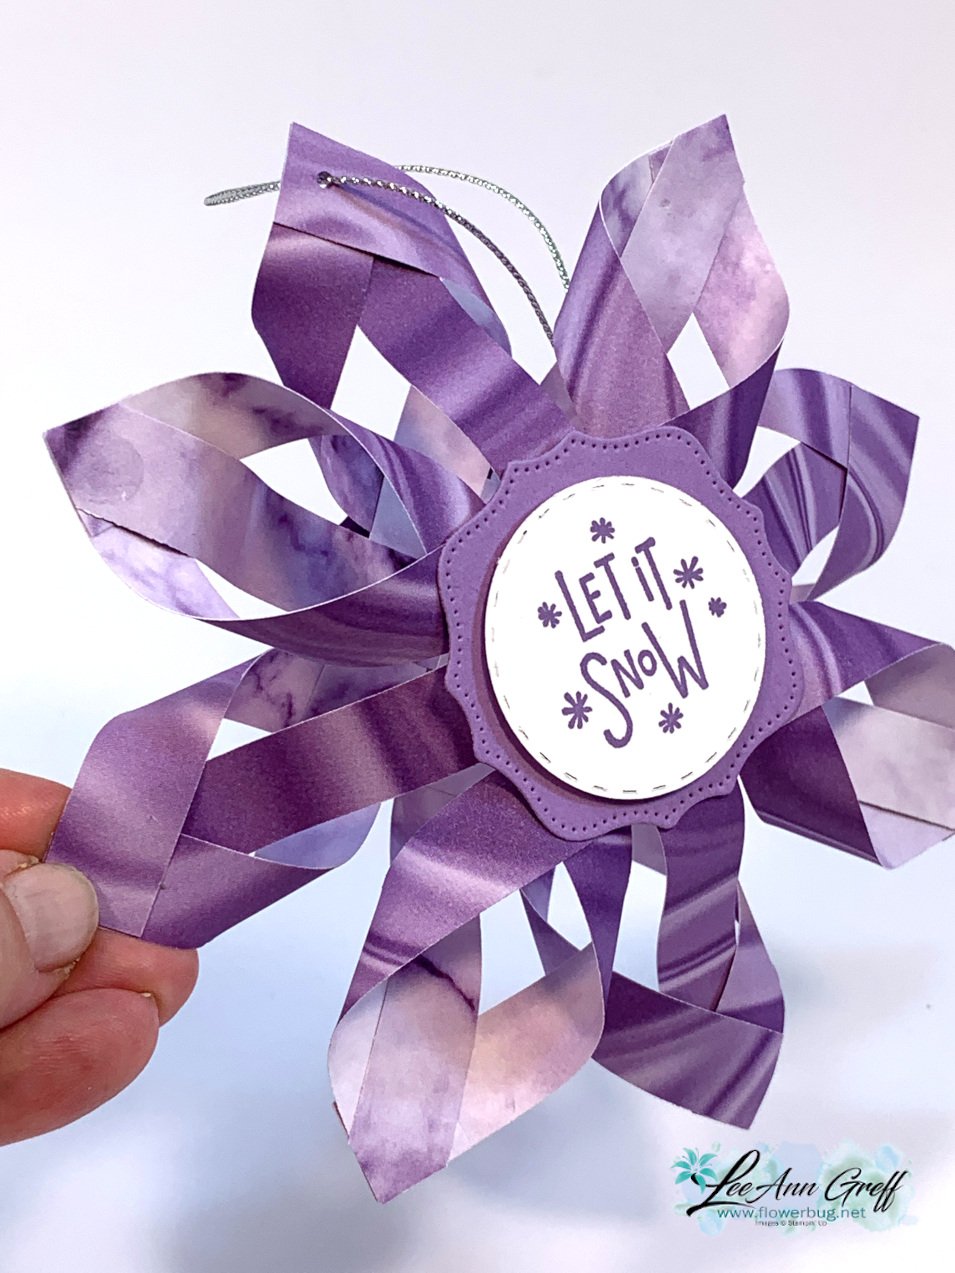
Honestly they are quite easy. Basically you need a 6 X 6" piece of Designer paper – twelve 1/2" X 6" strips to create them. I did add a medallion in the center but it's not necessary at all. Here I used the brand new Simply Marbelous designer paper from the new Sale-a-Bration catalog. It's available in 6 different colors and absolutely gorgeous!!
I also made a few in our 2021-23 In Color Shimmer seen here & Gold Shimmer vellum seen here. I used snowflakes from the So Many Snowflakes dies in the Stampin' Up! Annual Catalog.
She combined new and current products for this beautiful card cased from Karen Hadler. That beautiful textured flower is from an upcoming bundle called Opulent Oasis. It includes a new die that textures; it’s called Textured Impression dies. I’ll share more details on this new product soon. It will be released on May 5th in the 2026 May-August catalog.
The designer paper is called Lovely & Beautiful and can be seen here. The pretty leaf die-cut is from the Nature’s Symphony dies. Here’s how it looks once opened:
So many layers!! The card stock colors include Old Olive, Petal Pink and Fresh Freesia.
Measurements:
– Olive card base 11″ X 4 1/4″ score at 2 3/4″ & 5 1/2″, second piece – 9″ X 3 34″ scored at 3″ & 6″ – Petal Pink layers 2 1/2″ X 4″ and 5 1/4″ X 4″ on the large piece. 3 pieces at 2 3/4″ X 3 1/2″ on the shorter piece – DSP 1 1/4″ X 3 3/4″ and 5″ X 3 3/4″ on the large piece. 2 pieces at 2 1/2″ X 3 1/4″ on the shorter piece – Fresh Freesia 2 1/2″ X 3 1/4″
She used the Nature’s Symphony stamp set and the Nature’s Walk designer paper here. I love the layout so much! Adding your greeting strip across the front is a fantastic way to break up the large layers. Her colors include Pretty Peacock and White.
Measurements are as follows:
– Cloud Cover card base 8 1/2″ X 5 1/2″ score at 4 1/4″ – Pretty Peacock large layer 5 3/8″ X 4 3/8″, small layer 3″ X 4 1/4″, strip 4 1/8″ X 1″, inside is 4 1/8″ X 5 3/8″ – White 2 3/4″ X 4″, inside 4″ X 5 1/4″ – DSP 4″ X 5 1/4″
She used the Floral Charm designer paper. Actually it’s just one sheet and measured 3″ X 4″ before she tore it. The technique she used is called ‘Rip & Flip’. You tear the lower half off and flip it to reveal the other side. Slide the torn piece under the upper portion to hide the ‘cut’ side. So cool!
Look at the ribbon above the greeting circle. She formed loops of Berry Burst 1/4″ shiny ribbon and adhered it underneath the flowers and greeting. So smart and unique! The colored and die-cut flowers are from the Extraordinary Flora bundle seen here.
Measurements:
– Pretty Peacock card base 5 1/2″ X 8 1/2″ score at 4 1/4″ – Berry Burst 4 1/4″ X 3 1/4″ – DSP 4″ X 3″ – White circle die-cut
Lastly is Candy’s card featuring the Nature’s Symphony stamp set with a neat technique:
She cased this technique from Kim Quade. She created a window with the Stylish Shapes dies and another piece of paper. She used Blending Brushes inside the window for the soft, multicolored look and stamped the leaves before removing her mask.
Her ink colors include Balmy Blue, Daffodil Delight and Fresh Freesia. She stamped the images with Secret Sea. Beautifully done!
Notice: LeeAnn Greff, Independent Stampin’ Up! Demonstrator, Manager. The content of this website is my sole responsibility as an independent Stampin’ Up! demonstrator and the use of, and content of, the classes, services, or products offered on this website is not endorsed by Stampin’ Up! Copyright 2025
Leave a Reply