/


Latest Post

The pretty Summer Shadow dies unleashed my creativity!


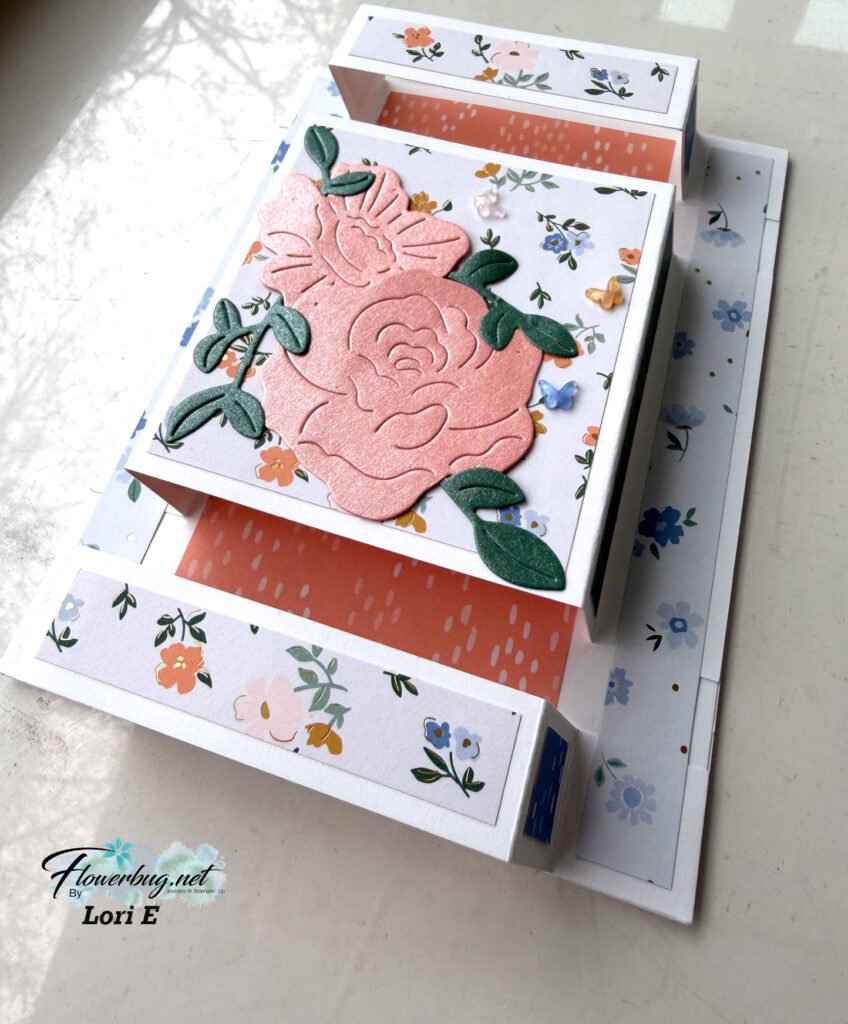
I sure had fun playing with the Summer Shadow dies this week. I planned to make 3 cards and ended up with 6! I had to make myself stop, which rarely happens. I started out with this amazing card inspired by one made by Beth McCullough. 

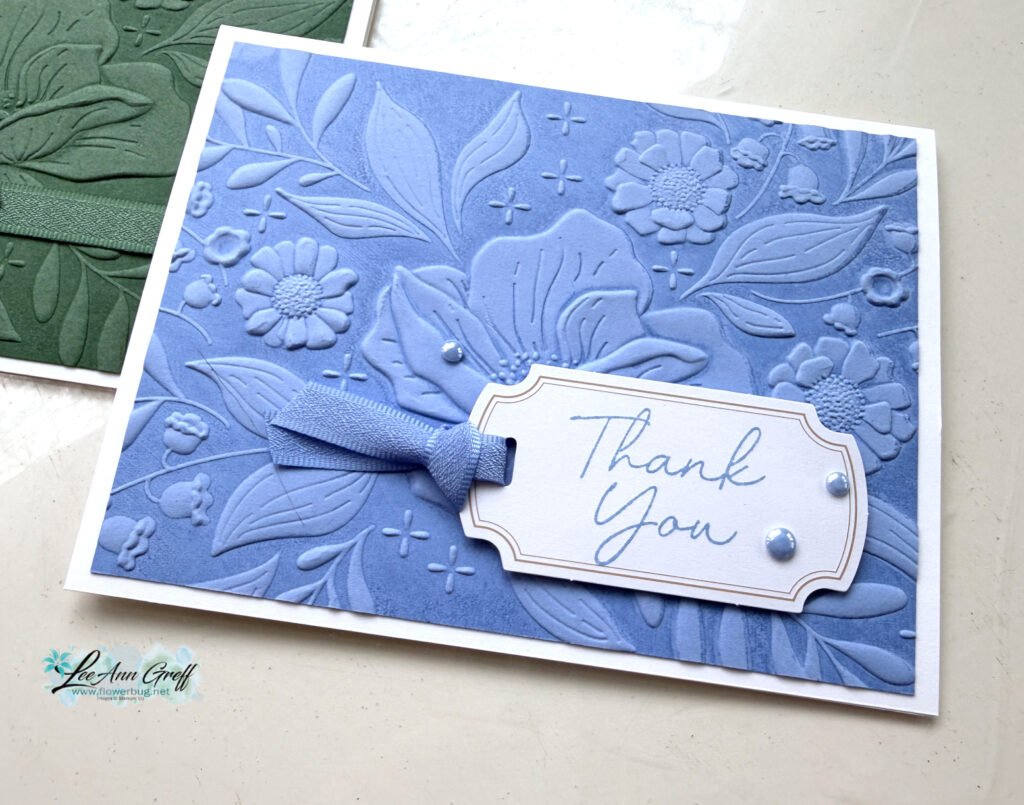
I die-cut a bunch of flowers & leaves from Mango Melody, Granny Apple Green Coastal Cabana and Magenta Madness and added them to Black CS that I embossed with the Hello & Thank you embossing folders.  The greeting from Shaded Summer is on a die-cut from the Messages die.  See the pink & black gingham ribbon?  It's originally Black & White but I colored it with my Magenta blends marker.

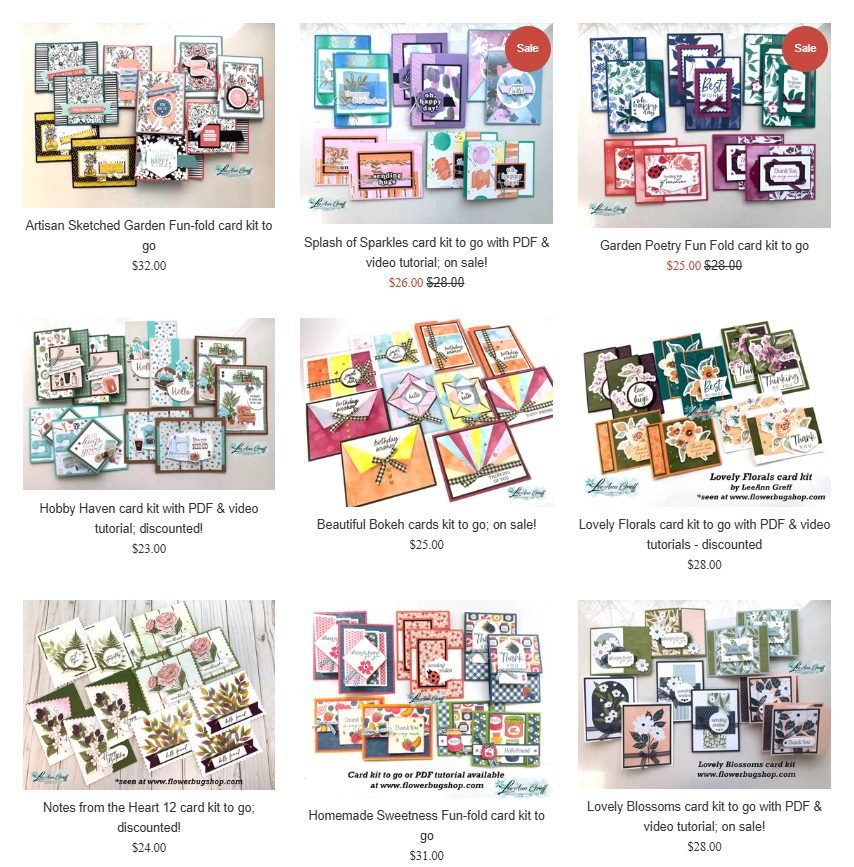
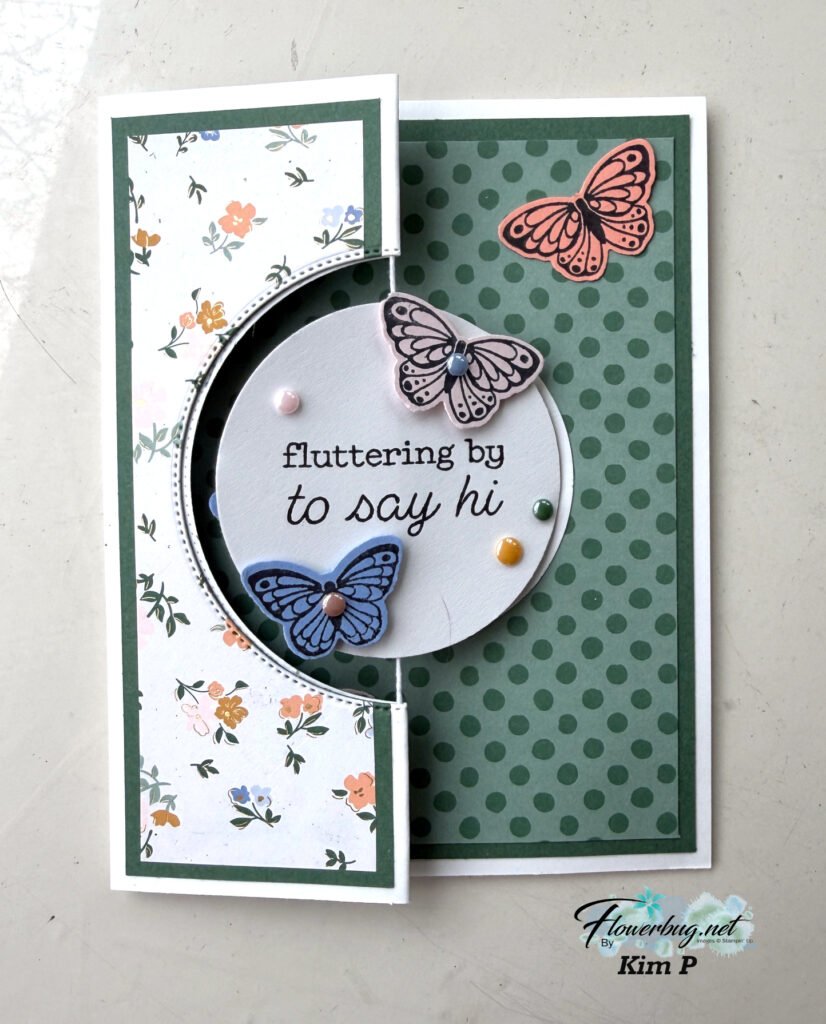
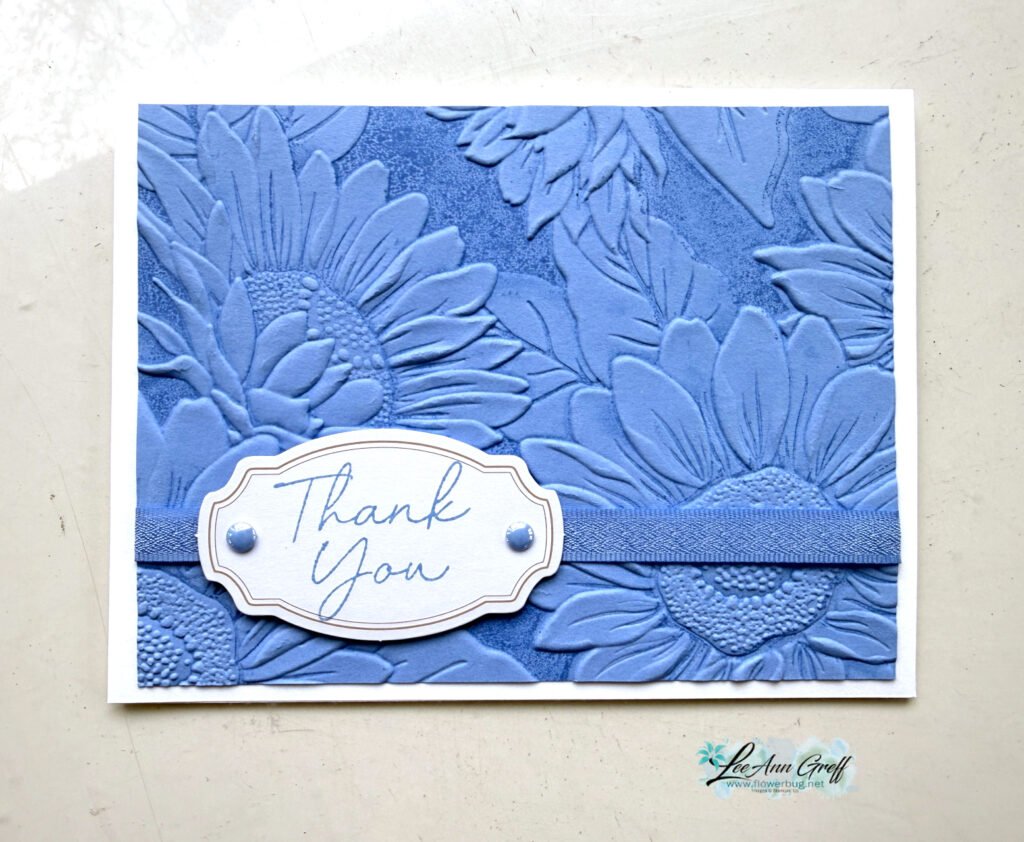
As you can see in these eye catching cards you can do a lot with these dies!  

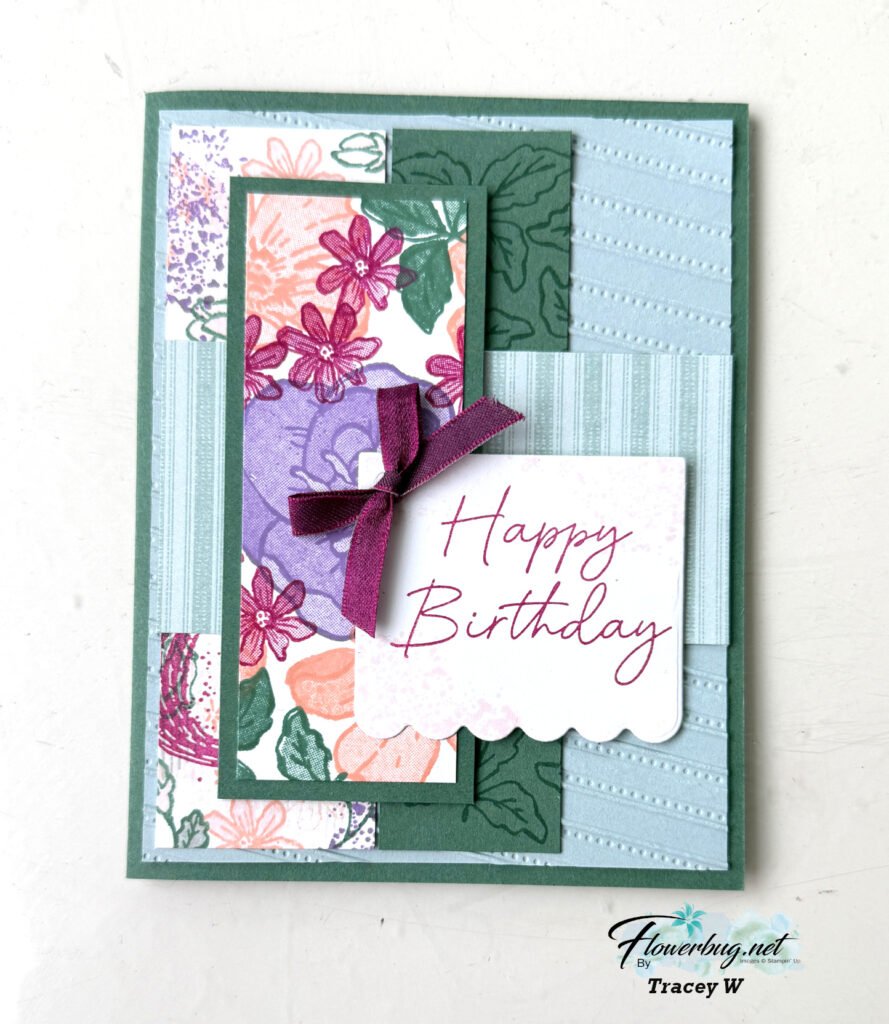
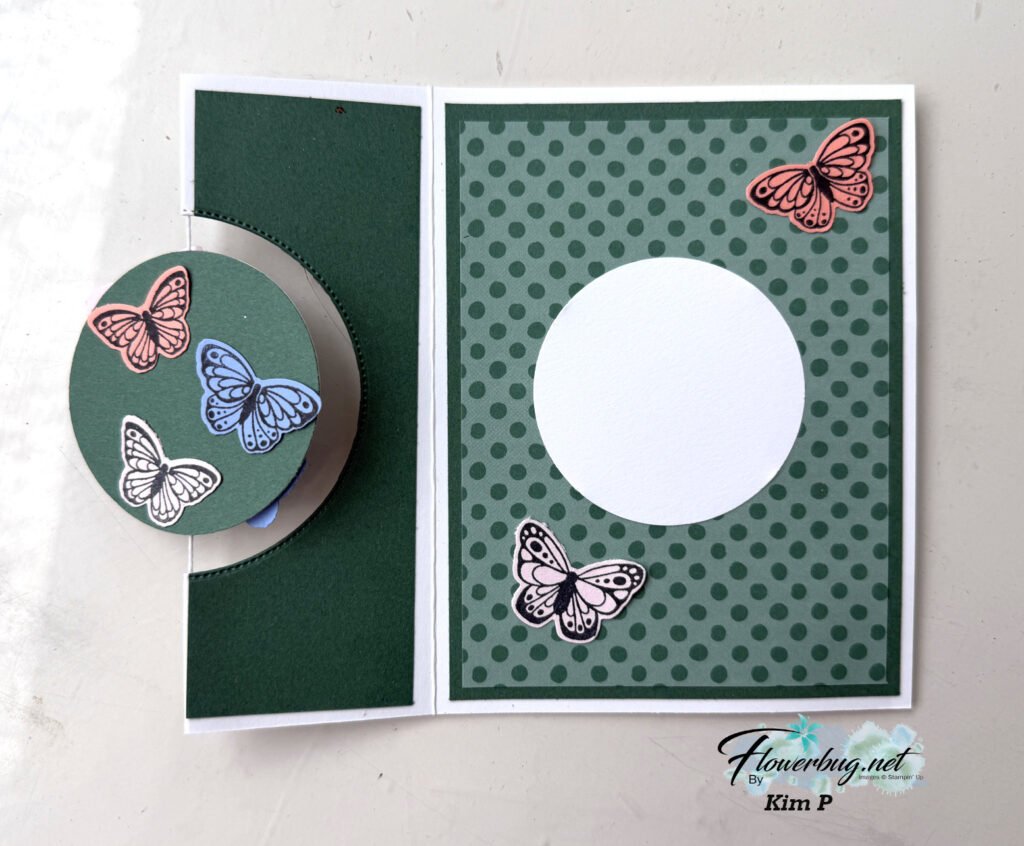
I also made this neat card with a paper piecing technique.  I inserted petals into the outline flower and secured them with tape. The black & White DSP behind the fie-cuts is from the Pattern Party DSP.  It's a huge pack of 48 sheets – a hostess choice with orders over $150 seen here or on page 171 of the annual catalog. 

The colors are Coastal Cabana, Magenta Madness, Black, White & Mango Melody. 

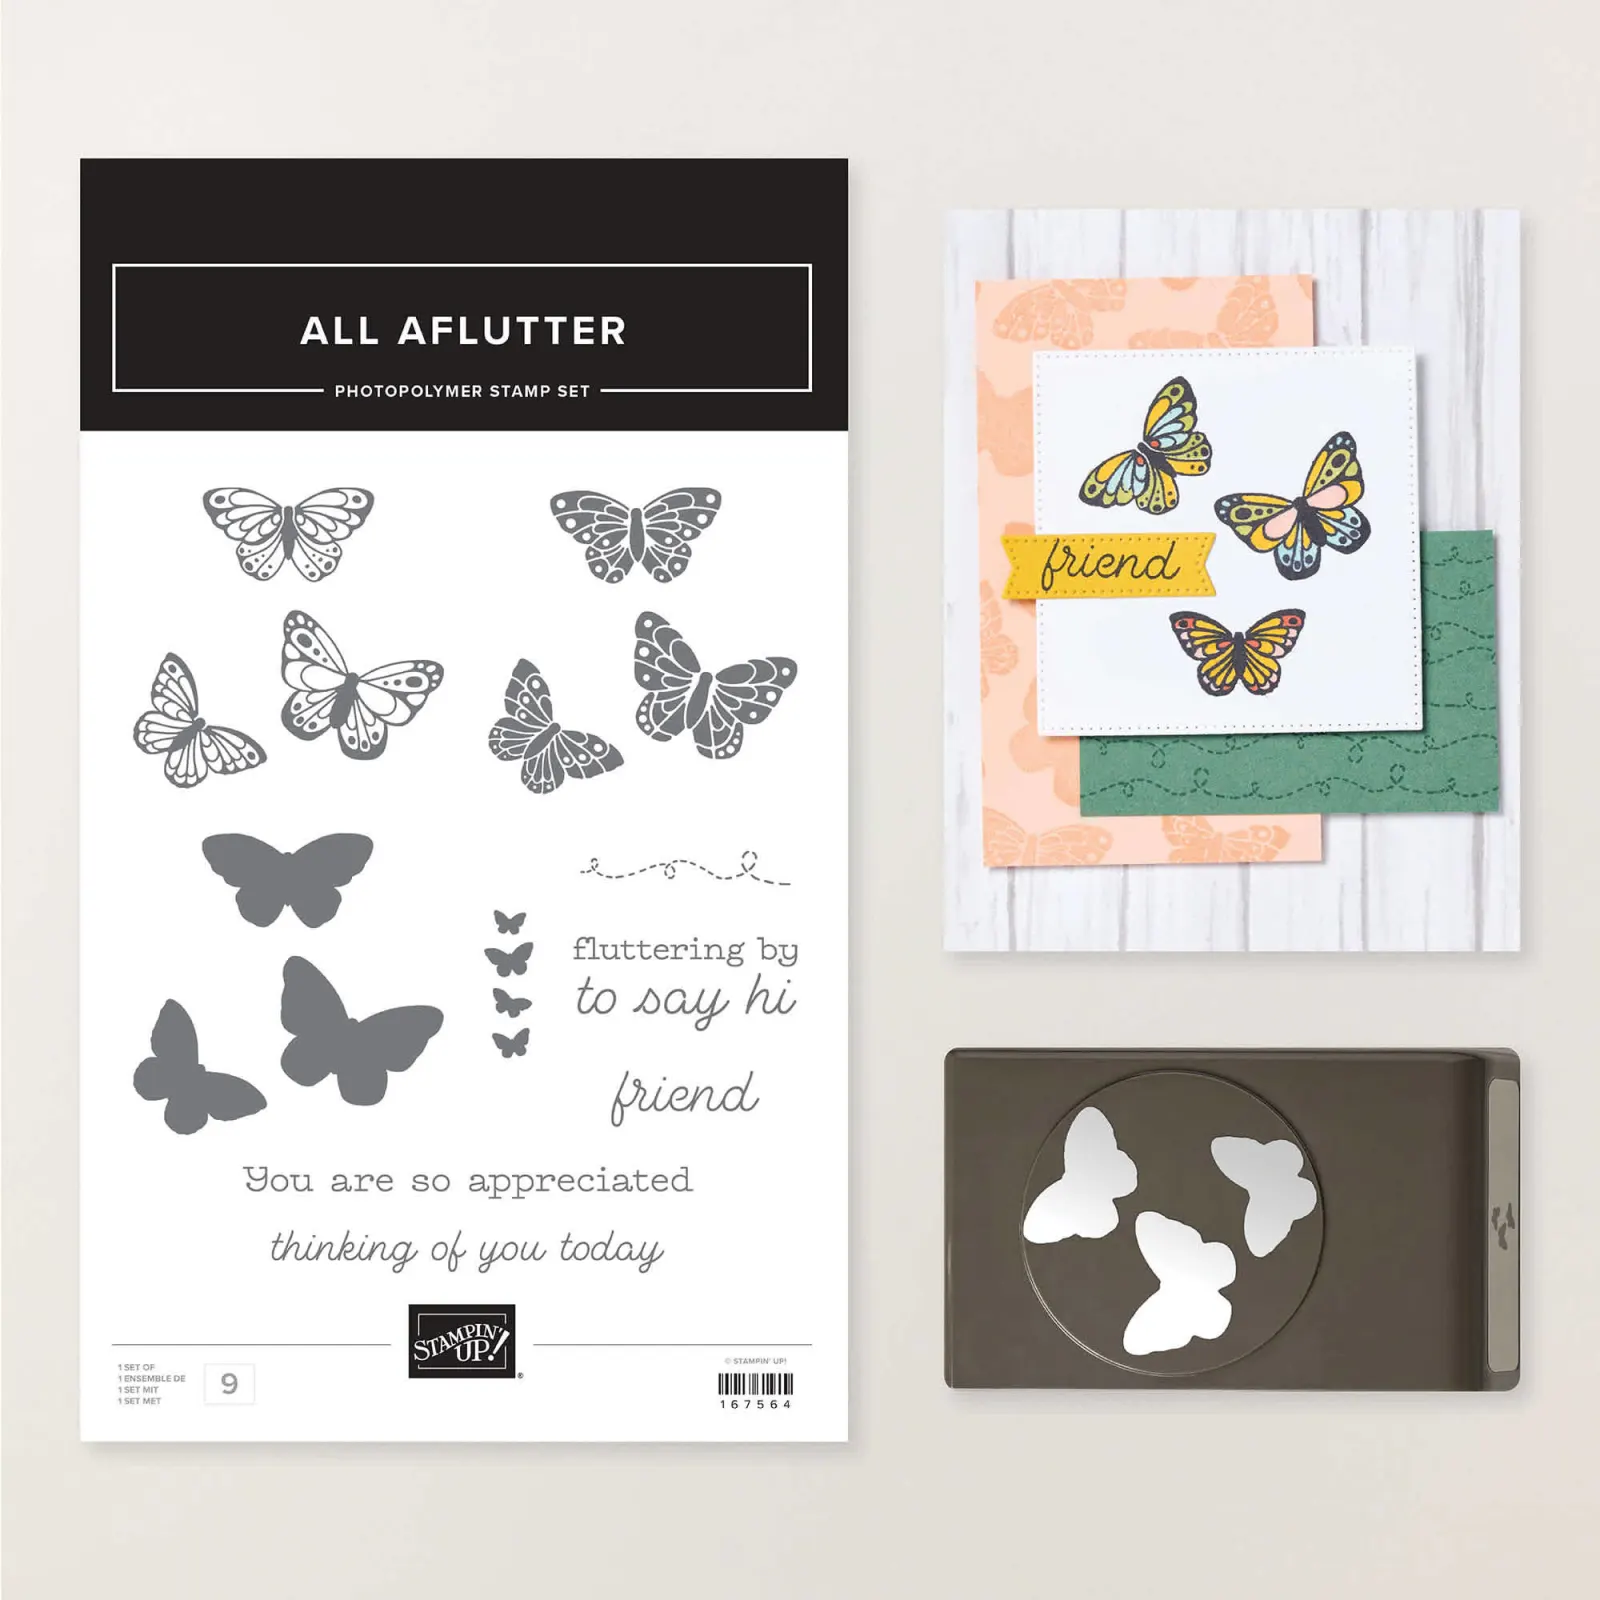
The Summer Shadow dies are free during Sale-a-Bration (this promo ends Sept 30th).  Now is a great time to stock up on essentials when you earn free products with your orders.  Card stock, inks, In Colors, Blends markers, Designer Paper etc.  Check these dies out here!  

I have more Summer Shadow projects to share with you tomorrow! Or check out the FB Live replay video here. 

~~~

September Specials

Host code: T7VSZQ64

*click here to order

Get a pkg. of Holiday Rhinestones with a $50 online order from me in September! 

Order here

All online orders will receive a free PDF tutorial filled with projects featuring

the Painted Christmas Suite!

BEST DEAL!

Get a Free Bundle  from the Holiday Catalog when you choose the Starter kit!  Plus pick out $125 in product of your choice for just $99 and shipping is free! 

You're getting up to $185 in products for just $99!

All Posts

  • Quick Notecard idea with the Banner Sayings bundle


    I needed to send a few special cards to my Team members this weekend and so I created these cute notecards:

    The large piece of designer paper is 4″ X 3″ and the bottom strip is 4″ X 1″. I added a 1/4″ strip of textured Coastal Cabana between them (I found it in my scraps).

    I chose to make notecards because the package I was sending their prizes in was narrow and these fit perfectly.
    Did you know we carry pre-scored notecards with envelopes? The package includes 20 cards and 20 envelopes for just $10. You can see them here.

    I chose the Hobby Haven designer paper because of it’s colors and ‘hobby’ themed prints. See it here. It’s part of our Online product selection.

    I decided to feature the Banner Sayings bundle for a few reasons. It’s quick with the coordinating punch and the greeting I chose fit my needs perfectly. Click here to see it. The new Triple Banner punch was out of stock for weeks! But now it’s back.

    January Specials:

    Bonus days are here!

    Get this free PDF with all online orders in January!

    The 2026 Spring Catalog is live!

    January’s Product of the Month
    Fabulous Sayings set
    Get it for $5 with any $75 purchase

    Check out the newest Kits in our Kit Collection here.

    Leave a Reply

    Your email address will not be published. Required fields are marked *

  • A neat Diamond Pop-up Fun Fold card with video & free project sheet


    I shared this pretty fun fold card on last week’s Live video. If you missed it you can watch it here on YouTube or here on Facebook.

    Isn’t it a neat card fold? And it’s super easy to make. I also love that it shows off our coordinating designer series paper so well. Here I used the Lovely & Beautiful Specialty DSP seen here. It’s gorgeous prints include gold foil accents.

    I made two different versions because I needed multiples of them for our January Team swap with my Flowerbug’s.

    The center greeting layer is added with two folded strips of paper positioned next to the center score line. This allows the greeting to pivot and pop-up when you flex the card. These are about 1 1/2″ X 1/2″ and I simply fold them in half and placed with the score lines next to each other.

    You can see how the center panel ‘pops’ up when it’s opened. I really love this fold!

    I used the Greenery Lane bundle for the greeting and the White leaf die-cut. You can see this bundle here.


    The other two dies are from the Perennial Postage dies seen here.

    I created a free project sheet for this fun fold card. Click here to download or print it.

    Below is the video tutorial for this card.

    January Specials:

    Bonus days are here!

    Get this free PDF with all online orders in January!

    The 2026 Spring Catalog is live!

    January’s Product of the Month
    Fabulous Sayings set
    Get it for $5 with any $75 purchase

    Check out the newest Kits in our Kit Collection here.

    Leave a Reply

    Your email address will not be published. Required fields are marked *

  • Cute as a Bug fun fold kit to go or PDF tutorial


    Here’s the second kit to go I’m offering in January; the Cute as a Bug fun fold card kit:

    Stampin’ Up! knocked it out of the park with this CUTE designer series paper! *see it online here It’s unique color combinations and whimsical critters make creating with it so enjoyable.

    I created 5 different fun fold layouts and doubled them for a total of 10 unique cards.

    The PDF tutorial includes step by step directions, photos, measurements and a supplies list. I also recorded a video tutorial exclusively to those who purchase it or the kit to go. This tutorial is just $16 and can be seen here.

    The pre-cut kit to go can be seen here. Reserve it now and it will be mailed out later this month (likely around the 22nd of January).

    The kit includes the following: 1/2 pkg of the Cute as a Bug DSP, a share of the Ladybug Garden epoxy gems, the Old Olive rick-rack ribbon and exclusive video link. It also includes 10 pre-cut cards! Everything is cut for you except your new designer paper. You’ll use the measurements in the PDF tutorial to do that; it’s easy! Then just assemble and add your stamped images to the greeting pieces provided. (Any greetings will work; feel free to use what you have).

    My kits are super easy to complete. I get tons of compliments and repeat customers each month.

    See all of my PDF tutorials and pre-cut kits to go here.

    January Specials:

    January Specials:

    Bonus days are here!

    Get this free PDF with all online orders in January!

    The 2026 Spring Catalog is live!

    January’s Product of the Month
    Fabulous Sayings set
    Get it for $5 with any $75 purchase

    Check out the newest Kits in our Kit Collection here.

    Leave a Reply

    Your email address will not be published. Required fields are marked *


Notice: LeeAnn Greff, Independent Stampin’ Up! Demonstrator, Manager. The content of this website is my sole responsibility as an independent Stampin’ Up! demonstrator and the use of, and content of, the classes, services, or products offered on this website is not endorsed by Stampin’ Up! Copyright 2025