/


Latest Post

Striking Masterfully Made pre-cut card kit to go; or choose the PDF tutorial option


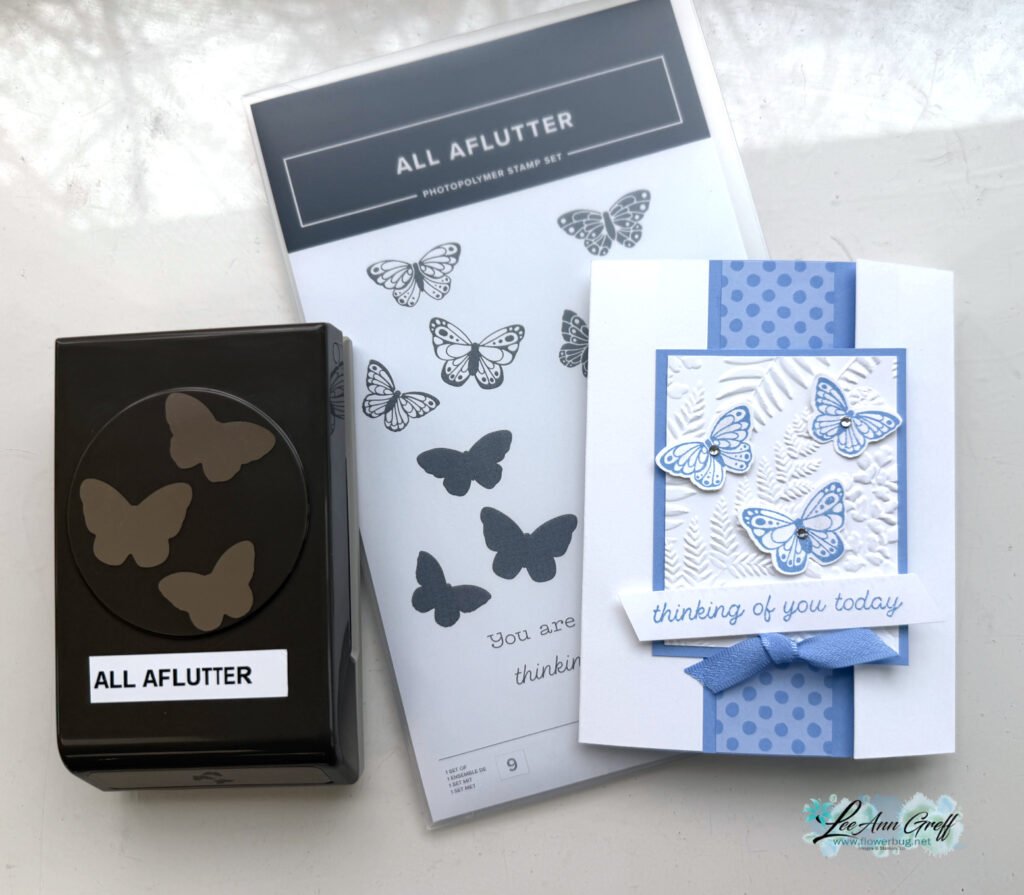
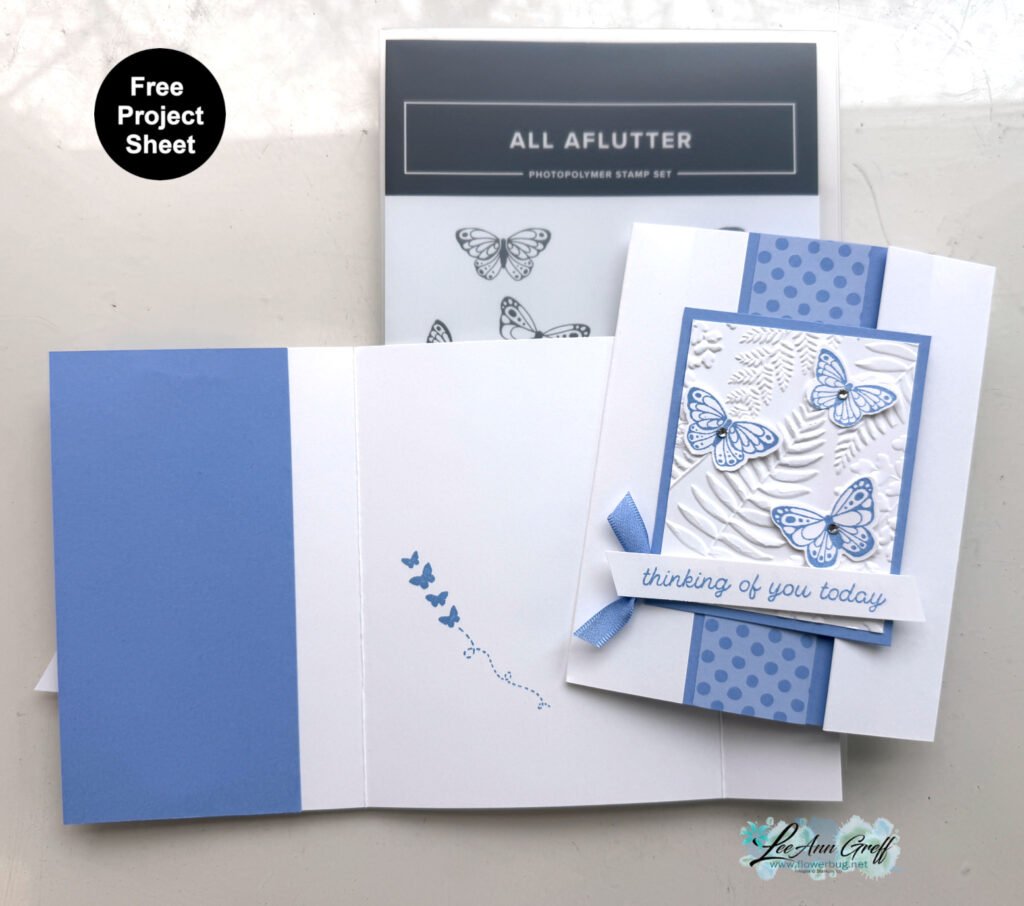
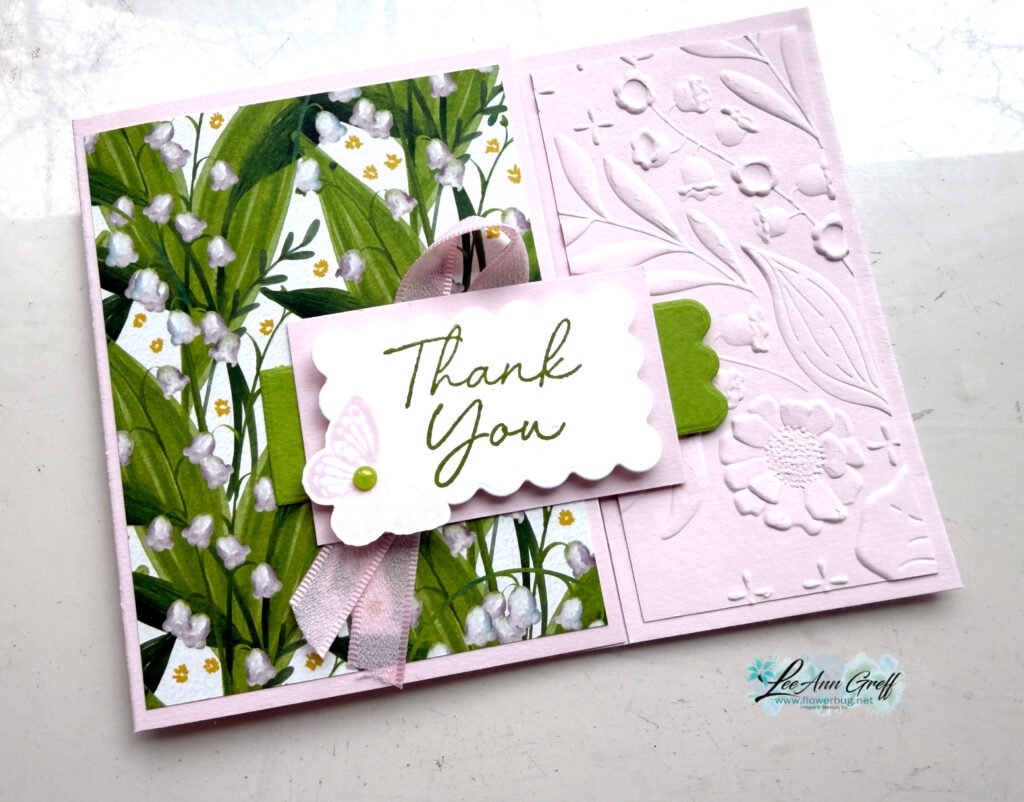
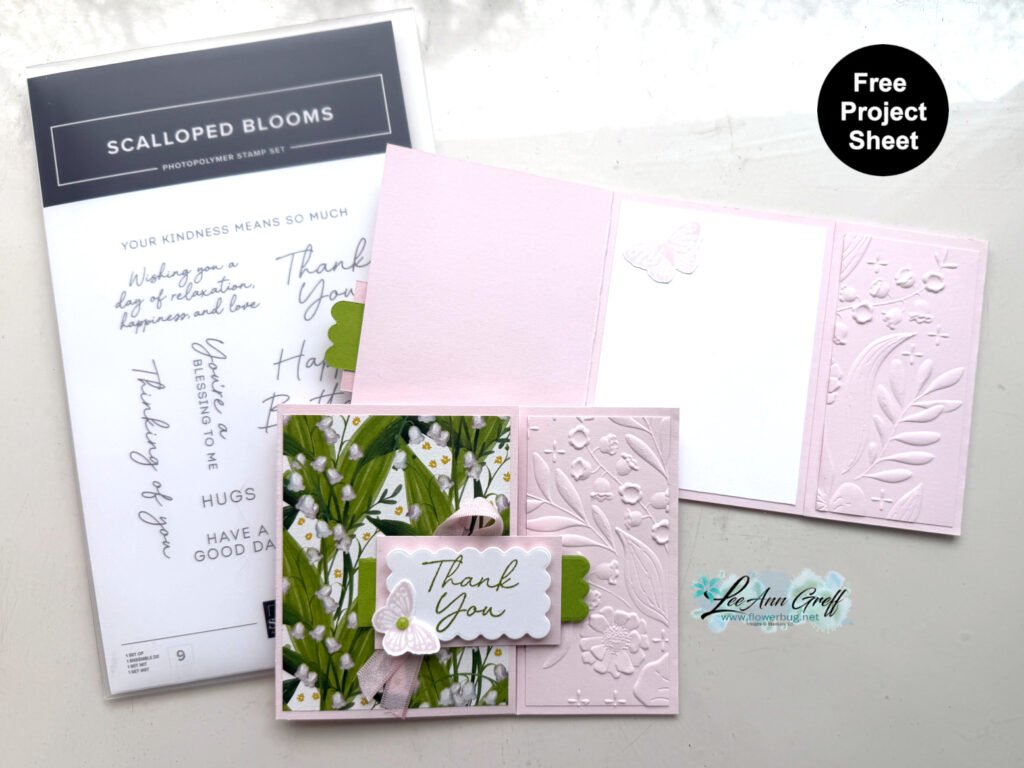
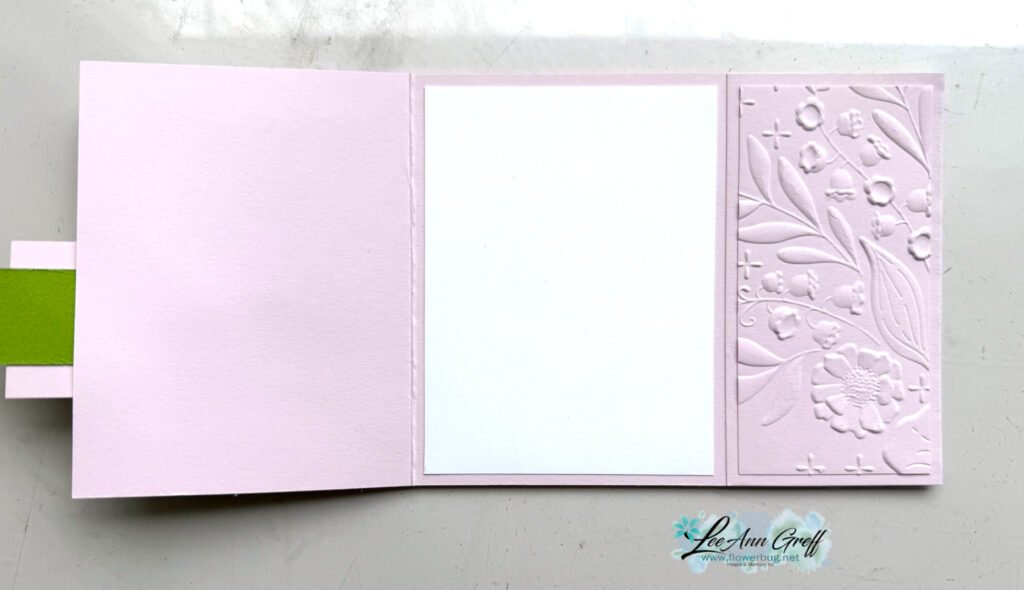
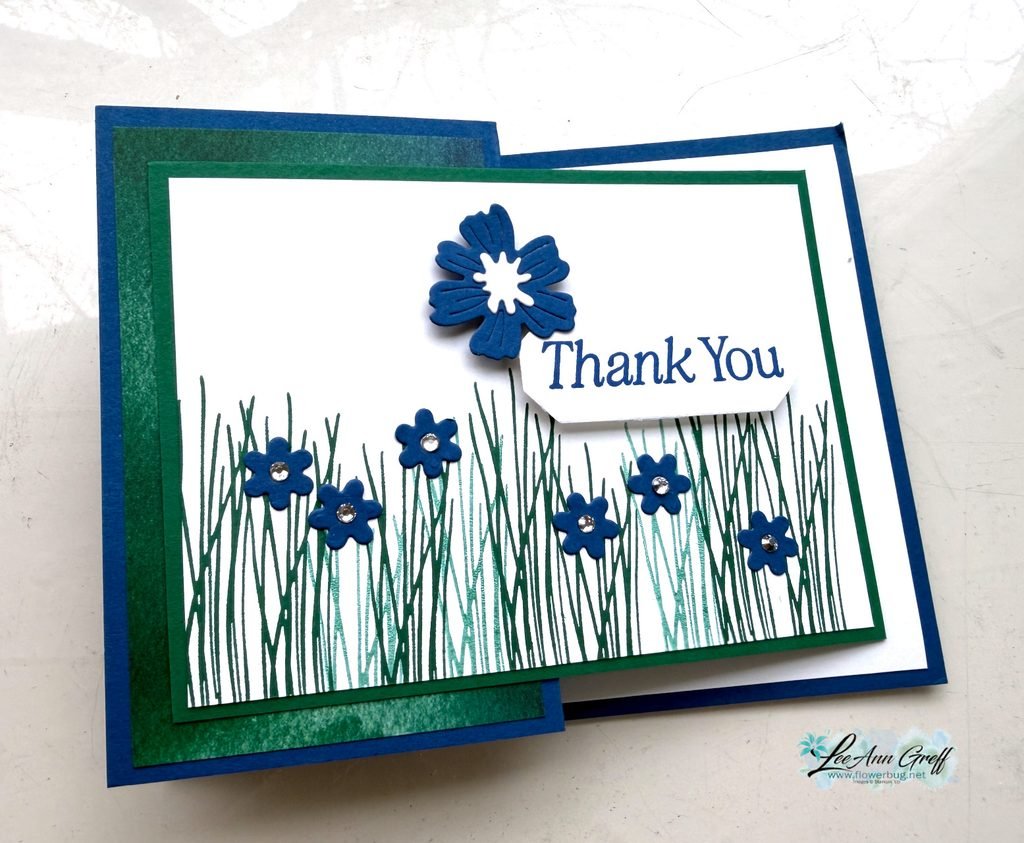
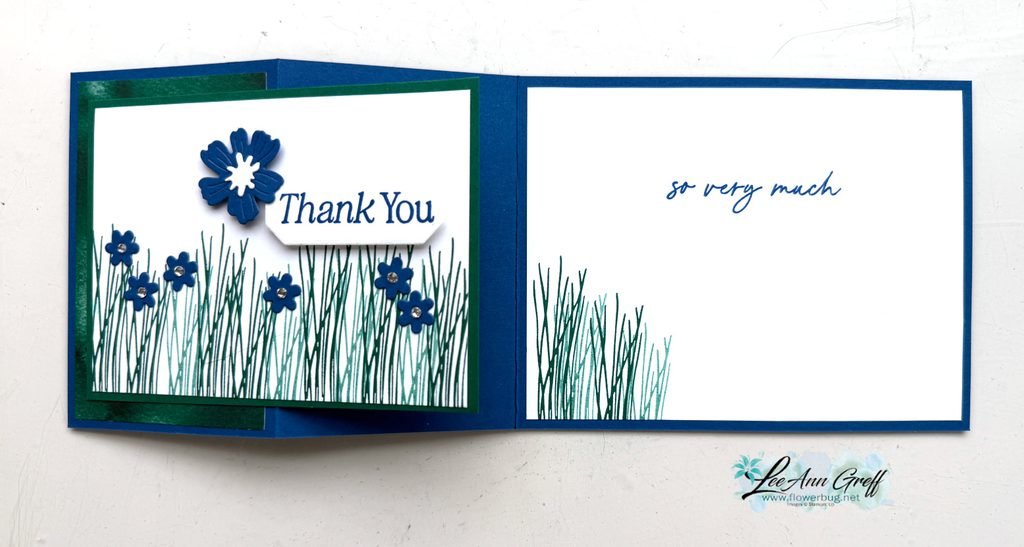
I chose to feature the Masterfully Made designer paper as the focus on this July card kit.  There are 5 designs and you'll make 2 of each. Two are fancy folds. 

*this kit is not included in my July special of buy 2 past kits and get a free stamp set.

You'll receive the following in this pre-cut kit, which is sent out at the end of July:

  • 1/2 pkg. Masterfully Made DSP (6" X 12")
  • two colors of baker's twine
  • a share of Adhesive-backed sequins trio
  • All pre-cut pieces for the 10 cards including punched & die-cut pieces
  • the free PDF tutorial 

*This kit is what my monthly subscribers will receive. If you're interested in receiving a kit each month  Click here. My subscribers get a surprise product in their package every few months. 

The tutorial includes photos, step by step directions, a supplies list and measurements.  You'll receive the PDF tutorial in an email immediately after payment.  Please check your spam or junk folder. 

The pre-cut kit with tutorial is $28 plus shipping.  See it here. 

The PDF tutorial is $15; see it here. 

To complete the cards you will need the following: greeting images, Berry Burst, Pretty Peacock & Navy inks, a paper trimmer for your new DSP and adhesives.  

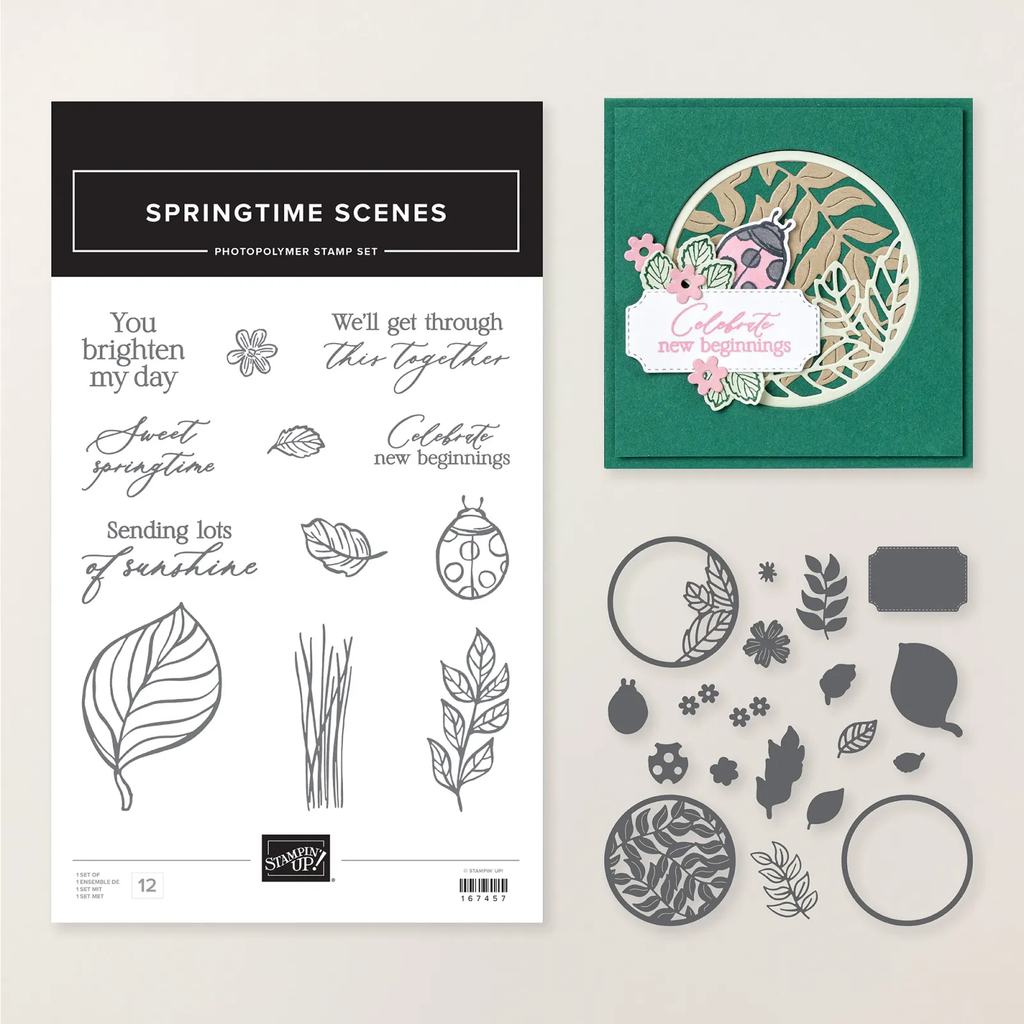
I used the Layering Leaves & Gorgeously Made stamp sets for my greetings & other images. You can substitute other stamps.

*If you'd like to add either one to the kit (or the Gorgeously Made bundle) at an extra 10% off, please message me here and I'll send you an invoice.

*add on one or more kits and save on shipping. 

*If you're interested in my July special of purchasing two 'past kits' and getting a free stamp set see them here. The July kits (Masterfully Made & One Horse Open Sleigh) are not included in this offer. 


~~~

July Specials: 

Bonus Days!

Get a $5 coupon for each $50 order you place in July.  Use the coupon in August!

There's a Clearance Rack update!

See all items available here

NEW Online Exclusives 

See them all here

~~~

My monthly special for online orders:

Get a free card kit & a new Beautifully Happy stamp set 

with online orders over $65; must use a host code.

*current host code: MY4YDGEM

All Posts

  • Save time on finishing the inside of your cards with this trick!


    I’m excited to share these stunning snowflake cards with you today. We made them at my card clubs in December.
    Living in North Dakota, we usually see a lot of snow in the winter so these cards are great for many occasions.

    I used the Snowflake Kisses bundle seen here. It’s filled with wonderful greeting images and lots of snowflake dies.

    My colors include Pretty Peacock with Cloud Cover and Gorgeous Grape with Fresh Freesia. I think blues & purples are perfect for snowflakes. We used a blending brush to add more color to the large snowflake die-cut.

    After creating the cards above I thought I’d try combining the colors on the large die-cut.

    Isn’t that pretty? I just love combining Gorgeous Grape with Pretty Peacock on the Fresh Freesia die-cut. Blending Brushes make this a breeze!

    Look how we finished the inside.

    I wanted to add snowflakes to the inside of the card but didn’t want to die-cut tons of them for my club gals. So I came up with creating a snowflake stencil.
    I cut multiple snowflakes from a piece of card stock and we used Blending Brushes to add pretty snowflakes to our White layer. I truly love the effect it gives.

    If you’d like the free project sheet for this card click here. You can download or print it.

    See how this card is made in the video below. I also shared a second Snowflake Kisses fun fold card.

    *You’ll receive a PDF with multiple projects featuring this product
    after the 20th of the month.
    ~~~

    The Last Chance list has been updated!
    Click here to shop.

    Get a free PDF tutorial with any online order from me in December!

    Leave a Reply

    Your email address will not be published. Required fields are marked *

  • The new Swirled Designs bundle is super fun!


    I had to point you to the new Swirled Designs bundle in our newest Online Exclusives release. It has the neatest sets of dies and stamps in it!

    See what I mean? The extra layers on the dies make them super playful and the stamps will be great for stamping backgrounds. Basic shapes like ovals and stars are something we’ll always use for multiple occasions.

    Look closer at this card made by Stampin’ Up! I love when we get new product that’s unique and we haven’t seen before.

    See what I mean? You can use the stamps to add the details to the inside of the die-cut shapes like above. I just love this card! See this bundle here.

    *You’ll receive a PDF with multiple projects featuring this product
    after the 20th of the month.
    ~~~

    The Last Chance list has been updated!
    Click here to shop.

    Get a free PDF tutorial with any online order from me in December!

    Leave a Reply

    Your email address will not be published. Required fields are marked *

  • The Branching Out bundle is retiring! Check out this fun fold card with video tutorial!


    We made this card earlier this fall and I realize I haven’t shared it with you yet. I also made a video too – scroll down….

    The colors include Pecan Pie with Crumb Cake, Early Espresso & Shaded Spruce. I used various wood-like designer series papers for the side panel. See how it has a double fold?

    Also notice the ‘white’ snow on the pine boughs plus snow in the background. You can achieve that without heat embossing. We used White Craft ink and stamped over the pine. Easy & a fun accent!

    The stamp set is retiring but the dies are not. The bundle is on the last chance list now. Click here to see it.
    It’s been one of my favorite products in our Holiday catalog this year. It’s timeless and can be used for fall, winter or Christmas!

    Besides the video tutorial here’s a free project sheet for you too. Click here to download or print it.

    I’m glad the dies are not retiring but I have to say the stamp set is among my top 5 favorites!

    Below is the video tutorial which gives you tips on stamping the branches with the pines and pine cones.

    *You’ll receive a PDF with multiple projects featuring this product
    after the 20th of the month.
    ~~~

    The Last Chance list has been updated!
    Click here to shop.

    Get a free PDF tutorial with any online order from me in December!

    Leave a Reply

    Your email address will not be published. Required fields are marked *


Notice: LeeAnn Greff, Independent Stampin’ Up! Demonstrator, Manager. The content of this website is my sole responsibility as an independent Stampin’ Up! demonstrator and the use of, and content of, the classes, services, or products offered on this website is not endorsed by Stampin’ Up! Copyright 2025