/


Latest Post

Striking and fun Black Magic technique with video!


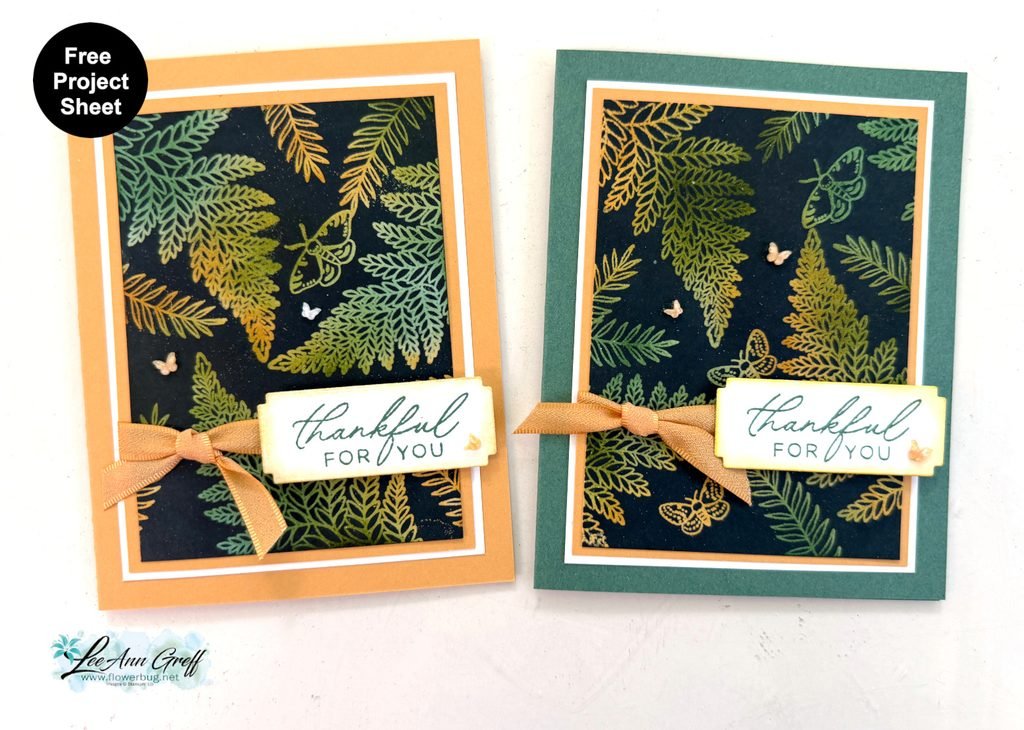
I shared this pretty card on last week’s Live video. It’s the Black Magic technique!
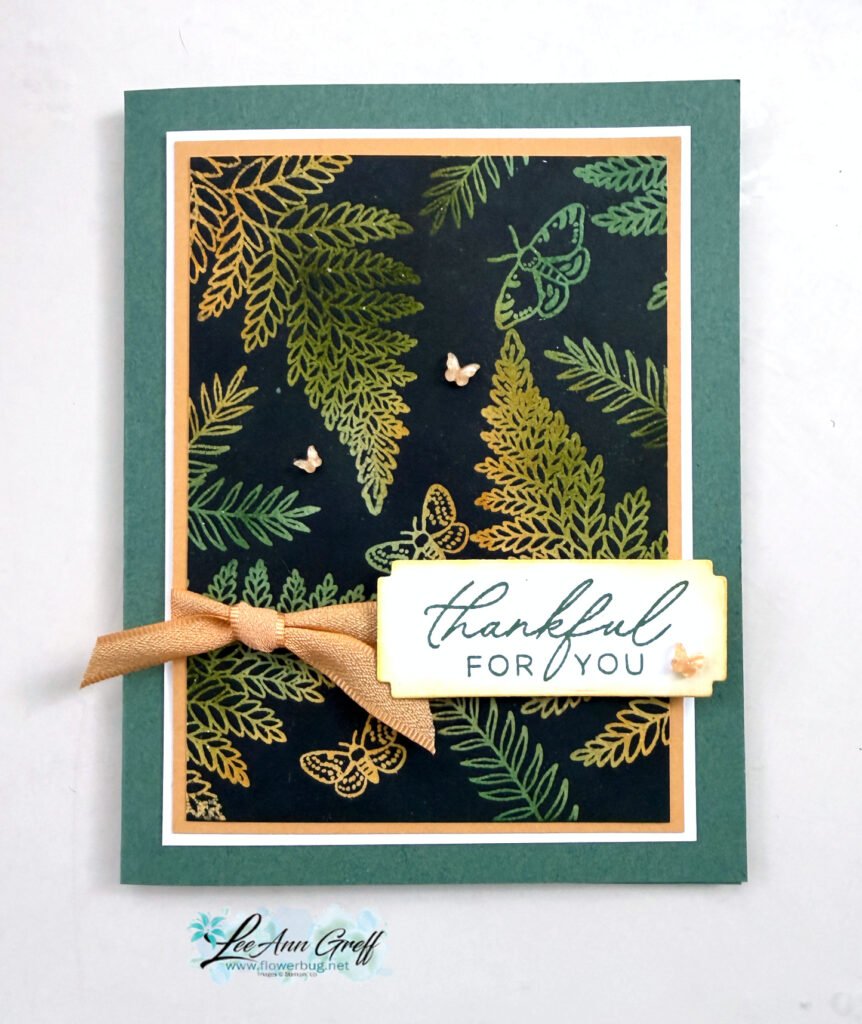
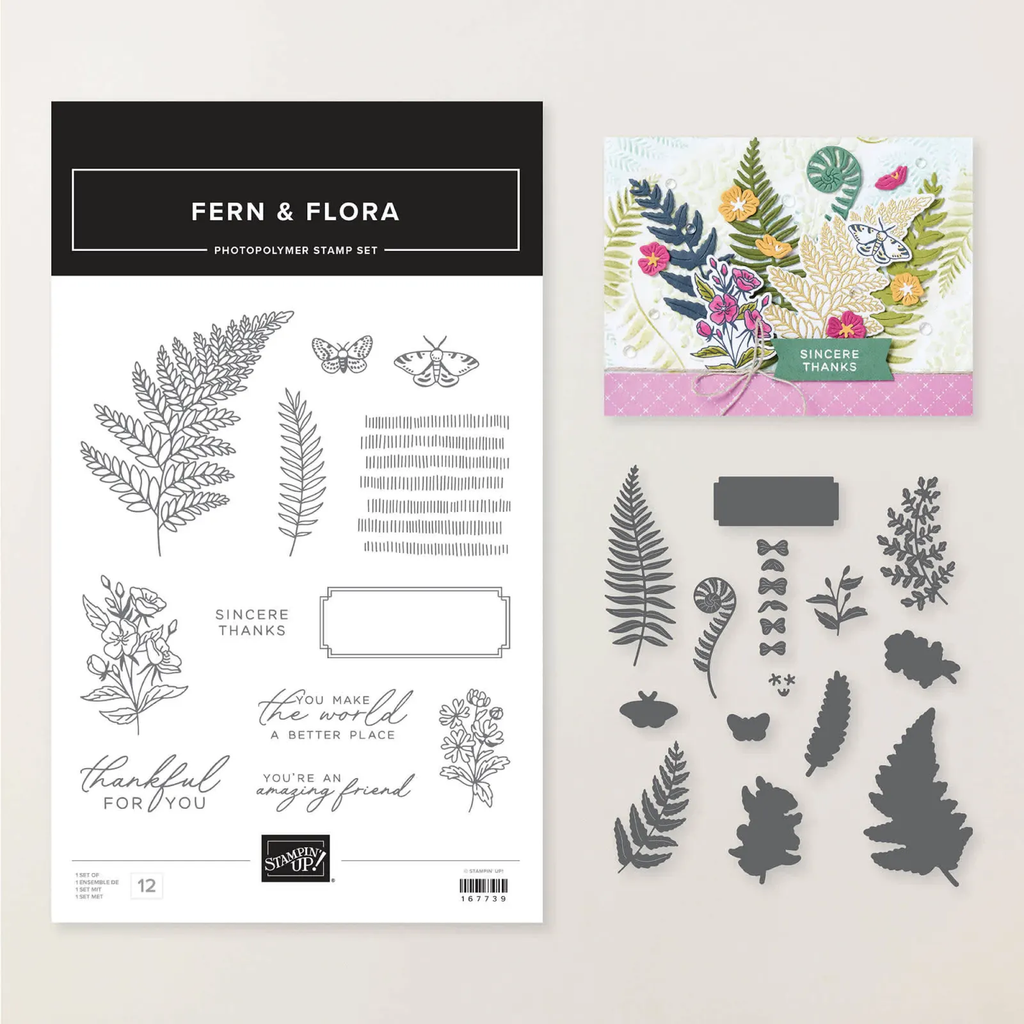
My colors include Peaceful Pine, Old Olive (ink only), Golden Glow and White. It features the Fern & Flora bundle seen here.
What is the Black Magic technique? It’s where you start with a light neutral piece of card stock and add color with sponges or markers. Then stamp images in Versamark and heat emboss with clear embossing powder. The magic happens when you cover it completely with a water based ink (here I used Secret Sea). Then wipe off the ink that does not ‘stick’ to the heat embossed areas. True magic!

Watch my video tutorial further below to see this technique in action.
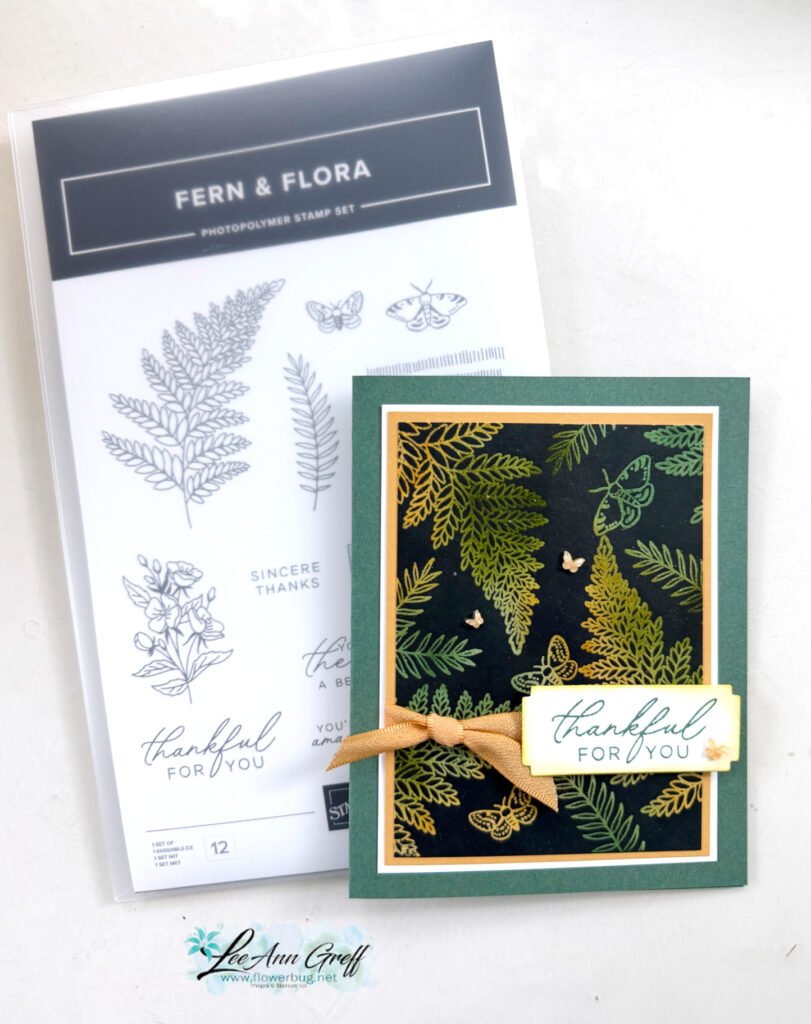
On this card I used mostly the stamp images; only the greeting die-cut is from the dies. I added a few In Color butterfly gems and the pretty Golden Glow ribbon too.

I created a free project sheet for this card; click here to download it or to print it.

I made one with Golden Glow as the card base and the other as Peaceful Pine as the card base.
Below is the video tutorial for this card and another.

All Posts

  • Wow; Mixed Florals Reverse Image Technique with window sheets!


    I'm continuing to share our July team swaps featuring window sheets. 

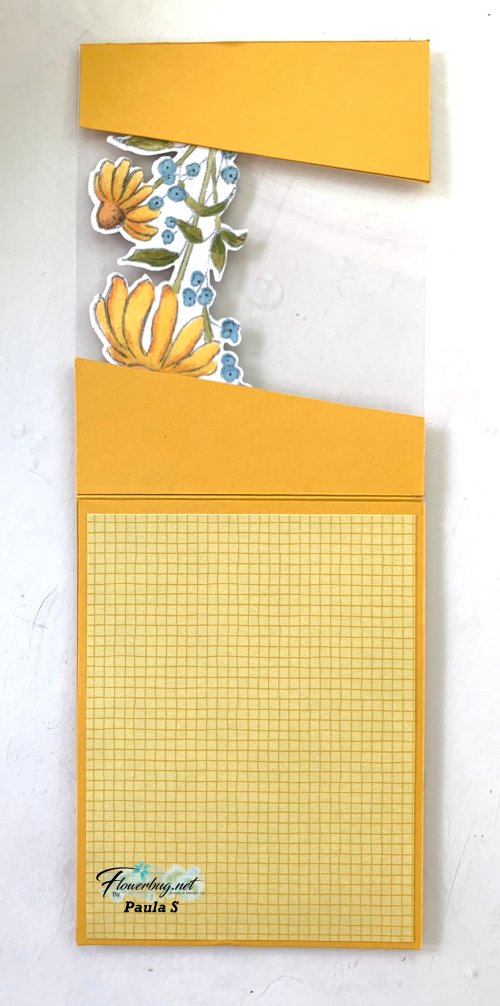
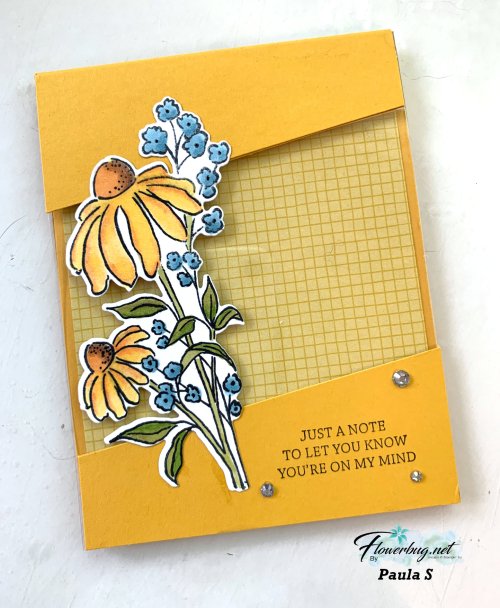
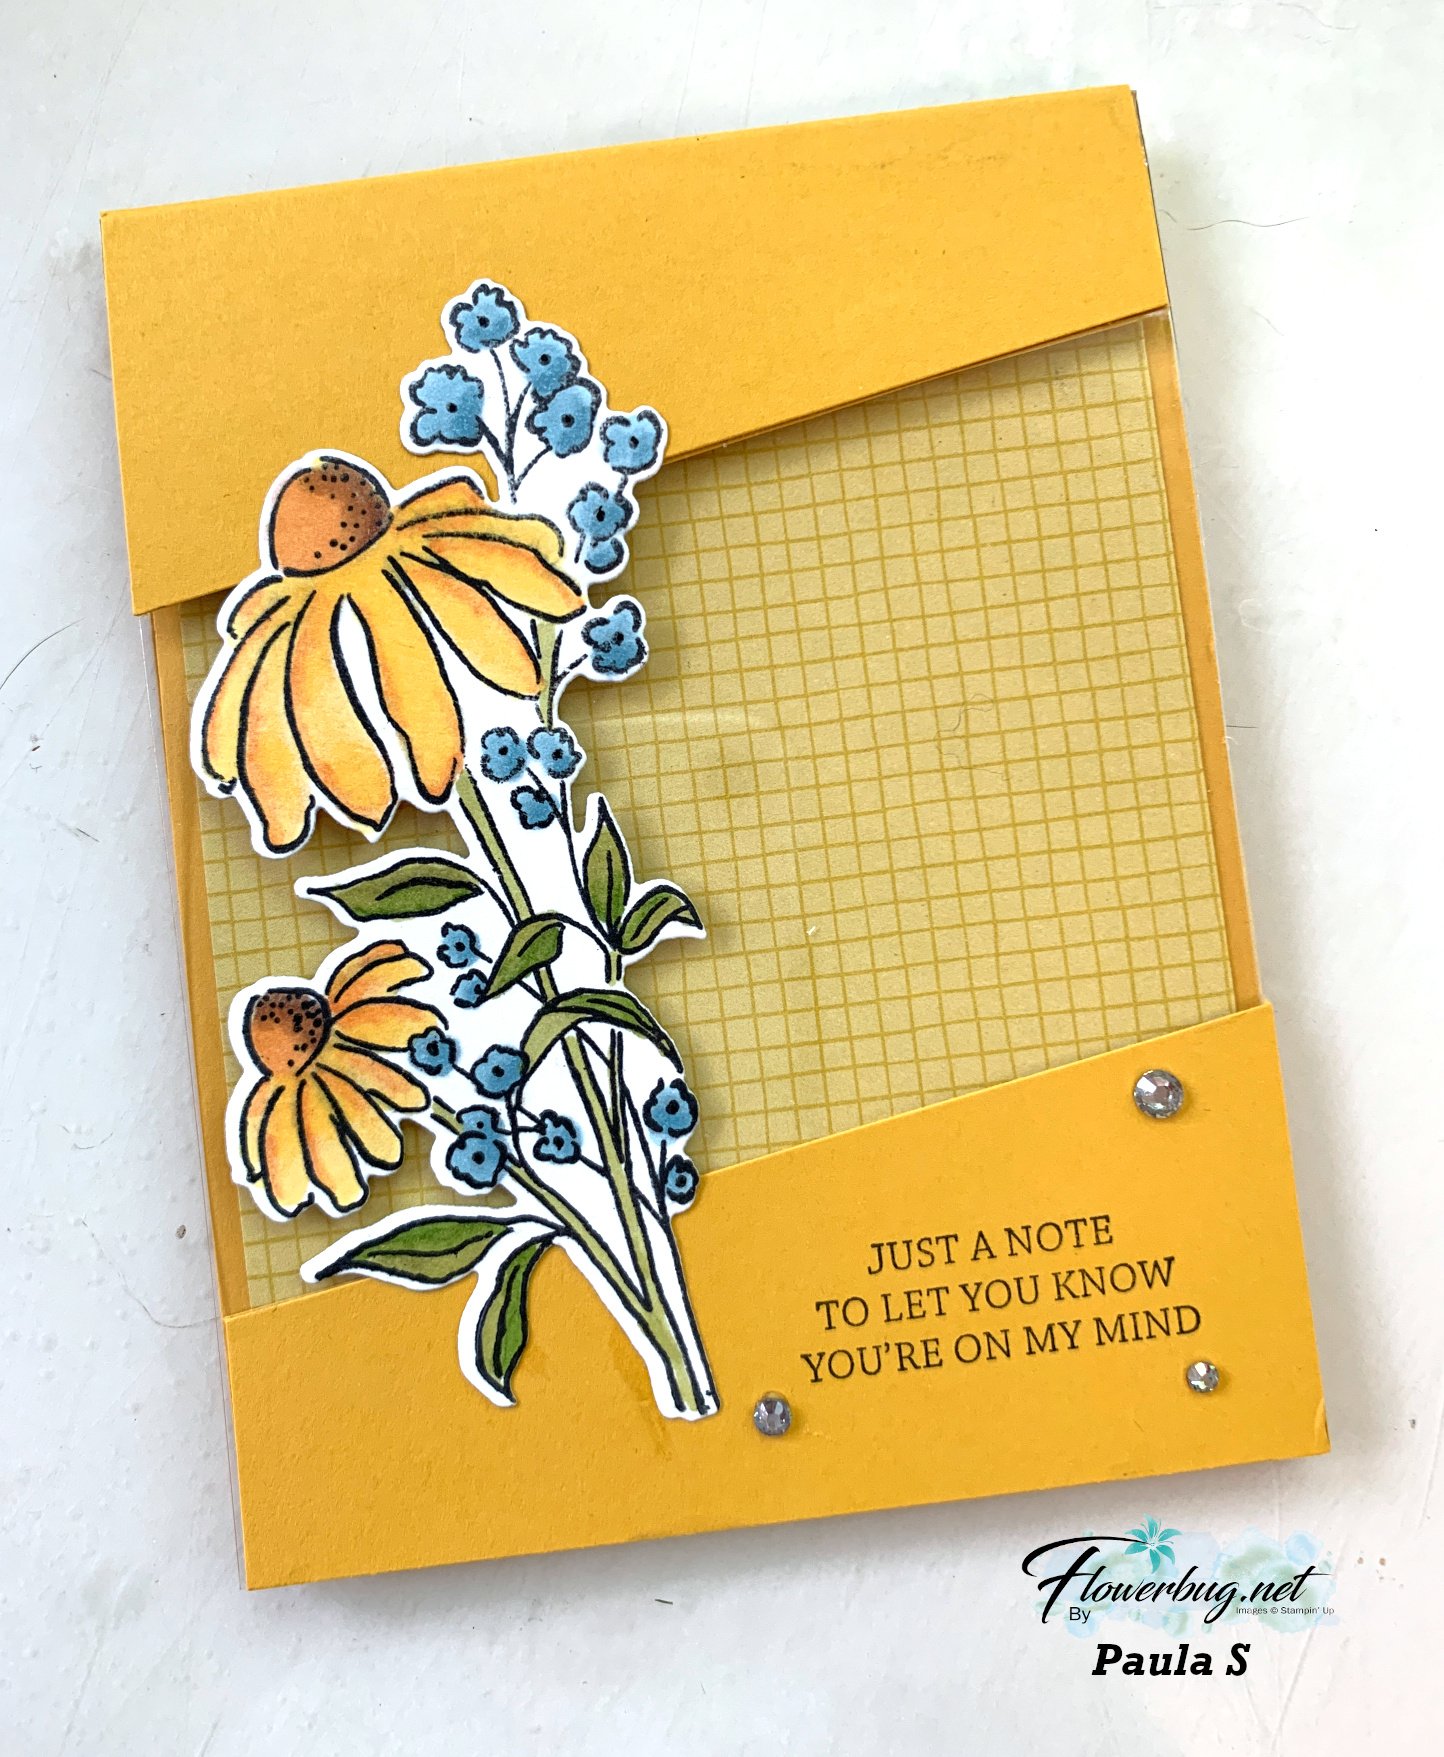
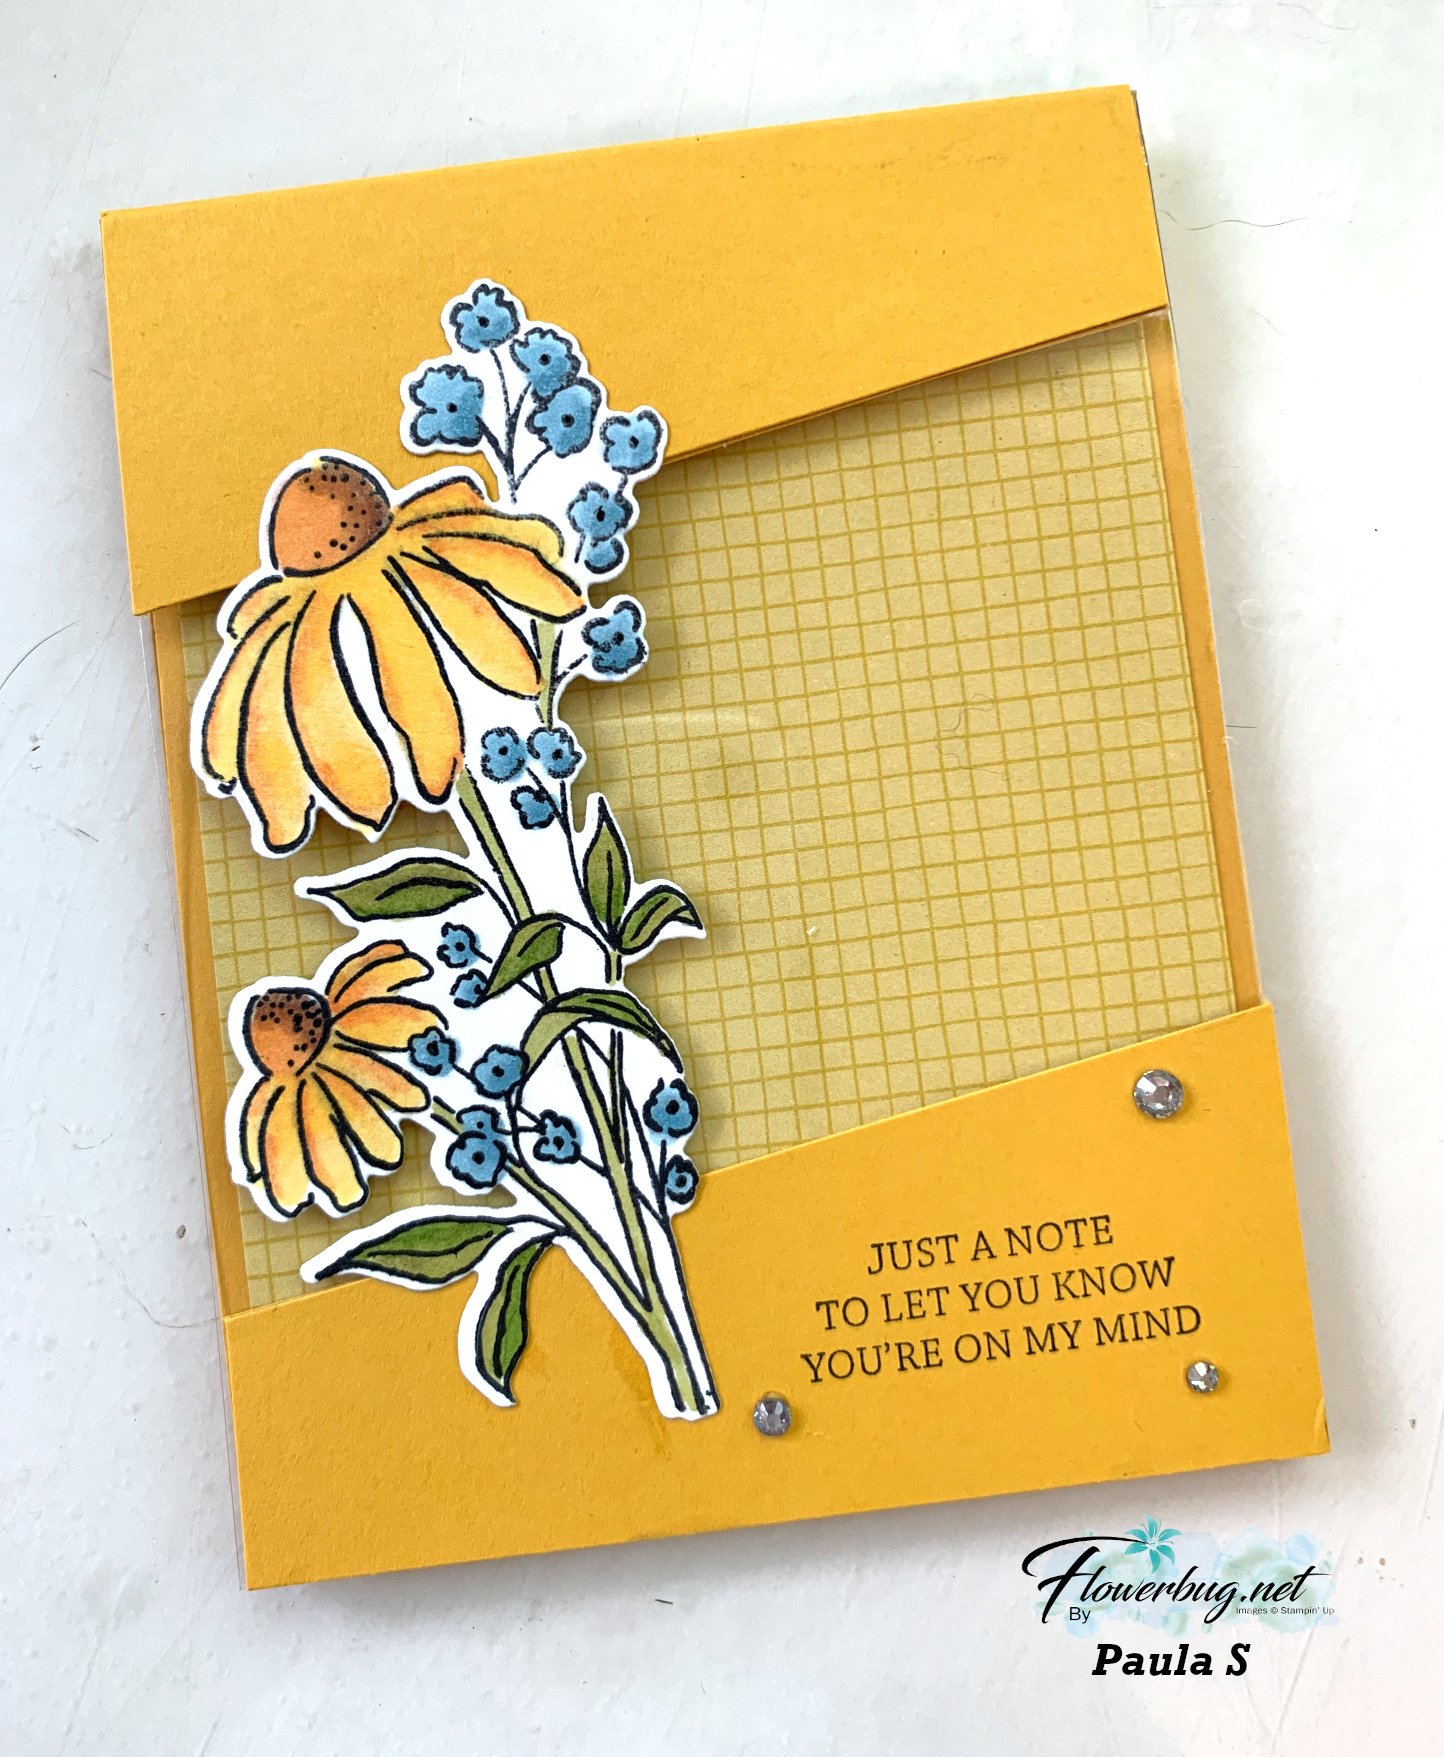
    Look at the stunning card made by Paula. For her card swap she made a Reverse Image technique cased from Kylie Bertucci.  

    The stamp & die bundle is called Mixed Florals and can be seen here.

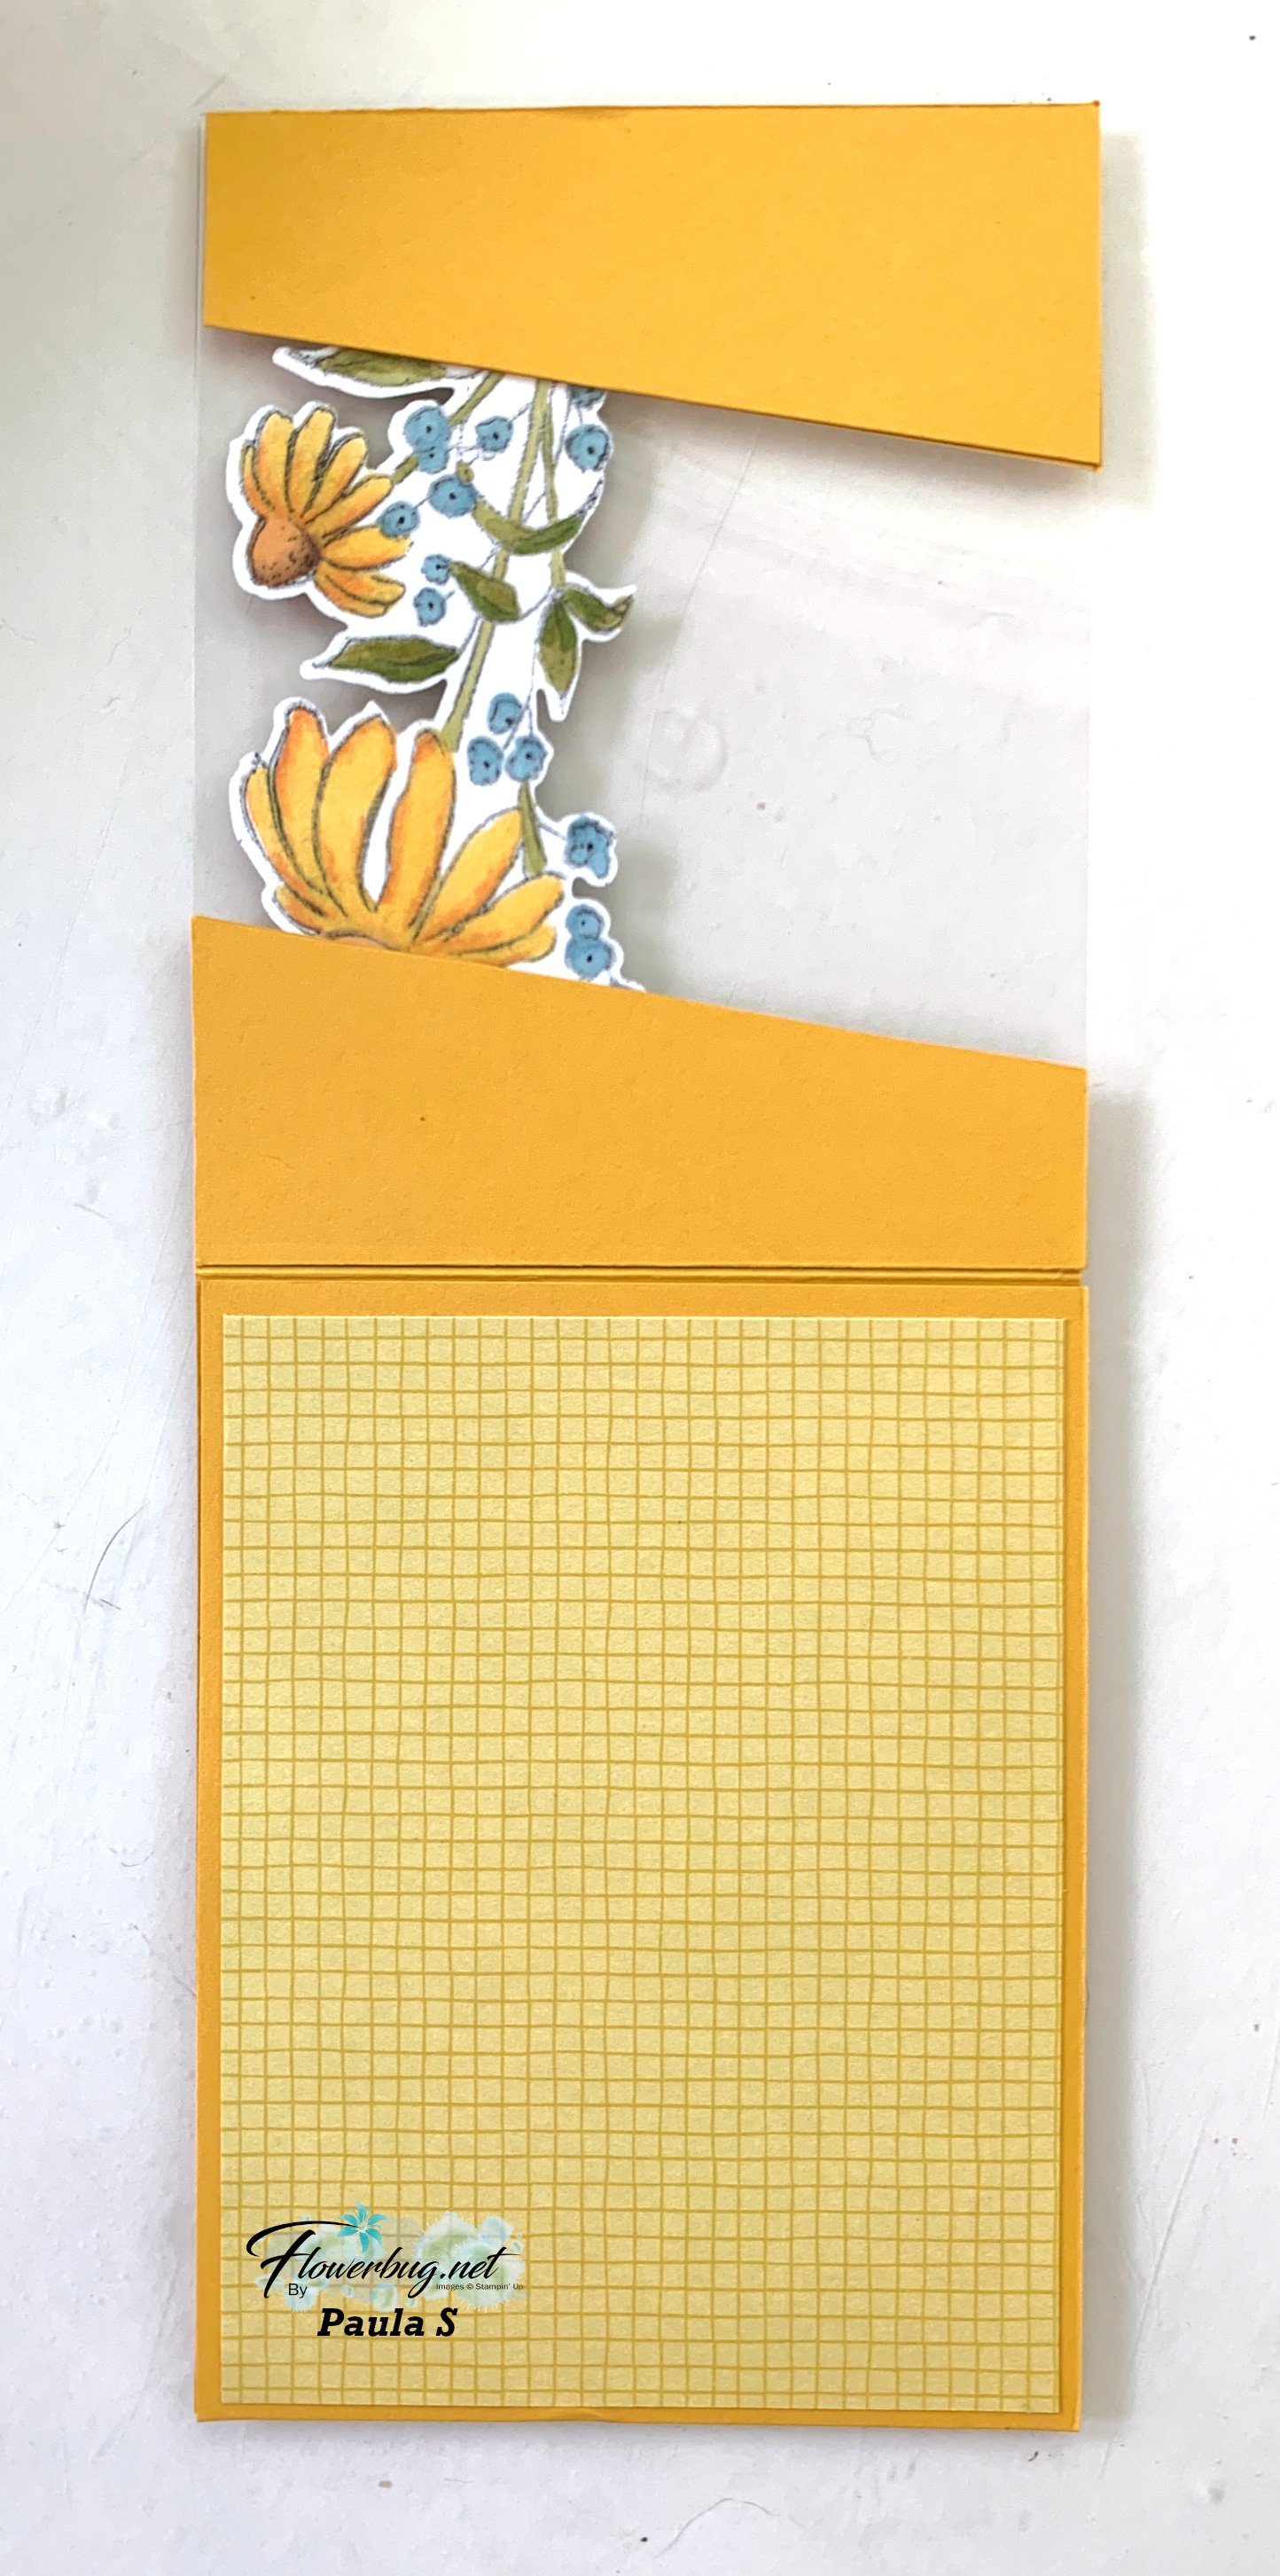
    She used Crushed Curry for her card base and Floral Impressions designer paper.  I'm so impressed by her gorgeous coloring with the Blends markers!  What pretty shading she achieved! 
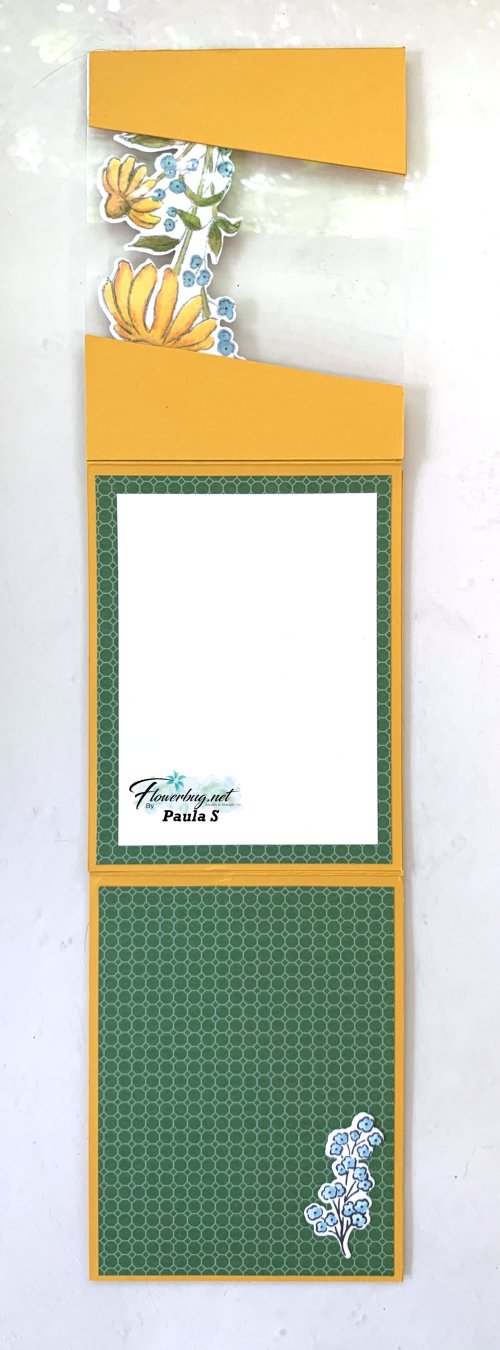
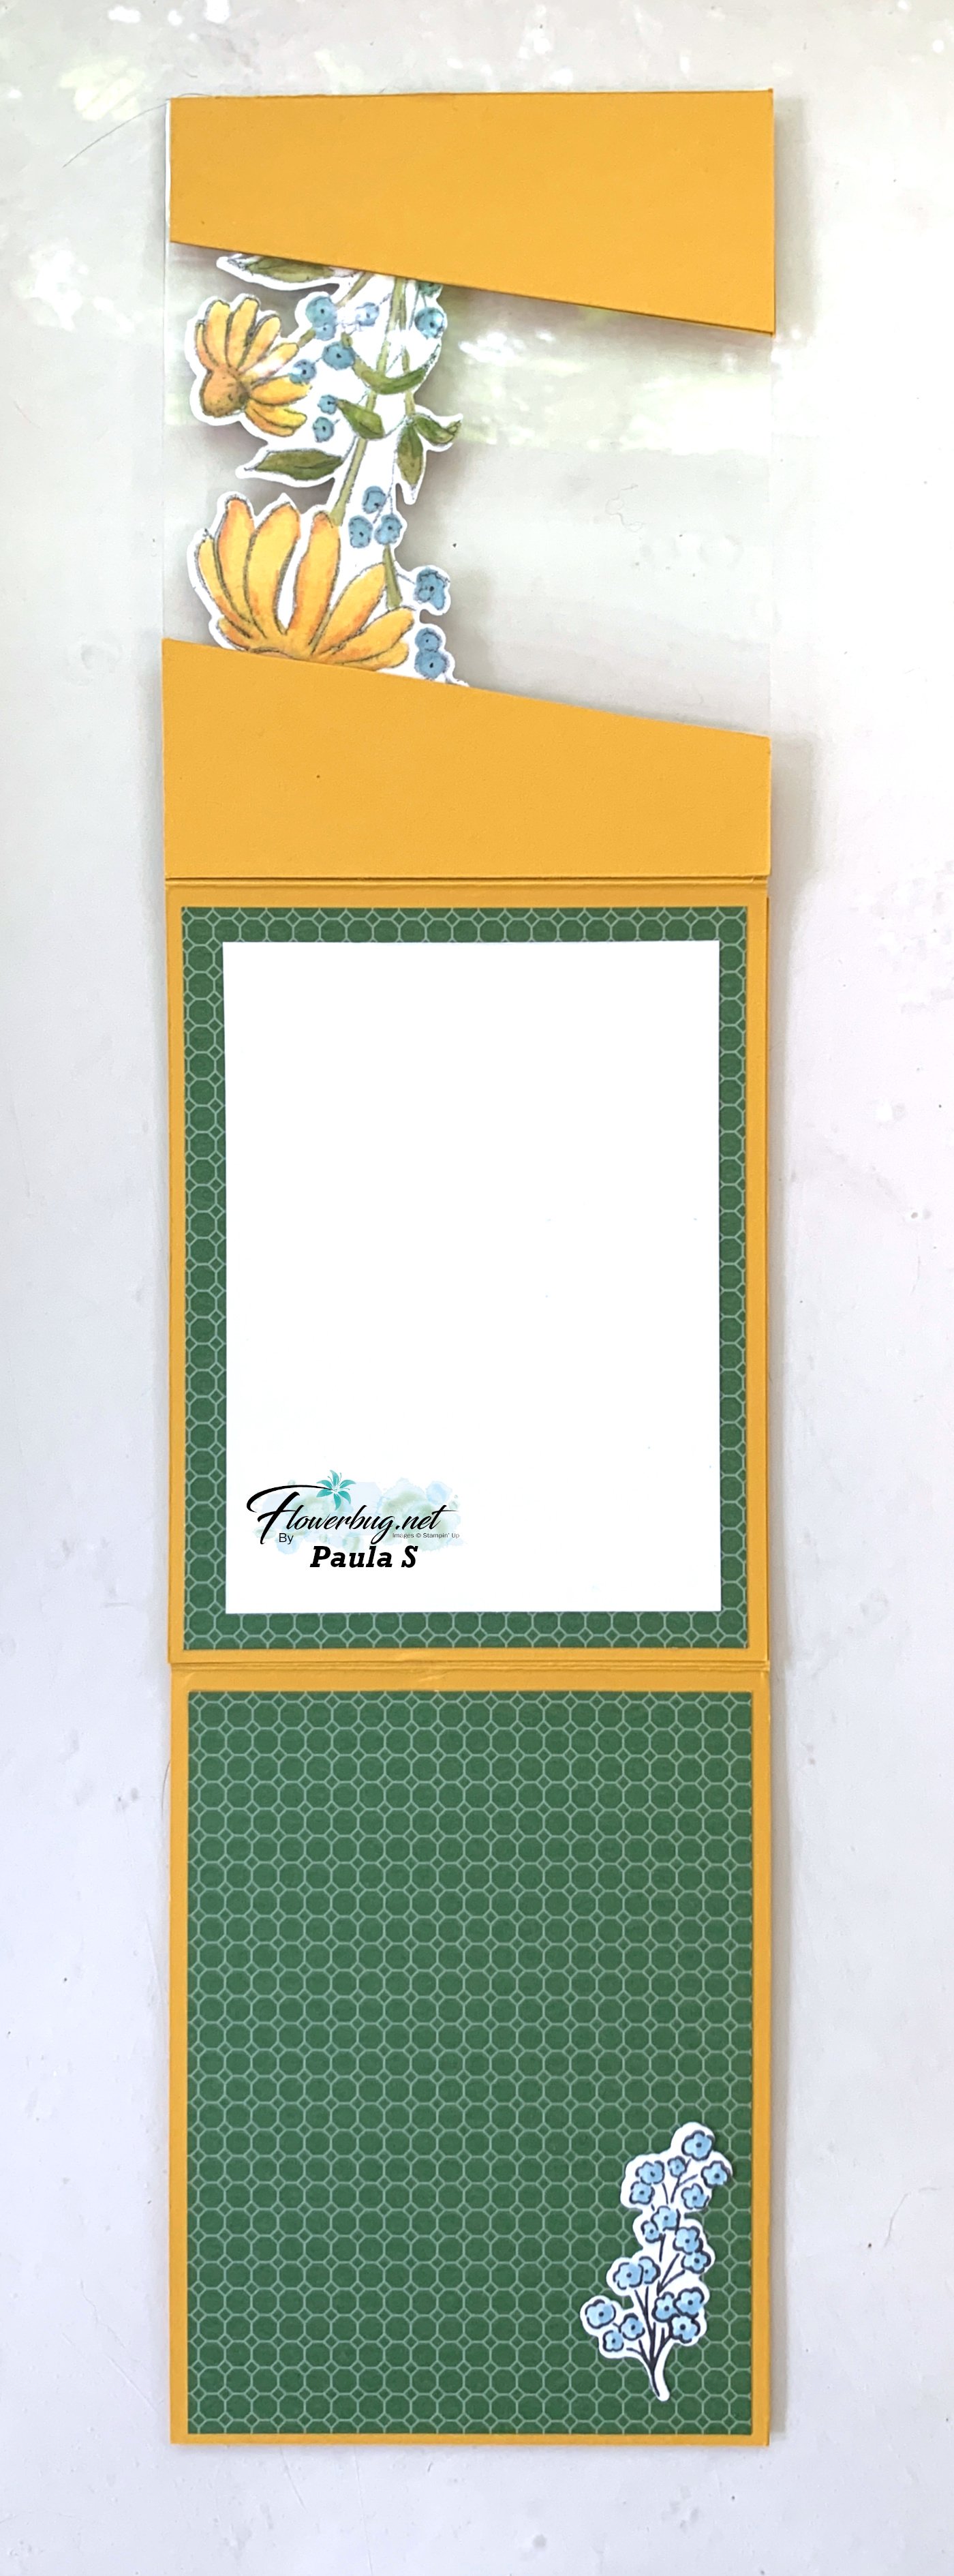
    Below you can see how she also colored the reverse side so when you flipped up the card front it's just as pretty on the inside!  So neat.  I also love the diagonal slant on the front. 

    The card opens to reveal 3 layers!  

    Measurements:

    • Crushed Curry card base- 1 at 4 1/4" X 11" scored at 5 1/2", another at 7 1/4" X 4 1/4" scored at 5 1/2" (cut on the diagonal) and two extra slat pieces to cover both front & inside of the card. 
    • DSP – 4" X 5 1/4" X 3 pieces
    • White inside 3 1/2" X 4 3/4"; plus die-cuts 


    Thanks so much for your creative & beautiful card Paula! 

    ~~~

    July Specials:


    New Online Exclusives are here!  Click here

    ~~~

    Get my Turtle-y Cute PDF tutorial free with any online order in July!

    Leave a Reply

    Your email address will not be published. Required fields are marked *

  • Free Shipping starts today! Get an extra $10 in rewards with me. Adorable Tractor & Co card


    Today starts the Free Shipping promotion that lasts for 3 days! And I'm adding on to your rewards too!

    When you order $75 in product from me you'll receive an extra bonus of $10 in product rewards. Here's how it works:

    • Once your order reaches the $75 mark (before tax) the free shipping will kick in. 
    • You'll automatically receive 10% product rewards from Stampin' Up! 
    • I'll gift you an extra $10 in rewards to your online account.  *you must opt in for both contact and gift rewards though.  
    • You'll have up to a year to redeem these rewards. 
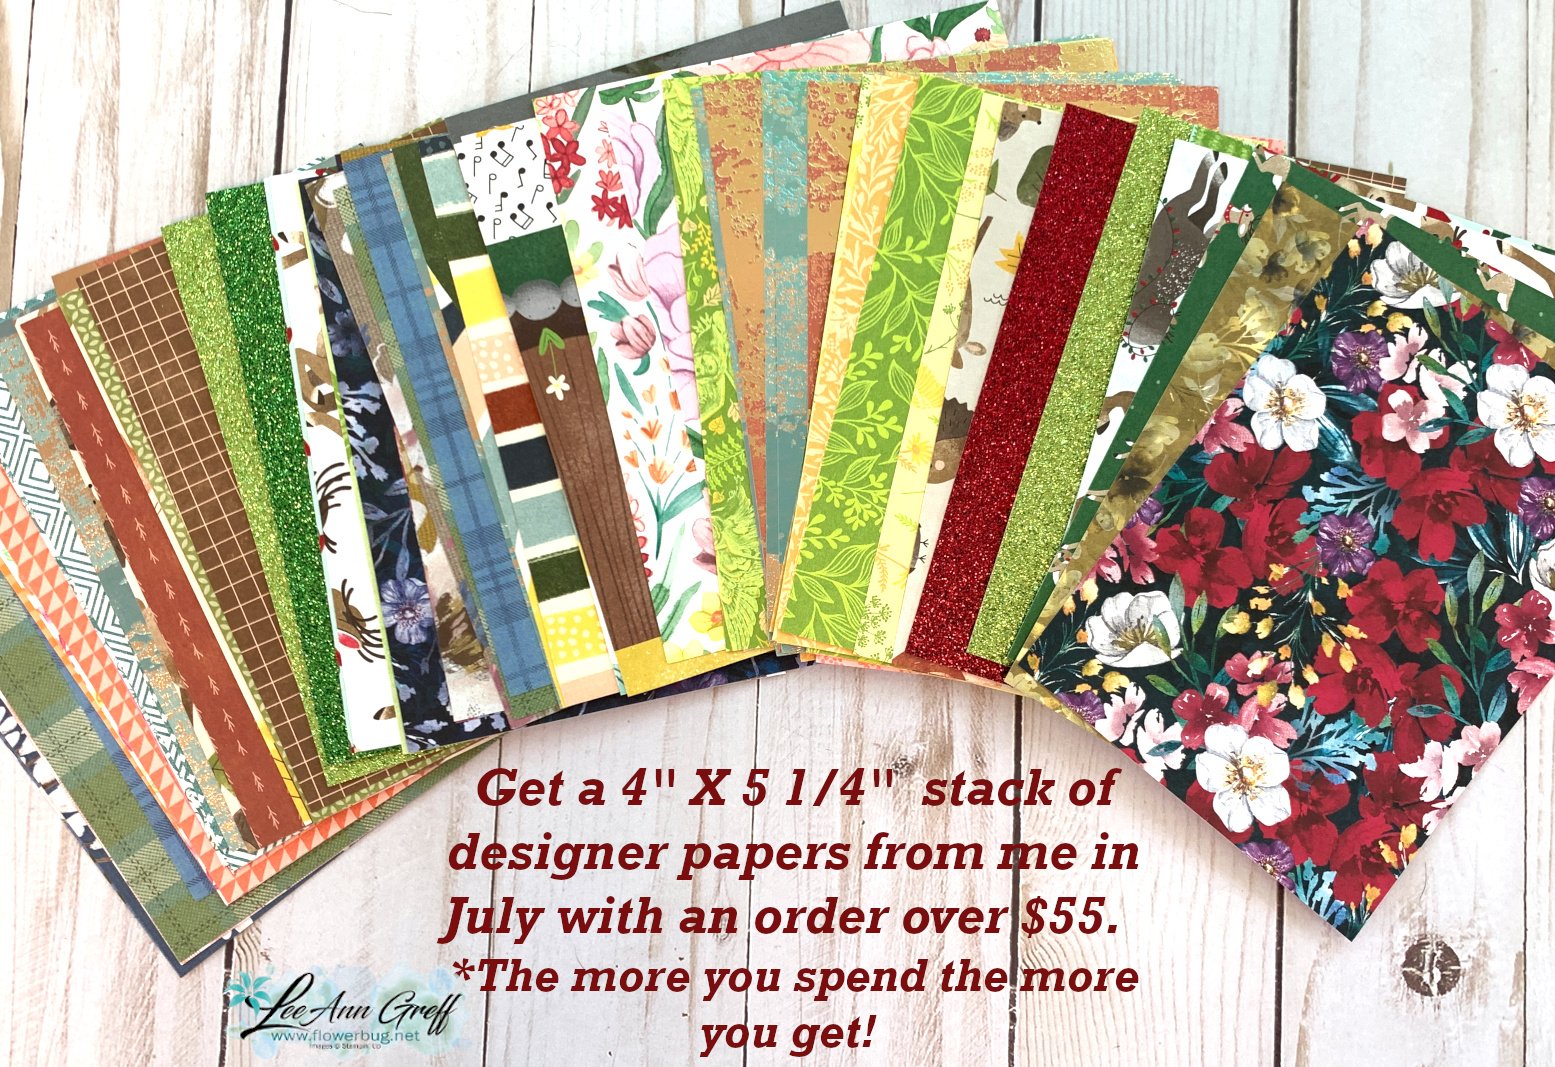
    • You'll also receive a gift of a DSP sampler from me as well (see details below). 

    Shop online here. 

    ~~~

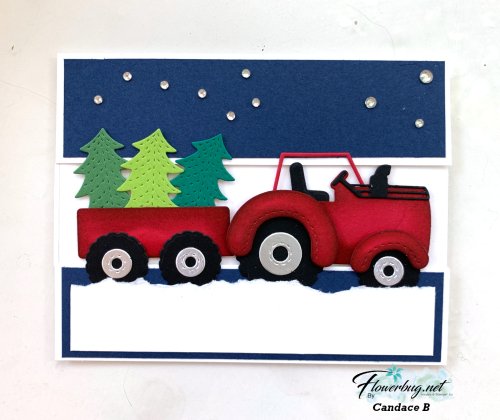
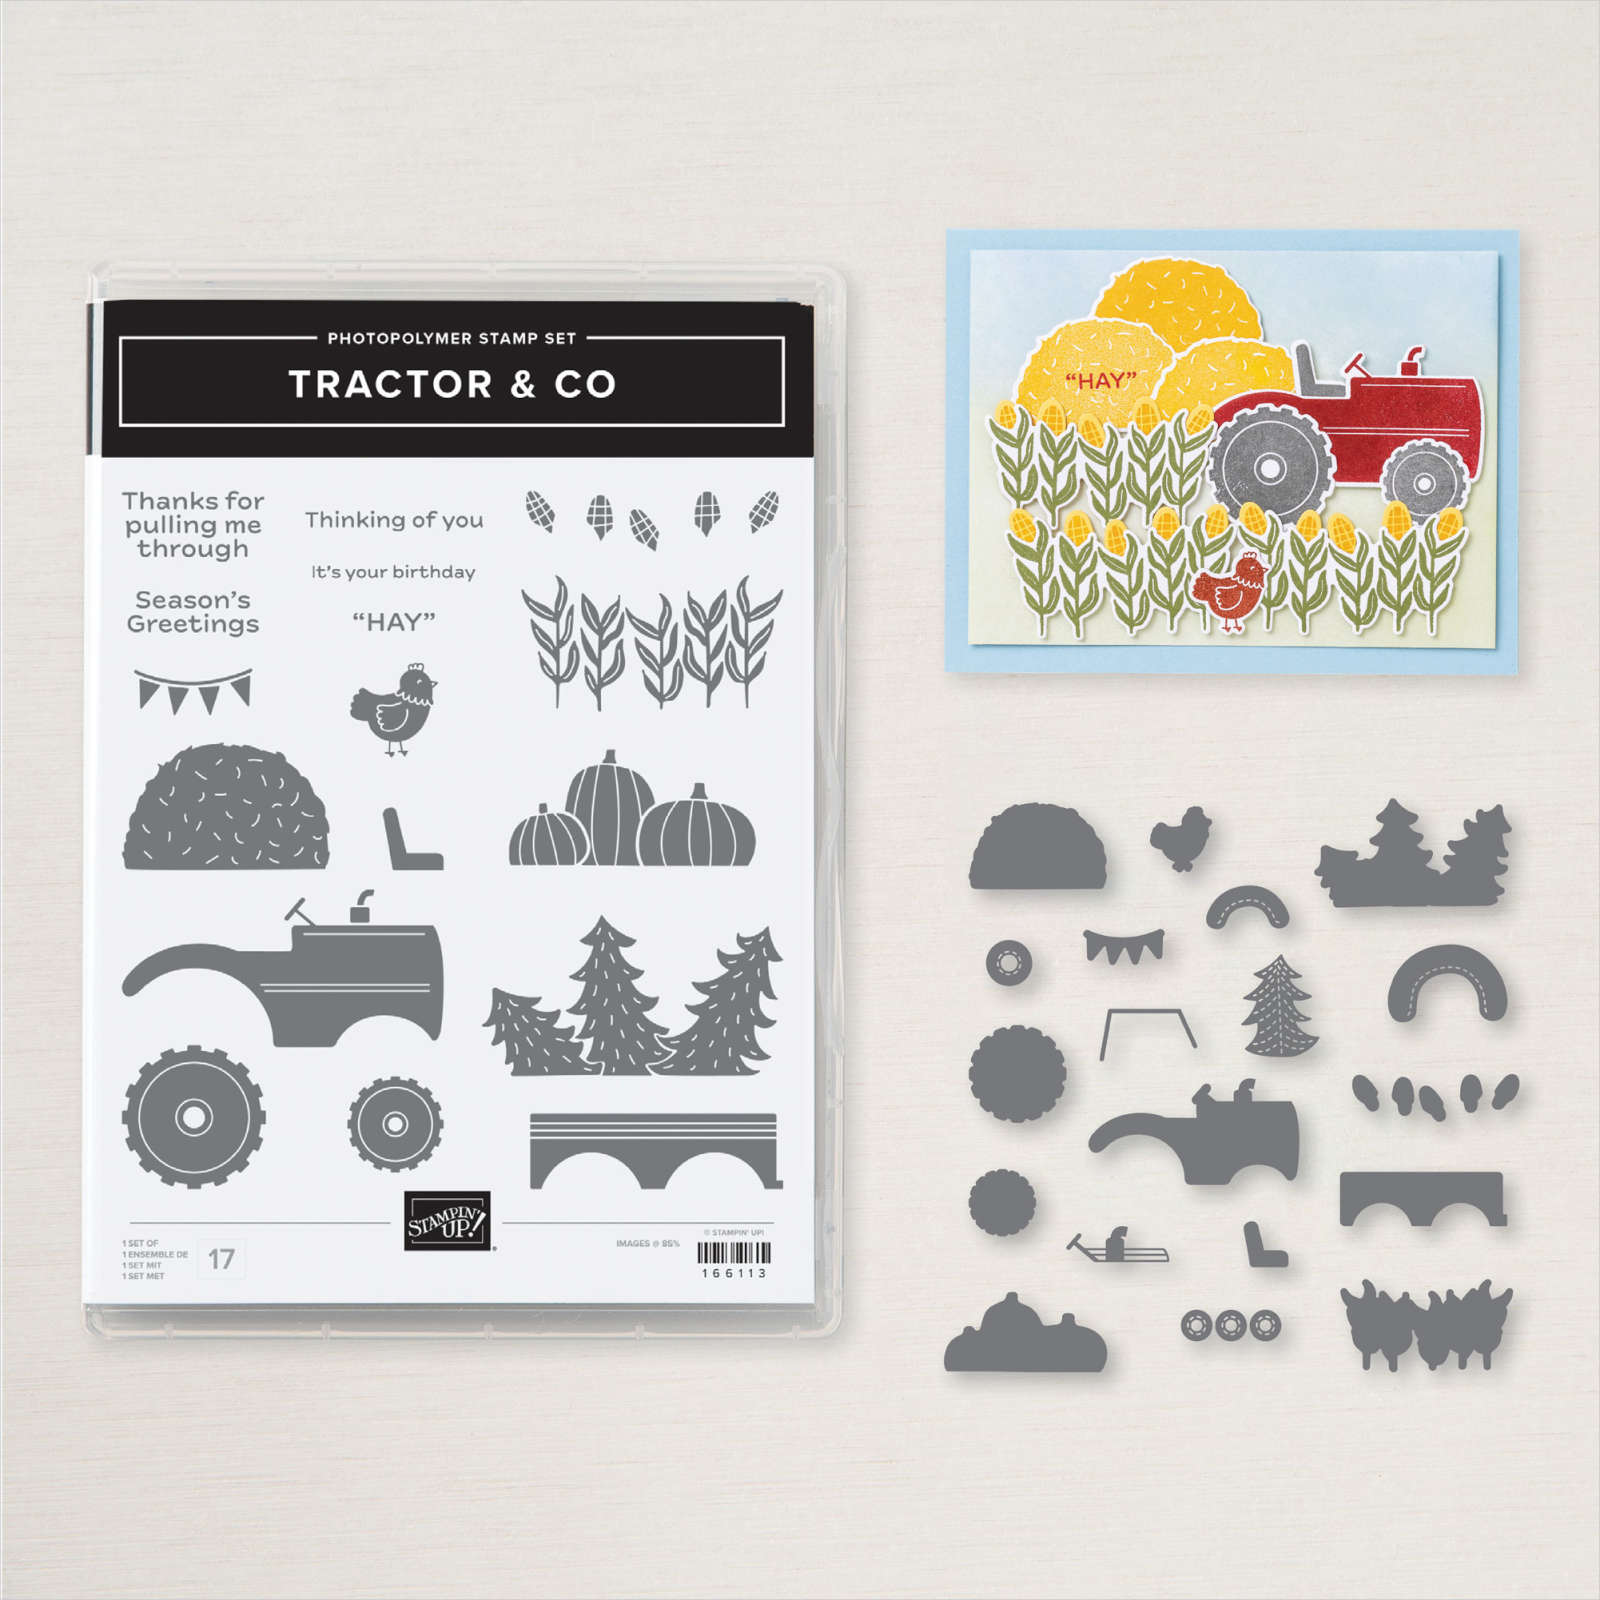
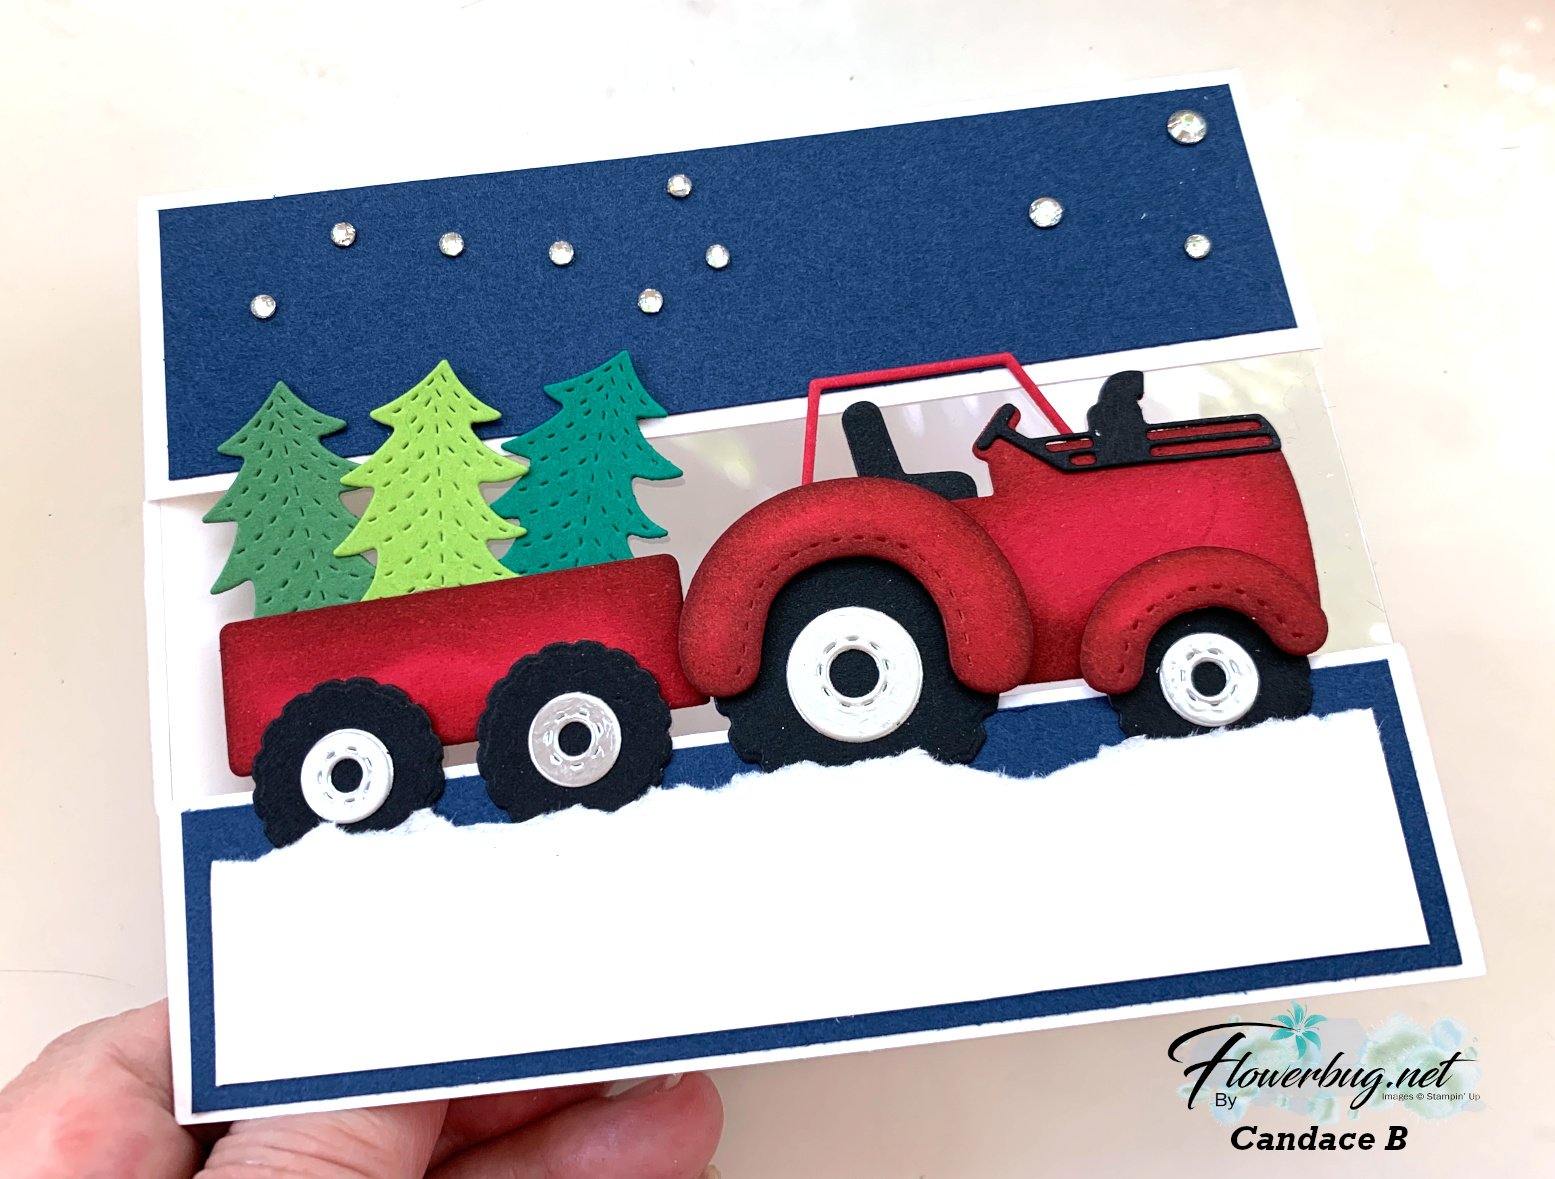
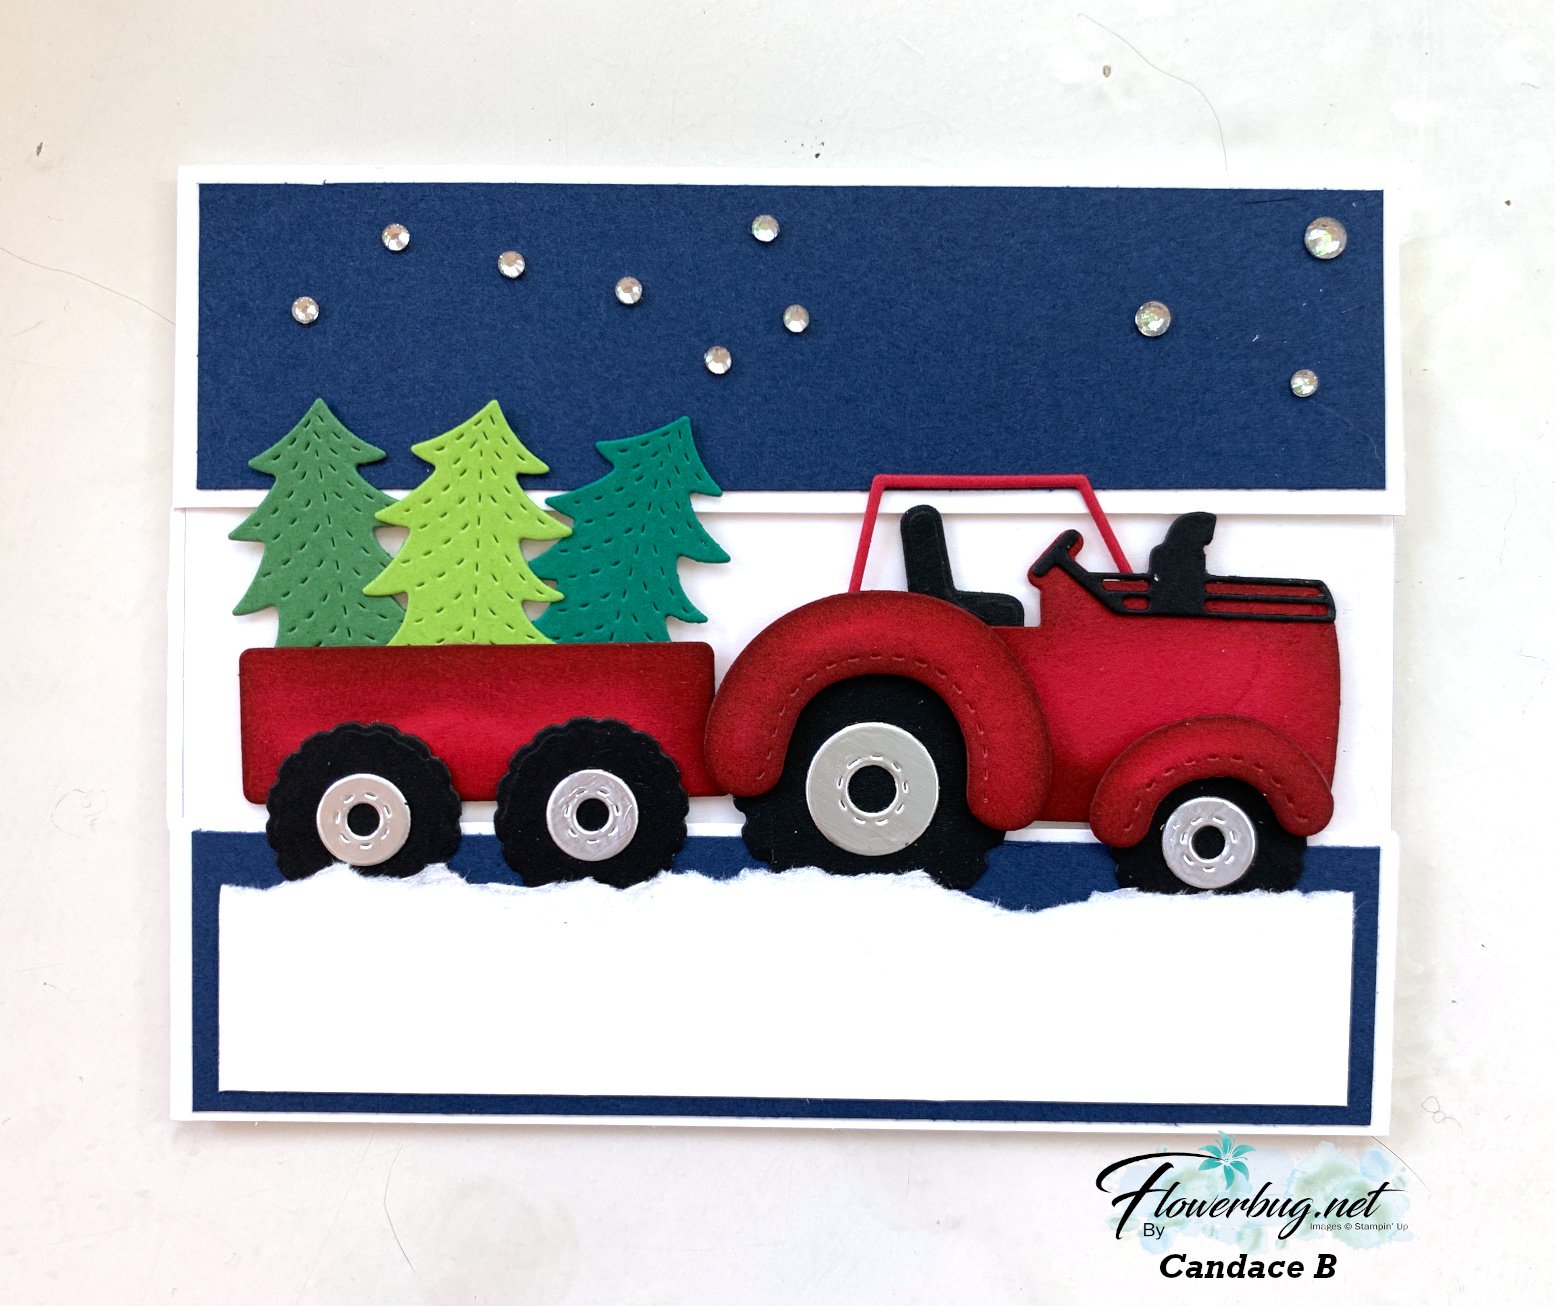
    Look at this super cute tractor card Candace made!  This bundle has some amazing pieces in it.  

    This new Tractor & Co bundle is from our Online store and can be found here.  

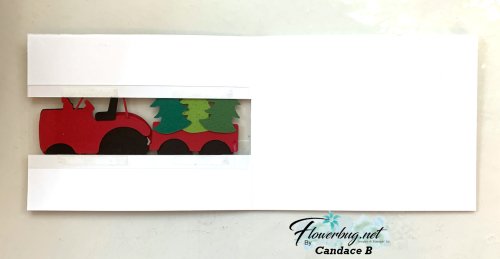
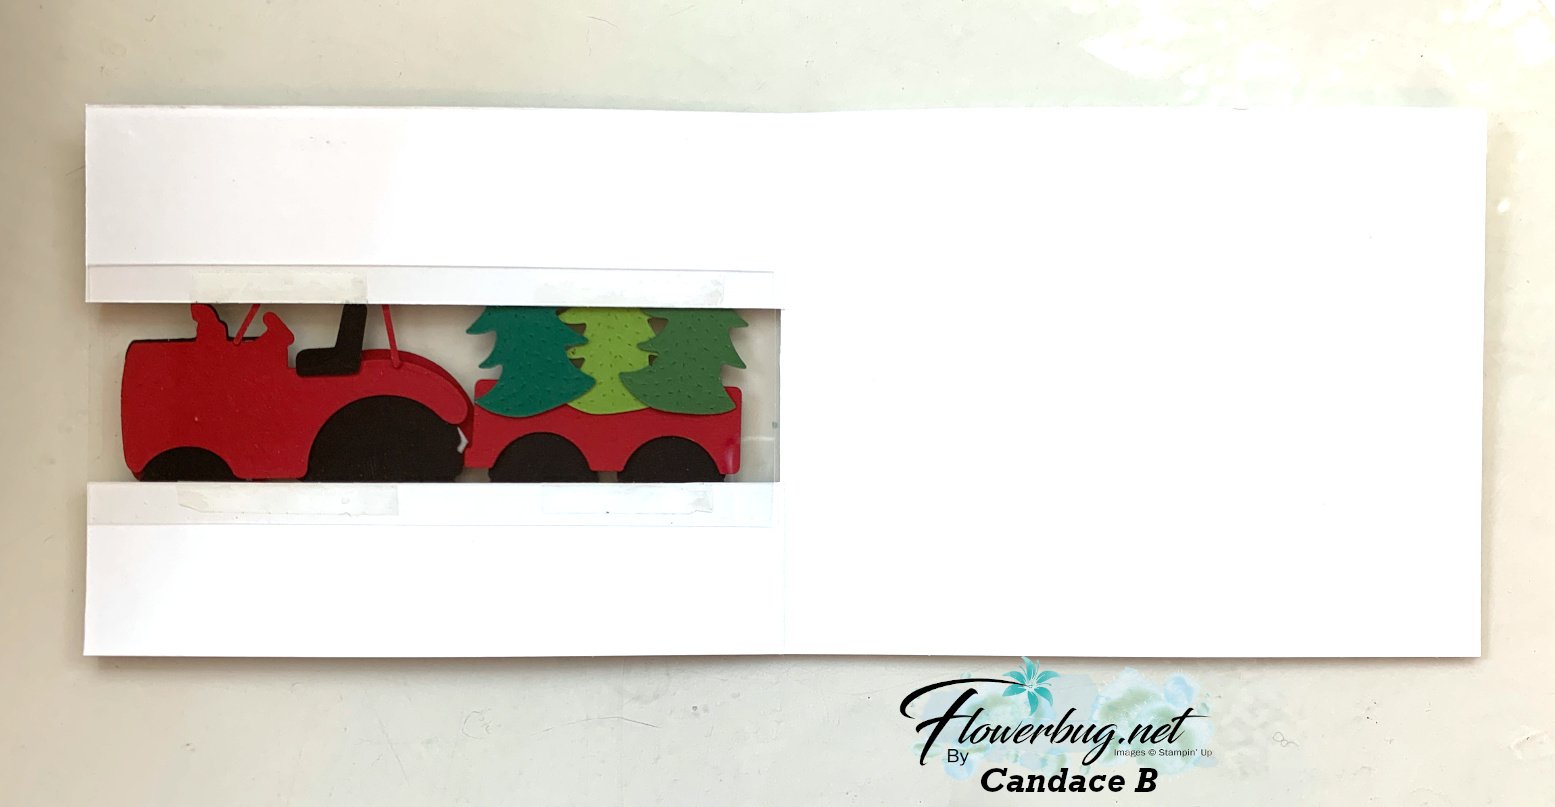
    Here's the inside view where you can see how she trimmed a portion of her card front away to create the window effect. *She'd normally stamp or add to the inside but she had to rush to get them mailed out in time.  

    Measurements:

    • White card base 11" X 4 1/4" score at 5 1/2". Trim away 1 3/8" from the center 
    • Navy layers – top is 5 1/4" X 1 3/8", lower is 5 1/4" X 1 1/4"
    • White torn edge 5" X 1"
    • scraps for tractor & tree die-cuts

    Her colors & sponging are amazing as usual.  She used Silver foil for her tire rims and clear rhinestones for the starry sky.  

    ~~~

    July Specials:


    New Online Exclusives are here!  Click here

    ~~~

    Get my Turtle-y Cute PDF tutorial free with any online order in July!

    Leave a Reply

    Your email address will not be published. Required fields are marked *

  • Encircled with Love meets Extraordinary Washi tape – video & free project sheet too!


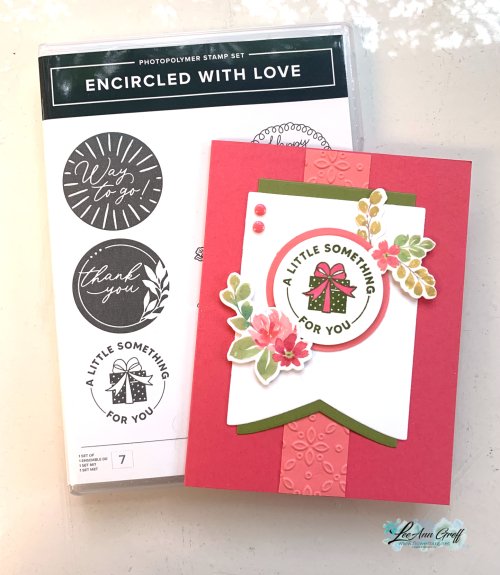
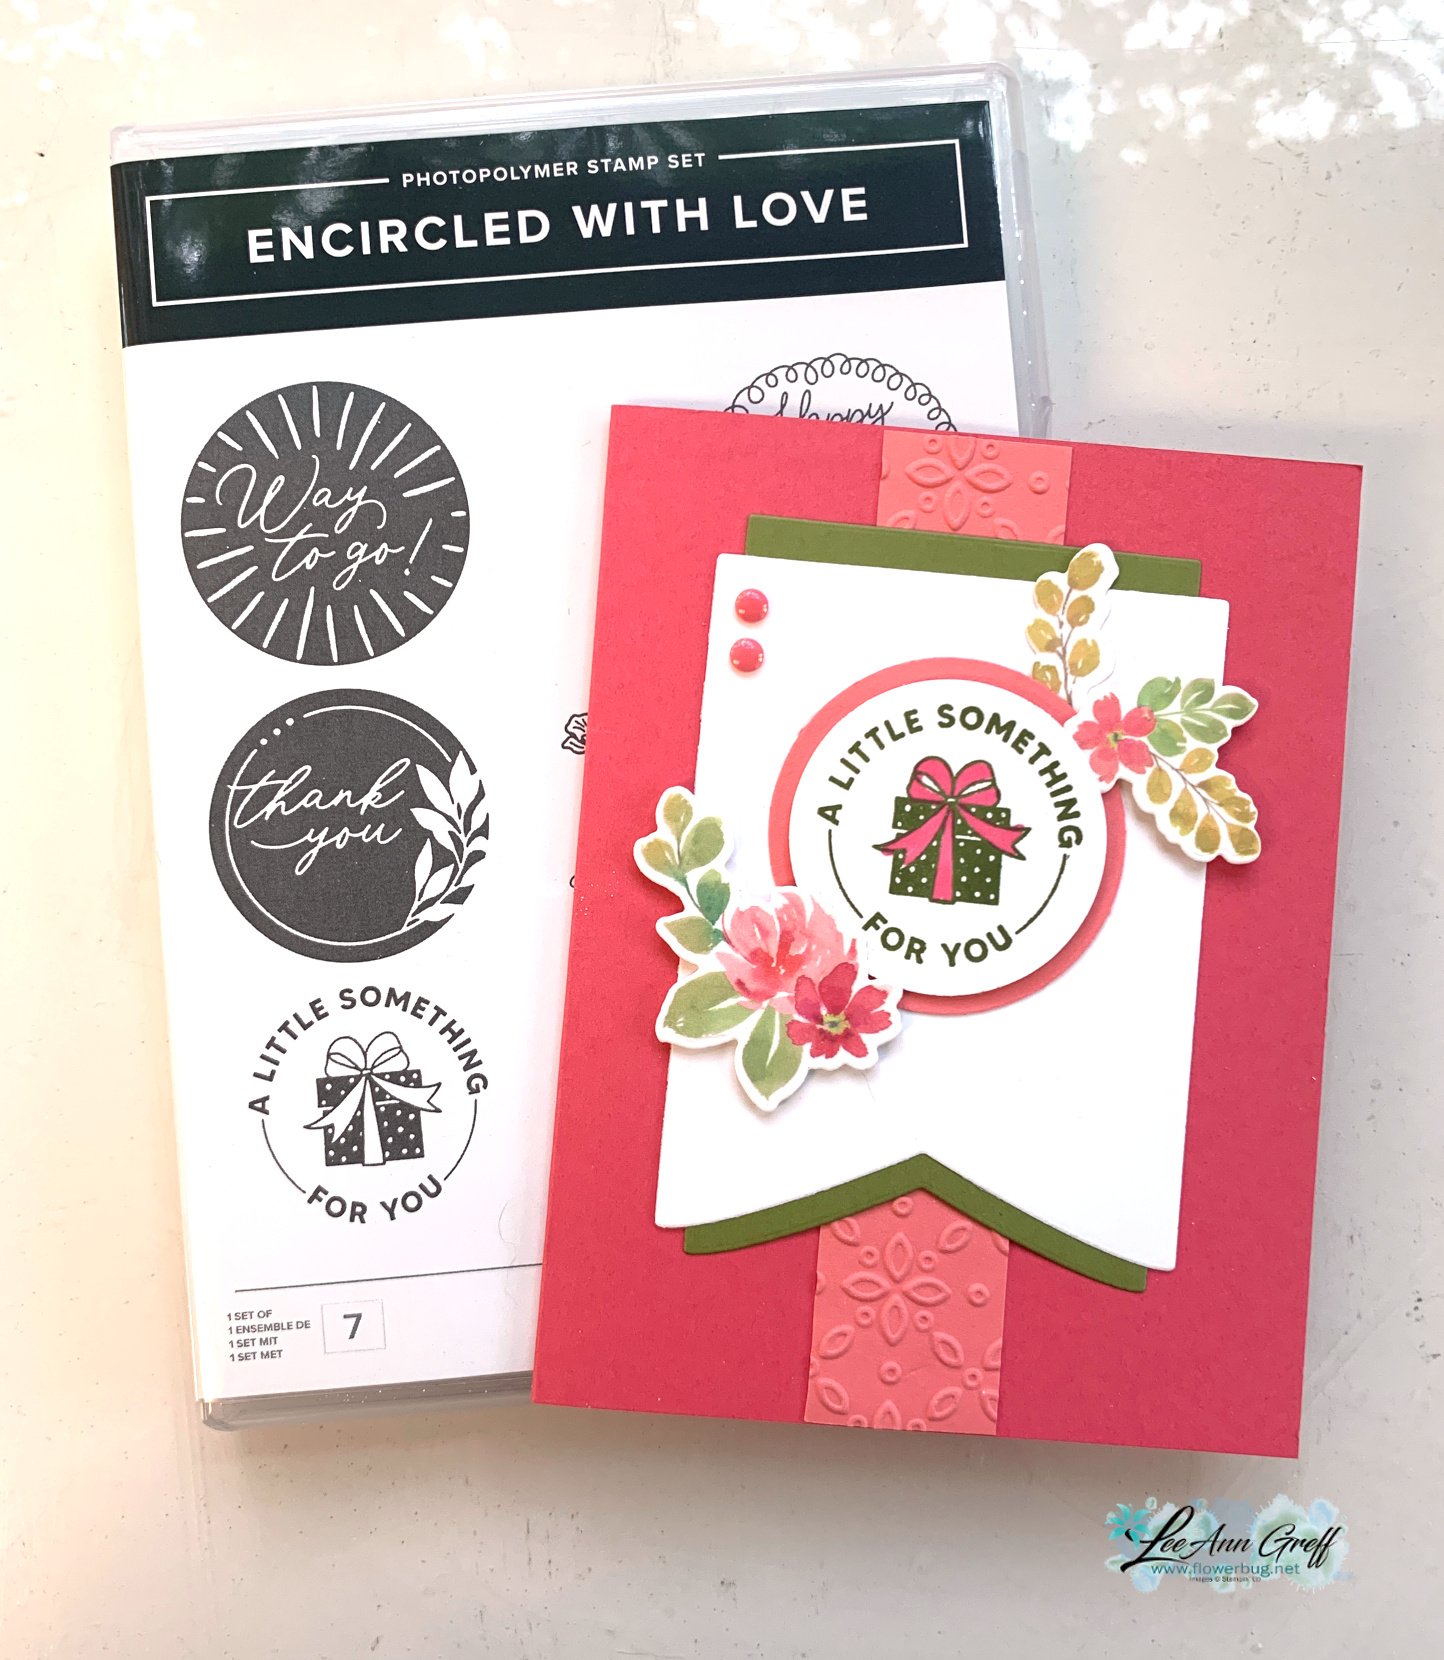
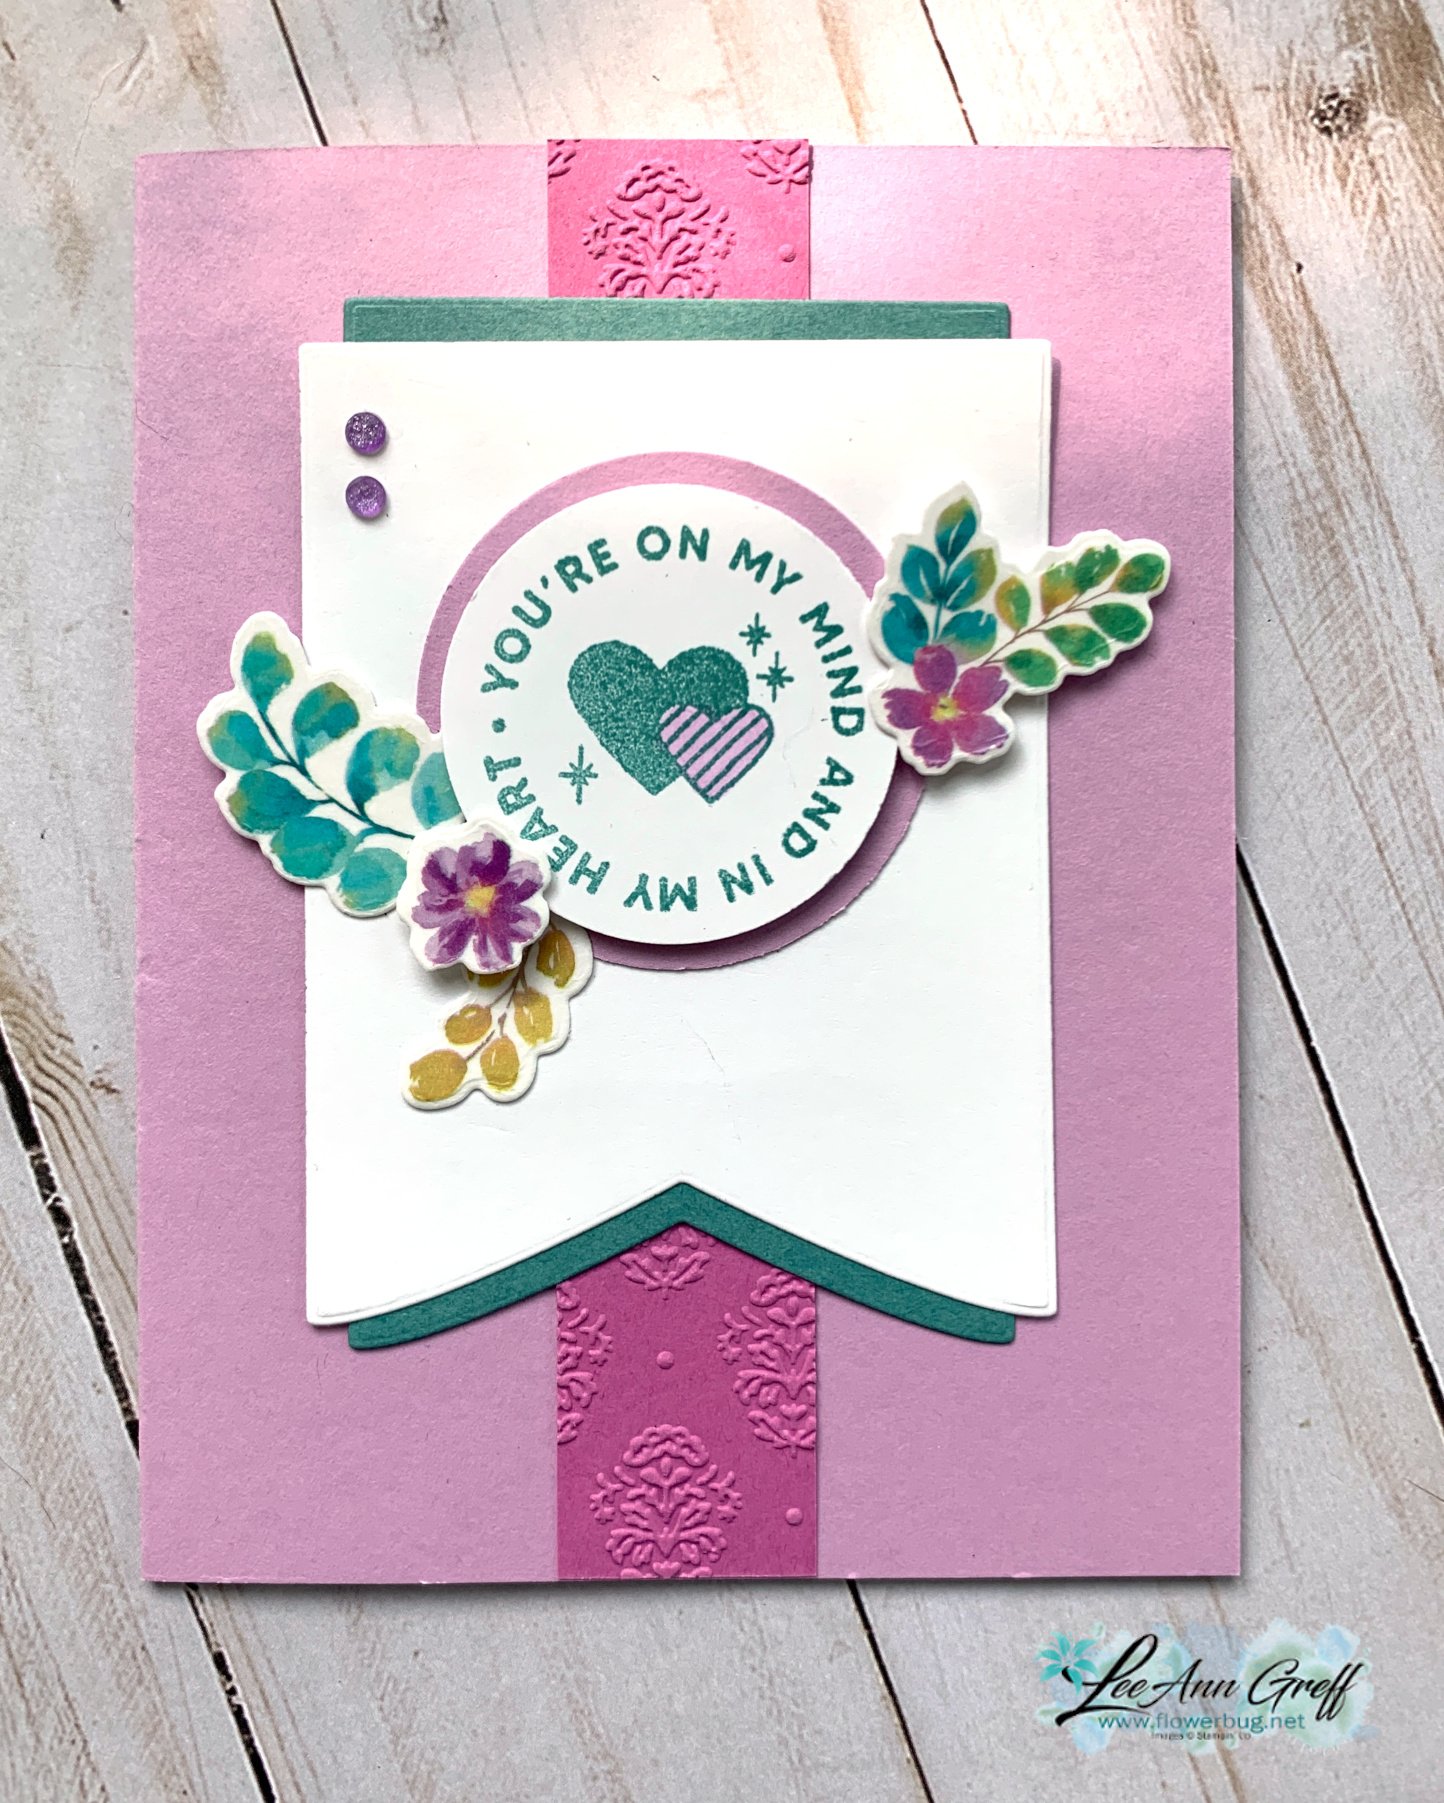
    Here is one of the cards I shared on last week's Live video: 

    There are quite a few products involved for such a simple card:

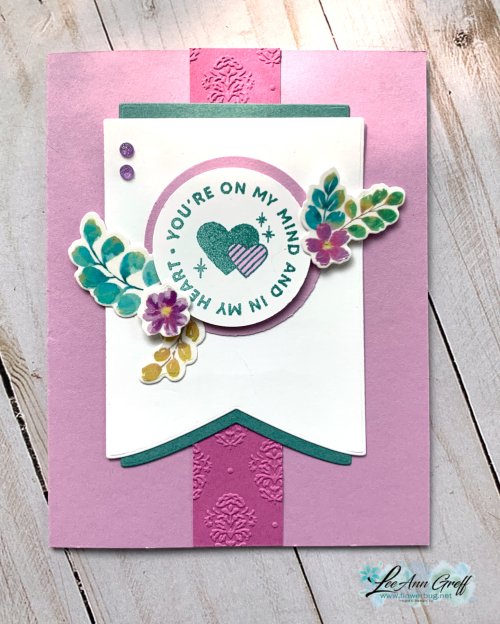
    I have two versions to share with you; which do you prefer?   

    Fresh Freesia/Petunia Pop/Lost Lagoon    or      Strawberry Slush/Flirty Flamingo/Old Olive? 

    The Extraordinary Washi Tape has been out of stock for awhile now; it should be back this week!  See it here.  

    Here's the free project sheet for these cards:  Click on the following link to print or download it. Download Encircled with Love Banner cards


    Below is the video tutorial for this card and one for a shaker card tutorial.  Watch to get the tips for success on making shaker cards!

    ~~~

    July Specials:


    New Online Exclusives are here!  Click here

    ~~~

    Get my Turtle-y Cute PDF tutorial free with any online order in July!

    Leave a Reply

    Your email address will not be published. Required fields are marked *


Notice: LeeAnn Greff, Independent Stampin’ Up! Demonstrator, Manager. The content of this website is my sole responsibility as an independent Stampin’ Up! demonstrator and the use of, and content of, the classes, services, or products offered on this website is not endorsed by Stampin’ Up! Copyright 2025