/


Latest Post

Storybook Moments fun fold card with video & free project sheet


I shared this easy fun fold card on last week's video. I made it for an online swap in December.  

It features the Storybook Moments designer series paper from our new 2025 Spring catalog. It reminds many people of Beatrix Potter. You can see this unique paper here.   It has two sheets of printed die-cuts in each pack that make it easy to add coordinating layers. 

I love this fun fold because it uses your card stock so effectively.  It starts with a card base at 11" X 4 1/4".  Simply trim off 3 1/4" square from one end and use it as the extra layer on the front flap.  The DSP in the center is 3" square and the side is 2" X 4". Super simple and a great use of your double sided designer paper.


If you'd like to print out the free project sheet or download it for card layout ideas click on the following link: Download Storybook Memories fun fold


Click here or below to watch the video for this card and two more!

~~~

January Specials:

*current host code link:  

P243X6VH or 6ZYNKJ6E

Get this free tutorial with any online order in January!

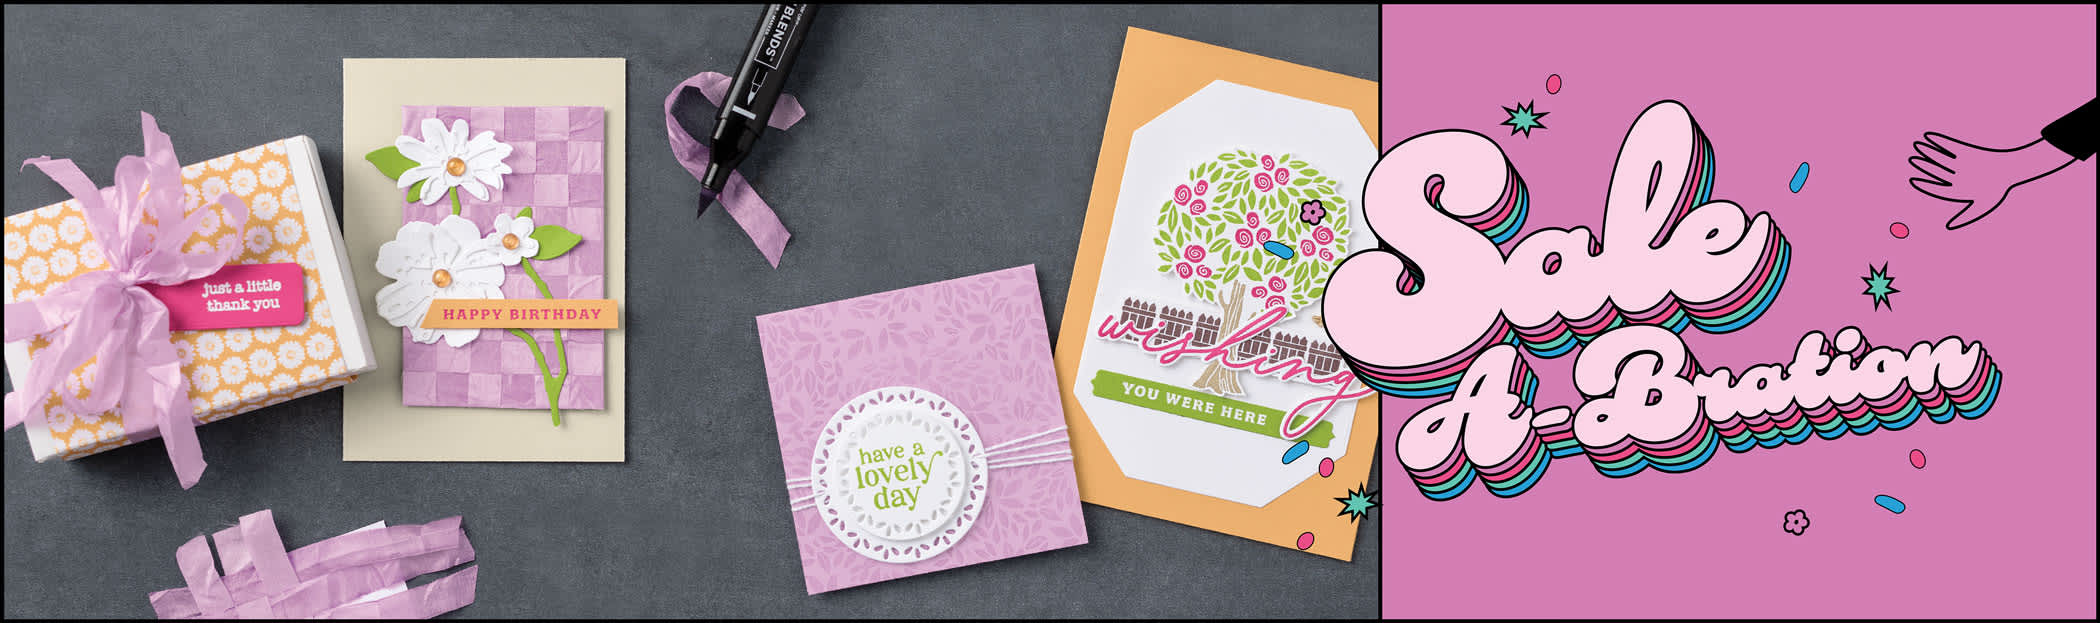
 Sale-a-Bration is Live! For every $60 (or $120) you spend you can choose a free item from the SAB catalog!  

Get a free card kit with any online order over $55 in January!


Opt in for my Spring catalog Designer Paper share and/or the Spring catalog embellishment share seen below. 

See the details here. 

Contact me here

All Posts

  • Fun Fold card with two versions!


    Saturday was World Card Making Day!  Did you make time to stamp?  First; did you even know about it?  

    We had a few stamping events on my Flowerbug's Team group and Mystery Stamping was one of them.  I sent them measurements so they could prep for the card making event but they didn't have a photo of the card!  Just measurements and supplies.  Use any Designer Paper, etc…..  It was fun to see what they all made.  

    Below are the two fun fold cards I made.  

    The front of the card is cut short to reveal the Designer paper on the left (inside) of the card.  Above I used the Snowflake Splendor designer paper and the Snowflake Wishes stamp set & dies bundle.  This designer paper is on sale right now at 15% off.  See all of the papers on sale here: 

    Next is a card made with the Gilded Autumn specialty designer paper and the Beautiful Autumn stamp & punch bundle.  You can see the measurements for these cards below. 

    Here are the measurements:

    • 2 pieces of Designer Series Paper (3 1/4" x 4" plus a coordinating piece 1 3/4" X 4")
    • Coordinating card base (9" x 4 1/4" scored at 5 1/2")
    • neutral CS like White or Vanilla (2 1/2" X 3 1/2" and 3 3/4" X 3 1/4" for inside)
    • a coordinating layer of CS (2 5/8" X 3 5/8")

    ~~~

    October Specials!

    Current Host code is MJK7R2CU

    Designer Paper Sale; click here!

    Get a free package of Adhesive Backed Snowflakes in October with an

    online order over $45. 


    All online orders will receive my Tutorial of the Month featuring the Poinsettia Petals suite!

    Leave a Reply

    Your email address will not be published. Required fields are marked *

  • Don’t miss this fun technique; use those Designer Paper scraps!


    Do you have trouble tossing those small pieces of Designer Paper left from a project?  I sure do!  There has to be a way to use them, right?  Well you can use them easily with this technique! 

    See?  It's quite eye-catching isn't it?  I kept the cards very simple to highlight the paper.  Each one features the Celebration Tidings stamp set. The card above features the Plaid Tidings designer paper; it's on sale right now too!  

    Watch the video below to get the tips on how to create these.  You just need some 1/2" strips and a ruler. 

    The card above features the Magic in This Night Designer paper.  The card below is the Tis the Season Designer paper; both on sale in October here!  

    Watch the quick video below to get the tricks on this fun technique. 


    ~~~

    October Specials!

    Current Host code is MJK7R2CU

    Designer Paper Sale; click here!

    Get a free package of Adhesive Backed Snowflakes in October with an

    online order over $45. 


    All online orders will receive my Tutorial of the Month featuring the Poinsettia Petals suite!

    Leave a Reply

    Your email address will not be published. Required fields are marked *

  • Trio of Celebrate Sunflowers cards with video & an easy highlighting technique!


    Look at these gorgeous sunflower cards!  They were a big hit at my Card Clubs this month.  They could chose between Daffodil Delight, Poppy Parade and Calypso Coral ink for their sunflower. 

    We sponged each sunflower leaving the center without color except for a bit of Crumb Cake Blends marker.  I know it might not be realistic but I like the pop of White in the center for brightness. 

    Check out the Celebrate Sunflowers bundle here. 

    Then we used White Craft ink and Blender pens to highlight a few petals here and there on the sunflowers.  It's super easy! I created a video below so you can see how it's done. 

    Measurements:

    • Crumb Cake card 5 1/2" X 8 1/2", scraps for die-cuts
      Whisper White 3 1/2" X 4 3/4", plus a 3 1/2" piece for sunflower
      Early Espresso 3 5/8" X 4 7/8"
      In Good Taste DSP 1 3/4" X 4 3/4"


    ~~~

    October Specials!

    Current Host code is MJK7R2CU

    Designer Paper Sale; click here!

    Get a free package of Adhesive Backed Snowflakes in October with an

    online order over $45. 


    All online orders will receive my Tutorial of the Month featuring the Poinsettia Petals suite!

    Leave a Reply

    Your email address will not be published. Required fields are marked *


Notice: LeeAnn Greff, Independent Stampin’ Up! Demonstrator, Manager. The content of this website is my sole responsibility as an independent Stampin’ Up! demonstrator and the use of, and content of, the classes, services, or products offered on this website is not endorsed by Stampin’ Up! Copyright 2025