/


Latest Post

Stitched Window cards; FB Live Replay


This week's Stamp with Me Live video featured a window technique using dies.  The 2nd & 4th Monday of the month I offer a 'Stamp with Me' Live on my FB page here.  Be sure to follow my page so you get notified! 

My original card idea came from the Holiday catalog and used the Love of Leaves dies.  But I switched it up to use the Stitched Stars dies with the Playful Patterns designer series paper for these fun cards: 
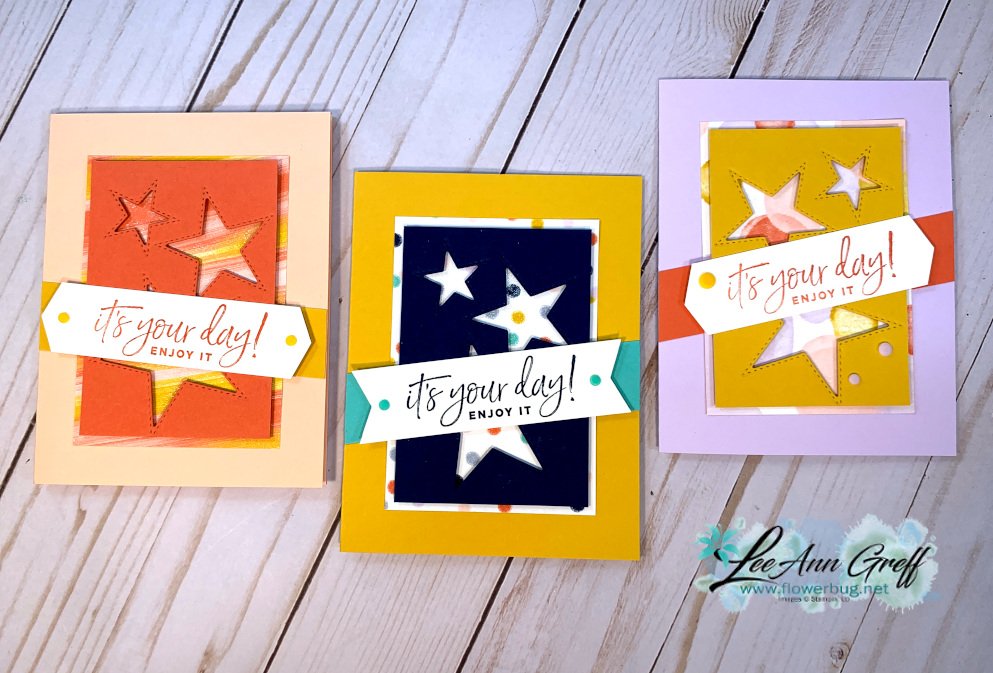
I used the smallest three star dies to create 'windows' in my card stock.  Then I popped them up over the Playful Patterns designer paper. Add a greeting and another card stock strip and you're done!  So quick & easy! 

Watch the video below to catch all of the tips and see the original cards too.  

Measurements:
  • Card stock for window 4 1/4" X 3 1/4"
  • Designer Paper 4 1/2" X 3 1/2"
  • Greeting strips 3/4"-1" X 4" wide

You can see these items in my store when you click on the links:

Stitched Stars dies 

Happiest Birthday stamp set

Playful Patterns DSP

Love of Leaves 

~~~

Bonus Days are here!

 
Redeem your $5 coupons now!  

~~~

Current Host code is QW7SUYVX

Get a free package of new Iridescent Pearls in August with an online order over $55. 

Order online here

 Get my Flowers for Every Season pdf tutorial free with all online order in August!


It includes directions, photos and measurements for 12 cards!
All Posts

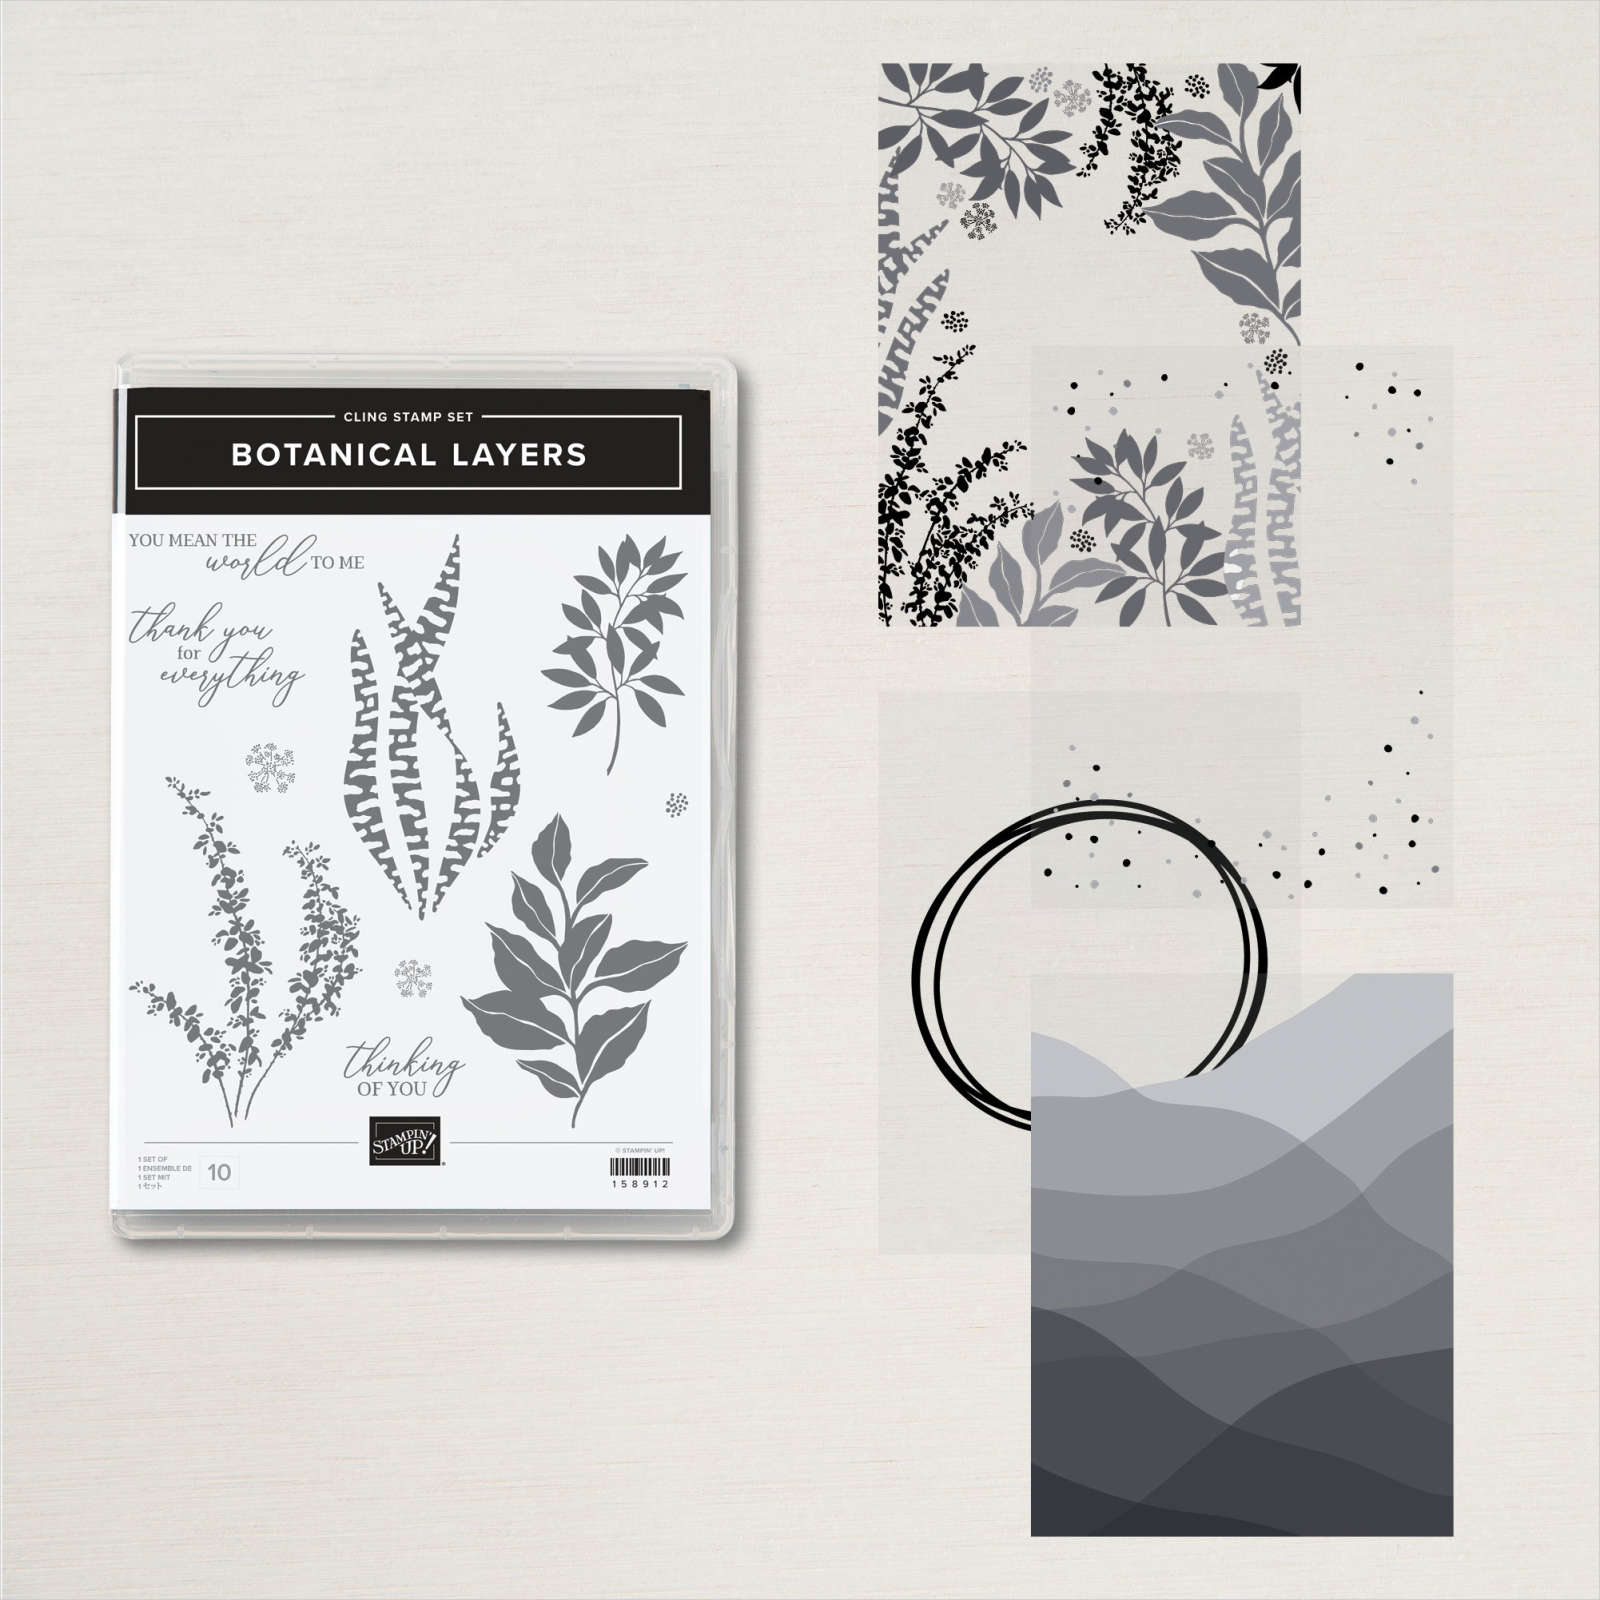
  • More ideas with the Botanical Layers & Lovely Layers vellum with video


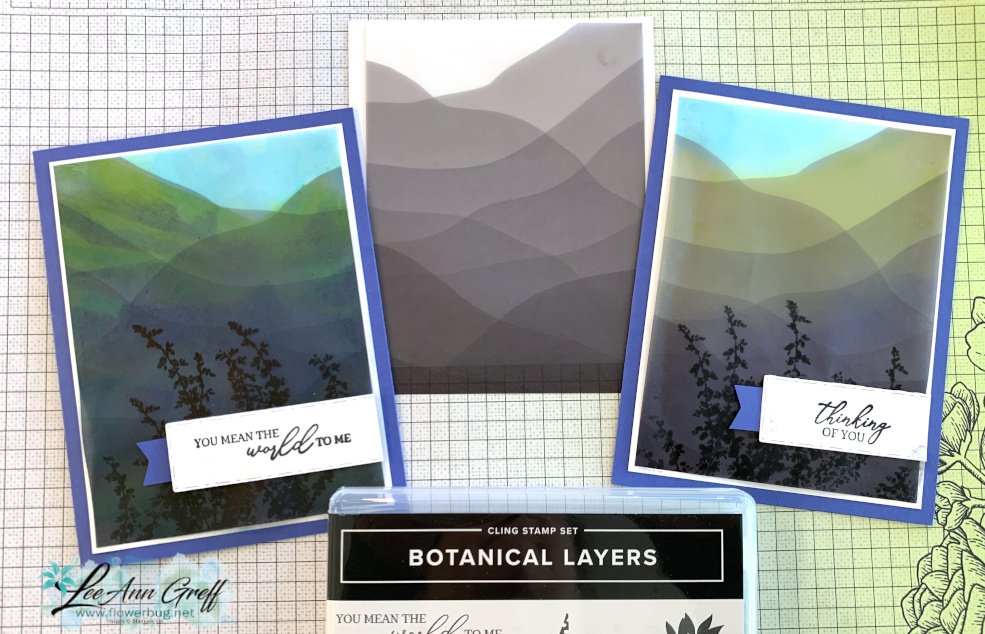
    Here are two more cards I made during last week's FB Live video.  The Botanical Layers bundle includes both the stamp set and the Lovely Layers 3 3/4" X 5" vellum.  

    When I saw this piece of vellum with it's multi-hues vellum I knew I wanted to emulate a mountain scene.  

    I used a direct to paper technique to add ink to this vellum.  This means you rub your ink pad directly onto the paper.  Watch the video here to see how it's done.  

    I used Tahitian Tide, Granny Apple Green & Orchid Oasis.  I stamped the flowers in Black Memento ink.  

    Tip: Vellum does not absorb ink.  It sits on top so it's best to heat set it or let it dry for an hour or more.  

    For this next card I simply stamped a few of the images in the Botanical Layers stamp set onto the polka dot printed vellum.  I used Parakeet Party & Orchid Oasis inks.  

    I also used the Amazing Thanks dies seen here.  A simple strip of Parakeet Party card stock across the card highlights the greeting.  

    Click on the photo below to watch the video and see more ideas using this bundle. 

    ~~~

    Last Chance List is out!  


    Kits Collection BOGO – buy 1 get 1 50% off!  

    Host codes: CZARP9KR

     *click here to order 

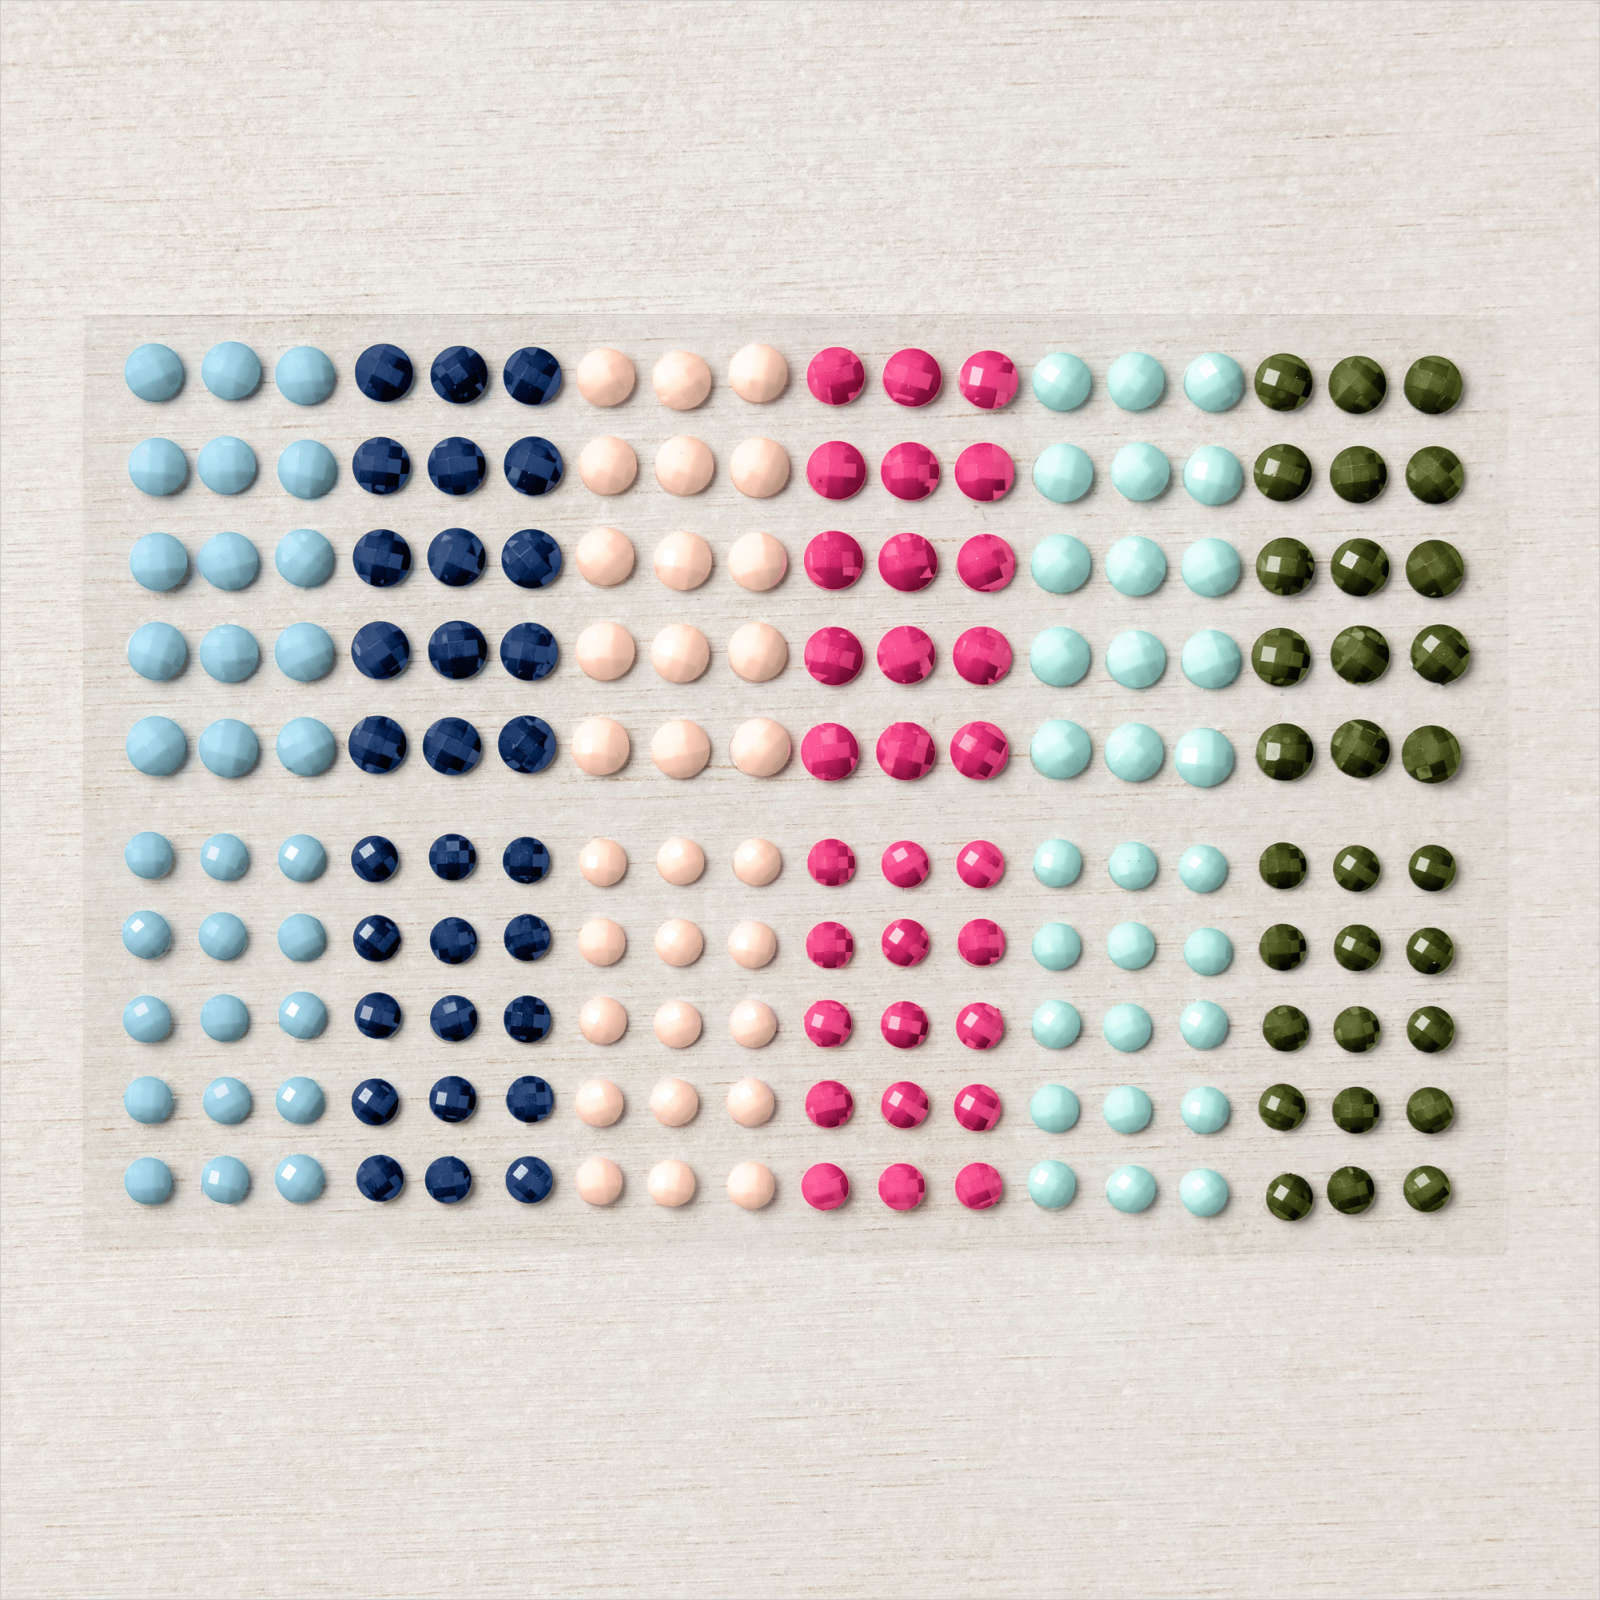
    If your order is over $50 you'll receive a set of Solid Faceted Gems from me.

    Don't forget about my loyalty rewards! 

    Click here to download yours and earn a $50 shopping spree!  


    Opt in for my New Catalog Designer Paper Share

    It's $26 plus shipping

    Leave a Reply

    Your email address will not be published. Required fields are marked *

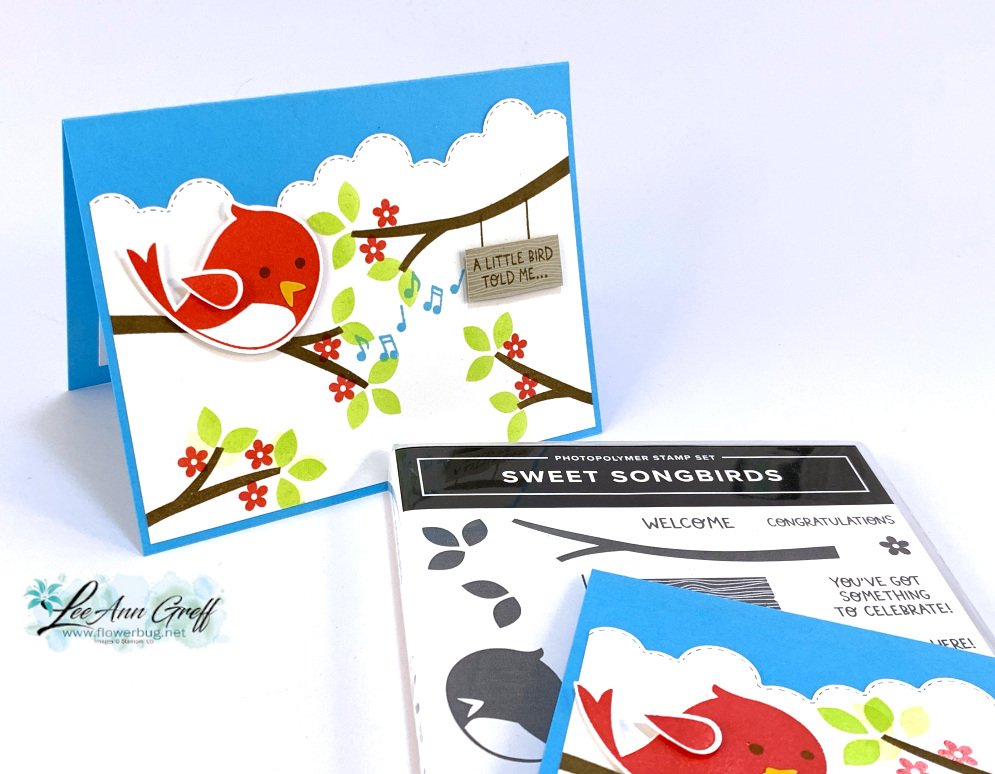
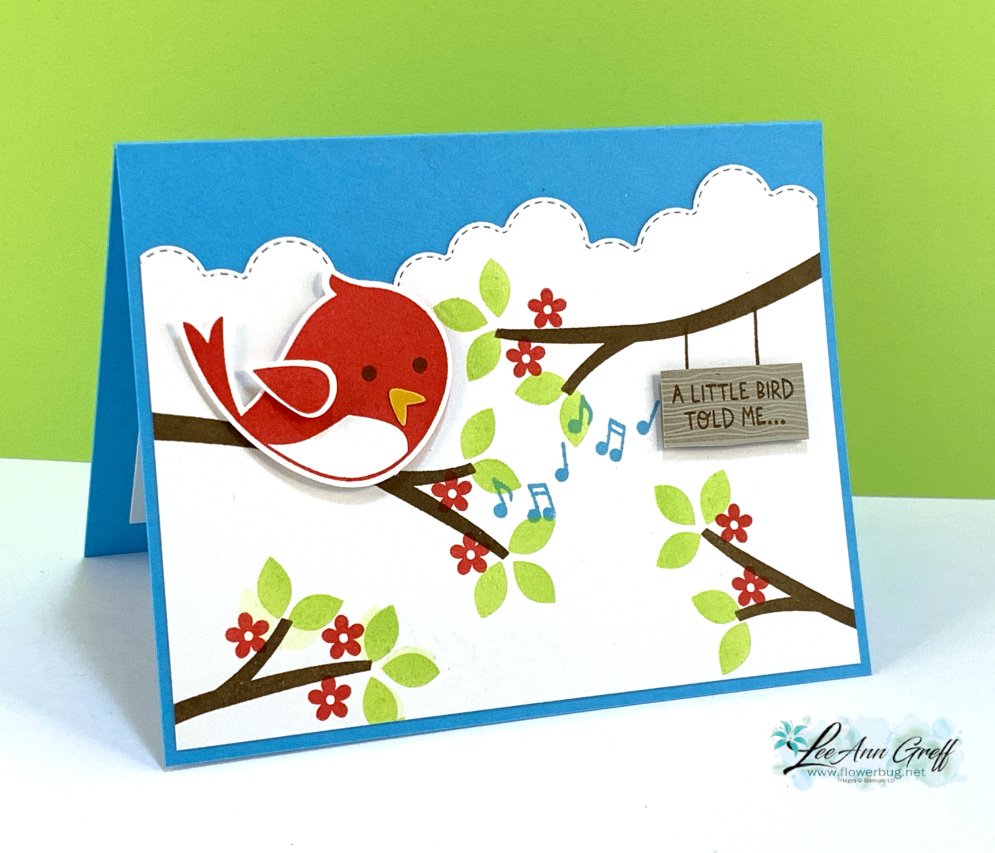
  • Sweet Songbirds is adorable on this cute card!


    We made this adorable card at my May card clubs; it features the Sweet Songbirds bundle and three new In Colors.

    The new colors include Tahitian Tide (turquoise), Parakeet Party (green) and Sweet Sorbet (red) along with Soft Suede.  

    I shot a video of the easy steps to create this card; I hope you watch it.  See it here or scroll down to watch it below. 

    That neat cloud border is created with the Basic Border dies seen here.  I love these dies!! 

    As you can see there are very few layers here; the stamped scene is all you need. 

    See the Sweet Songbird bundle here.  The bird & wing are stamped on a separate piece of White CS and punched out.  They're popped up as well as the sign (done on Sahara Sand CS).  

    Measurements:
    • Tahitian Tide card base 5 1/2" X 8 1/2" scored at 4 1/4"
    • White front 5 1/4" X 4", inside is 4 3/4" X 3 1/2", scraps for bird punches
    • Sahara Sand scrap for hanging sign

    Here's the video for you; click on the photo below to watch.  

    ~~~

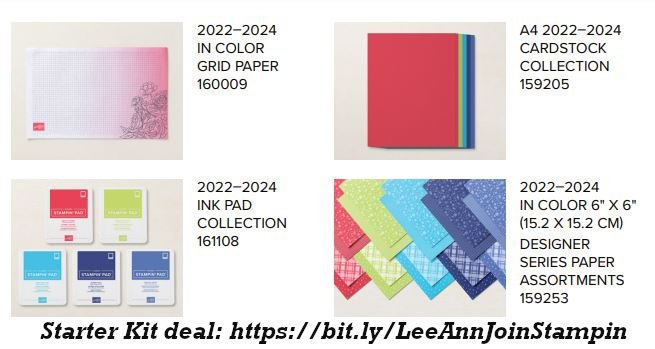
    Get a bunch of NEW In Color products FREE in your Starter Kit! 

    It's $99 for $213 in products!!!  And Free Shipping! Click here. 


    Host codes: HUNR9DB6

     *click here to order 

    If your order is over $50 you'll receive a set of NEW embellishments from me.

    Don't forget about my loyalty rewards! 

    Click here to download yours and earn a $50 shopping spree!  


    Opt in for my New Catalog Designer Paper Share

    It's $26 plus shipping

    Leave a Reply

    Your email address will not be published. Required fields are marked *

  • Tea Boutique card with a pocket for a tea bag of gift card!


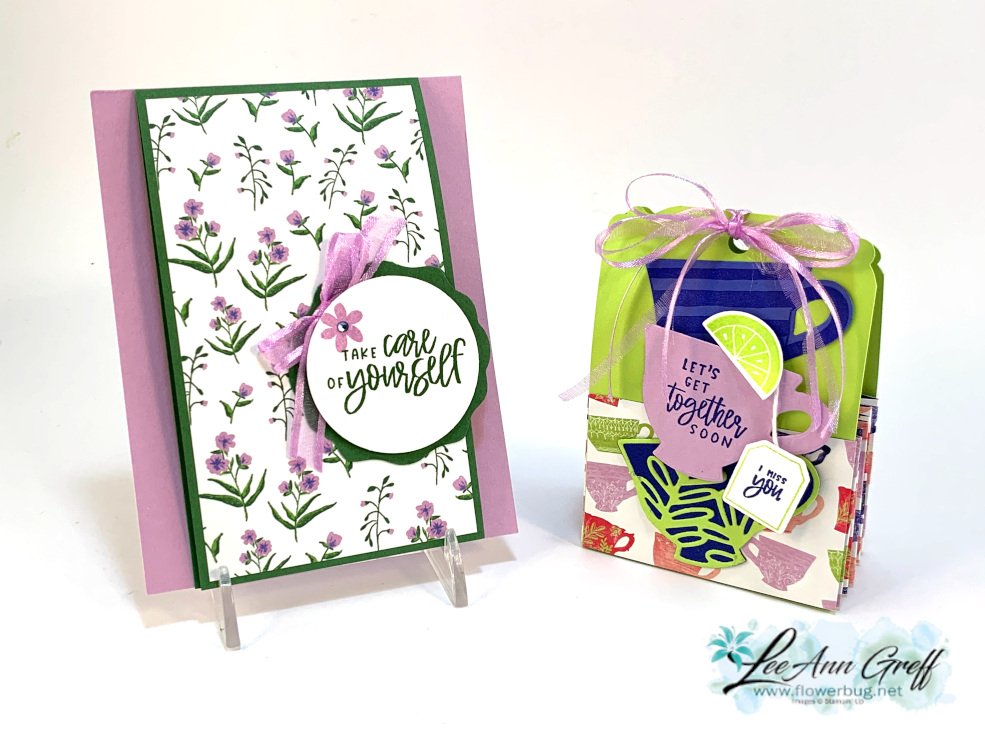
    Yesterday I shared the cute tea bag gift box below on the right.  Today I'll share details on the pretty card on the left.

    Both projects feature the Cup of Tea bundle and the Tea Boutique designer paper seen here.  

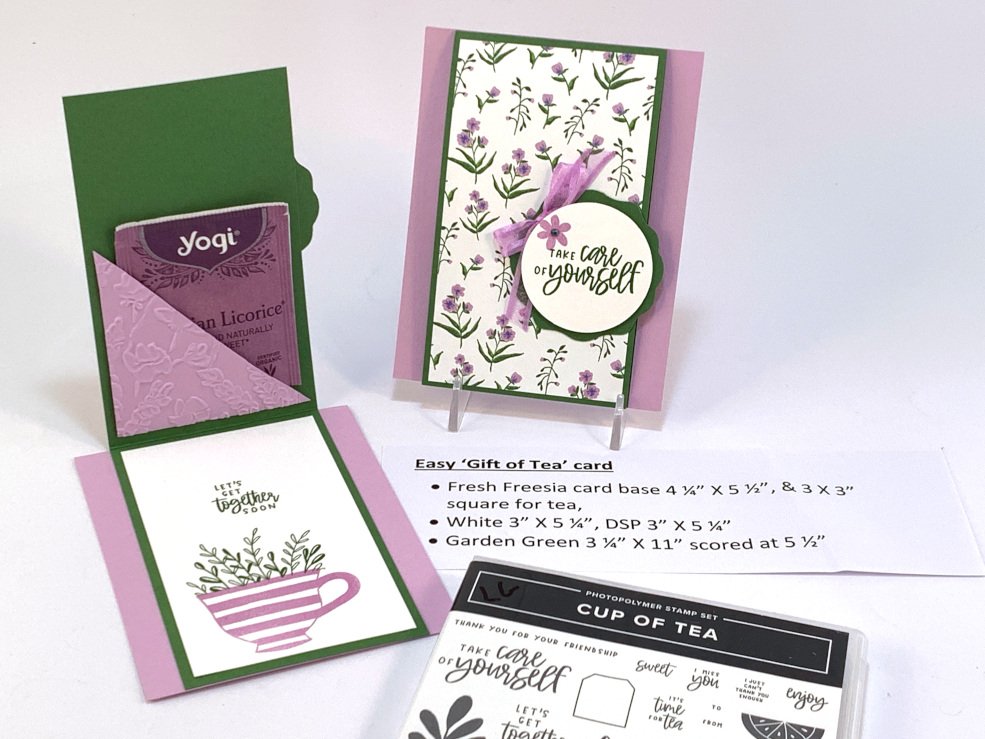
    The card is an easy fun fold where the card base is a quarter sheet of Fresh Freesia card stock.  The Garden Green piece is the part that opens and reveals the tea bag.  Of course the tea bag is optional and would work as a gift card holder also.  

    Here are the measurements:

    • Fresh Freesia card base 4 ¼” X 5 ½”, & 3 X 3” square for tea
    • Garden Green 3 ¼” X 11” scored at 5 ½”
    • Designer paper 3” X 5 ¼”
    • White inside 3” X 5 ¼”

    Click on the photo below to watch the video. Don't forget to subscribe to my YouTube channel while you're there!  

    ~~~

    Get a bunch of NEW In Color products FREE in your Starter Kit! 

    It's $99 for $213 in products!!!  And Free Shipping! Click here. 


    Host codes: HUNR9DB6

     *click here to order 

    If your order is over $50 you'll receive a set of NEW embellishments from me.

    Don't forget about my loyalty rewards! 

    Click here to download yours and earn a $50 shopping spree!  


    Opt in for my New Catalog Designer Paper Share

    It's $26 plus shipping

    Leave a Reply

    Your email address will not be published. Required fields are marked *


Notice: LeeAnn Greff, Independent Stampin’ Up! Demonstrator, Manager. The content of this website is my sole responsibility as an independent Stampin’ Up! demonstrator and the use of, and content of, the classes, services, or products offered on this website is not endorsed by Stampin’ Up! Copyright 2025