/


Latest Post

Stack & Cut card technique; make 4 quick cards with your Designer Paper


On tonight's FB Live we're making Stack & Cut cards!  Monday, April 25th at 7:30 pm here on my FB page.  

If you can't watch it live it will be on my YouTube channel here. 
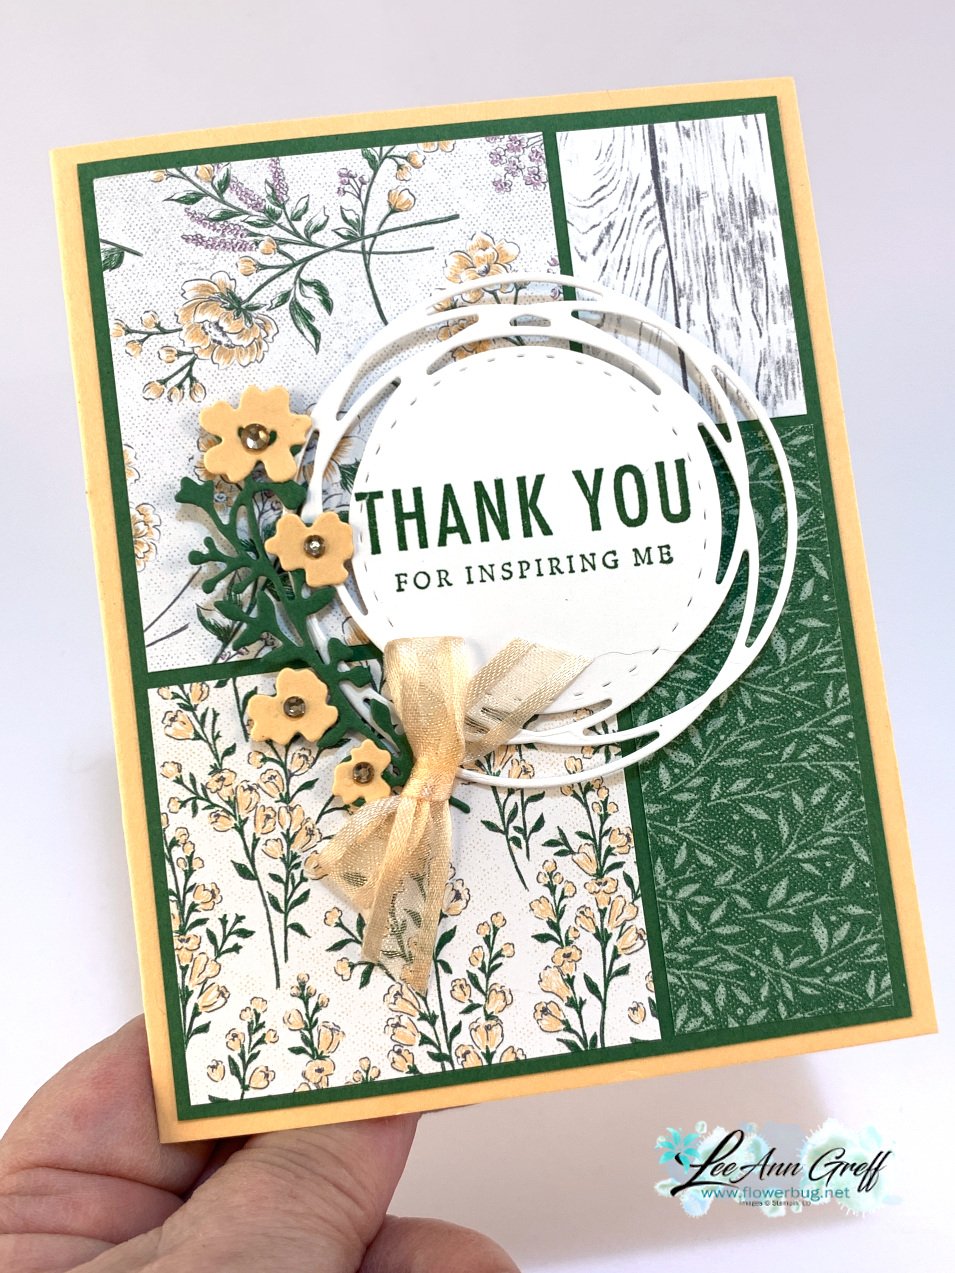
I chose to use the Heart & Home designer paper and the Blessings of Home stamp & dies bundle (seen here) for these pretty cards.  This designer paper is retiring at the end of May. I like the fact that each sheet has a white wood pattern on one side. 
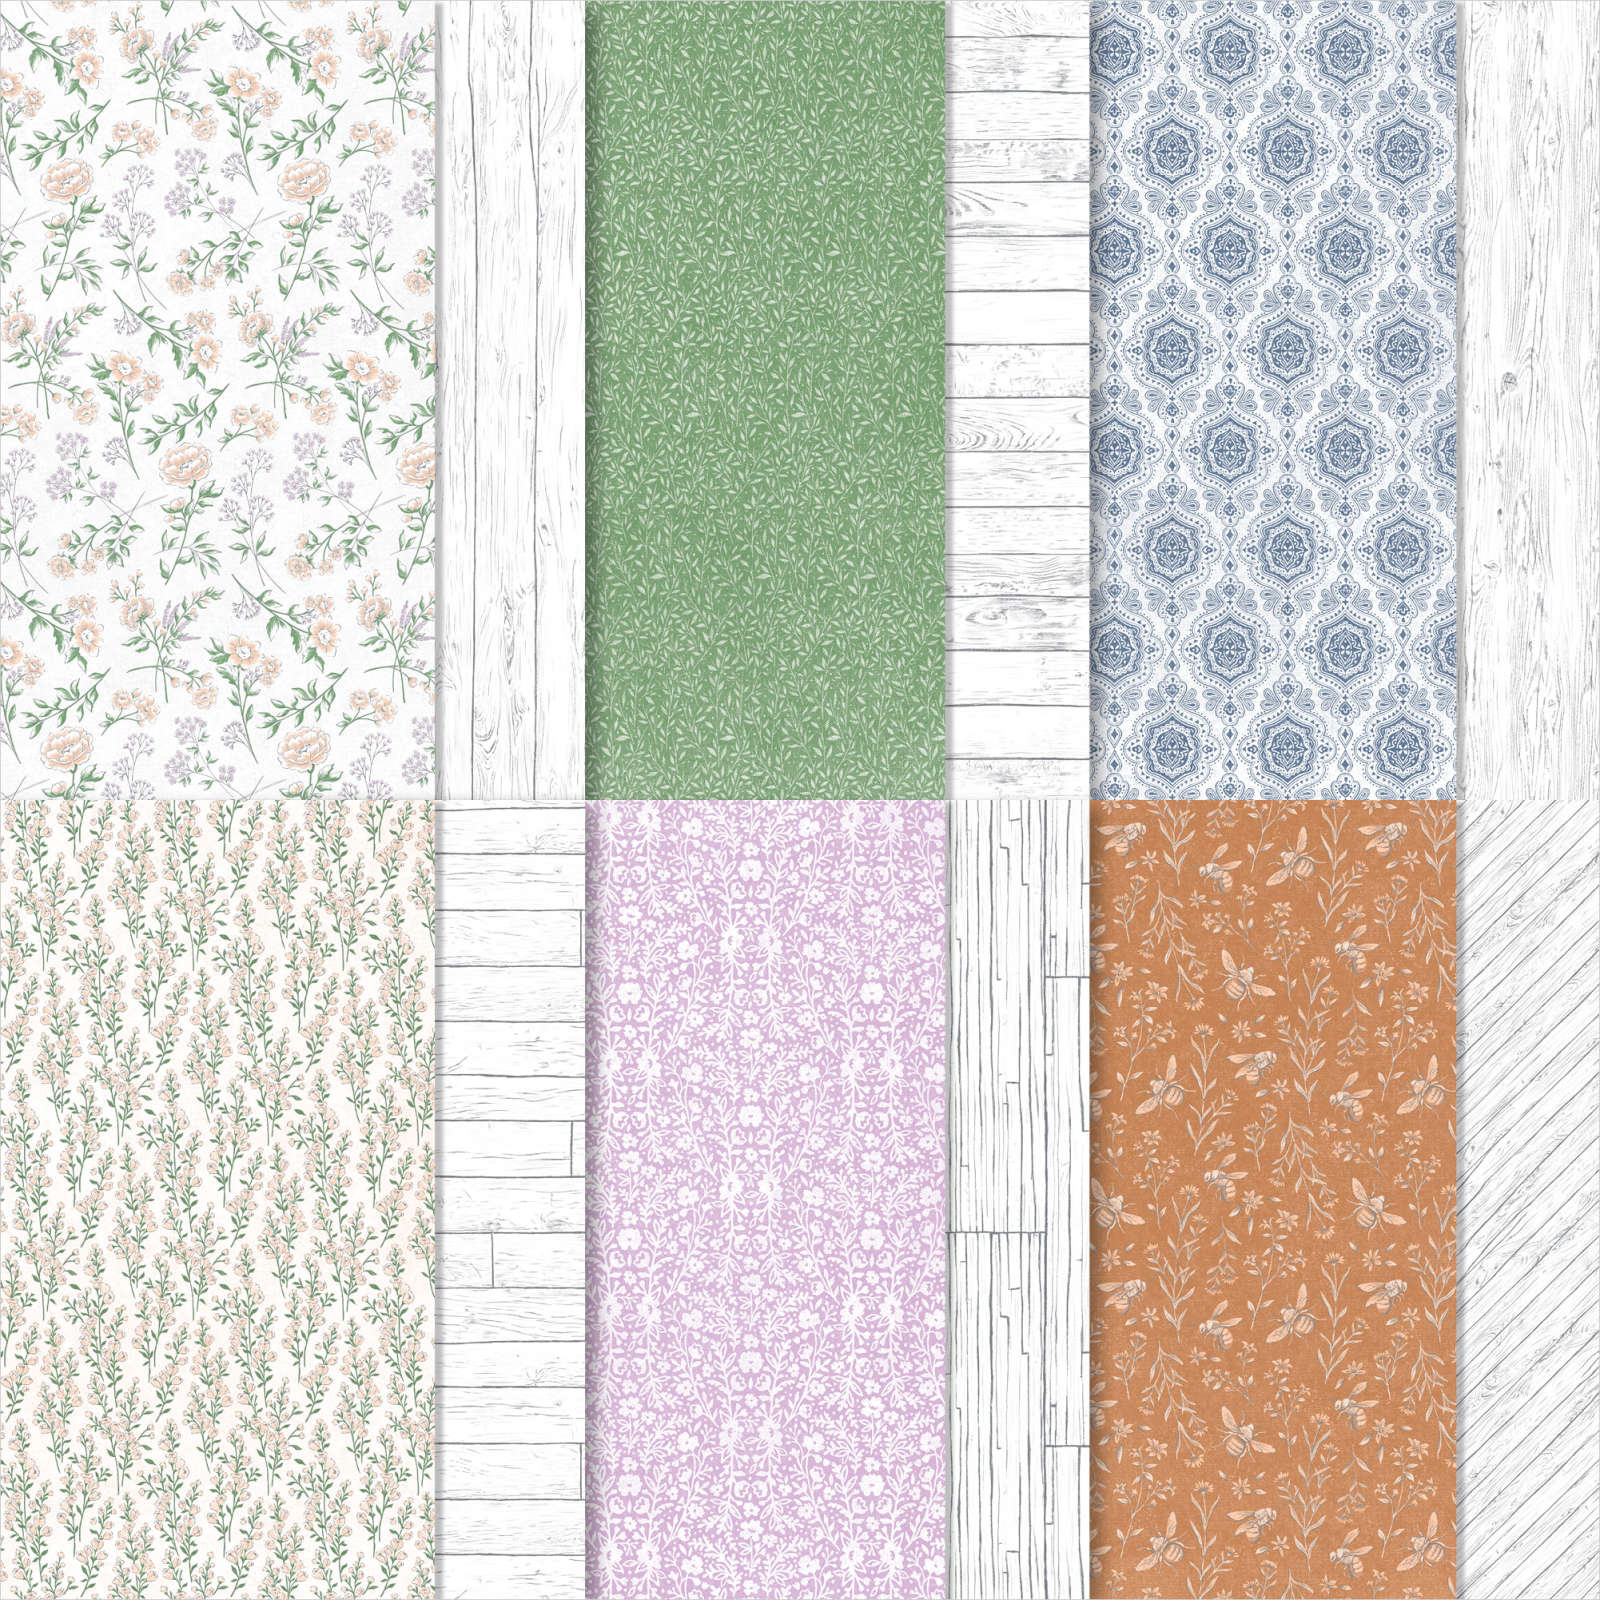
Here's now to make these Stack & Cut cards:  Choose 4 different patterns of Designer Paper and then cut them into pieces using the template below.  

Sort the pieces so one piece of each pattern fits on each card front.  You'll create 4 different but similar cards quickly!  Embellish as you'd like.  

Here's a photo of the pieces I started with.  

  • 4 full cards of Pale Papaya – 5 1/2" X 8 1/2", scored at 4 1/4"
  • 4 Garden Green pieces at 4" X 5 1/4"
  • the 16 pieces of Designer Paper – cut from the 4 pieces of DSP you started with

Here's the template I used for the 4 pieces of Designer Paper.  Choose patterns that coordinate in color.  I love this way of using our beautiful double sided designer paper!  

Tip: it's best if the patterns have a variety of sizes in their patterns.  

The Flowers of Home dies (seen here) are delicate with many leaves & flower options. 
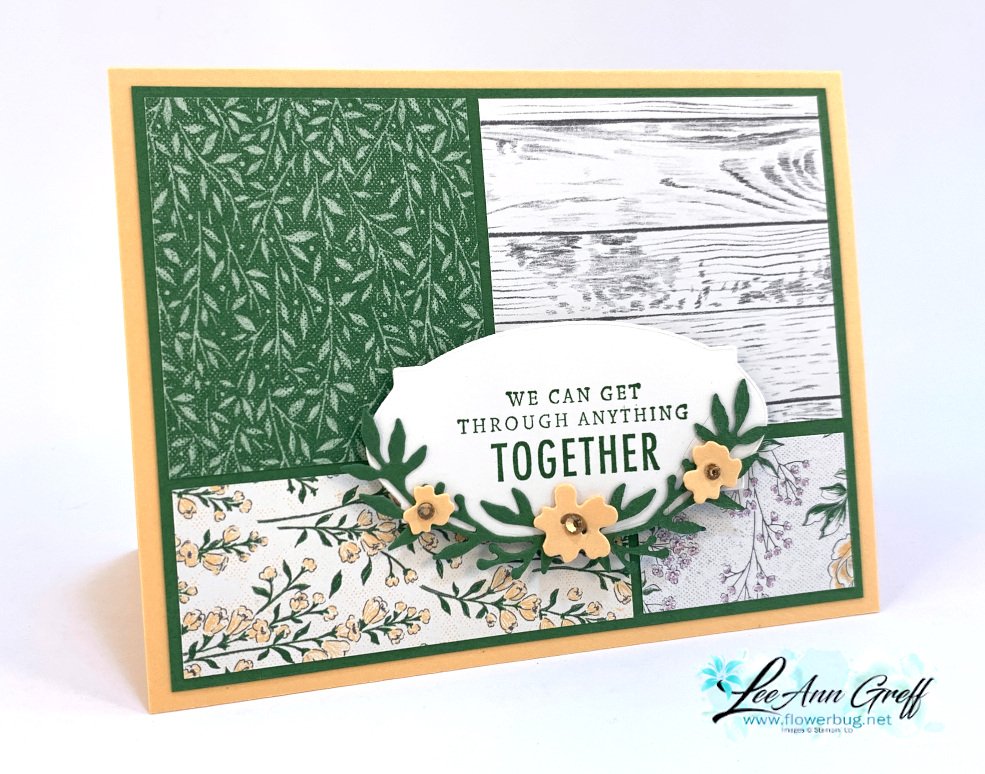
Join me here tonight at 7:30 pm CT to see how easy it is to make 4 quick cards with the Stack & Cut technique.  

~~~
The Last Chance list is out!
Tons of items from the 2021-22 Annual Catalog are retiring and many are deeply discounted from 20-50% off.
 
Remember that these items are while supplies last and may run out. 
Click here to see it all online along with the discounts.

Host codes: QHCSU9RX

 *click here to order 

If your order is over $50 you'll receive free Polished Dots or In Color jewels and 3 hand made cards from me.
 

Don't forget about my loyalty rewards! 

Click here to download yours and earn a $50 shopping spree!  
All Posts

  • Quick All Aflutter card with the Extraordinary Washi tape


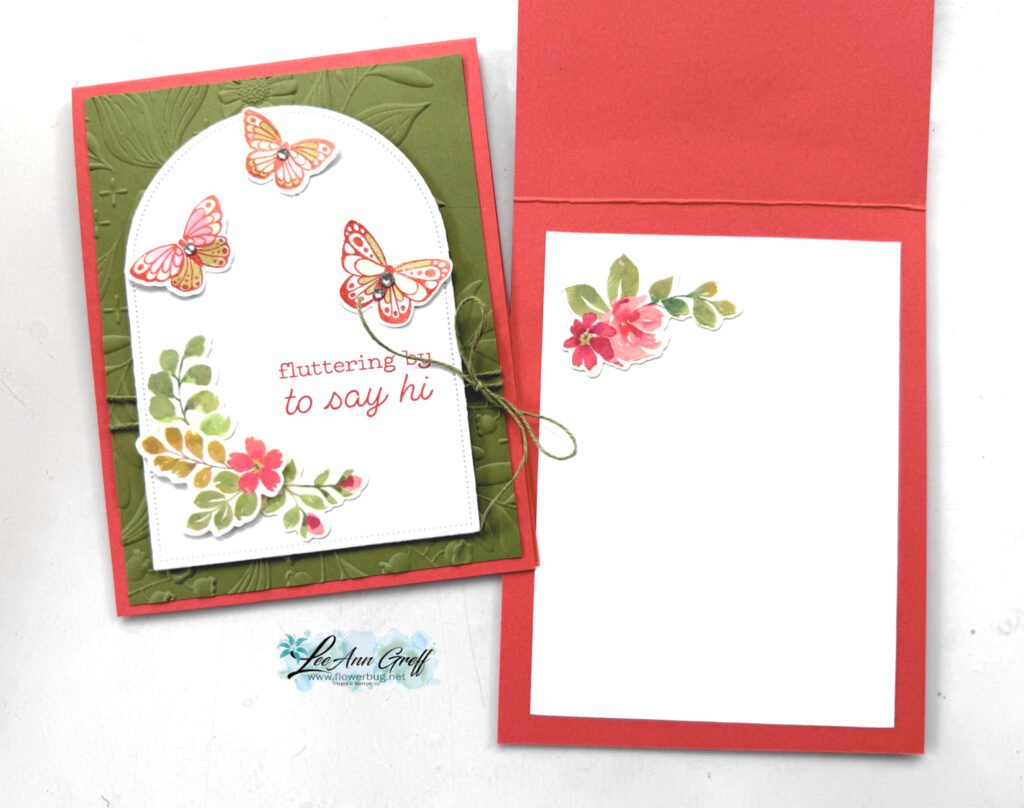
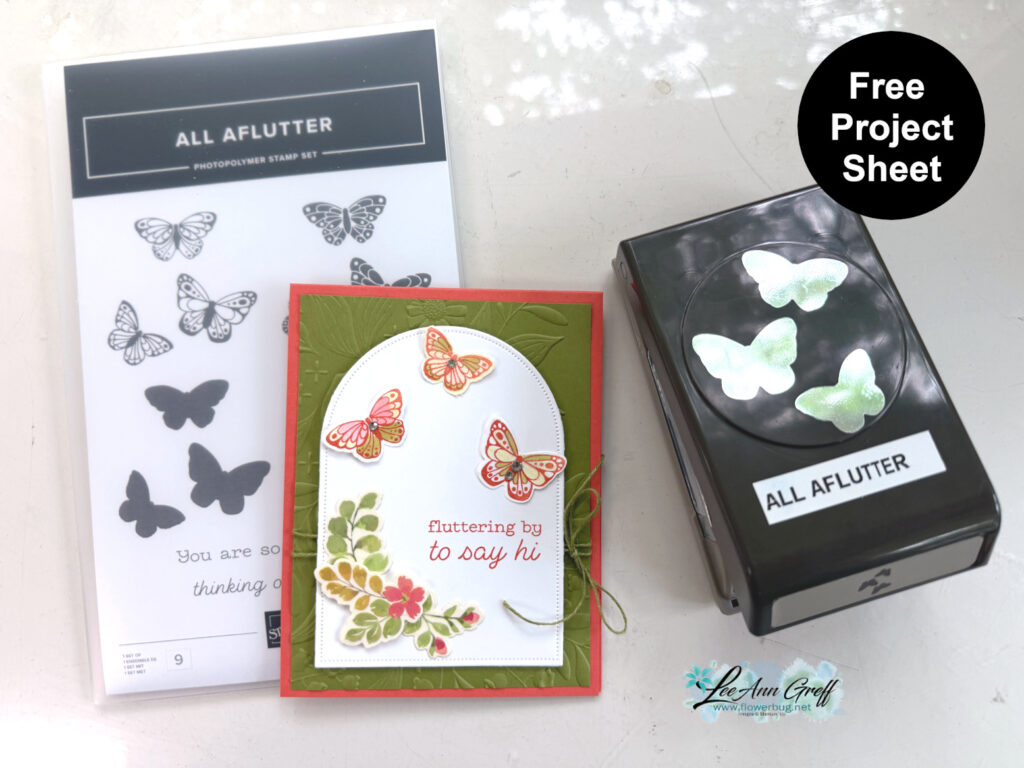
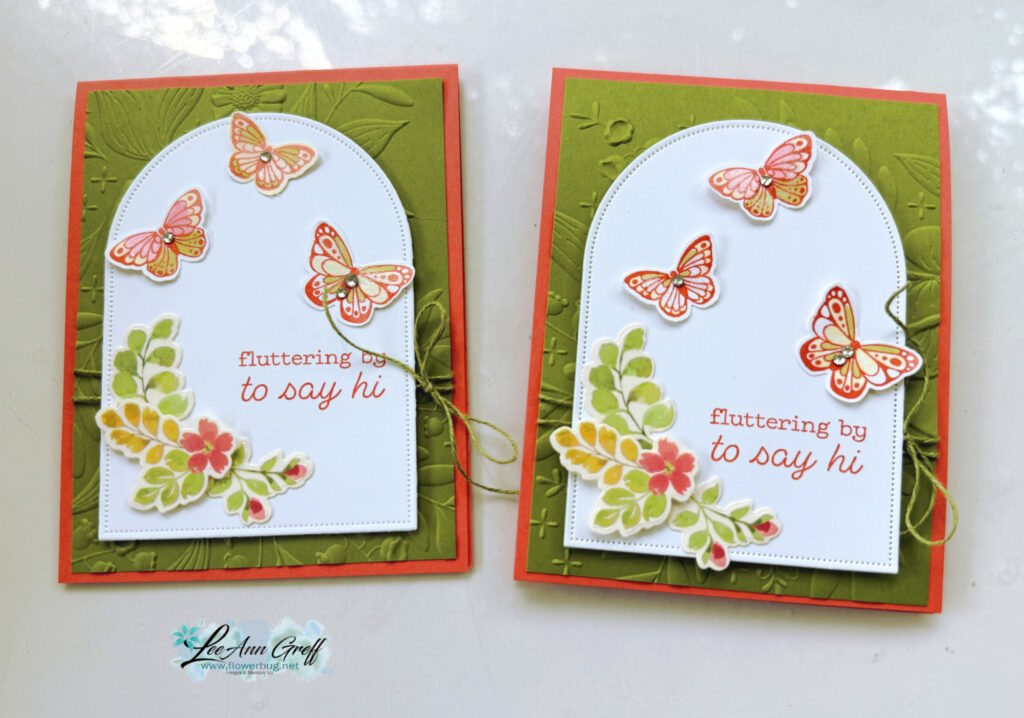
    Here’s a sweet card made with both the All Aflutter bundle and the Extraordinary Washi tape:

    My colors include Calypso Coral, Old Olive and White. The Arches dies used in White here give a wonderful focal point to highlight the butterflies, greeting and flowers from the Washi tape. Unfortunately they are out of stock currently; but see them here and put your email in to get notified when they’re back in stock.

    The background texture on the Old Olive layer is the Floral Spray 3D embossing folder. This folder is super popular and out of stock right now. Again, please add your email to be notified when it’s available.

    I love the Extraordinary Washi tape with coordinating die. You can cut out lots of colored flowers and leaves with ONE CUT! I save the extras to use them when I need just a little something extra. See the Washi tape here (you get 10 yards!) and the coordinating die-cut here. There’s also a bundle you can get here; it includes both the stamps and die-cut.

    It’s simple to use this washi tape! Start by adhering a strip of it to white card stock (vellum or window sheet also works). Then use the die-cut to cut all of the pieces out.

    I created a free project sheet for this card. Click here to download it or print it out.

    See the All Aflutter bundle here.

    There’s also a video tutorial for this card and another sweet All Aflutter fun fold card. See it below.

    Leave a Reply

    Your email address will not be published. Required fields are marked *

  • All Aflutter envelope-flap style card with free project sheet & video


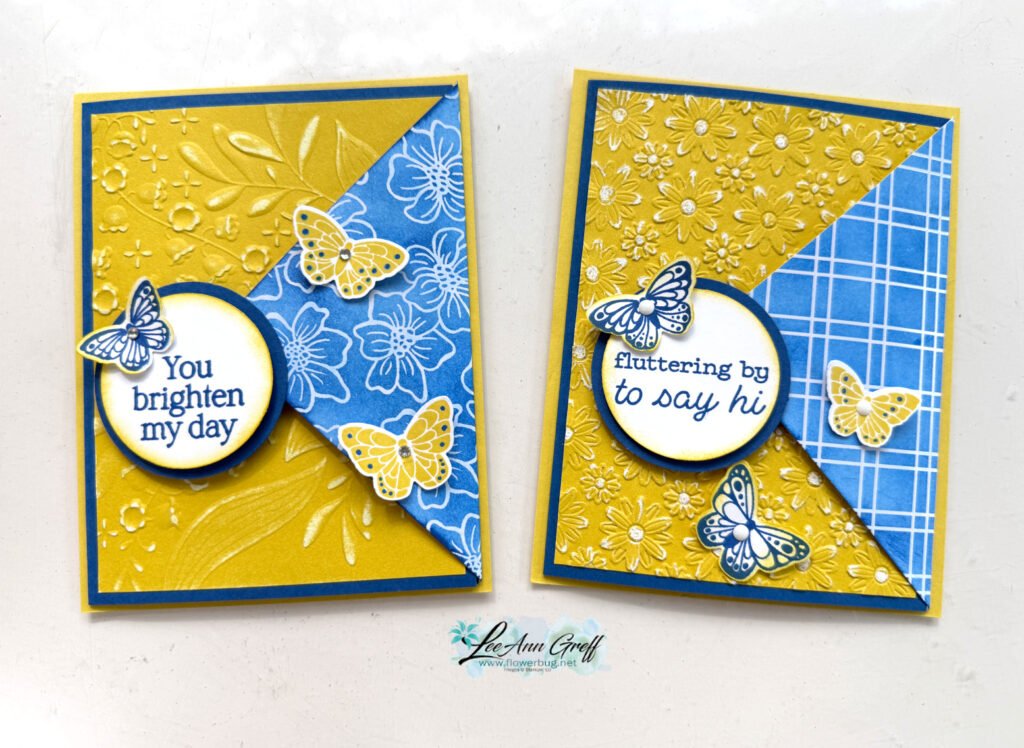
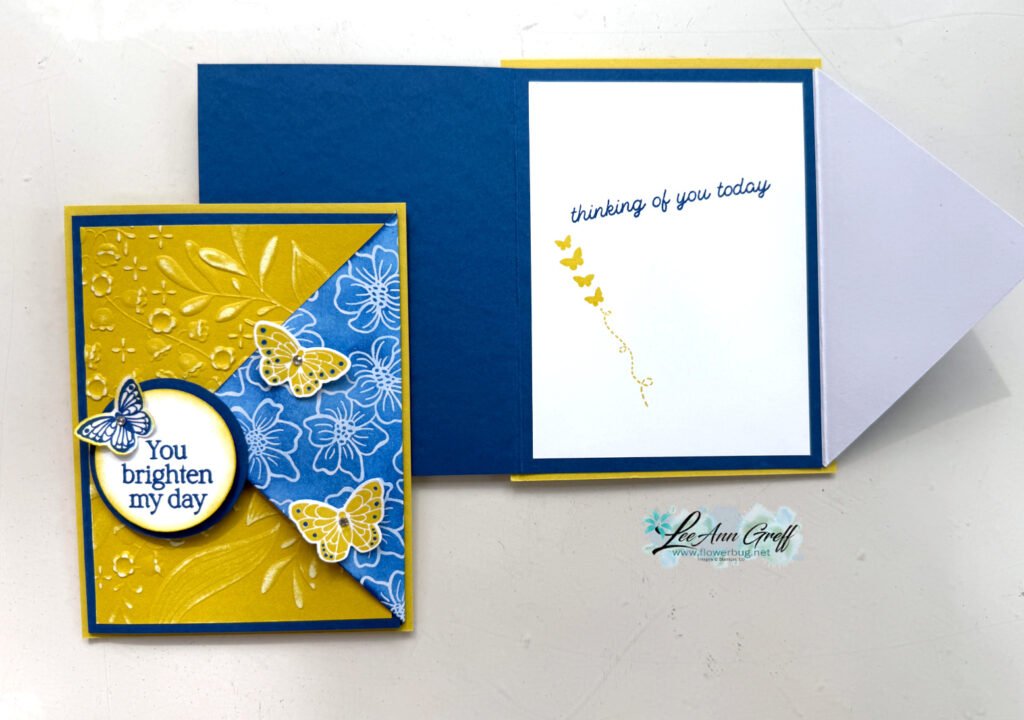
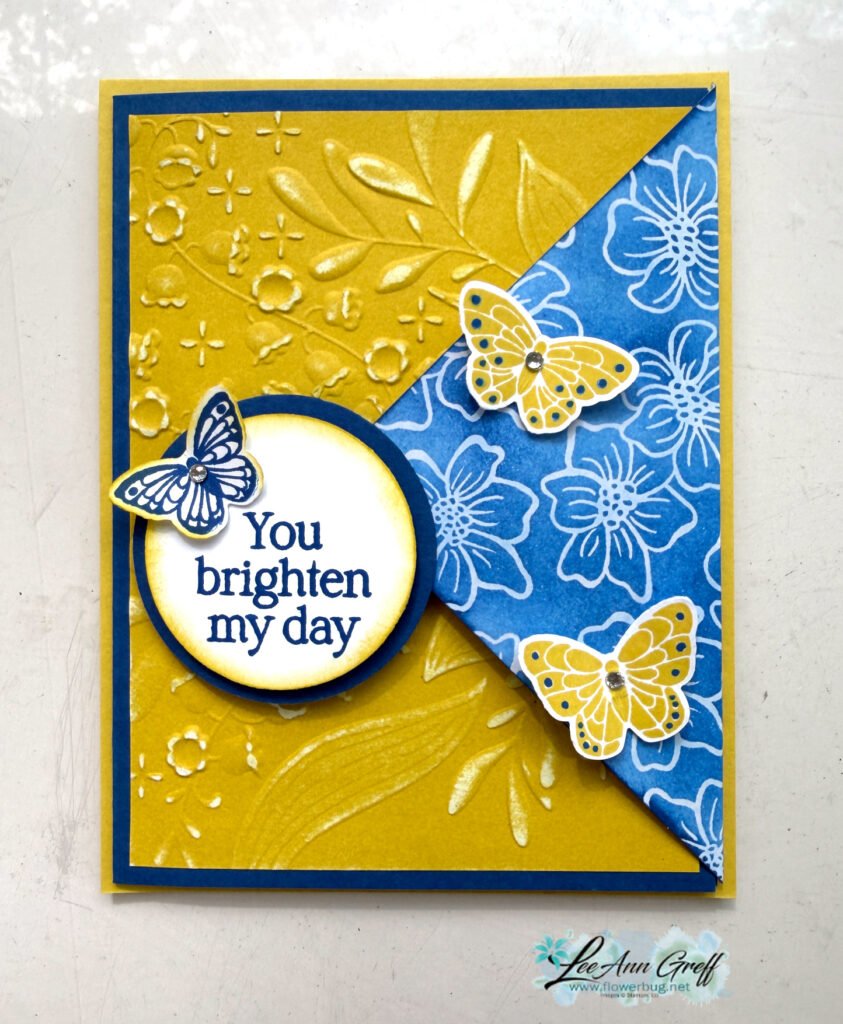
    This neat fun fold card was created for my June card clubs. I call it an envelope flap closure.

    My colors include Darling Duckling, Blueberry Bushel with White. Wonderfully bright for summer! I used quite a few products here so I’ll list them for you.

    • All Aflutter stamp and dies bundle seen here
    • Darling Duckling 12 X 12″ Two-toned card stock
    • Irresistible specialty designer paper seen here
    • Lazy Daisy & Floral Spray 3D embossing folders
    • 1 3/4″ and 2″ circle punches
    • Blending Brushes
    • a sanding block

    The Irresistible designer paper is cut into a 3 3/4″ square and scored in the center diagonally. It’s adhered to the back of the Blueberry Bushel card base before that is adhered to the larger Darling Duckling CS.

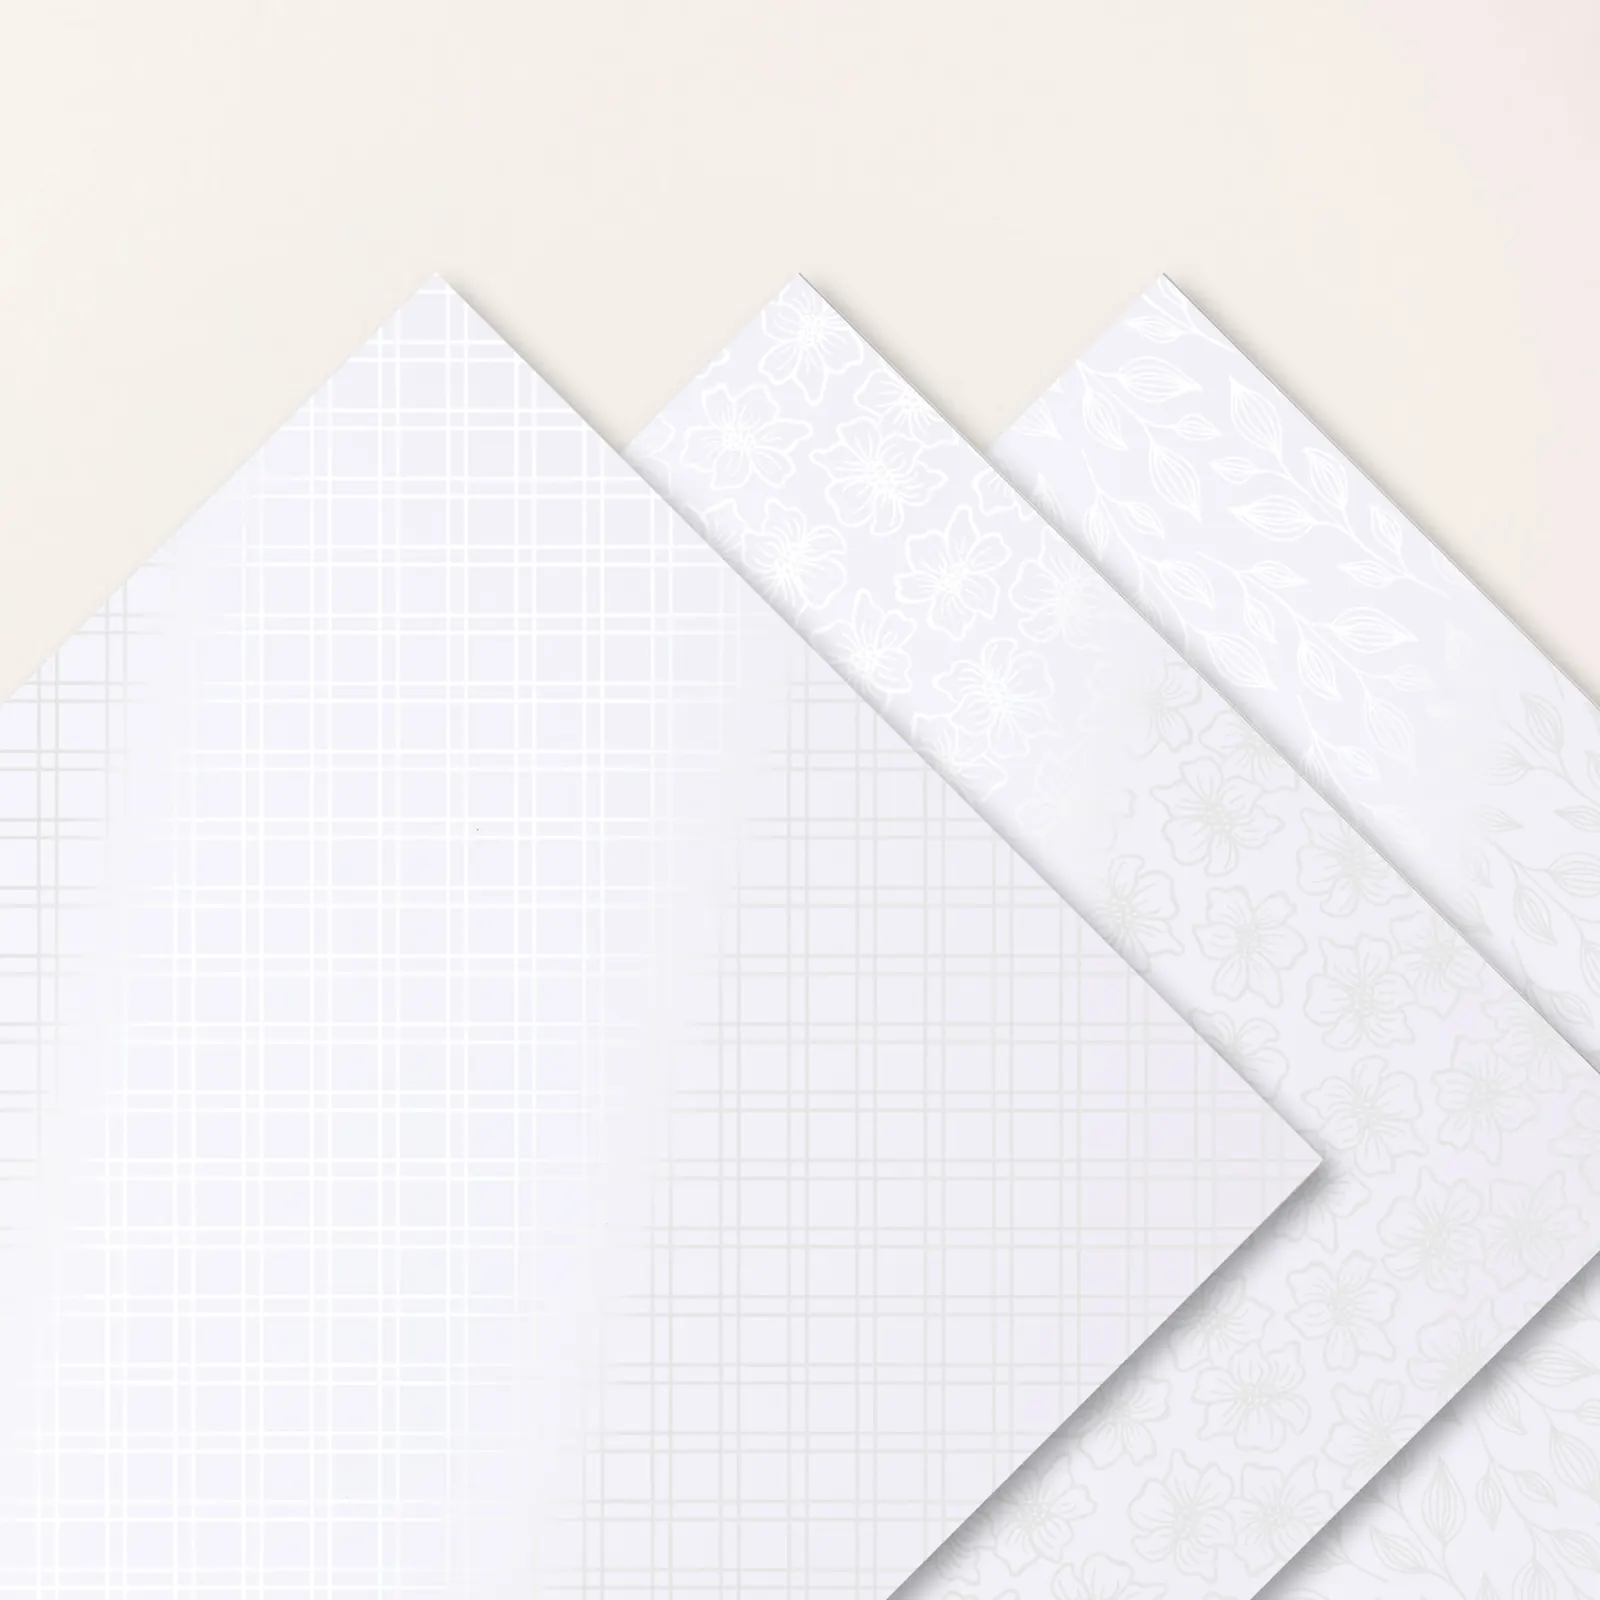
    There are three patterns in this specialty Irresistible designer paper you can see here. When you add ink to this specialty paper it reveals the white shiny pattern.

    You can see the two patterns I used on my card here.

    And here’s the other version. Note both the blue Irresistible patterns and the embossing folders.

    After we textured the 2-toned Darling Duckling card stock we sanded it with a sanding block (from my husband’s shop) to reveal more of the White core.

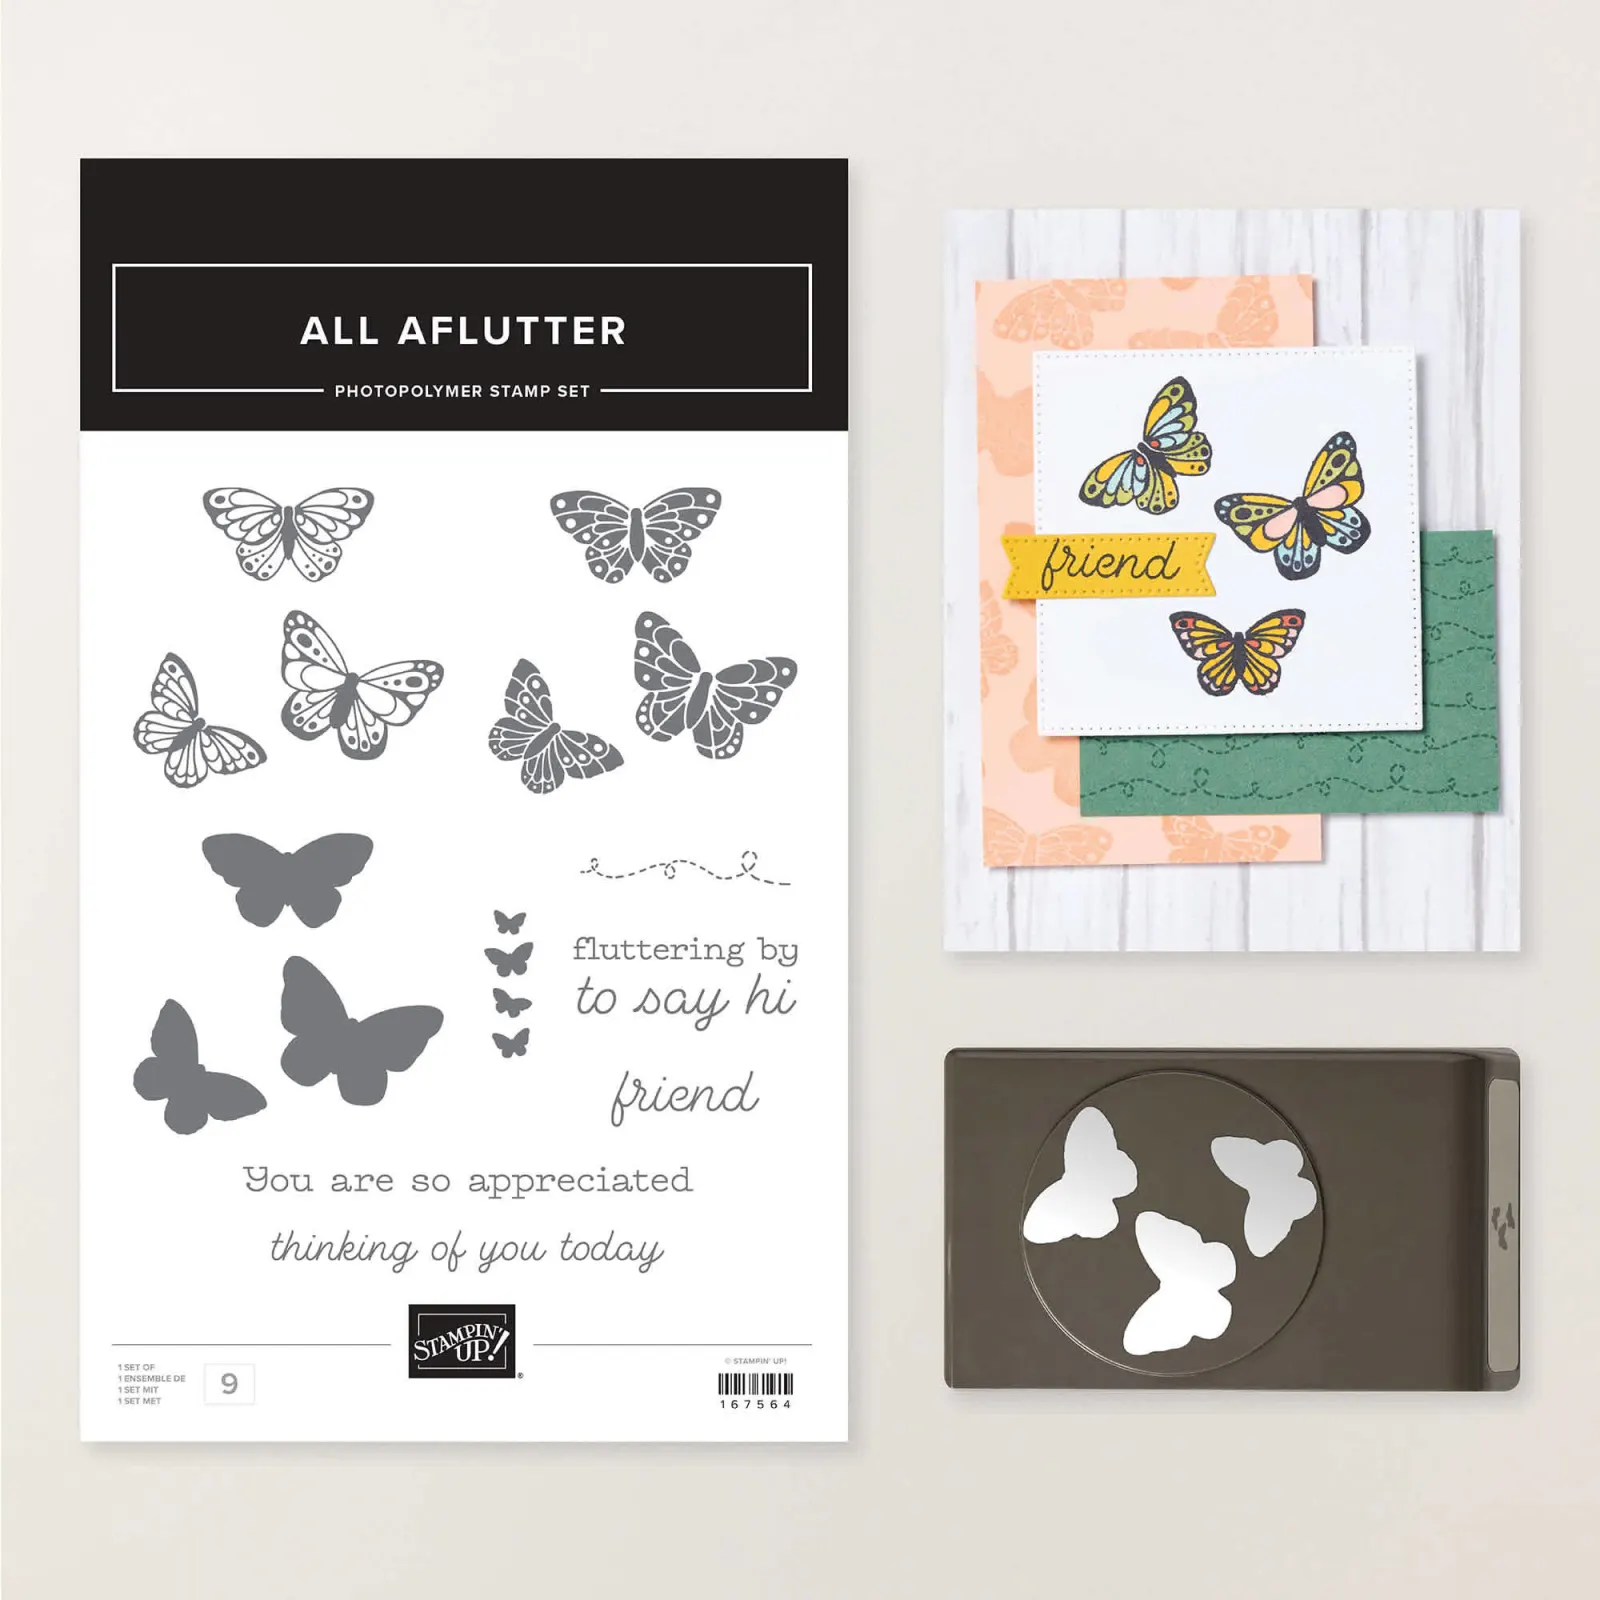
    You can see the All Aflutter bundle here. I love having butterfly images with a coordinating punch! See it here.

    I created a free project sheet for this card with measurements, photos and supplies list. Click here to see it.

    Below is the video tutorial for this card and one other made with the cute All Aflutter bundle.

    I’ll share the second card with the free project sheet tomorrow.

    Leave a Reply

    Your email address will not be published. Required fields are marked *

  • How to use our Flip Flaps


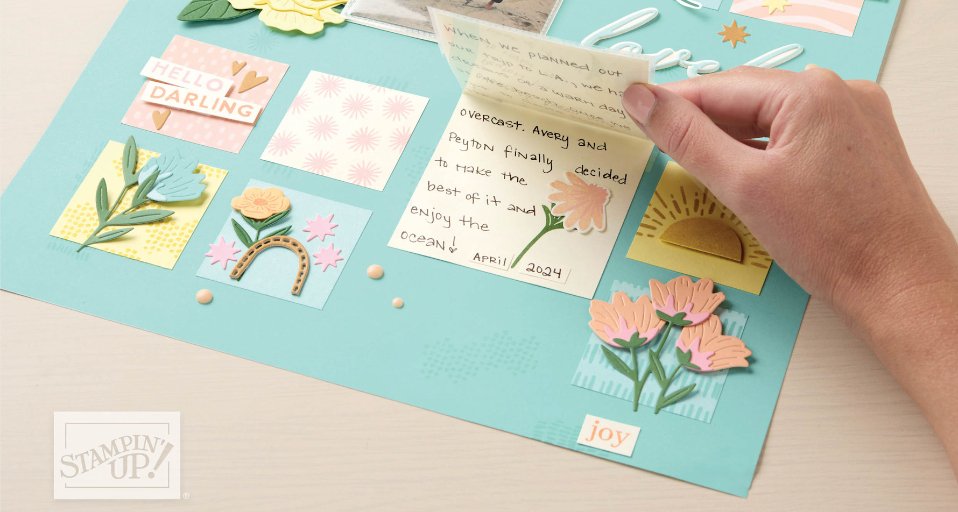
    Whether you scrapbook or make cards these Flip Flaps are super fun! A great way to add hidden layers in a surprising way.

    Stampin’ Up! created a picture tutorial on how to use them with additional ideas as well. Click here to see it.

    Here’s the link to see our Flip Flaps in the online store.

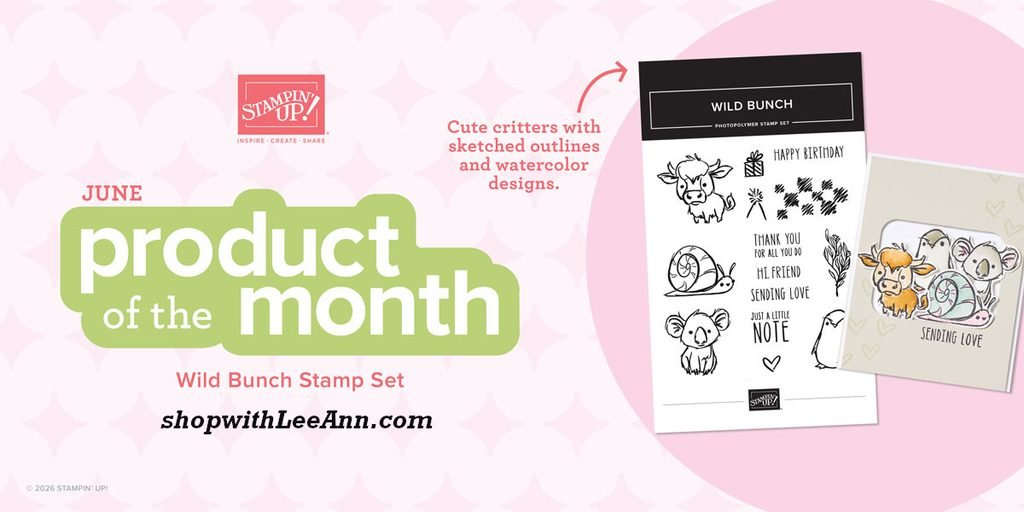
    Here’s the latest product of the month – Wild Bunch stamp set – just $5 with a $75 online order. Click here

    Leave a Reply

    Your email address will not be published. Required fields are marked *


Notice: LeeAnn Greff, Independent Stampin’ Up! Demonstrator, Manager. The content of this website is my sole responsibility as an independent Stampin’ Up! demonstrator and the use of, and content of, the classes, services, or products offered on this website is not endorsed by Stampin’ Up! Copyright 2025