/


Latest Post

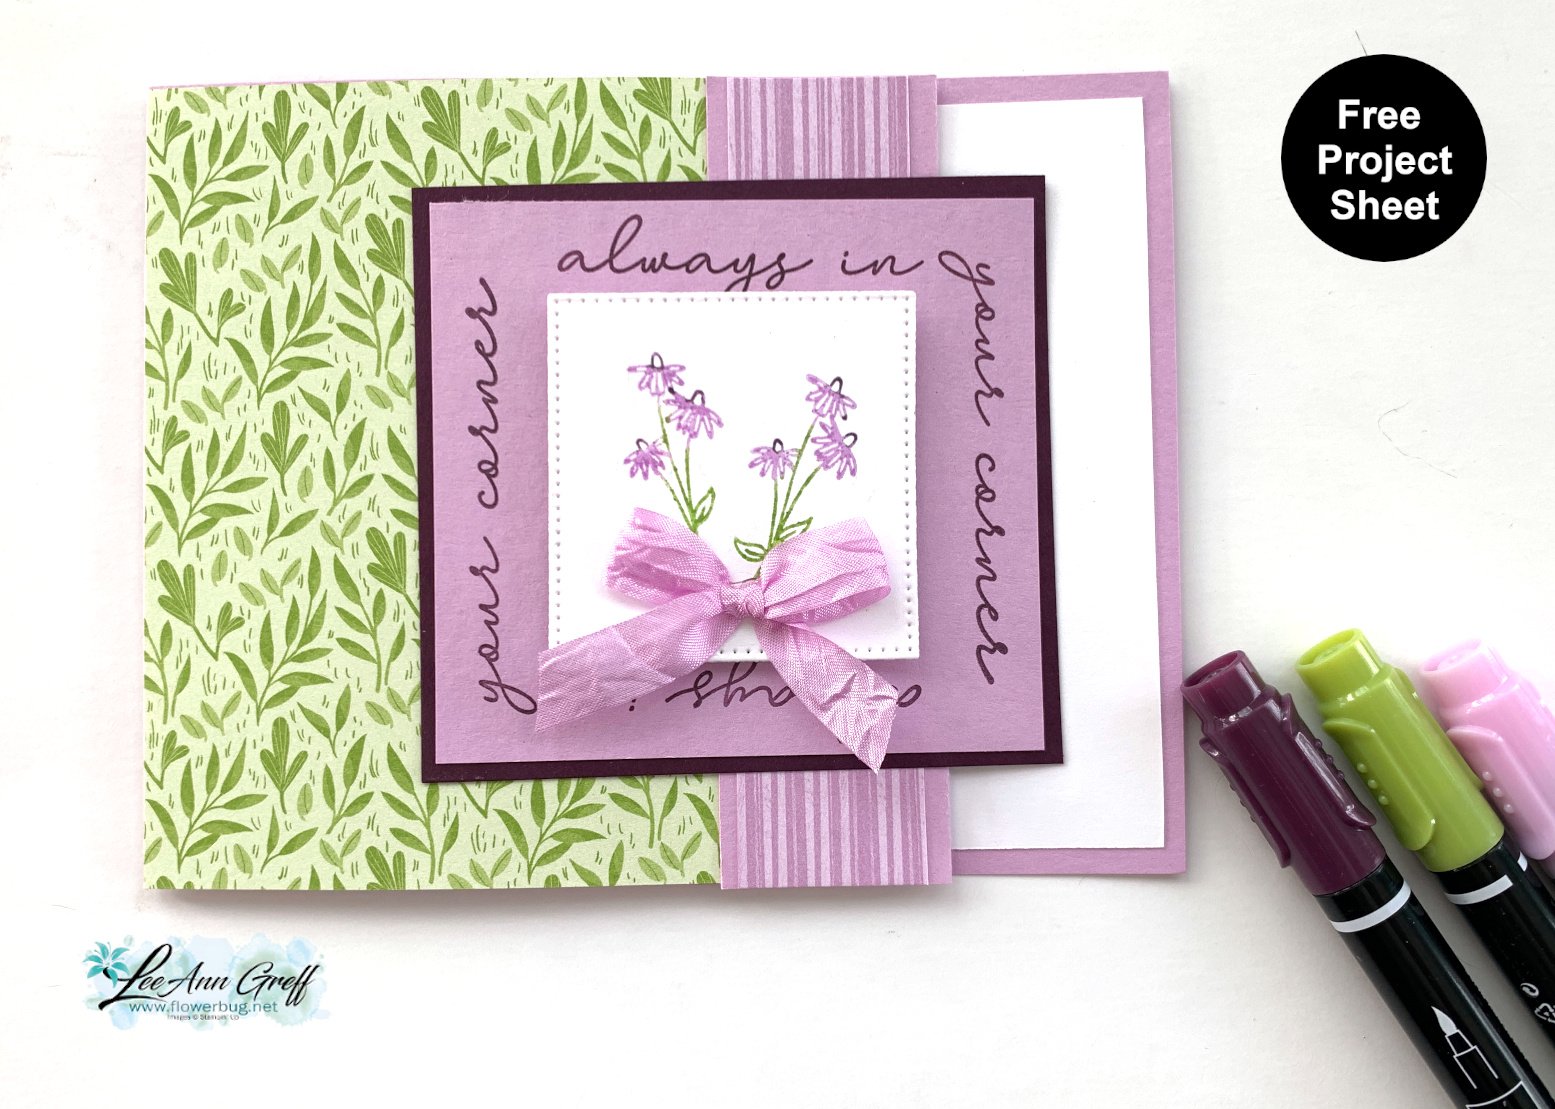
Spring Corners fun fold card with free project sheet & video tutorial


I totally enjoyed making this neat fun fold card.  It shows off this neat stamp set wonderfully! 

I wanted to highlight the flower image as well as the neat greeting. I used Stampin' Write markers to color my image before I stamped. 

Tips on coloring stamps with markers:

  • always us a water-based marker (never a Blends 'permanent' marker)
  • color with the lightest color first so you don't contaminate your tip with a darker color
  • huff on the image before stamping to moisten the inks – this gives a brighter image

This neat fold starts with an 11" X 4 1/4" card base with a small fold back on the front. Then the DSP layer is added behind it.  

My colors include Fresh Freesia, Blackberry Bliss or Granny Apple Green and White. The DSP is the Toadstool Gardens and the ribbon is the Fresh Freesia seam binding ribbon – both are from our free Sale-a-Bration choice.
Here's the free project tutorial with measurements.  Just click on this link to print or download it. Download Spring Corners fun fold with Toadstook DSP

*Below is the video for this card and another cute card using the Spring Corners set.   

~~~

February Specials:

*current host code link:  

DNXE92GP

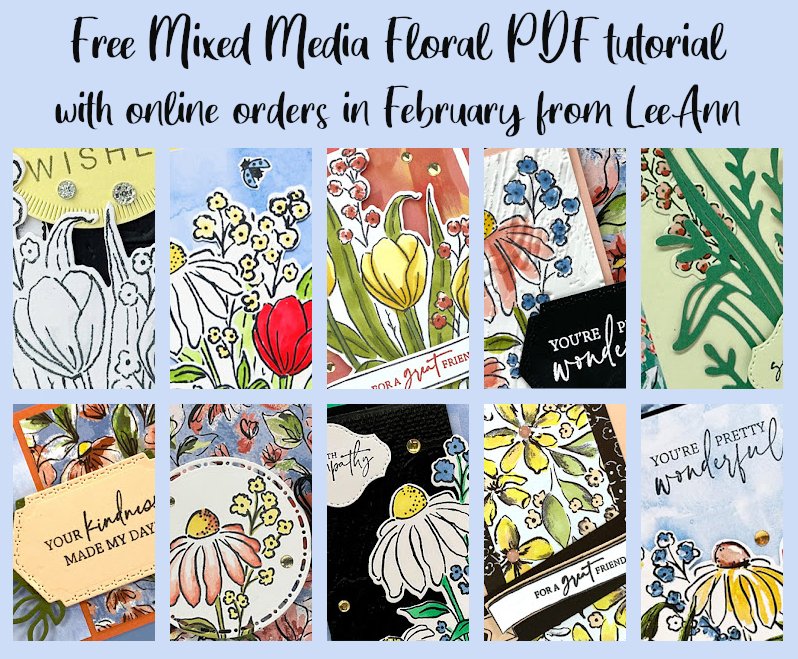
Get this free tutorial with any online order in February!
 New Sale-a-Bration items are here!

For every $60 (or $120) you spend you can choose a free item from the SAB catalog! 


 And when you choose the Starter kit in February you get a choice of 2 sets of markers & a free stamp set or an extra $30 in product.  That's $155 in value for just $99! 

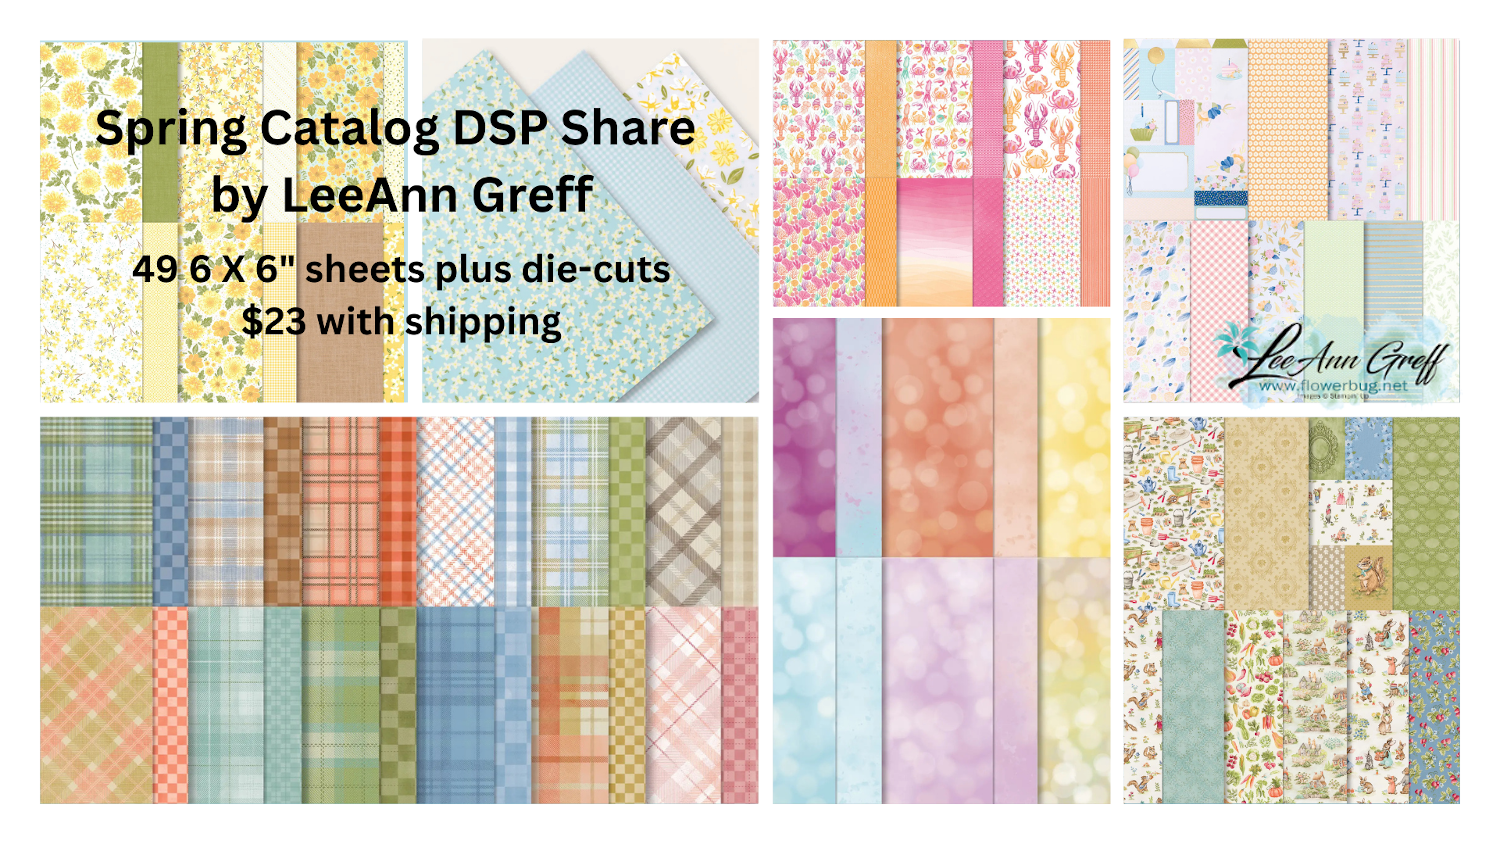
Opt in for my Spring catalog Designer Paper share and/or the Spring catalog embellishment share seen below. 

See the details here. 
Contact me here

All Posts

  • Delicate Wings card kit to go; limited quantity left


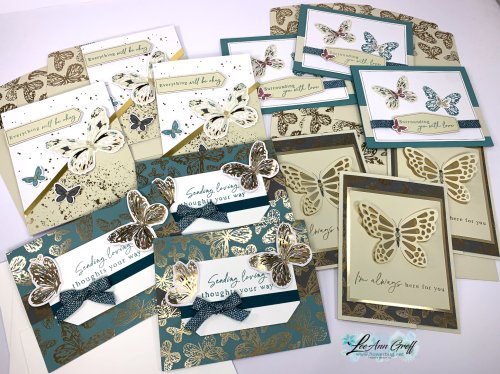
    I loved the Delicate Wings Paper Pumpkin kit so much I bought a bunch of refill packages.  I transformed the kit from 9 cards to 12 and have some available in my store.  They're so pretty!  

    If you love butterflies and glitz you'll enjoy making these pretty cards.  It includes the following:

    • pre-cut or punched layers for all 12 cards
    • a share of Iridescent Foil gems
    • a share of Pretty Peacock & Gold metallic ribbon
    • the PDF tutorial with directions, measurements, photos & a supplies list

    The tutorial will be emailed to you immediately after payment.  Please check your spam folder.  The kit will be mailed out within a few days. 

    You will need greeting stamps, adhesives and a paper trimmer. 

    You can see this pre-cut kit to go here.  It's $29 plus shipping.  If you're already signed up to receive a kit this month message me and you can pay without additional shipping costs.  

    I have many other kits available right now; grab two or more and save on shipping!  www.flowerbugshop.com 

    ~~~

    March Specials:

    *current host code link:  

    PNQMAWXD

    Get a free Floral Delight tutorial with any online order in March!

     Free Iridescent Foil gems!

    Leave a Reply

    Your email address will not be published. Required fields are marked *

  • Delicate Wishes fancy fold with measurements!


    Jacki made this extra special fun fold for our February Team swap (the theme was circles). 

    Isn't is gorgeous!  She used the Delicate Wishes bundle seen here. Her colors include Daffodil Delight, Lemon Lolly, Shy Shamrock & Early Espresso with White.

    Products used:

    • Delicate Wishes bundle seen here
    • Bough punch (low inventory)
    • Bloom Impressions DSP (Sale-a-Bration)
    • Soft Waves 3D embossing folder seen here
    • Stylish Shapes dies seen here

    The main panel is cut at an angle and fold out.  So cool!!

    Measurements:

    • Crushed Curry card base 4 1/4" X 5 1/2"
    • White back layer 4" X 5 1/4", angled layer 12" long – 2" tall at the left end and 4" tall at the right, score at 4" & 8" 
    • Circle die-cuts are 2 1/8", 2 1/2" (center), inside is 2 1/2" & 3" layered


    ~~~

    March Specials:

    *current host code link:  

    UBYVA7HN

    Get a free Floral Delight tutorial with any online order in March!

     Free Iridescent Foil gems!

    Leave a Reply

    Your email address will not be published. Required fields are marked *

  • 2 Pretty Team card swaps with neat technique ideas!


    Today I'm sharing two Team Swaps from last month.  Both have neat product ideas.

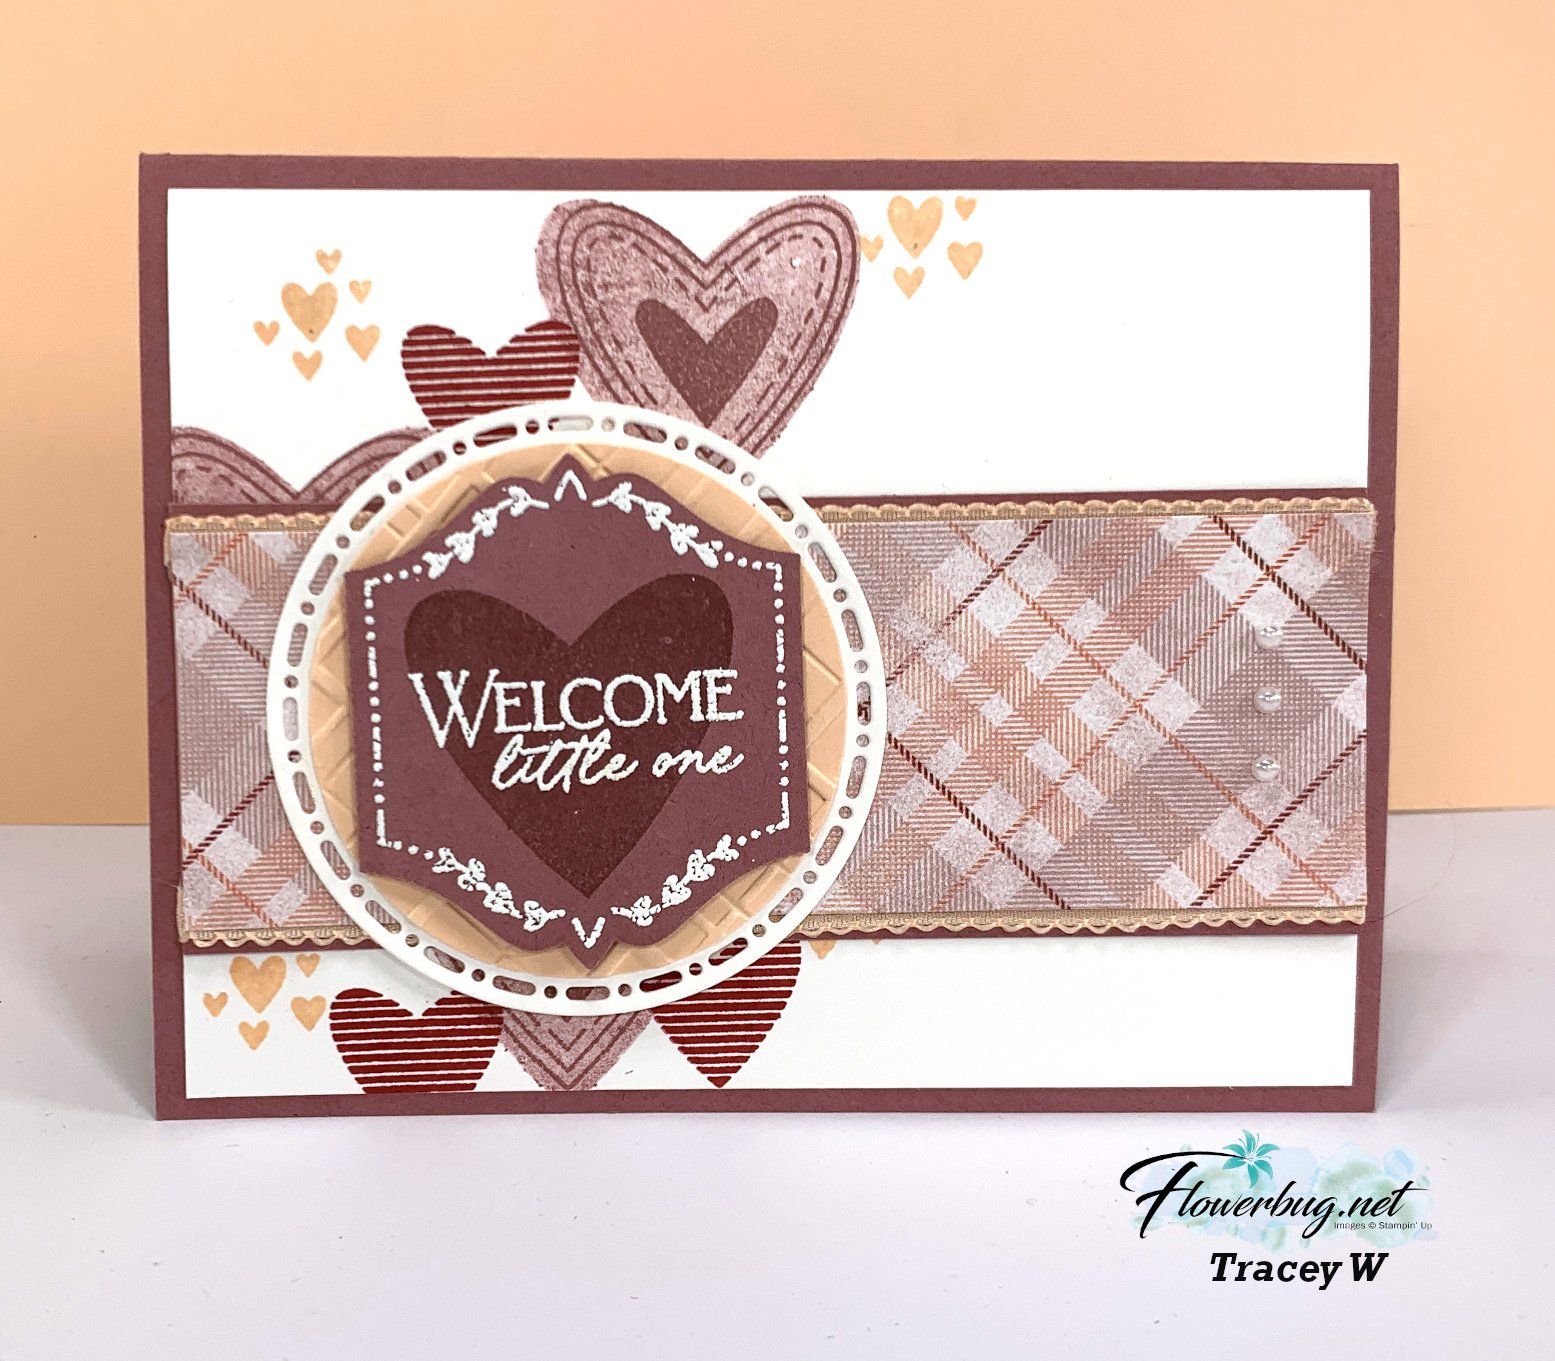
    First is Tracey's cute card. Can you guess what the tiny scallops on the DSP is?  

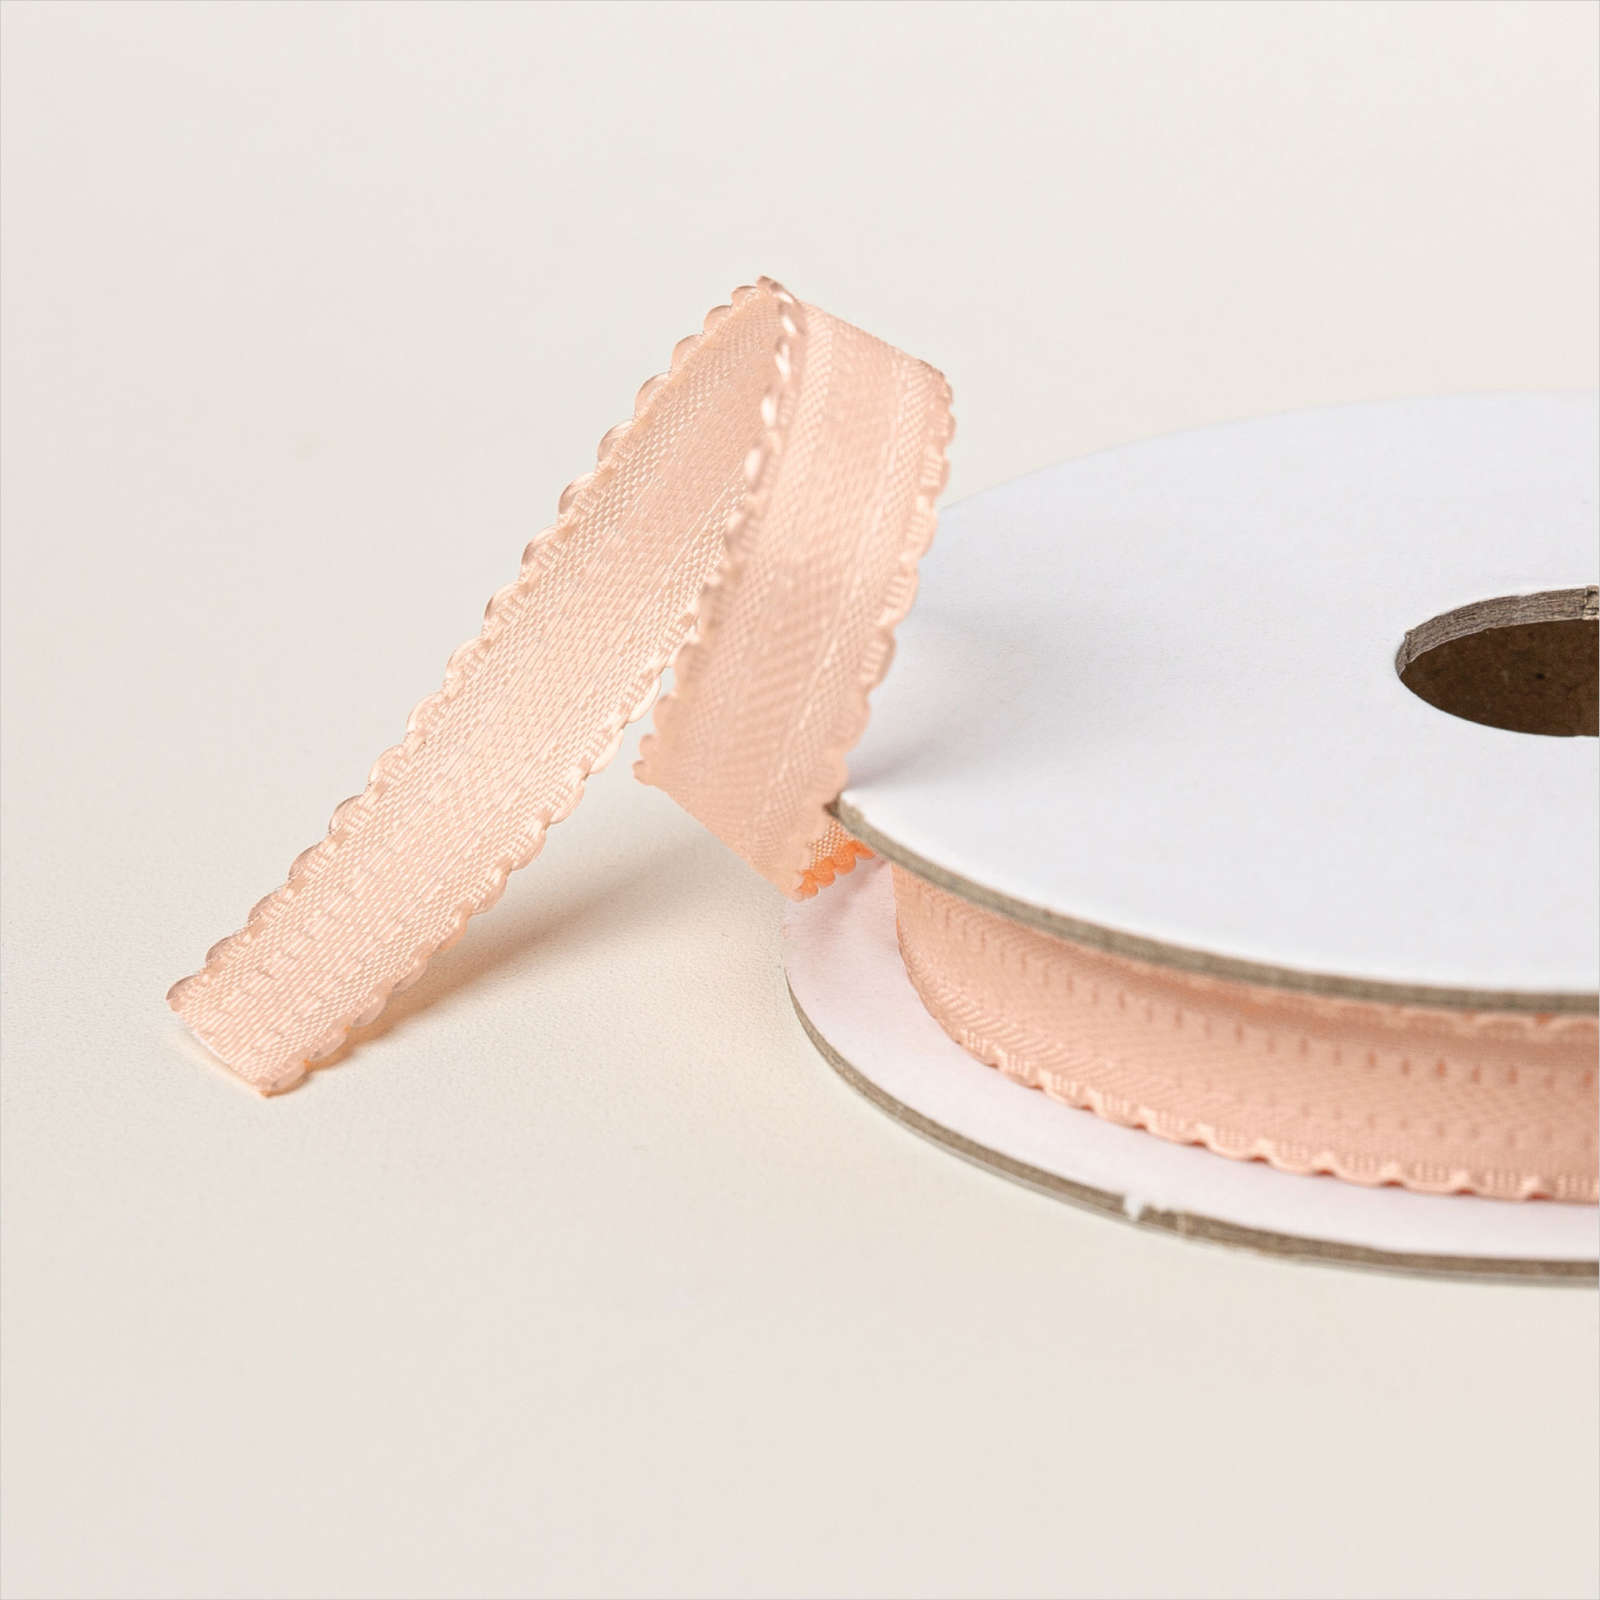
    She used the Petal Pink scalloped ribbon under the DSP! Tracey has a special gift on fun ways to use ribbon & twine. This effect is so pretty & delicate looking.  It's currently in low inventory. 

    Measurements:

    The DSP is 5 1/4" X 1 3/4", the White 5 1/4" X 4", the card base is 5 1/2" X 8 1/2" scored at 4 1/4". The layer under the ribbon & DSP is 5 1/4 X 2"

    Here is a list of the many products she used:

    • Hugs for Love bundle seen here (punch will be available in April)
    • Moody Mauve, Basic White & Pretty in Pink CS
    • Timeless Plaid 6 X 6" DSP seen here
    • Spotlight on Nature dies seen here
    • 2 3/8" circle punch
    • Forever Plaid 3D embossing folder (circle) 
    • Heat embossing technique

    ~~~

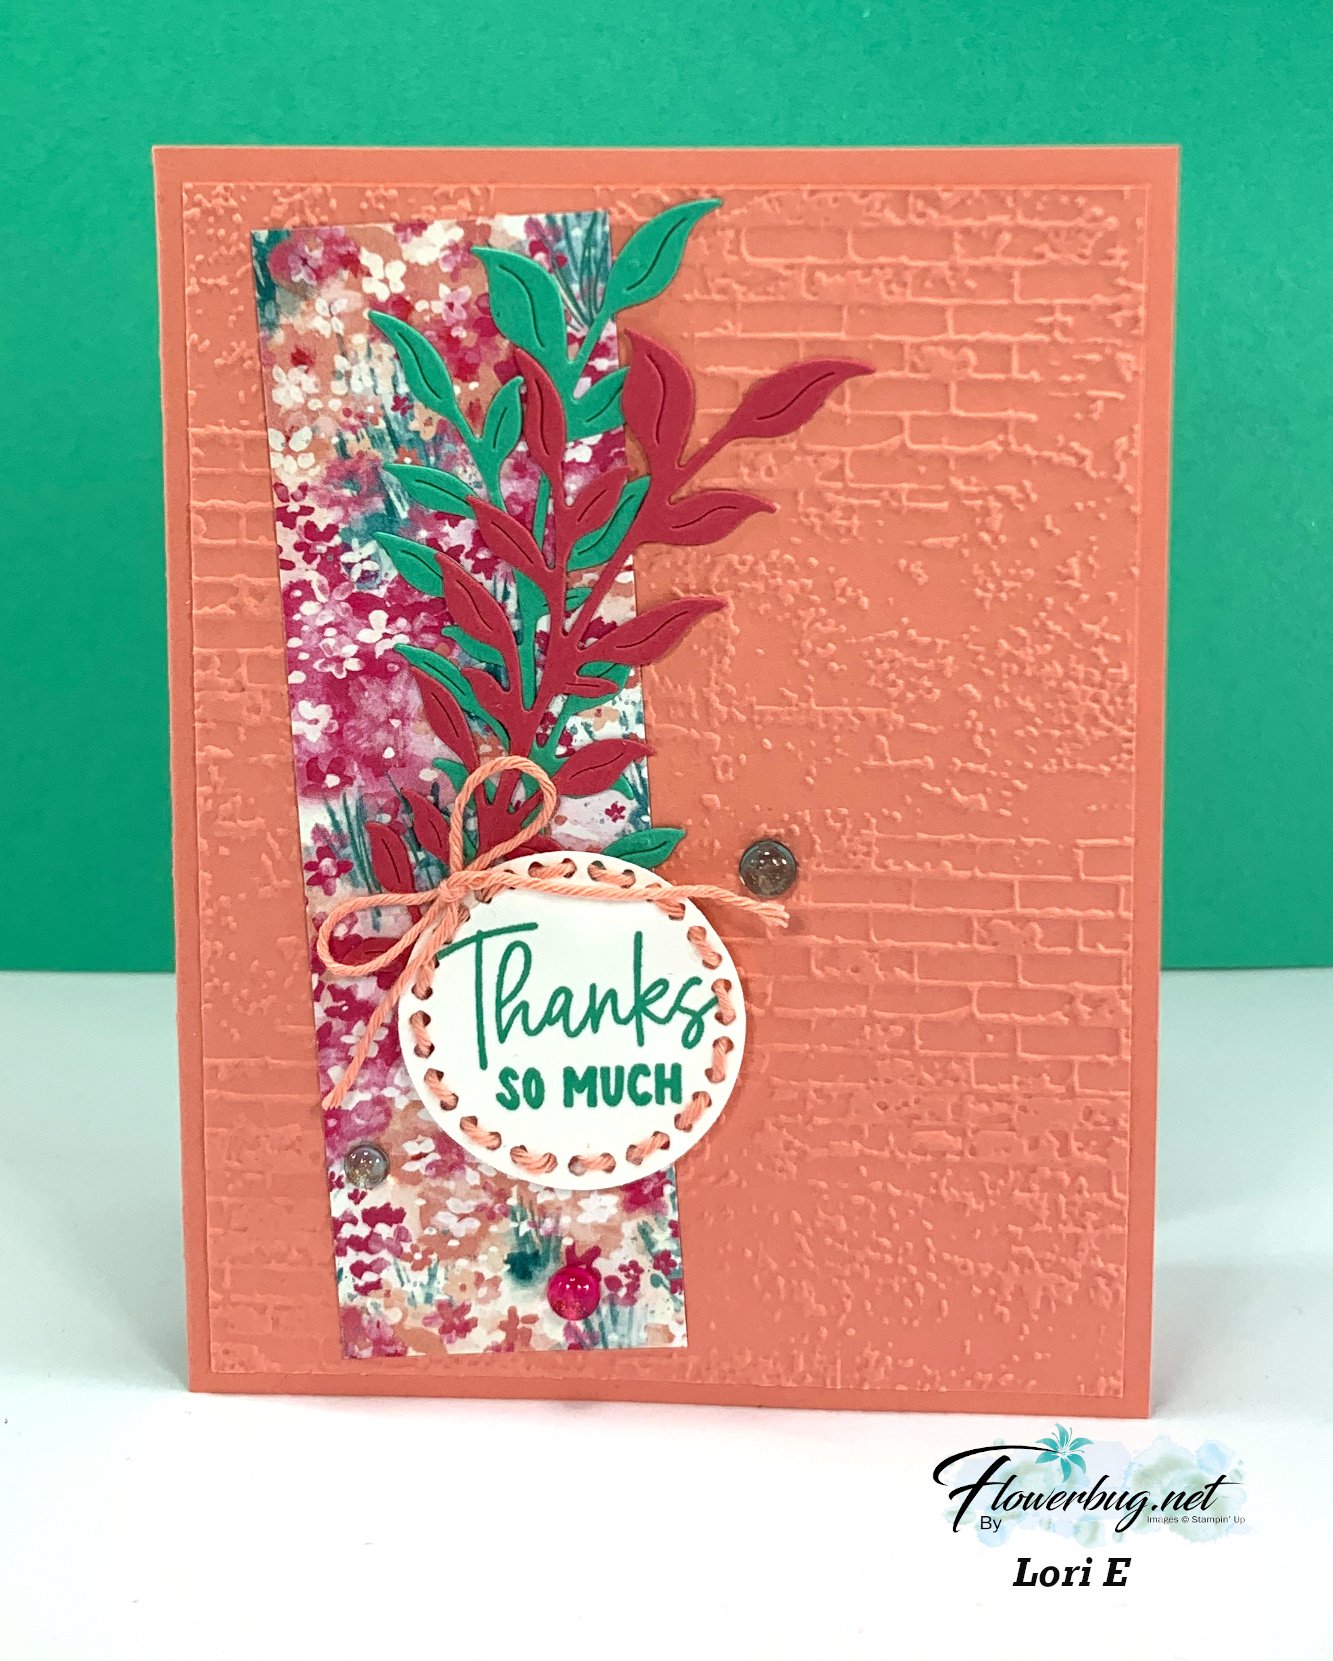
    Next is a pretty card made by Lori. Her special technique surprised me!  Do you spot it?

    She stitched her die-cut circle (Spotlight on Nature) with the 3 color pack of Baker's Twine!  

    Her card base is Flirty Flamingo and the 4" X 5 1/4" CS layer is textured with the Exposed Brick embossing folder seen here.  The pretty DSP is the Sale-a-Bration Bloom Impressions (now retired). The greeting & die-cuts are from the Memorable Blooms bundle seen here. 

    I'll share more Team swaps tomorrow! 

    ~~~

    March Specials:

    *current host code link:  

    UBYVA7HN

    Get a free Floral Delight tutorial with any online order in March!

     Free Iridescent Foil gems!

    Leave a Reply

    Your email address will not be published. Required fields are marked *


Notice: LeeAnn Greff, Independent Stampin’ Up! Demonstrator, Manager. The content of this website is my sole responsibility as an independent Stampin’ Up! demonstrator and the use of, and content of, the classes, services, or products offered on this website is not endorsed by Stampin’ Up! Copyright 2025