/


Latest Post

Sponge Brayer on an embossing folder? Cool effect!


Have you ever used a sponge brayer?  Did you even know we carry them?  We do!  On page 181 of the annual catalog. Click here to see them. 


I used Pool Party ink and the sponge brayer to add ink to the flat side of the Parisian Flourish embossing folder seen here.  Then I inserted my card stock or envelope flap into the folder and ran it through the machine.  Super easy!  Then just rinse the ink off your embossing folder when you're done.  Our ink colors are water based so it comes off easily. 

Click below to watch the video; it's at the end of this one below:

I used another 'stitched heart' on the front of this card using the Heart Doilies seen here. The few die-cuts are from the Stitched Be Mine set of dies in the annual catalog. See those here. 

I shared how to do this stitched heart doily in a previous FB live video.  Click here to see it.  It took me about 8 minutes to stitch and I do NOT stitch by hand much at all. Maybe once a year.  That should tell you it's easy! 

~~~

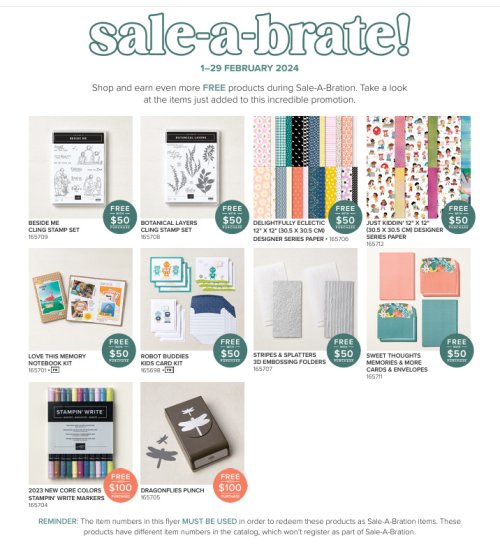
Three January Specials just for you besides Sale-a-Braton! 

  1. All January online orders will earn a ticket in the drawing for a free Little Ladybug stamp set!

Order online here

2. All online orders will receive a 10 cards pdf tutorial in an email.

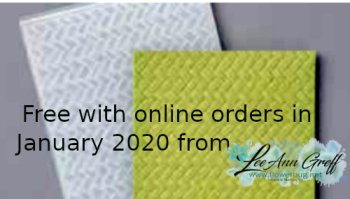
3. And if your order is over $65 you'll get a free Coastal Weave embossing folder too!

January Host Code is GEEFZCZV

Order online here

All Posts

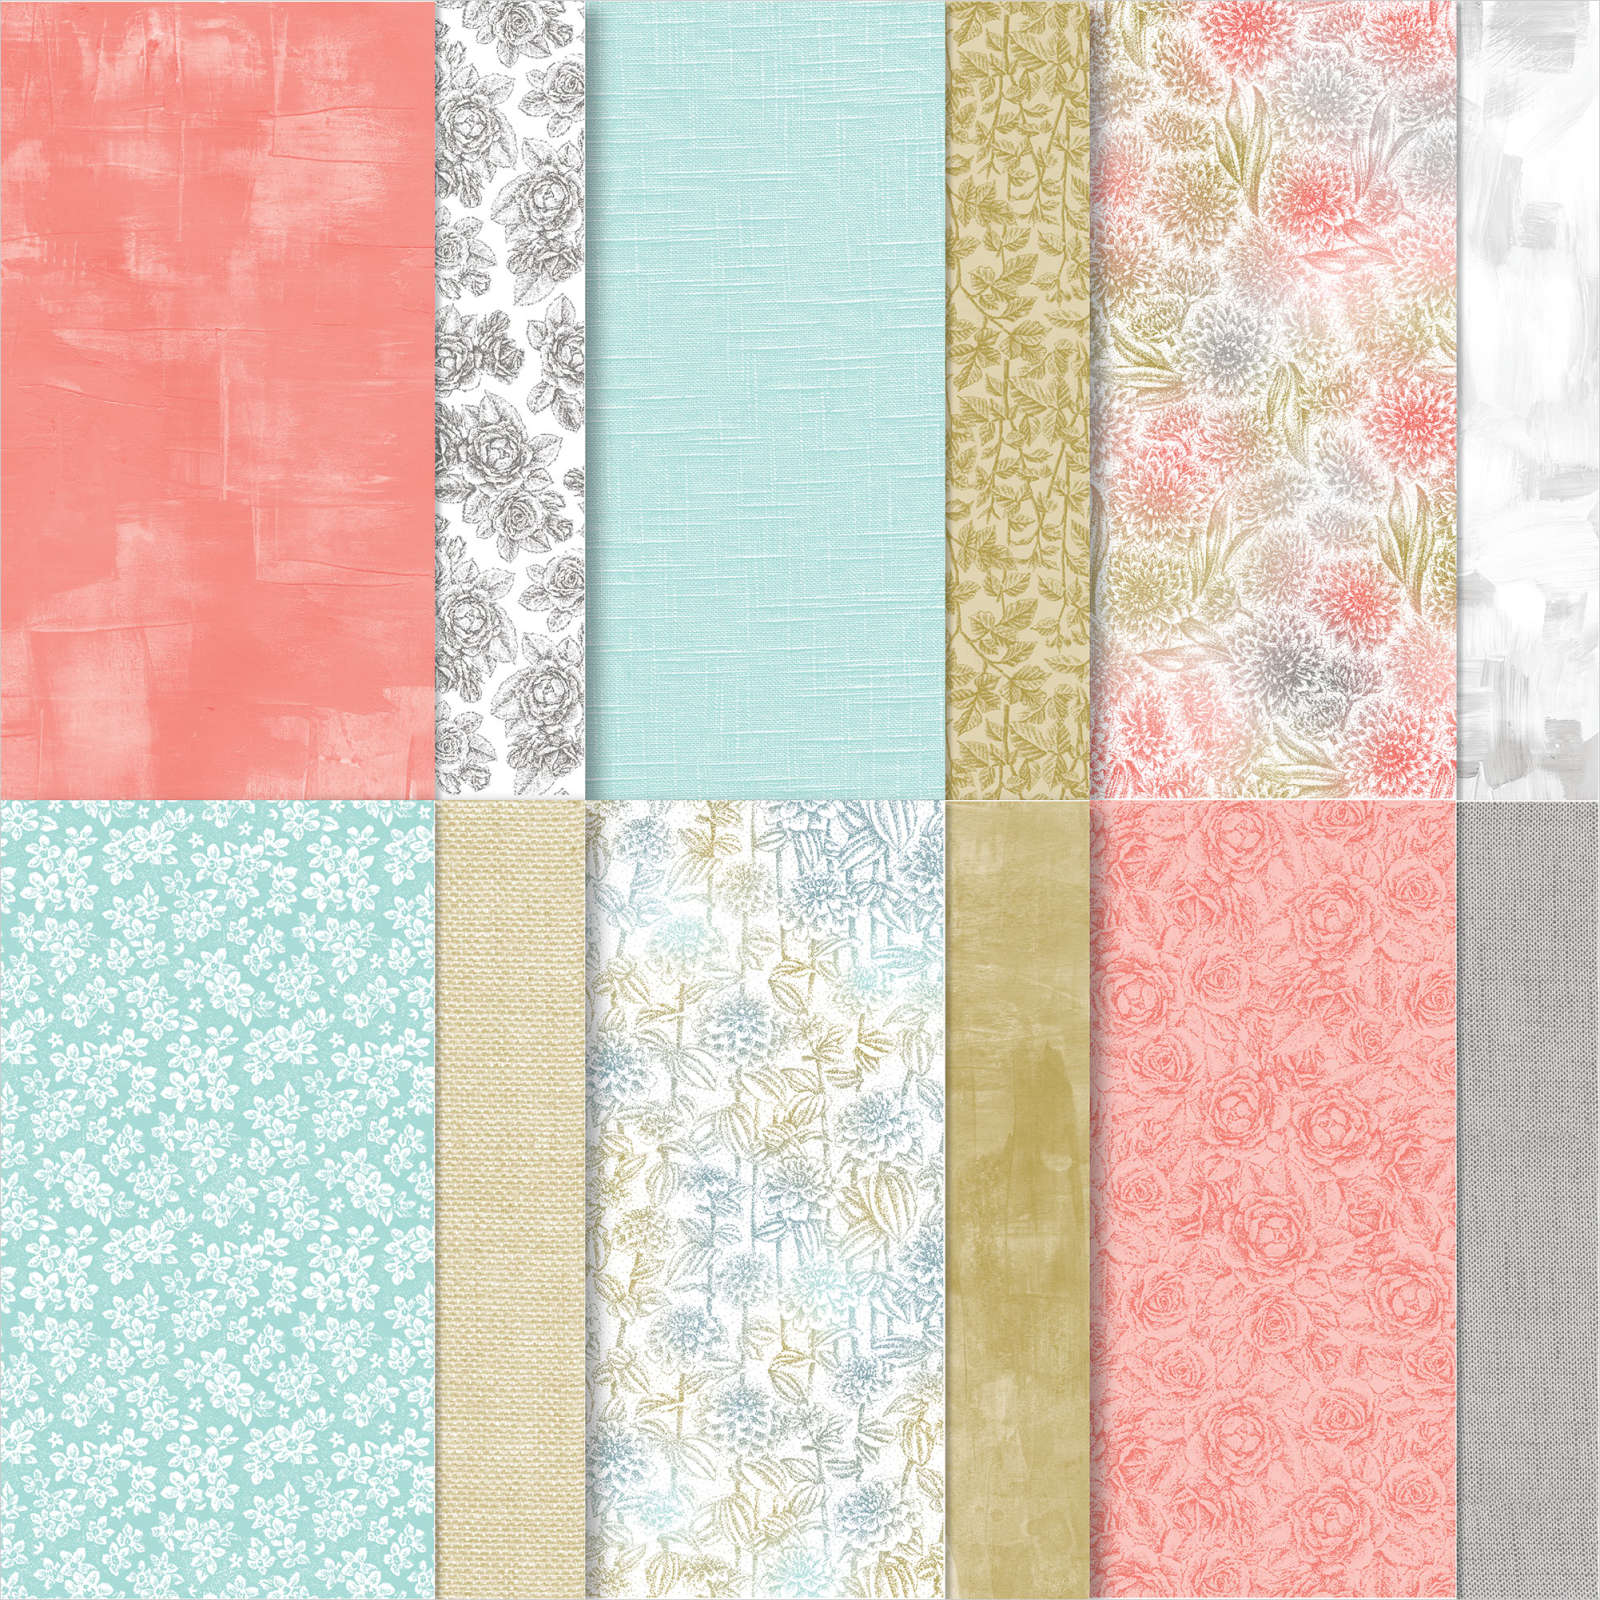
  • Reserve your 2024 Spring Catalog designer paper share now & get 30 bonus Sale-a-Bration sheets too


    The new 2024 Spring catalog goes live on Thursday, January 4th!!  That means it's time for another designer paper share.  

    There are 8 new packs of beautiful designer papers in this catalog. 

    This share includes 48 sheets of 6 X 6" papers from the Spring Catalog plus I'm adding in one sheet from each of the 5 packs of new Sale-a-Bration packs too (30 more sheets)!  

    You'll receive a total of 78 sheets of NEW designer papers for just $18! *Add on $7 for shipping costs for a total of $25 long distance.  Contact me here to reserve yours.

    *Once the share is filled with 8 people I'll order the designer papers; once the catalog goes live on January 4th. It can take a few weeks for the shares to fill, be shipped and prepped by me for shipping. 

    Who wants one??

    ~~~

    December Specials: 

    I have several pre-cut card & scrapbook kits to go; ready to mail out!

    Click here to see them all.

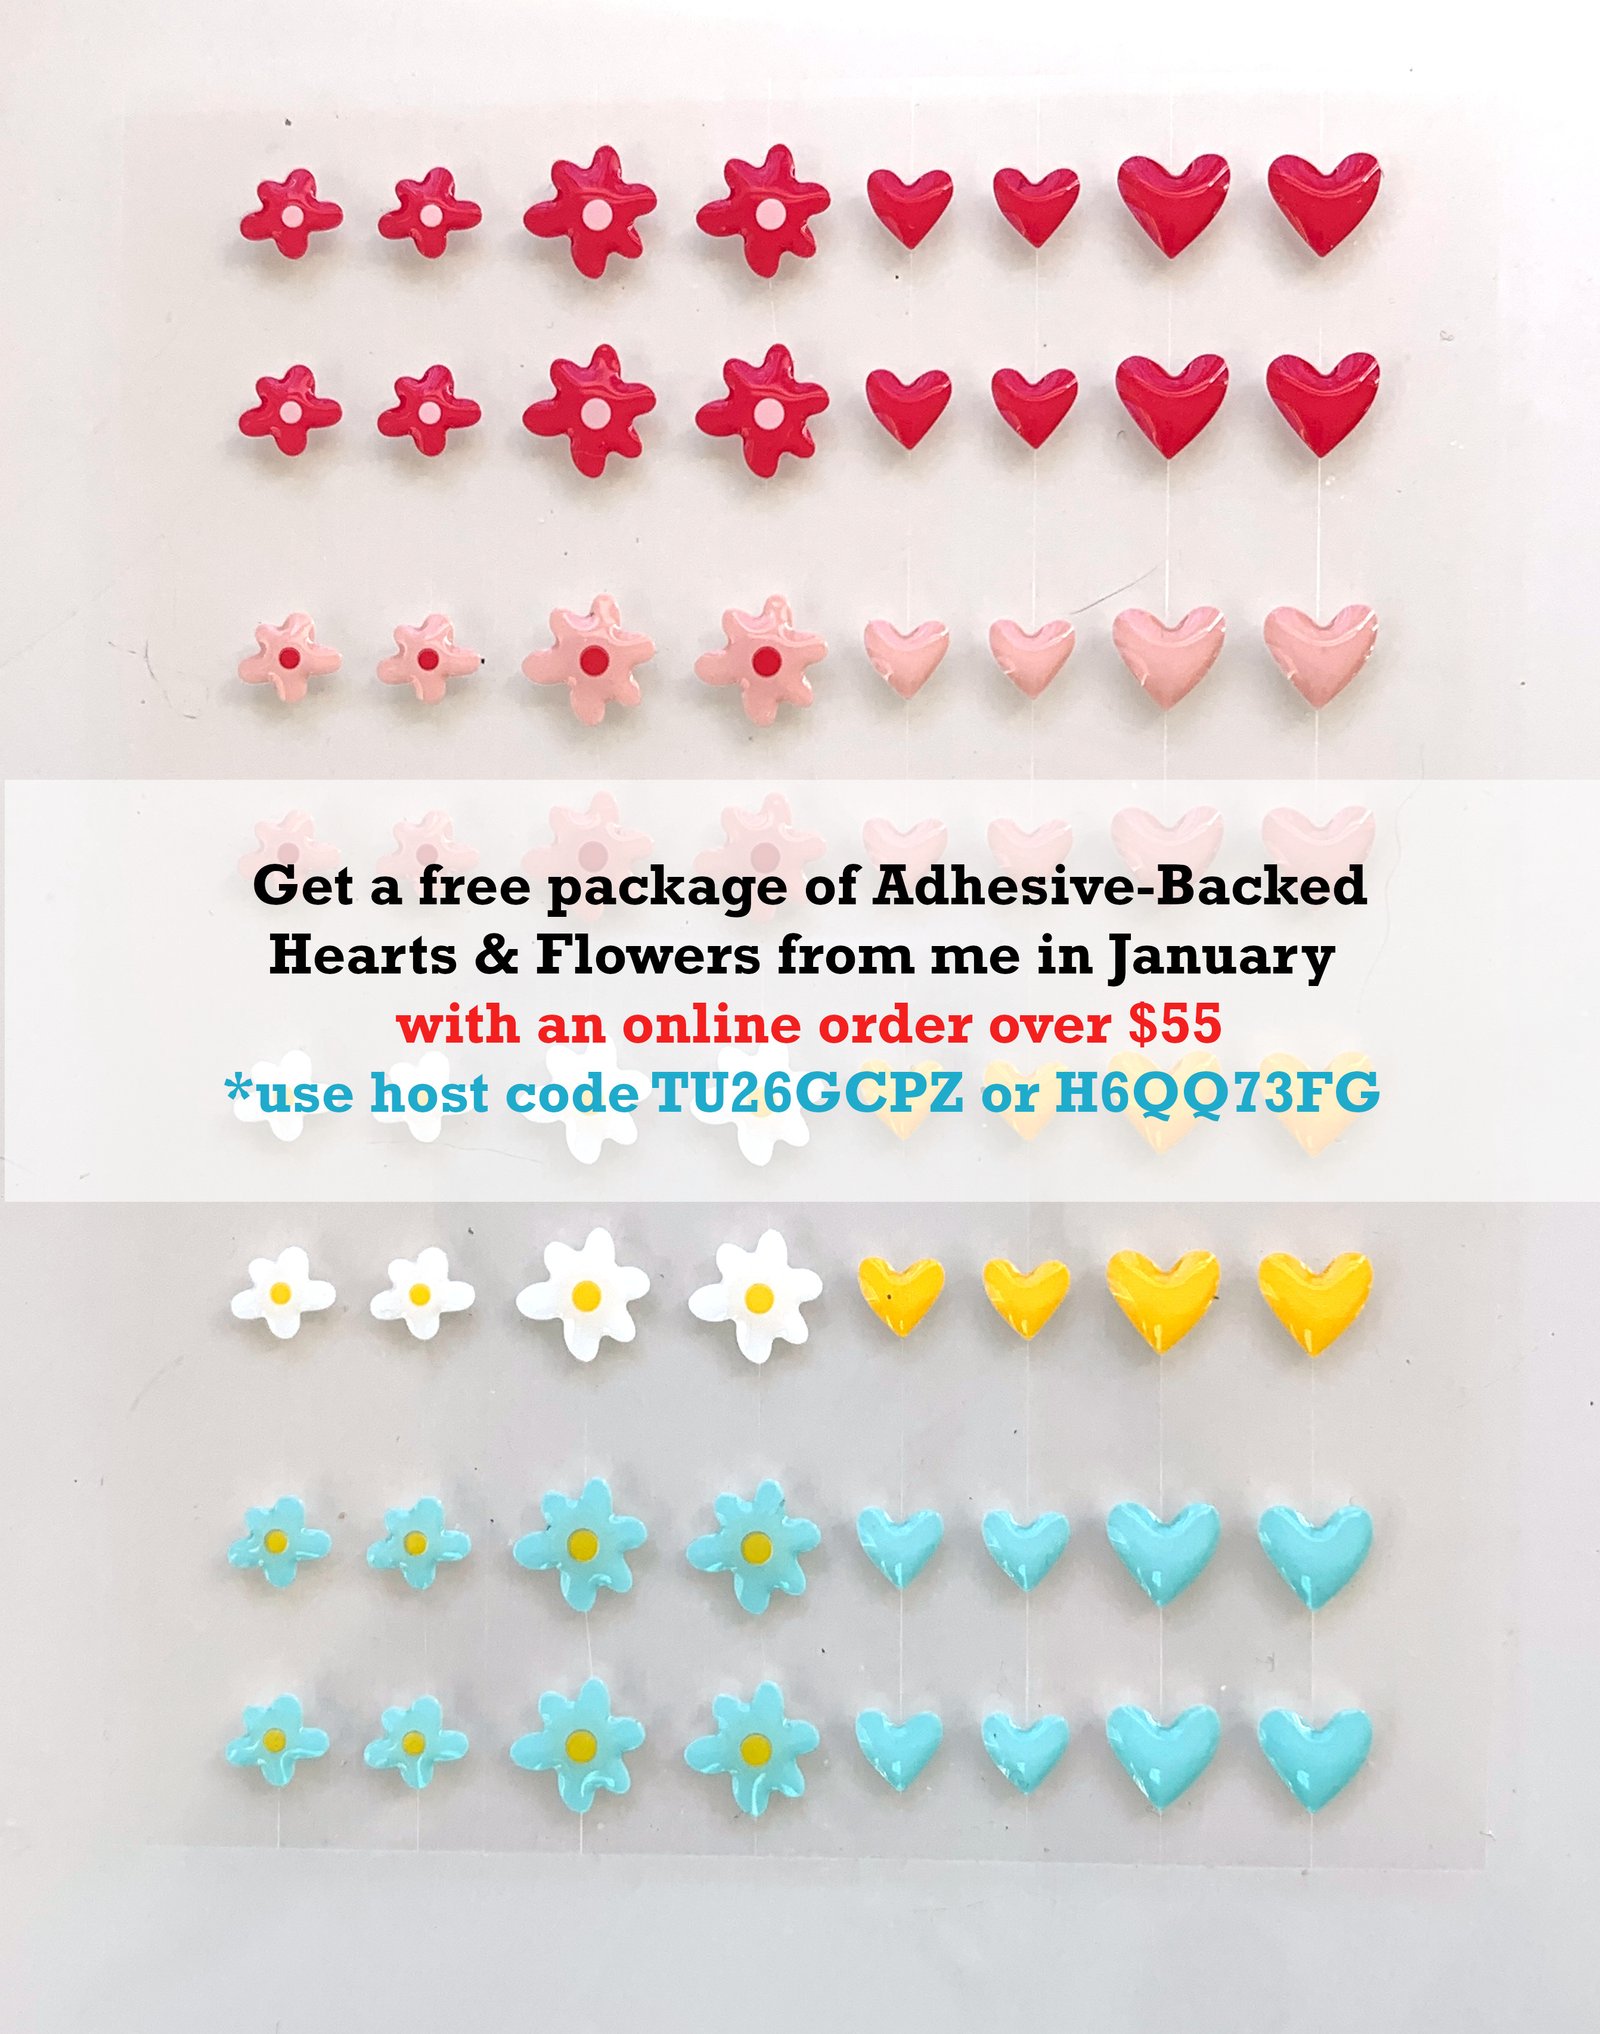
    Get a free embellishment from the 2023 Holiday catalog with an

    online order over $50


    *current host codes: TU26GCPZ

    Leave a Reply

    Your email address will not be published. Required fields are marked *

  • NEW Everyday Details card with a unique Designer Paper layout with video tutorial


    I joined quite a few online card swaps for the new 2024 Spring & Sale-a-Bration catalogs and today's post features one of them. 

    It features the Everyday Details bundle and the Poetic Expressions designer series paper. Both are in the upcoming 2024 Spring Catalog that goes live on January 4th.  The colors include Boho Blue & Misty Moonlight with White. 

    There's a few special details I'd like to point out:

    1. The designer paper triangle is originally a 4" square, cut in half. I added it to a textured layer (4" X 5 1/4")
    2. The dotted circle die-cut is from the Everyday Details bundle; there are a variety of sizes in the set. It is adhered over a White stitched circle die-cut from the Stylish Shapes dies. 
    3. I stamped the cup image in Misty Moonlight ink. The flower is colored a soft white by using our Craft White ink and a Wink of Stella pen. I shared how to do this in the video here.  You can also use a Blender pen, a water pen or Watercolor Pencils.

    Here's a close-up of this technique. 

    I thought I'd take a photo of all of the swaps before I mailed them out: 

    I hope you'll try this easy but unique card layout!

    ~~~

    December Specials: 

    Get a free embellishment from the 2023 Holiday catalog with an

    online order over $50


    *current host codes: TU26GCPZ

    Leave a Reply

    Your email address will not be published. Required fields are marked *

  • Translucent Florals card made with colored vellum


    I created this pretty card with the Translucent Florals bundle.  I used our vellum card stock and changed it from opaque to Fresh Freesia. 

    It's really easy to do.  Here's how:

    1. I cut a good size piece of vellum from the main sheet and laid it onto my grid paper.
    2. Then I pressed my open ink pad onto the card stock until it was covered.
    3. To smooth the ink out use sponges or a blending brush. Let dry or heat set before die-cutting. 
    4. Die-cut the flowers, leaves and white centers

    Products & measurements:

    • Translucent Floral bundle
    • White card stock – card base 8 1/2" X 5 1/2" score & fold at 4 1/4"
    • Painted Texture embossing folder – white is 3 1/2" X 4 3/4"
    • Fresh Freesia card stock 3 7/8" X 4 7/8"
    • Granny Apple Green 4 1/4" X 1" strip 
    • Vellum card stock – a large piece colored with Fresh Freesia ink and a small piece with Granny Apple Green ink
    • Blending Brushes 

    Here's a photo of this pretty bundle. See it here. 


    ~~~

    December Specials: 

    Get a free embellishment from the 2023 Holiday catalog with an

    online order over $50


    *current host codes: TU26GCPZ

    Leave a Reply

    Your email address will not be published. Required fields are marked *


Notice: LeeAnn Greff, Independent Stampin’ Up! Demonstrator, Manager. The content of this website is my sole responsibility as an independent Stampin’ Up! demonstrator and the use of, and content of, the classes, services, or products offered on this website is not endorsed by Stampin’ Up! Copyright 2025