/


Latest Post

Splendid Day cards with an easy background technique; video too.


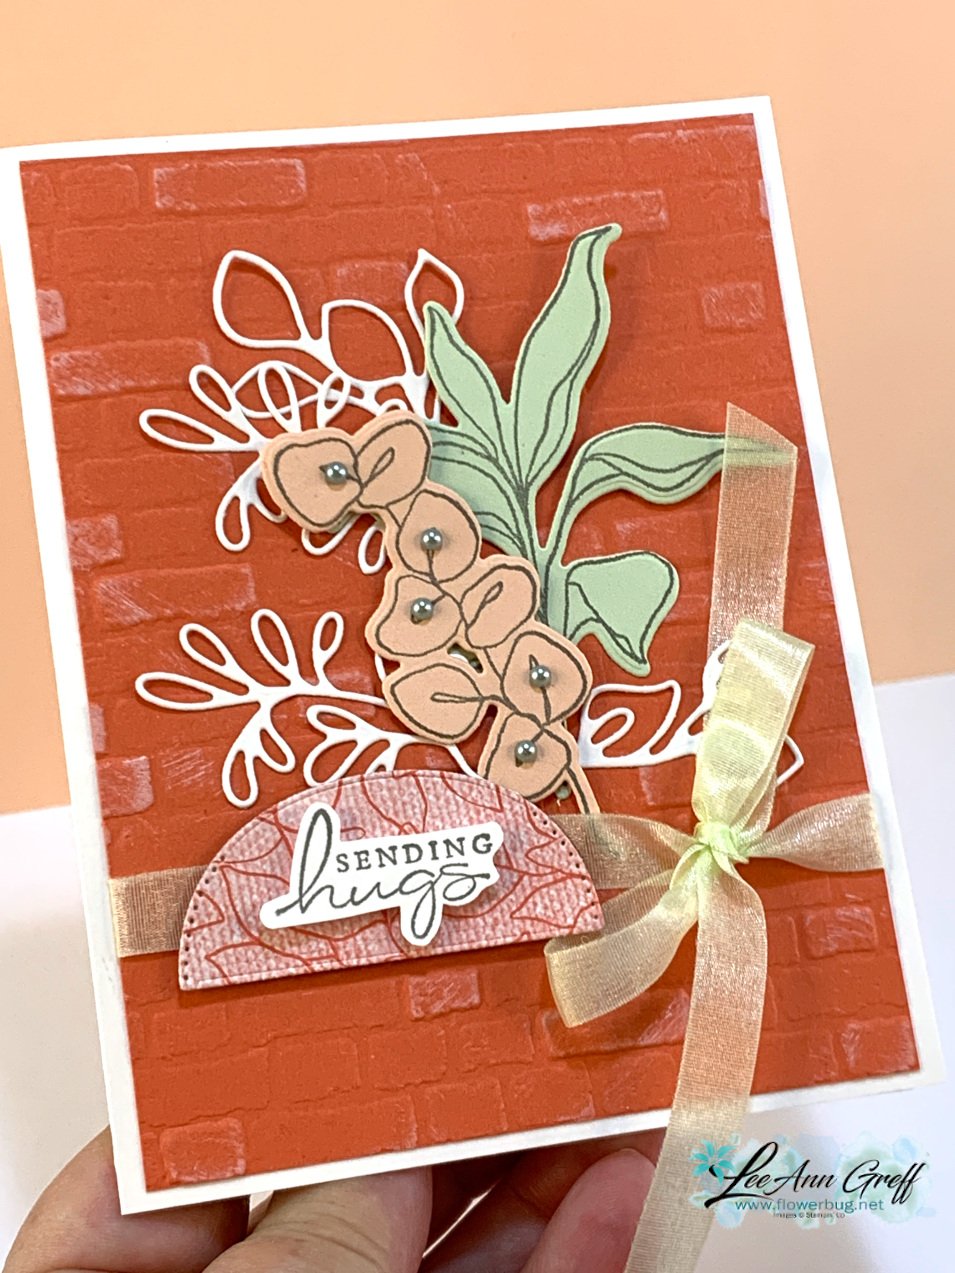
Check out this pretty card using the Splendid Thoughts bundle.  I shared how to make it in a recent Live video seen here.  

I think the Brick background is so pretty with the die-cuts.  I used the 'Direct to Paper' technique.  I used the Brick Wall embossing folder on the Calypso Coral CS and then used an open White Craft ink pad to lightly brush ink onto the textured CS.  I purposely keep my White Craft ink less inked than desired because I love doing this!  If yours is well inked you may want to use a sponge instead.  

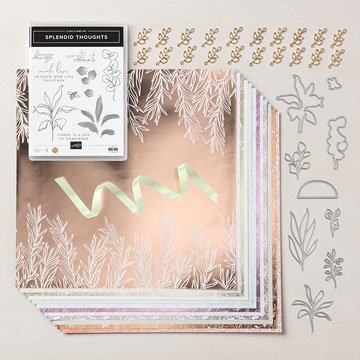
The colors include White, Calypso Coral, Soft Sea Foam and Petal Pink.  The Splendid Day Specialty designer paper is gorgeous and full of Foil & Copper accents on one side and subtle prints on the other.  Here's what the entire suite looks like.  It will be available tomorrow, July 1st.
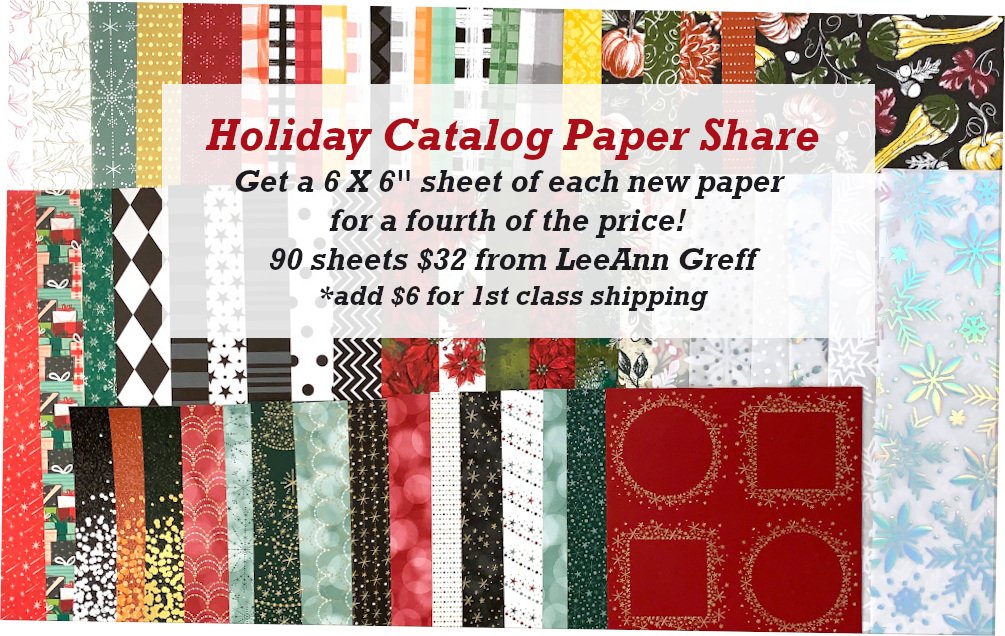
You can get a share of this beautiful paper in my new Holiday Catalog paper share.  Reserve yours here now! 

I stamped a few of the die-cuts and the greeting in Smoky Slate ink.  I fussy cut the greeting and added it to the curved 'half circle' die-cut over the ribbon.  I'll share more Splendid Thoughts projects tomorrow. 
Click on the photo below to watch the video. You'll see all 3 projects with the Splendid Thoughts bundle. 

~~~

Last Chance items are selling out!  


It's the last day for June's Kit Collection BOGO – buy 1 get 1 50% off!  

Host codes: 9F9AJHYG

If your order is over $50 you'll receive a set of Solid Faceted Gems from me. *click here to order 


Earn free products with my loyalty rewards! 

Click here to download yours and earn a $50 shopping spree!


All Posts

  • Beautiful but quick cards with the Thoughtful Journey Memories & More card pack


    I shared this card on last week's FB live video. It starts out with the Thoughtful Journey Memories & More cards and a Basic White Memories & More card base. 

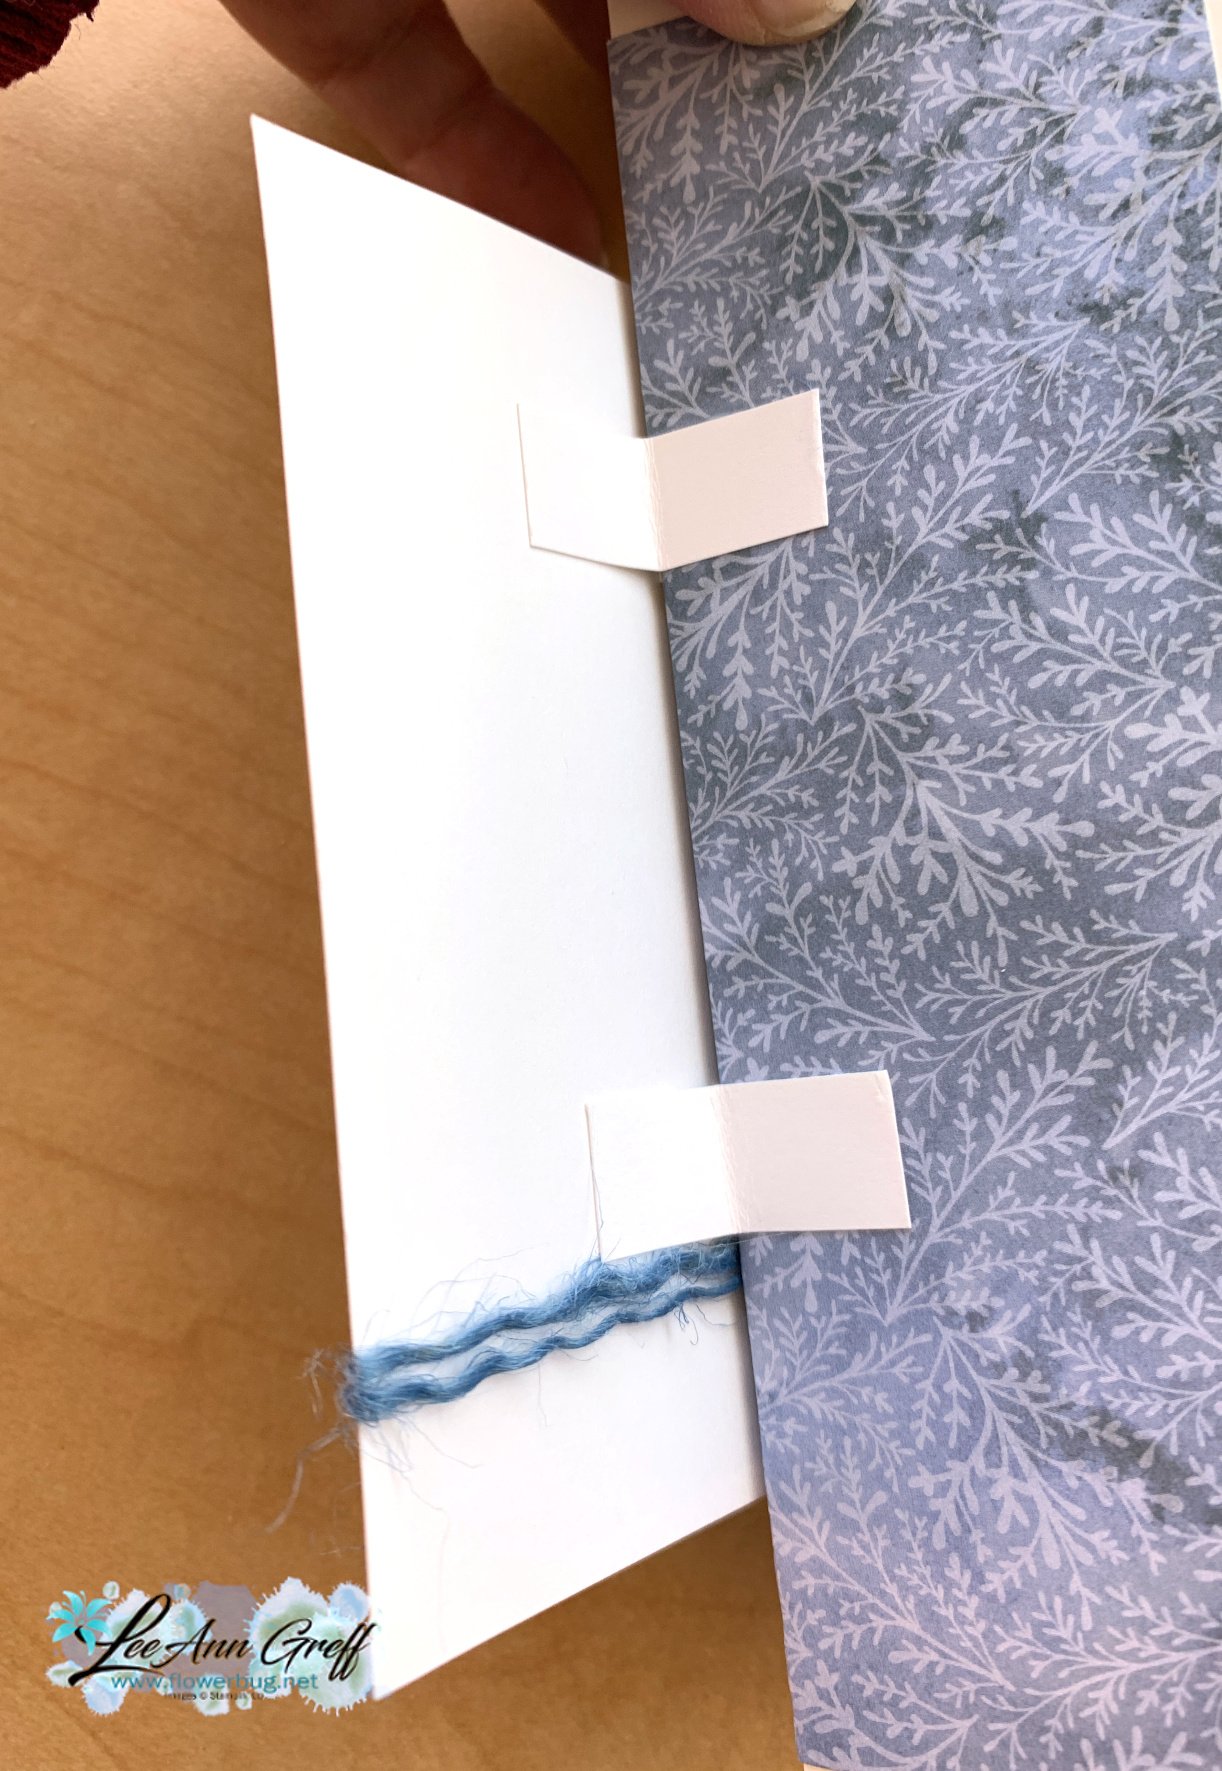
    I scored the blue card and the front half of the card base in half.  Then added a few short pieces of card stock behind the front layers so that layer pops up. 

    The size of these pieces do not matter at all.  Some people use one thicker piece on each side; I used two thin pieces.  It allows the top layer to move independently from the front of the card.  See how it's done in this video. 


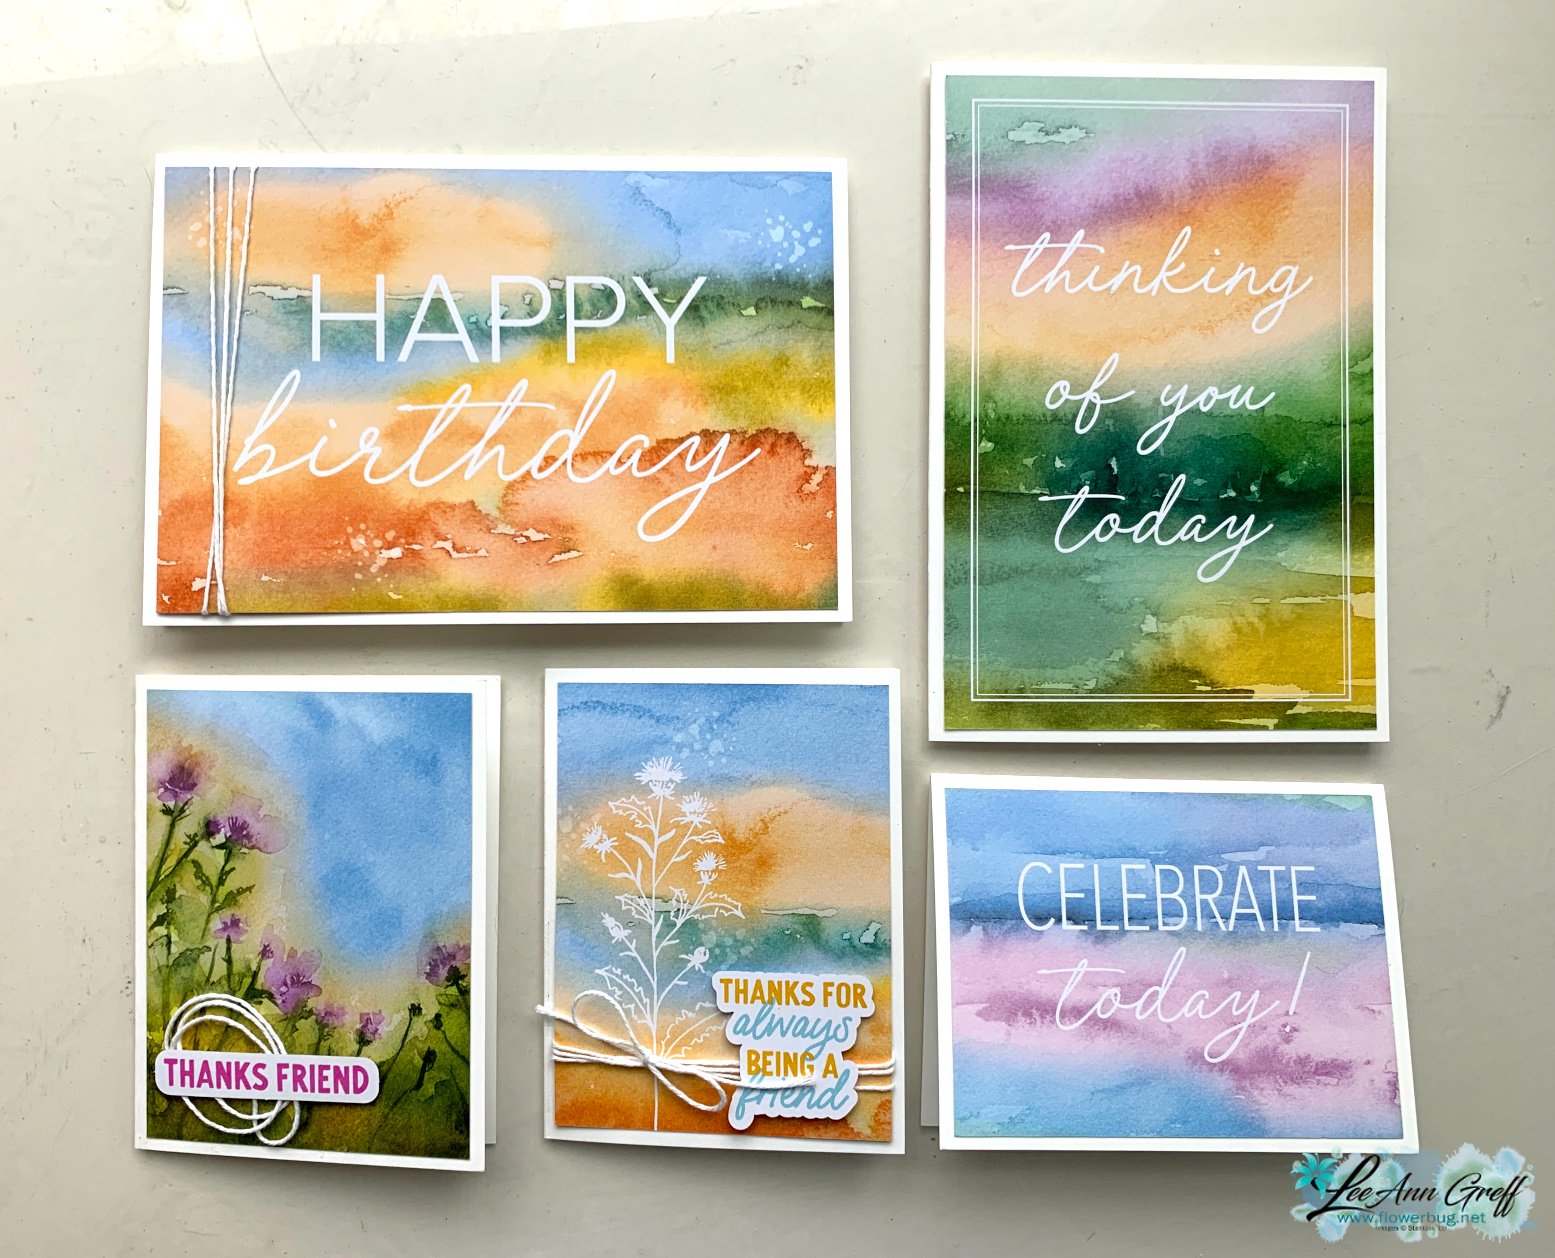
    You can see these Memories & More cards here. They come in a pack of 28 – half are 3 X 4" and the rest are 4" X 6". They fit our Basic White Memories & More card bases and envelopes perfectly.  They're also a great way to create larger than our usual cards – 4 1/4" X 6 1/4" finished size.  

    I made more beautiful cards with these products, adding a bit of twine to some along with a few printed greetings from the Saying Something Ephemera pack. 
     

    You can see the Saying Something Ephemera pack here.  It's FULL of tons of greetings you can just add to a card or scrapbook page.  I was thrilled when I saw these in the catalog. They're a perfect solution for quick crafting.  

    Sometimes you want or need to be able to make quick cards; these items are a wonderful way to do that!

    ~~~

    May Specials: 

    *current host code link:  FCJ937QT or 9AWSF9T9

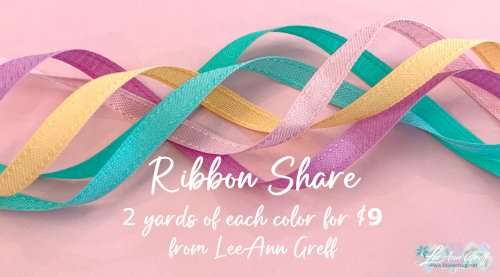
    Click on the pictures above or below to get to my new catalog shares – choose from designer papers or a ribbon share. 

    ~~~

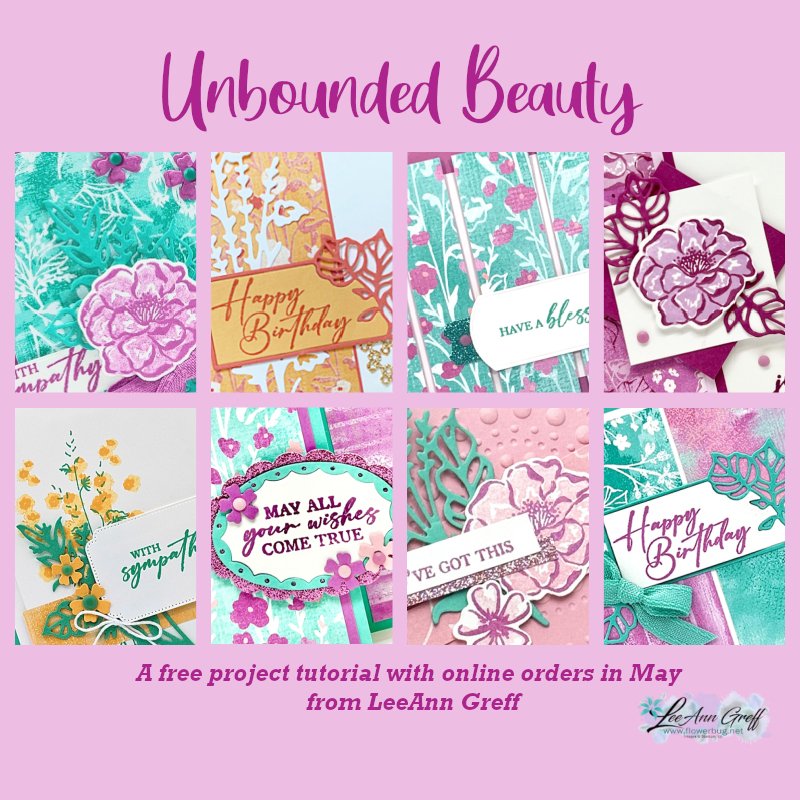
    All online orders in May will receive a free project tutorial and if your order is over $50 I'll also send you a pre-cut card kit!

    Leave a Reply

    Your email address will not be published. Required fields are marked *

  • More versions of the easy Puzzle Slider fun fold card


    Join me Tuesday (today) at 11 am CT for a detailed tour of the new catalog.
    You'll understand why there's a new format this year and gain knowledge on how to navigate it too.
     
    *I'll share the link to the video on my YouTube channel later. 
    ~~~

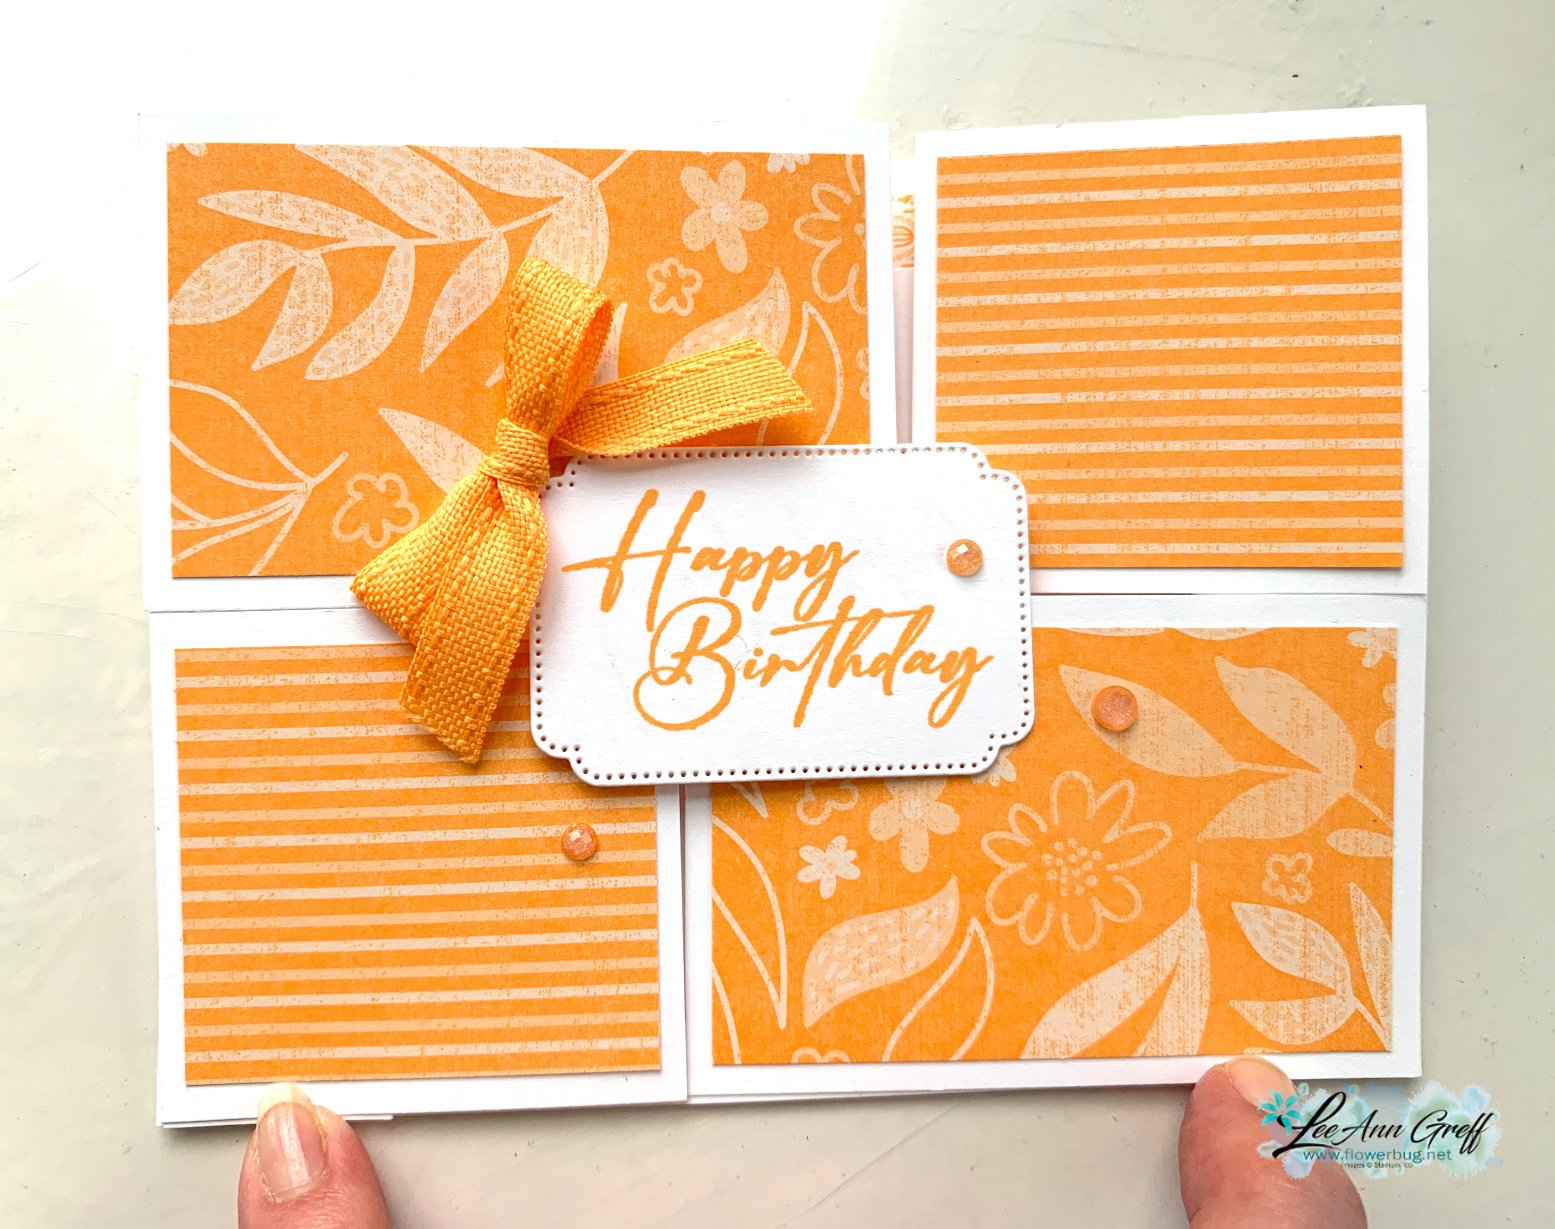
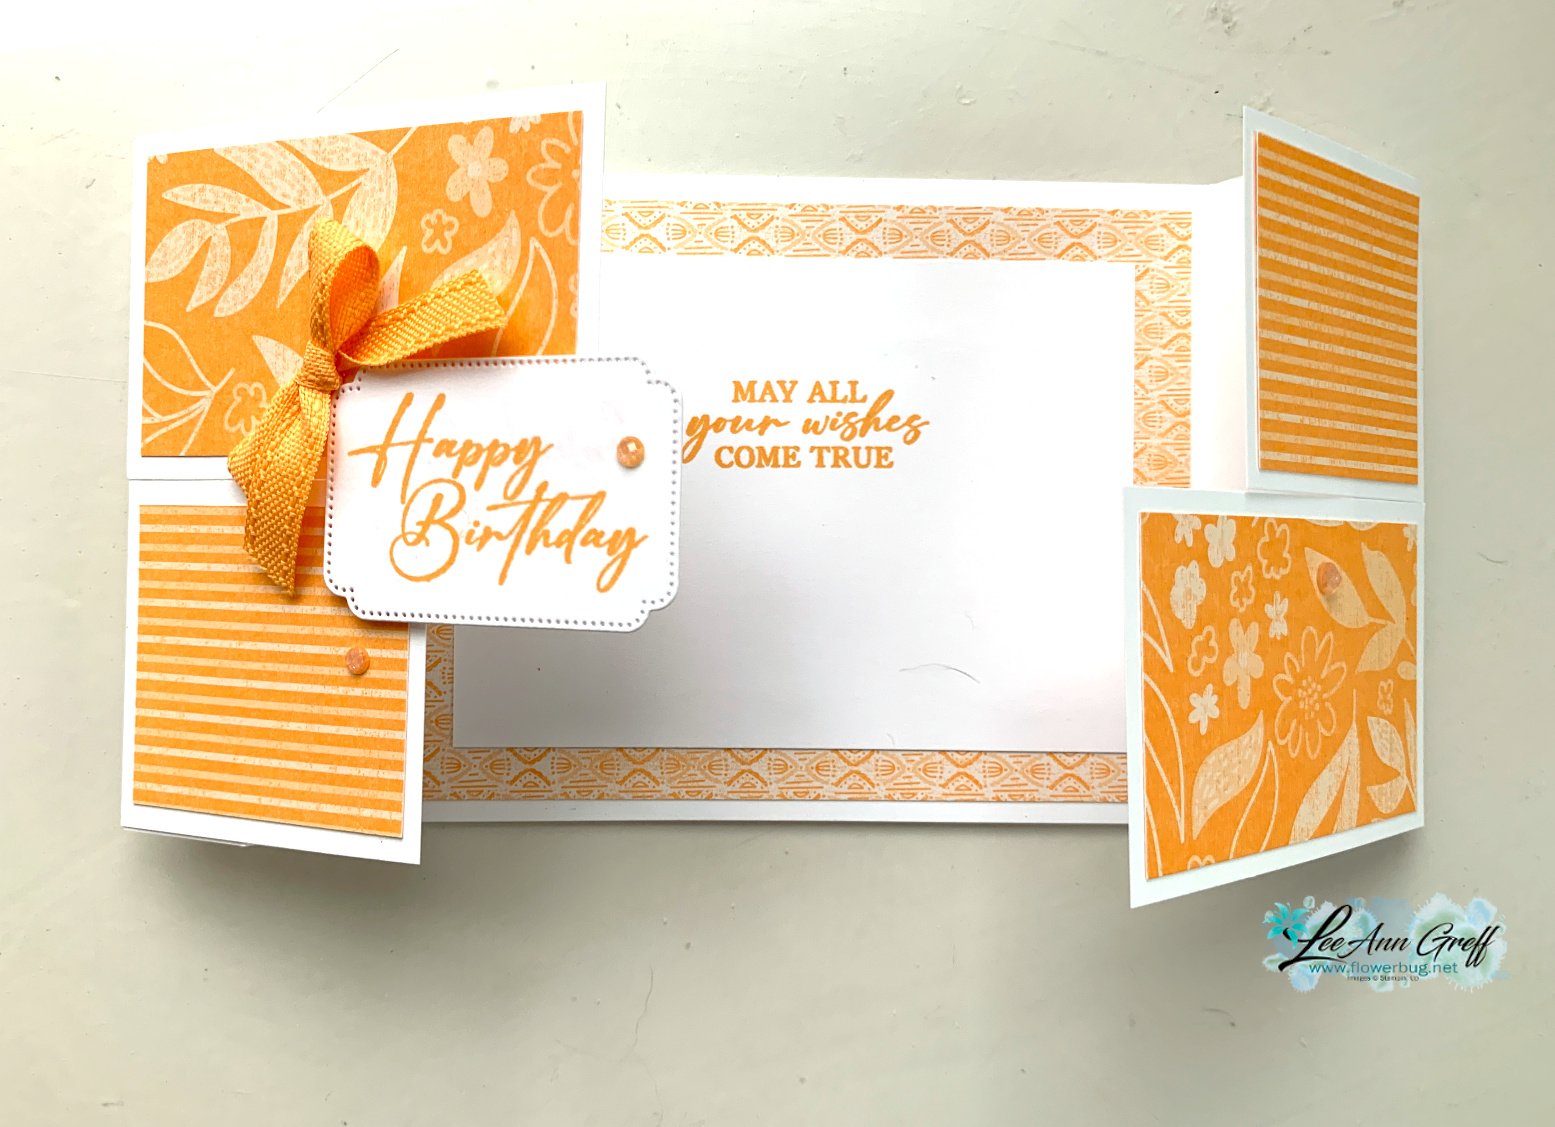
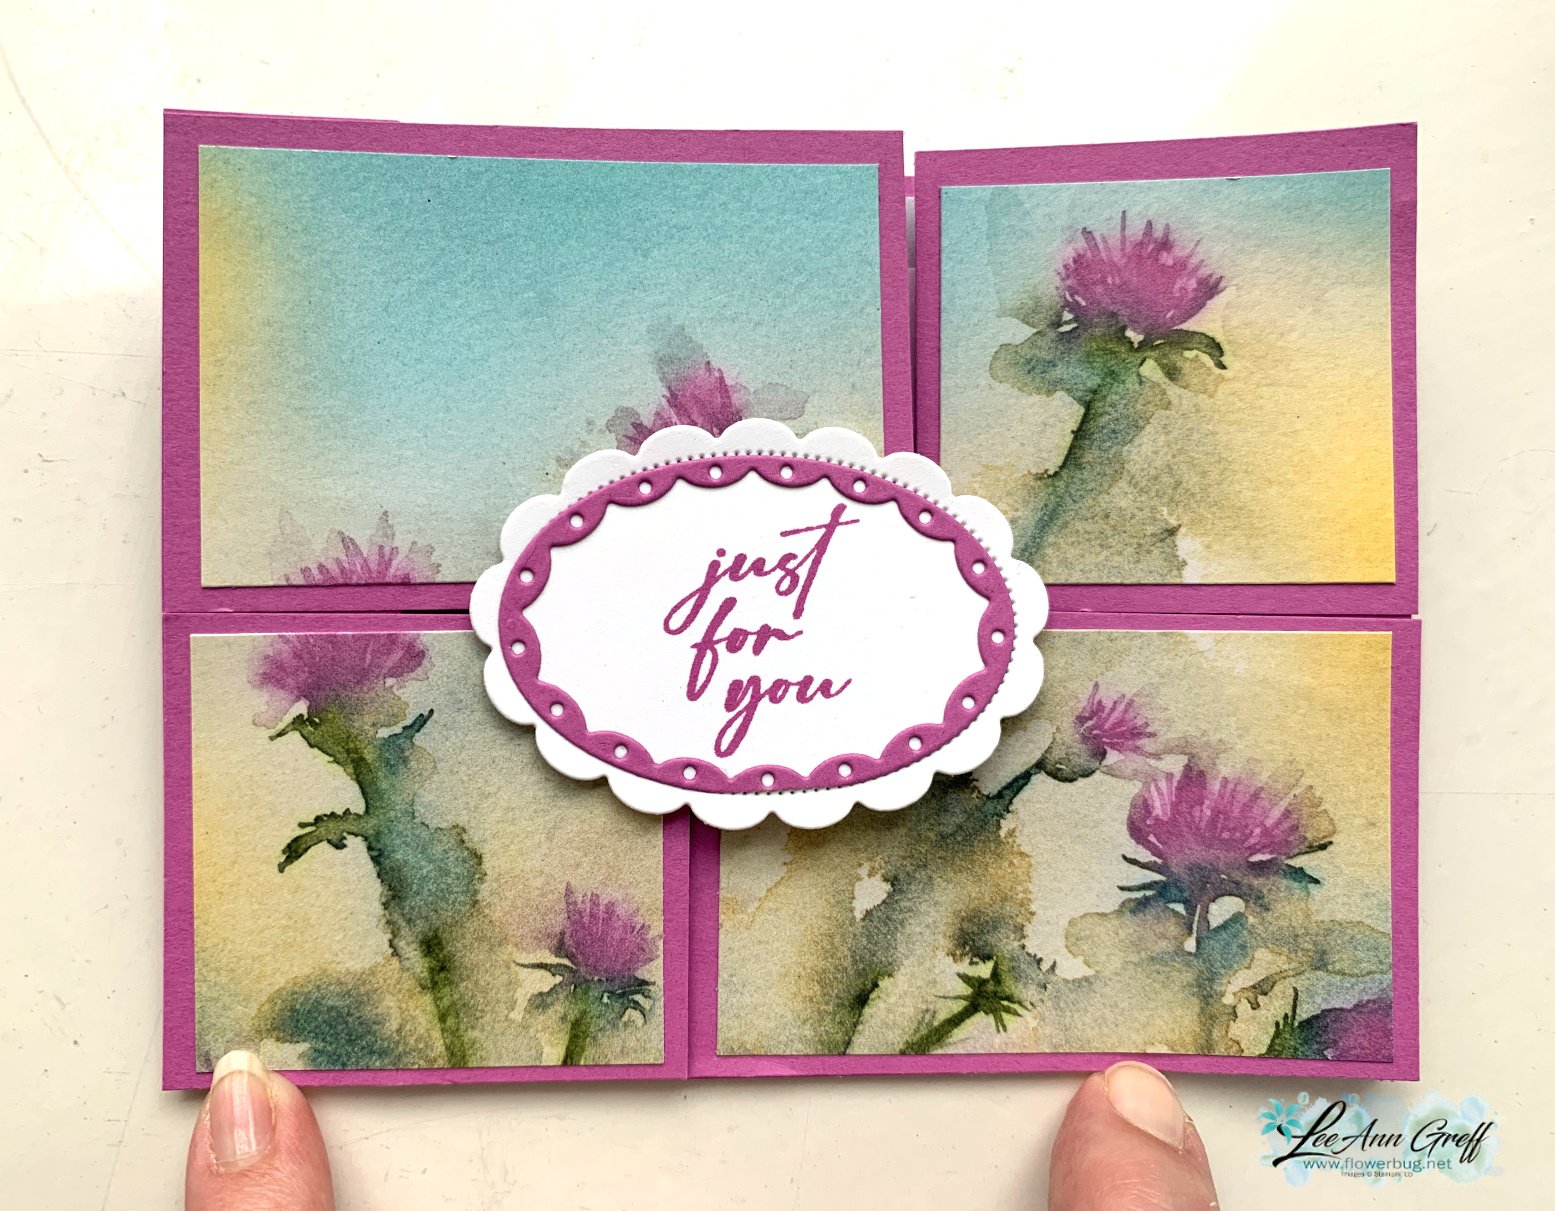
    Here are a few more versions of the Puzzle Slider fun fold cards.  I shared how to make them on last week's Live video.  

    This card starts out with a long card base measuring 9 1/2" X 4 1/4". Score at 1" & 2" from each end. See the template below for the upper white & DSP layers. 

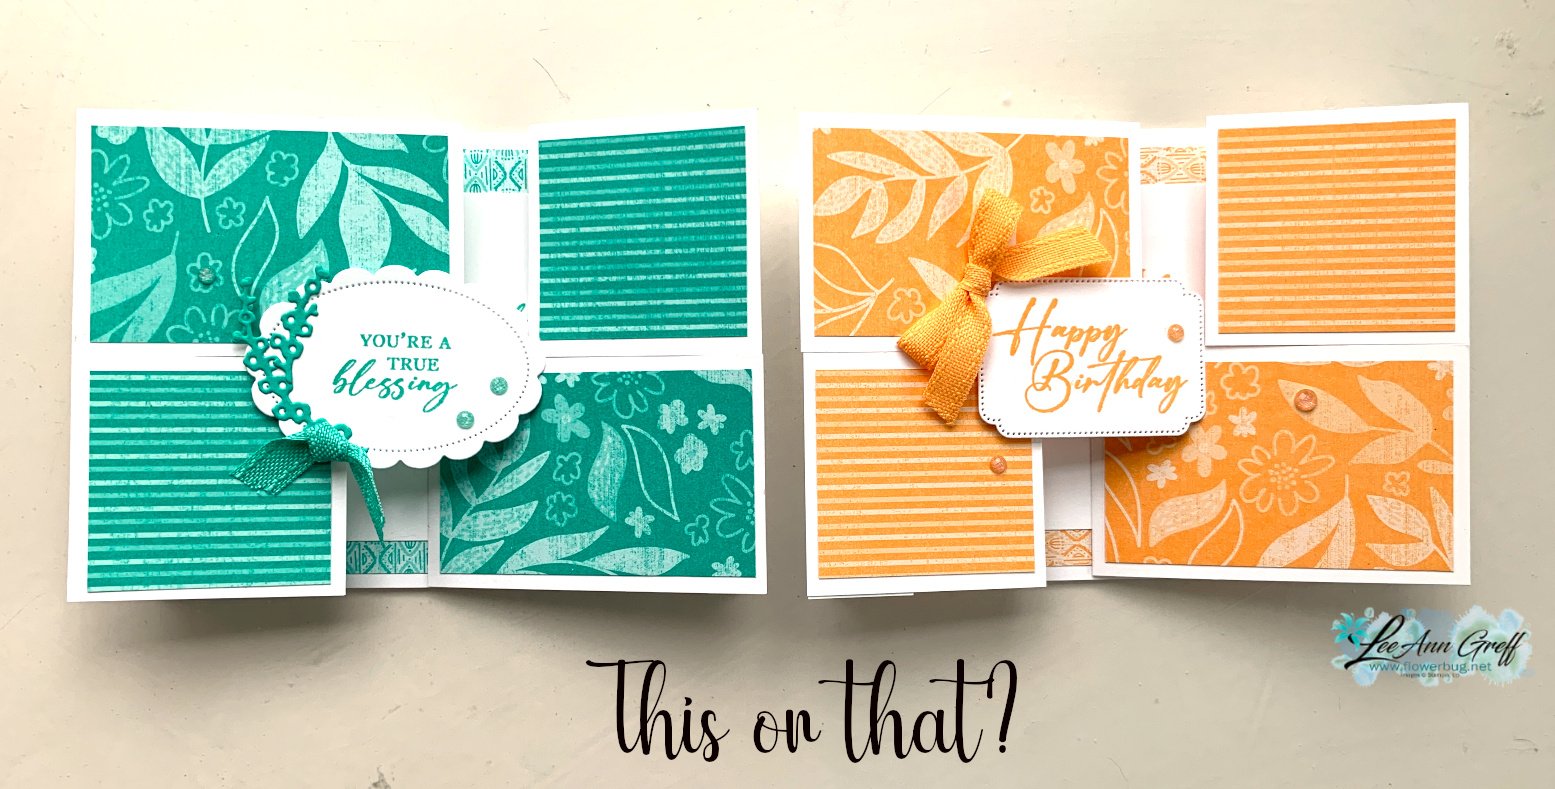
    I chose to use the new 2024-26 In Color designer paper for my cards.  This one features the Peach Pie. 

    Now you'll cut the front 'white' and designer paper layers using the templates below.  Adhere the layers together and add to the side flaps of the card base.  Watch the video here or below to see how it's done. 

    Click here to download and print the free project sheet: Download Puzzle Slider fun fold card

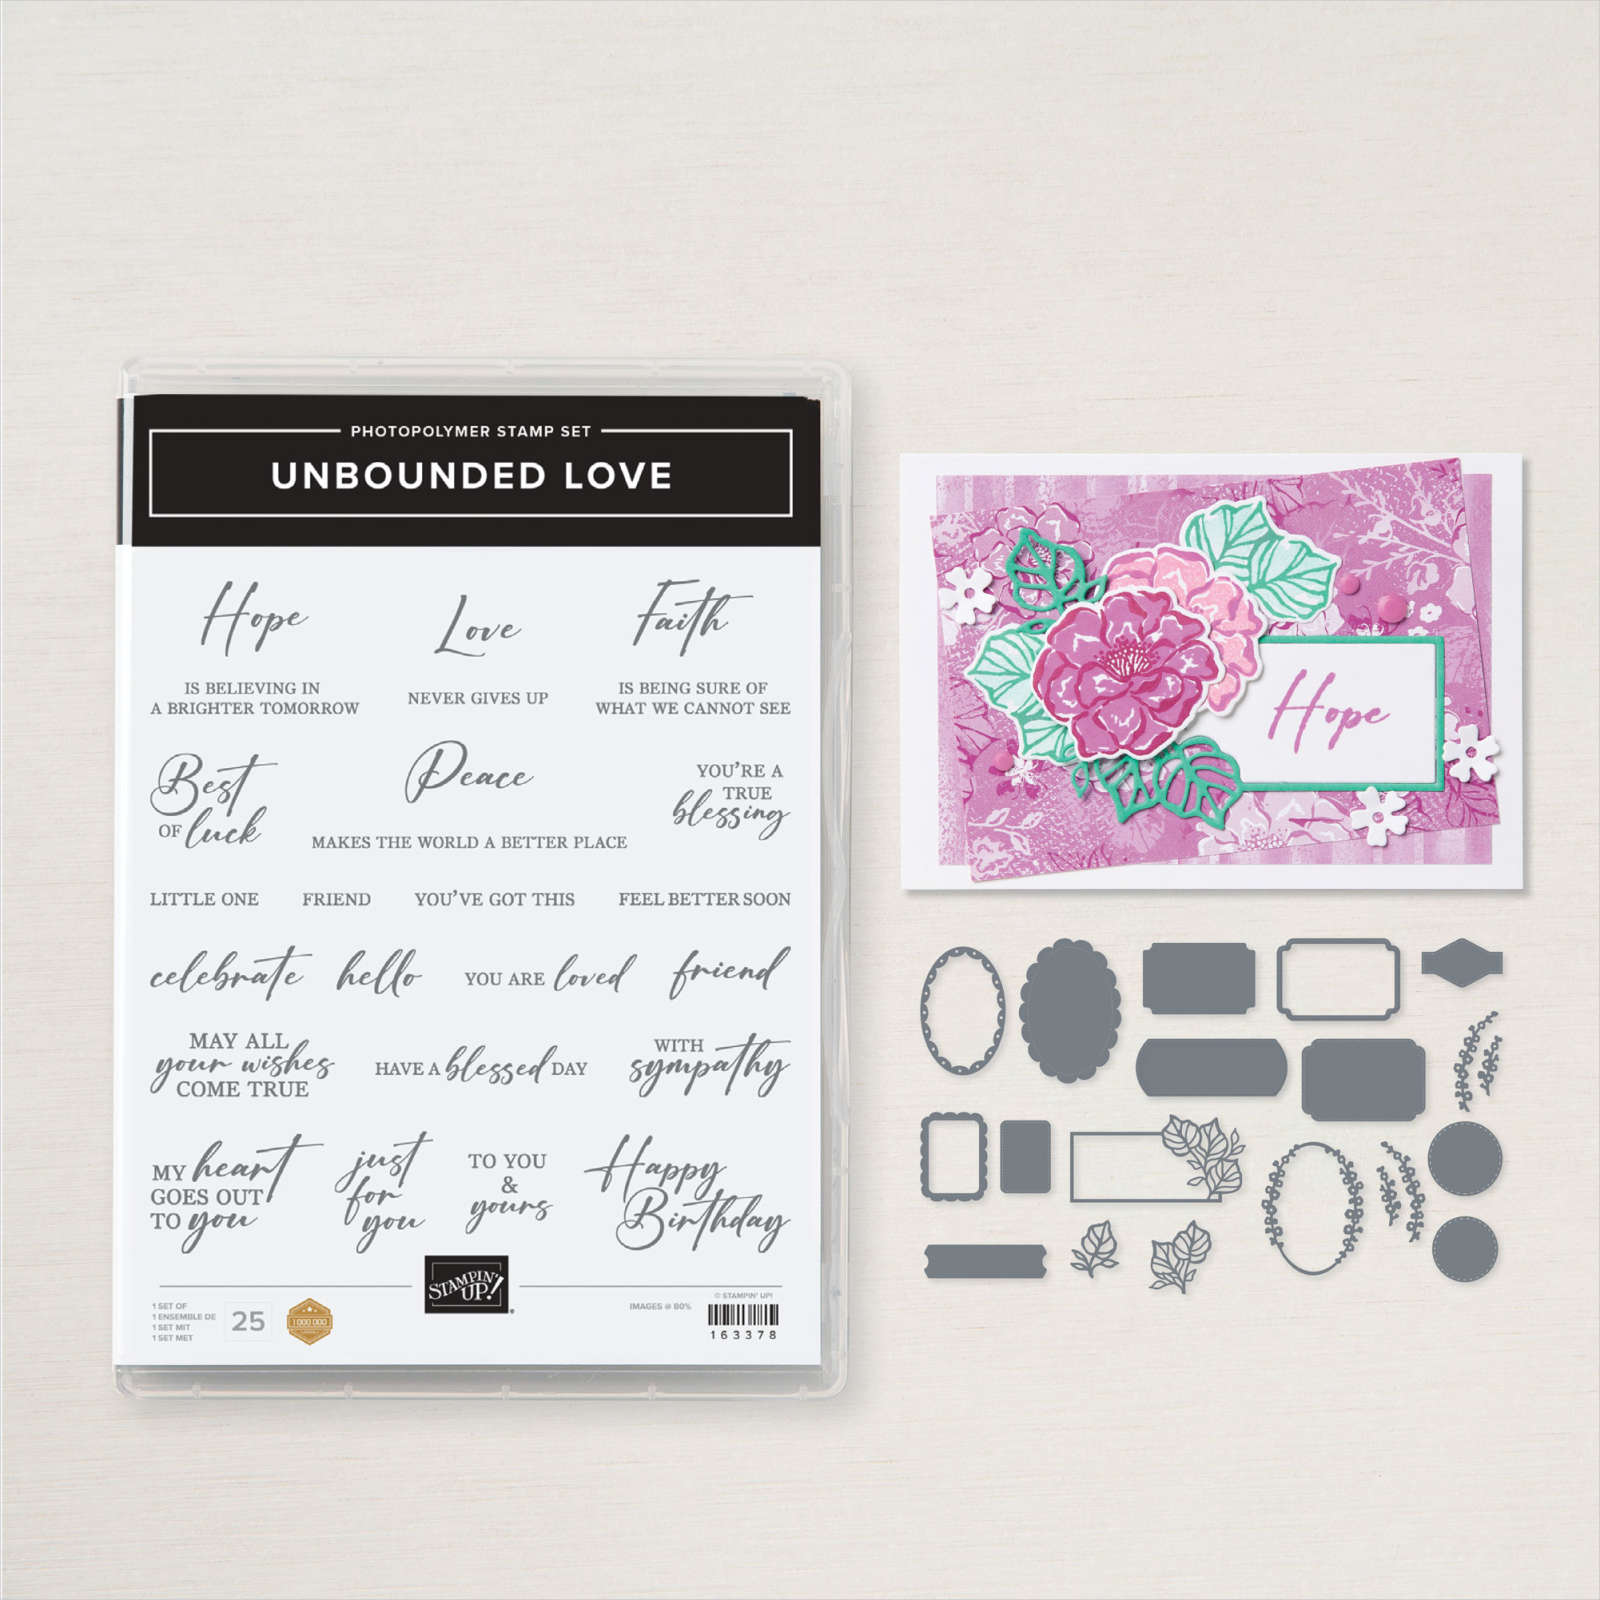
    The greetings and label die-cuts are from the  Unbounded Love bundle seen here.  


    What do you think?  Do you prefer the Summer Shadow or the Peach Pie card?  See this pretty designer paper here.   It's currently out of stock due to it's popularity; but it will be back! 

    Below is the video for this fun fold card and another as well.  Be sure to follow me on my YouTube channel too! 

    ~~~

    May Specials: 

    *current host code link:  FCJ937QT or 9AWSF9T9

    Click on the pictures above or below to get to my new catalog shares – choose from designer papers or a ribbon share. 

    ~~~

    All online orders in May will receive a free project tutorial and if your order is over $50 I'll also send you a pre-cut card kit!

    Leave a Reply

    Your email address will not be published. Required fields are marked *

  • A unique Puzzle Slider fun fold card with video & free project sheet


    I shared this neat fun fold card on last week's Tuesday Live video. Every Tuesday at 11 am CT I host a live class on my Facebook page here.  If you're not on Facebook I upload them to my YouTube channel here too. 

    It's called a Puzzle Slider fun fold card

    It's quite easy to make & I share how to cut & score and assemble it on my video here.  Or scroll down a bit for the free project sheet you can save & print. 

    I chose our new Petunia Pop card stock for my card base & front layer. The pretty designer paper is called Thoughtful Journey and can be seen here. 

    The greeting image and die-cuts are part of the Unbounded Love bundle seen here.  It's my top favorite bundle in the new catalog. 

    I created a template for the front two puzzle layers of the card. The card base is 9 1/2" X 4 1/4" score at 1" & 2" from each end.

    Click here to download and print the free project sheet: Download Puzzle Slider fun fold card

    What do you think?  Are you going to try one of these easy fun fold cards?  

    Below is the video to see how it's made; I hope you watch it AND follow me on YouTube!

    ~~~

    May Specials: 

    *current host code link:  FCJ937QT or 9AWSF9T9

    Click on the pictures above or below to get to my new catalog shares – choose from designer papers or a ribbon share. 

    ~~~

    All online orders in May will receive a free project tutorial and if your order is over $50 I'll also send you a pre-cut card kit!

    Leave a Reply

    Your email address will not be published. Required fields are marked *


Notice: LeeAnn Greff, Independent Stampin’ Up! Demonstrator, Manager. The content of this website is my sole responsibility as an independent Stampin’ Up! demonstrator and the use of, and content of, the classes, services, or products offered on this website is not endorsed by Stampin’ Up! Copyright 2025