/


Latest Post

Simple Lily of the Valley card; it’s a WOW! Grab the free project sheet or watch the video


I shared this beautiful Lily of the Valley card on last week’s Live video. It’s one of those cards that looks simple and easy but involves a bit of effort.
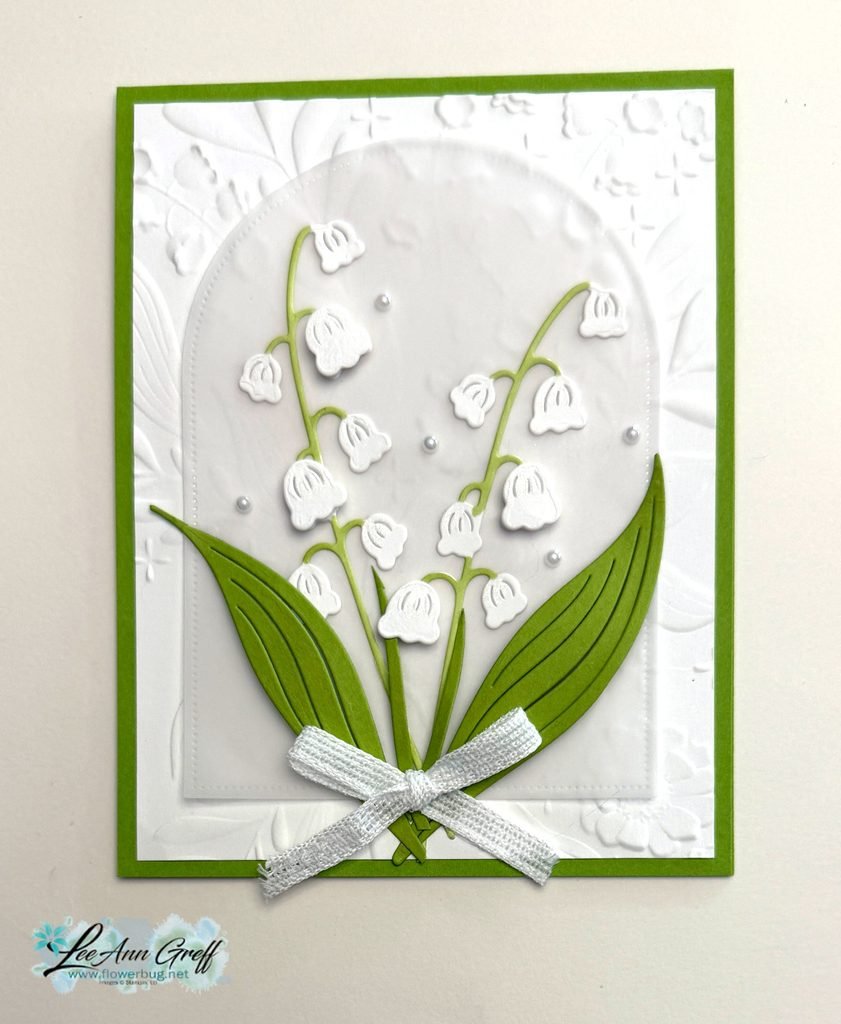
I used the Lily of the Valley dies along with the Everyday Arches dies on the vellum and the Floral Spray 3D embossing folder (it’s back in stock) for the background. White & Granny Apple Green are my colors here.

Since I did-cut the flowers from White CS I used a Granny Apple Green blends marker to color the stems on the flowers. I also curled the die-cut leaves a bit and cut one apart for the thicker stems in the center area. Watch the video to see how.

Did you notice there isn’t a greeting on the front? It’s okay to leave them off now and then. This way my card can be used for any purpose.
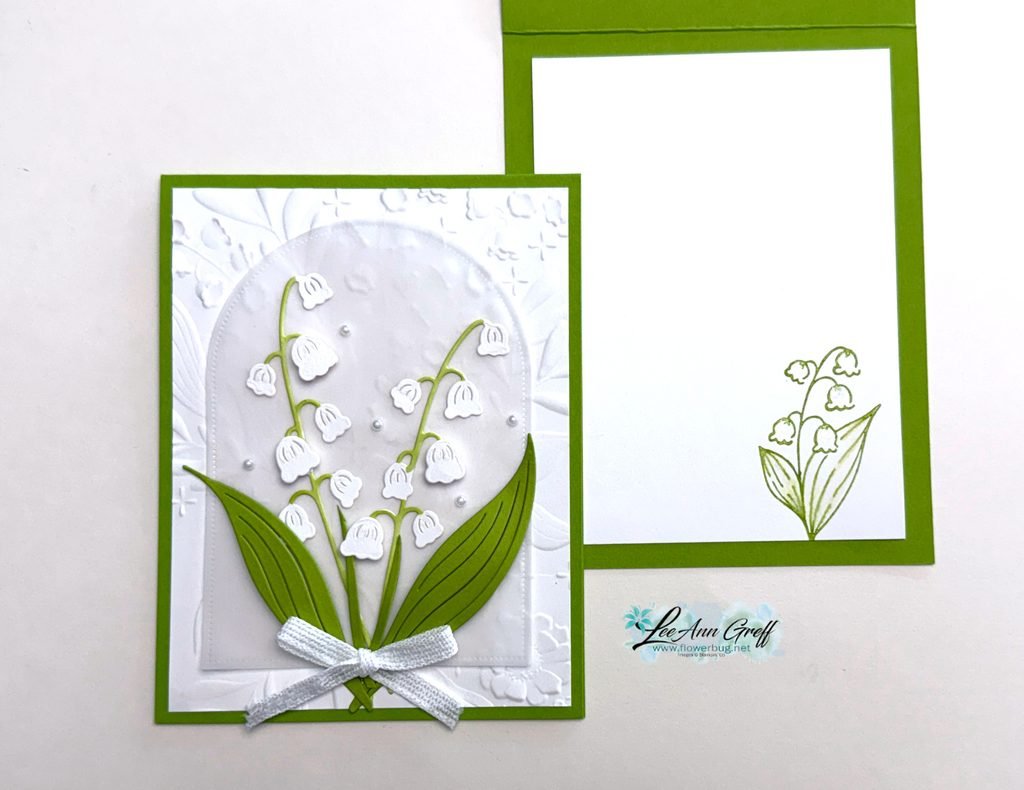
I didn’t even stamp one on the inside. Just a simple leaf/flower image. Click here to see the Lily of the Valley in my store. It’s wonderful.
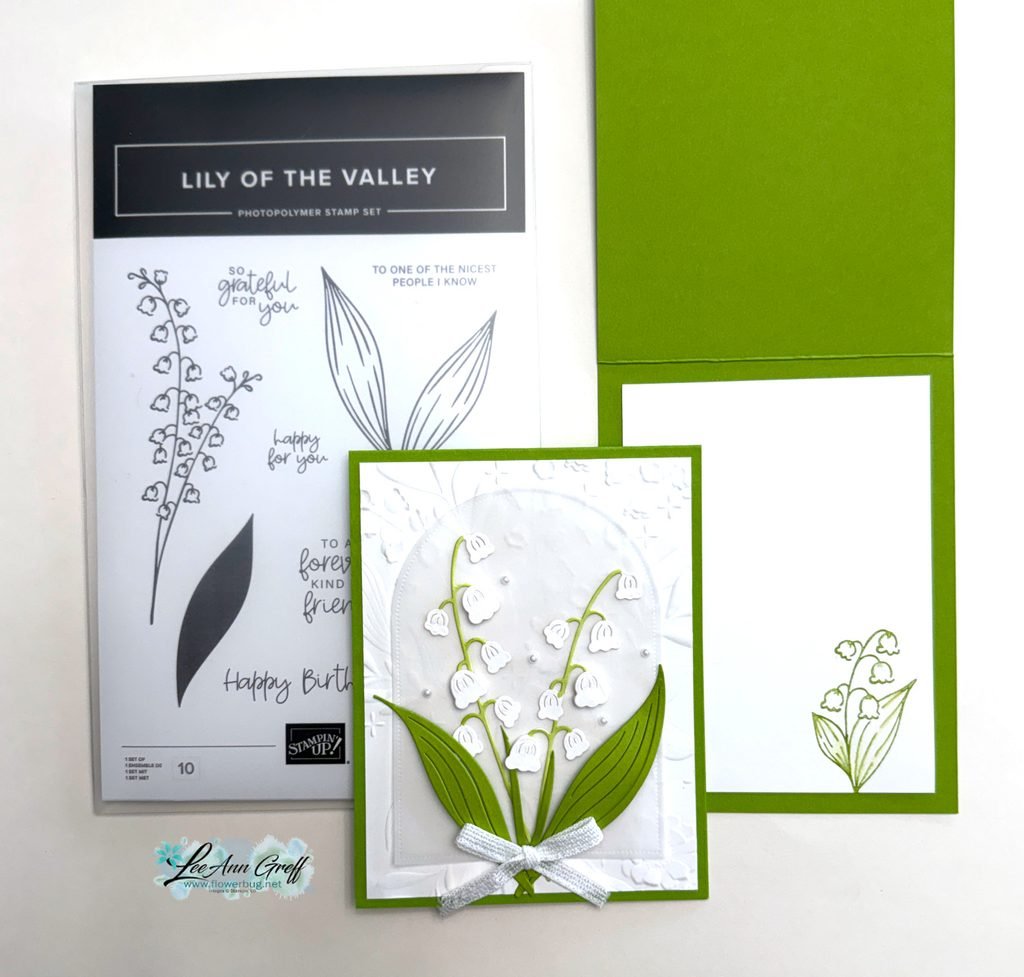
I created a free project sheet for this card as well as my video below. Click here for the project sheet you can download or print.

Don’t miss out on the Designer Paper & Cardstock sale! Click here to shop and save.

Double rewards for three days this week!
All Posts

  • Ombre Blending with Decorative Masks; an easy technique!


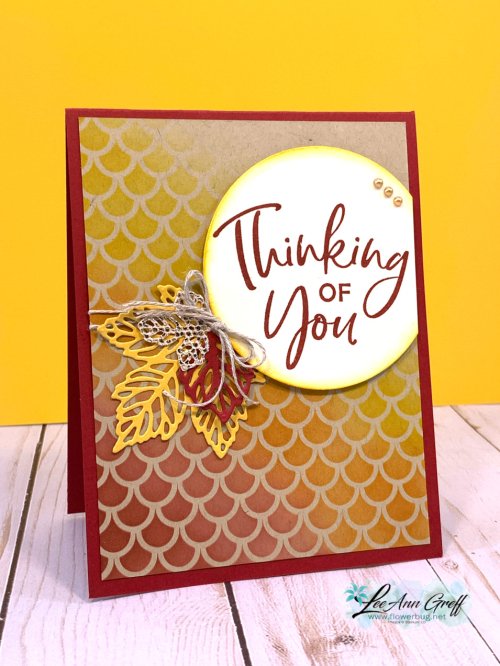
    If you struggle to get a smooth blend I have a few suggestions for you.  We made this striking card at a class this weekend.  Everyone loved it and they all turned out fabulous!

    Details:

    • The colors here are Crushed Curry, Pumpkin Pie and Cherry Cobbler; with a bit of gold glitz thrown in.
    • The leaves are die-cut from the Intricate Leaves dies seen here. 
    • The greeting is from the Thinking, Thanks & Peace stamp set in the Holiday catalog. I love this greeting!  See it here.

    Here are some tips & suggestions for perfect Ombre' blending:

    • Use out Blending Brushes; they really do make a smooth blend easier.
    • Choose colors that are similar in hue. For instance blues and greens, or yellows to reds.  
    • Blend over a Decorative Mask – see them all here.  The patterned stencils/masks seem to break up any inconsistencies in your blending. 
    • Here I added color onto Crumb Cake card stock; that also helps and would be a a good color to practice on. 
    • I start out with the lightest color and work my way downward; in this case at an angle.  
    • I leave a tiny space between colors and make sure to blend/connect them by going into the previous color just a bit before moving. 

    ~~~

    August Specials

    Host code: UTDM9JQG

    *click here to order

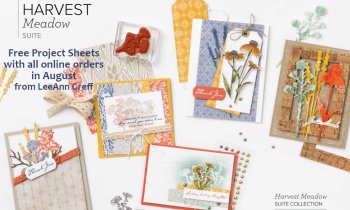
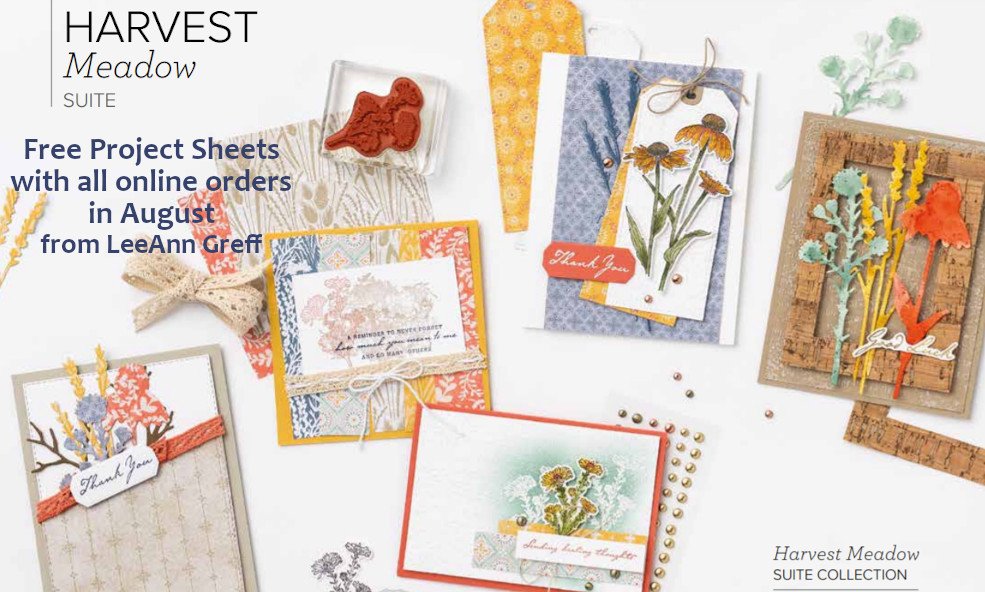
    All online orders will receive a free PDF tutorial filled with projects featuring

    the Harvest Meadow Suite!

    Get the Cute Star Adhesive-Backed Sequins with a $50 online order from me in August! Use this host code: 7JB43RUH

    Order here


    Get a free bundle from the Holiday Catalog when you choose the Starter kit!  Pick out $125 in product of your choice for just $99 and shipping is free!  

    Leave a Reply

    Your email address will not be published. Required fields are marked *

  • Holiday catalog video tour with lots of samples & products shown


    Last Tuesday on my weekly Facebook Live I shared samples & product from the first half of the Stampin' Up! Holiday Catalog.  


    Tomorrow I'll be sharing the rest of it along with the new Sale-a-Bration catalog!  You can see last week's video below and watch tomorrow's here: 

    It starts at 11 am CT Tuesday but you can watch the replay later or here on my YouTube channel once it's uploaded.

    Click on the photo below to watch.  

    ~~~

    August Specials

    Host code: UTDM9JQG

    *click here to order

    All online orders will receive a free PDF tutorial filled with projects featuring

    the Harvest Meadow Suite!

    Get the Cute Star Adhesive-Backed Sequins with a $50 online order from me in August! Use this host code: 7JB43RUH

    Order here

    Leave a Reply

    Your email address will not be published. Required fields are marked *

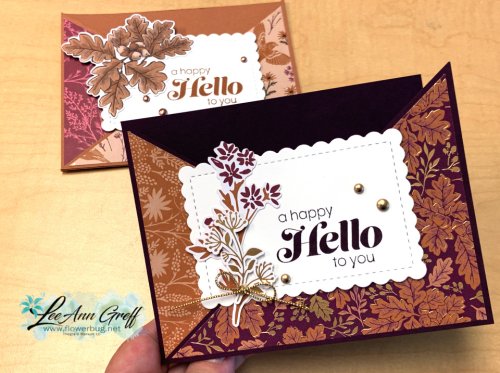
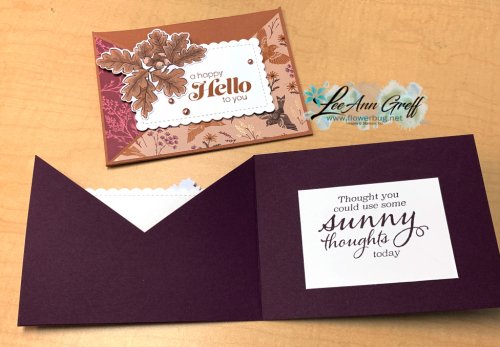
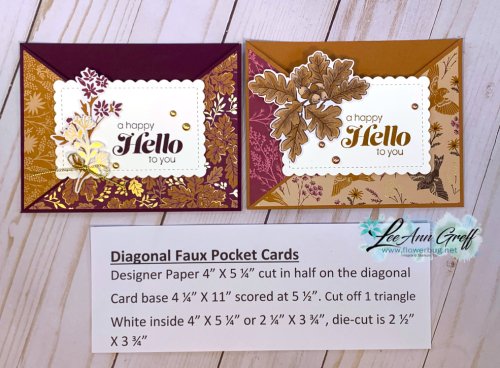
  • Neat Fun Fold – Diagonal ‘Faux’ Pocket card!


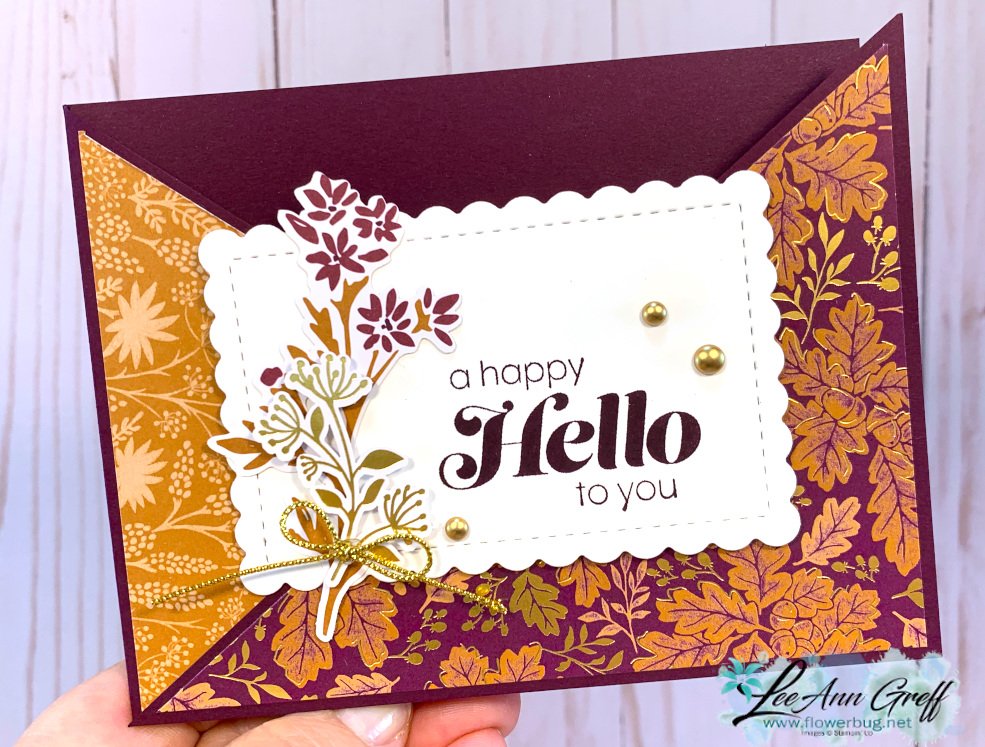
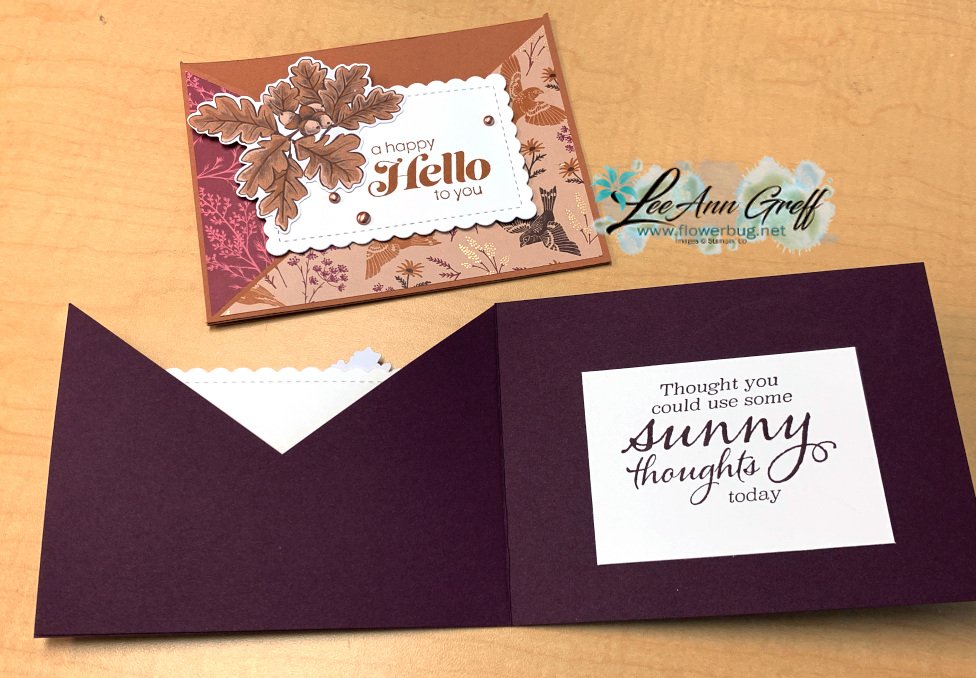
    I made this unique fun-fold card on Monday night's FB Live.  It was Stamp with Me night; the 2nd & 4th Monday's of each month here on my FB page.  You can see all of my videos here on my YouTube channel. 

    Isn't it pretty?!  This paper is called Blackberry Beauty and it's filled with Gold accents on each sheet.  You can see it here.  It's also featured in my August card kit to go here and PDF tutorial here.  

    The greetings are from the Sunny Sentiments stamp set in the Annual catalog; one of my favorites for greetings.  See it here. The printed die-cuts are from the Blackberry Beauty Ephemera pack seen here. 

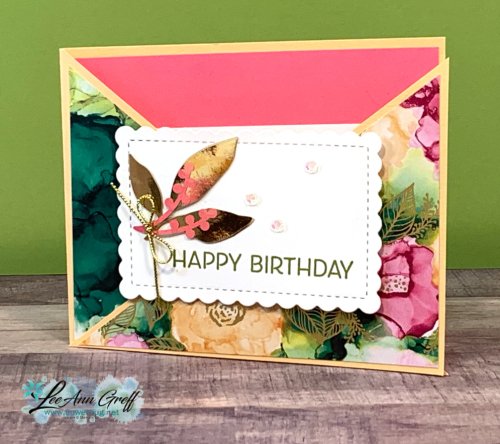
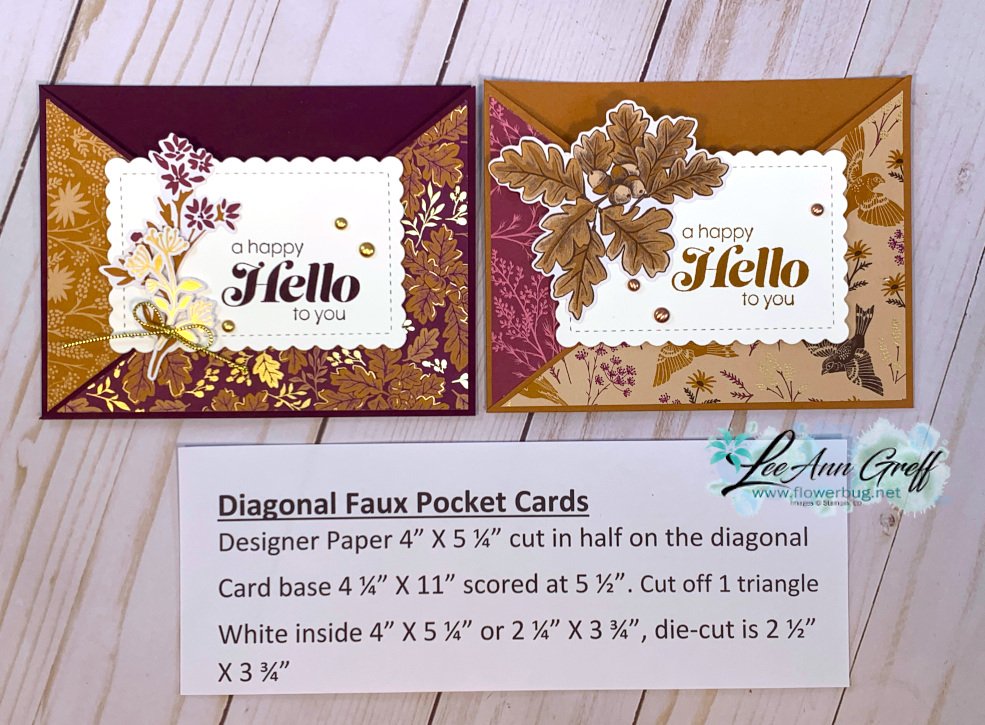
    The card below is the same fold; but made with the gorgeous Expressions in Ink Specialty Designer Paper.  These colors are Pale Papaya, Polished Pink, White and gold accents.

    Below are the measurements for you.  I highly recommend you watch the video below; it will make it much easier to make. 

    And here is the video; I hope you watch it.  You will love making these unique cards!

    ~~~

    I shared my retired BOGO items for sale on FB Live last week.  There are over 100 items left; mostly stamps, dies, bundles and embossing folders.  You can see the video here on YouTube.   However the most updated list is in the album here on my FB page. *I update & delete items as they are sold.

    This event ends August 14th.  If you have a list of current Stampin' Up! items you want to buy why not double dip and get lots more free with this BOGO?!  


    ~~~

    August Specials

    Host code: UTDM9JQG

    *click here to order

    All online orders will receive a free PDF tutorial filled with projects featuring

    the Harvest Meadow Suite!

    Get the Cute Star Adhesive-Backed Sequins with a $50 online order from me in August! Use this host code: 7JB43RUH

    Order here

    Leave a Reply

    Your email address will not be published. Required fields are marked *


Notice: LeeAnn Greff, Independent Stampin’ Up! Demonstrator, Manager. The content of this website is my sole responsibility as an independent Stampin’ Up! demonstrator and the use of, and content of, the classes, services, or products offered on this website is not endorsed by Stampin’ Up! Copyright 2025