/


Latest Post

Simple Direct to Paper Technique for quick gorgeous cards! Plus 6 ways to add ribbon! Video & free project sheet too!


On last week's Live video I focused on the Most Adored specialty designer paper and shared the Direct to Paper technique and these gorgeous cards: 
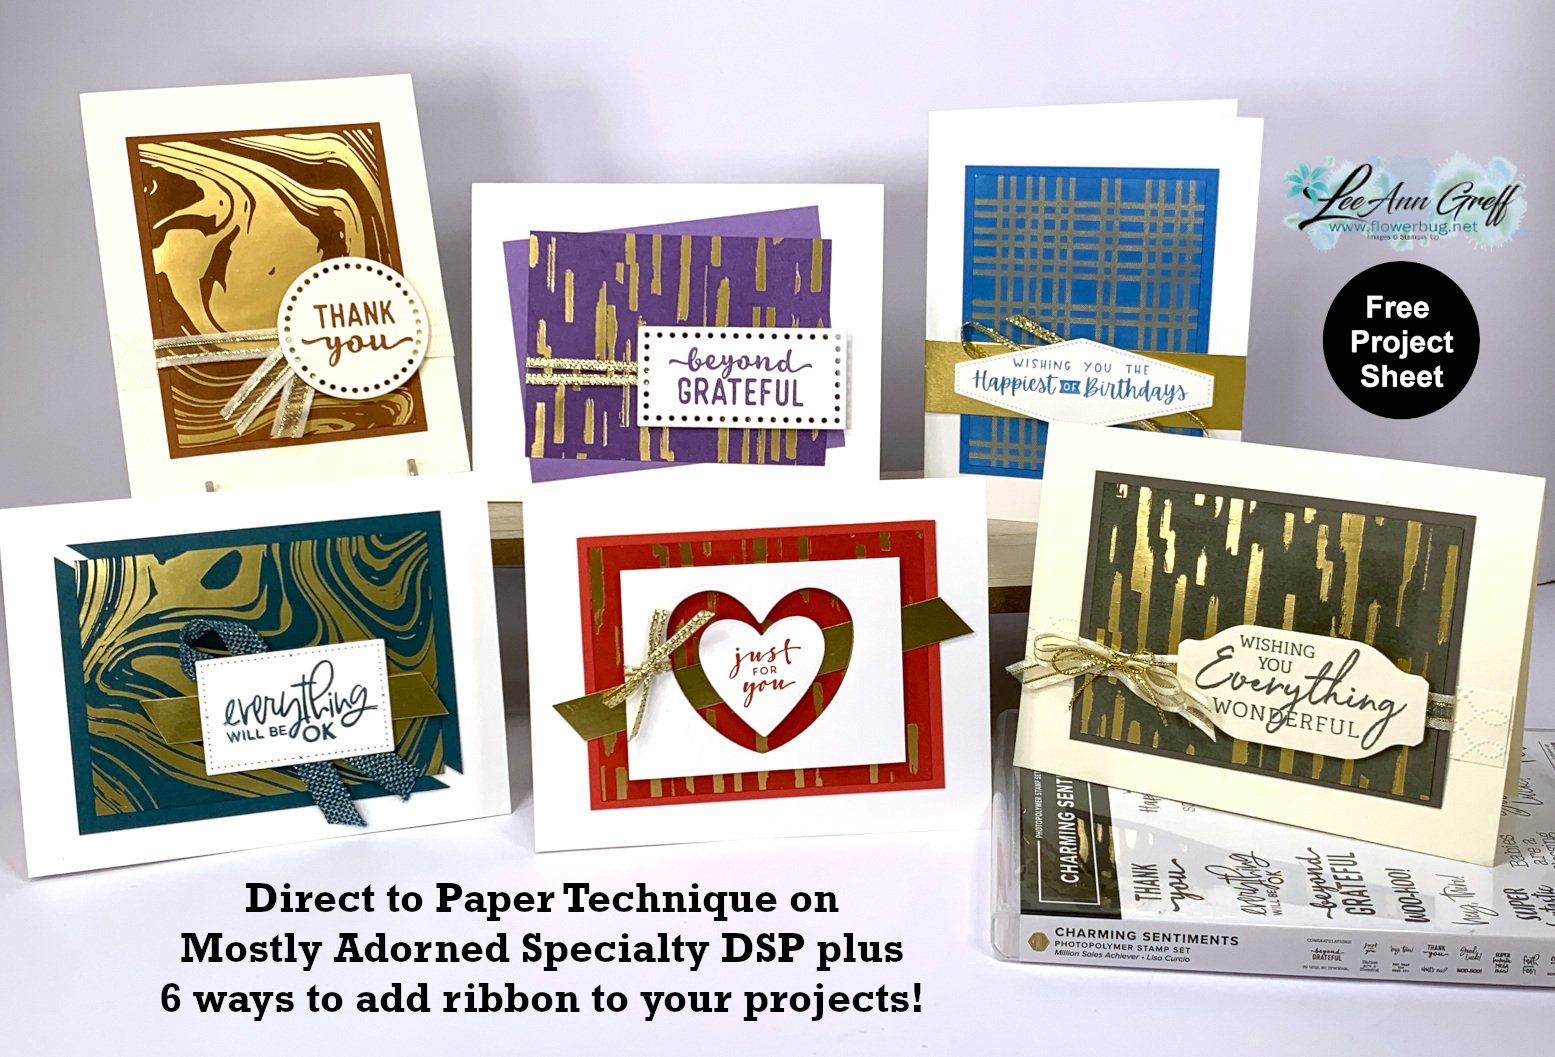
Anytime we have designer papers with foil designs I think of this fun technique! It's basically rubbing or tapping your water based ink pad onto the designer paper. The ink soaks into the background but resists the foil designs. Simply wipe the excess ink off the foil with a tissue – done!
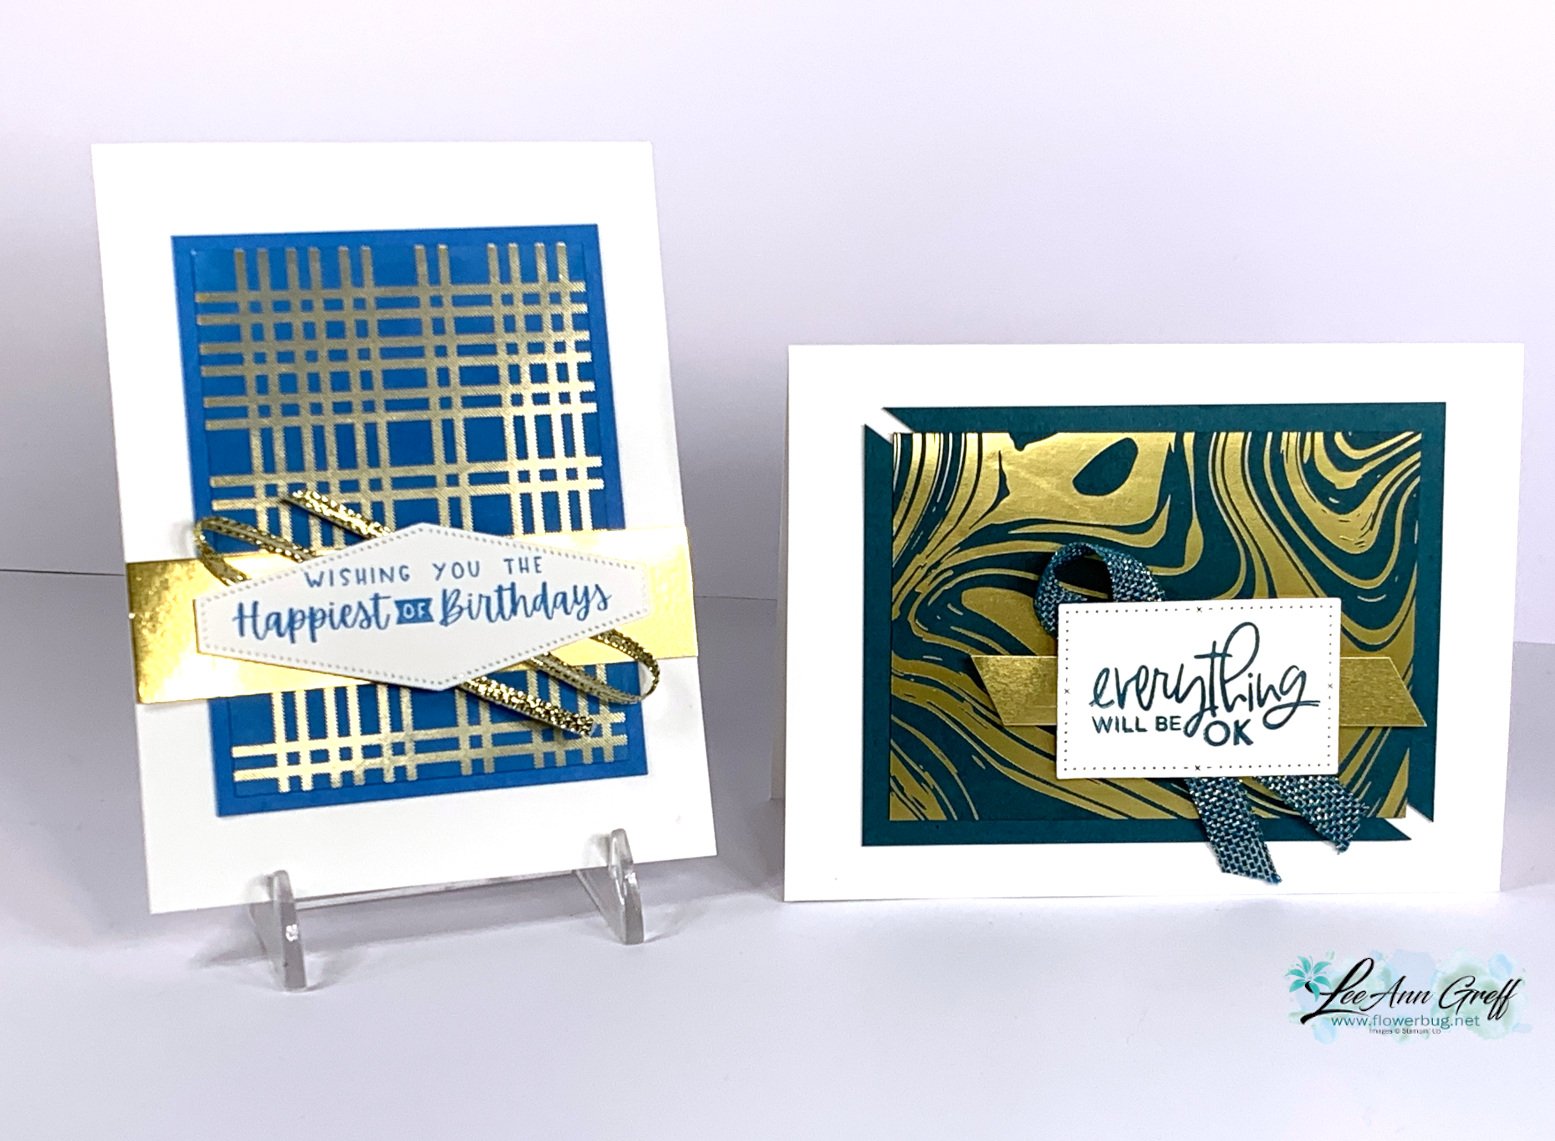
The colors above are Azure Afternoon and Pretty Peacock. Notice the different ribbon techniques and layouts. The left card has loops of ribbon added to the greeting label; the right has a simple fold of ribbon. 

Each card has two main pieces – the designer paper is 3" X 4" and the layered, coordinating card stock is 3 1/4" X 4 1/4". Check out the different layouts with these basic pieces.  

The left card above is Highland Heather and the right is Sweet Sorbet.  A few more examples of ways to add ribbon and change up this simple layout.  I added two thin strips of ribbon across the left card and tied a bow around the window frame on the right. 

Remember this pretty specialty paper is available through February during Sale-a-Bration. It's free with any $50 Stampin' Up! purchase. See it here. 

Keeping to a basic layout like this is a wonderful way to get a bunch of cards done quickly and use up your designer paper at the same time! I chose the Charming Sentiments stamp set for all of my greetings.  
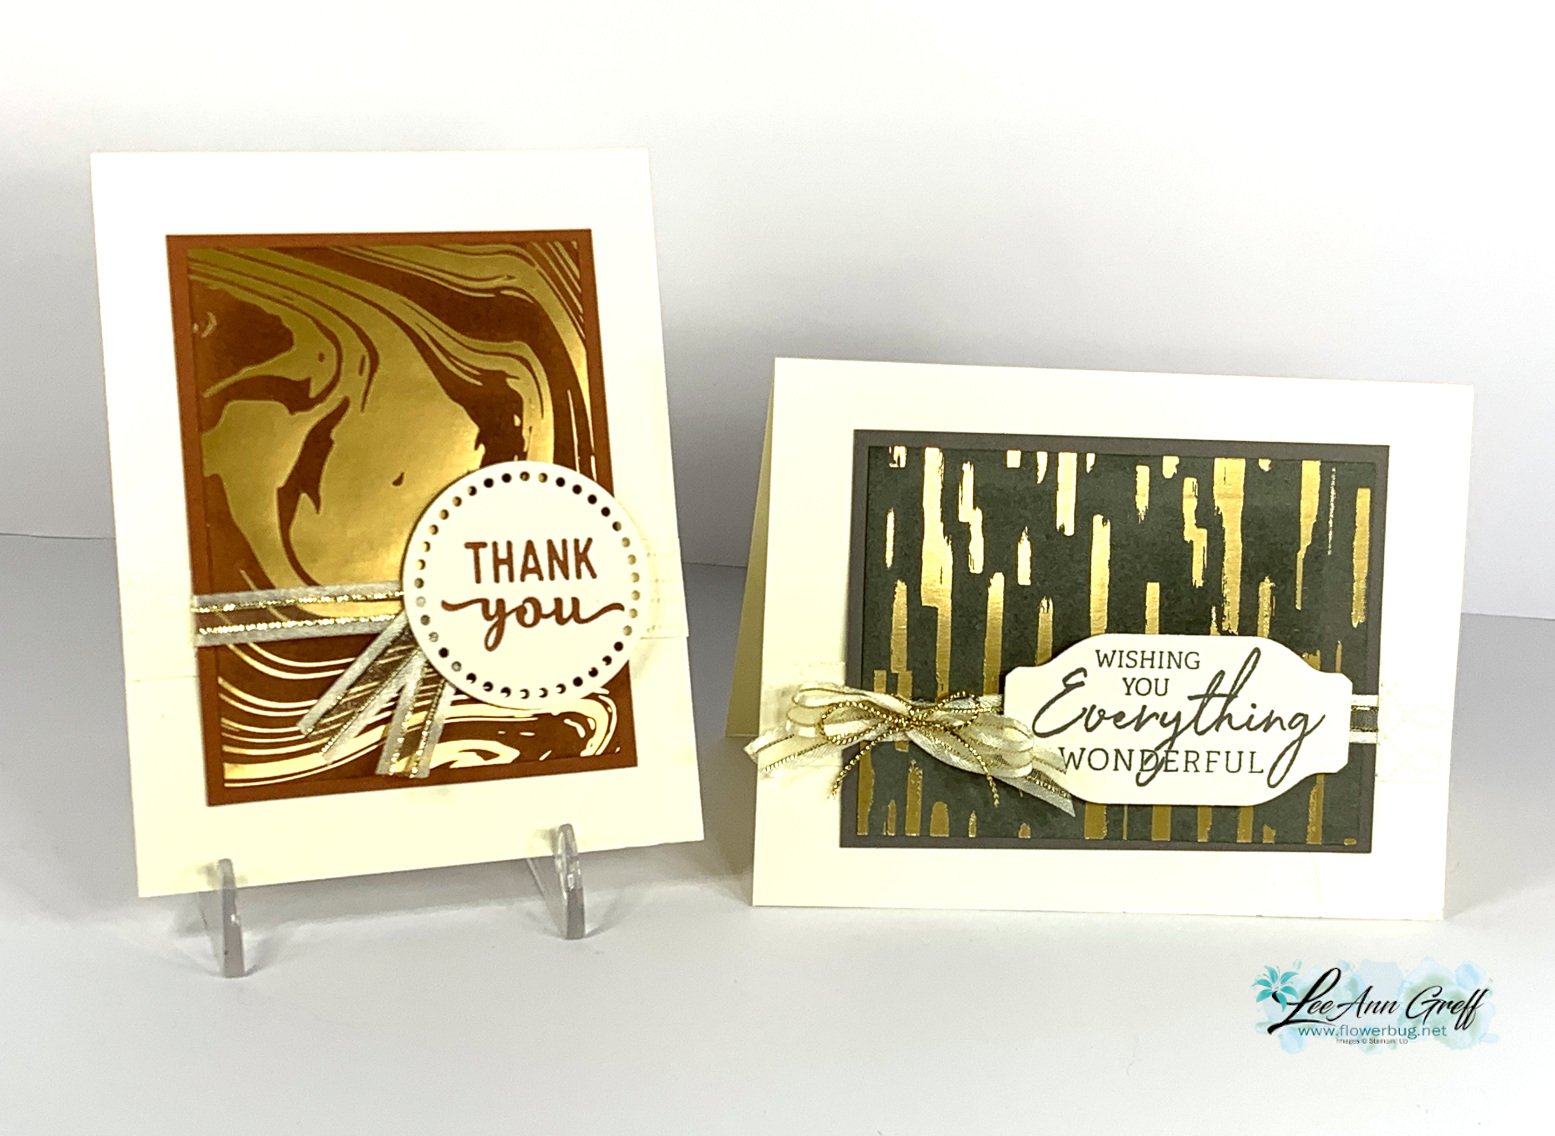
The colors above are Copper Clay and Pebbled Path – 2 of our newest in colors.  Ribbon uses include a flag and a double bow.

The free project sheet can be downloaded here: It's also a great reference for ways to add ribbon! Download Direct to Paper technique with 6 ways to add ribbon

I hope you're inspired by the simply card idea, the technique and the 6 ways to add ribbon!  Watch the video below to see this technique in action!

I'm Live on Facebook here every Tuesday at 11 am. Follow me to catch it live. 

Or see and follow me on YouTube here! 

~~~

February Specials: 

Earn FREE products with your Stampin' Up! purchase during

Sale-a-Bration! *click here

*current host code link: 4BXU7SGH 

It's the best time to get a pre-paid Sale-a-Bration subscription

& earn free Sale-a-Bration products!  

~~~

Get a free Gold Foiled cards & envelopes kit

with online orders over $55 in February

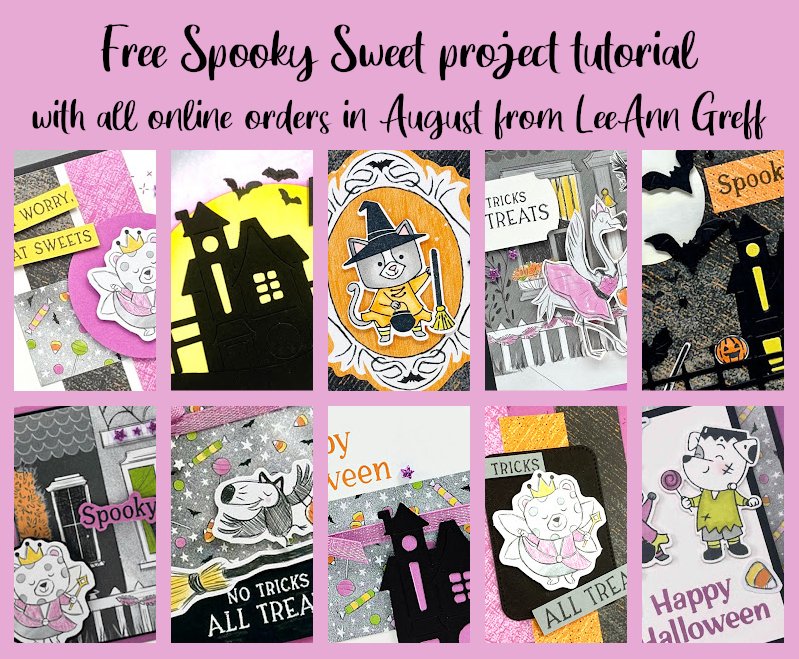
All online orders in February will receive this free tutorial with 8 projects!

All Posts

  • Look at this pretty Notes from the Heart kit to go


    This beautiful card kit includes the Notes from the Heart Paper Pumpkin refill kit with additional product added to jazz up the cards. 

    This kit to go includes the original Paper Pumpkin refill kit plus extra card stock and layers needed to make all 12 cards including 12 envelopes.  You’ll also receive a new package of sponge daubers. 

    You will need greeting images, a few inks and embossing folders are optional. 

    Reserve your kit here. The tutorial includes step by step directions, photos, measurements & a supplies list. It is sent via email immediately after purchase. Check your spam or junk folder.  

    *The pre-cut kit is mailed to you at the end of August.  

    See all of my kits & tutorials here.  Ordering more than one kit saves on shipping! 

    ~~~

    August Specials

    Lots of In Color products are discounted in August!!

    Go here to see them all. 

    Get a free card class with any online order over $55 during August!

    Order online here

    The last chance list has new products! See them here. 

    Leave a Reply

    Your email address will not be published. Required fields are marked *

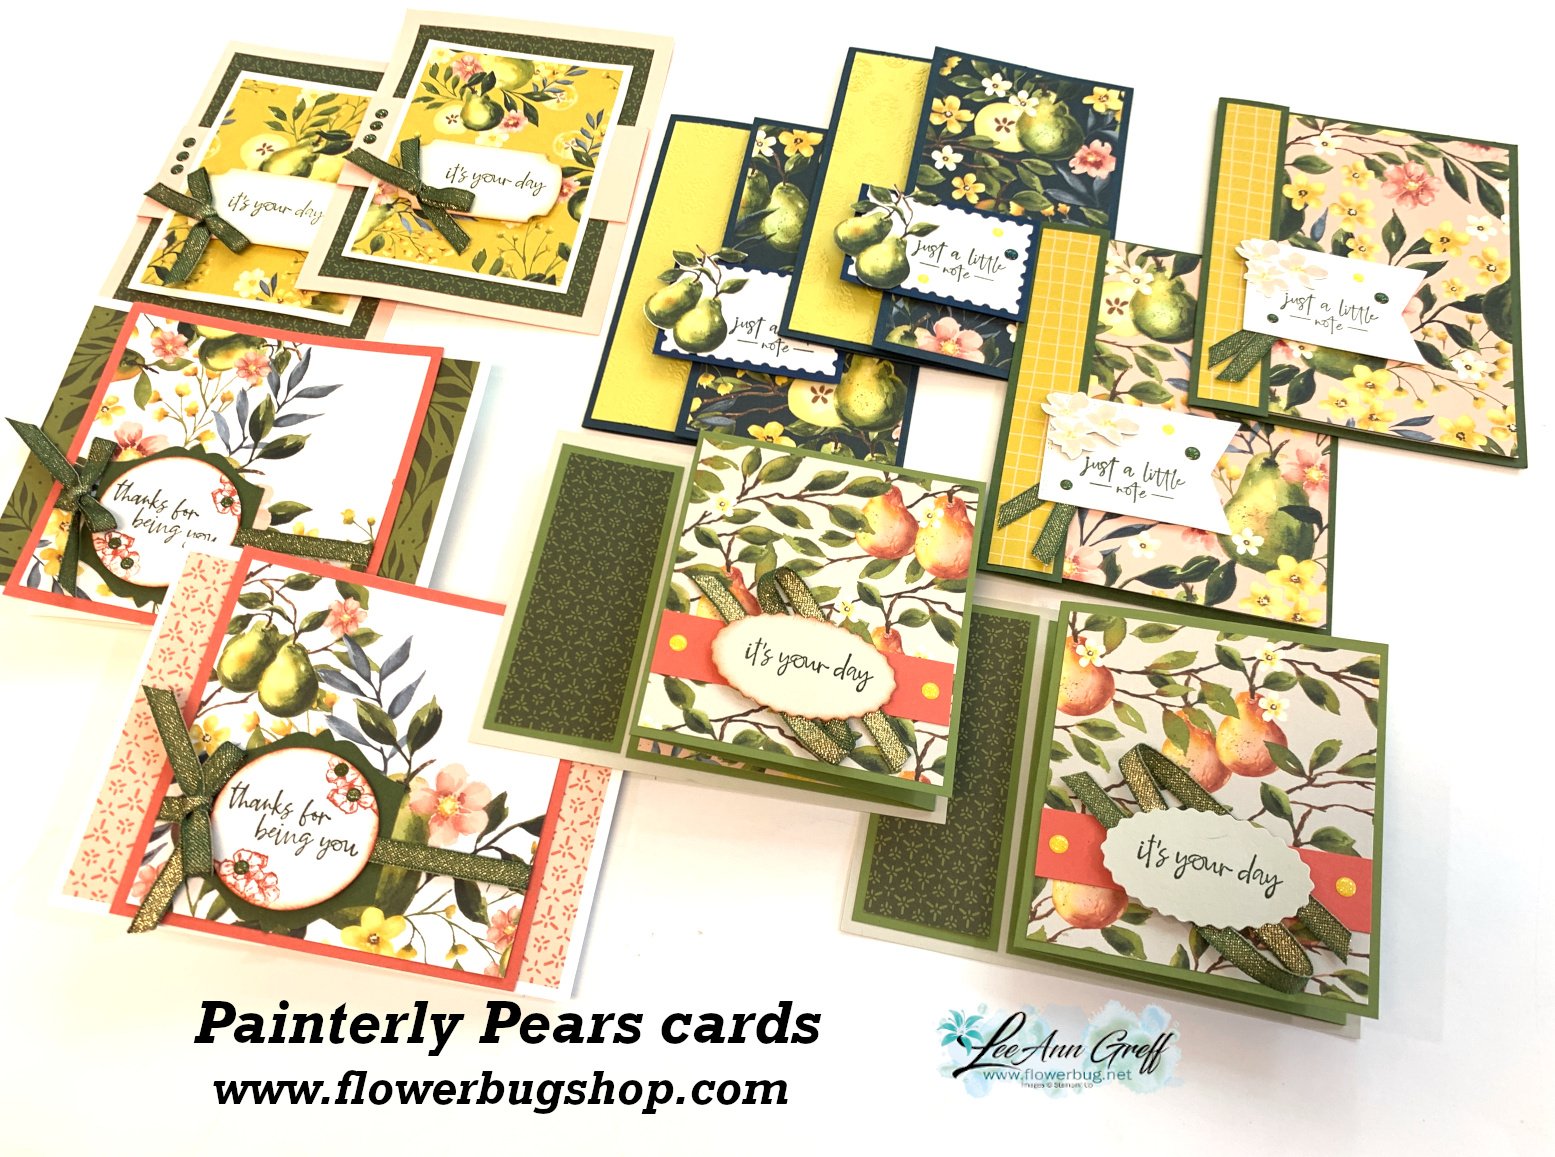
  • Beautiful Painterly Pears fun fold card kit to go; or choose the PDF tutorial option


    Oh my gosh; I just love these cards in this kit to go.  The Painterly Pears designer paper is gorgeous! 

    Each card is a unique fun fold layout.  And there’s an exclusive video tutorial for them for everyone that orders the kit or tutorial.  There are 5 different layouts with 2 of each in the kit to go and it includes over $20 in Stampin’ Up! products in addition to the pre-cut card pieces!

    This kit includes the following:

    • 1/2 pkg. Painterly Pears DSP (6″ X 12″)
    • shares of both Low-profile Sparkle Dots & Mossy Meadow/Gold ribbon
    • all pre-cut pieces to make 10 cards
    • the PDF tutorial with measurements, directions, supplies and photos
    • exclusive video tutorial

    Reserve your kit to go here for $32.  Or choose the PDF tutorial option here.  

    This kit will be mailed out at the end of August. The PDF tutorial with video link is emailed to you immediately after payment. Check your junk of spam folder. 

    *You will need your own greeting images, ink, adhesives, paper snips and trimmer to complete the cards. 

    *If you’d like to subscribe to receive a kit automatically each month please use the button below.  My subscribers get a free surprise every few months along with the guarantee of a beautiful kit full of products too! 

    ~~~

    August Specials

    Lots of In Color products are discounted in August!!

    Go here to see them all. 

    Get a free card class with any online order over $55 during August!

    Order online here

    The last chance list has new products! See them here. 

    Leave a Reply

    Your email address will not be published. Required fields are marked *

  • Fault Line technique with Layered Thoughts – video & free project sheet too


    I shared this neat technique on last week’s Live video.  It’s called the ‘Fault Line’ technique. 

    The Fault Line technique is where you layer torn papers together.  Here I used the Full of Life designer paper with Bubble Bath and Berry Burst.  The greeting is stamped on another sheet of this designer paper and heat embossed with clear embossing powder.  I fussy cut it and popped it up between the fault lines.  

    As you can see in the photo above I did my greetings two says.  The top right is done by heat embossing the greeting with White embossing powder.  The lower left is with clear embossing powder. 

    Here’s the free project sheet if you’d like to print if off or download it.  Download Layered Thoughts Fault Line card

    Watch the video below to see how this is done.  It’s so easy! 

    ~~~

    August Specials

    Lots of In Color products are discounted in August!!

    Go here to see them all. 

    Get a free card class with any online order over $55 during August!

    Order online here

    The last chance list has new products! See them here. 

    Get this free project sheet in August with any online order from my store. 

    Leave a Reply

    Your email address will not be published. Required fields are marked *


Notice: LeeAnn Greff, Independent Stampin’ Up! Demonstrator, Manager. The content of this website is my sole responsibility as an independent Stampin’ Up! demonstrator and the use of, and content of, the classes, services, or products offered on this website is not endorsed by Stampin’ Up! Copyright 2025