/


Latest Post

Simple Direct to Paper Technique for quick gorgeous cards! Plus 6 ways to add ribbon! Video & free project sheet too!


On last week's Live video I focused on the Most Adored specialty designer paper and shared the Direct to Paper technique and these gorgeous cards: 
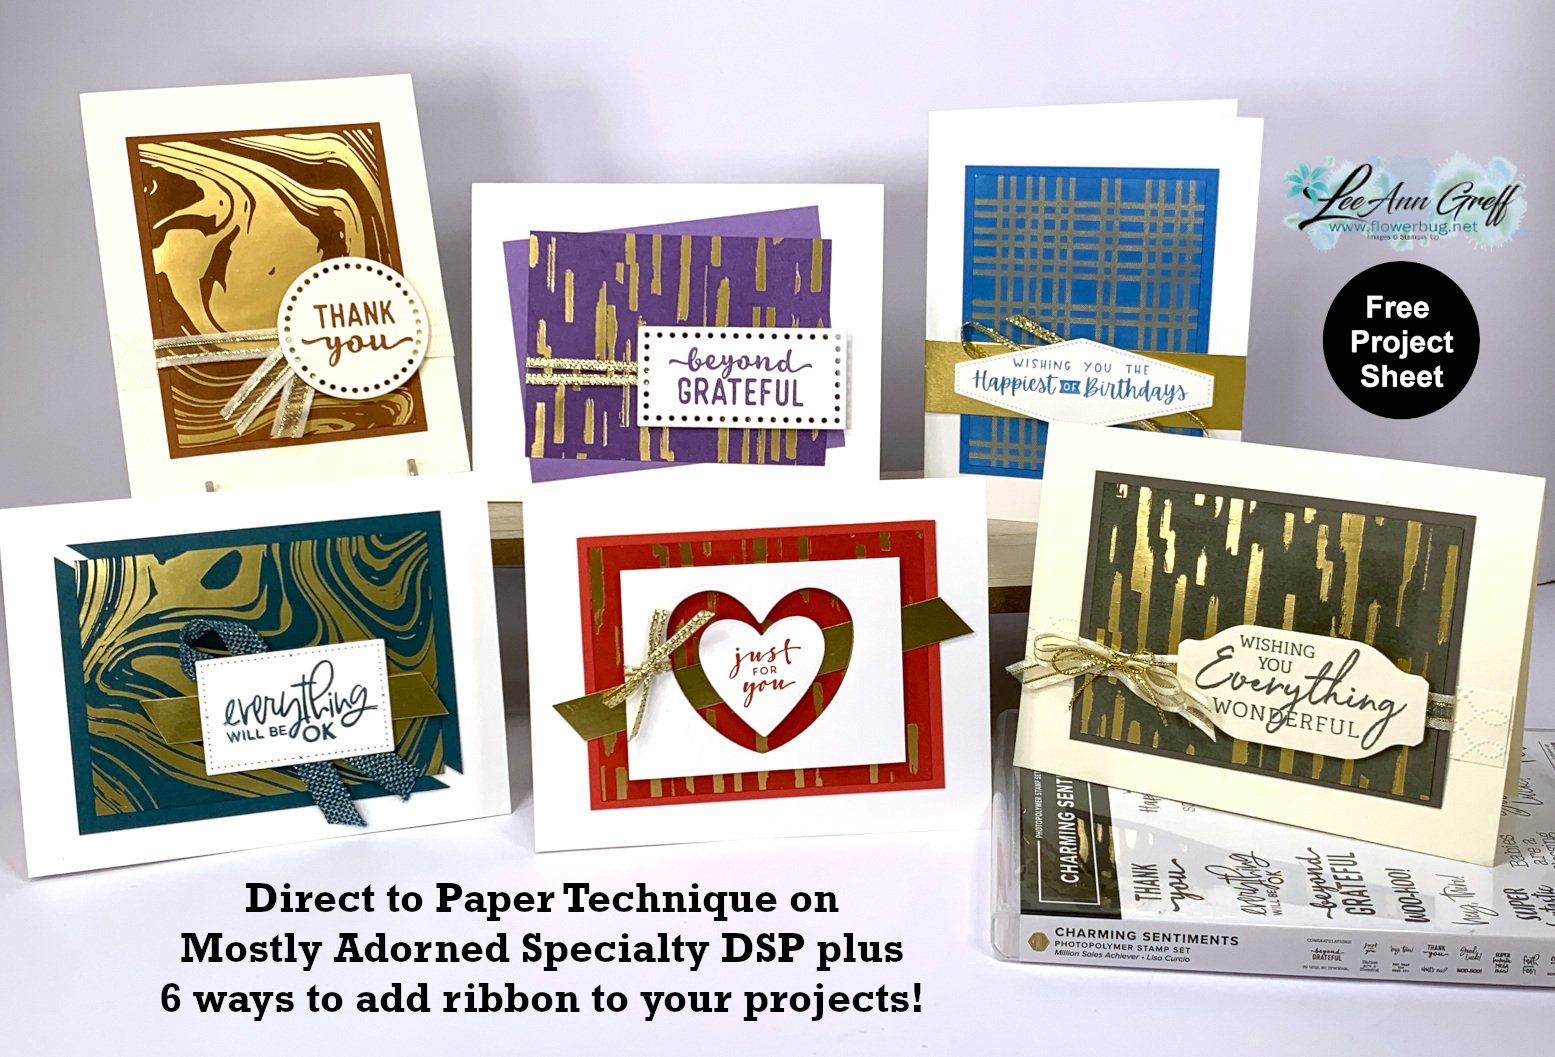
Anytime we have designer papers with foil designs I think of this fun technique! It's basically rubbing or tapping your water based ink pad onto the designer paper. The ink soaks into the background but resists the foil designs. Simply wipe the excess ink off the foil with a tissue – done!
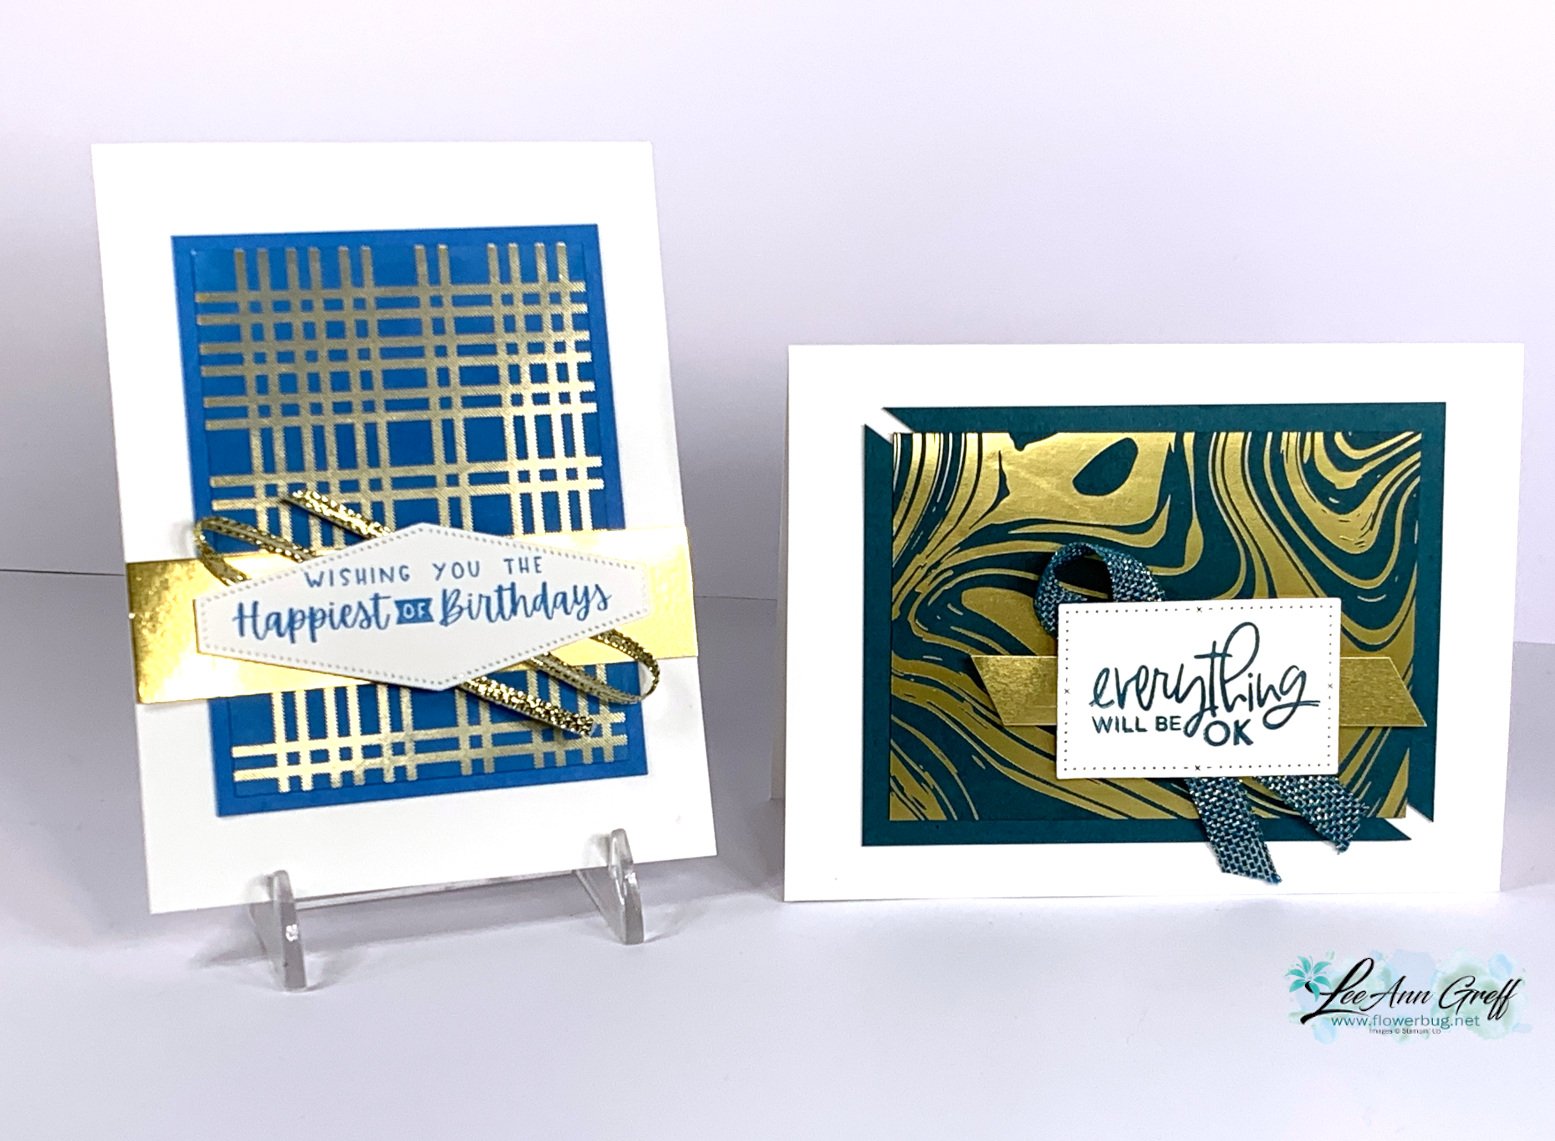
The colors above are Azure Afternoon and Pretty Peacock. Notice the different ribbon techniques and layouts. The left card has loops of ribbon added to the greeting label; the right has a simple fold of ribbon. 

Each card has two main pieces – the designer paper is 3" X 4" and the layered, coordinating card stock is 3 1/4" X 4 1/4". Check out the different layouts with these basic pieces.  

The left card above is Highland Heather and the right is Sweet Sorbet.  A few more examples of ways to add ribbon and change up this simple layout.  I added two thin strips of ribbon across the left card and tied a bow around the window frame on the right. 

Remember this pretty specialty paper is available through February during Sale-a-Bration. It's free with any $50 Stampin' Up! purchase. See it here. 

Keeping to a basic layout like this is a wonderful way to get a bunch of cards done quickly and use up your designer paper at the same time! I chose the Charming Sentiments stamp set for all of my greetings.  
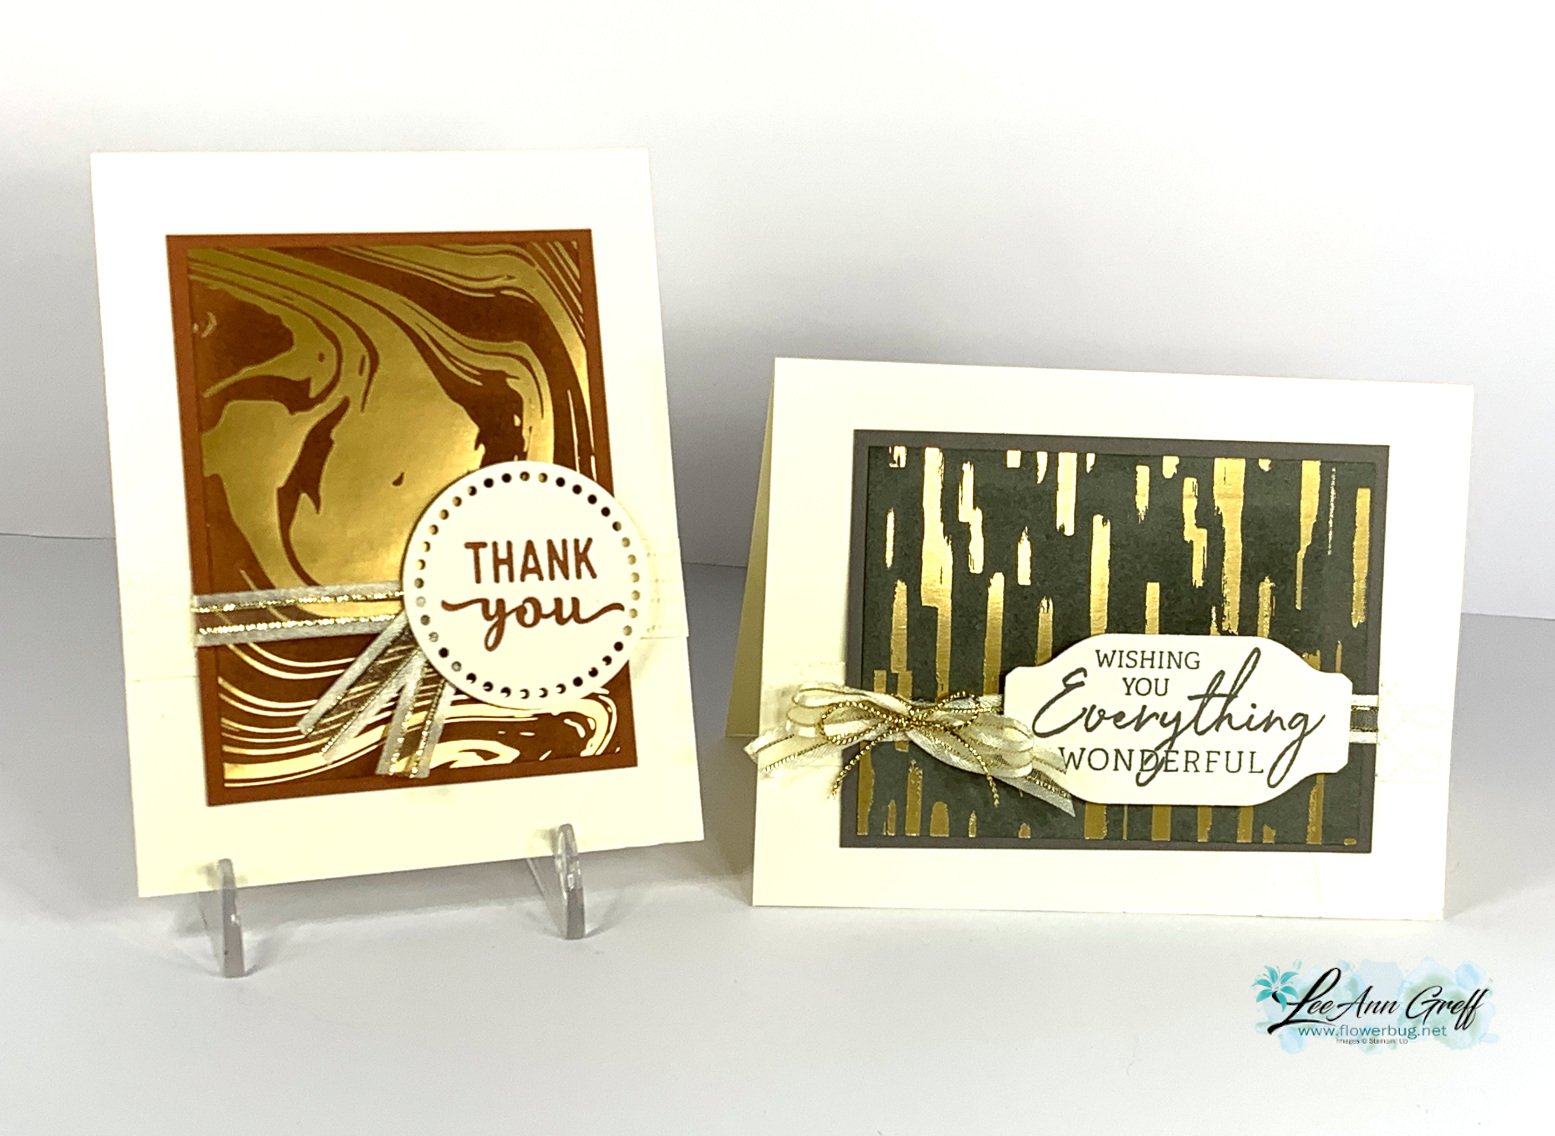
The colors above are Copper Clay and Pebbled Path – 2 of our newest in colors.  Ribbon uses include a flag and a double bow.

The free project sheet can be downloaded here: It's also a great reference for ways to add ribbon! Download Direct to Paper technique with 6 ways to add ribbon

I hope you're inspired by the simply card idea, the technique and the 6 ways to add ribbon!  Watch the video below to see this technique in action!

I'm Live on Facebook here every Tuesday at 11 am. Follow me to catch it live. 

Or see and follow me on YouTube here! 

~~~

February Specials: 

Earn FREE products with your Stampin' Up! purchase during

Sale-a-Bration! *click here

*current host code link: 4BXU7SGH 

It's the best time to get a pre-paid Sale-a-Bration subscription

& earn free Sale-a-Bration products!  

~~~

Get a free Gold Foiled cards & envelopes kit

with online orders over $55 in February

All online orders in February will receive this free tutorial with 8 projects!

All Posts

  • Get multiple cards from one sheet of Designer Paper! Video & free project sheet too.


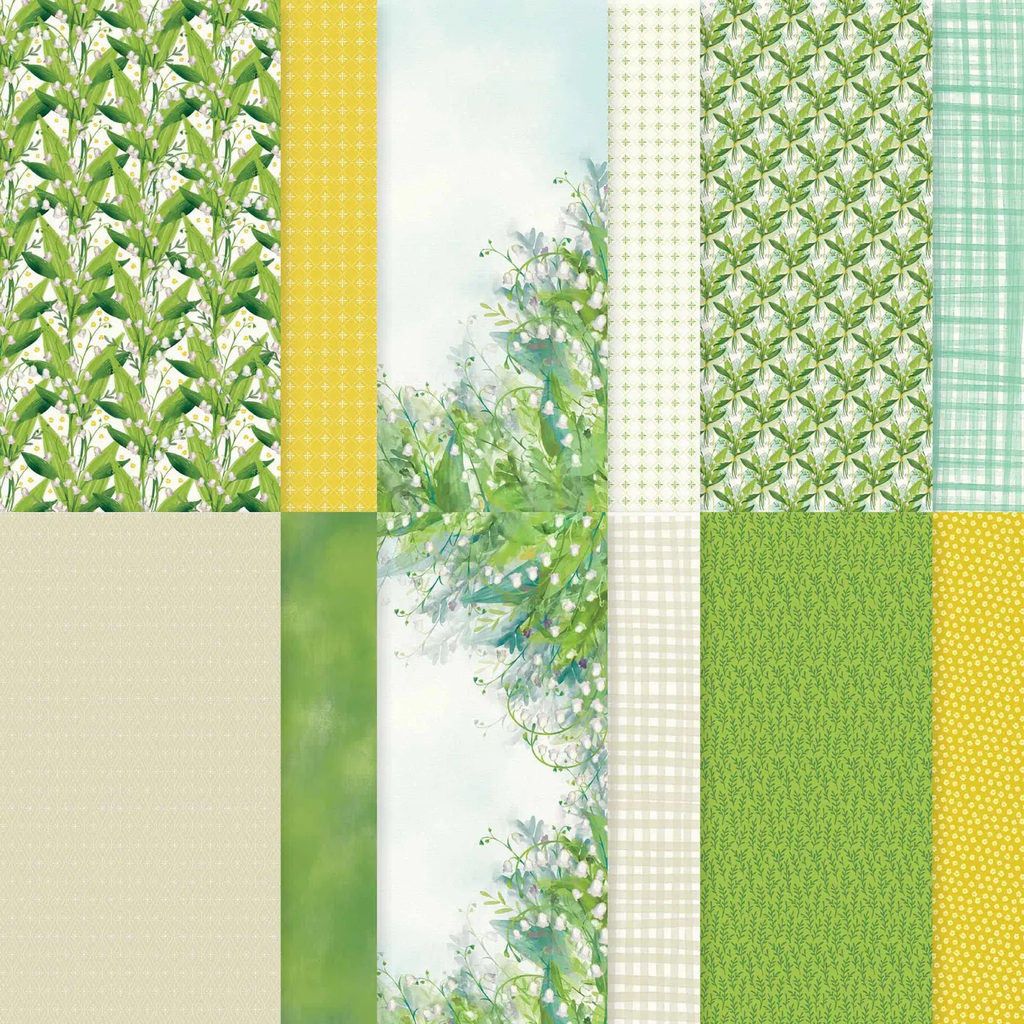
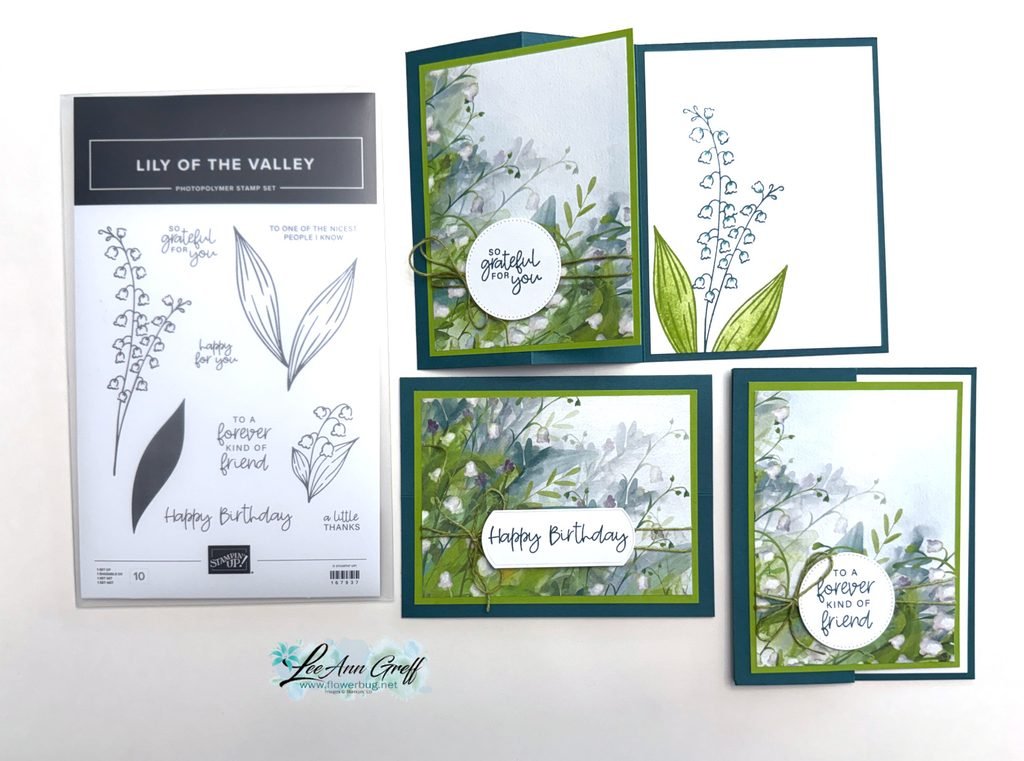
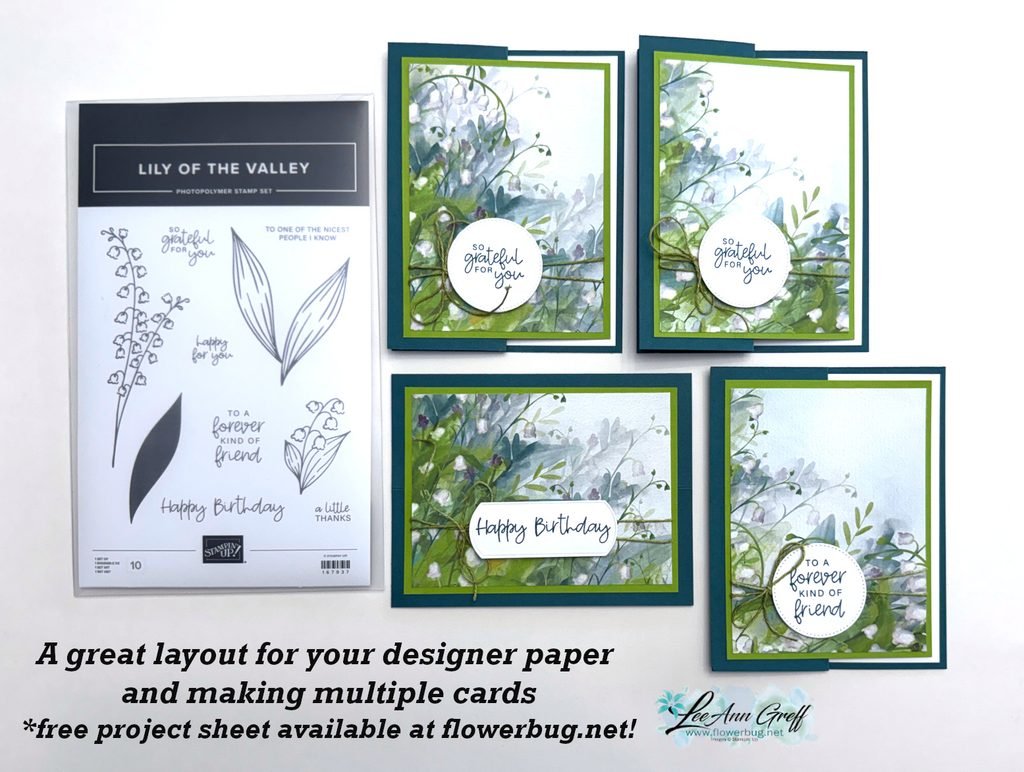
    I shared these beautiful cards on a Live video a few weeks ago. I wanted to make the most of one of my favorite sheets of the Valley in Bloom designer series paper. It’s discounted through August!

    You can get more cards than I show above but I mistakenly cut in the wrong place and missed out on more. This pack of Valley in Bloom DSP has many beautiful sheets in it. Get some while it’s on sale.

    I recommend cutting the 12 X 12″ sheet into 6 pieces at 3 1/2″ X 4 3/4″. The two center pieces won’t have as much greenery on them but you could change the layout up a bit to reflect that.

    My colors include Pretty Peacock with Old Olive & White. I used a variety of punches for my greetings; mostly from my stash of White elements.

    The card bases are 8 1/2″ X 5 1/2″ scored at 2 1/8″ & 4 1/4″. I made sure the Olive layer was small enough that the White inside piece shows as an inside layer. You can see the free project sheet with measurements, photos and supplies when you click here.

    I stamped the inside of the cards with the Lily of the Valley stamp set and colored the flowers in with a Blender pen. I love this bundle so much. You can see it here.

    You can see the video for this card and one more below. Don’t forget to subscribe to my YouTube channel!

    August Specials

    Don’t miss out on the Designer Paper & Cardstock sale! Click here to shop and save.

    Leave a Reply

    Your email address will not be published. Required fields are marked *

  • Hooray for Flowers card kit to go. Tomorrow is the last day for double rewards!


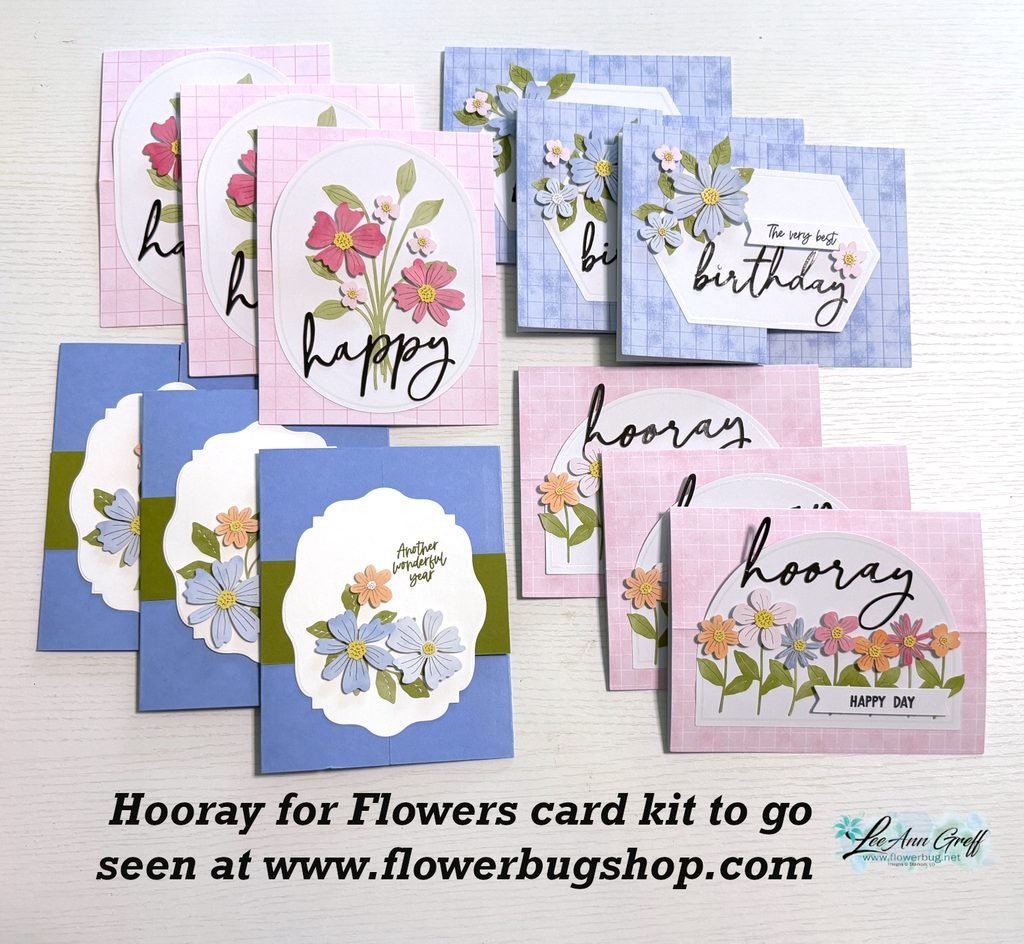
    I created these pretty cards from my July Paper Pumpkin kit. If you missed out on it, you can grab one of these kits below.

    This kit included so many beautiful flower die-cuts I had to grab extra and create a kit to go around it. I changed up some of the cards and added a few of my own.

    This kit to go includes 12 cards and envelopes, the PP kit and the extra pieces/die-cuts added on. You’ll also receive the PDF tutorial as well for $31 plus shipping.

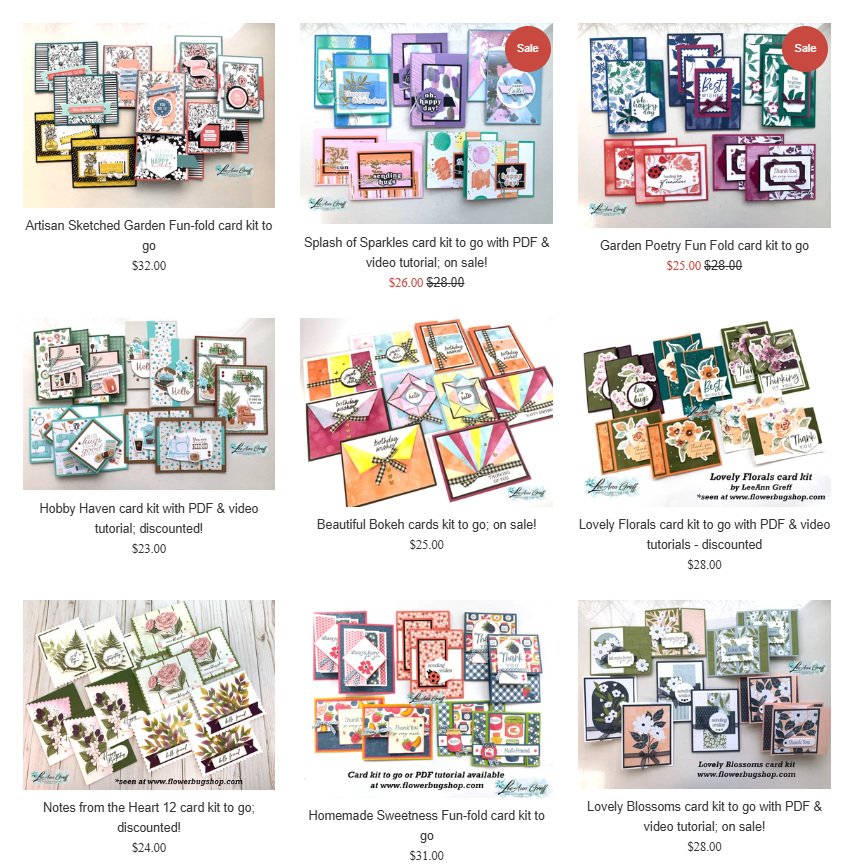
    Go here to grab yours; I have a limited supply. You’ll receive the tutorial immediately in your email. The kit to go will be shipped out within a few days. Add on an extra kit or two and save $$ on shipping costs. See them all here.

    Friday is the last day to take advantage of the Double Rewards credits this month. Along with the paper and card stock sale you cannot go wrong! Go here to shop.

    Leave a Reply

    Your email address will not be published. Required fields are marked *

  • Double Stampin’ Rewards start tomorrow!


    Great news! Starting tomorrow you’ll receive double Stampin’ Rewards with your online orders! YAY!!

    Earn double Stampin’ Rewards (2x Rewards) for 3 days only, starting August 19 and ending August 21. That means 20% instead of the standard 10%!
    All orders qualify once the Stampin’ Rewards threshold of $20 USD is met.

    Details:

    Leave a Reply

    Your email address will not be published. Required fields are marked *


Notice: LeeAnn Greff, Independent Stampin’ Up! Demonstrator, Manager. The content of this website is my sole responsibility as an independent Stampin’ Up! demonstrator and the use of, and content of, the classes, services, or products offered on this website is not endorsed by Stampin’ Up! Copyright 2025