/


Latest Post

Shabby Chic Lovely & Sweet card with video tutorial & free project sheet!


Here's the last card made in last week's video featuring the Nature's Sweetness suite. I absolutely love this color palette! 
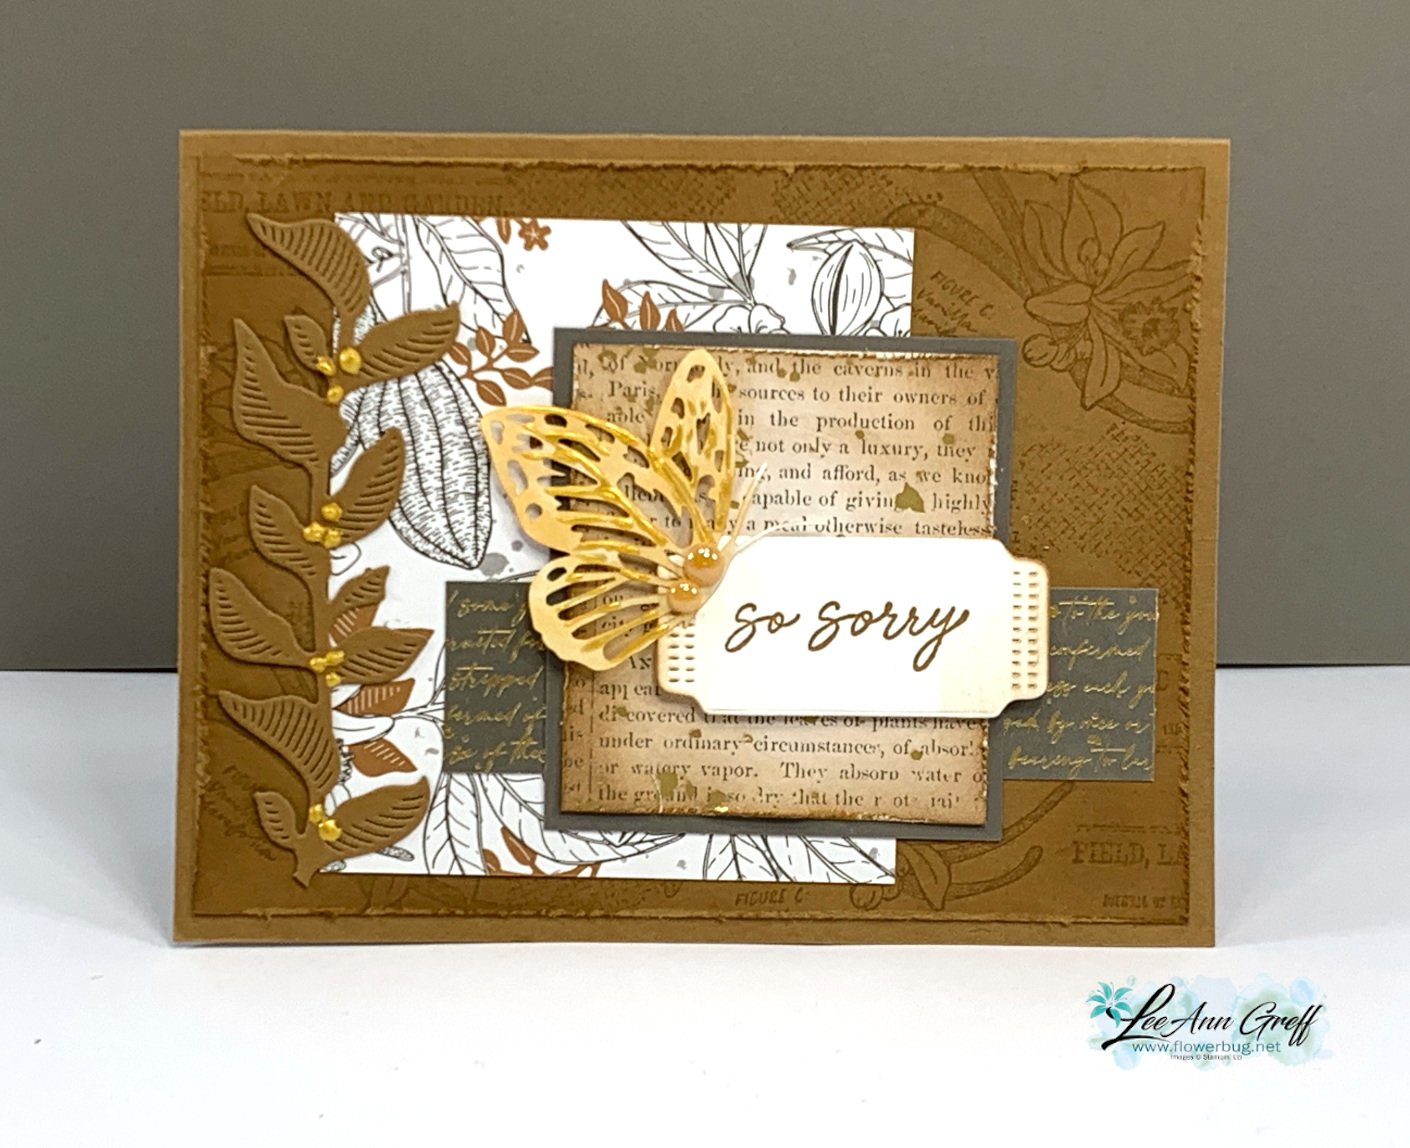
It's Pecan Pie with Pebbled Path & Gold accents with a rich monotone look. Look closely at the layout. It's basically a few random layers with only one that's layered.  Adding a few smaller elements creates the balance here. 

Details & tips:

  • Note the distressed edges on a few of the layers. That is done by rubbing your open scissor blade over the edge of the paper.  Fast and fabulous results! *watch how I do it in the video below.
  • The large stamped Pecan Pie layer and the DSP square are both sponged with Pecan Pie ink to age them a bit. 
  • That butterfly is one of our Paper Butterfly Accents colored with a Light Natural Tones blends marker. I added some Gold Enamel Effects in streaks all over it. *see how in the video
  • I added Gold Enamel Effects as berries on the tall leaf die-cut on the left. 

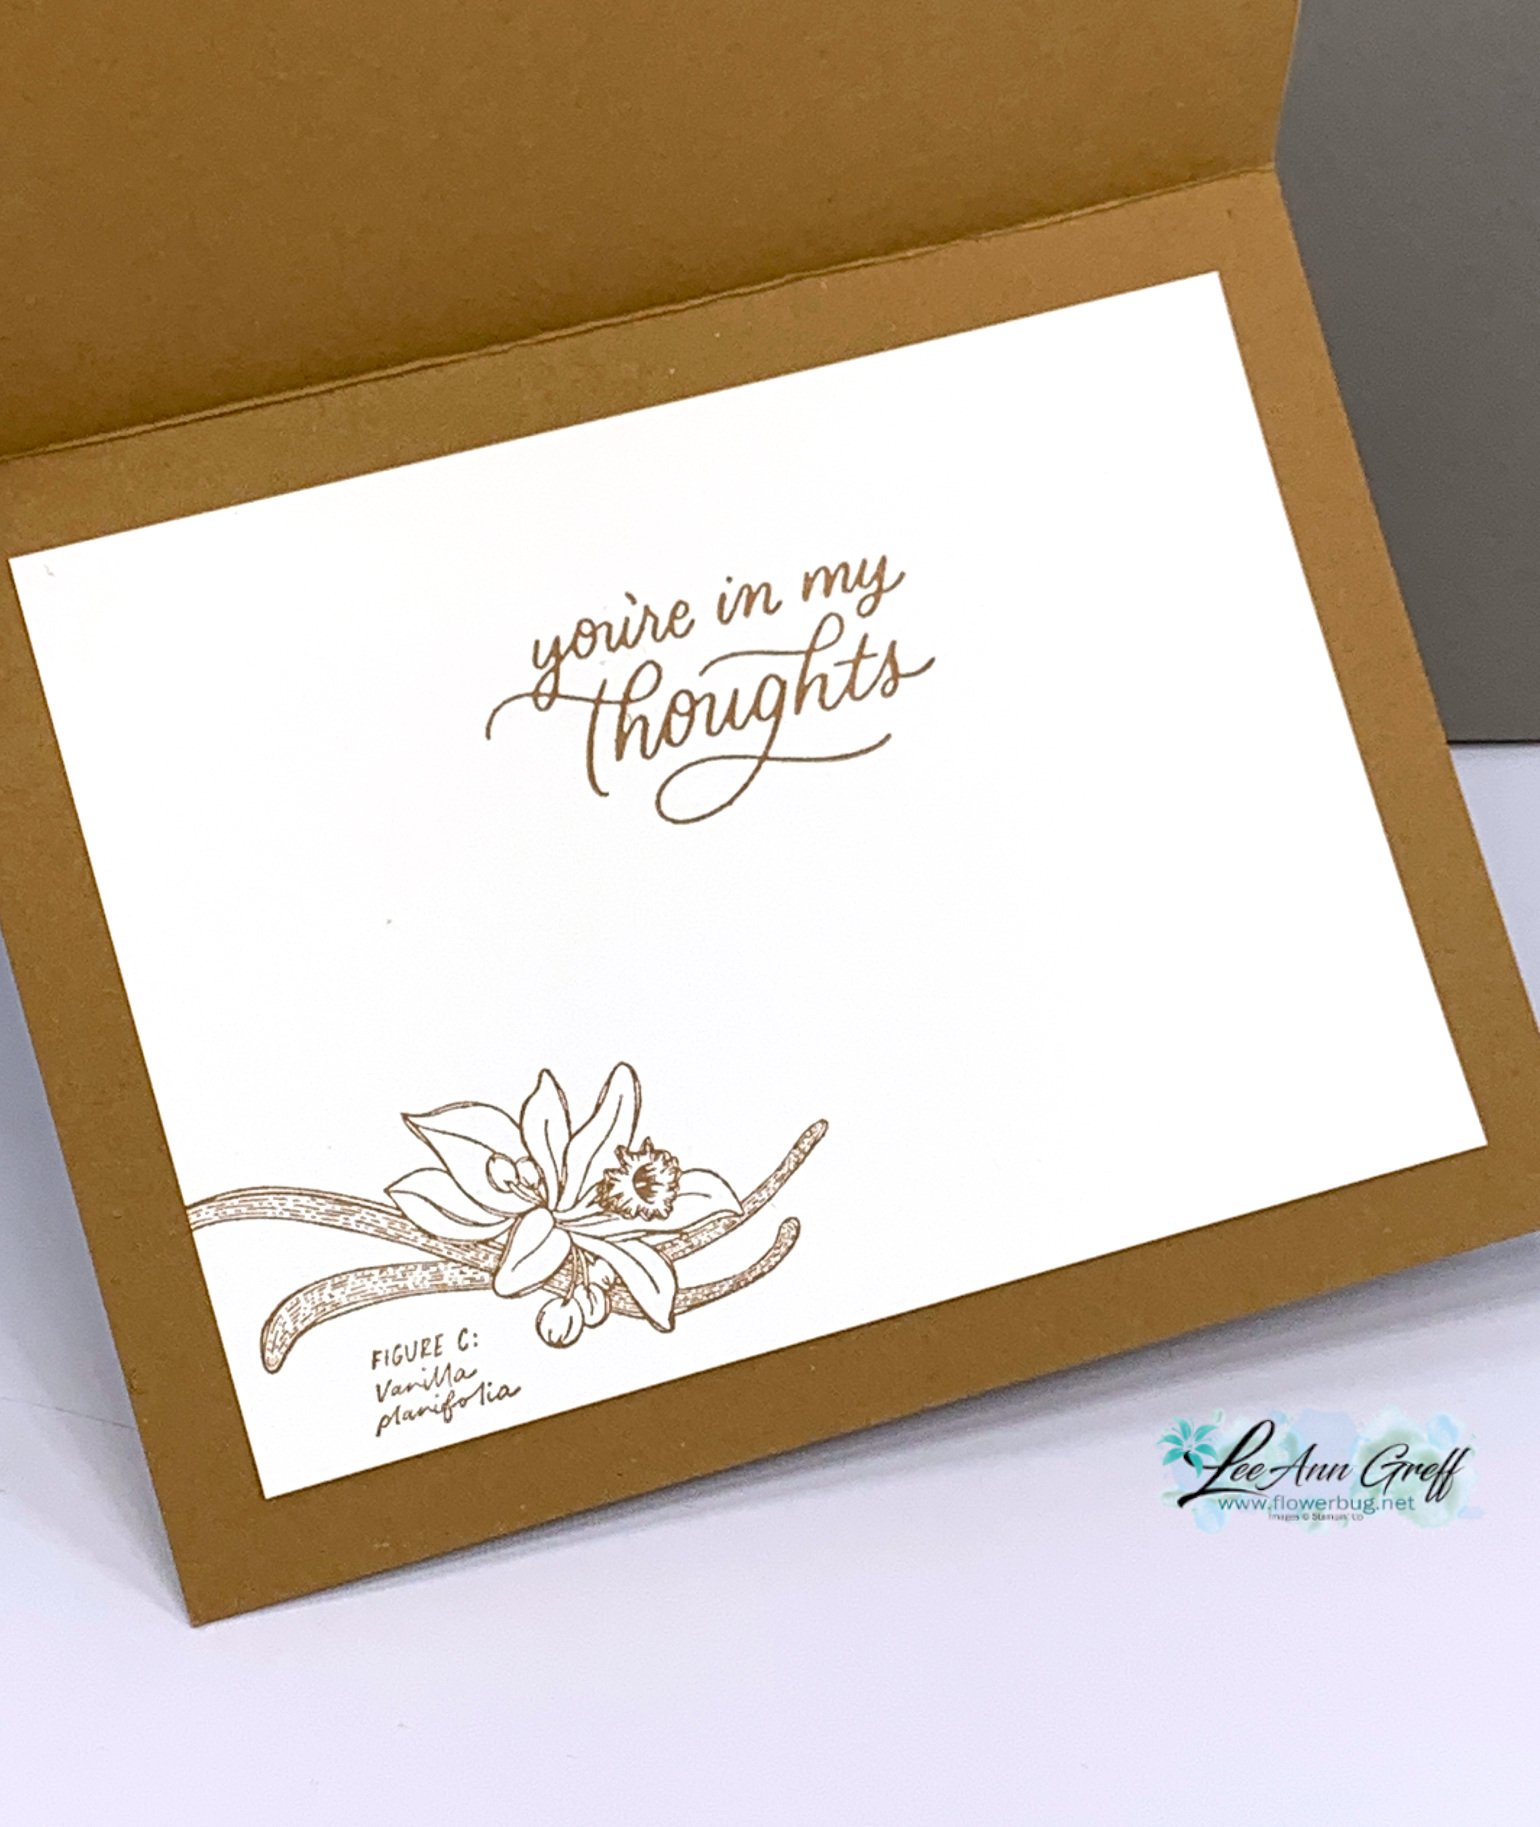
Here's how I stamped the inside.  The greeting is from the Softly Sophisticated stamp set from Sale-a-Bration. 
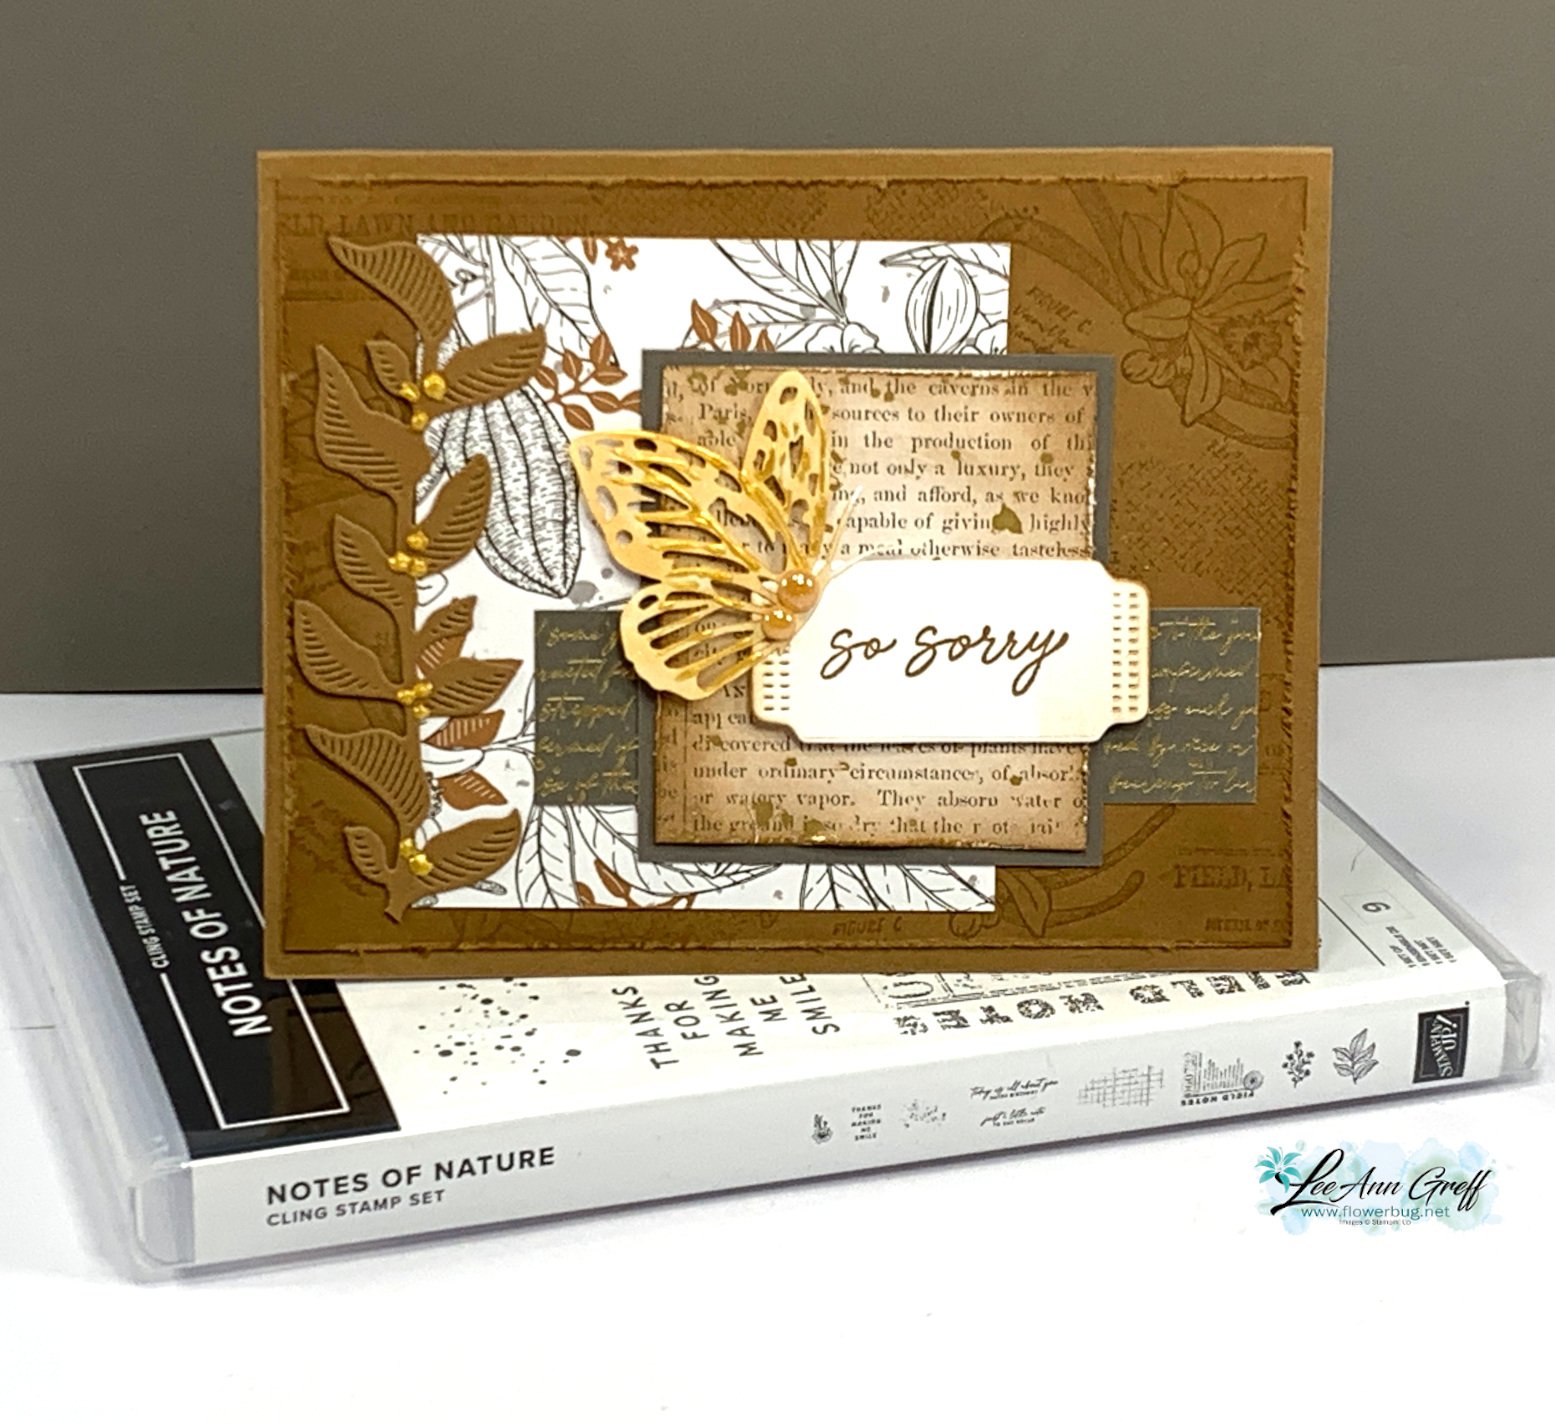
Here's a picture of the Lovely & Sweet bundle I used here. See it online here. 

Get the project sheet with dimensions, directions and products here: Download Lovely & Sweet Butterfly card
These are the three cards I share in the video below: 


So is the shabby-chic look for you?
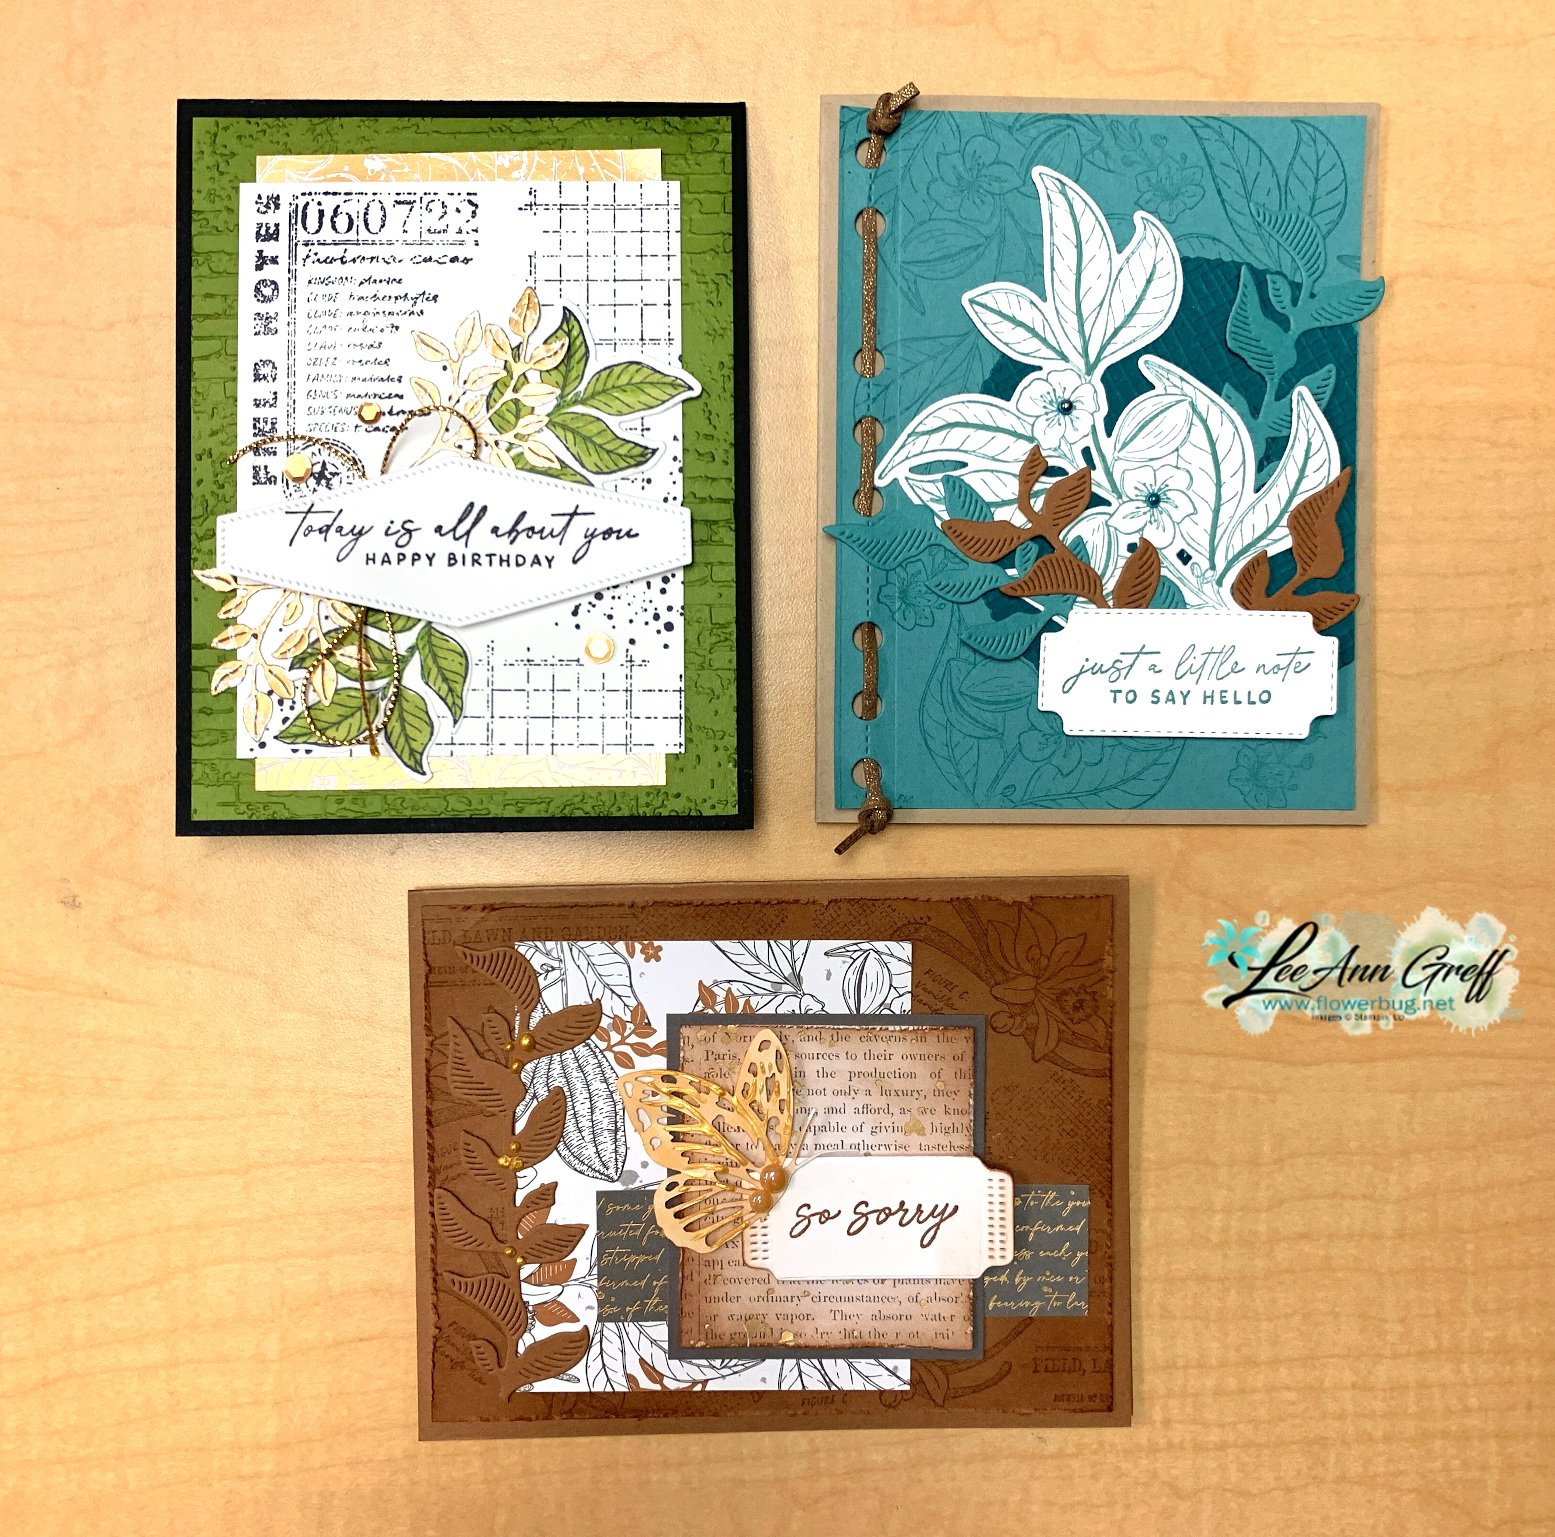
You can see how I made all of these cards in the video replay here.  Or click on the photo below to watch it.  Don't forget to subscribe to my YouTube channel! 

~~~

January Specials: 

Earn FREE products with your Stampin' Up! purchase during

Sale-a-Bration! *click here

*current host code link:  M7NAN4HT

It's the best time to get a pre-paid Sale-a-Bration subscription

& earn free Sale-a-Bration products!  


~~~

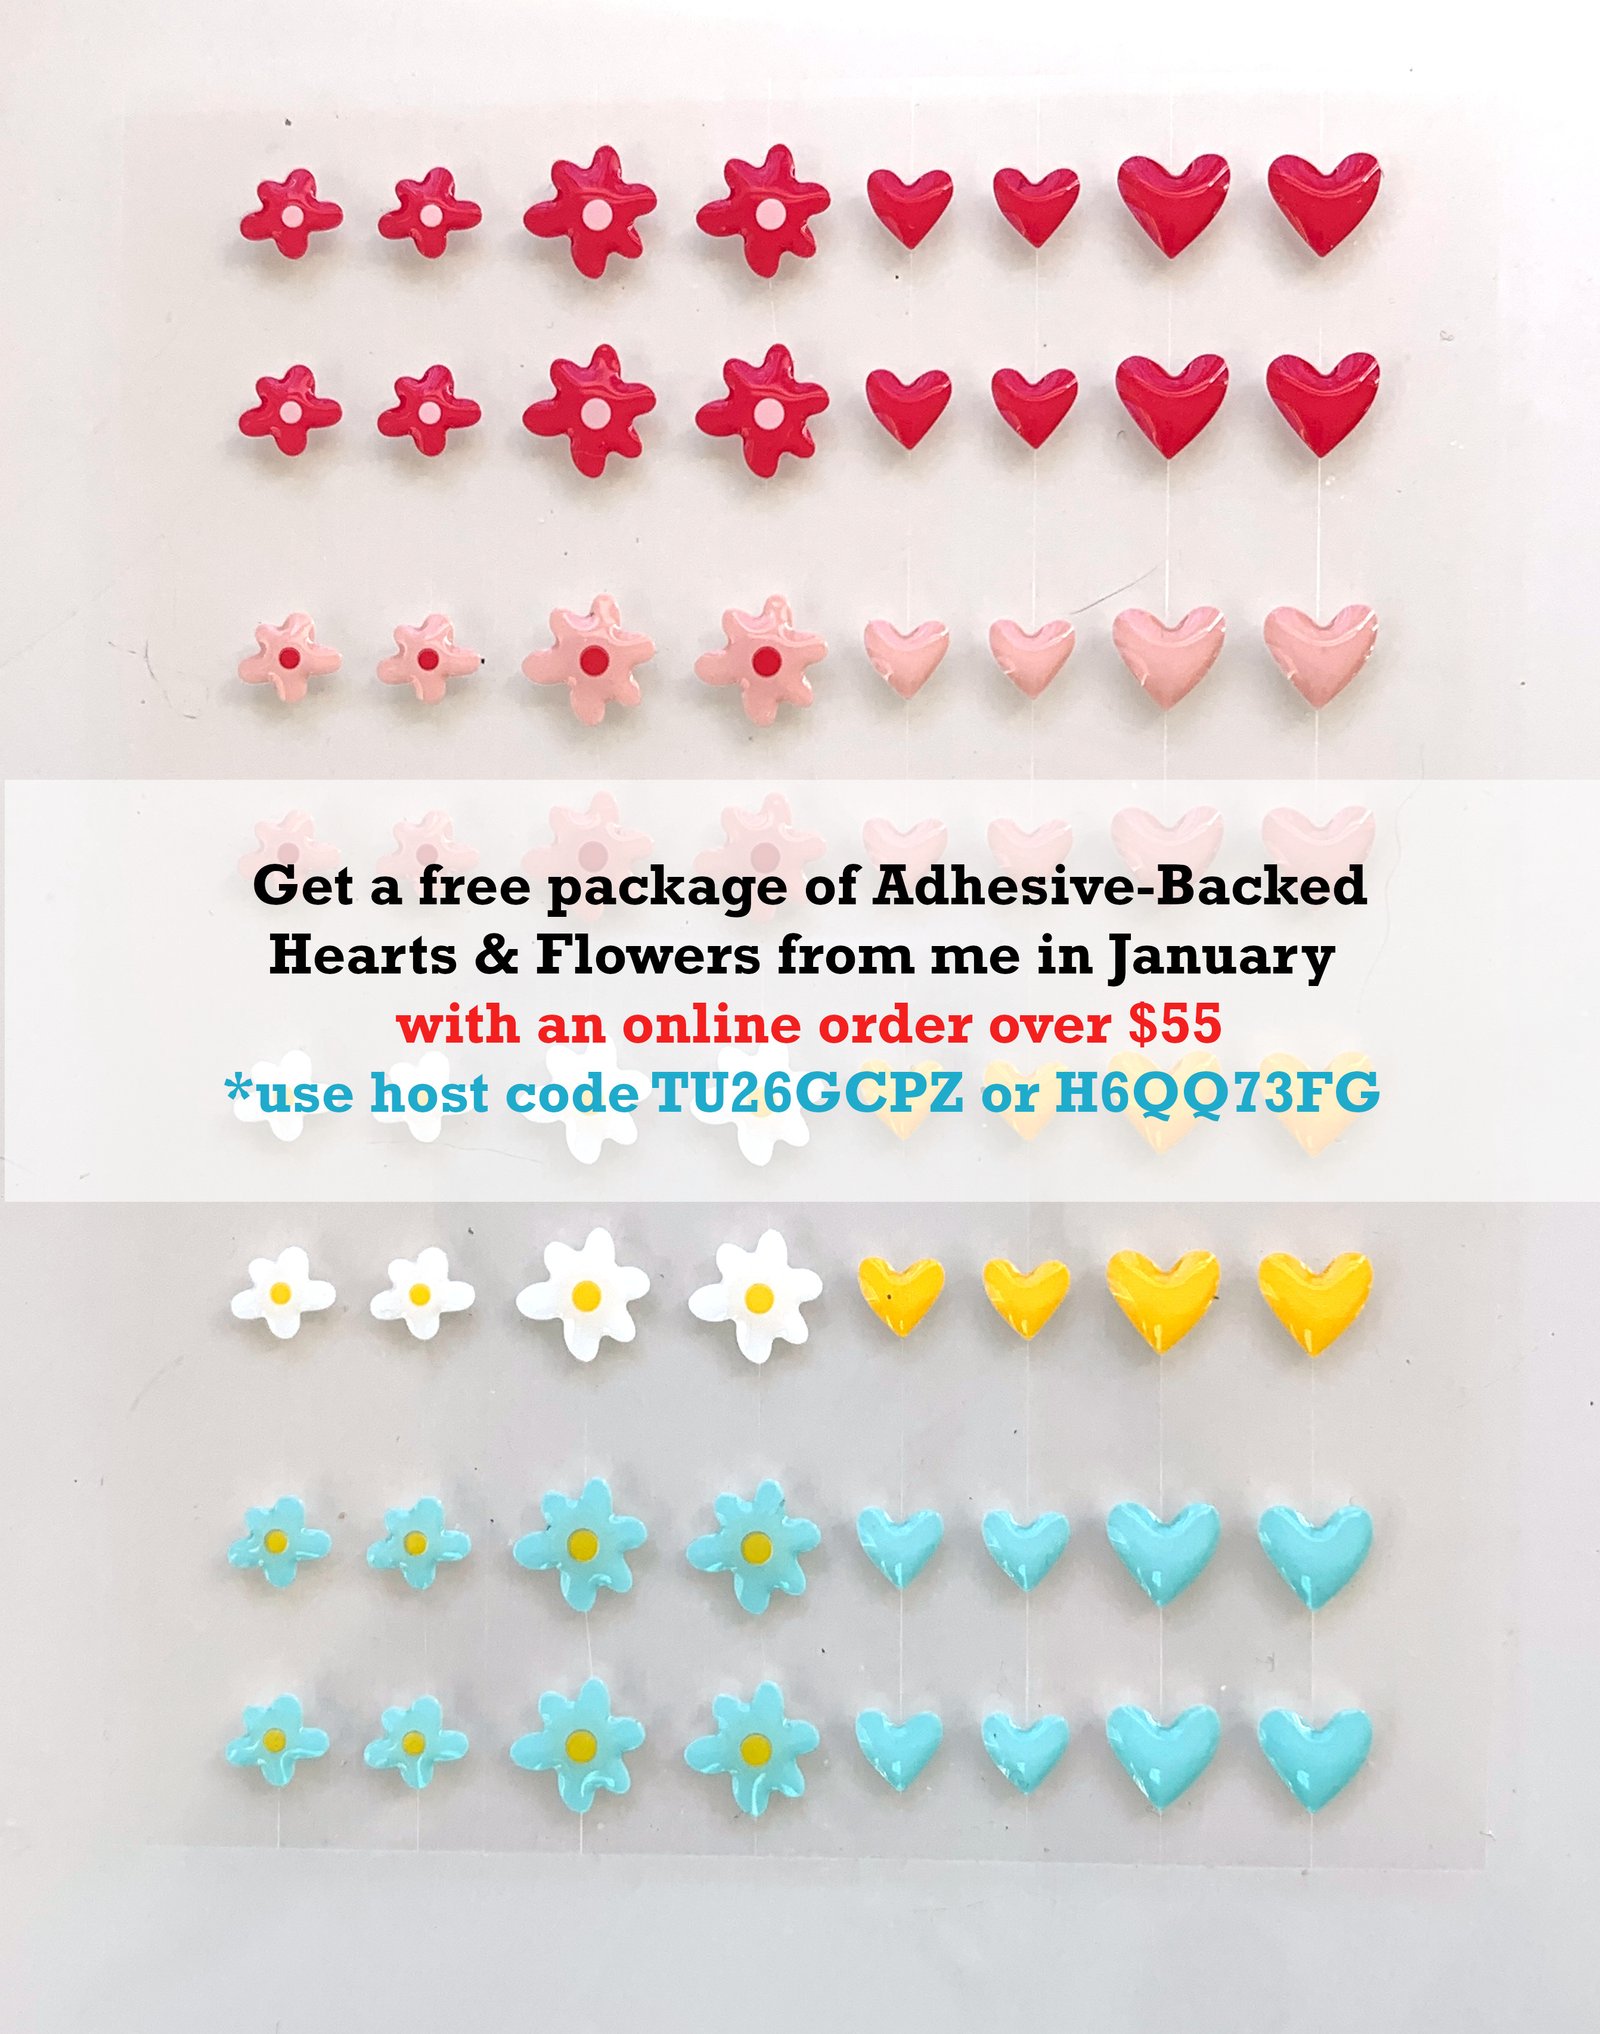
Get a free embellishment from the 2024 Spring catalog

with an online order over $55
All Posts

  • Easy Ornament cards with video tutorial


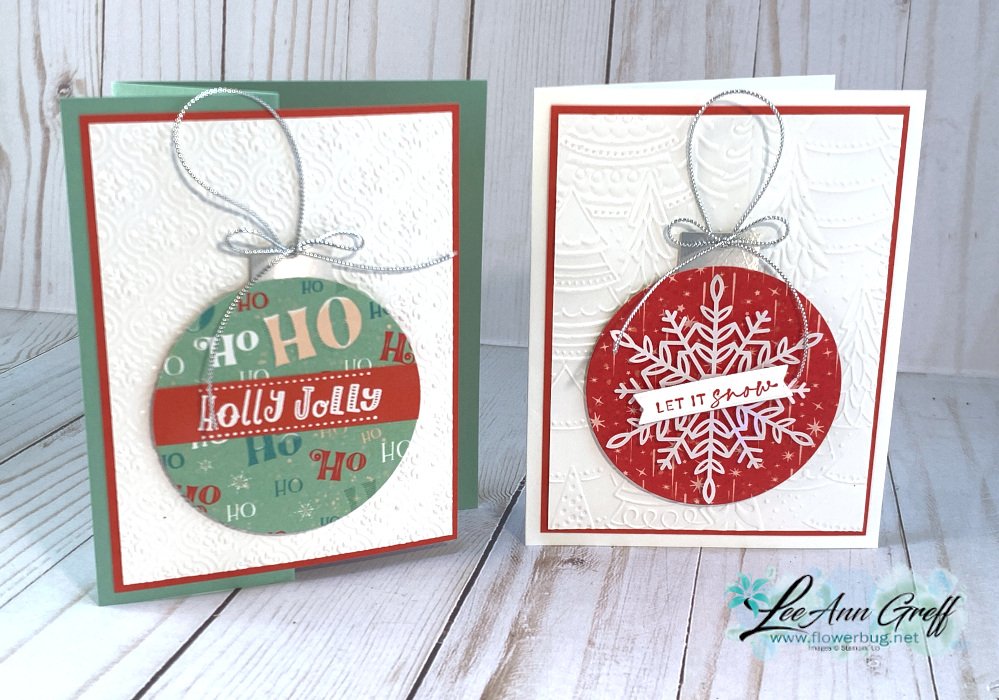
    Have you ever made an 'ornament' card?  They're quite easy if you have a circle die or punch.  The possibilities are endless; just like real ornaments!

    I shared how during last week's Stamp with Me Live.  Follow me here on FB to catch my weekly videos. I challenge my followers to share their version of an ornament card by January 2nd to get in on door prize drawing.  Share yours here. 

    You can use designer paper, dies or just greetings to embellish them.  

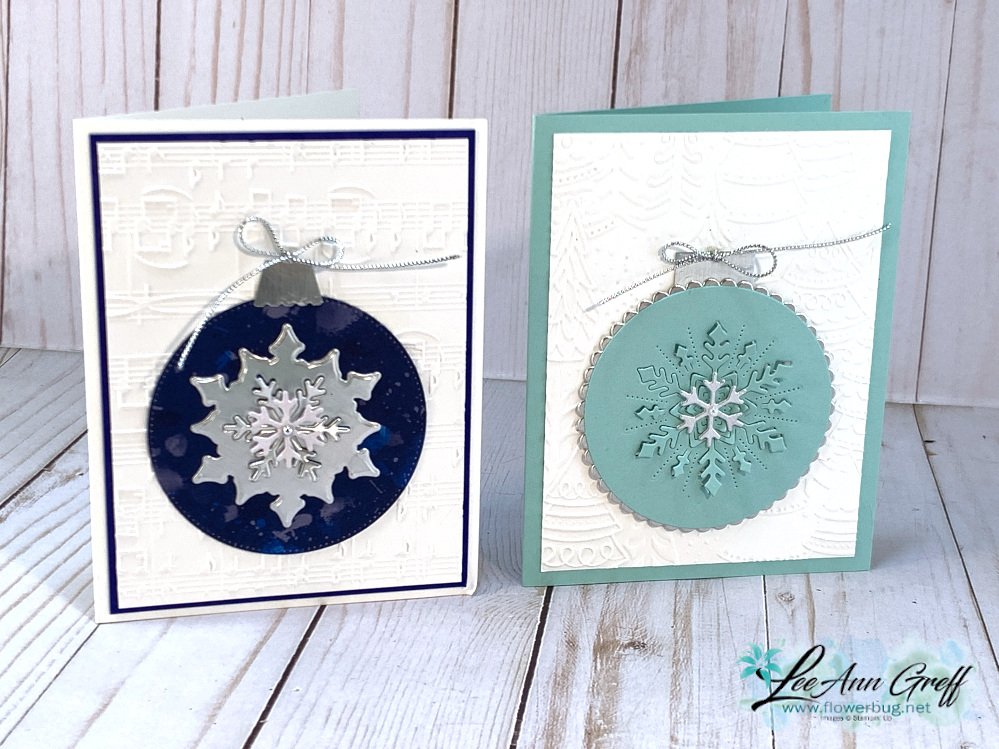
    Or use our Wonderful Snowflakes elements like the card on the right above; they're on sale for just $2.40 each!  You get 24 of them; see them here.  An amazing deal!!

    There are many fantastic deals on the Last Chance sale or the Clearance Rack refresh.  See them all here while supplies last.

    Here are a few more I made on the video:

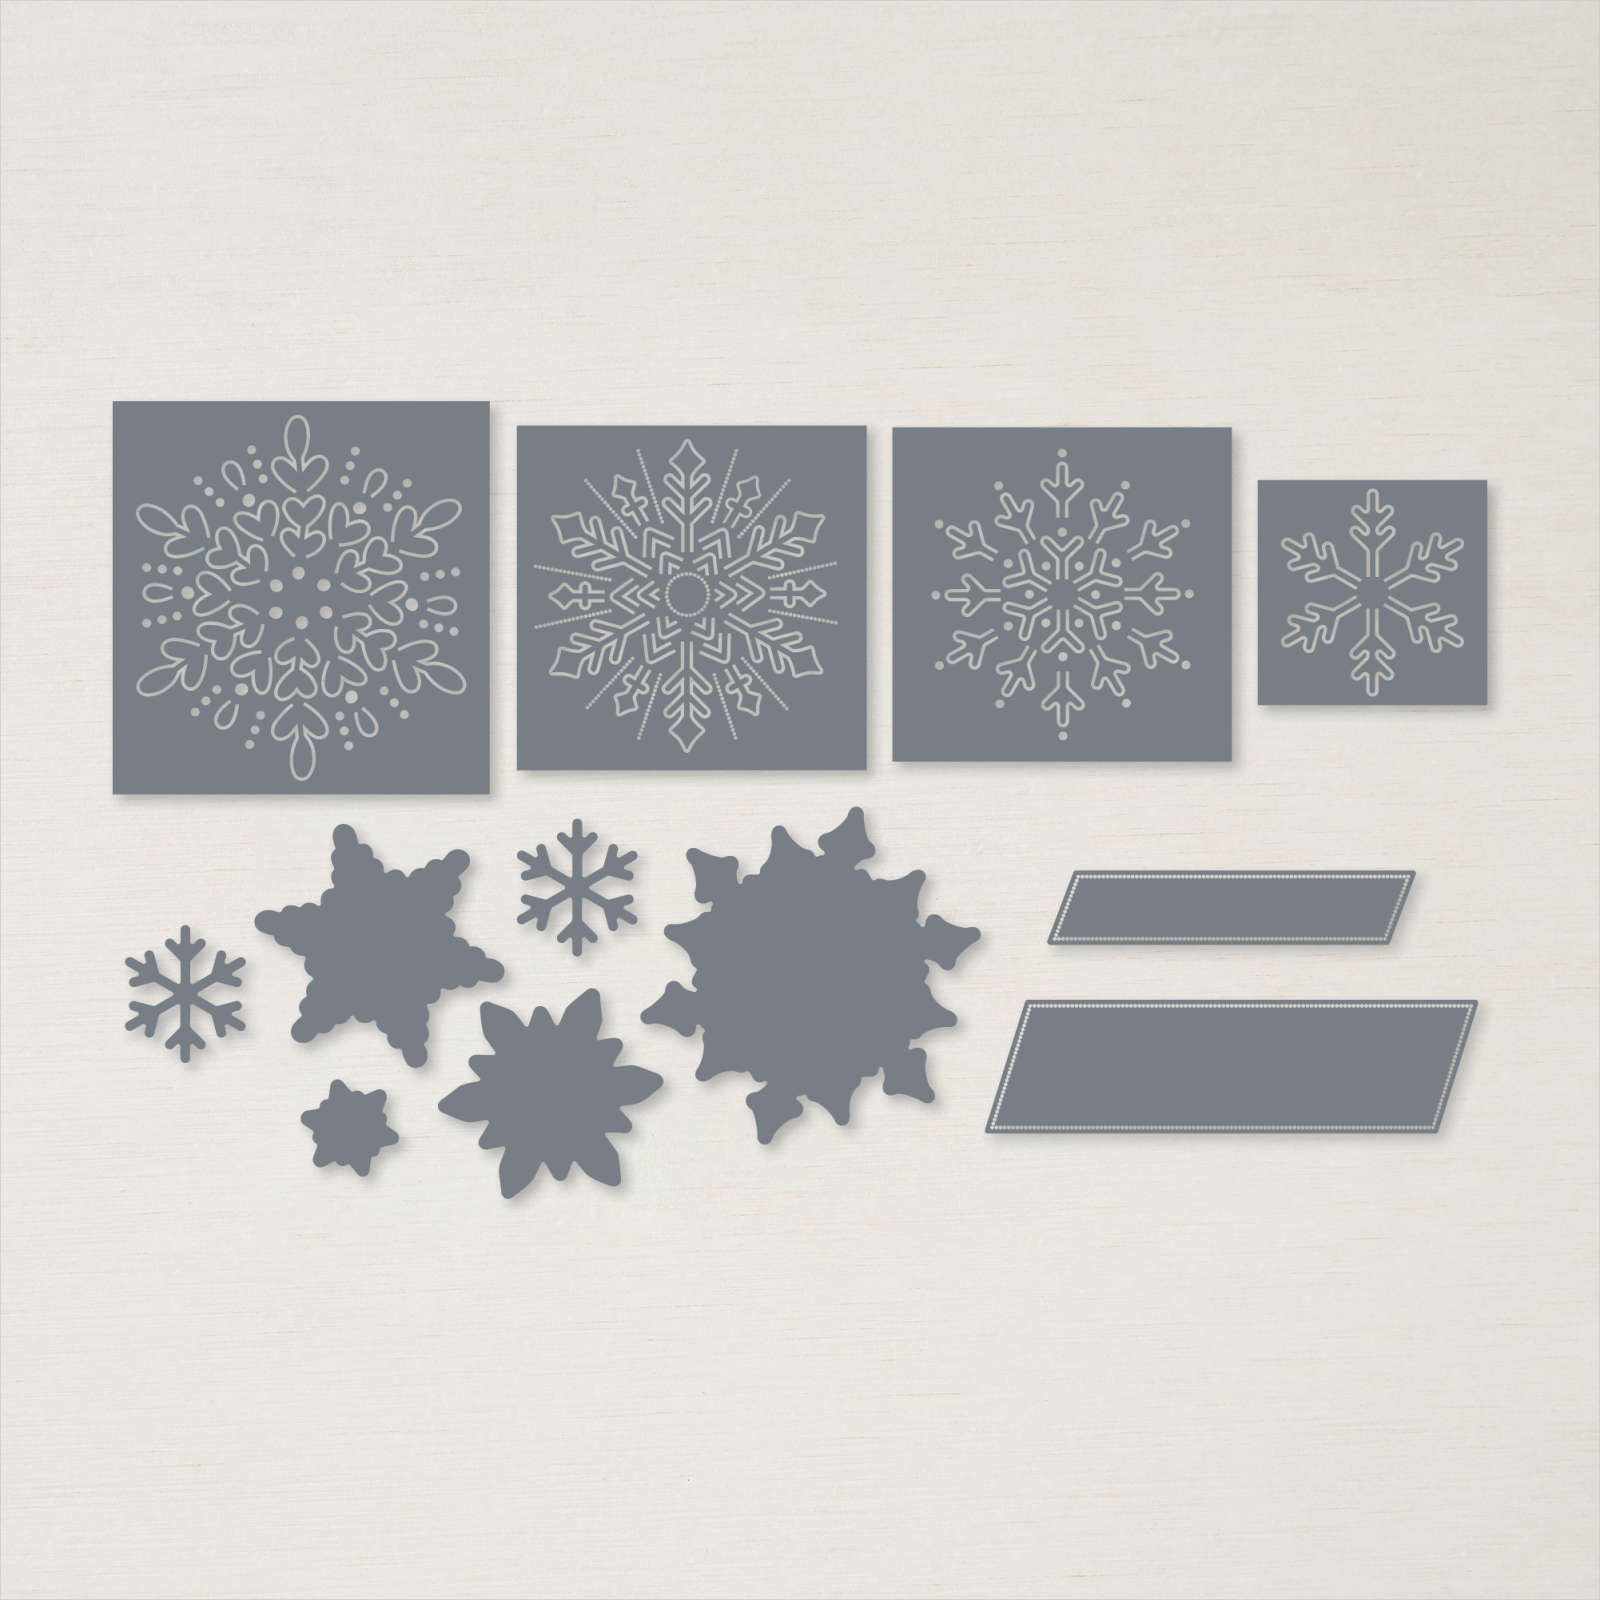
    I used the Frosted Flurry dies here; they're on sale for just $13.60 instead of $34!!  WOW!  Click here to see them online

    I love the greeting dies and the fact that it has snowflakes that can be cut out fully or just partially like the right one above. 

    Click on the photo below to watch the video. 

    ~~~

    Clearance Rack Refresh!

    Last Chance list is here!  

    Order online using the links below:

    Host code link: DXYW7GV3

    Free Card Class in December: *I still have 4 left! 

    Get a FREE card class from me with online orders over $55 when using either host code above!

     Earn free products with my loyalty rewards! 

    Click here to download yours and earn a $50 shopping spree!

    Leave a Reply

    Your email address will not be published. Required fields are marked *

  • Everyone needs a Card Organizer; you’ll love this kit to go! Limited supply available…


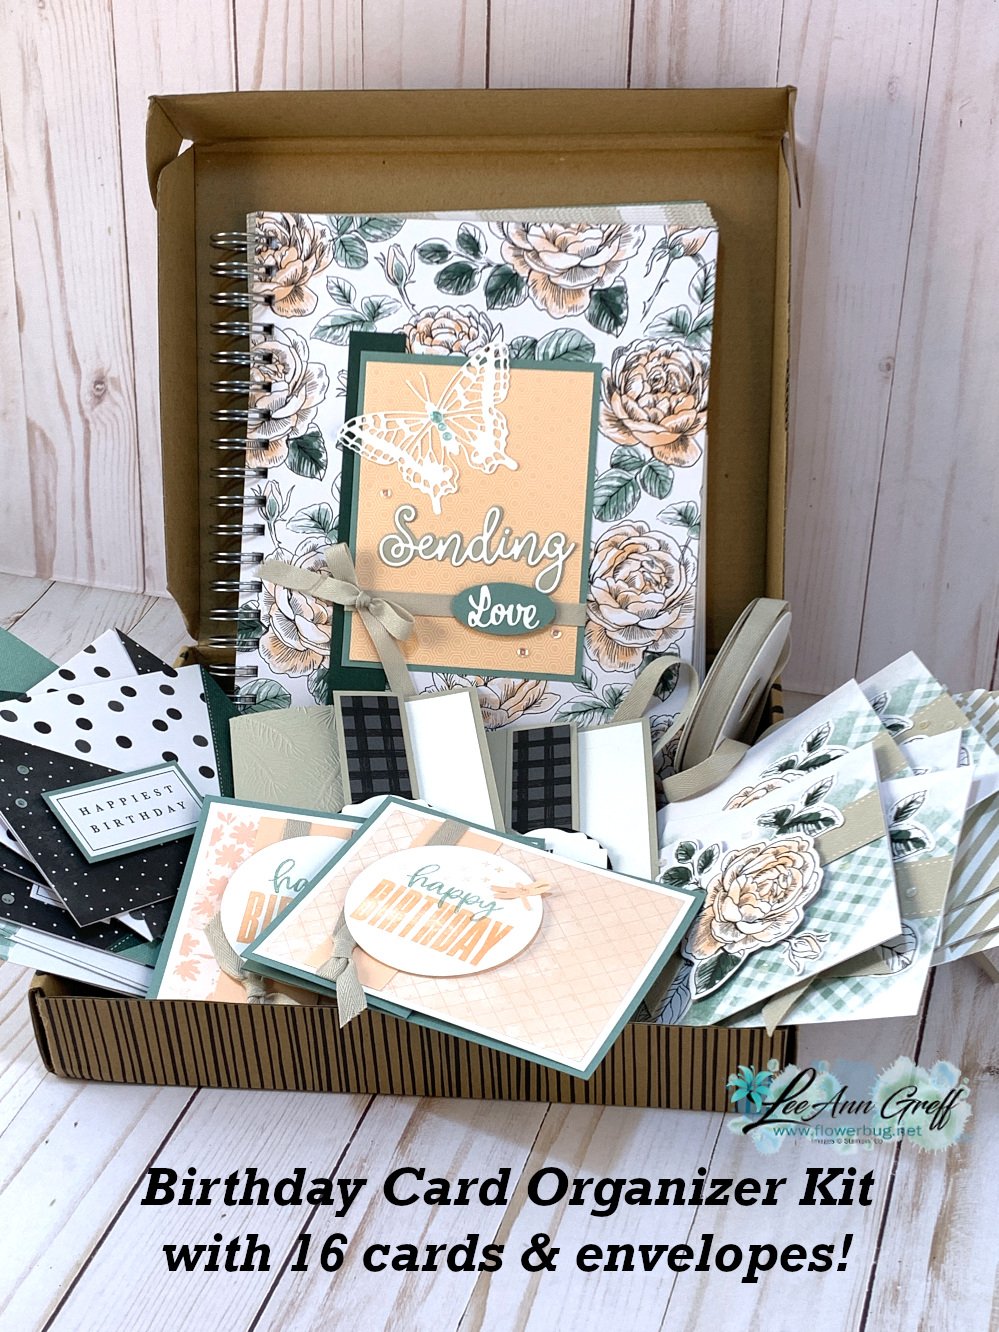
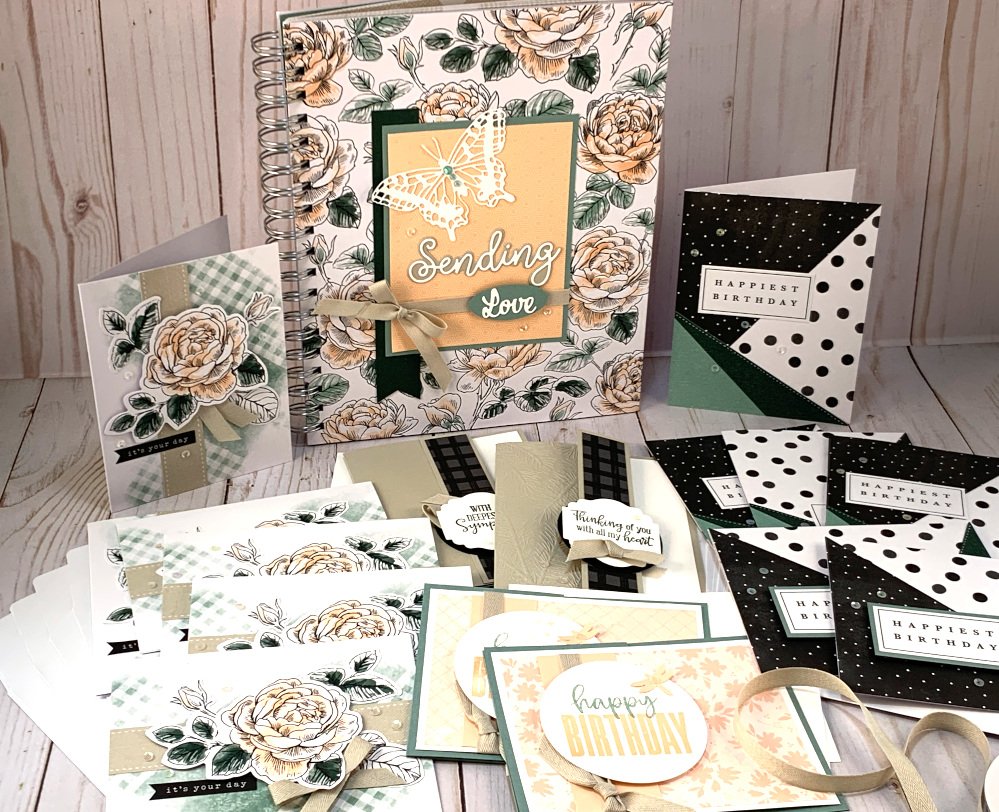
    I was thrilled with the Birthday Card Organizer kit Stampin' Up! created and knew it would be super popular.  I was right; they are now out of stock.  It will be available again; but we don't know when. 

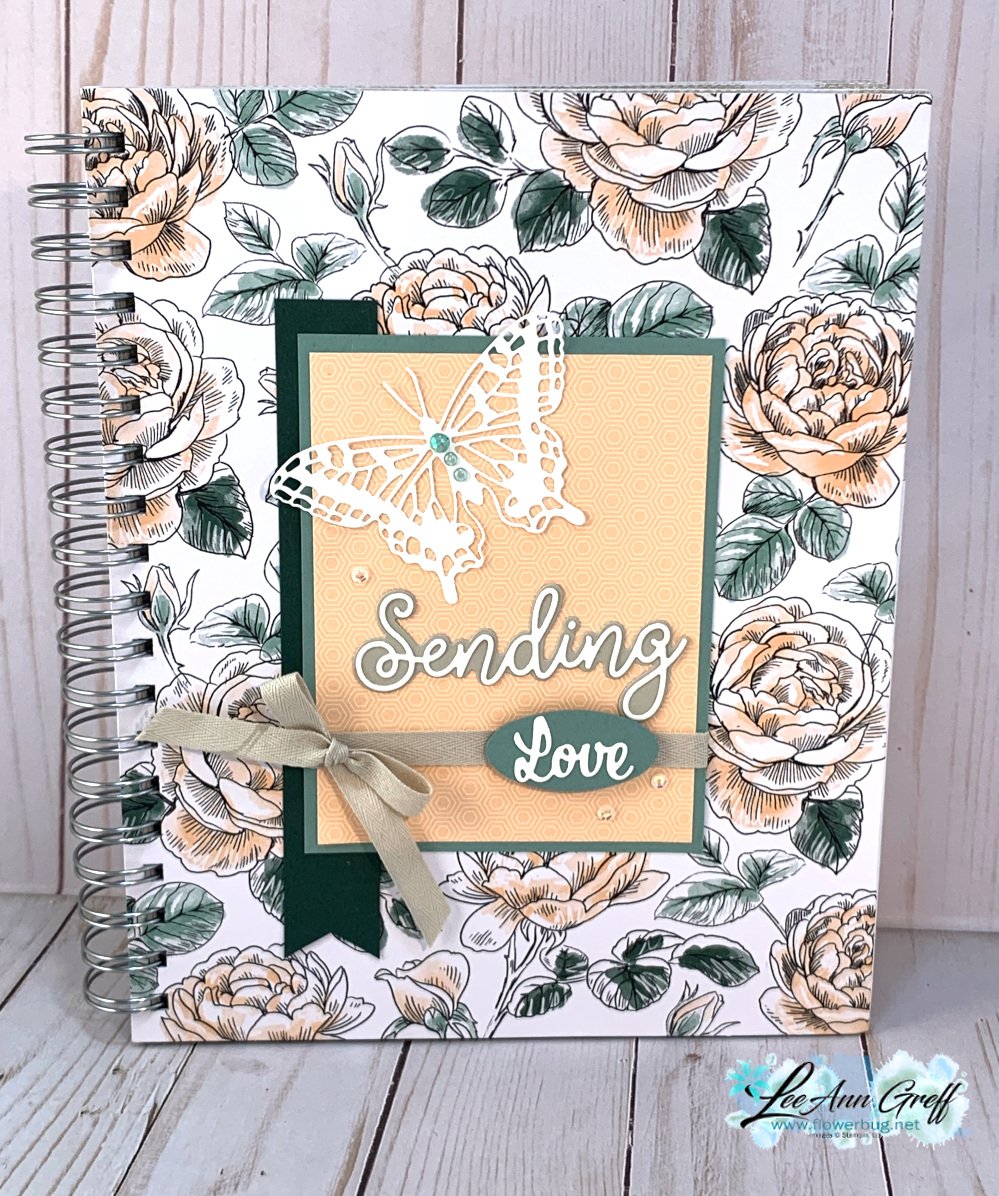
    I ordered a bunch of these kits and have jazzed it up for a kit to go this month.  

    The basic Birthday Organizer kit includes the card organizer (it has 12 months & 14 pockets for cards), adhesives, adhesive-backed sequins & everything needed to make 12 cards & envelopes. 

    I'm adding 4 bonus cards & envelopes, a spool of Sahara Sand ribbon and all pre-cut pieces needed to complete the design element on the front of the card organizer.

    In the PDF tutorial you'll also see a few alternate designs for the 2 card designs included in the base kit. Of course it also includes instructions for the bonus cards and design element on the front. This PDF is sent to you immediately after payment via email. 

    To complete this organizer and cards as shown you’ll need the following products: 

    • Stamps – Biggest Wish, Peaceful Moments (or other greetings)
    • Ink – Black, Soft Succulent, Petal Pink

    Click here to reserve yours; supply is limited!  The cost is $32 plus shipping.  

    Who wouldn't want this gorgeous organizer for their cards?!  

    ~~~

    Clearance Rack Refresh!

    Last Chance list is here!  

    Order online using the links below:

    Host code link: DXYW7GV3

    Free Card Class in December: *I still have 4 left! 

    Get a FREE card class from me with online orders over $55 when using either host code above!

     Earn free products with my loyalty rewards! 

    Click here to download yours and earn a $50 shopping spree!

    Leave a Reply

    Your email address will not be published. Required fields are marked *

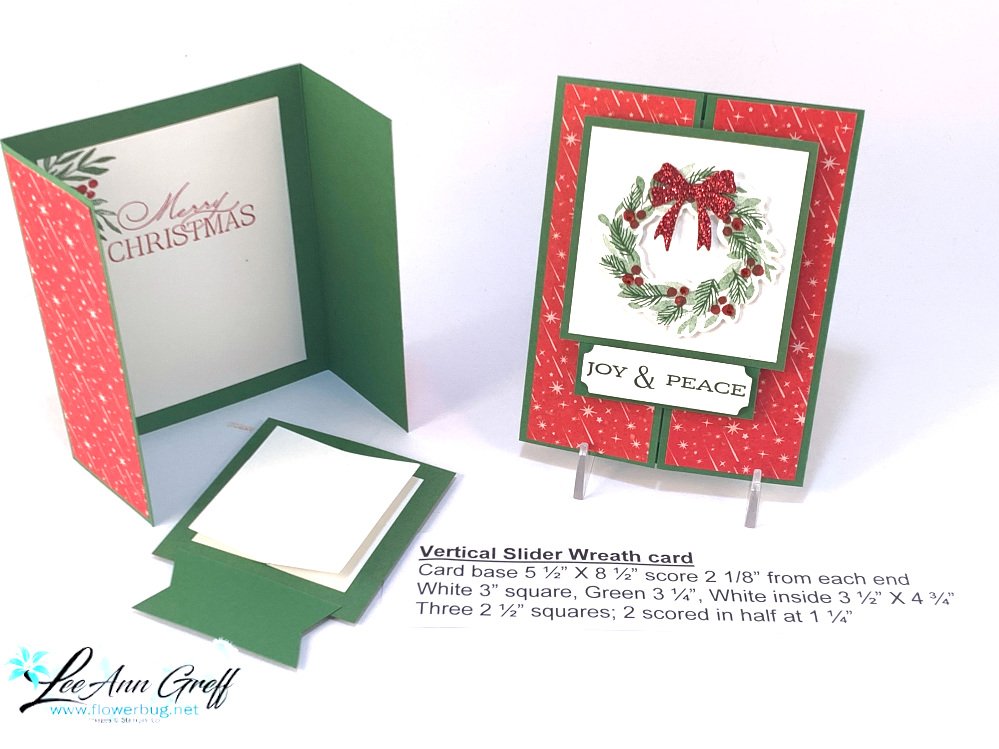
  • Country Wreath’s Vertical Slider fun fold card; with video tutorial


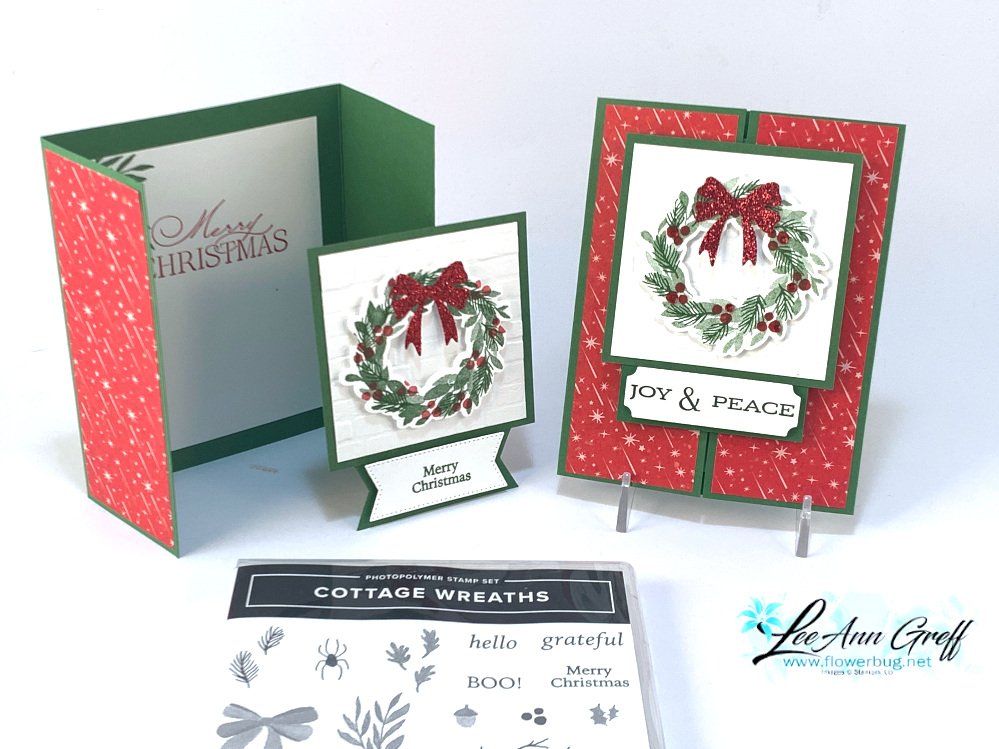
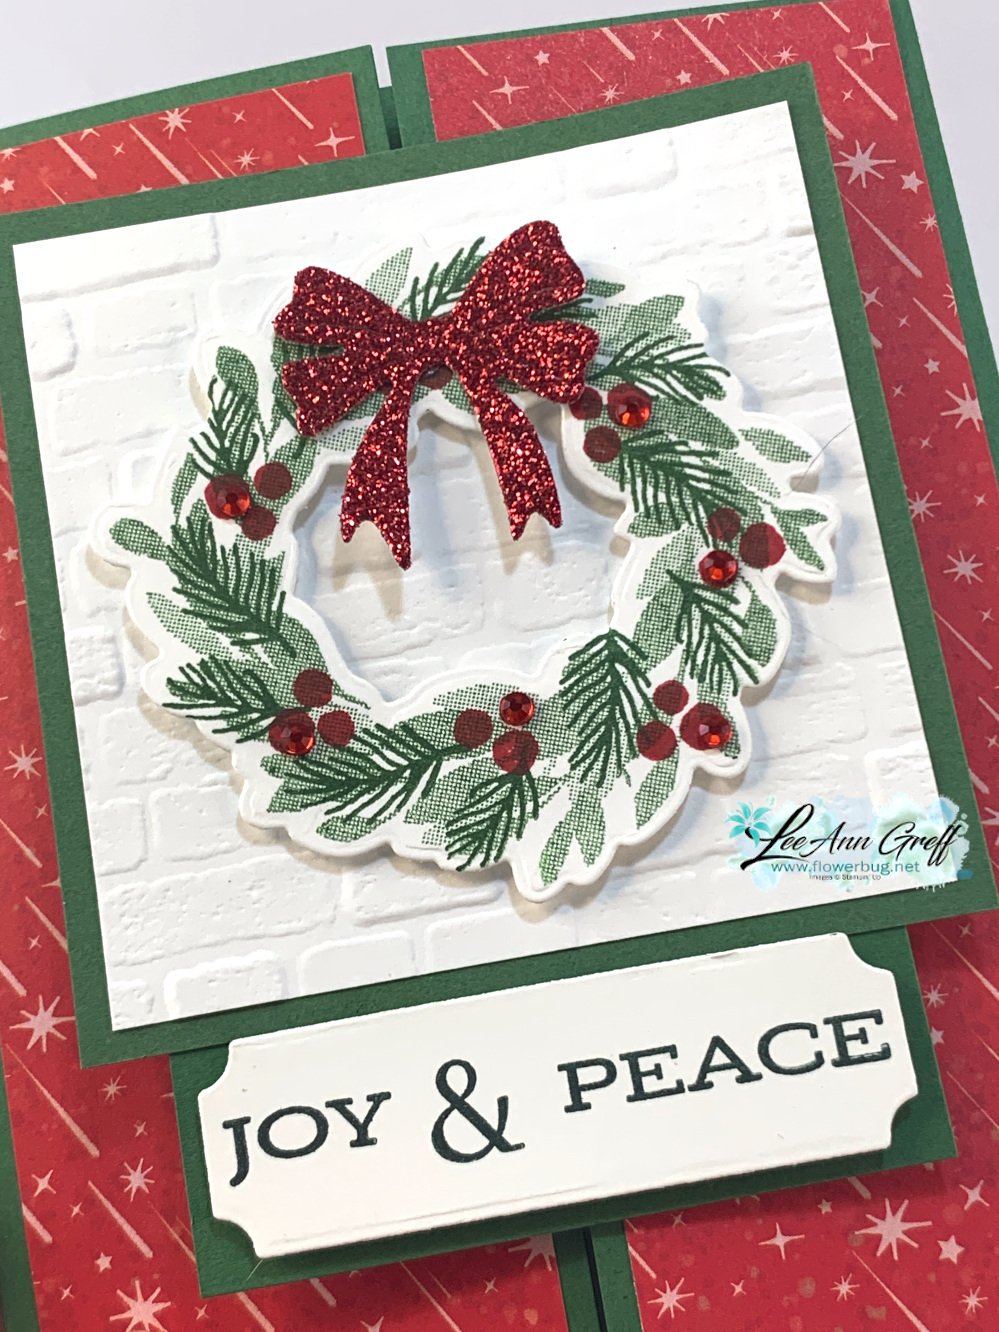
    A few weeks ago I shared multiple projects with the Cottage Wreaths bundle on my weekly FB Live.  This Vertical Slider card was one of them.  It's so cool and surprisingly easy.  

    It's a simple gatefold but the center element holds the card closed so it stays flat.  It's so neat!  I made a second version as well and shared that one here. 

    I used the Santa Express designer paper here as well as the Joyful Flurry bundle and Brightest Glow stamp set. 

    How it works is to have three squares or circles on the back of the center element.  Fold two in half and adhere to the back of your center layer.  Then top it with the third one.  The two must be positioned so the grab the two front panels of the card and can 'slide' down the center seam.  *watch the video below or here to see how it works.  

    Click on the photo below to watch the video.  There's another neat fun fold card AND an easy treat box/bag too! 

    ~~~

    Clearance Rack Refresh!

    Last Chance list is here!  

    Order online using the links below:

    Host code links: KA9ZYZB6 or DXYW7GV3

    Free Card Class in December: *I still have 5 left! 

    Get a FREE card class from me with online orders over $55 when using either host code above!

     Earn free products with my loyalty rewards! 

    Click here to download yours and earn a $50 shopping spree!


    Leave a Reply

    Your email address will not be published. Required fields are marked *


Notice: LeeAnn Greff, Independent Stampin’ Up! Demonstrator, Manager. The content of this website is my sole responsibility as an independent Stampin’ Up! demonstrator and the use of, and content of, the classes, services, or products offered on this website is not endorsed by Stampin’ Up! Copyright 2025