/


Latest Post

Shabby Chic Lovely & Sweet card with video tutorial & free project sheet!


Here's the last card made in last week's video featuring the Nature's Sweetness suite. I absolutely love this color palette! 
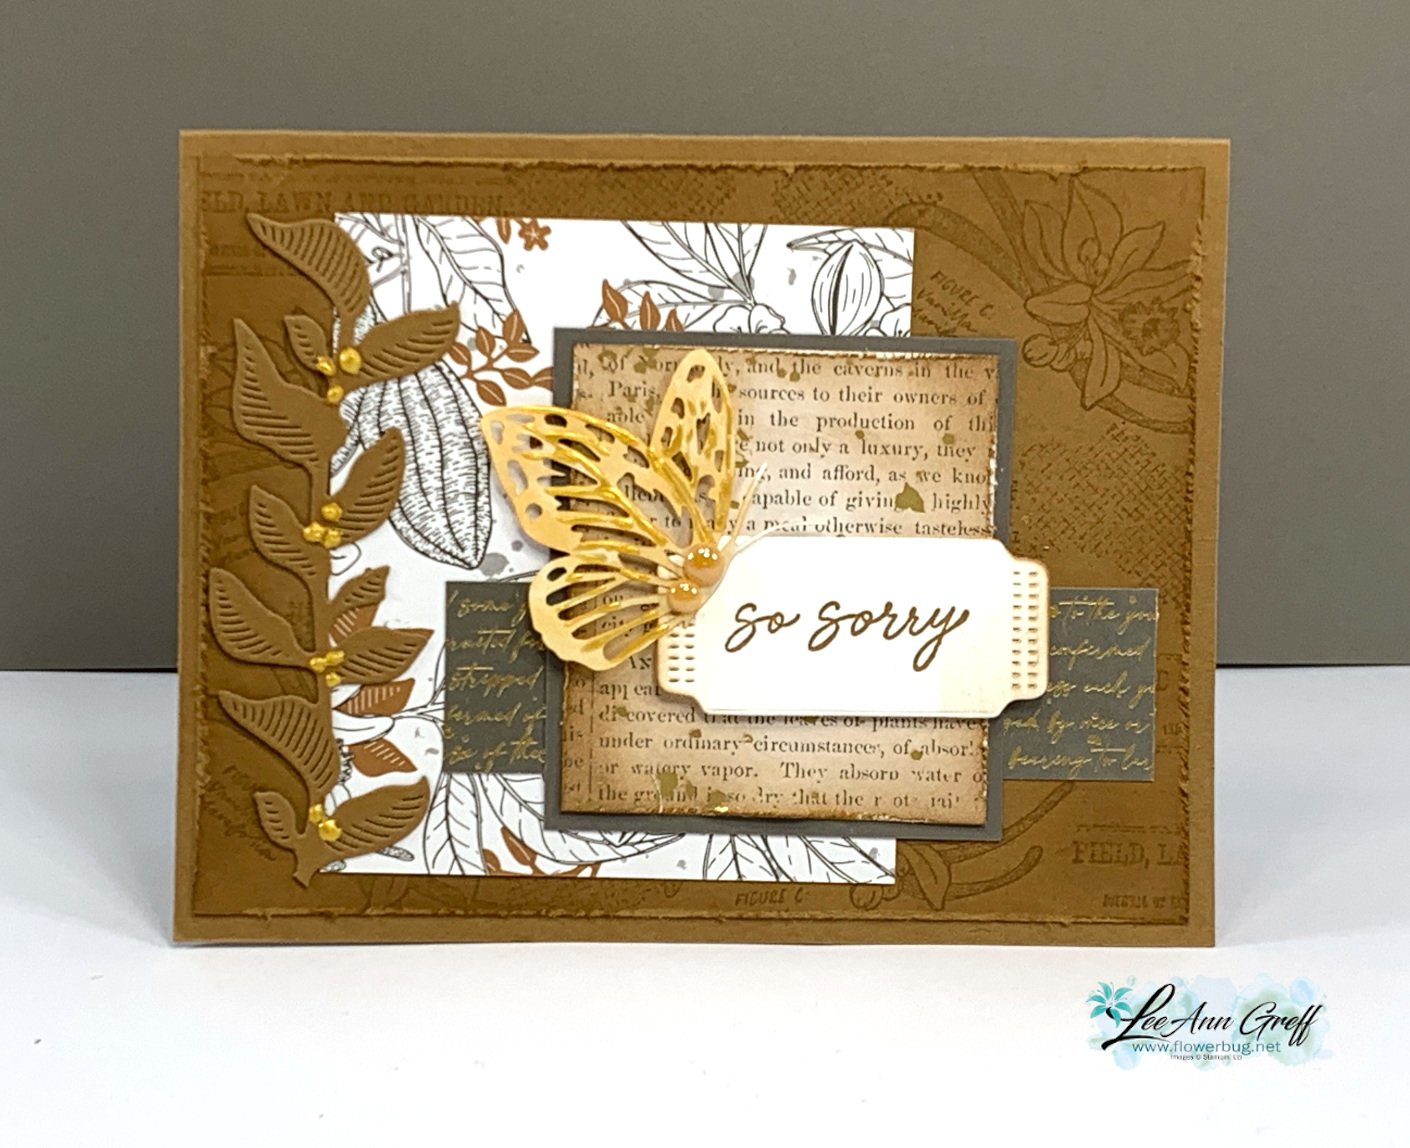
It's Pecan Pie with Pebbled Path & Gold accents with a rich monotone look. Look closely at the layout. It's basically a few random layers with only one that's layered.  Adding a few smaller elements creates the balance here. 

Details & tips:

  • Note the distressed edges on a few of the layers. That is done by rubbing your open scissor blade over the edge of the paper.  Fast and fabulous results! *watch how I do it in the video below.
  • The large stamped Pecan Pie layer and the DSP square are both sponged with Pecan Pie ink to age them a bit. 
  • That butterfly is one of our Paper Butterfly Accents colored with a Light Natural Tones blends marker. I added some Gold Enamel Effects in streaks all over it. *see how in the video
  • I added Gold Enamel Effects as berries on the tall leaf die-cut on the left. 

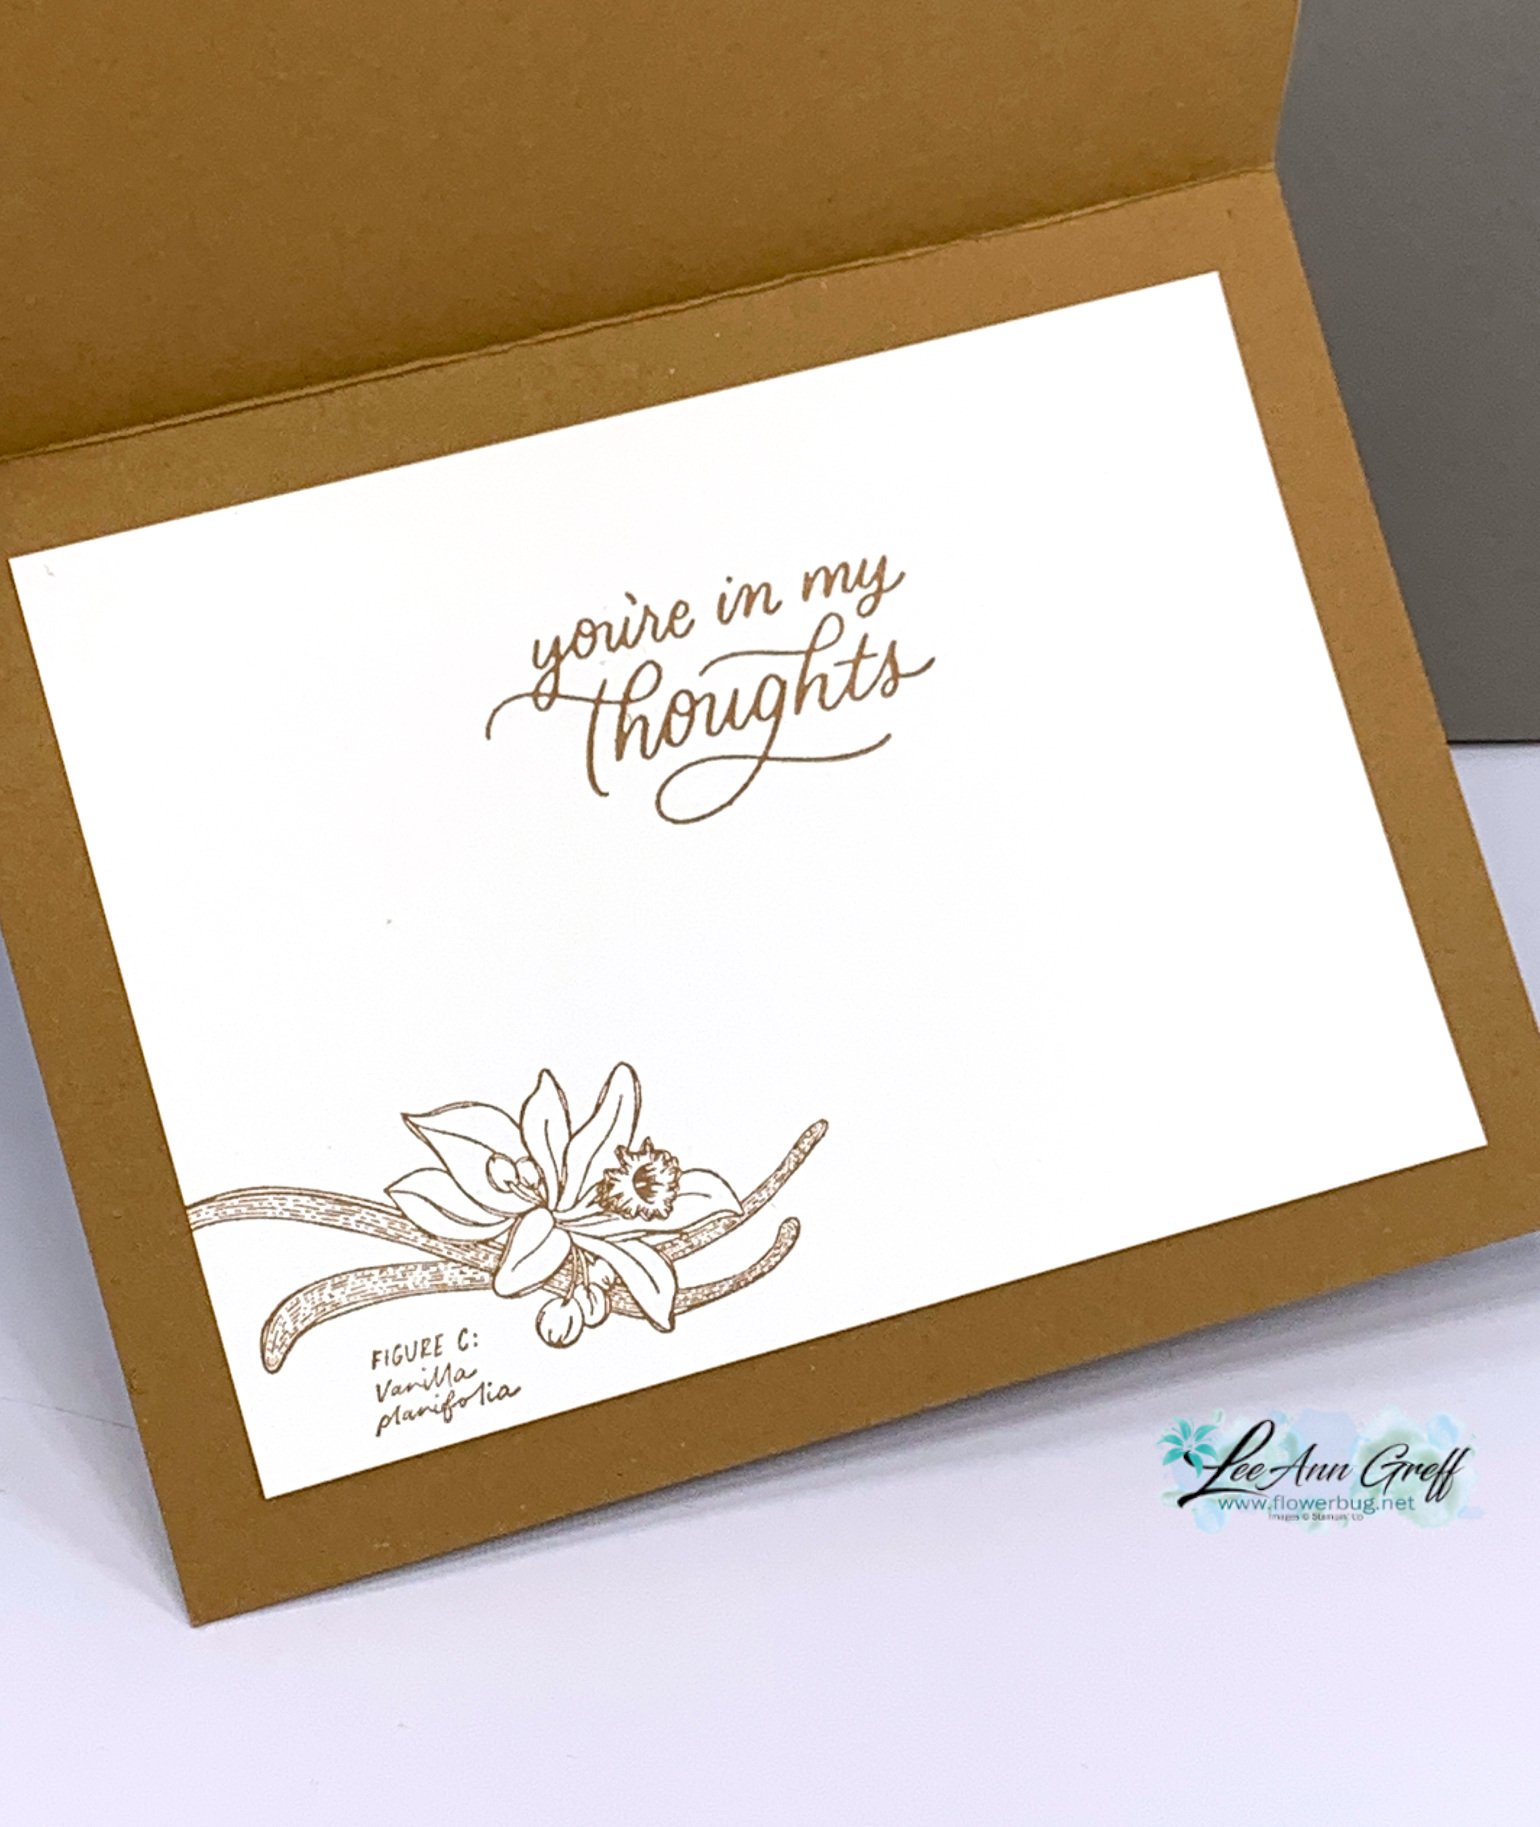
Here's how I stamped the inside.  The greeting is from the Softly Sophisticated stamp set from Sale-a-Bration. 
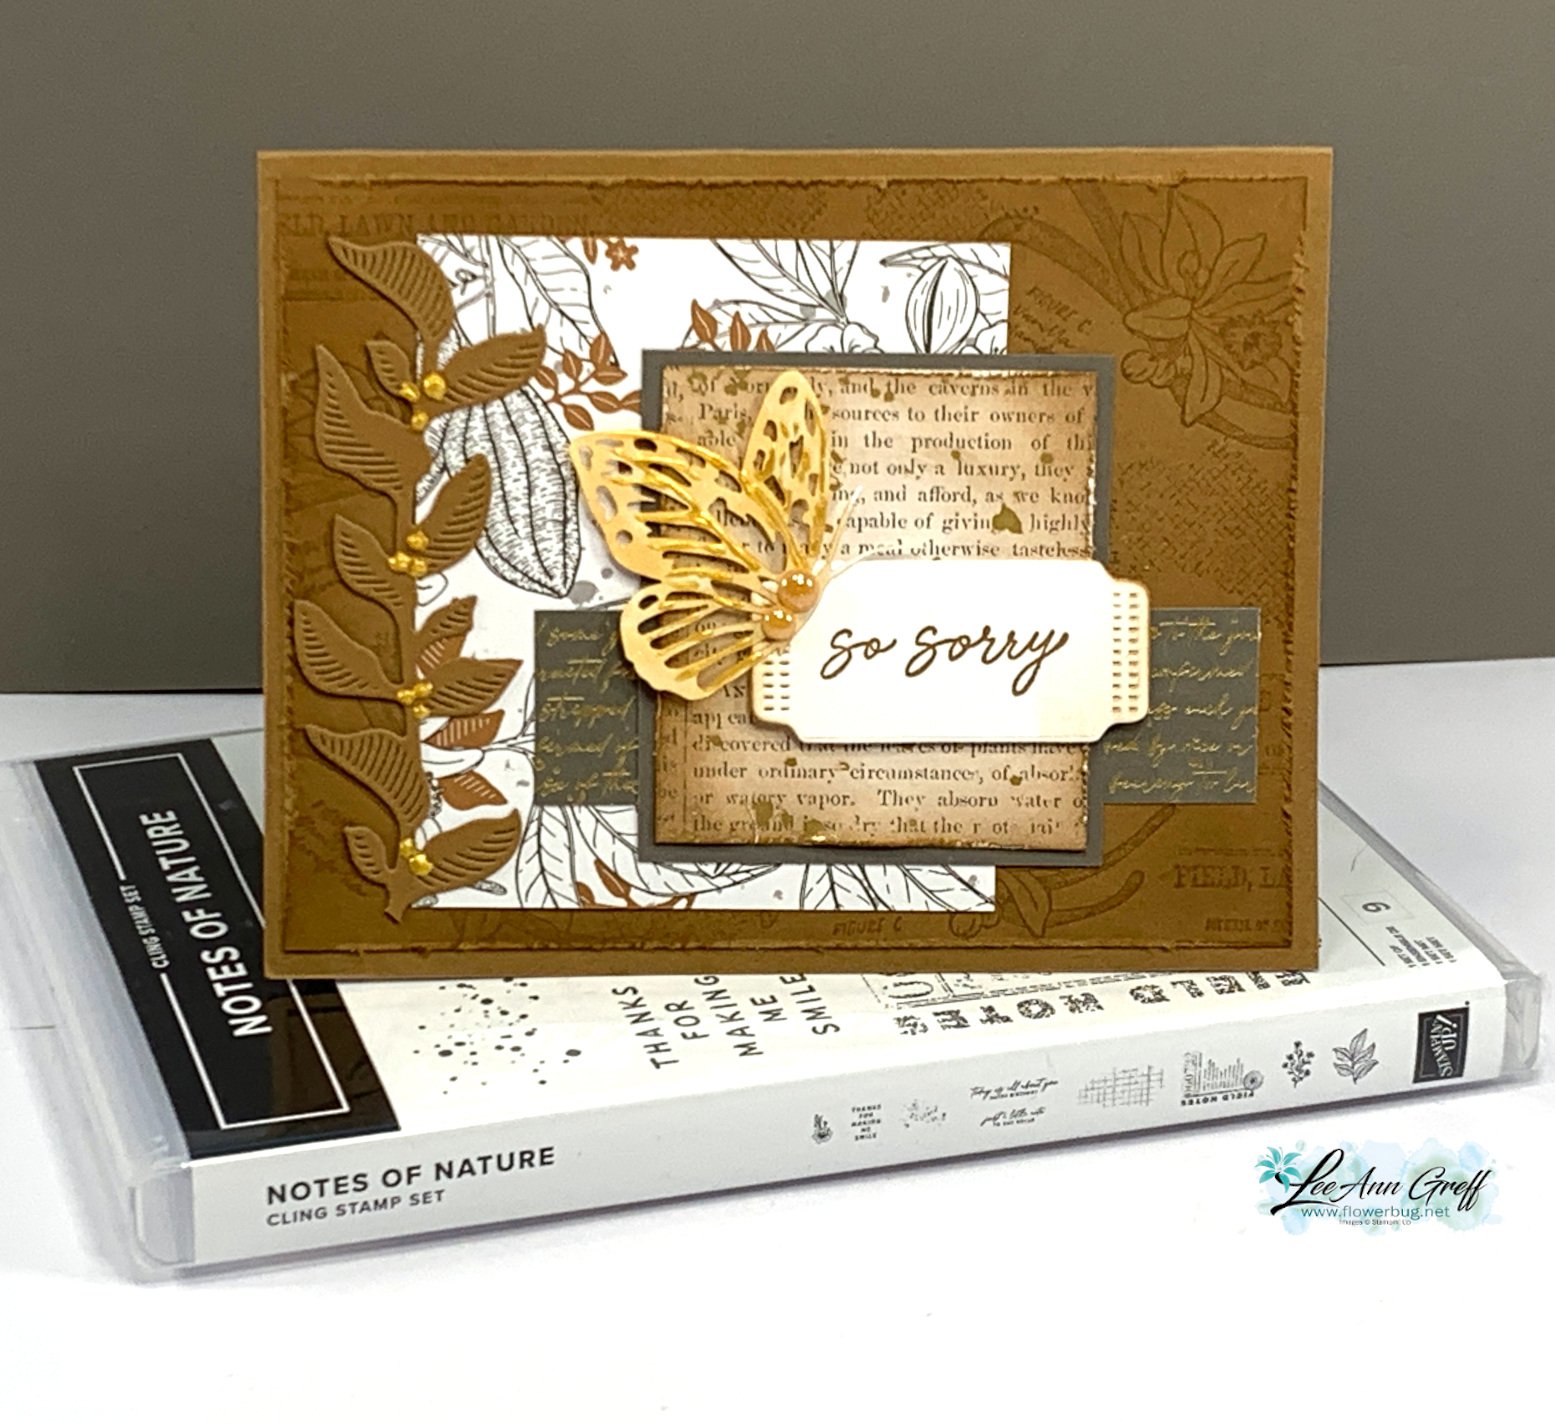
Here's a picture of the Lovely & Sweet bundle I used here. See it online here. 

Get the project sheet with dimensions, directions and products here: Download Lovely & Sweet Butterfly card
These are the three cards I share in the video below: 


So is the shabby-chic look for you?
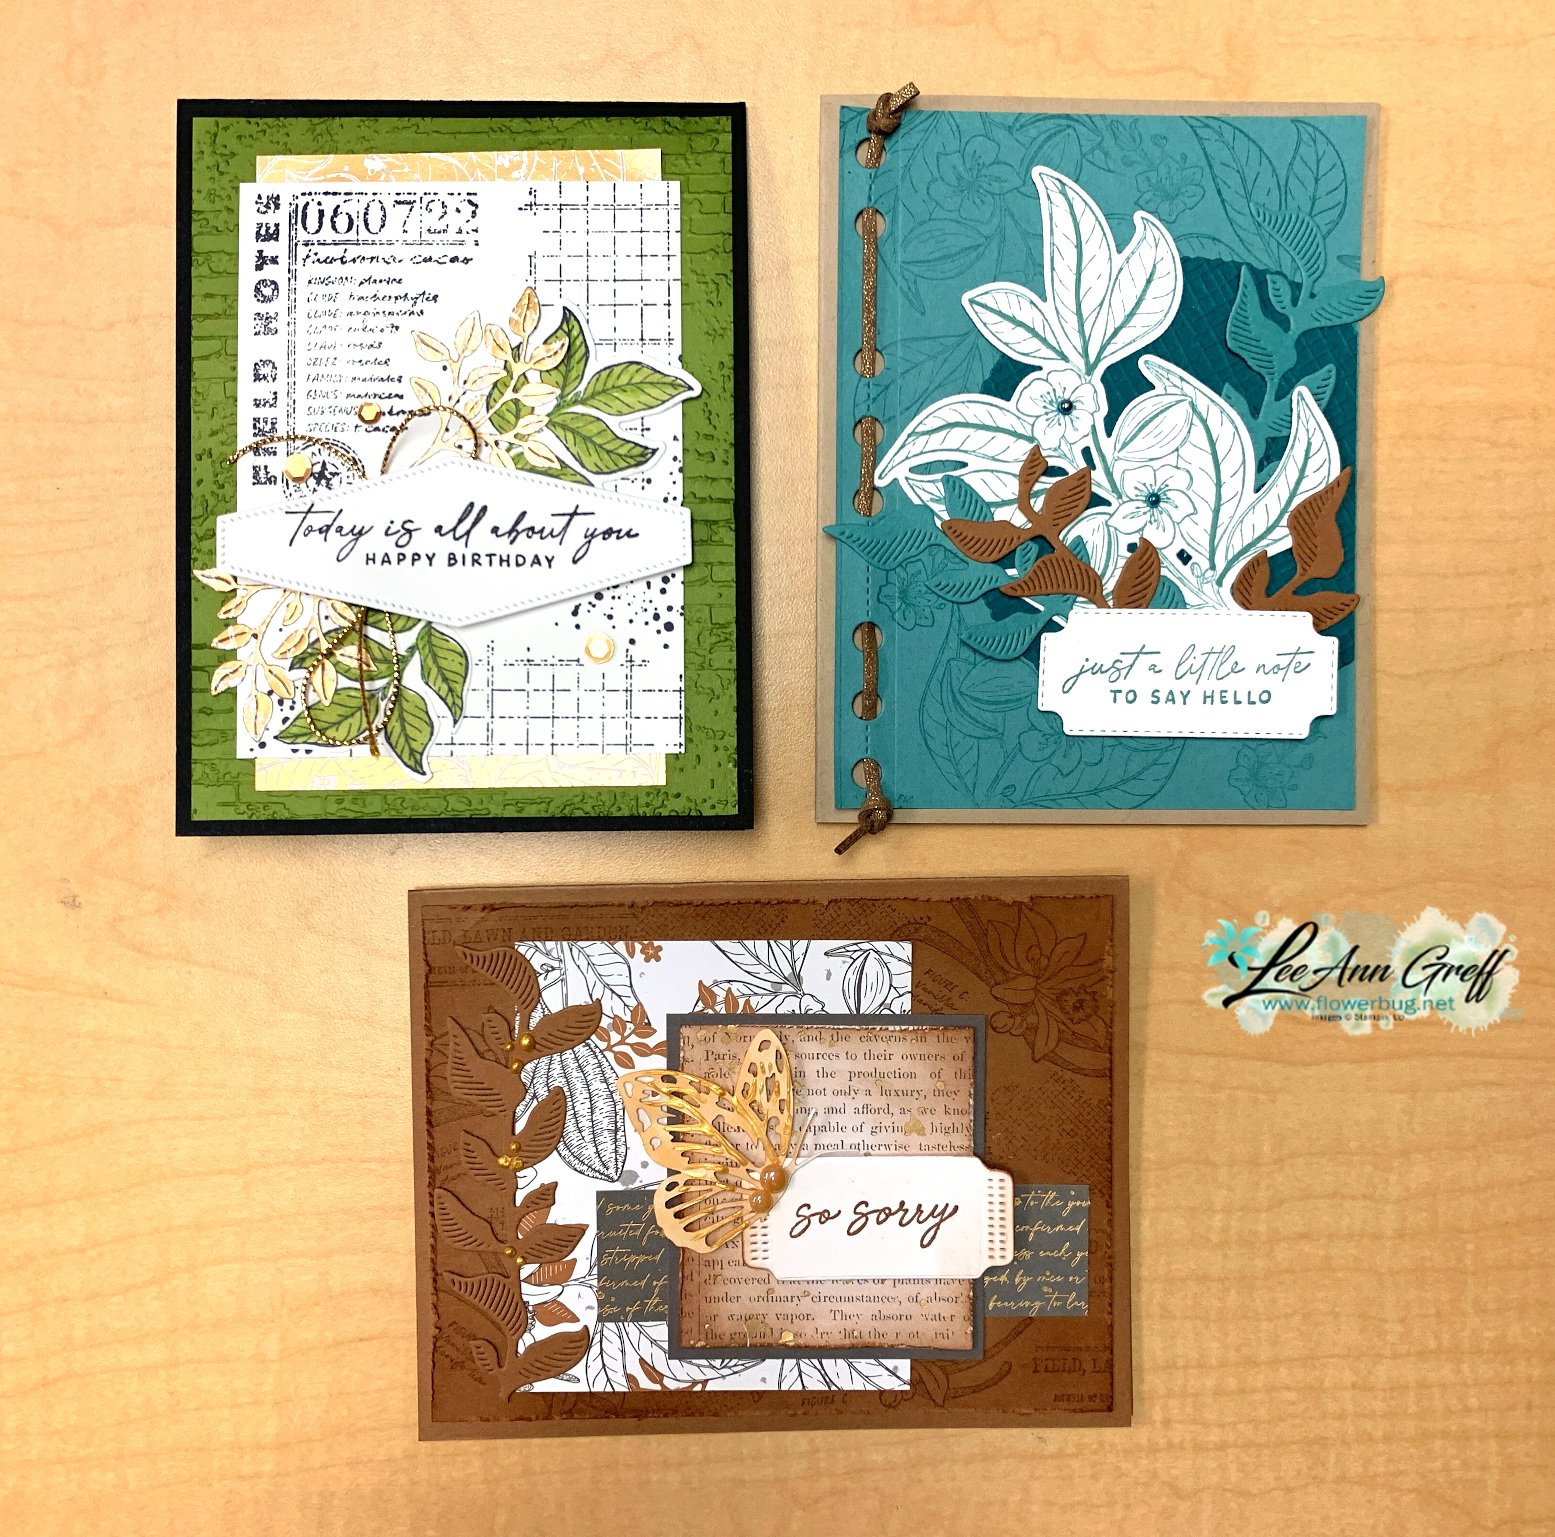
You can see how I made all of these cards in the video replay here.  Or click on the photo below to watch it.  Don't forget to subscribe to my YouTube channel! 

~~~

January Specials: 

Earn FREE products with your Stampin' Up! purchase during

Sale-a-Bration! *click here

*current host code link:  M7NAN4HT

It's the best time to get a pre-paid Sale-a-Bration subscription

& earn free Sale-a-Bration products!  


~~~

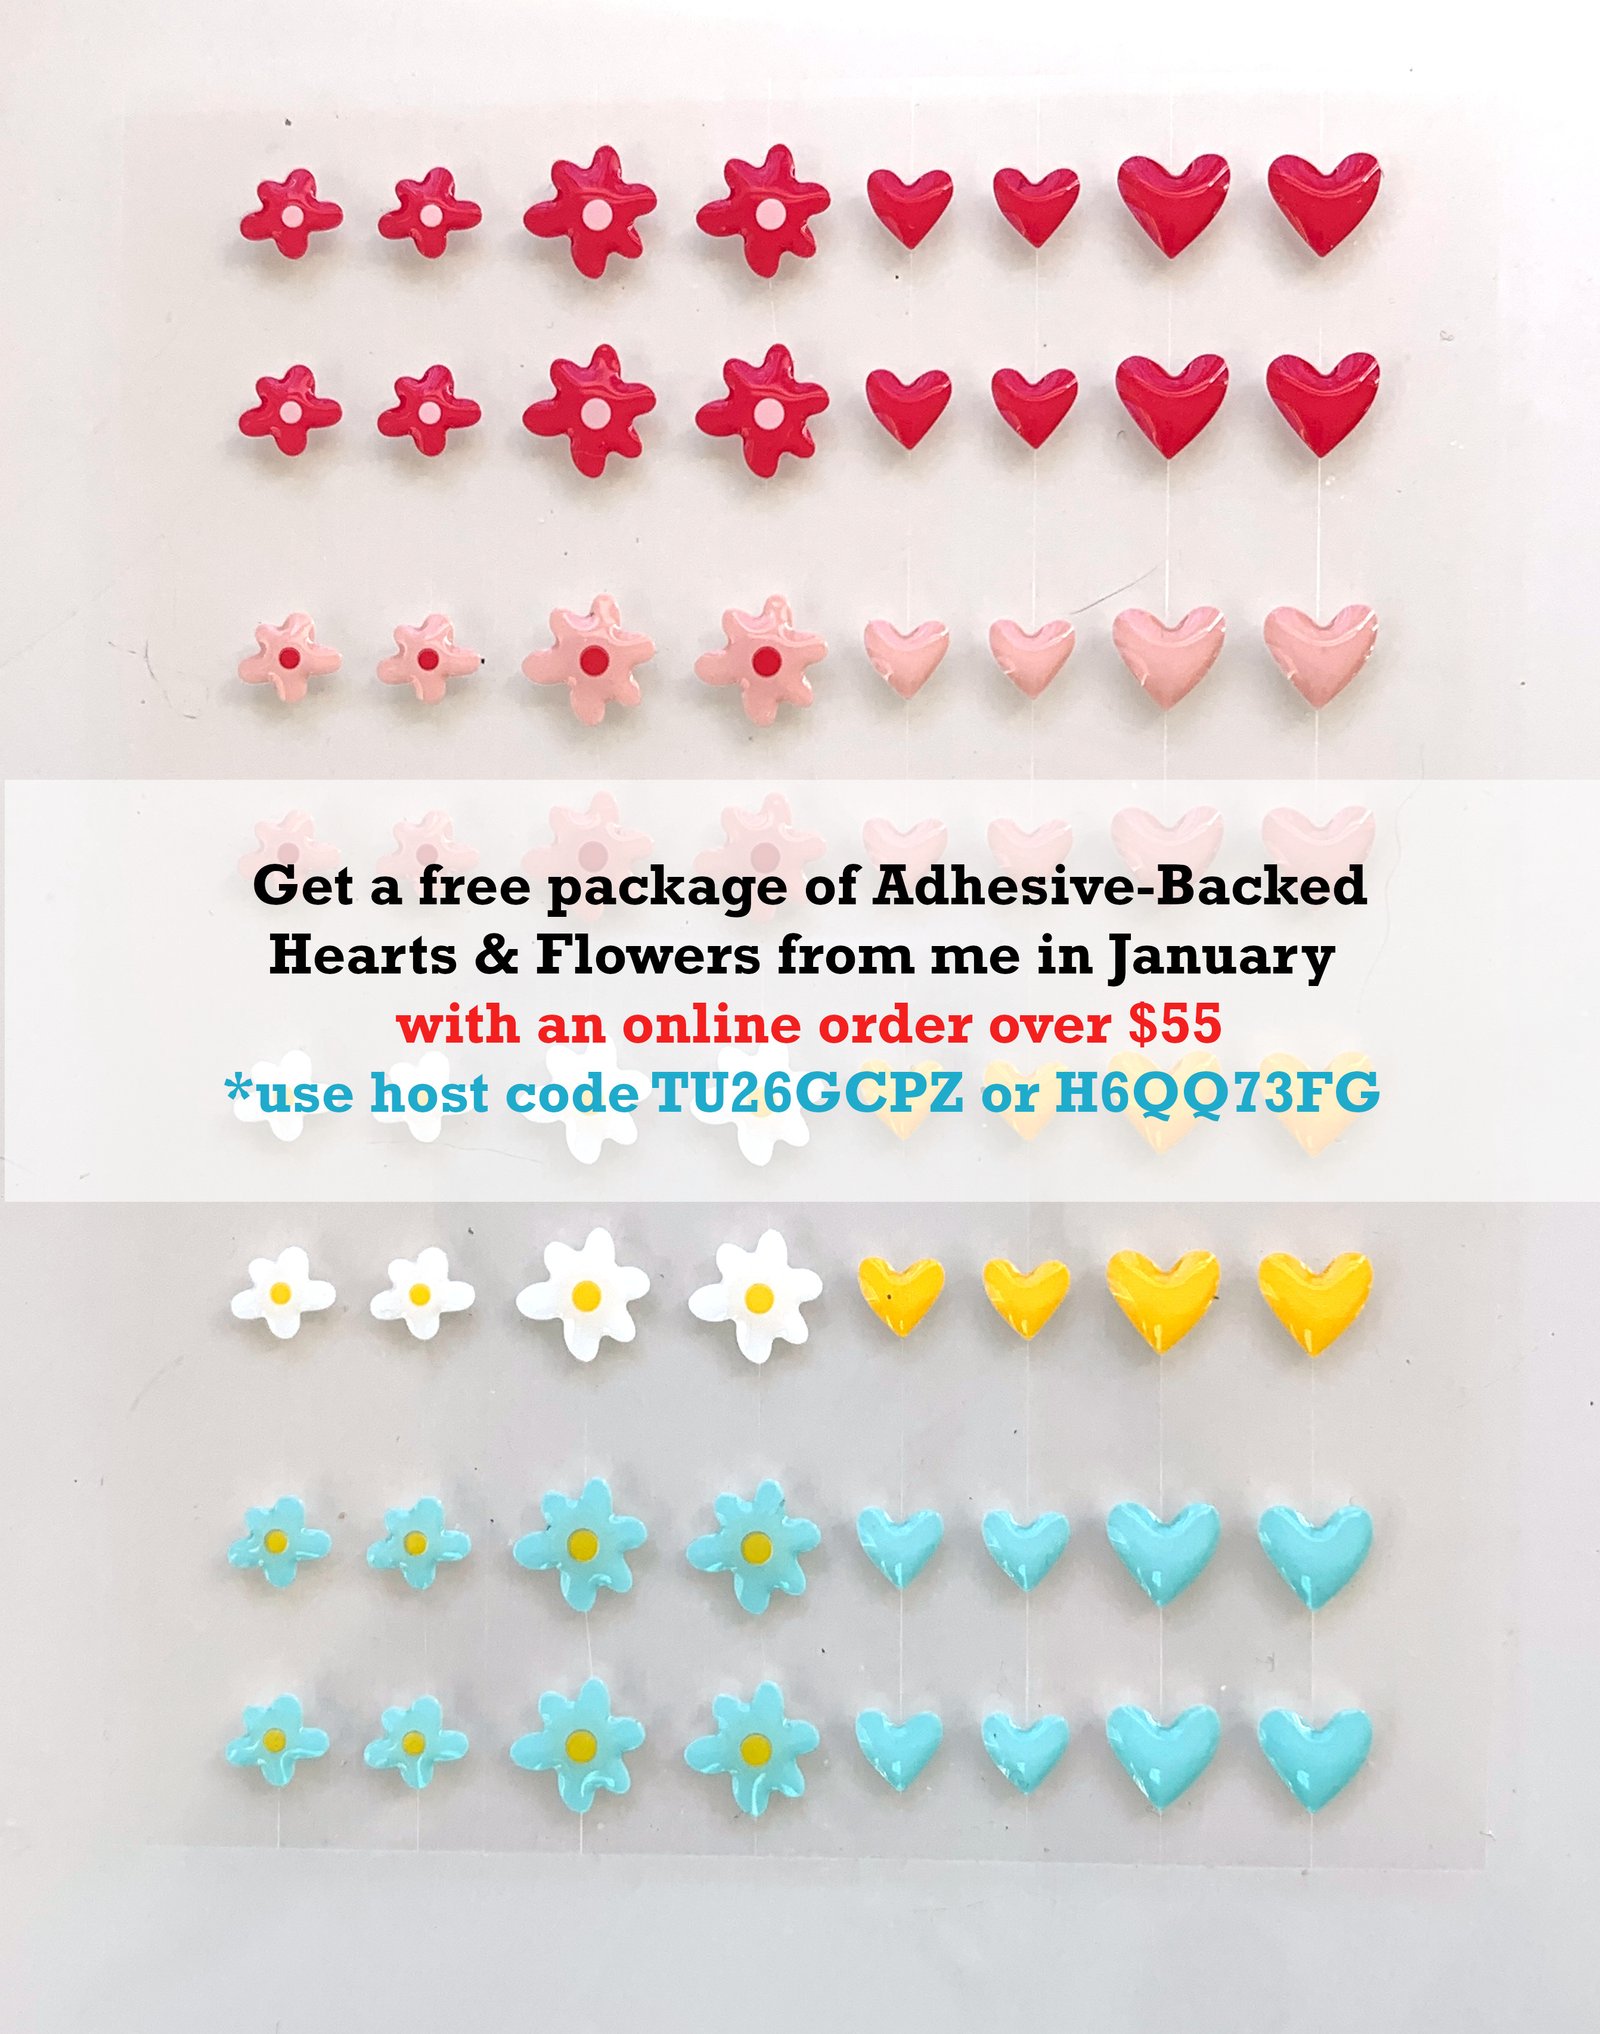
Get a free embellishment from the 2024 Spring catalog

with an online order over $55
All Posts

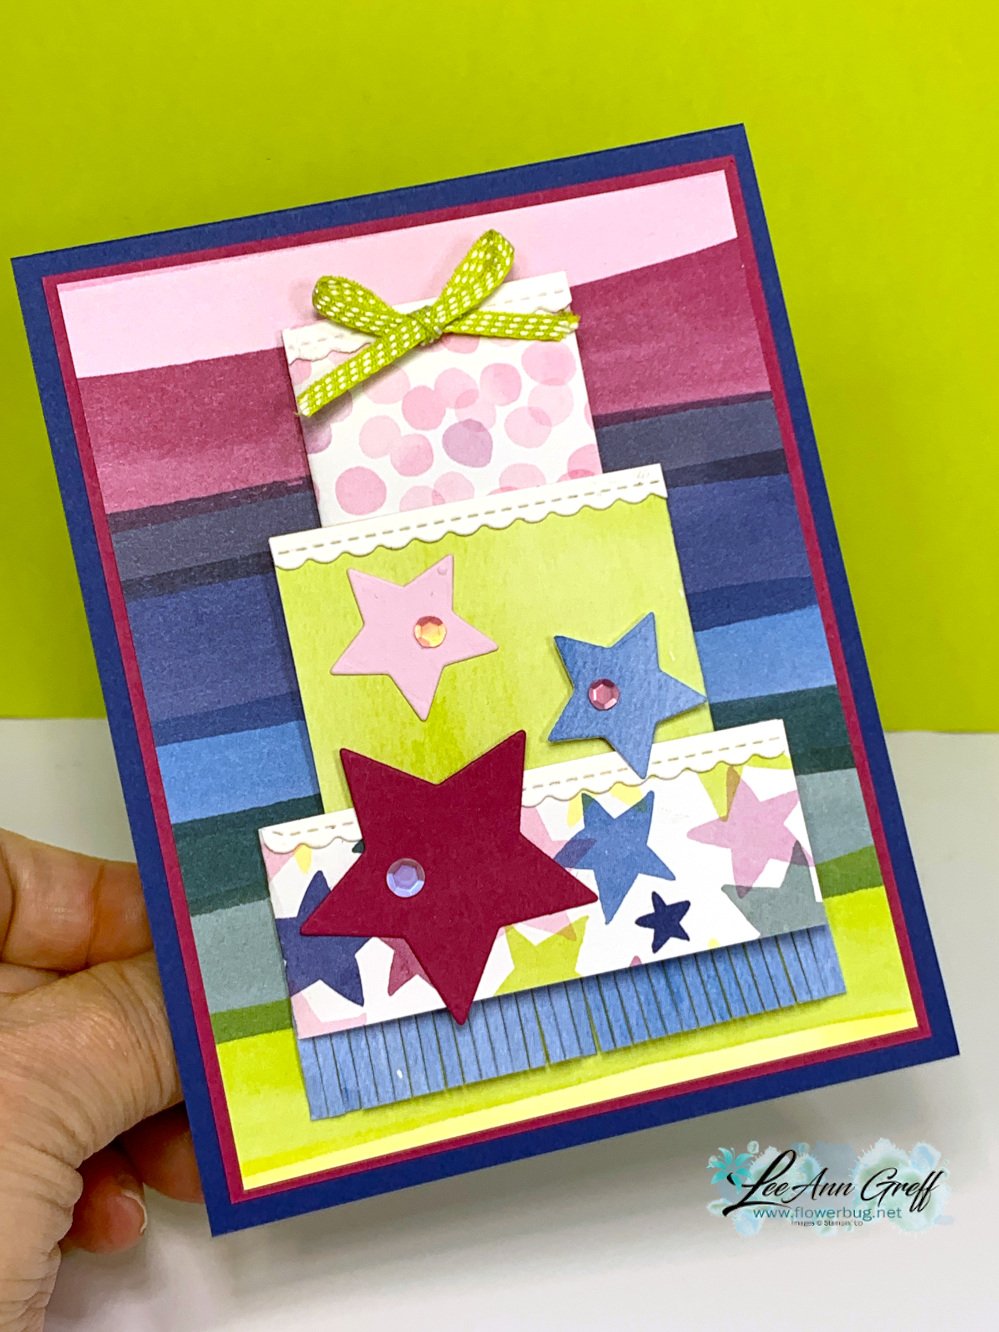
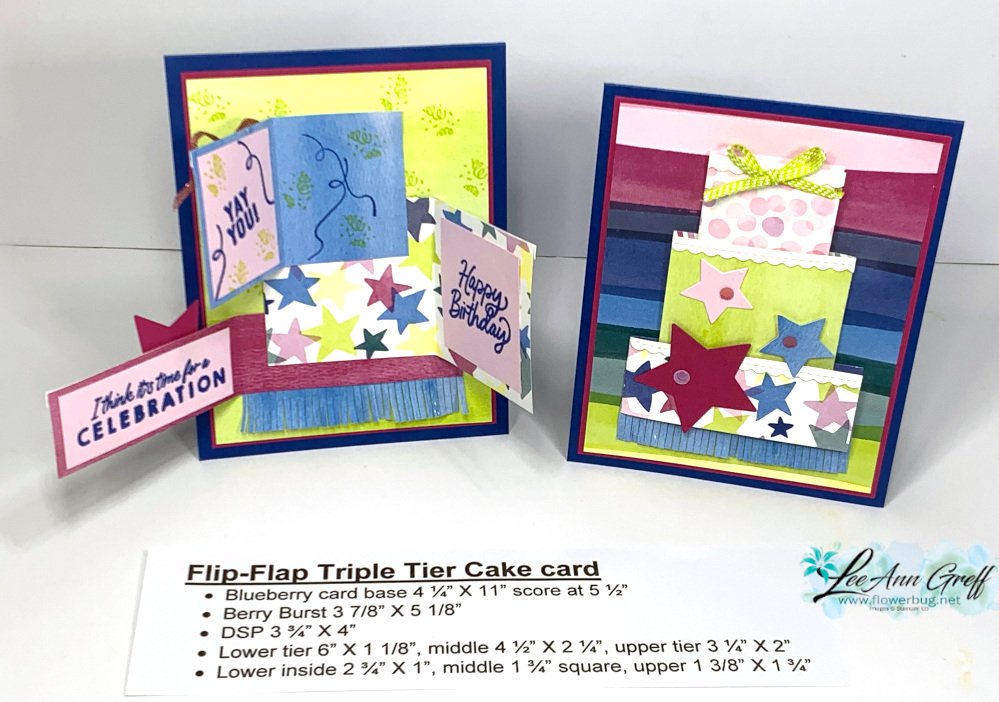
  • Clever & Amazing interactive triple-tier cake card with video tutorial!


    This card might look like an ordinary card with a layered cake on front but it's not! 


    Each layer opens up to reveal more inside! Click on the very short video below to see it in action!

    The Bright & Beautiful designer paper is new in Stampin' Up!'s annual catalog.  It's filled with fun and colorful patterns in many of our new core colors.  Love this paper!  


    If you've followed me for awhile you know I like to create interesting fun fold cards. I saw something like this card online and knew my stampers would like to see it.  

    I cut strips or pieces of the Bright & Beautiful designer paper into sizes that would make a nicely layered cake.  Each piece is folded in half. Once you open them there's an inside message on each layer.  So cool! 

    And the best thing is that the middle star die-cut hold the lower flap closed which then holds each layer closed. 


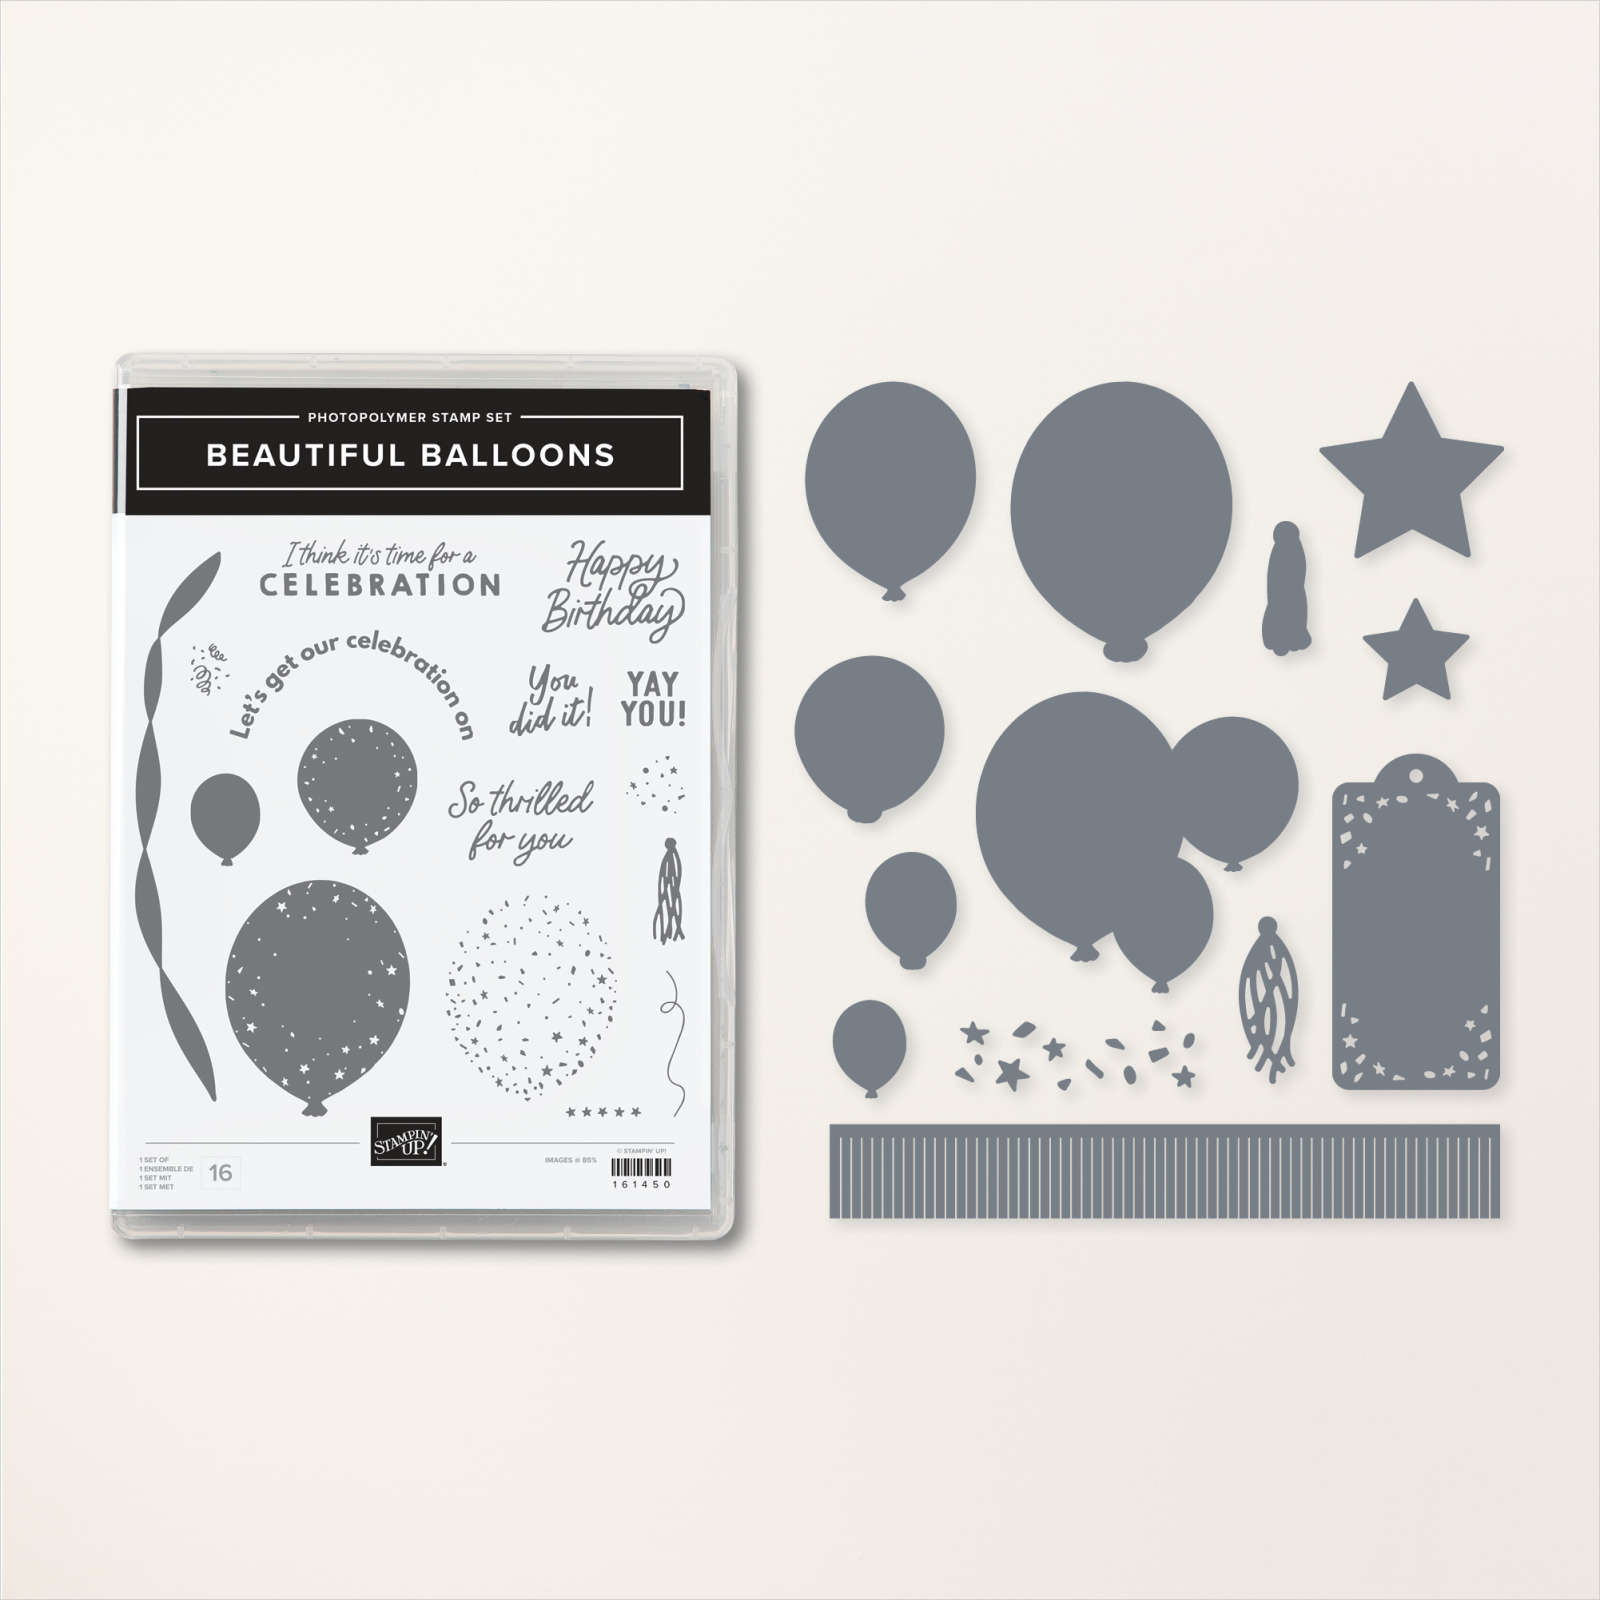
    I have enjoyed playing with the Beautiful Balloons bundle this month.  You cannot go wrong with balloons; they're great for birthday's, graduations, weddings or any celebratory event. 


     You can see this bundle here online.  

    Click here or on the photo below to watch how it's made. 

    ~~~

    May Specials:

    *current host codes: ZHZ6CPYU or AJVB3B3V 

    Get a free updated cardstock color sampler with online orders over $55 using a host code.

    Offer good through May 17th  

    My new catalog designer paper share is open for a limited time. 

    Get 80 sheets of 6 X 6" DSP – all from the new catalog for just $28.50 plus shipping.  Reserve your spot here. 

    Earn free products with my loyalty rewards! 

    Click here to download yours and earn a $50 shopping spree!

    Leave a Reply

    Your email address will not be published. Required fields are marked *

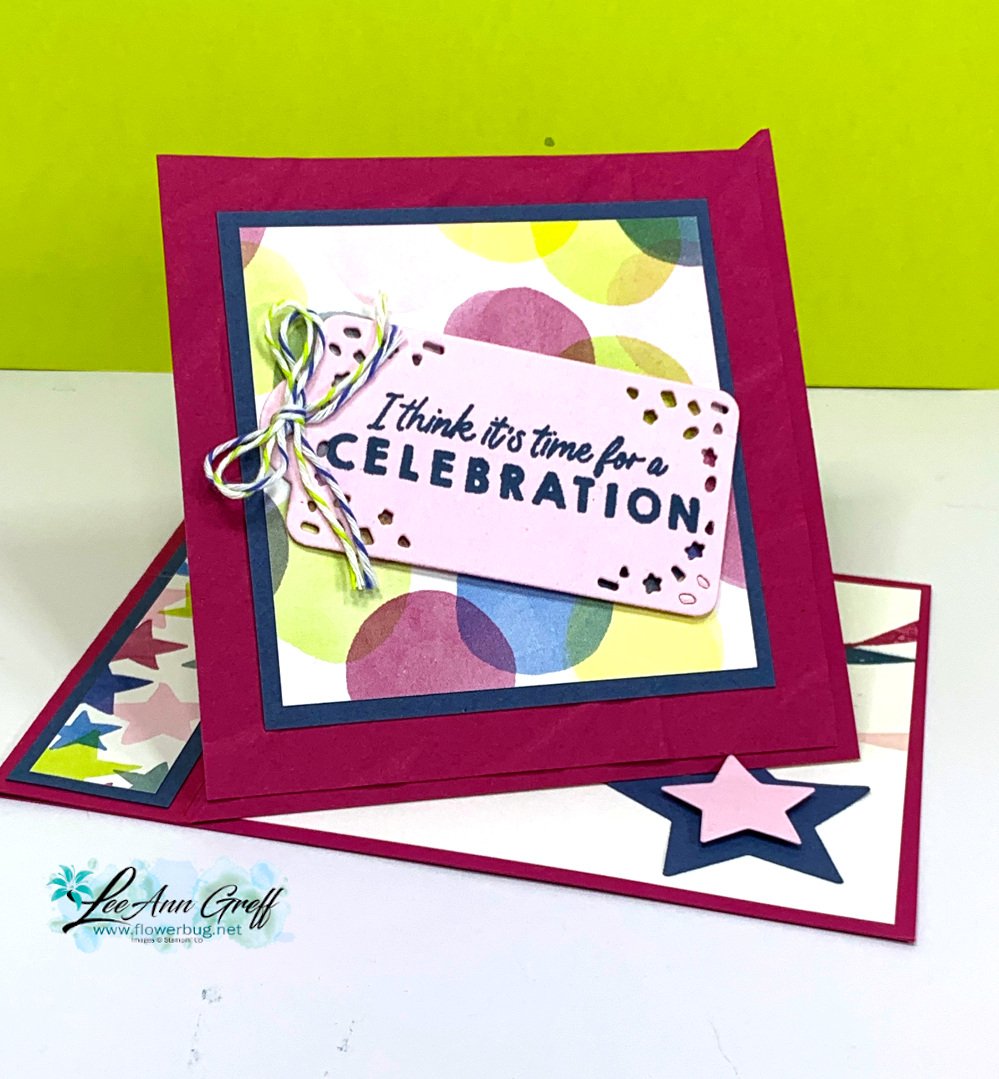
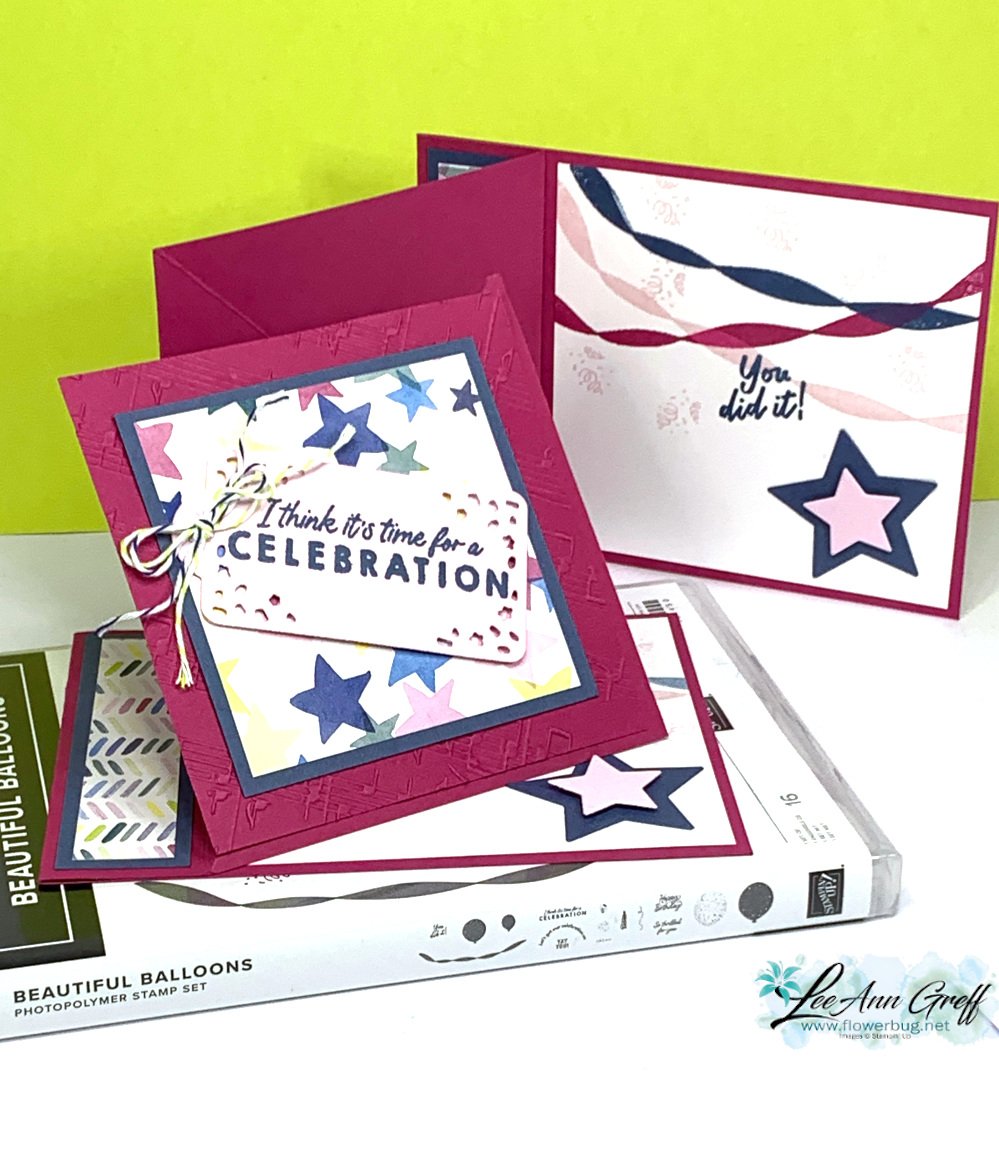
  • Have you made a ‘Book-binding Easel’ card yet? It’s so neat!


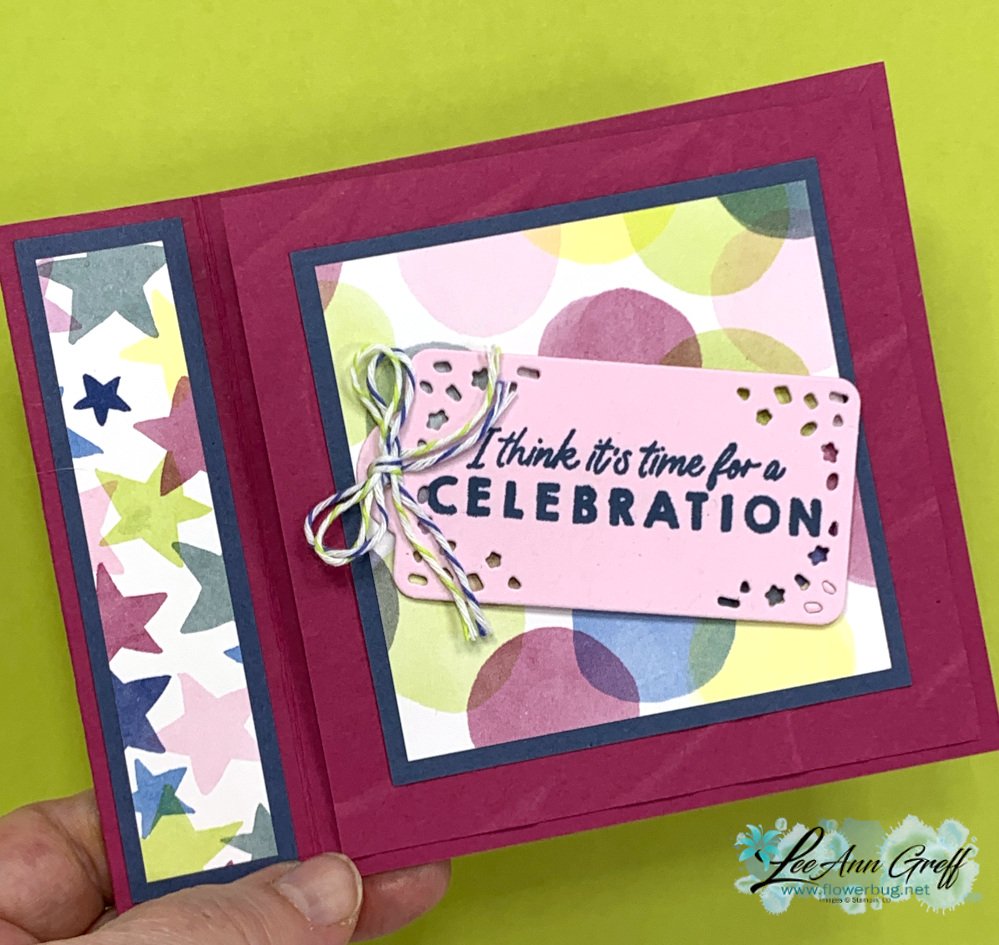
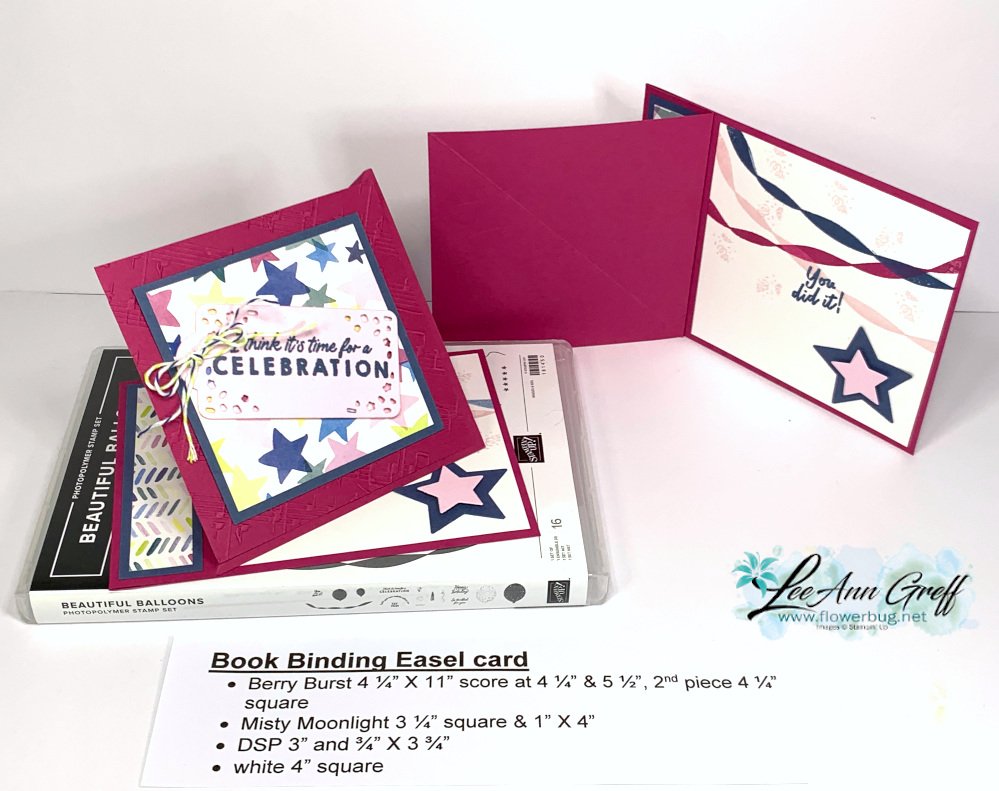
    This cool card is made like a traditional book binding fold but turned into an easel card too! 

    I used Berry Burst & Misty Moonlight or Blueberry Bushel for my layers. That cute tag on the front is from the Beautiful Balloons dies.  The stars that hold up the easel are die-cuts from the same dies.  You need to add a Dimensional on one of them. Watch the video here or scroll down. 

    You can see this bundle here online.  

    I stamped the inside with the banner in multiple colors, some stamped off.

    Here's what the card looks when it's flat: 

    I am so glad that we have Berry Burst back! 

    Measurements:

    • Berry Burst 4 ¼” X 11” score at 4 ¼” & 5 ½”, 2nd piece 4 ¼” square
    • Misty Moonlight 3 ¼” square & 1” X 4”
    • DSP 3” and ¾” X 3 ¾”
    • white 4” square

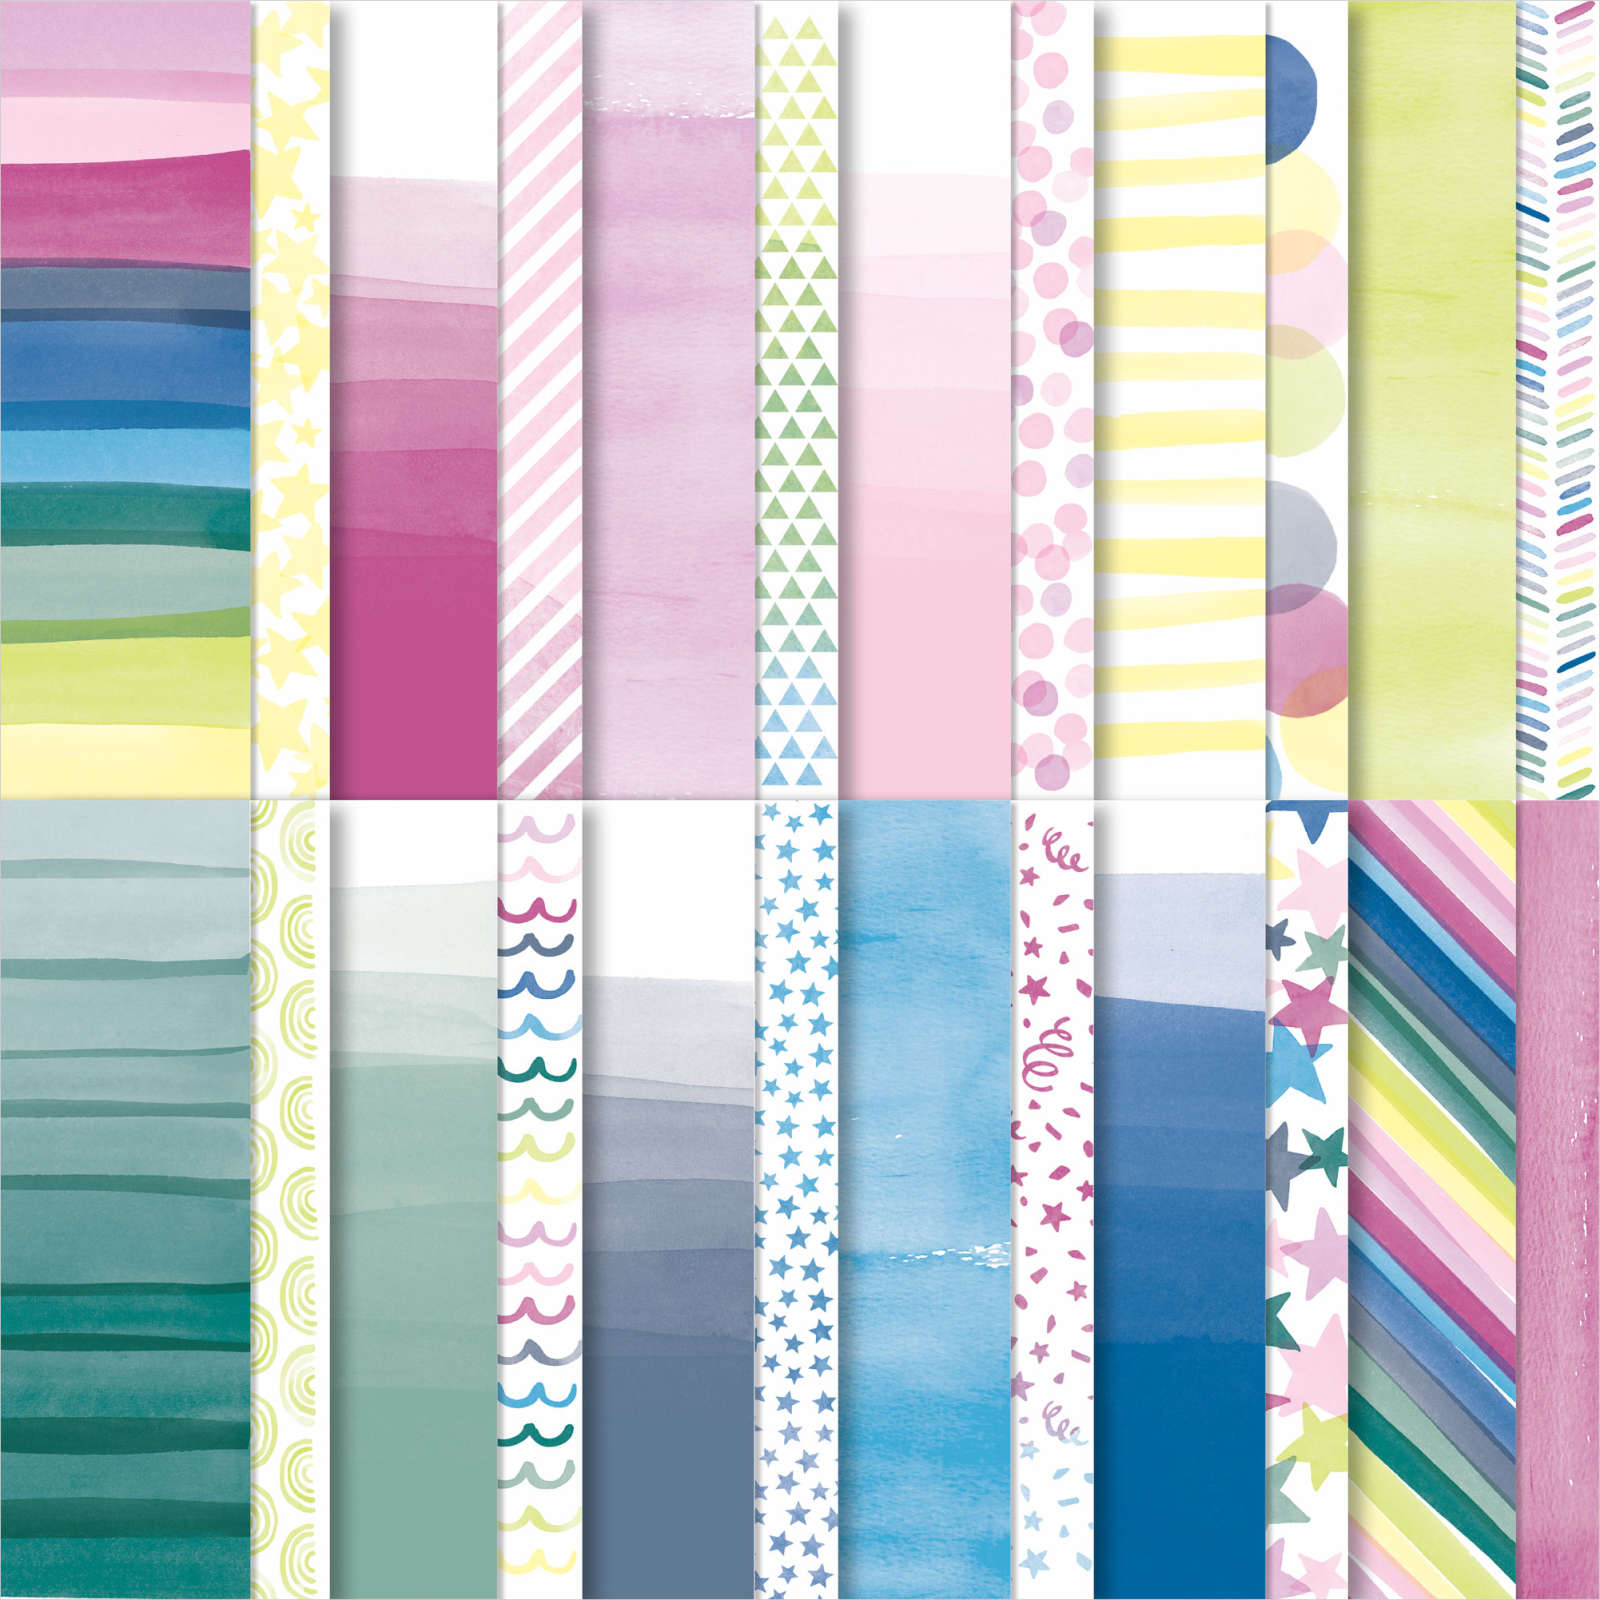
    You can see the Bright & Beautiful designer series paper  here.  

    *I'll be featuring this fun designer paper in June's card kit to go. 

    Click on the photo below to watch the video; I share another amazing fun fold card after this project!

    ~~~

    May Specials:

    *current host codes: CNSGEFEE or AJVB3B3V 

    Get a free updated cardstock color sampler with online orders over $55 using a host code.

    Offer good through May 17th  

    My new catalog designer paper share is open for a limited time. 

    Get 80 sheets of 6 X 6" DSP – all from the new catalog for just $28.50 plus shipping.  Reserve your spot here. 

    Earn free products with my loyalty rewards! 

    Click here to download yours and earn a $50 shopping spree!

    Leave a Reply

    Your email address will not be published. Required fields are marked *

  • Beautiful Balloons with Bright & Beautiful designer series paper


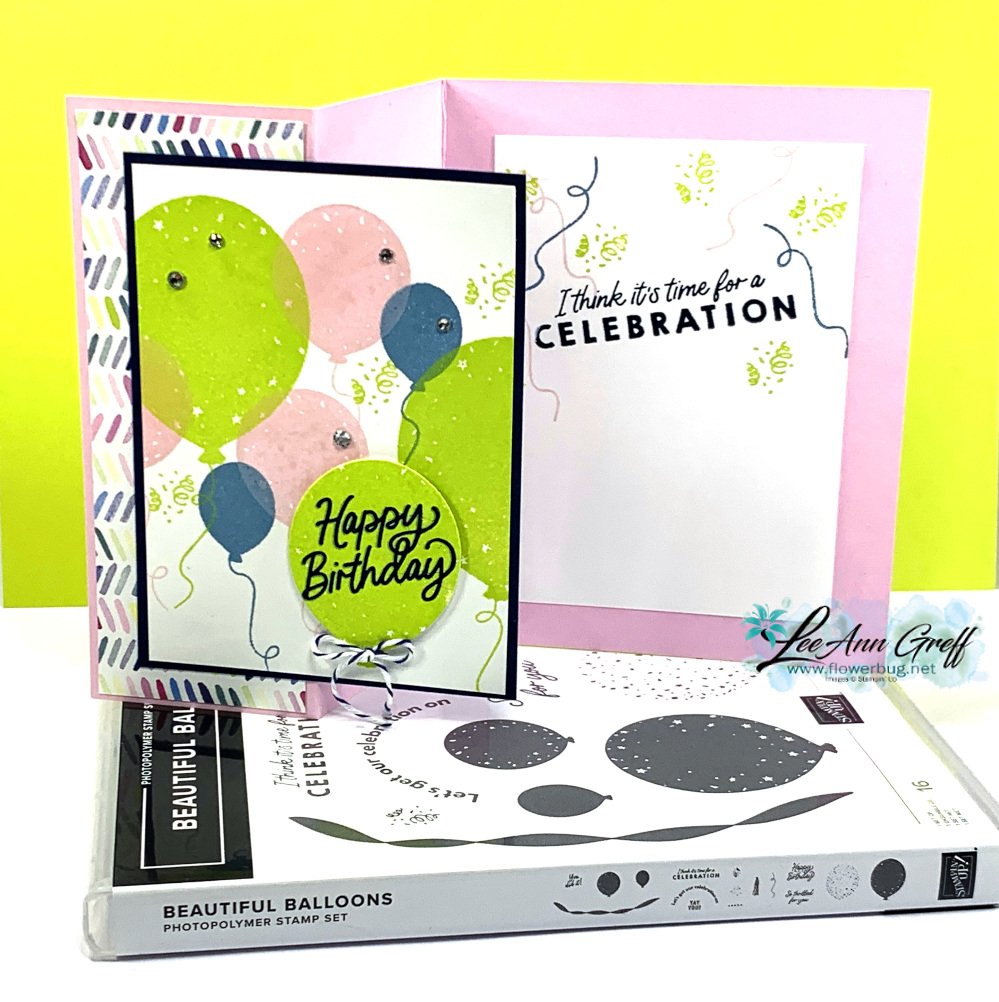
    I've been playing with the Beautiful Balloons bundle and thought making my own background with the balloon images would be cool.  

    I chose a few of our newest colors to compliment the Bright & Beautiful designer series paper seen here.  My colors are Bubble Bath, Lemon Lime Twist and Boho Blue.  I love that the images appear somewhat translucent like real balloons.  

    *I'll be featuring this fun designer paper in next month's card kit to go. 

    It's an easy fun fold card too. I stamped the greeting on a stamped large balloon and die-cut it with one of the dies in the bundle.   

    Measurements:

    • Bubble Bath card stock is 8 1/2" X 5 1/2" & scored at 2 1/8" and 4 1/4"
    • designer paper is 1 7/8" X 5 1/4"
    • White 3 1/4" X 4 1/2" 
    • Black 3 3/8" X 4 5/8" 

    I had fun stamping the inside (3 1/2" X 4 3/4") with the balloon string and confetti images.  

    You can see this bundle here online.  

    ~~~

    May Specials:

    *current host codes: CNSGEFEE or AJVB3B3V 

    Get a free updated cardstock color sampler with online orders over $55 using a host code.

    Offer good through May 17th  

    My new catalog designer paper share is open for a limited time. 

    Get 80 sheets of 6 X 6" DSP – all from the new catalog for just $28.50 plus shipping.  Reserve your spot here. 

    Earn free products with my loyalty rewards! 

    Click here to download yours and earn a $50 shopping spree!

    Leave a Reply

    Your email address will not be published. Required fields are marked *


Notice: LeeAnn Greff, Independent Stampin’ Up! Demonstrator, Manager. The content of this website is my sole responsibility as an independent Stampin’ Up! demonstrator and the use of, and content of, the classes, services, or products offered on this website is not endorsed by Stampin’ Up! Copyright 2025