/


Latest Post

Sending Smiles card; a fabulous & versatile bundle with video


I made a bunch of these cards for a swap in April and also demonstrated it on FB Live last Tuesday here.  

I LOVE the colors of Parakeet Party & Orchid Oasis together.  This new lime color of Parakeet Party brightens up our color line and it works with blues & purples beautifully! 

The Sending Smiles bundle seen here is wonderful and was #1 on my list of 'must have's'.

I made three projects on last week's Facebook Live using this fabulous bundle.  See it here. 

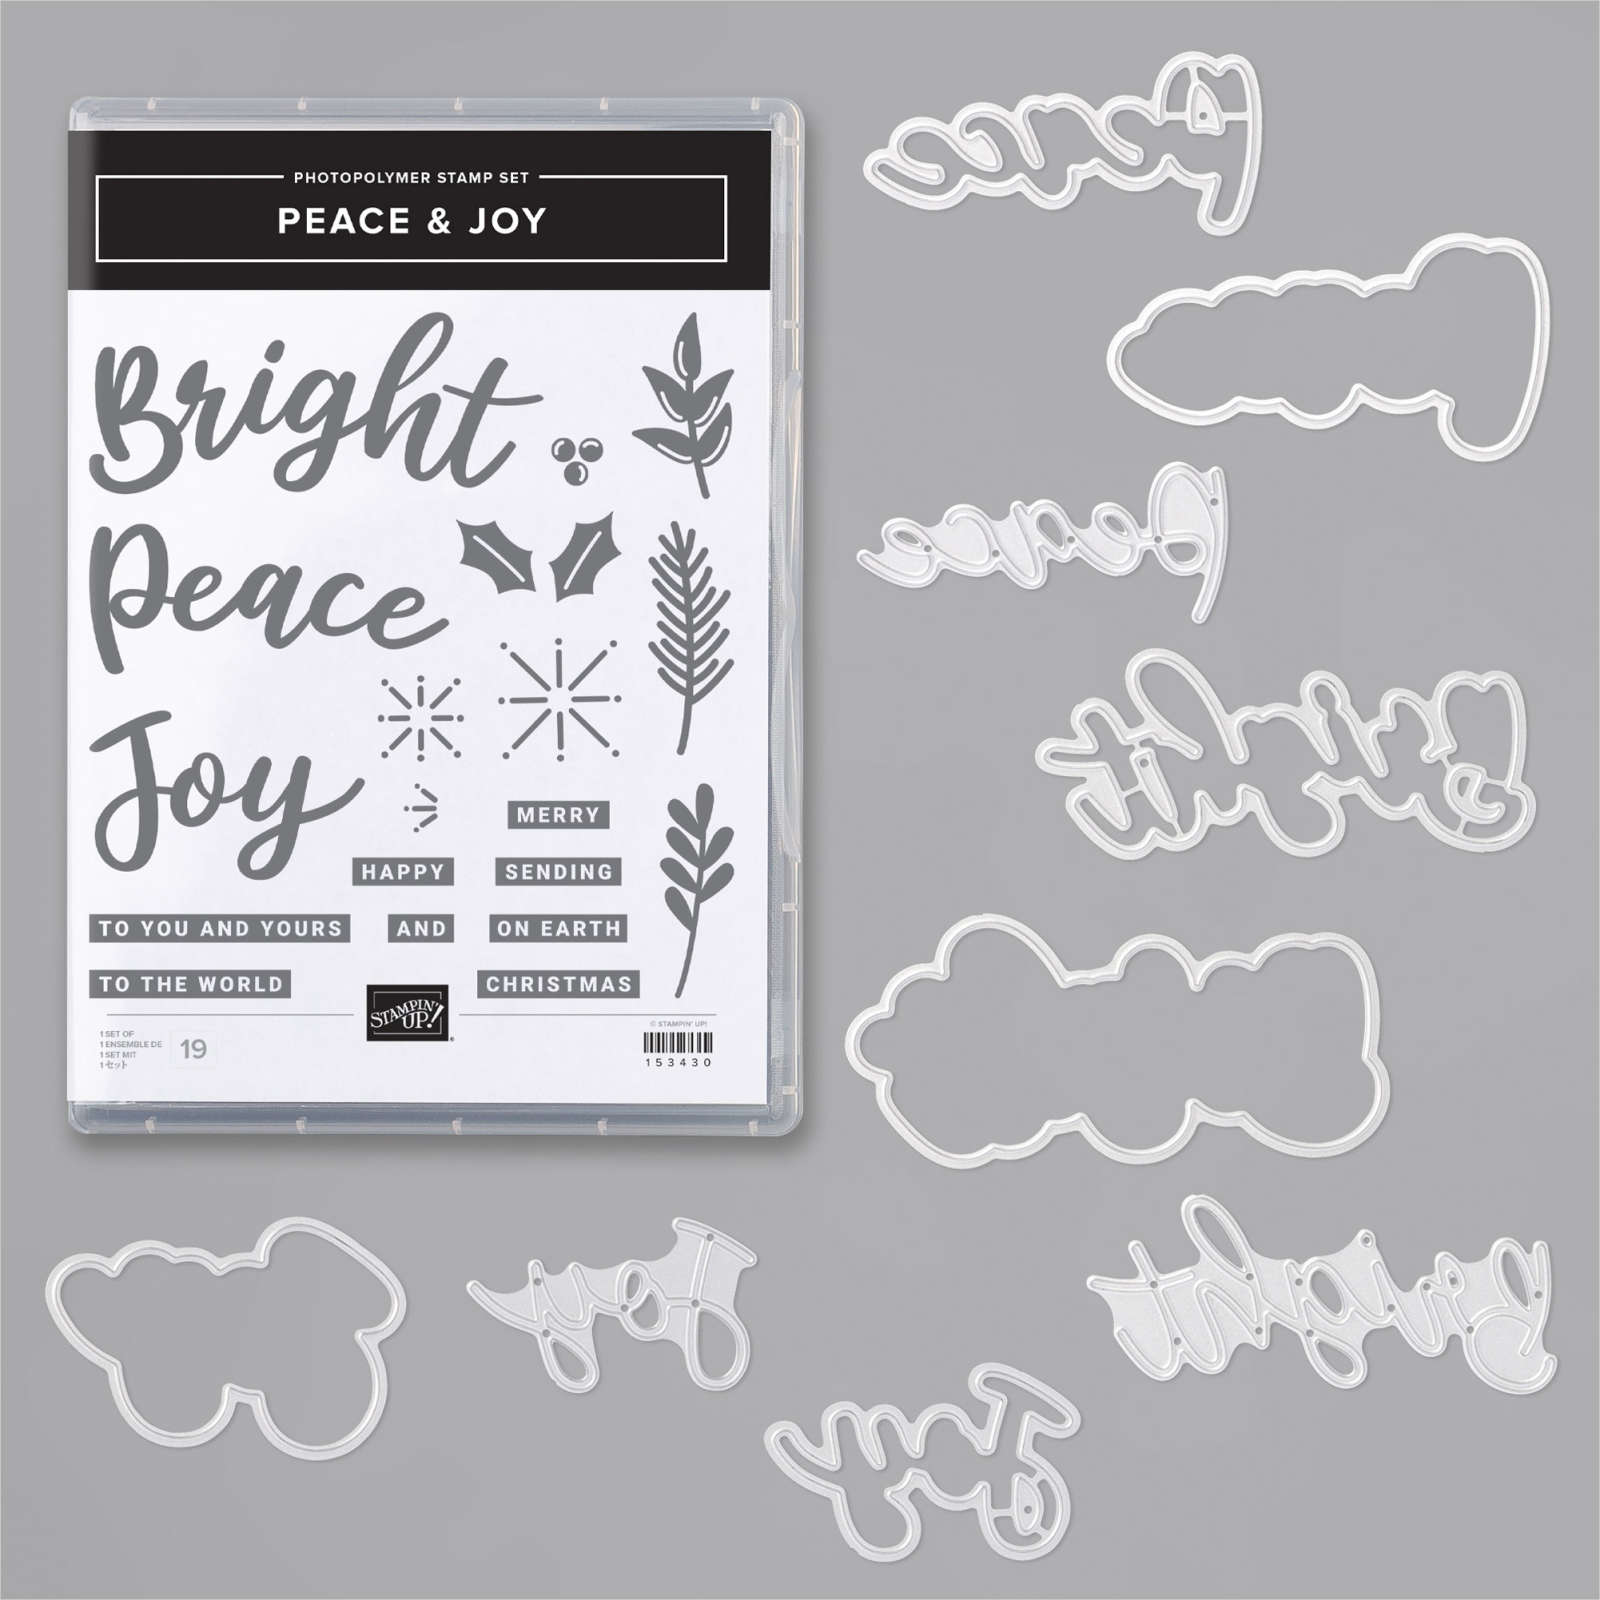
I love the fact that they provided two sizes of the die-cut 'Sending'.  The larger one fits under the finer die-cut like seen on the card below.  But it also fits the stamped greeting image too.  So smart!  

You can create a variety of flowers with this bundle as you can see.  This flower can be falling like wisteria or growing up like these here; they remind me of grape hyacinth.  

Click here or on the photo below to watch the video for this card and TWO MORE as well. 

~~~

Get a bunch of NEW In Color products FREE in your Starter Kit! 

It's $99 for $213 in products!!!  And Free Shipping! Click here. 


Host codes: HUNR9DB6

 *click here to order 

If your order is over $50 you'll receive a set of NEW embellishments from me.

Don't forget about my loyalty rewards! 

Click here to download yours and earn a $50 shopping spree!  

All Posts

  • Easiest Shake Card Ever; plus the quickest Christmas cards you can make!!


    Have you wanted to make a shaker card but didn't want to deal with the Foam Adhesive and window sheets?  Well I have a solution for you!  Use a clear envelope!  Yes; it works beautifully!

    I used one of the Wonder of the Season cards, cutting it down to 4" X 5 1/4" and adding another layered strip.  I then inserted it into one of our clear envelopes (seen here) and folded the excess to the back, securing it with Tear & Tape.  Then I added some Sequins for Everything and sealed it up.  It's adhered to a Real Red card base and the greeting is adhered to the front. 

    The stamps are from the Tag Buffet stamp set. 

    You can watch how I did this in the video below; it's one of the first projects. 

    In the video I also shared the Wonder of the Season Memories & More projects.  These cards are beautiful and filled with gold & red foil accents.  I love these because they are super quick & easy!  All I added were some Red rhinestones!  No stamping or extra card stock!  

    Here are a few I made:

    Remember I only used three products on these!  All you need are the cards (seen here) and the cards & envelopes (seen here) and Red Rhinestones.

    You can use the 3 X 4" cards for the pretty card bases so the foil accents show.  Or flip the front to the inside and use the larger 4" X 6" cards on the front.  This way you can still see that pretty foil on the inside! 

    Watch the video below to see these projects & more! 

    December Ordering Special: 

    Current Host code is NQHKDKZR

    Order online here

    All online orders will receive my 16 Christmas cards class PDF!

    Get a free package of 220 Red Rhinestones from me with an online order over $50 using the host code above.


    Leave a Reply

    Your email address will not be published. Required fields are marked *

  • Wow Peace & Joy card!


    Look at this amazing card Jacki made for our Flowerbug's swap last month!  Count the layers! 

    I count 8 layers on the front alone!  She used lots of Holiday catalog products to make this gorgeous card including the following:

    • Peace & Joy Bundle seen here
    • Brightly Gleaming Specialty DSP
    • Plush Poinsettia Specialty paper seen here
    • Snowflake Adhesive Backed sequins

    Aren't those Joy dies amazing? They include all 3 layers of the greeting.  It also includes the words Joy & Peace too. 

    December Ordering Special: 

    Current Host code is NQHKDKZR

    Order online here

    Get a free package of 220 Red Rhinestones from me with an online order over $50 using the host code above.


    Leave a Reply

    Your email address will not be published. Required fields are marked *

  • Video with Stampin’ Up! Stitched Dies for some easy WOW cards!


    Look at these fun and unique cards made with the Stitched Triangle dies!  

    Aren't they neat?  Our Stitched dies are quite versatile and can be used in a variety of ways as you can see! 

    I used the Well Said stamp set, Well Written & Stitched Triangle dies.  The DSP is 5 1/4" X 4" and the Vellum ¾" X 4”

    These cards were created on last week's FB Live video.  If you're not following me yet here's the link to my FB page.  Be sure to like & follow so you catch them every week on Tuesdays at 11 am CT.  

    Check out the Stitched Rectangle cards below.  I cut all of the Playful Patterns Designer Paper layers at the same time using just 2 dies.  

    How did I do it?  Start out with a piece measuring 5 1/4" X 4" and choose the 3rd & 6th dies from the outside.  Perfect layers! 

    I then layered the Designer Paper with card stock and added a die-cut greeting from the Best Year stamp set. 

    Supplies & Measurements:

    • Coastal Cabana, Crushed Curry, & Calypso Coral
    • Tasteful Label dies, Detailed Bands dies, rhinestones
    • DSP – 5 ¼” X 4”, and cut with dies at 3 ¾” X 3” & 3 1/8” X 1 ¾”
    • CS – 4 5/8” X 3 ¼” and 3 3/8” X 2”

    Remember you can find me here on Facebook 6 times a month! 

    ~~~

    Today's the last day for my November specials:

    Current Host code is NQHKDKZR

    Order online here


    All online orders receive my FREE Curvy Celebrations 22 project PDF Tutorial! 

    Below are the Multipurpose Glue stands we're making. They're available in my Shop here.  


    We can fit three in a box for almost the same shipping cost. They are $6 each and shipping is about $3-4 in US.   They make great gifts for your stamping friends!  

    Leave a Reply

    Your email address will not be published. Required fields are marked *


Notice: LeeAnn Greff, Independent Stampin’ Up! Demonstrator, Manager. The content of this website is my sole responsibility as an independent Stampin’ Up! demonstrator and the use of, and content of, the classes, services, or products offered on this website is not endorsed by Stampin’ Up! Copyright 2025