/


Latest Post

Sending Love Artist of the Month – party 2


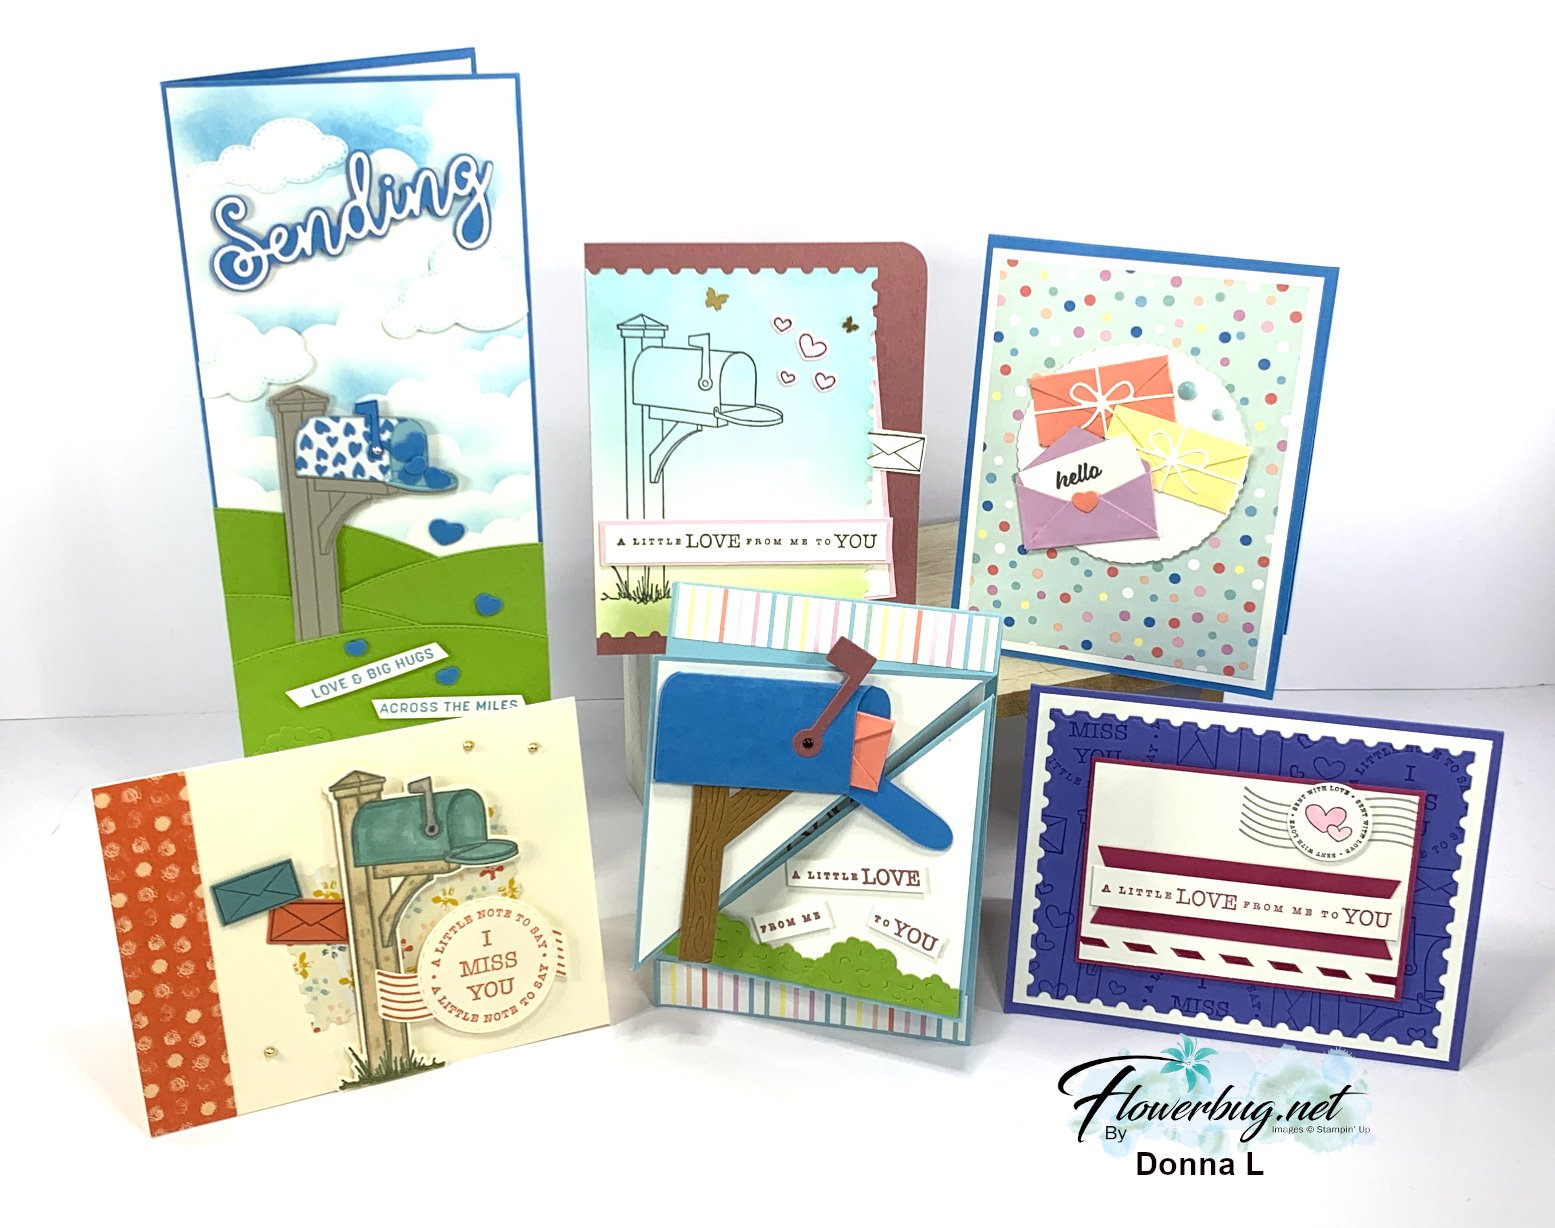
Here are the second set of Sending Love cards by our Artist of the Month – Donna.  See the first batch here.   

First up today is a fabulous fun fold card.  

I often forget to cut apart my sentiment like this.  It sure adds a playful note!

The cute grass and mailbox die-cuts are all from the Sending Love bundle seen here.  The stamp set & dies are returning in the new Annual catalog but they will no longer be a bundle at 10% off. 

It starts out as a vertical card with this cute mailbox scene.  But when you open it…… you get a horizontal card!
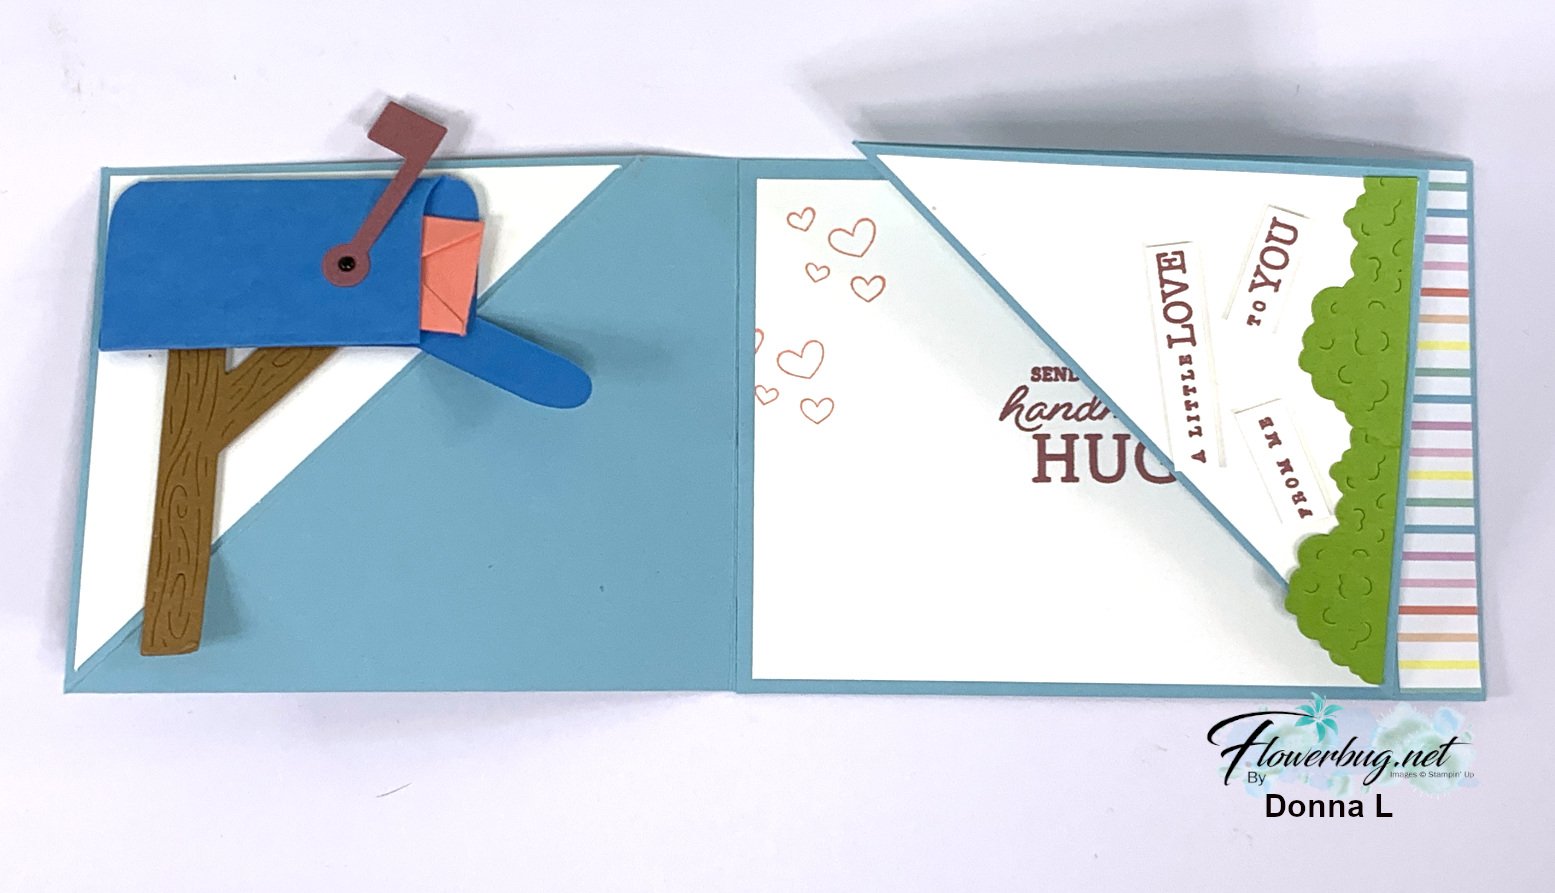
I only opened the upper flap in the photo above.  You can see how it turns from a vertical card to a landscape card.  Here's what it looks like fully opened.  I love that you can read the greetings either way! 

Measurements:

  • Balmy Blue card stock – 2 pieces at 10 1/4" X 4 1/4". Score each in at 4 3/4".  Then mark at 4" and score from that mark to the outside corner.  The two pieces are adhered together in the center (under the large white layer) 
  • White – inside is 5 1/4" X 4", side triangles started out at 3 3/4" square; cut in half on the diagonal. 

~~~

Next is a sweet pocket card.  Don't you love her beautiful sponging?! 

This card has a hidden pocket between the layers.  See that little envelope sticking out?  

Measurements:

  • Moody Mauve – 4 1/4" X 5 1/2"
  • Sponged Postage die-cut 3 5/8" X 5"
  • Inside White 2 7/8" X 4 1/8"
  • Bubble Bath 3" X 4 1/4"

~~~

Lastly is this adorable hello card with the cutest envelopes on front!  These are also included in the Sending Love dies. 

She also used the Deckled Circle dies and the Lighter Than Air designer paper (retiring).  The envelopes match the DSP – Fresh Freesia, Lemon Lolly & Calypso Coral. 

Thanks so much for creating and sharing these amazing cards with us Donna!! 

~~~

April Specials: 

*current host code link:  W62MPU2R
~~~

Here's a link to the Last Chance list 

A free gift with orders in April:

Check out my available Kits & Tutorials here:
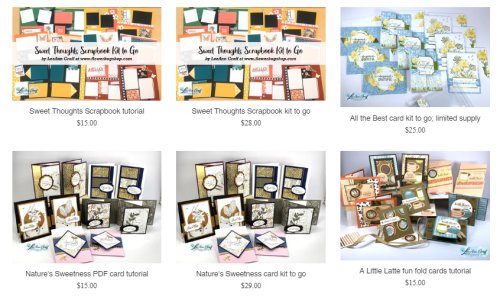
All online orders in April will receive a free multi-project tutorial!

All Posts

  • Curvy Christmas & the Postage Punch


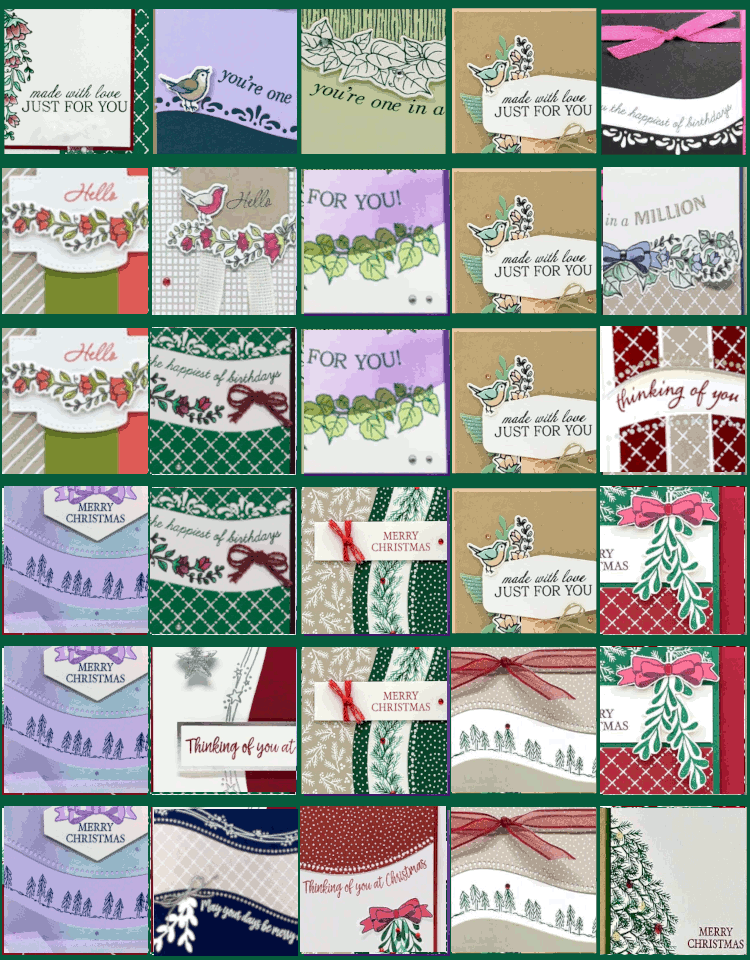
    Check out this easy card using the new Curvy Christmas stamp set and the Postage Punch!  

    It's super simple! Here's how I made it:

    1. Stamp the curvy trees image on the White CS using Shaded Spruce ink.  Color the trees with a Light Shaded Spruce Blends marker.  Add a tiny star using Cherry Cobbler ink on one tree. Adhere it to the Cherry Cobbler layer and to the main card.
    2. Punch out three pieces of Classic Christmas designer paper with the Postage Punch seen here.  Adhere to the White CS. 
    3. Stamp the greeting in Cherry Cobbler ink on a 1/2" strip of White CS.  Punch the ends with the Banners Pick a Punch. Add it to the card with mini dimensionals. 
    4. Finish with a few Holiday rhinestones. 

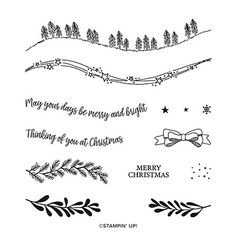
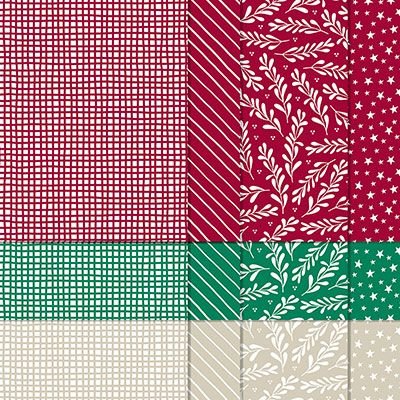
    You can see this stamp set here; it's only available through January 4th.  And the Classic Christmas Designer Paper is here while supplies last. 

    Remember that everyone who orders any of these products or places an online order with me in November will receive a free 22 project PDF tutorial featuring the Curvy Celebration products! 


    ~~~

    November Specials!

    Current Host code is GRC9VVUU


    All online orders receive my FREE Curvy Celebrations 22 project PDF Tutorial! 

    Leave a Reply

    Your email address will not be published. Required fields are marked *

  • Gift Wrapped Box Fold Card with video


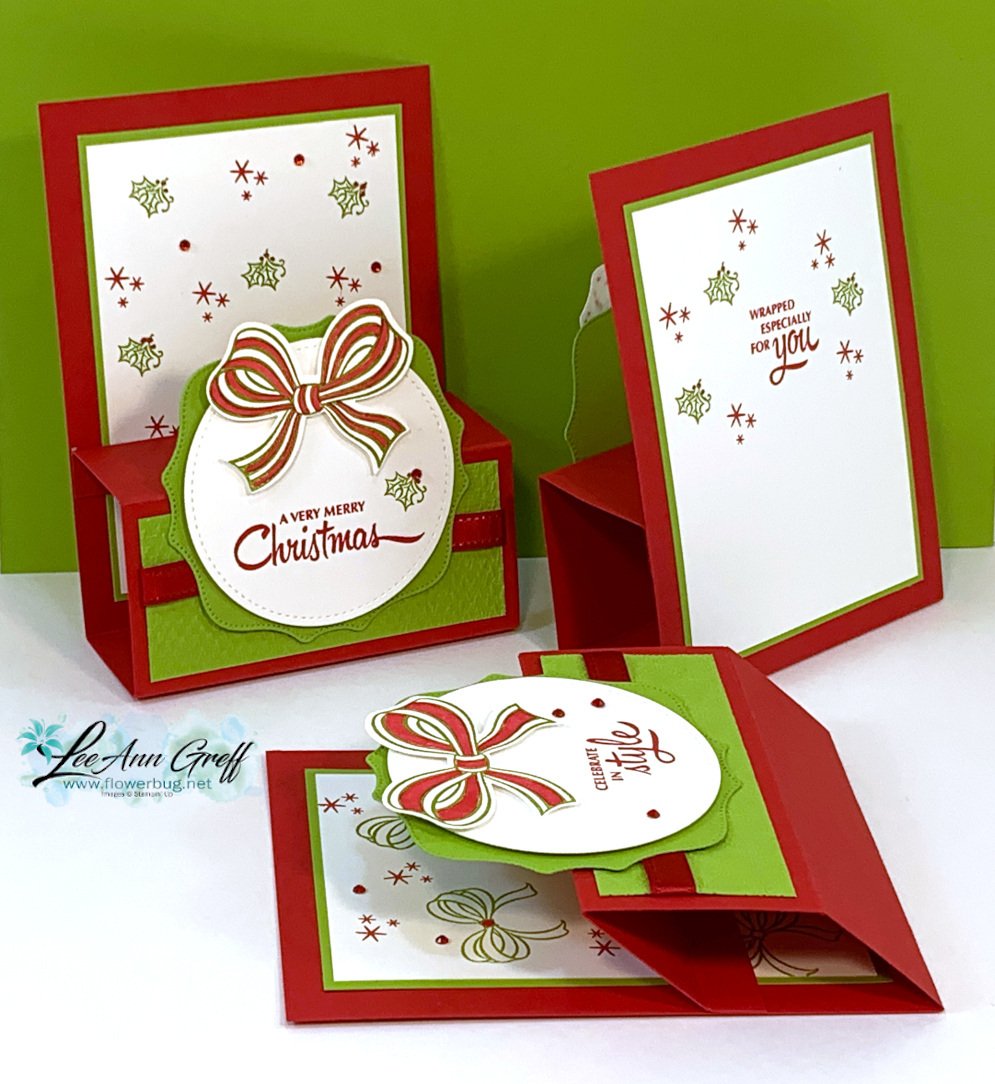
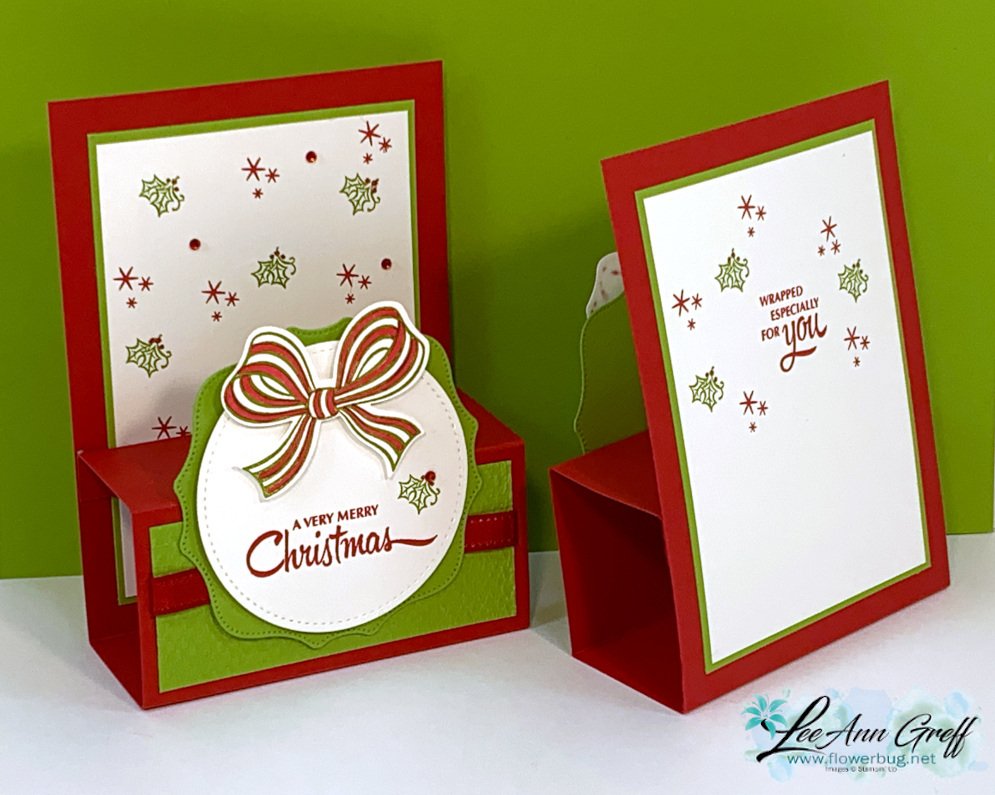
    Check out this cute Christmas card we made at my October Card Clubs!  It's a box fold card; a super cute but easy fun fold. 

    The colors are Real Red with Granny Apple Green & White. The dies on the front are the Stitched Shapes and Hippos & Friends.

    It even folds flat for mailing!  As you can see the back is similar to the front; leaving some space to write or sign the card.  

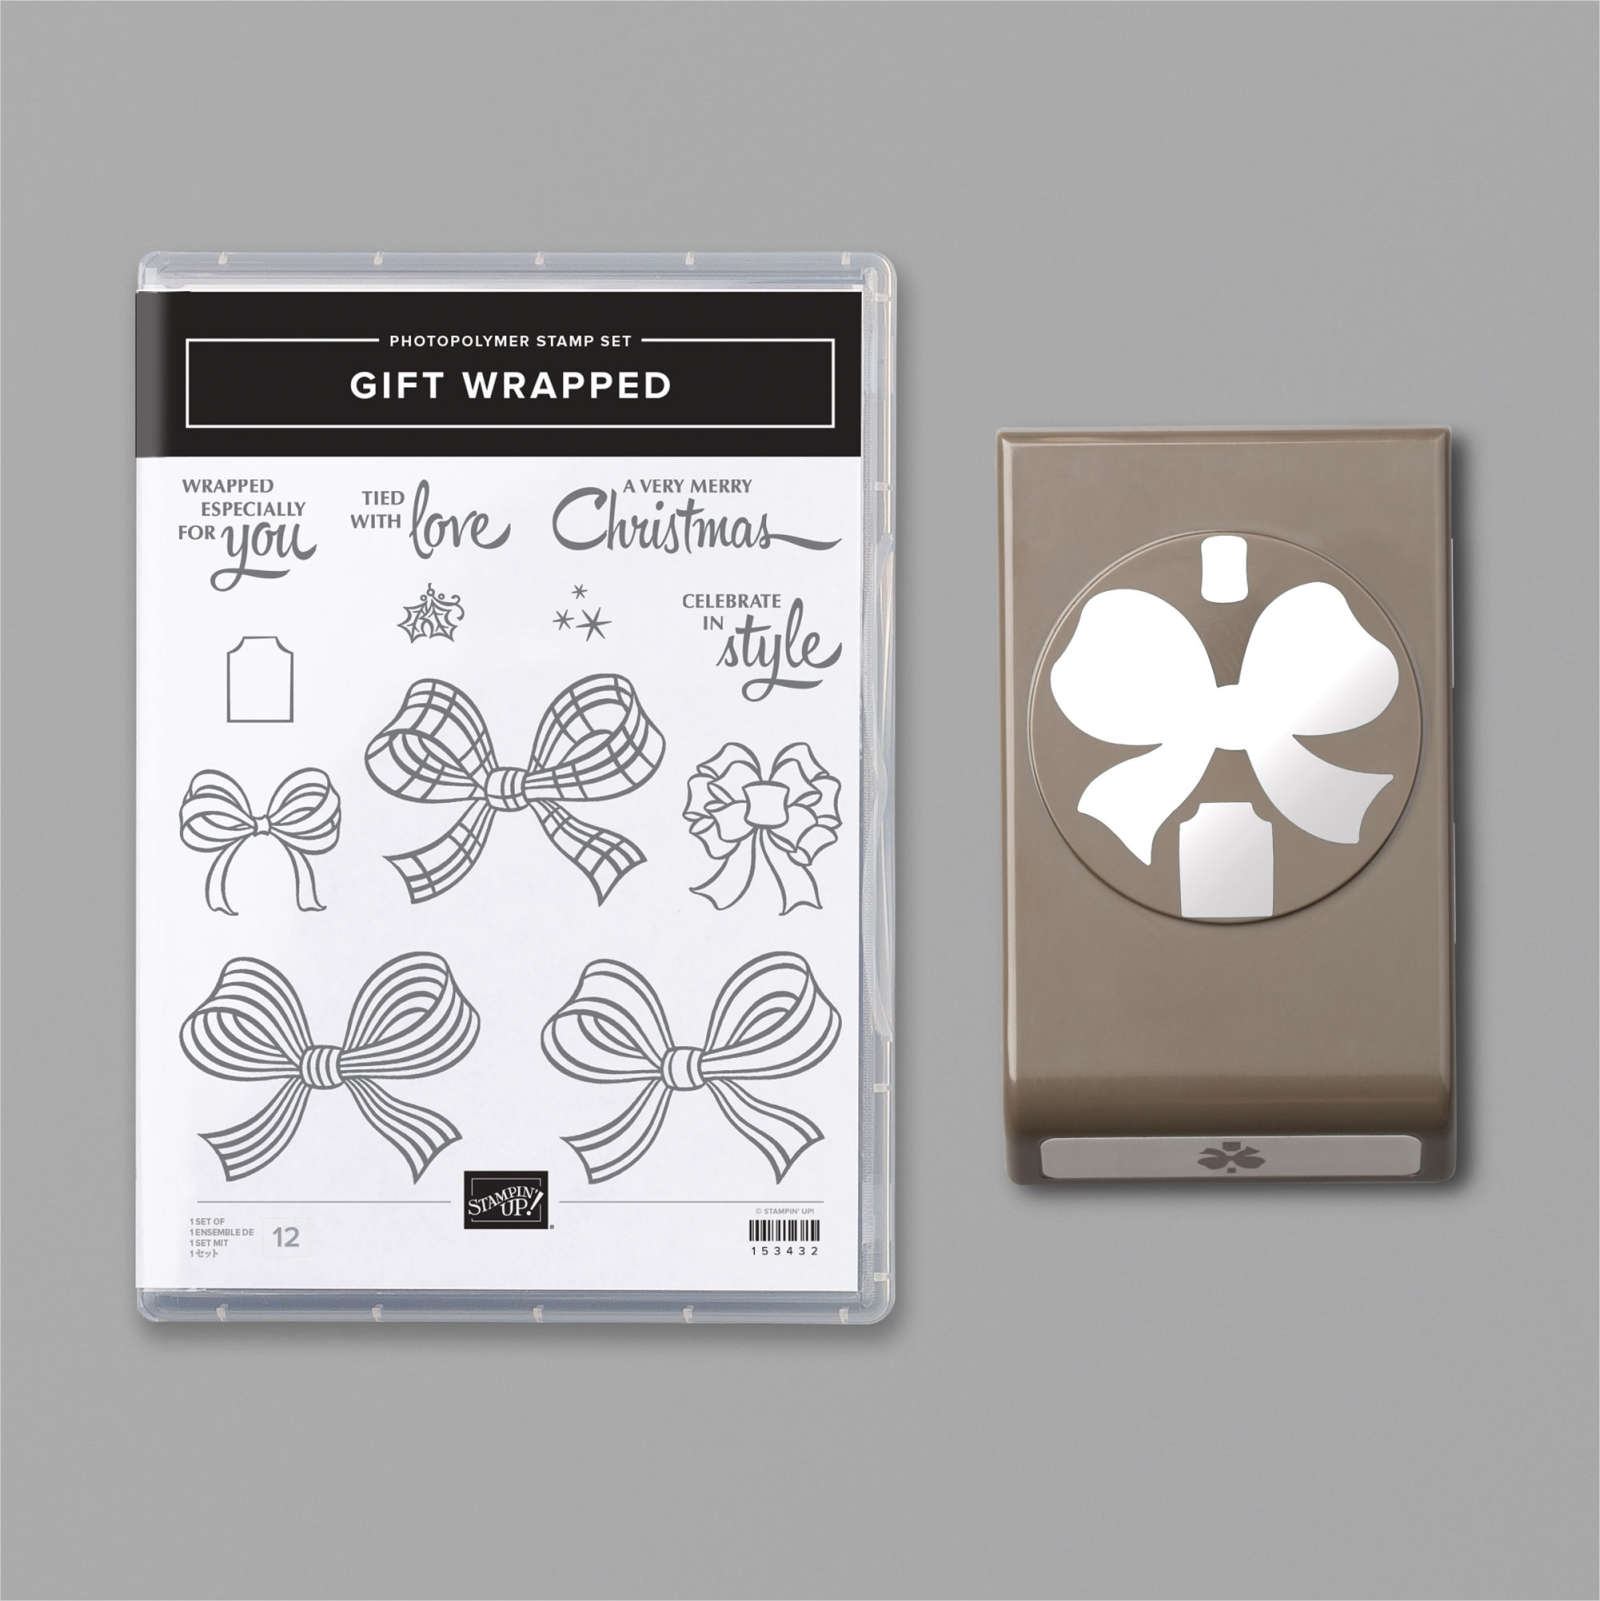
    I used the Gift Wrapped punch bundle from the Holiday catalog.  You can see it here. 

    Check out the video and measurements below. 

    Here's the video: 


    Measurements:

    Real Red 4 1/4" X 11" scored at 5 1/2", 7", 9" and 10 1/2"
    Granny Apple Green 3 5/8" X 4 7/8" (2 pieces) plus scrap for die-cut
    Whisper White 3 1/2" X 4 3/4" (2 pieces) plus scrap for circle die-cut and bow

    ~~~

    November Specials!

    Current Host code is GRC9VVUU


    All online orders receive my FREE Curvy Celebrations 22 project PDF Tutorial! 

    Leave a Reply

    Your email address will not be published. Required fields are marked *

  • Peaceful Nativity WOW card


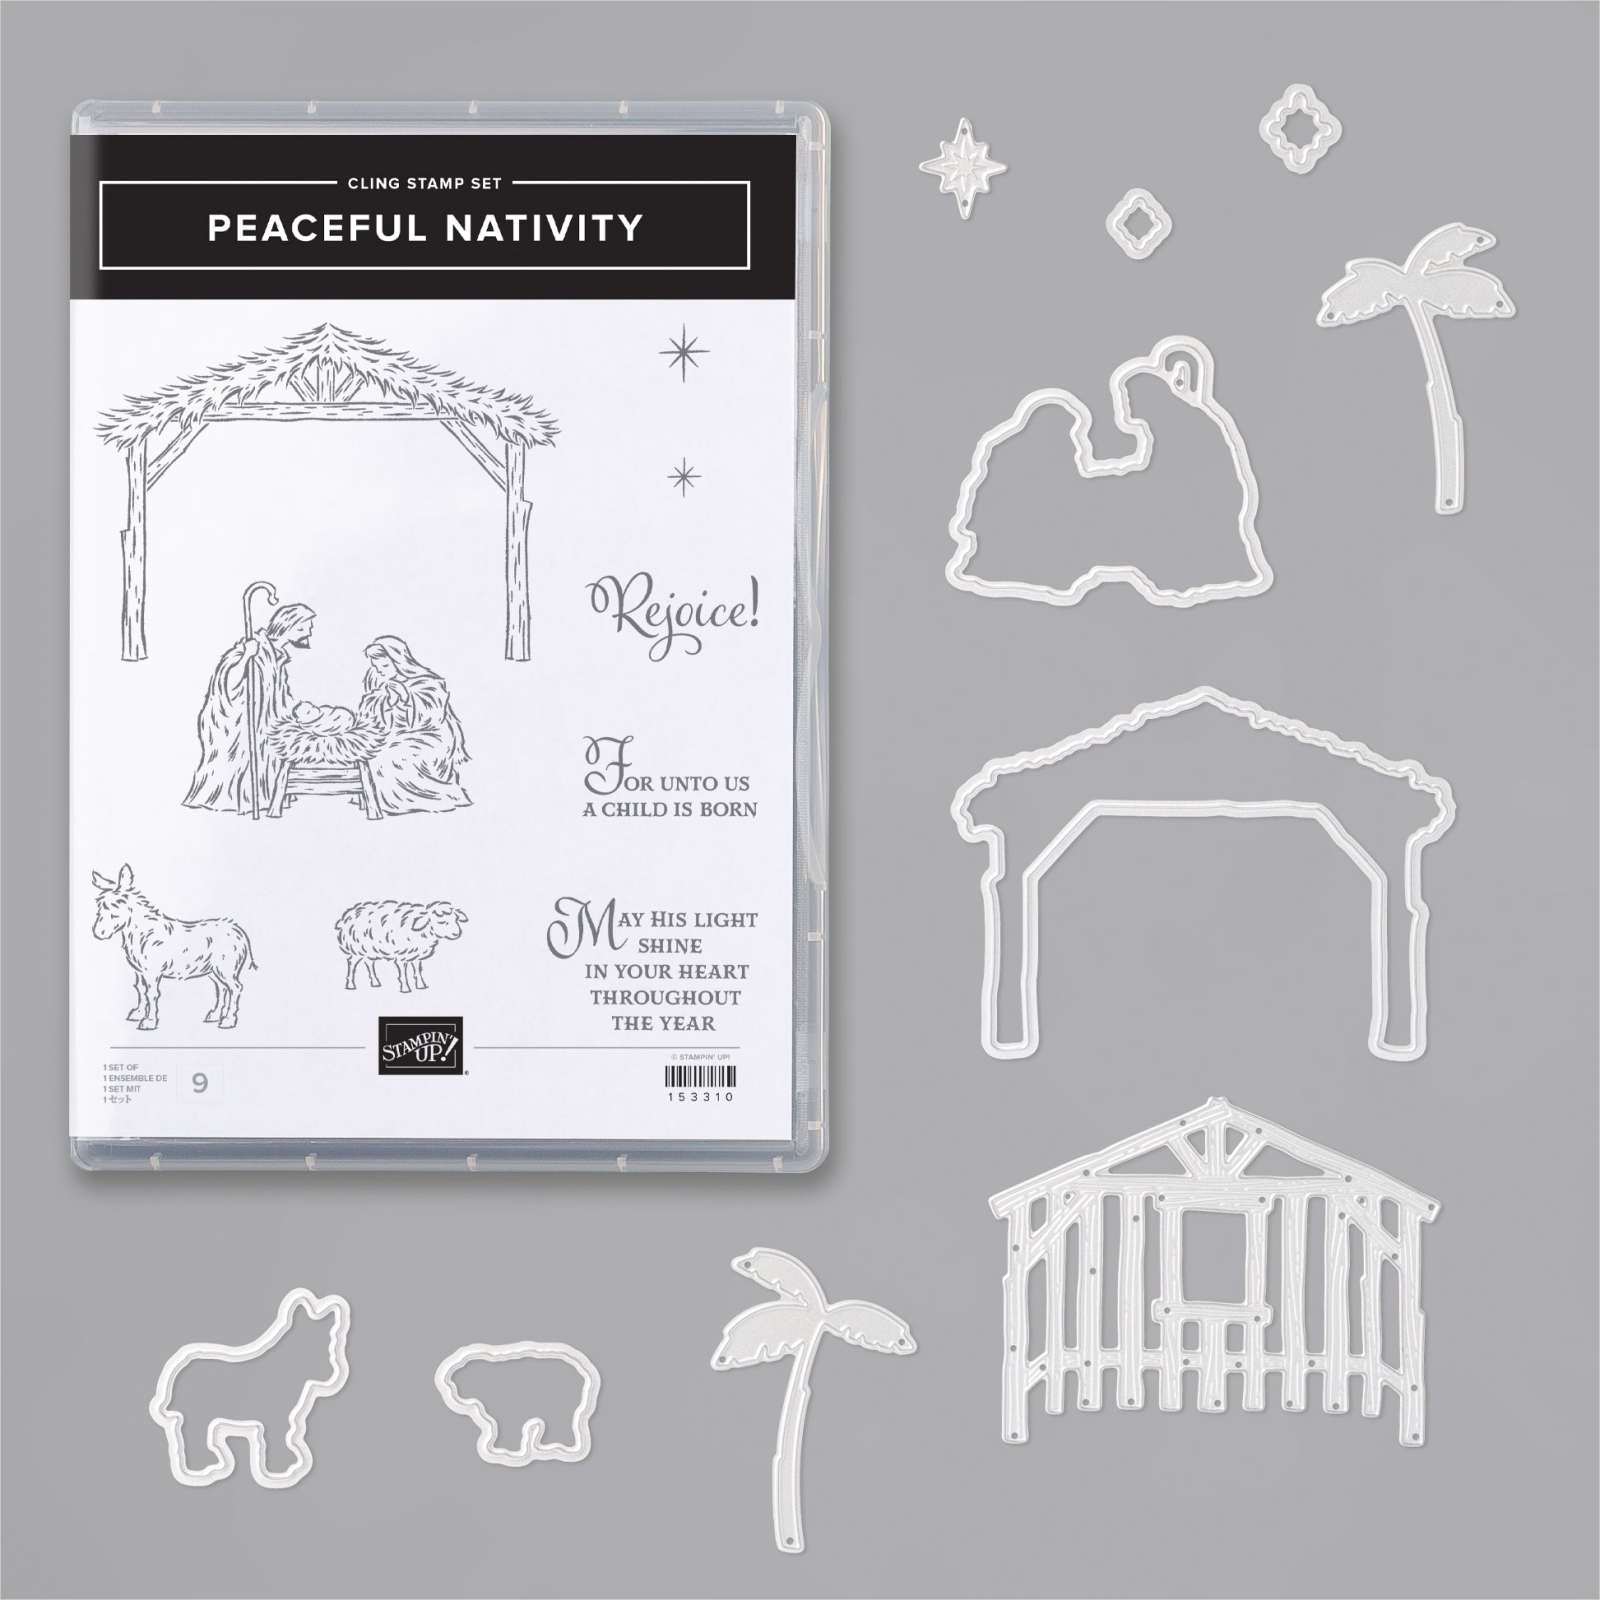
    Look what happens when you combine a beautiful background with the Nativity Dies?!  

    Candace created this gorgeous card for our October Christmas cards swap with my Flowerbug's Team.  She is a master at sponging backgrounds.  I believe she used Pacific Point here.  She simply added a greeting (from For Unto Us set) embossed in Silver and the pretty scenic die-cuts in Black.  

    Click here to see the For Unto Us stamp set and here for the Peaceful Nativity bundle. 

    More Team swaps tomorrow! 

    ~~~

    November Specials!

    Current Host code is GRC9VVUU


    All online orders receive my FREE Curvy Celebrations 22 project PDF Tutorial! 


    Leave a Reply

    Your email address will not be published. Required fields are marked *


Notice: LeeAnn Greff, Independent Stampin’ Up! Demonstrator, Manager. The content of this website is my sole responsibility as an independent Stampin’ Up! demonstrator and the use of, and content of, the classes, services, or products offered on this website is not endorsed by Stampin’ Up! Copyright 2025