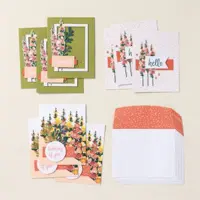
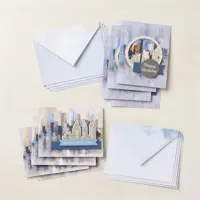
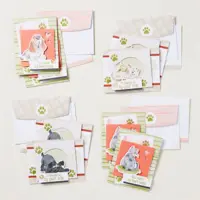
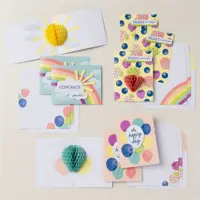
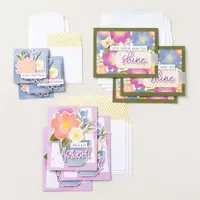
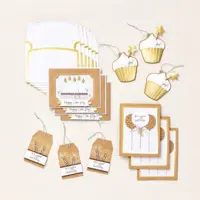
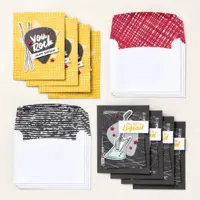
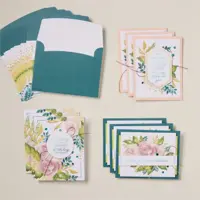
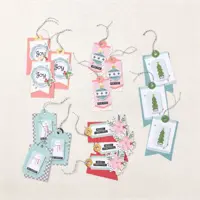
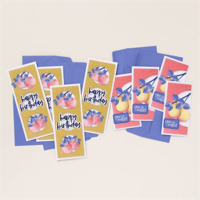
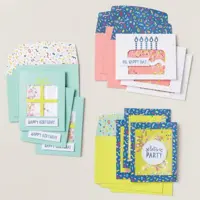
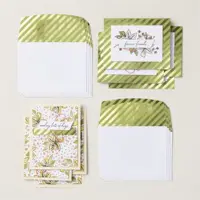
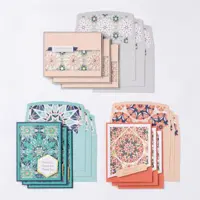
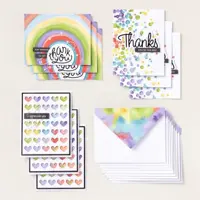
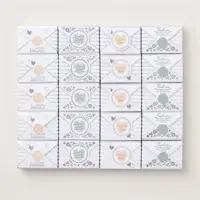
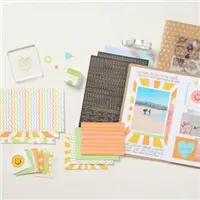
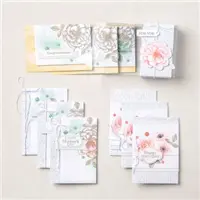
Because we add two new kits to our Kit Collection in the Online Store I thought I'd share all of the kits with you today. Sometimes you just want a quick & easy stamping experience and these fill that need easily!
Click on the following link to get the complete list you can download or print out. Download Kits Collection Aug 24 Remember these lists aren't showing those out of stock; unfortunately you'll have to click on each one to see if it's available.
Most are all inclusive which means you may only need a scissors to complete them. Some include stamps, ink and a block and others include pre-printed greetings. I love the variety we offer!
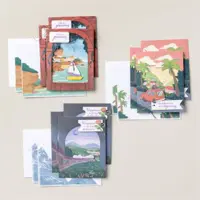
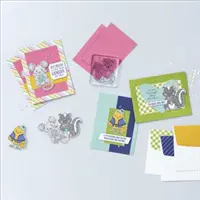
I used the largest circle die in the Spotlight on Nature dies to create the mask around the large moon. I blended Petunia Pop ink onto a piece of White card stock. Then added the yellow die-cut moon. Next I sponged Secret Sea ink on the upper portion of the card. Lastly I added a curvy hills (cut with a scissors) and the die-cut house and fence pieces from the bundle.
Check out those sparkly stars and die-cut bat! I heat embossed the word ‘spooky’ with White embossing powder and then colored the embossing purple with a Blends marker.
And get the Starter kit here.*Choose your deal – $35 or $99 plus $90 in free products including free shipping, free Paper Pumpkin kit & free catalogs/business supplies!
~~~
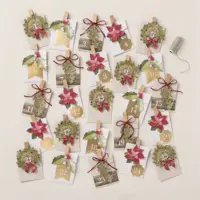
All online orders from me will receive a beautiful PDF of projects featuring the Modern Christmas suite.
Any online order in October placed through me will receive a gorgeous PDF of projects featuring the new Modern Christmas suite. This is a beautiful suite filled with Black, White & Gold foil accents.
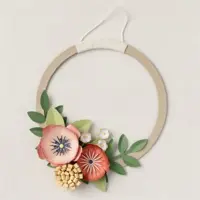
My colors are Black, White & Gold. I used multiple sheets of the Modern Christmas Designer paper. Notice that some of the trees are raised. I fussy cut a section from the designer paper and added it over a die-cut circle of another set of trees. I layered that onto a Black die-cut circle from the Spotlight on Nature dies. Finally I added one of the new gold hoops around it all. Tip: adhere the gold hoops with tiny dashes of Multipurpose Liquid Glue. Works great!
I hope you like this card; it’s one of the free projects included in the free PDF tutorial for anyone who orders from me in October. Click here to order!
And get the Starter kit here.*Choose your deal – $35 or $99 plus $90 in free products including free shipping, free Paper Pumpkin kit & free catalogs/business supplies!
~~~
All online orders from me will receive a beautiful PDF of projects featuring the Modern Christmas suite.
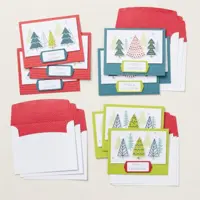
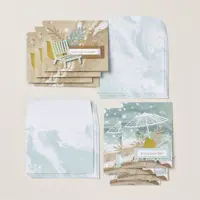
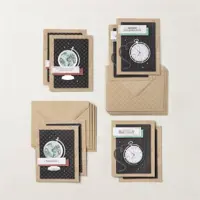
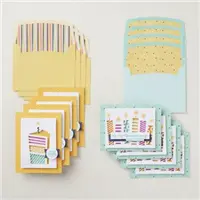
Easy box to gift or store cards in with free project sheet
I’m thrilled to share this fabulous box to gift or store hand made cards in. It starts with a box from our Kit Collection. They’re sturdy and look what you can do with one!
I shared how to make this on last week’s Live video. I know many of you have purchased kits from Stampin’ Up! and hopefully have a few of these saved. The inside organizing sections are made with the thin card board from our designer paper packs. Recycle!
I created a free project sheet so you can replicate this at home. I truly hope you do! Click hereto download or print this project sheet and also watch the video below to see how it’s made and see my tips for success too.
Notice: LeeAnn Greff, Independent Stampin’ Up! Demonstrator, Manager. The content of this website is my sole responsibility as an independent Stampin’ Up! demonstrator and the use of, and content of, the classes, services, or products offered on this website is not endorsed by Stampin’ Up! Copyright 2025


Leave a Reply