/


Latest Post

Season Sale starts tomorrow – TONS of items in the Annual catalog on discount!


Tuesday starts a fantastic 'Seasonal Sale' where almost every stamp set, punch, die sets, Designer Paper and embossing folder are on sale!  I've never seen anything like it! 

Here's the list on sale: 

  • 10% off all punches (yes every punch in the annual catalog)
  • 15% of all stamps (Host stamp sets are not included in this sale)
  • 20% off all dies (every die set too!)
  • 20% off all embossing folders
  • 20% off all non-specialty Designer Series Paper (all paper priced at $12)

Download 2022 November Seasonal Sale list here

**Make your list and order Tuesday or as soon as you can; it's possible they'll run out of stock of a few popular items.

Here are some of my favorite products shown in these past projects: 


**Click on each item to see it in my store:

Wisteria Wishes stamp set was $18 and is now $15.30. 

Wisteria dies were $35; now are $28 

Split Card Textures dies were $28 and are now $22.40


Sending Smiles bundle is $49 in the annual catalog now; but with the discounts and ordered separately it's just $45.10

Sending Smiles stamp set was $22; now is $18.70

Sending dies were $33; now is $26.40

Butterfly Kisses designer paper – was $12; now $9.60.   

Charming Sentiments stamp set was $23; now is $19.55

Sentiment Silhouettes dies were $35; now are $28

Build a Butterfly dies were $31; now $24.80,

Tailor Made Tags dies were $22; now are $17.60. 

Stylish Shapes dies were $32; now are $24! *a favorite! 

Nature's Prints bundle is $55.75 in the catalog now; but when ordering the stamp set & dies separately during this sale it's just $50.85 – almost a $5 savings!

Natures Prints stamp set were $25; now are $21.25.

Natural Prints dies were $37; now $29.60.

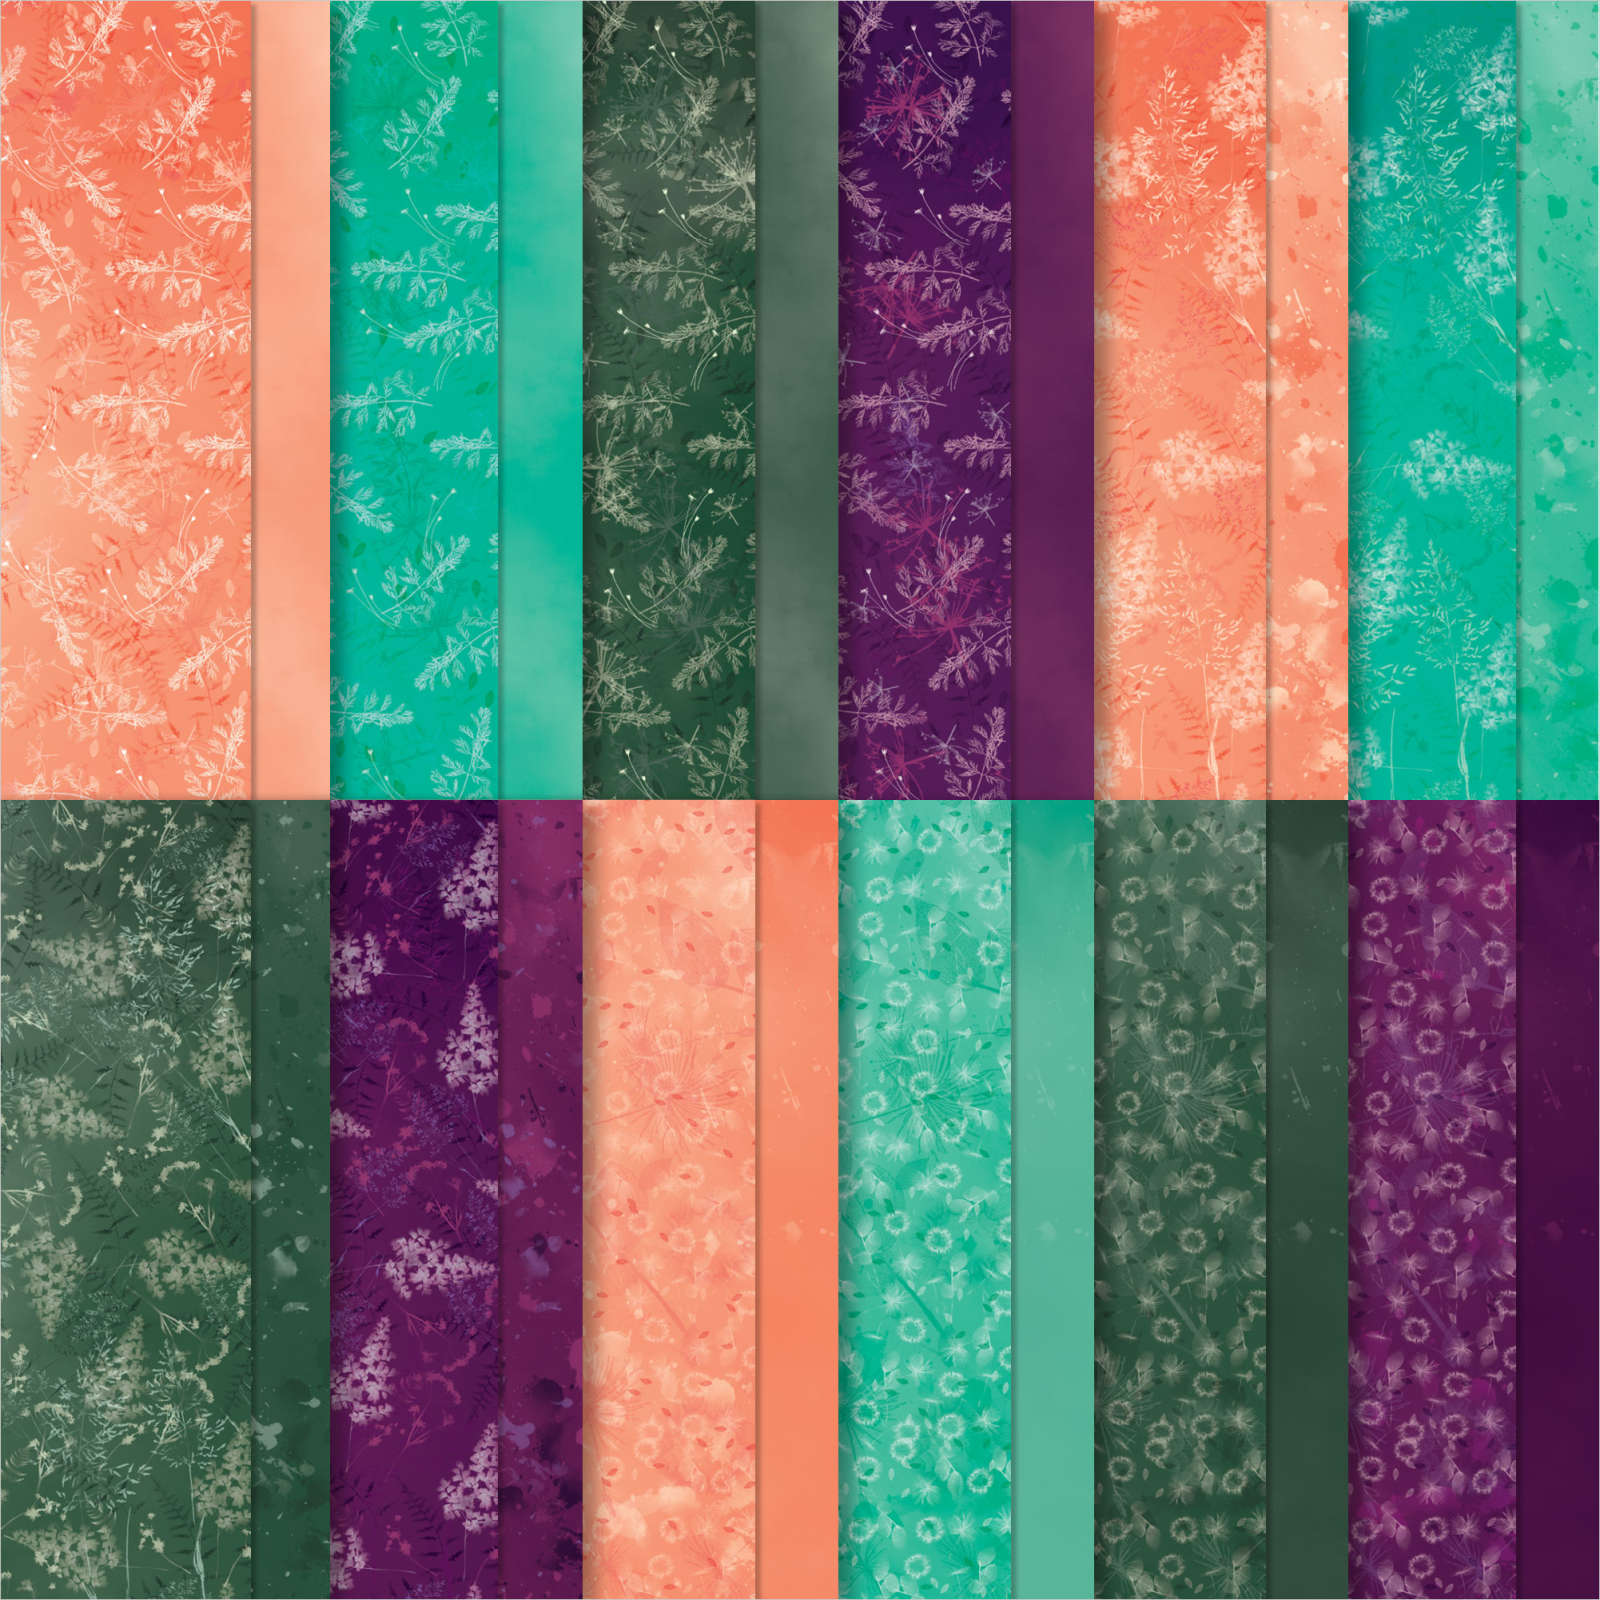
Sun Prints Designer paper was $12; now is $9.60 

Fern 3D embossing folder was $9; now is $7.20

Good Feelings stamp set was $24; now is $20.40. 

Pretty Prints DSP was $12; now $9.60. 

Botanical Layers stamp set was $23; now is $19.55.

Brilliant Wings dies were $44; now are$35.20. 

Cup of Tea stamp set was $23; now is $19.55

Teacup dies were $27; now are $21.60

Scalloped Contours dies were $35; now $28


Happiness Abounds bundle is currently $49.50 but with the Seasonal Sale it's $45.15!

Happiness Abounds was $23; now is 19.55

Blossoming Happiness dies were $32; now are $25.60

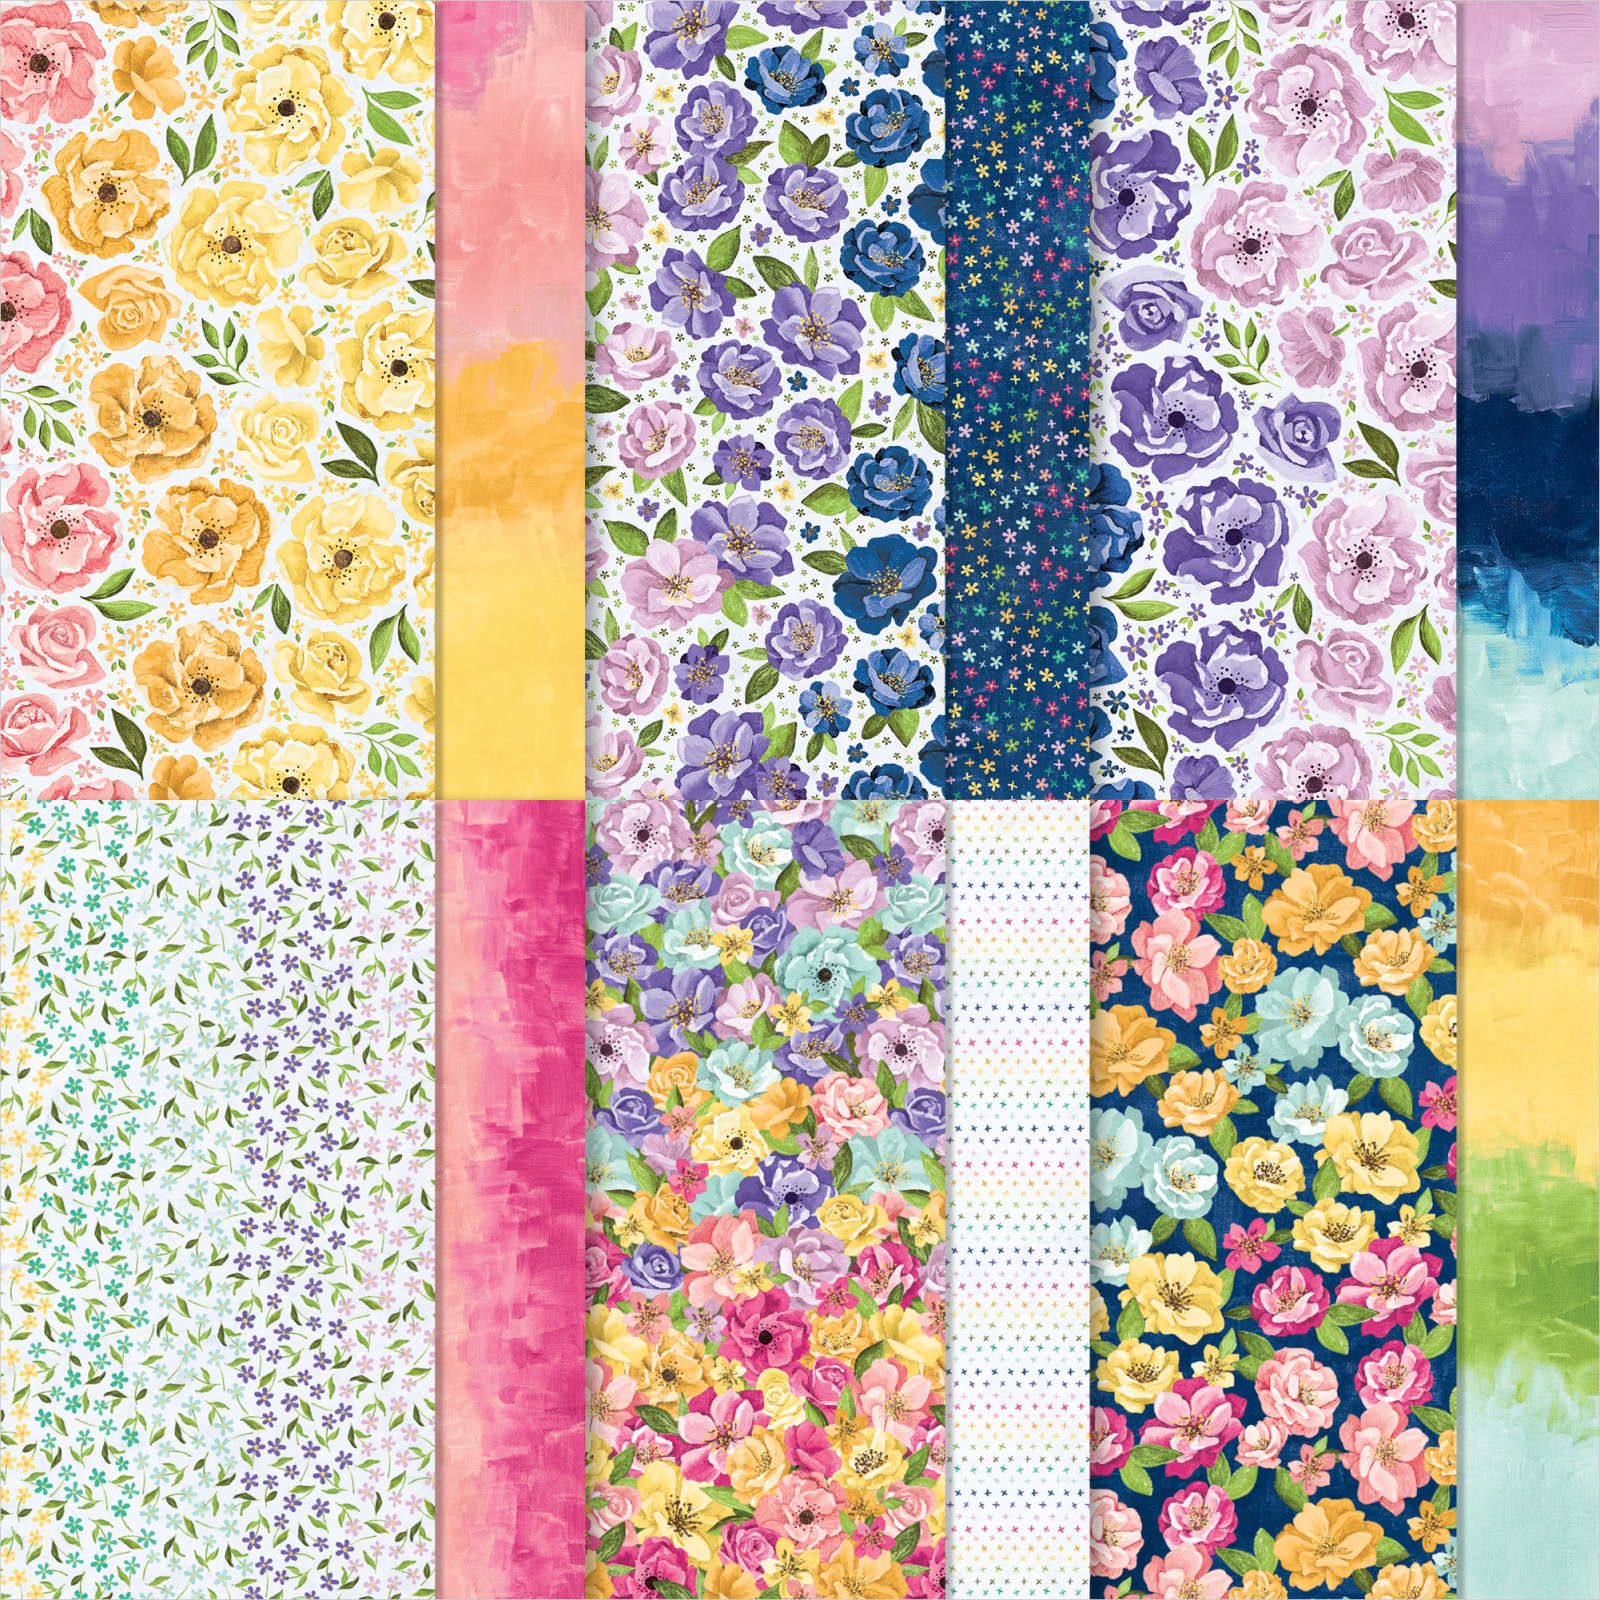
Hues of Happiness DSP was $12; now is $9.60

Sweet Songbirds stamp set is $19; now is $16.15

Songbird Builder punch was $19; now is $17.10

~~~

Order online here

Host code link: XZPZ6TDV  or BMGZZDPU

November Specials: 

*Seasonal Sale Nov 15-18!

10-20% off select Annual Catalog items

1. Seasonal Sale is on from November 15-18!  Discounts on Annual Catalog items!

2. Get a pack of mini dimensionals from me with online orders over $55!


3. All orders in November will receive a big project tutorial – a collection of 12 cards featuring this new collection of products.

Earn free products with my loyalty rewards! 

Click here to download yours and earn a $50 shopping spree!

All Posts

  • Merry Christmas to you!


    Merry Christmas! I hope you are able to spend it with loved ones.

    It’s my favorite time for our family! Our kids are coming as usual and we have a good time playing games, making puzzles, lots of sweet treats and good meals too. We also play Minute to Win It games and have an appetizer showdown too!

    Leave a Reply

    Your email address will not be published. Required fields are marked *

  • Pretty Bridge fold card with Snowflake Kisses with free project sheet & video tutorial


    I shared this pretty card on last week’s Live video. It features the Elegant Pine Snowflake designer paper and the Snowflake Kisses bundle.

    My colors include Pretty Peacock, White & Lost Lagoon above. The Elegant Pine Snowflake designer paper is beautiful and can be seen here.

    I created a second card with Secret Sea as the card base instead of Pretty Peacock. Which do you prefer?

    This card is a bridge fun fold layout. It starts out with a 5 1/2″ X 8 1/2″ card base but requires two extra cuts from the center score line down 1 1/8″ from each edge. It’s easy with our Paper Trimmer. Watch the video below to see how it’s done.

    I created a free project sheet for you with photos and measurements. Click here to print or download it.

    I hope you try one. If you haven’t made one before please watch the video below. They are quite fun to make & open!

    The photo below shows the card closed, the main panel lifted and the inside! Tip: We used a handmade stencil to sponge snowflakes on the inside. *cut snowflakes from a piece of card stock and sponge or blend ink through the windows.

    Below is the video tutorial which includes a second card with this bundle. I hope you watch it! Don’t forget to subscribe to my YouTube channel here.

    *You’ll receive a PDF with multiple projects featuring this product
    after the 20th of the month.
    ~~~

    The Last Chance list has been updated!
    Click here to shop.

    Get a free PDF tutorial with any online order from me in December!

    Leave a Reply

    Your email address will not be published. Required fields are marked *

  • Save time on finishing the inside of your cards with this trick!


    I’m excited to share these stunning snowflake cards with you today. We made them at my card clubs in December.
    Living in North Dakota, we usually see a lot of snow in the winter so these cards are great for many occasions.

    I used the Snowflake Kisses bundle seen here. It’s filled with wonderful greeting images and lots of snowflake dies.

    My colors include Pretty Peacock with Cloud Cover and Gorgeous Grape with Fresh Freesia. I think blues & purples are perfect for snowflakes. We used a blending brush to add more color to the large snowflake die-cut.

    After creating the cards above I thought I’d try combining the colors on the large die-cut.

    Isn’t that pretty? I just love combining Gorgeous Grape with Pretty Peacock on the Fresh Freesia die-cut. Blending Brushes make this a breeze!

    Look how we finished the inside.

    I wanted to add snowflakes to the inside of the card but didn’t want to die-cut tons of them for my club gals. So I came up with creating a snowflake stencil.
    I cut multiple snowflakes from a piece of card stock and we used Blending Brushes to add pretty snowflakes to our White layer. I truly love the effect it gives.

    If you’d like the free project sheet for this card click here. You can download or print it.

    See how this card is made in the video below. I also shared a second Snowflake Kisses fun fold card.

    *You’ll receive a PDF with multiple projects featuring this product
    after the 20th of the month.
    ~~~

    The Last Chance list has been updated!
    Click here to shop.

    Get a free PDF tutorial with any online order from me in December!

    Leave a Reply

    Your email address will not be published. Required fields are marked *


Notice: LeeAnn Greff, Independent Stampin’ Up! Demonstrator, Manager. The content of this website is my sole responsibility as an independent Stampin’ Up! demonstrator and the use of, and content of, the classes, services, or products offered on this website is not endorsed by Stampin’ Up! Copyright 2025