/


Latest Post

Save time on finishing the inside of your cards with this trick!


I’m excited to share these stunning snowflake cards with you today. We made them at my card clubs in December.
Living in North Dakota, we usually see a lot of snow in the winter so these cards are great for many occasions.

I used the Snowflake Kisses bundle seen here. It’s filled with wonderful greeting images and lots of snowflake dies.

My colors include Pretty Peacock with Cloud Cover and Gorgeous Grape with Fresh Freesia. I think blues & purples are perfect for snowflakes. We used a blending brush to add more color to the large snowflake die-cut.

After creating the cards above I thought I’d try combining the colors on the large die-cut.

Isn’t that pretty? I just love combining Gorgeous Grape with Pretty Peacock on the Fresh Freesia die-cut. Blending Brushes make this a breeze!

Look how we finished the inside.
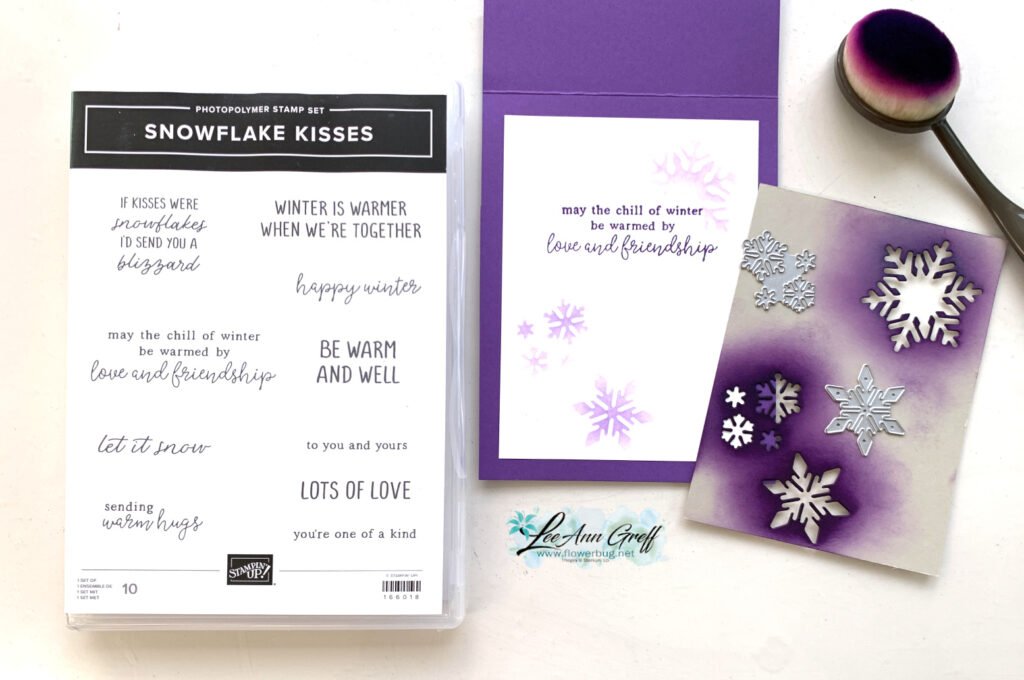
I wanted to add snowflakes to the inside of the card but didn’t want to die-cut tons of them for my club gals. So I came up with creating a snowflake stencil.
I cut multiple snowflakes from a piece of card stock and we used Blending Brushes to add pretty snowflakes to our White layer. I truly love the effect it gives.

If you’d like the free project sheet for this card click here. You can download or print it.

See how this card is made in the video below. I also shared a second Snowflake Kisses fun fold card.

*You’ll receive a PDF with multiple projects featuring this product
after the 20th of the month.
~~~

The Last Chance list has been updated!
Click here to shop.
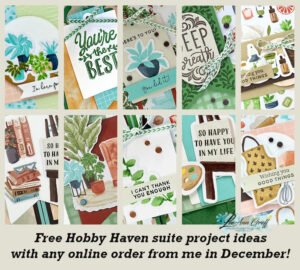
Get a free PDF tutorial with any online order from me in December!
All Posts

  • Plaid Tidings & Celebration Tidings pair up for October’s cards kit!


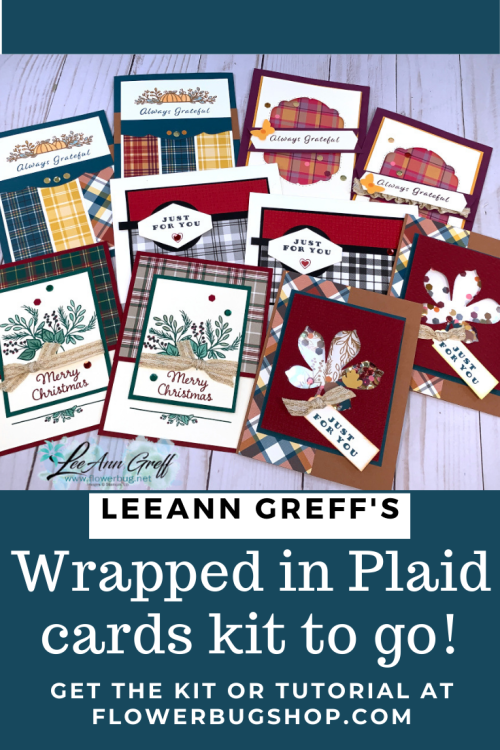
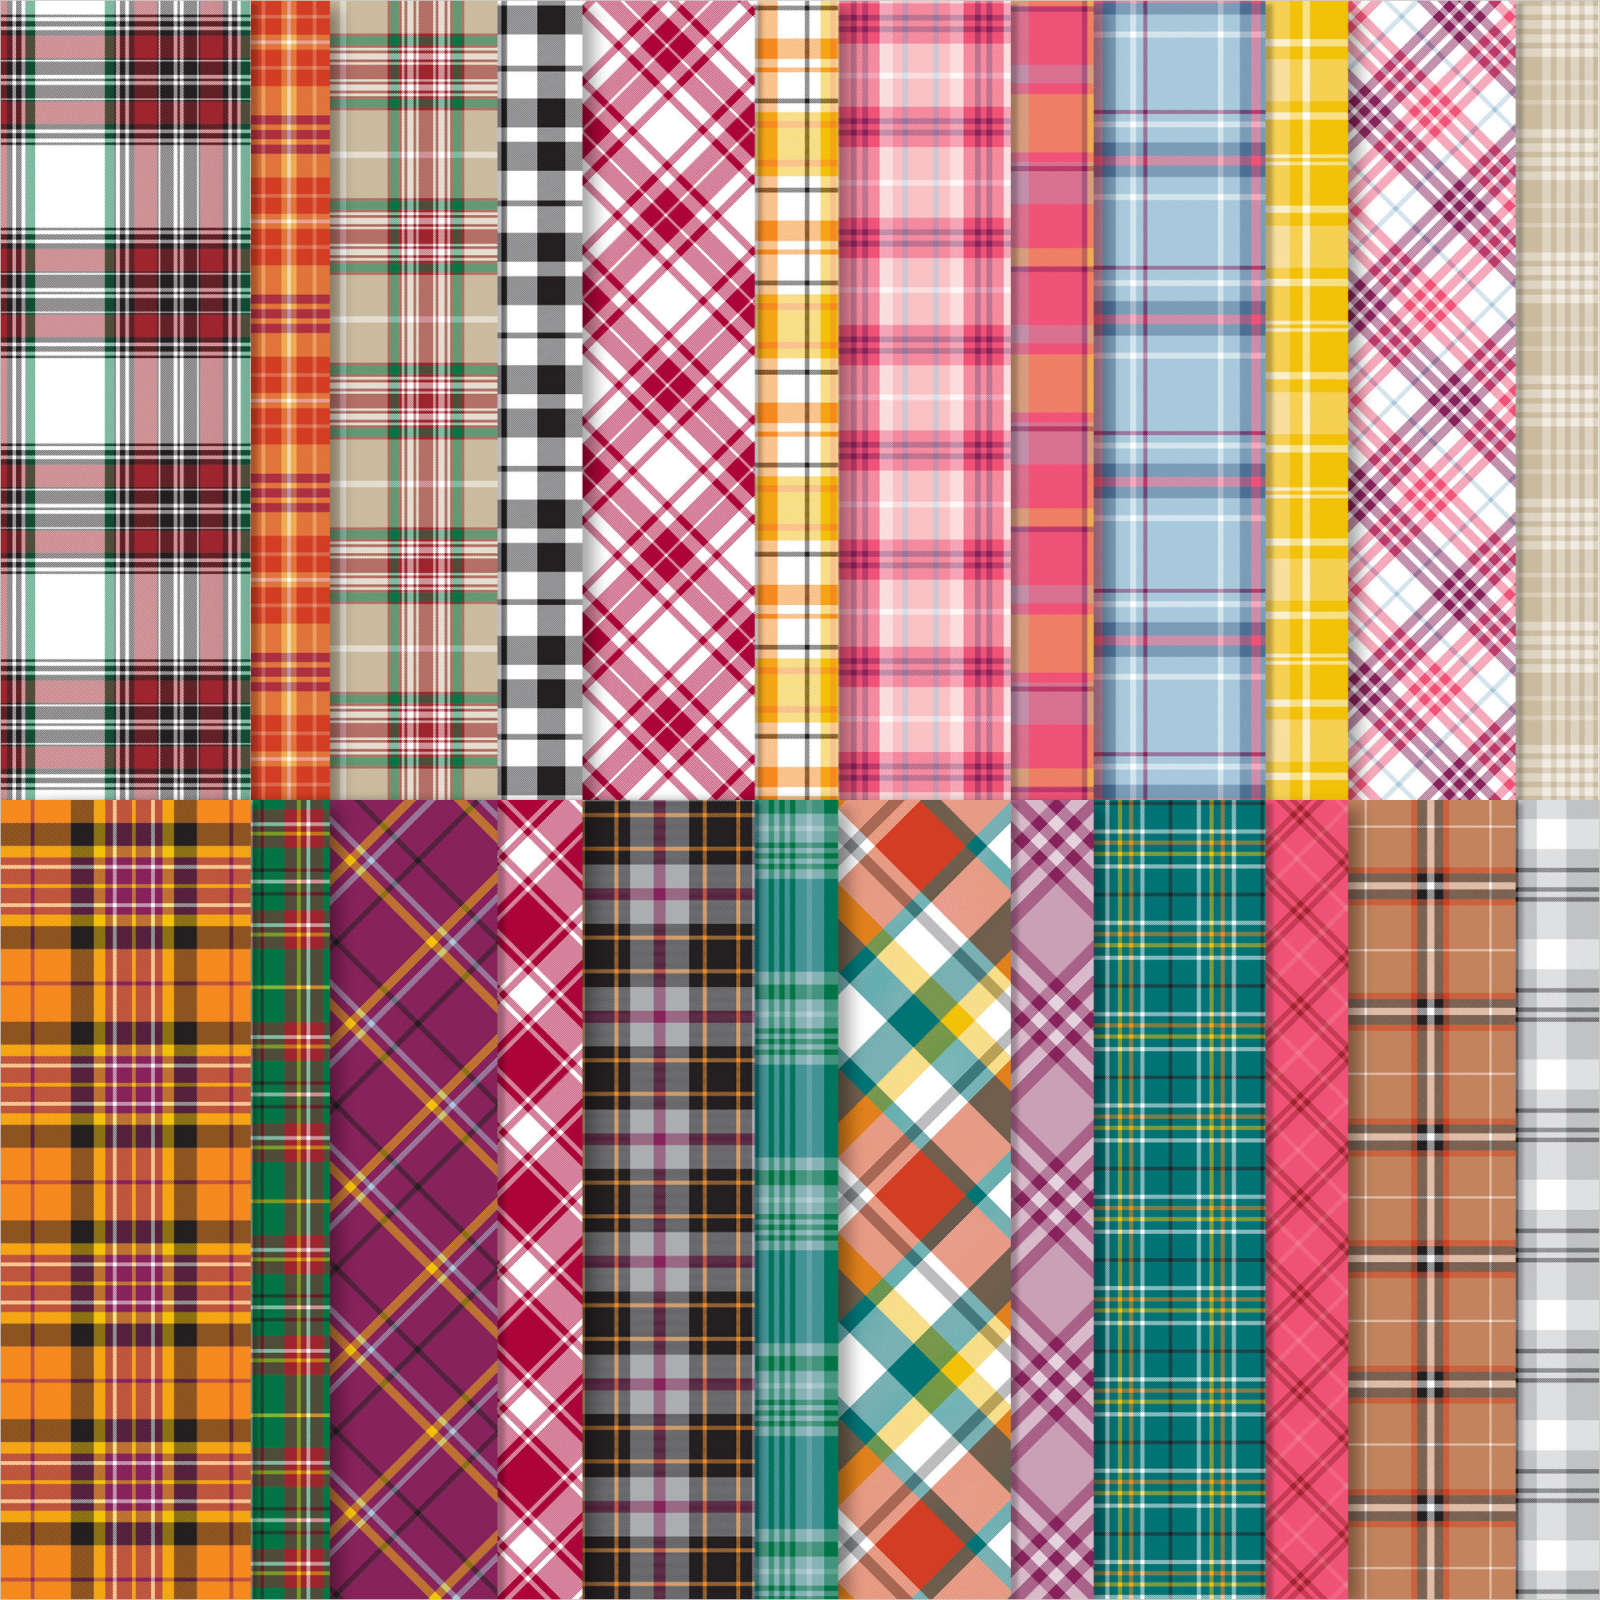
    One of October's card kits to go features the incredible Plaid Tidings designer paper!   

    This designer paper contains classic, all season plaids in lots of colors. Each pack has 48 sheets of patterned paper: 4 each of 12 double-sided designs and it's currently on sale. 

    It's so versatile and it these 10 cards show it off nicely!  I featured a few of the upcoming Holiday's in these pretty cards.  This kit is the one my current kit subscribers will receive. There's an additional kit available too; see below. 


    This pre-cut kit includes $20 in current Stampin' Up! product, all for just $28! Yes; you're getting the 10 cards for just a few dollars when you add in tax & shipping. 

    In your kit to go you'll receive:

    • a package of Plaid Tidings Designer Series Paper
    • A spool of 3/8" embroidered ribbon
    • a share of Sequins for Everything
    • the free pdf tutorial for all 10 cards (valued at $15)

    This pdf written tutorial is available separately at my Tutorial shop here.  It includes step by step directions, measurements, a supplies list and photos.  

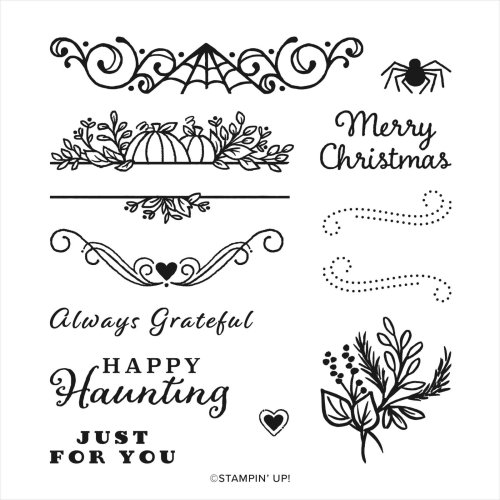
    I used the Celebration Tidings stamp set on all 10 cards; it's a fabulous holiday set and coordinates with the Celebration labels dies.  

    You have three choices for this cards kit.  See two here. 

    • Cards kit & tutorial – $28 (plus $8 Priority Shipping)
    • Cards kit, the stamp set & tutorial $56 with shipping *please email me at lagreff60@gmail.com and I'll send you a PayPal invoice 
    • PDF Tutorial only $15  

    Tomorrow I'll share the other cards kit available this month!  It features the Heartwarming Hugs DSP and includes 10 Fun-fold cards in the kit!  Save shipping and get both kits!  Go here to see them all. 

    ~~~

    October Specials!

    Current Host code is MJK7R2CU

    Designer Paper Sale; click here!

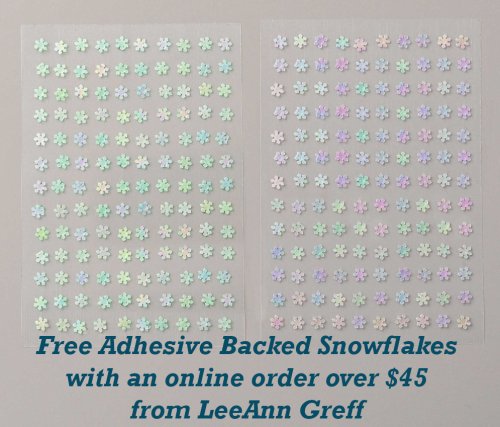
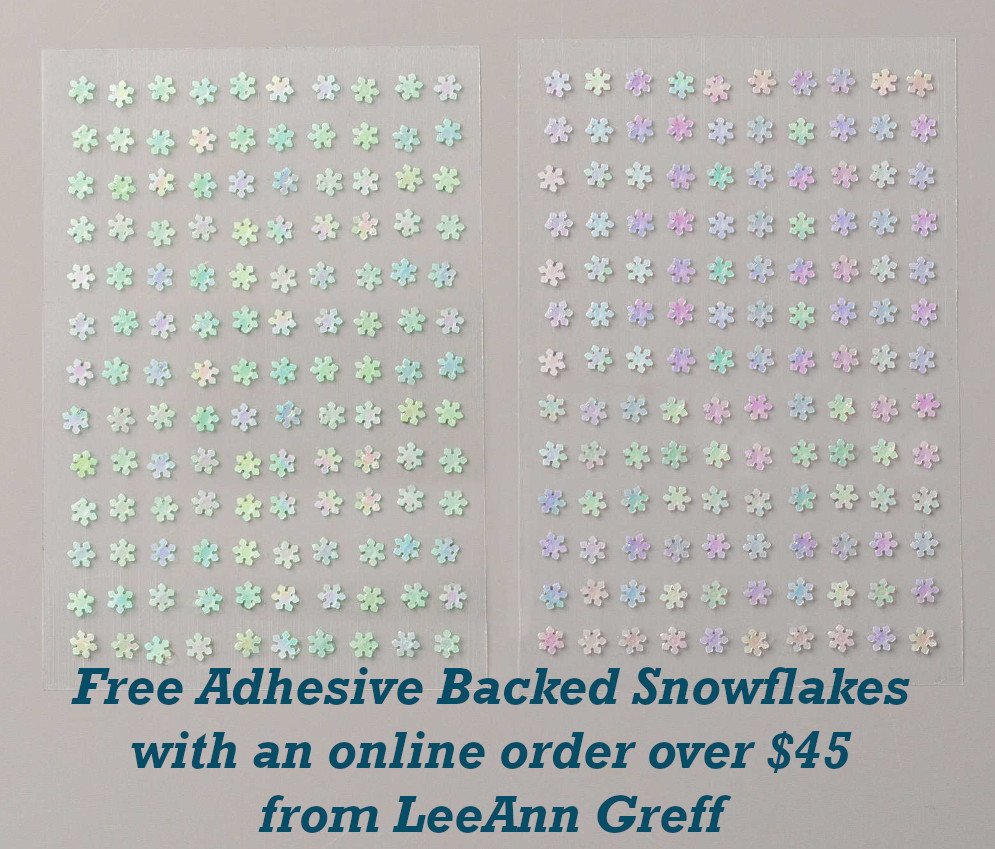
    Get a free package of Adhesive Backed Snowflakes in October with an

    online order over $45. 


    All online orders will receive my Tutorial of the Month featuring the Poinsettia Petals suite!

    Leave a Reply

    Your email address will not be published. Required fields are marked *

  • Fun Fold card with two versions!


    Saturday was World Card Making Day!  Did you make time to stamp?  First; did you even know about it?  

    We had a few stamping events on my Flowerbug's Team group and Mystery Stamping was one of them.  I sent them measurements so they could prep for the card making event but they didn't have a photo of the card!  Just measurements and supplies.  Use any Designer Paper, etc…..  It was fun to see what they all made.  

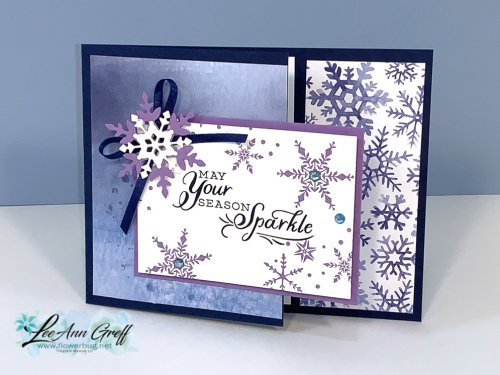
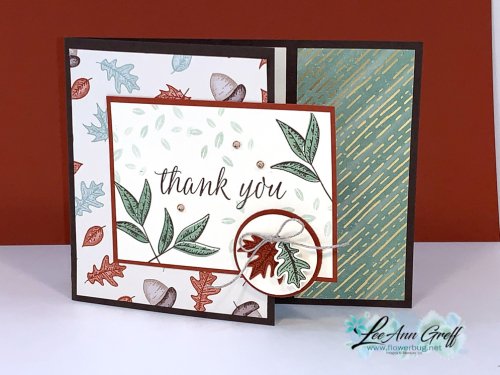
    Below are the two fun fold cards I made.  

    The front of the card is cut short to reveal the Designer paper on the left (inside) of the card.  Above I used the Snowflake Splendor designer paper and the Snowflake Wishes stamp set & dies bundle.  This designer paper is on sale right now at 15% off.  See all of the papers on sale here: 

    Next is a card made with the Gilded Autumn specialty designer paper and the Beautiful Autumn stamp & punch bundle.  You can see the measurements for these cards below. 

    Here are the measurements:

    • 2 pieces of Designer Series Paper (3 1/4" x 4" plus a coordinating piece 1 3/4" X 4")
    • Coordinating card base (9" x 4 1/4" scored at 5 1/2")
    • neutral CS like White or Vanilla (2 1/2" X 3 1/2" and 3 3/4" X 3 1/4" for inside)
    • a coordinating layer of CS (2 5/8" X 3 5/8")

    ~~~

    October Specials!

    Current Host code is MJK7R2CU

    Designer Paper Sale; click here!

    Get a free package of Adhesive Backed Snowflakes in October with an

    online order over $45. 


    All online orders will receive my Tutorial of the Month featuring the Poinsettia Petals suite!

    Leave a Reply

    Your email address will not be published. Required fields are marked *

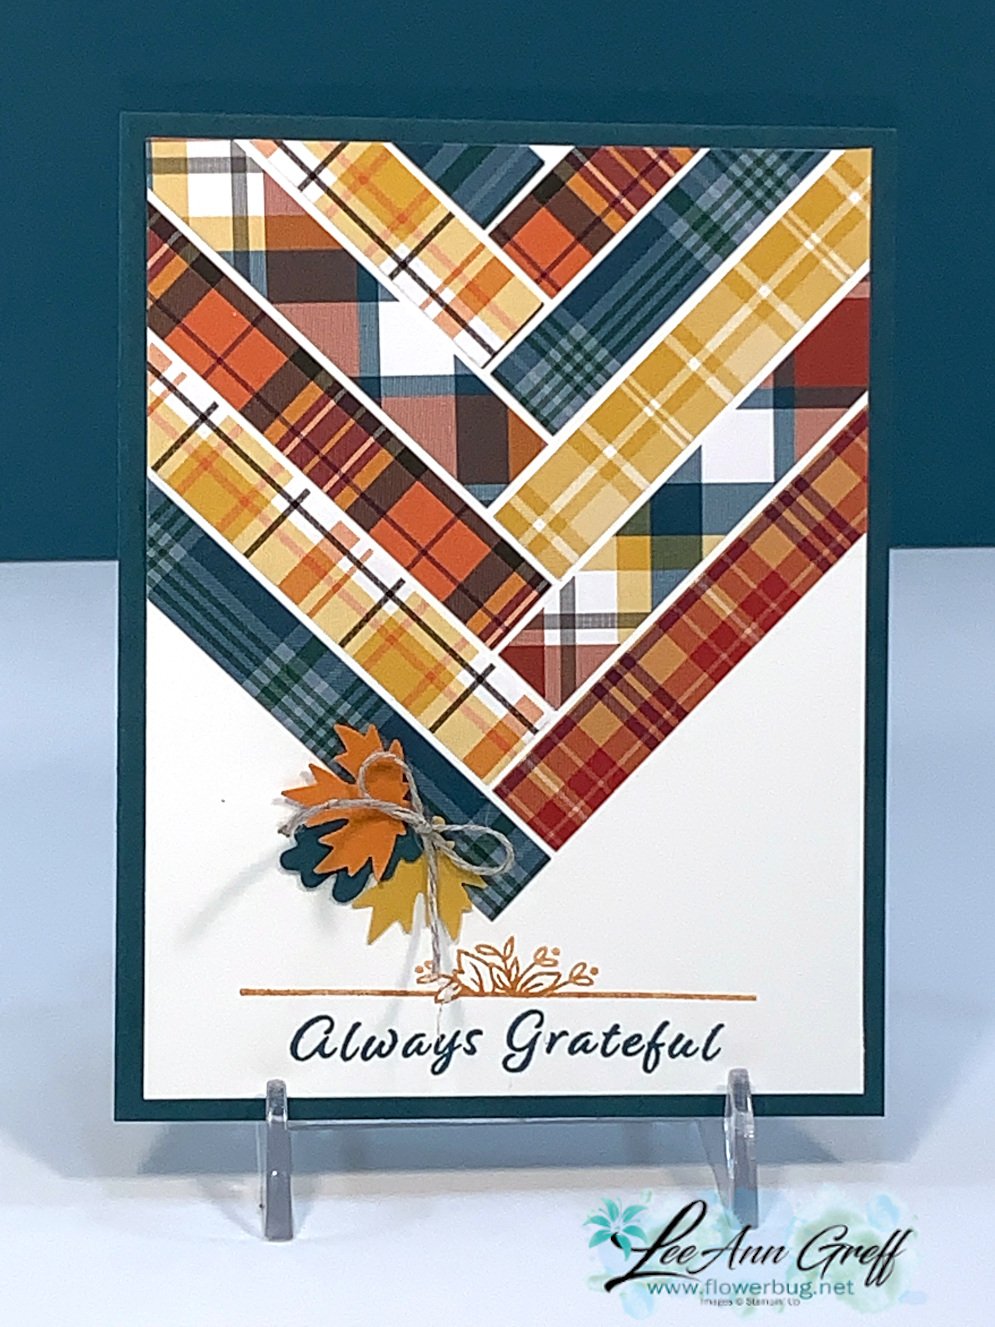
  • Don’t miss this fun technique; use those Designer Paper scraps!


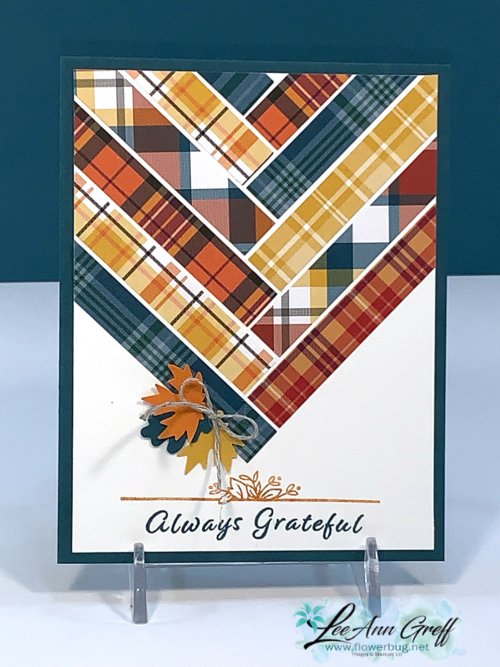
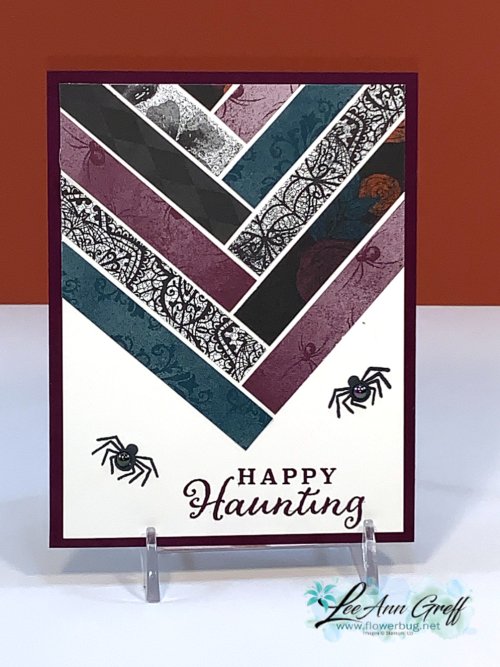
    Do you have trouble tossing those small pieces of Designer Paper left from a project?  I sure do!  There has to be a way to use them, right?  Well you can use them easily with this technique! 

    See?  It's quite eye-catching isn't it?  I kept the cards very simple to highlight the paper.  Each one features the Celebration Tidings stamp set. The card above features the Plaid Tidings designer paper; it's on sale right now too!  

    Watch the video below to get the tips on how to create these.  You just need some 1/2" strips and a ruler. 

    The card above features the Magic in This Night Designer paper.  The card below is the Tis the Season Designer paper; both on sale in October here!  

    Watch the quick video below to get the tricks on this fun technique. 


    ~~~

    October Specials!

    Current Host code is MJK7R2CU

    Designer Paper Sale; click here!

    Get a free package of Adhesive Backed Snowflakes in October with an

    online order over $45. 


    All online orders will receive my Tutorial of the Month featuring the Poinsettia Petals suite!

    Leave a Reply

    Your email address will not be published. Required fields are marked *


Notice: LeeAnn Greff, Independent Stampin’ Up! Demonstrator, Manager. The content of this website is my sole responsibility as an independent Stampin’ Up! demonstrator and the use of, and content of, the classes, services, or products offered on this website is not endorsed by Stampin’ Up! Copyright 2025