/


Latest Post

Save time on finishing the inside of your cards with this trick!


I’m excited to share these stunning snowflake cards with you today. We made them at my card clubs in December.
Living in North Dakota, we usually see a lot of snow in the winter so these cards are great for many occasions.

I used the Snowflake Kisses bundle seen here. It’s filled with wonderful greeting images and lots of snowflake dies.

My colors include Pretty Peacock with Cloud Cover and Gorgeous Grape with Fresh Freesia. I think blues & purples are perfect for snowflakes. We used a blending brush to add more color to the large snowflake die-cut.

After creating the cards above I thought I’d try combining the colors on the large die-cut.

Isn’t that pretty? I just love combining Gorgeous Grape with Pretty Peacock on the Fresh Freesia die-cut. Blending Brushes make this a breeze!

Look how we finished the inside.
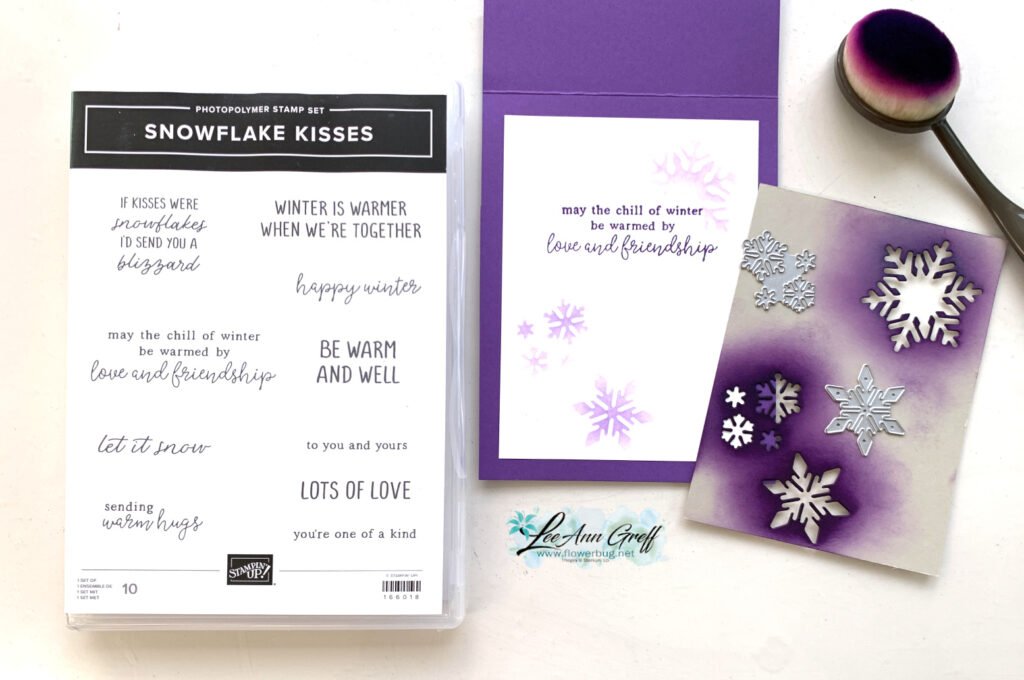
I wanted to add snowflakes to the inside of the card but didn’t want to die-cut tons of them for my club gals. So I came up with creating a snowflake stencil.
I cut multiple snowflakes from a piece of card stock and we used Blending Brushes to add pretty snowflakes to our White layer. I truly love the effect it gives.

If you’d like the free project sheet for this card click here. You can download or print it.

See how this card is made in the video below. I also shared a second Snowflake Kisses fun fold card.

*You’ll receive a PDF with multiple projects featuring this product
after the 20th of the month.
~~~

The Last Chance list has been updated!
Click here to shop.
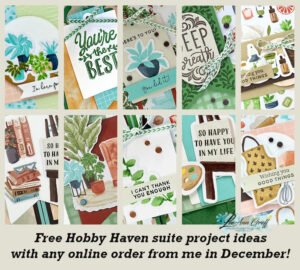
Get a free PDF tutorial with any online order from me in December!
All Posts

  • Easiest Shaker card you’ll ever make!


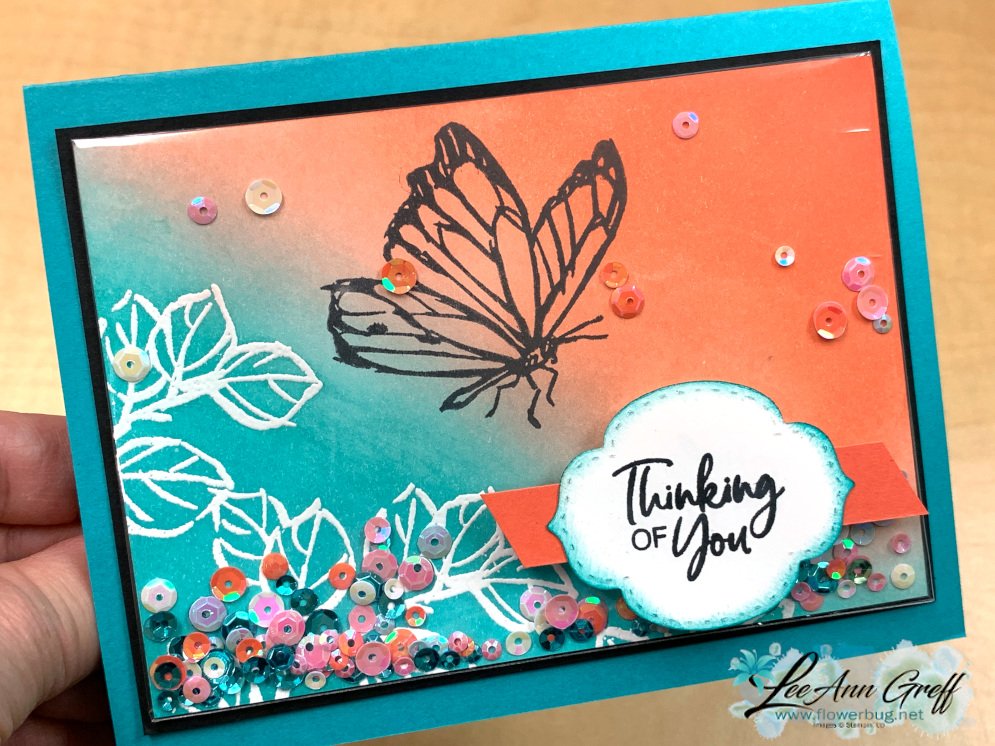
    Giving an interactive card makes the card extra special like shakers, spinners or fun folds.  But they can be time consuming or a lot of work.  

    I used the free 'A Touch of Ink' stamp set from the Sale-a-Bration catalog.  You can see it here.  That background was made with our Blending Brushes and Bermuda Bay & Calypso Coral ink.

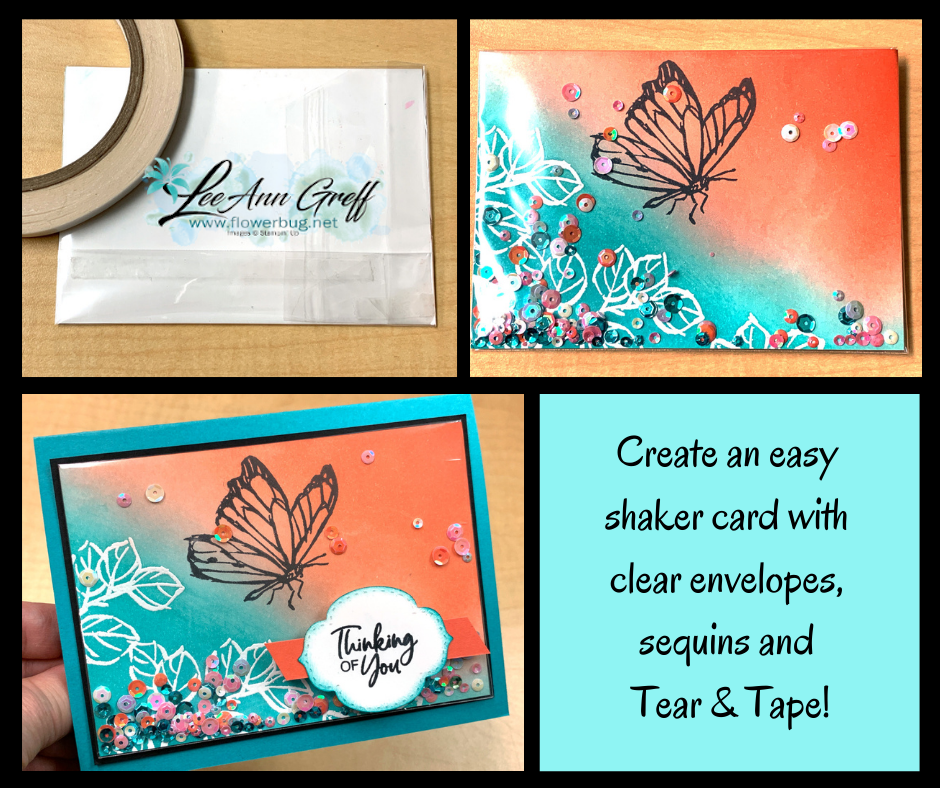
    This type of shaker card is truly easy; really!  Besides the stamped element you need three basic things:

    1.  A clear envelope
    2. Strong adhesive
    3. Sequins, beads or tiny punched pieces

    Insert your stamped card stock into the clear envelope, fold the excess envelope over to the back and seal with adhesive leaving one end open.  Add your fun filler and seal closed.  

    The pretty sequins in this card are the Woven Threads sequins in the annual catalog on page 157.

    I made a video in December on making one of these shaker cards.  Even though it's a Christmas card it's the same technique. Here it is:

    January Specials:

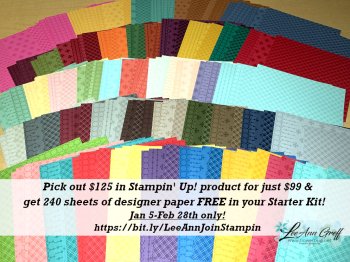
    During Sale-a-Bration you get 5 packs of NEW 6" Designer Paper FREE with purchase of the Starter Kit! 

    It's 25% off with Free shipping.  $99 and pick out $125 in product


    Go here to read about it

    ~~~

    Current Host code is RHSK6A2F

    Order online here

    All online orders receive my new 12 X 12" One Sheet Wonder Tutorial!

    Plus get a package of 200 Pastel Pearls from me with

    an online order over $50 using the host code above.

    *If your order is over $150 do not use the code; you'll still receive a gift! 

    Below are the Multipurpose Glue stands we're making. They're $6 each and available in my Shop here.  

    Leave a Reply

    Your email address will not be published. Required fields are marked *

  • Easy Fun Fold card! Stamp with Me tonight on FB Live


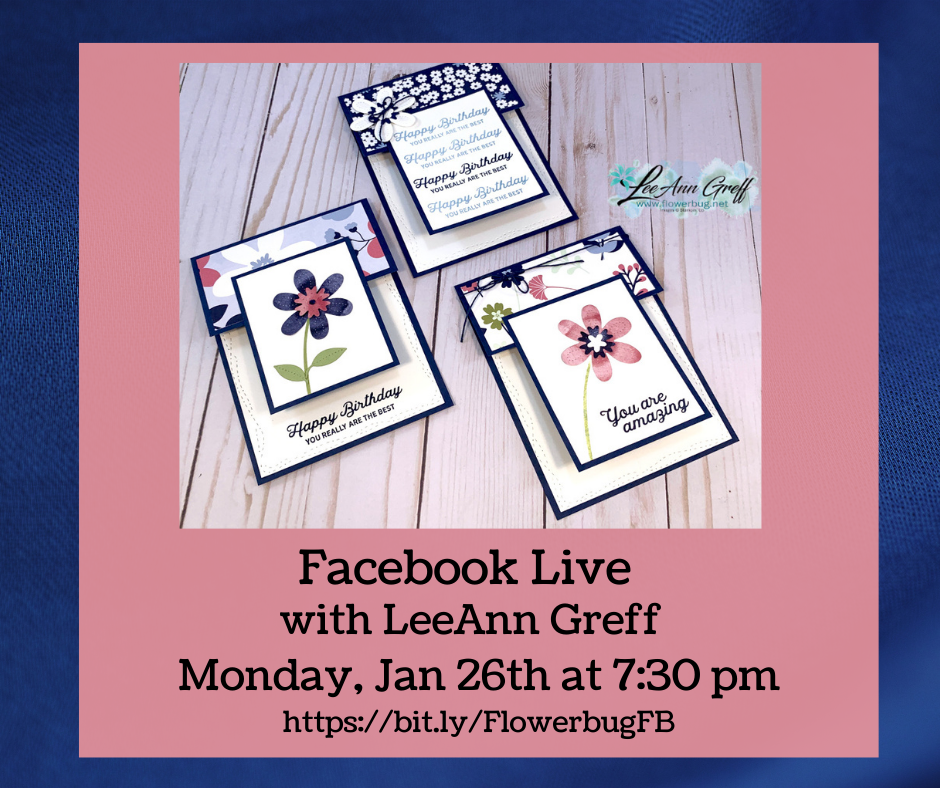
    Tonight at 7:30 pm I'm making these easy fun fold cards on Facebook Live!  Join me and create right along with me.  Click here to join me on my FB page. 

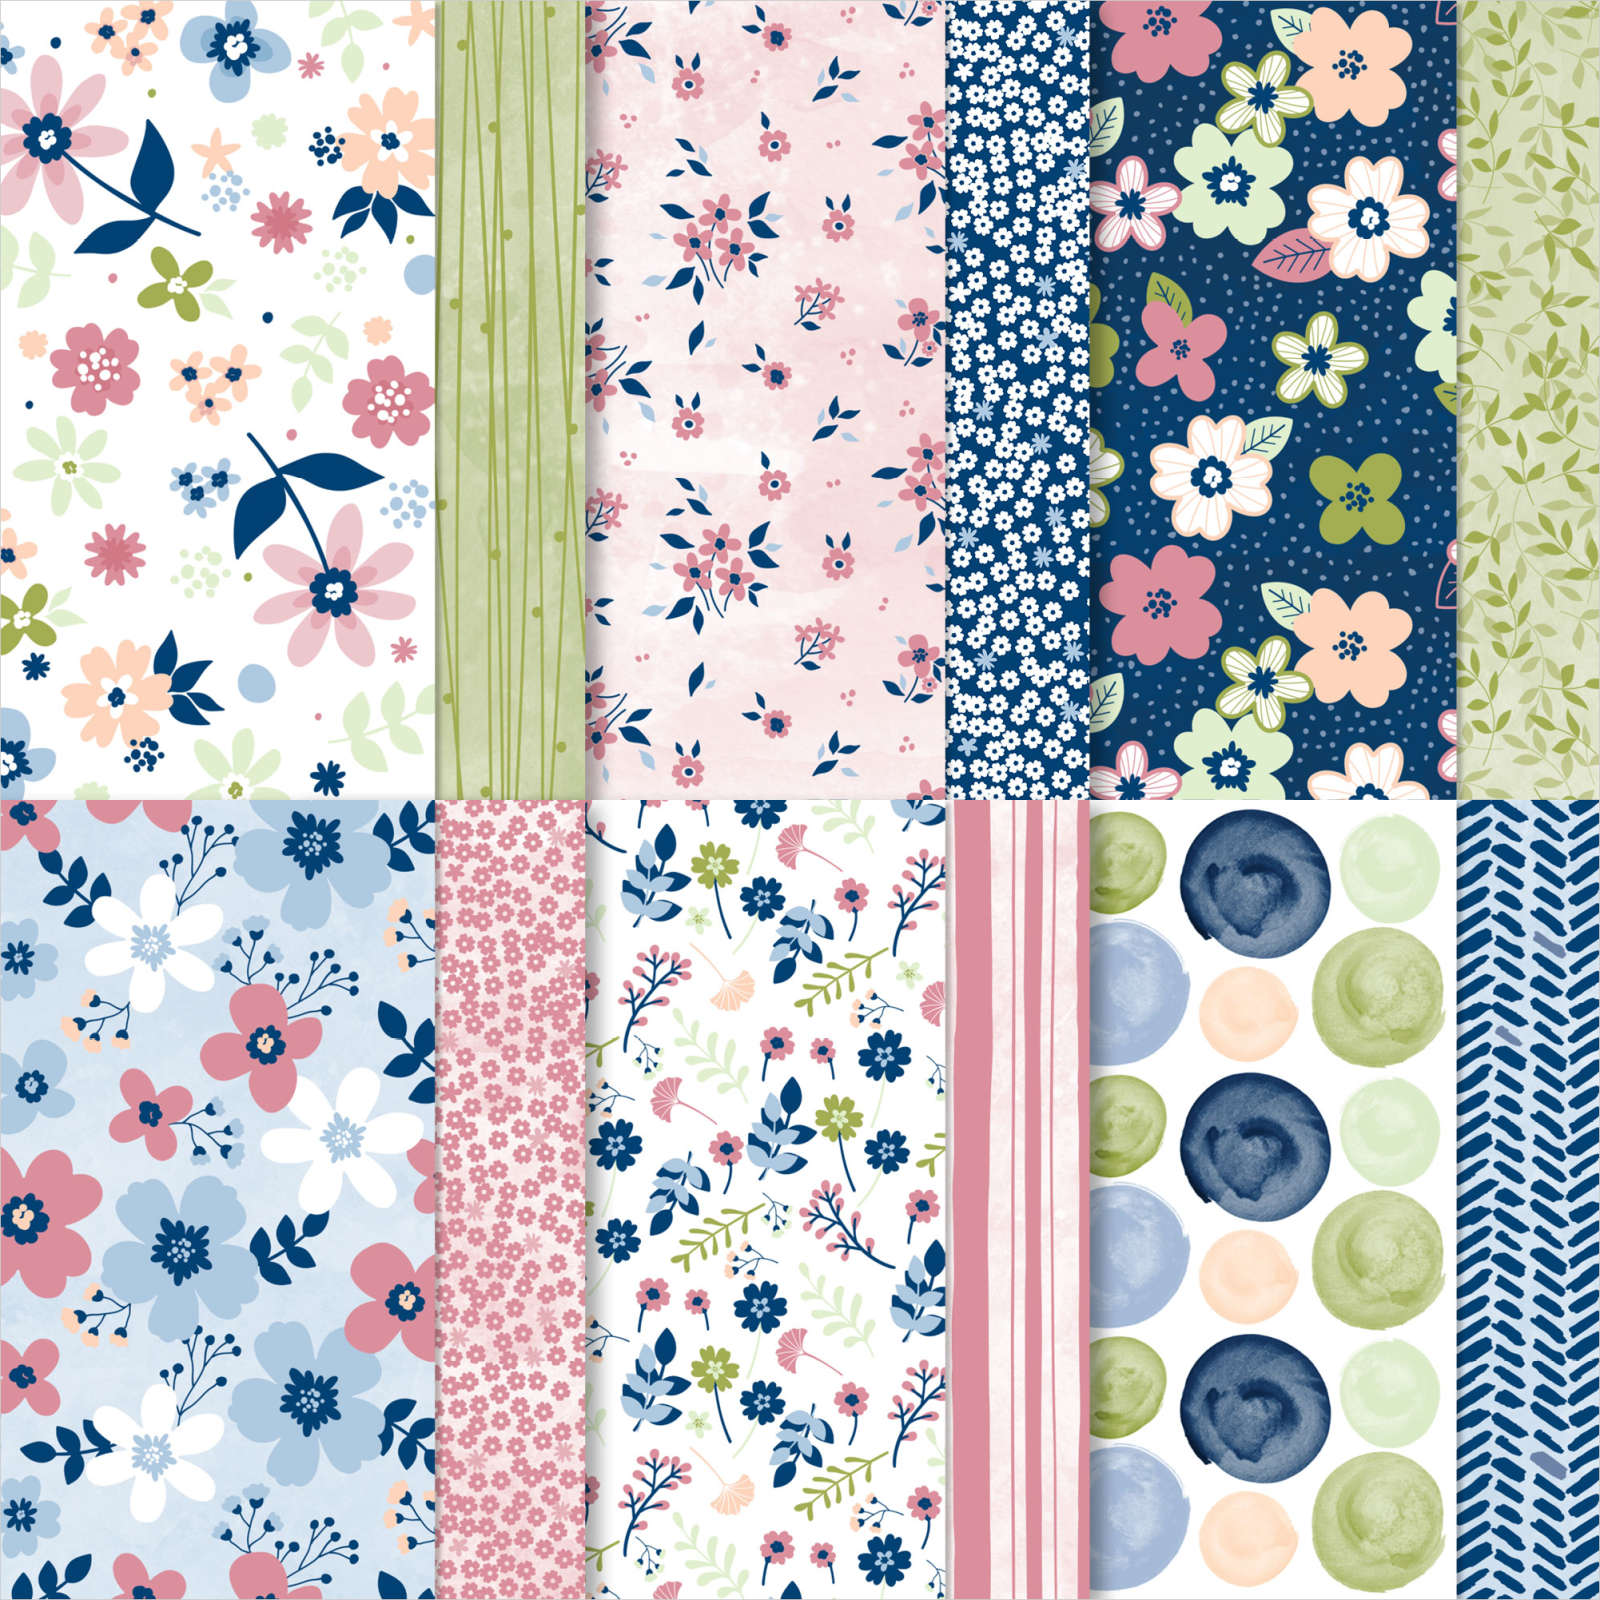
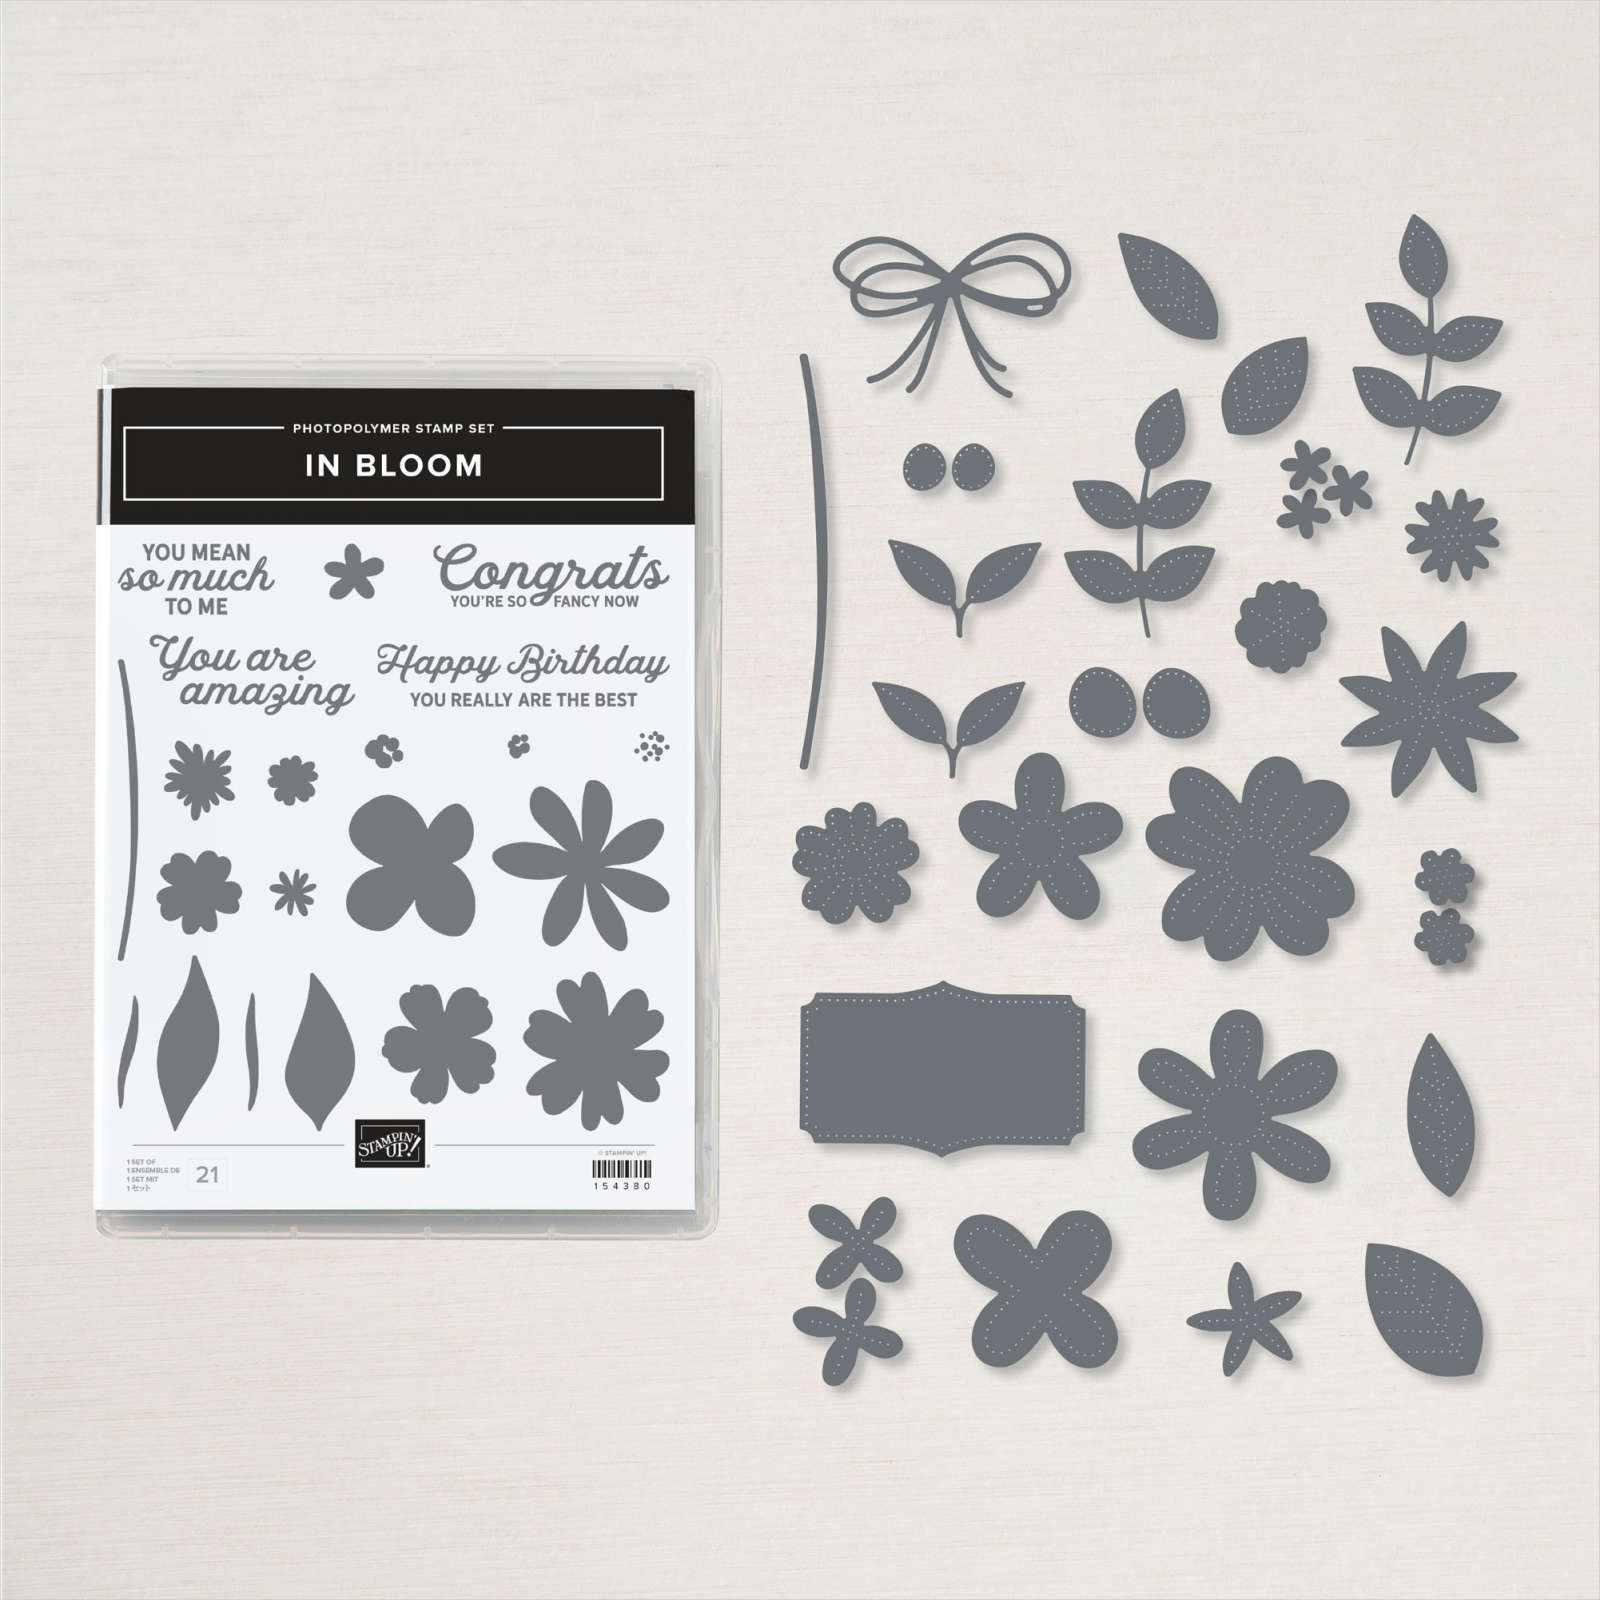
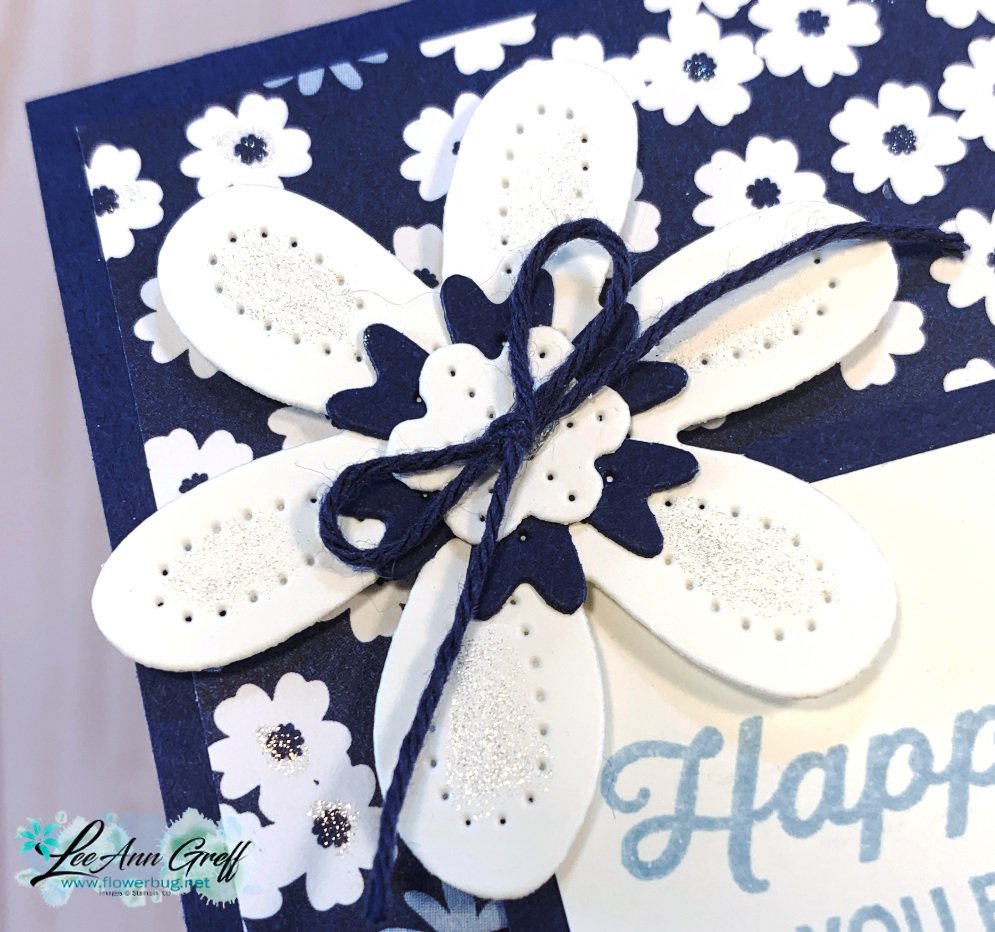
    I used the Paper Blooms DSP, Stitched in Whimsy & In Bloom bundle in Night of Navy & White. This pretty designer paper is free with any $50 order during our Sale-a-Bration promotion.  See it here. 

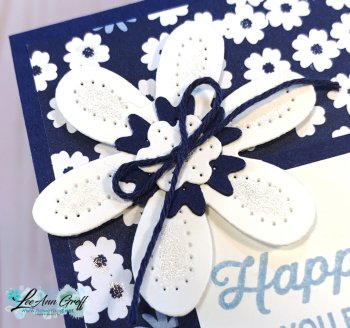
    See that neat stitching on the inside of the card?  That's my new favorite 'Stitched with Whimsy' dies; seen here. 

    I used both the dies and the stamp set on my front panels.  I also stamped the greeting on the inside layer on the bottom left card.  

    You can see this neat In Bloom bundle here.  Look at these dies!  Love the stitching!


    Measurements:
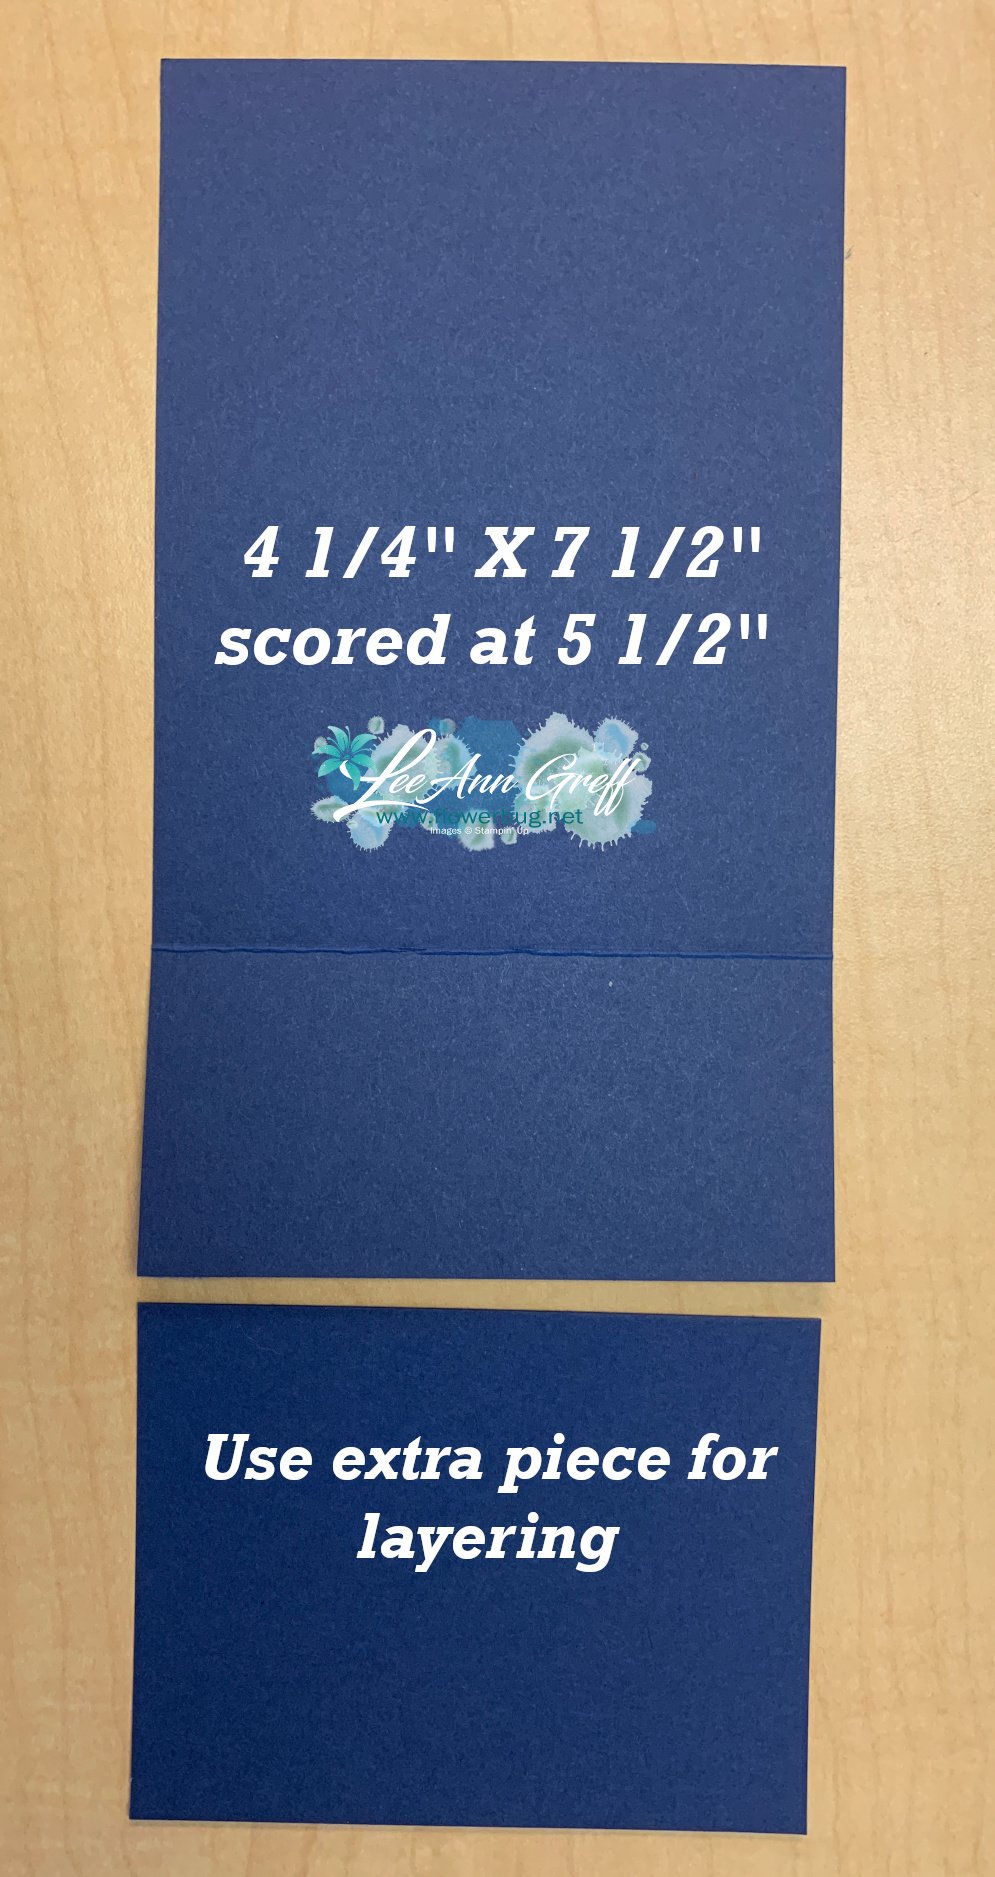
    Main card 4 1/4" X 7 1/2" scored at 5 1/2" *save the extra piece for the front layer ( 3 1/2" X 2 3/4"
    White 4" X 5 1/4", 3 1/4" X 2 1/2"
    DSP 1 3/4” X 4”.
     
    The neat thing about this card is that you can use what you cut off of the main card as your layer on the front flap.  Love that! 
     
     
    I hope to see you tonight here on Facebook!  

    ~~~

    January Specials:

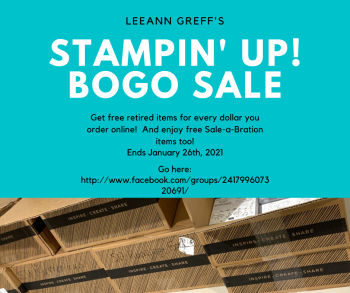
    Tomorrow is the last day of my BOGO Sale!  

    *Order new Stampin' Up! items and get retired items FREE!

    Go here to see it all. 


    During Sale-a-Bration you get 5 packs of NEW 6" Designer Paper FREE with purchase of the Starter Kit! 


    Go here to read about it

    ~~~

    Current Host code is RHSK6A2F

    Order online here

    All online orders receive my new 12 X 12" One Sheet Wonder Tutorial!

    Plus get a package of 200 Pastel Pearls from me with

    an online order over $50 using the host code above.

    *If your order is over $150 do not use the code; you'll still receive a gift! 

    ~~~

    Get a package of 200 Pastel Pearls from me with an online order over $50 using the host code above.

    *If your order is over $150 do not use the code; you'll still receive a gift! 

    Below are the Multipurpose Glue stands we're making. They're $6 each and available in my Shop here.  

    Leave a Reply

    Your email address will not be published. Required fields are marked *

  • Don’t miss out on our best deal!


    I want to ask you 3 questions:

    1. Do you have a long wish list of Stampin' Up! products?
    2. Have you ever wished you could get all of your Stampin' Up! products on sale?
    3. Have you wanted to see the new catalogs early?  And order products early too?!

    If you answered yes to any of the above I hope you'll tune in to my Facebook Live on Tuesday evening.  I am going to go over the truths & myths of becoming a Stampin' Up! Demonstrator.  I'm also sharing how I got started.

    Here's a link to the event.  Opt in and you'll get notified when I'm on. 

    For those of you not on Facebook, I'll upload it to YouTube on Wednesday here. 


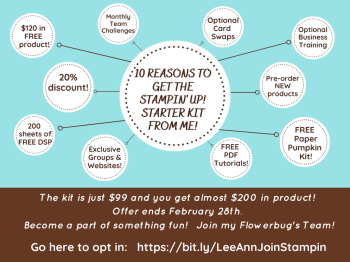
    I asked my Flowerbug's to share their 'why' and it was so neat to hear their responses!  They are so happy they made the decision; I've never had anyone tell me they regretted it.  Ever!
    Some have been with me more than 10 years and never held a class!  And that's okay! A few have had some classes to help them meet their minimums and a few hold regular events.
    Here are their most popular reasons:

    1. They love the discount of 20% or more on all their purchases.
    2. They're enjoying being a part of something so upbeat and rewarding, making friends online and in person.
    3. They don't want to give up the Stampin' Up! online community. There are numerous, exclusive websites they have access to with tons of inspiration not seen anywhere else. 
    4. They really love getting their catalogs early and ordering from them before anyone else. 

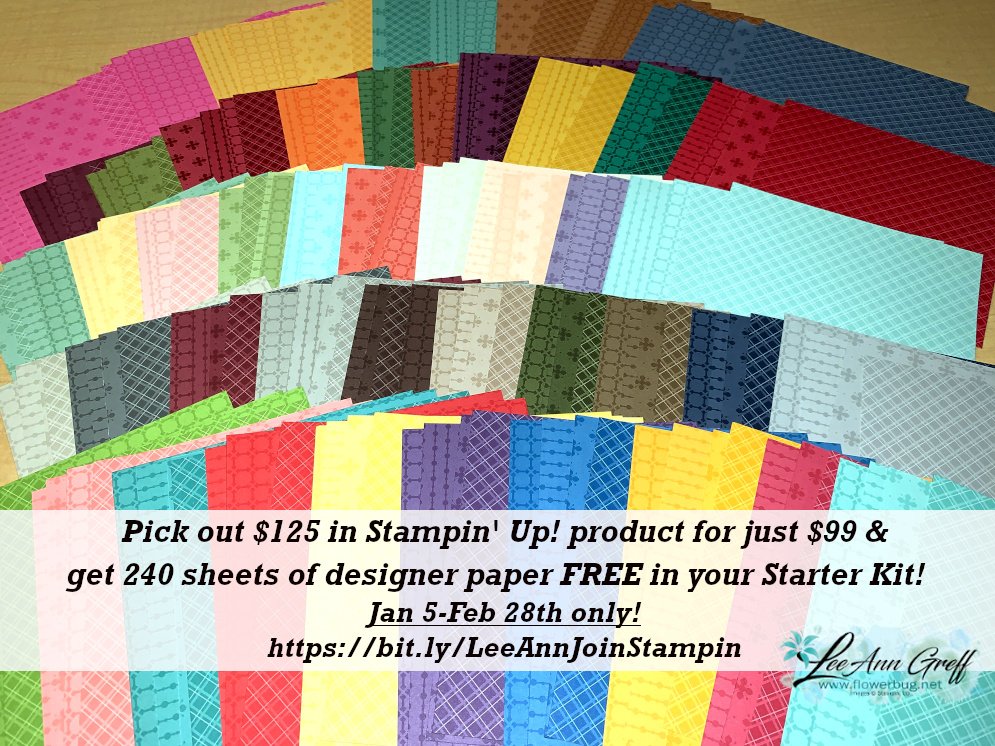
    Fact: You get $125 of product of your choice, 5 packs of 6×6 DSP ($57.50), free Past Paper Pumpkin ($21), no shipping on any of this ($20.35). So instead of $223.85… you pay just $99?! What? 

    The Starter Kit is always 25% off but during Sale-a-Bration it's an even better deal with the extra 5 packs of Designer paper you get free; a value of $57!  


    Remember the Starter kit is only $99 and you can choose up to $125 in product of your choice.  You get free shipping, a free Paper Pumpkin kit and lots of catalogs & business supplies.  Go here to get yours!


    Leave a Reply

    Your email address will not be published. Required fields are marked *


Notice: LeeAnn Greff, Independent Stampin’ Up! Demonstrator, Manager. The content of this website is my sole responsibility as an independent Stampin’ Up! demonstrator and the use of, and content of, the classes, services, or products offered on this website is not endorsed by Stampin’ Up! Copyright 2025