/


Latest Post

Right Behind You; so cute!


I chose the Right Behind You stamp set for my Flowerbug's Team swap this month.  Here's my card:

This set is adorable!  And it has such fun greetings to go with the tandem bicycle as well. Click here to see it. 
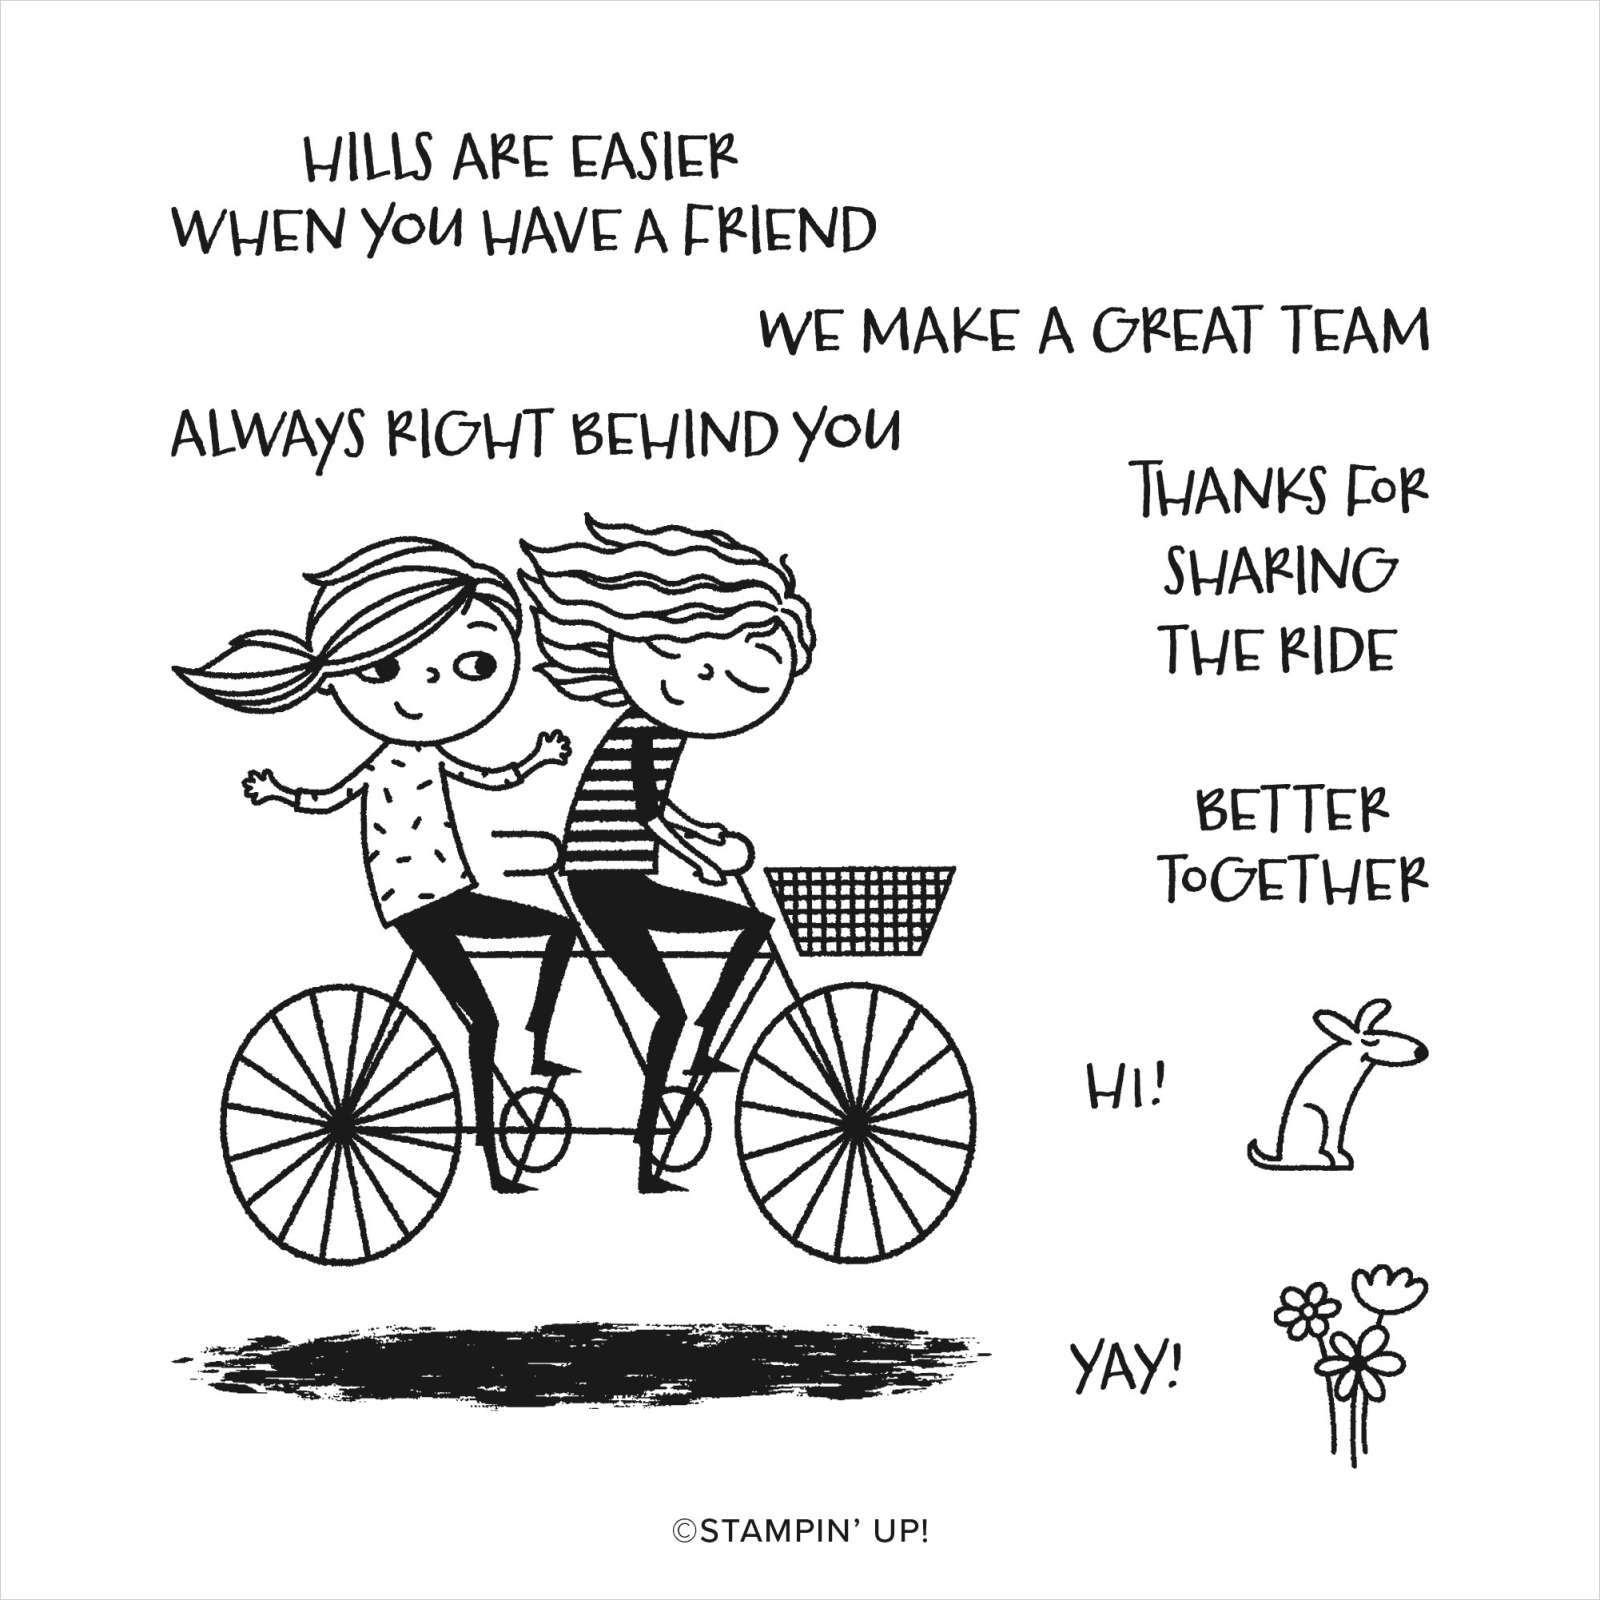
Details:

  • I used the 'ground' image to create grass by stamping it numerous times.
  • I used the Basic Border dies seen here to sponge the clouds.  Get my tips on this in the video below or click here. 
  • I used a mask to add the puppy in the basket. 
  • The greeting die-cut is from the Messages die. 
  • I used Stampin' Blends to color in the images.
  • I added a Metallic pearl to the spokes in the bicycle. 
  • The sun is simply sponged in the corner with Daffodil Delight ink. 

As you can see it's an easy fun fold card.  Simply add one extra score line to your normal A2 card.  Score the 5 1/2" X 8 1/2" Crushed Curry card at 2 1/8" and 4 1/4".  The Basic Gray is 3 7/8" X 5 1/8" and the White is 3 3/4" X 5".

I added grass and flowers to the inside to pull it all together.  

Click on the video below to watch me make this card; it's the first project on this FB Live replay.  *You can also see how I made the Pinwheel Tower cards in the photo below.  

~~~

July Specials! 

Current host code: SBCRHZWG

Designer Paper is on sale!  Click here to see all 9 of the discounted papers. 


Online orders over $50 get a free DSP sampler from me!  It includes the Party Pattern host paper plus more! You'll get over 20 4 X 6" sheets of assorted papers.  Orders over $75 get even more!  

My free PDF Tutorial for July's online orders includes the Simply Elegant & Beauty of the Earth suites. Get it FREE with any online order placed in July!


All Posts

  • Retro style circles layout; super easy! Catch the Live video tonight!


    Tonight at 7:30 pm Central Time I'm sharing how to make these retro style circle cards on Facebook Live.  Click here to join me.   You can also see this video below!

    Basically you need three sizes of circle dies or punches for the start of this layout.  Cut them in half and layer together with the edges meeting on one side. Adhere and add a long greeting between the two. 

    Watch how on my FB Live replay!

    Measurements:

    • 5 1/2" X 8 1/2" card base
    • 3 1/2" X 4 3/4" Whisper White; the greeting strip is about 5" long and either 1/2" or 3/4" wide depending on your greeting image.
    • 1" X 5 1/2" horizontal strip
    • Circles from the Stitched Shapes dies are the largest three circles. 

    You'll want ink, stamps and embellishments that coordinate with your Designer Paper.  Remember you could use card stock instead of DSP. 


    Products used:

    • Designer papers – Heartwarming Hugs, new Classic Christmas & Snowflake Splendor
    • Stamps – Tree Angle, Snowflake Wishes & Curvy Christmas
    • Colors – Real Red & Olive, Seaside Spray & Night of Navy, Sahara Sand & Cherry Cobbler  
    • Other: Stitched Shapes dies, Curvy Dies & Pick a Banner punch

    ~~~

    November Specials!

    Current Host code is GRC9VVUU


    All online orders receive my FREE Curvy Celebrations 22 project PDF Tutorial! 

    Leave a Reply

    Your email address will not be published. Required fields are marked *

  • Curvy Christmas & the Postage Punch


    Check out this easy card using the new Curvy Christmas stamp set and the Postage Punch!  

    It's super simple! Here's how I made it:

    1. Stamp the curvy trees image on the White CS using Shaded Spruce ink.  Color the trees with a Light Shaded Spruce Blends marker.  Add a tiny star using Cherry Cobbler ink on one tree. Adhere it to the Cherry Cobbler layer and to the main card.
    2. Punch out three pieces of Classic Christmas designer paper with the Postage Punch seen here.  Adhere to the White CS. 
    3. Stamp the greeting in Cherry Cobbler ink on a 1/2" strip of White CS.  Punch the ends with the Banners Pick a Punch. Add it to the card with mini dimensionals. 
    4. Finish with a few Holiday rhinestones. 

    You can see this stamp set here; it's only available through January 4th.  And the Classic Christmas Designer Paper is here while supplies last. 

    Remember that everyone who orders any of these products or places an online order with me in November will receive a free 22 project PDF tutorial featuring the Curvy Celebration products! 


    ~~~

    November Specials!

    Current Host code is GRC9VVUU


    All online orders receive my FREE Curvy Celebrations 22 project PDF Tutorial! 

    Leave a Reply

    Your email address will not be published. Required fields are marked *

  • Gift Wrapped Box Fold Card with video


    Check out this cute Christmas card we made at my October Card Clubs!  It's a box fold card; a super cute but easy fun fold. 

    The colors are Real Red with Granny Apple Green & White. The dies on the front are the Stitched Shapes and Hippos & Friends.

    It even folds flat for mailing!  As you can see the back is similar to the front; leaving some space to write or sign the card.  

    I used the Gift Wrapped punch bundle from the Holiday catalog.  You can see it here. 

    Check out the video and measurements below. 

    Here's the video: 


    Measurements:

    Real Red 4 1/4" X 11" scored at 5 1/2", 7", 9" and 10 1/2"
    Granny Apple Green 3 5/8" X 4 7/8" (2 pieces) plus scrap for die-cut
    Whisper White 3 1/2" X 4 3/4" (2 pieces) plus scrap for circle die-cut and bow

    ~~~

    November Specials!

    Current Host code is GRC9VVUU


    All online orders receive my FREE Curvy Celebrations 22 project PDF Tutorial! 

    Leave a Reply

    Your email address will not be published. Required fields are marked *


Notice: LeeAnn Greff, Independent Stampin’ Up! Demonstrator, Manager. The content of this website is my sole responsibility as an independent Stampin’ Up! demonstrator and the use of, and content of, the classes, services, or products offered on this website is not endorsed by Stampin’ Up! Copyright 2025