/


Latest Post

Retro style circles layout; super easy! Catch the Live video tonight!


Tonight at 7:30 pm Central Time I'm sharing how to make these retro style circle cards on Facebook Live.  Click here to join me.   You can also see this video below!

Basically you need three sizes of circle dies or punches for the start of this layout.  Cut them in half and layer together with the edges meeting on one side. Adhere and add a long greeting between the two. 

Watch how on my FB Live replay!

Measurements:

  • 5 1/2" X 8 1/2" card base
  • 3 1/2" X 4 3/4" Whisper White; the greeting strip is about 5" long and either 1/2" or 3/4" wide depending on your greeting image.
  • 1" X 5 1/2" horizontal strip
  • Circles from the Stitched Shapes dies are the largest three circles. 

You'll want ink, stamps and embellishments that coordinate with your Designer Paper.  Remember you could use card stock instead of DSP. 
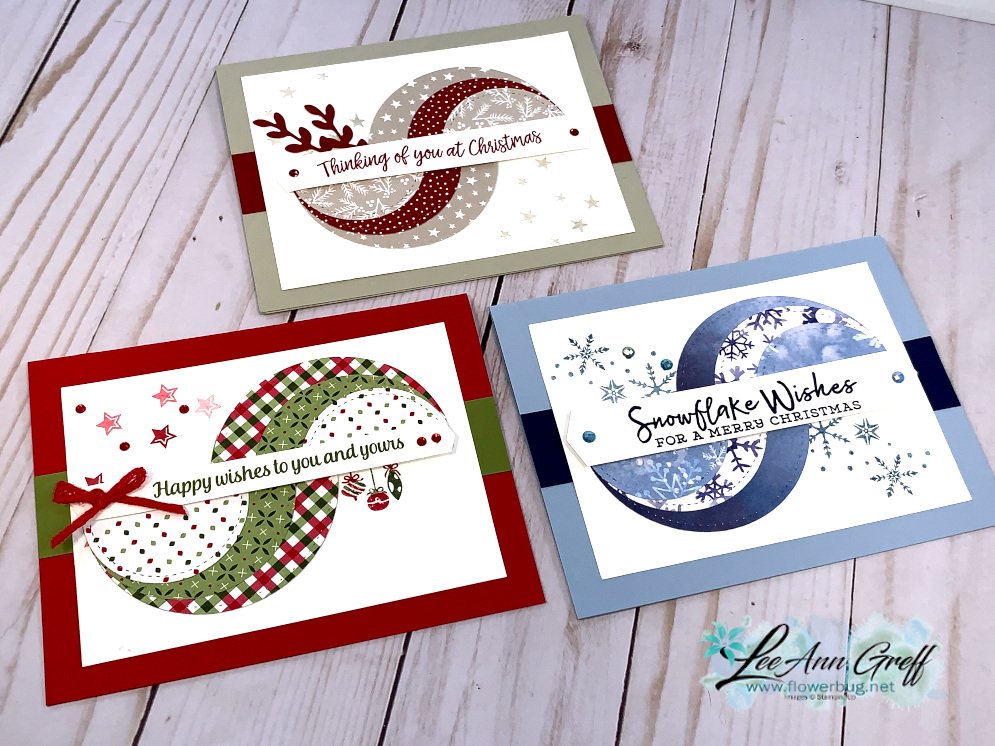

Products used:

  • Designer papers – Heartwarming Hugs, new Classic Christmas & Snowflake Splendor
  • Stamps – Tree Angle, Snowflake Wishes & Curvy Christmas
  • Colors – Real Red & Olive, Seaside Spray & Night of Navy, Sahara Sand & Cherry Cobbler  
  • Other: Stitched Shapes dies, Curvy Dies & Pick a Banner punch

~~~

November Specials!

Current Host code is GRC9VVUU


All online orders receive my FREE Curvy Celebrations 22 project PDF Tutorial! 

All Posts

  • Masterfully Made suite samples; it’s extremely unique!


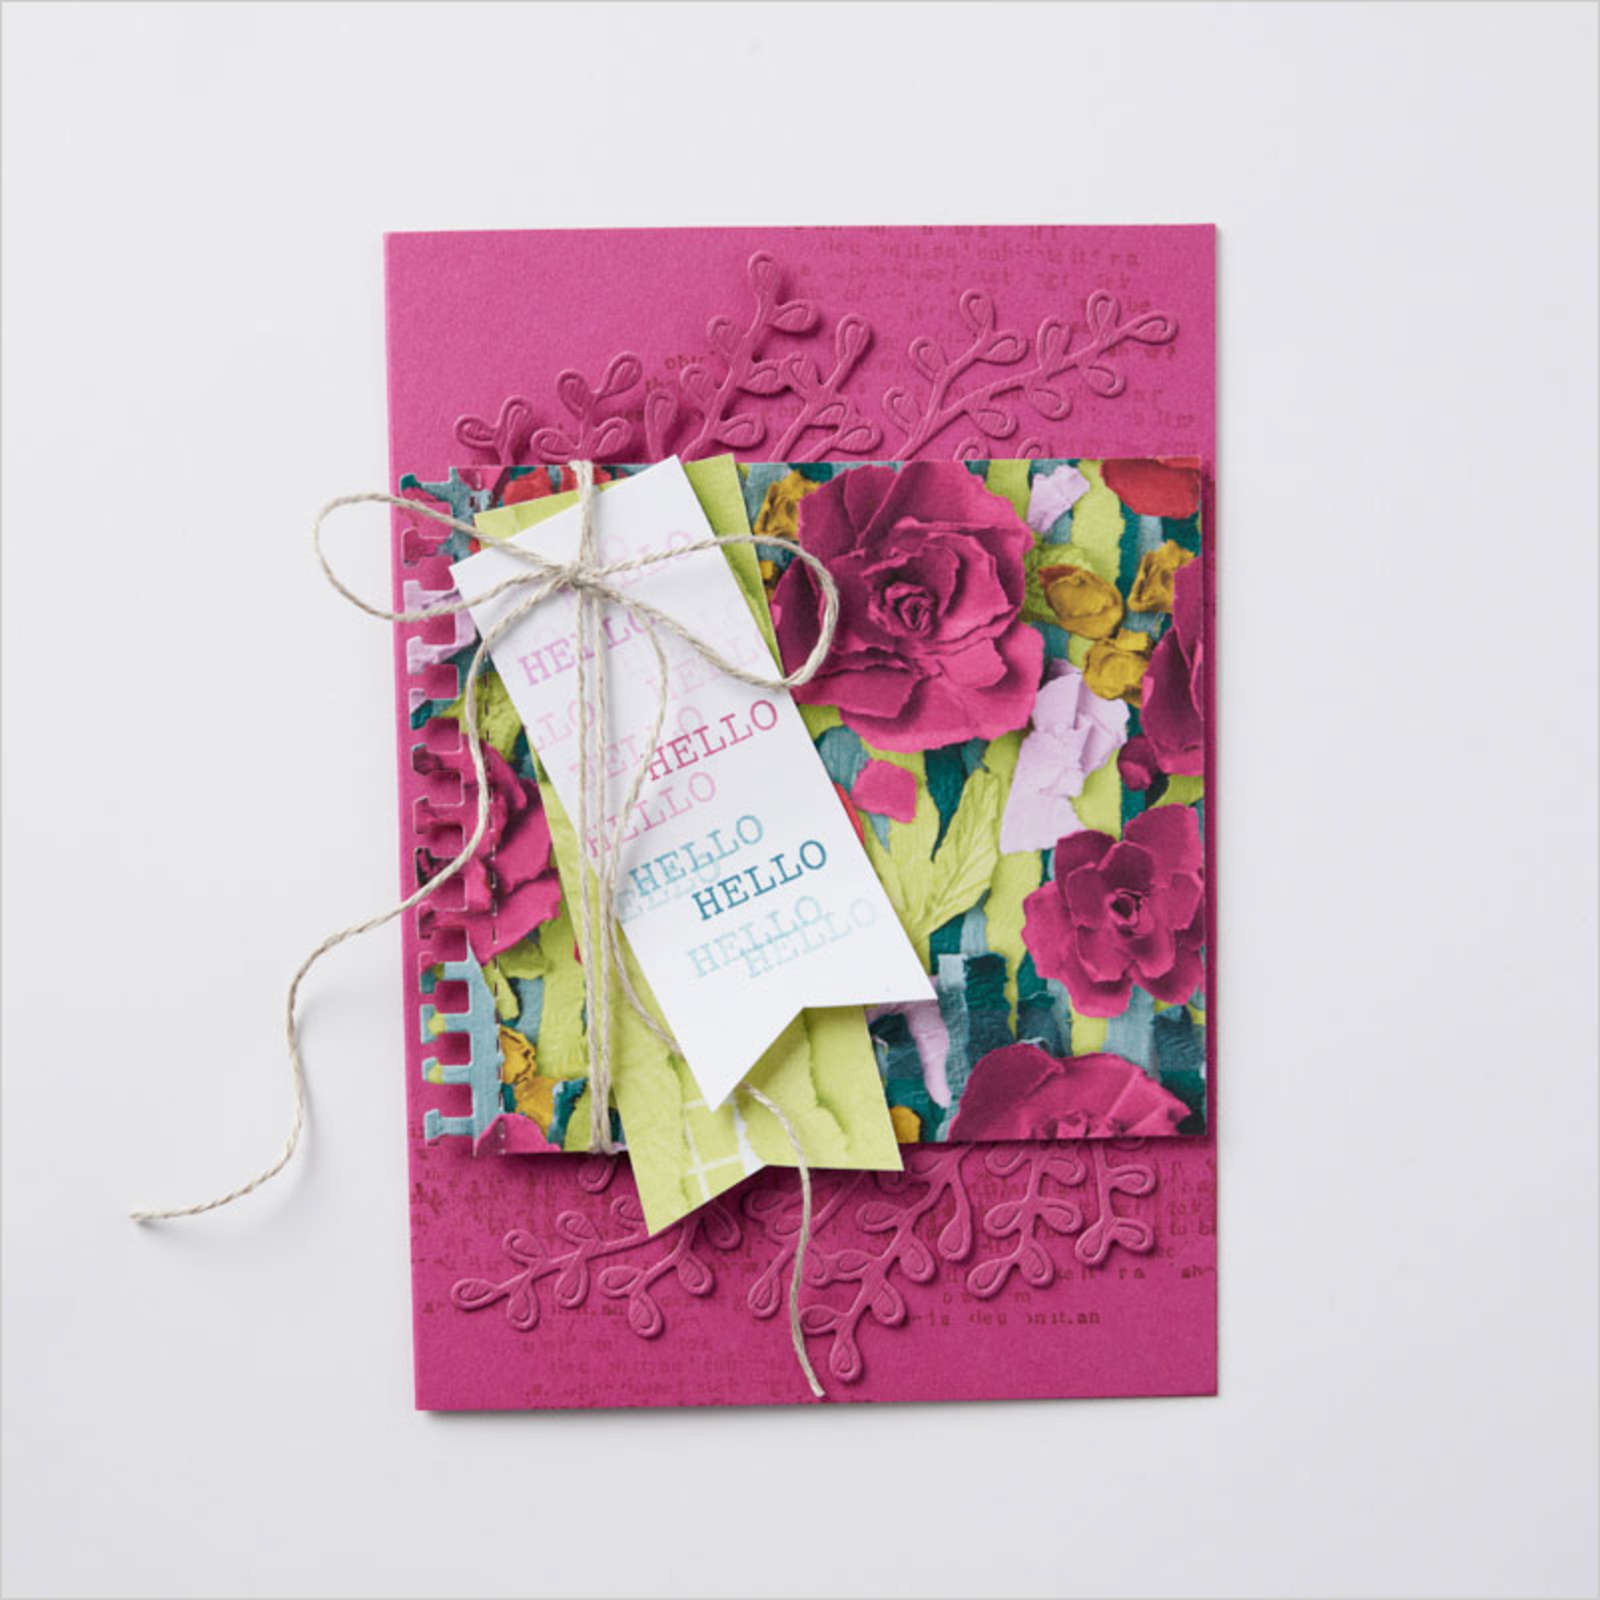
    The Masterfully Made suite is so different and unique; you'll be surprised at these projects shared by Stampin' Up!

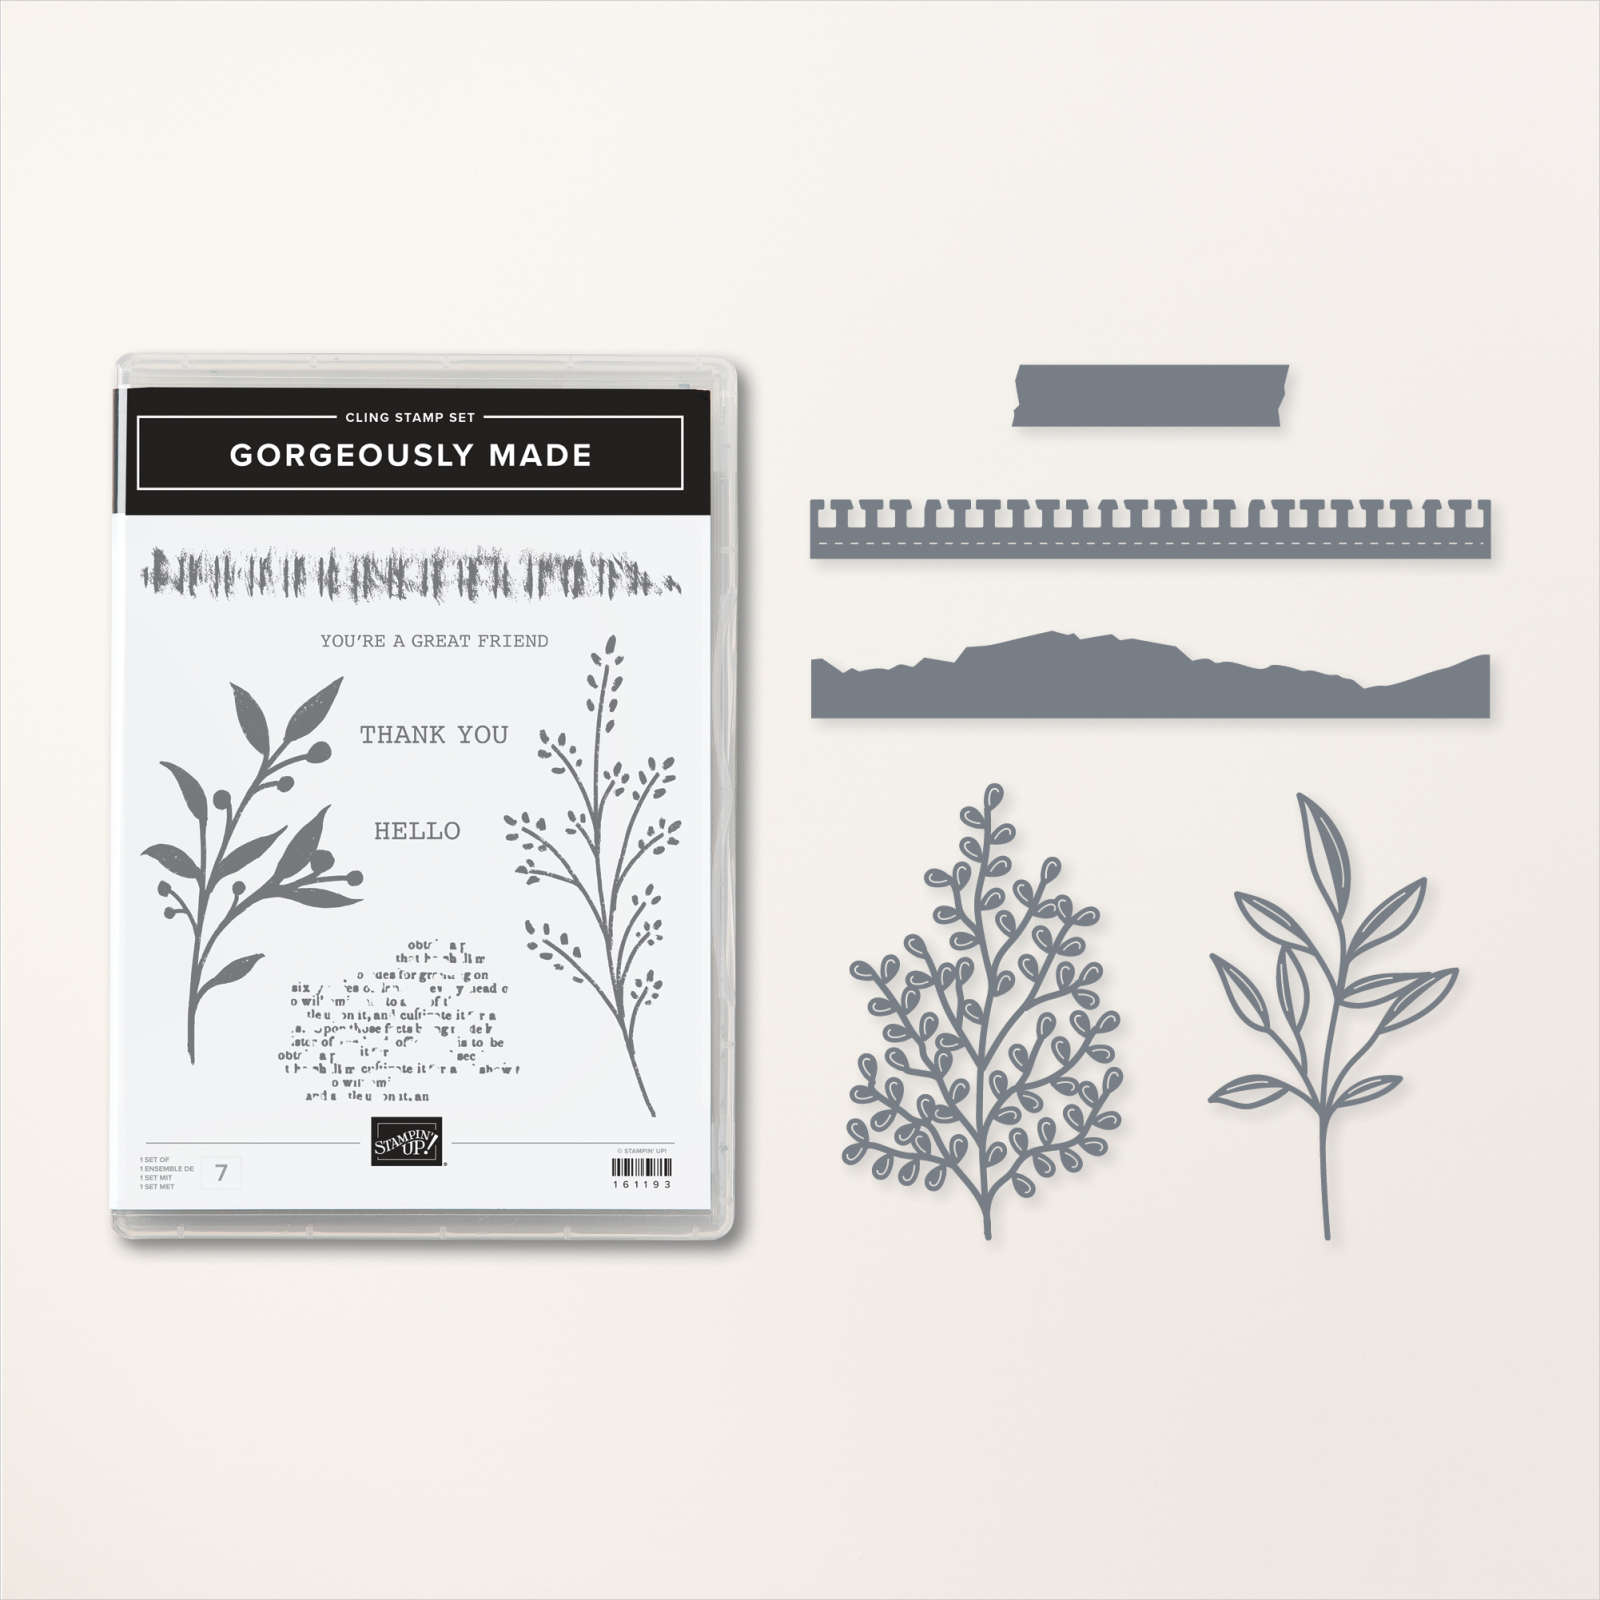
    This colorful paper including the flowers is all the designer paper; there is nothing raised or popped up here except the tags.  The die-cuts in the background are from the bundle seen here. 


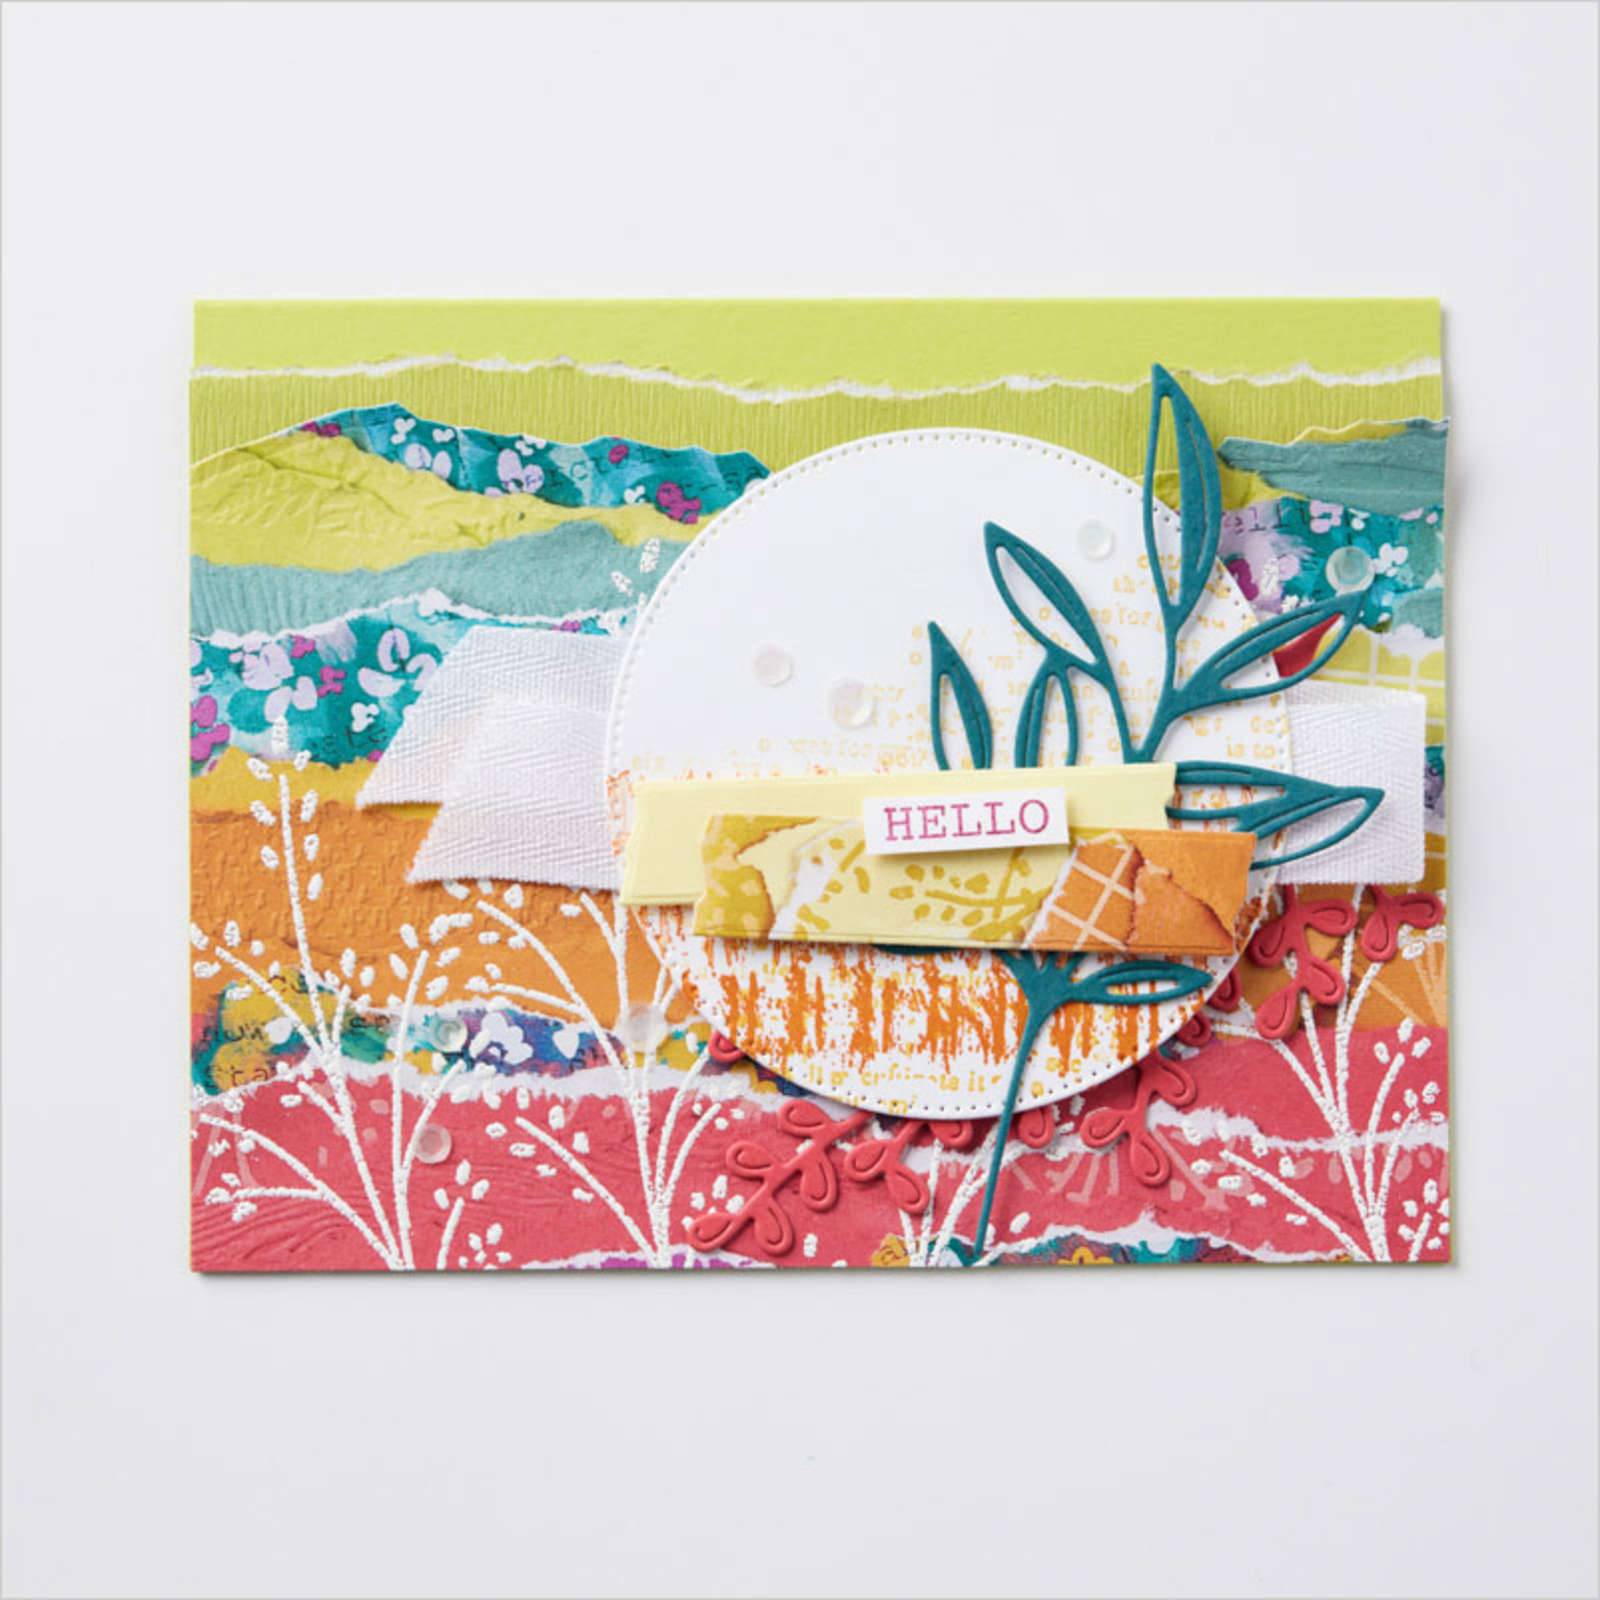
    This next card shows off the Masterfully Made designer paper wonderfully.  It looks like it's many strips of torn paper.  

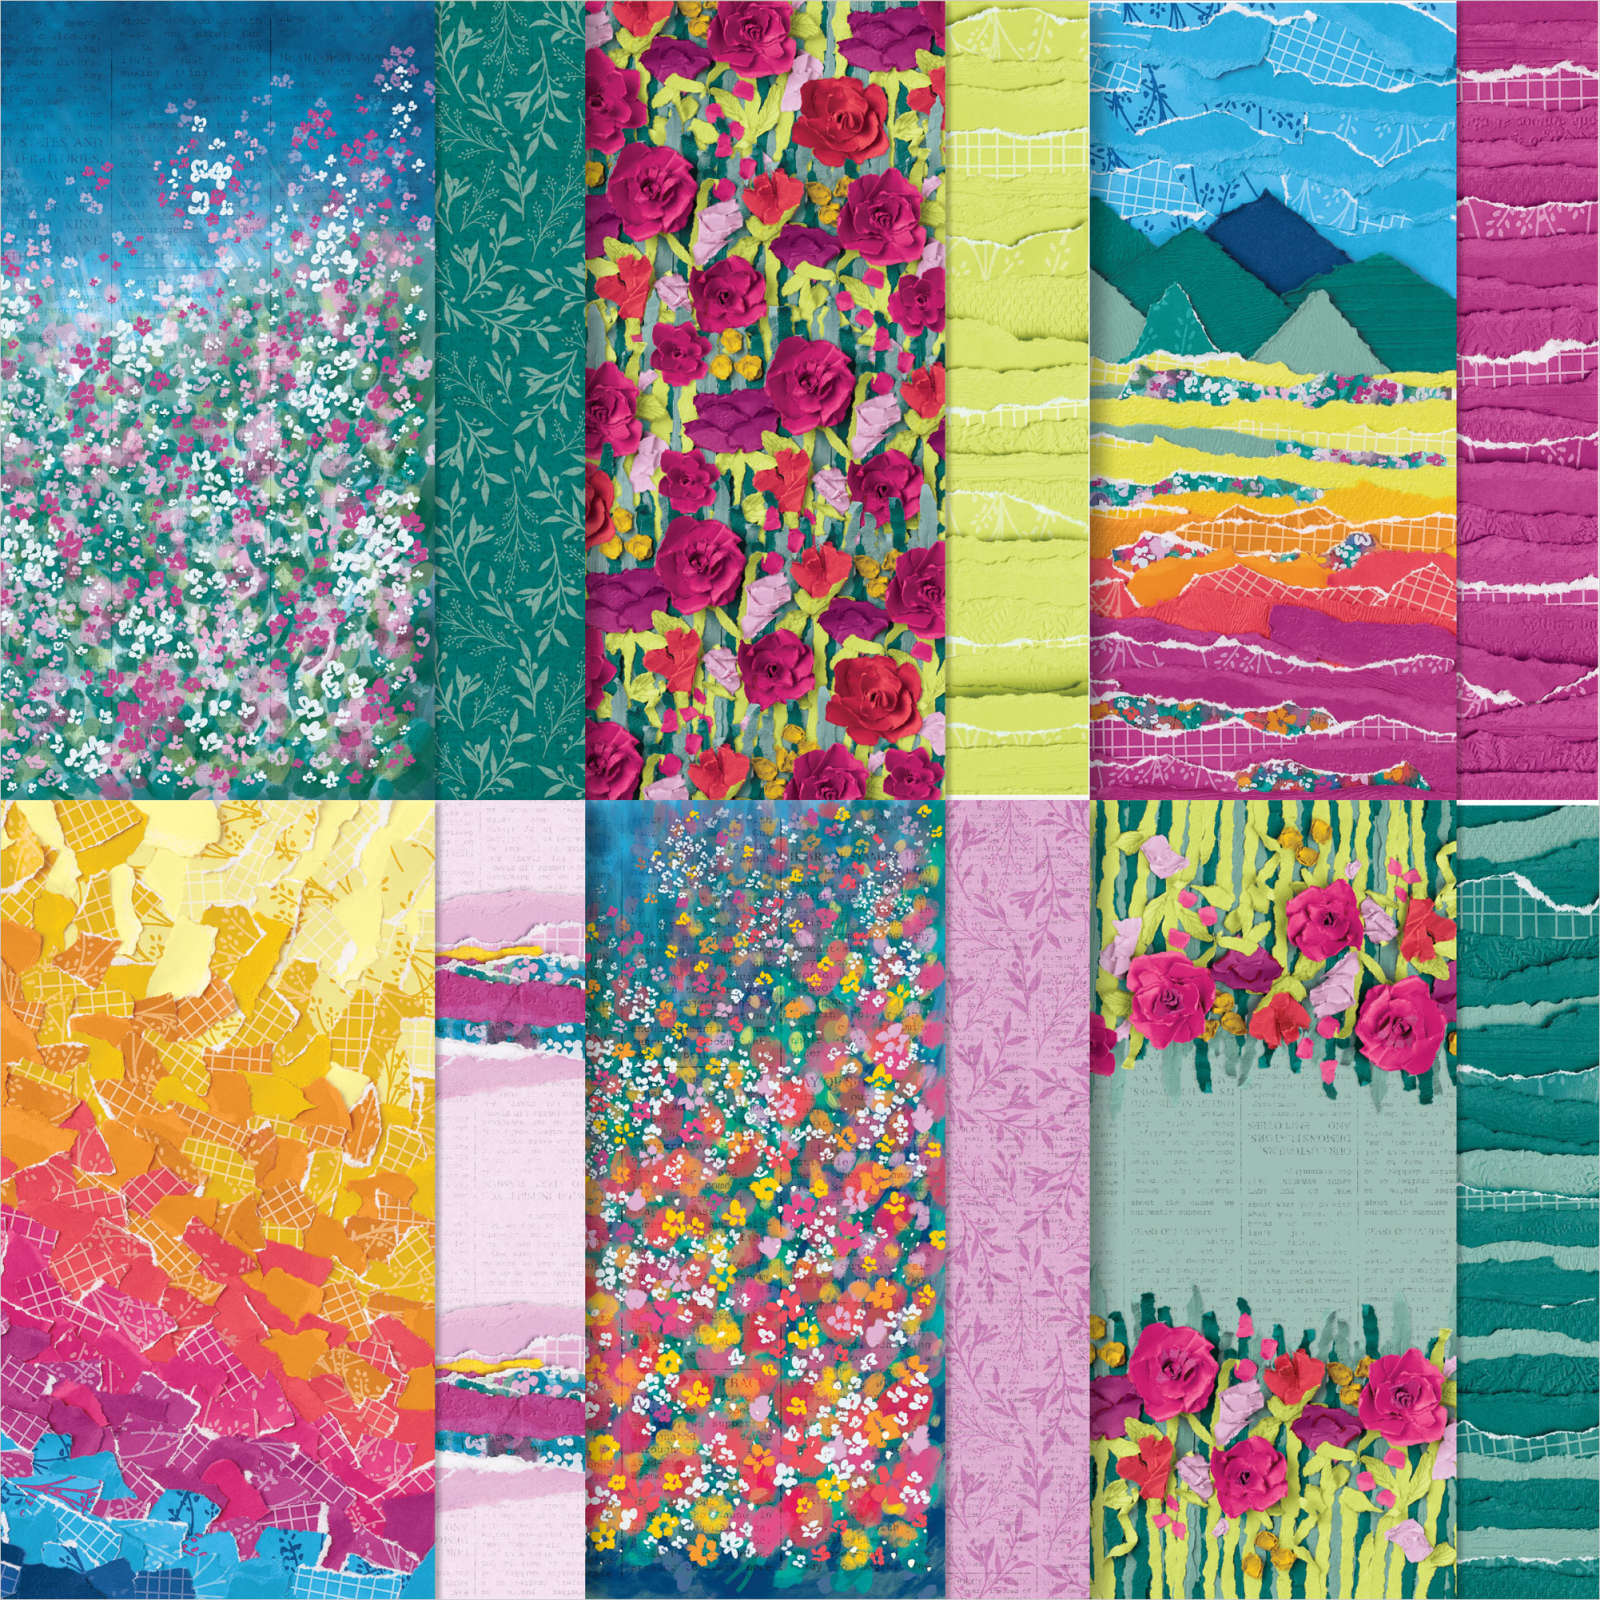
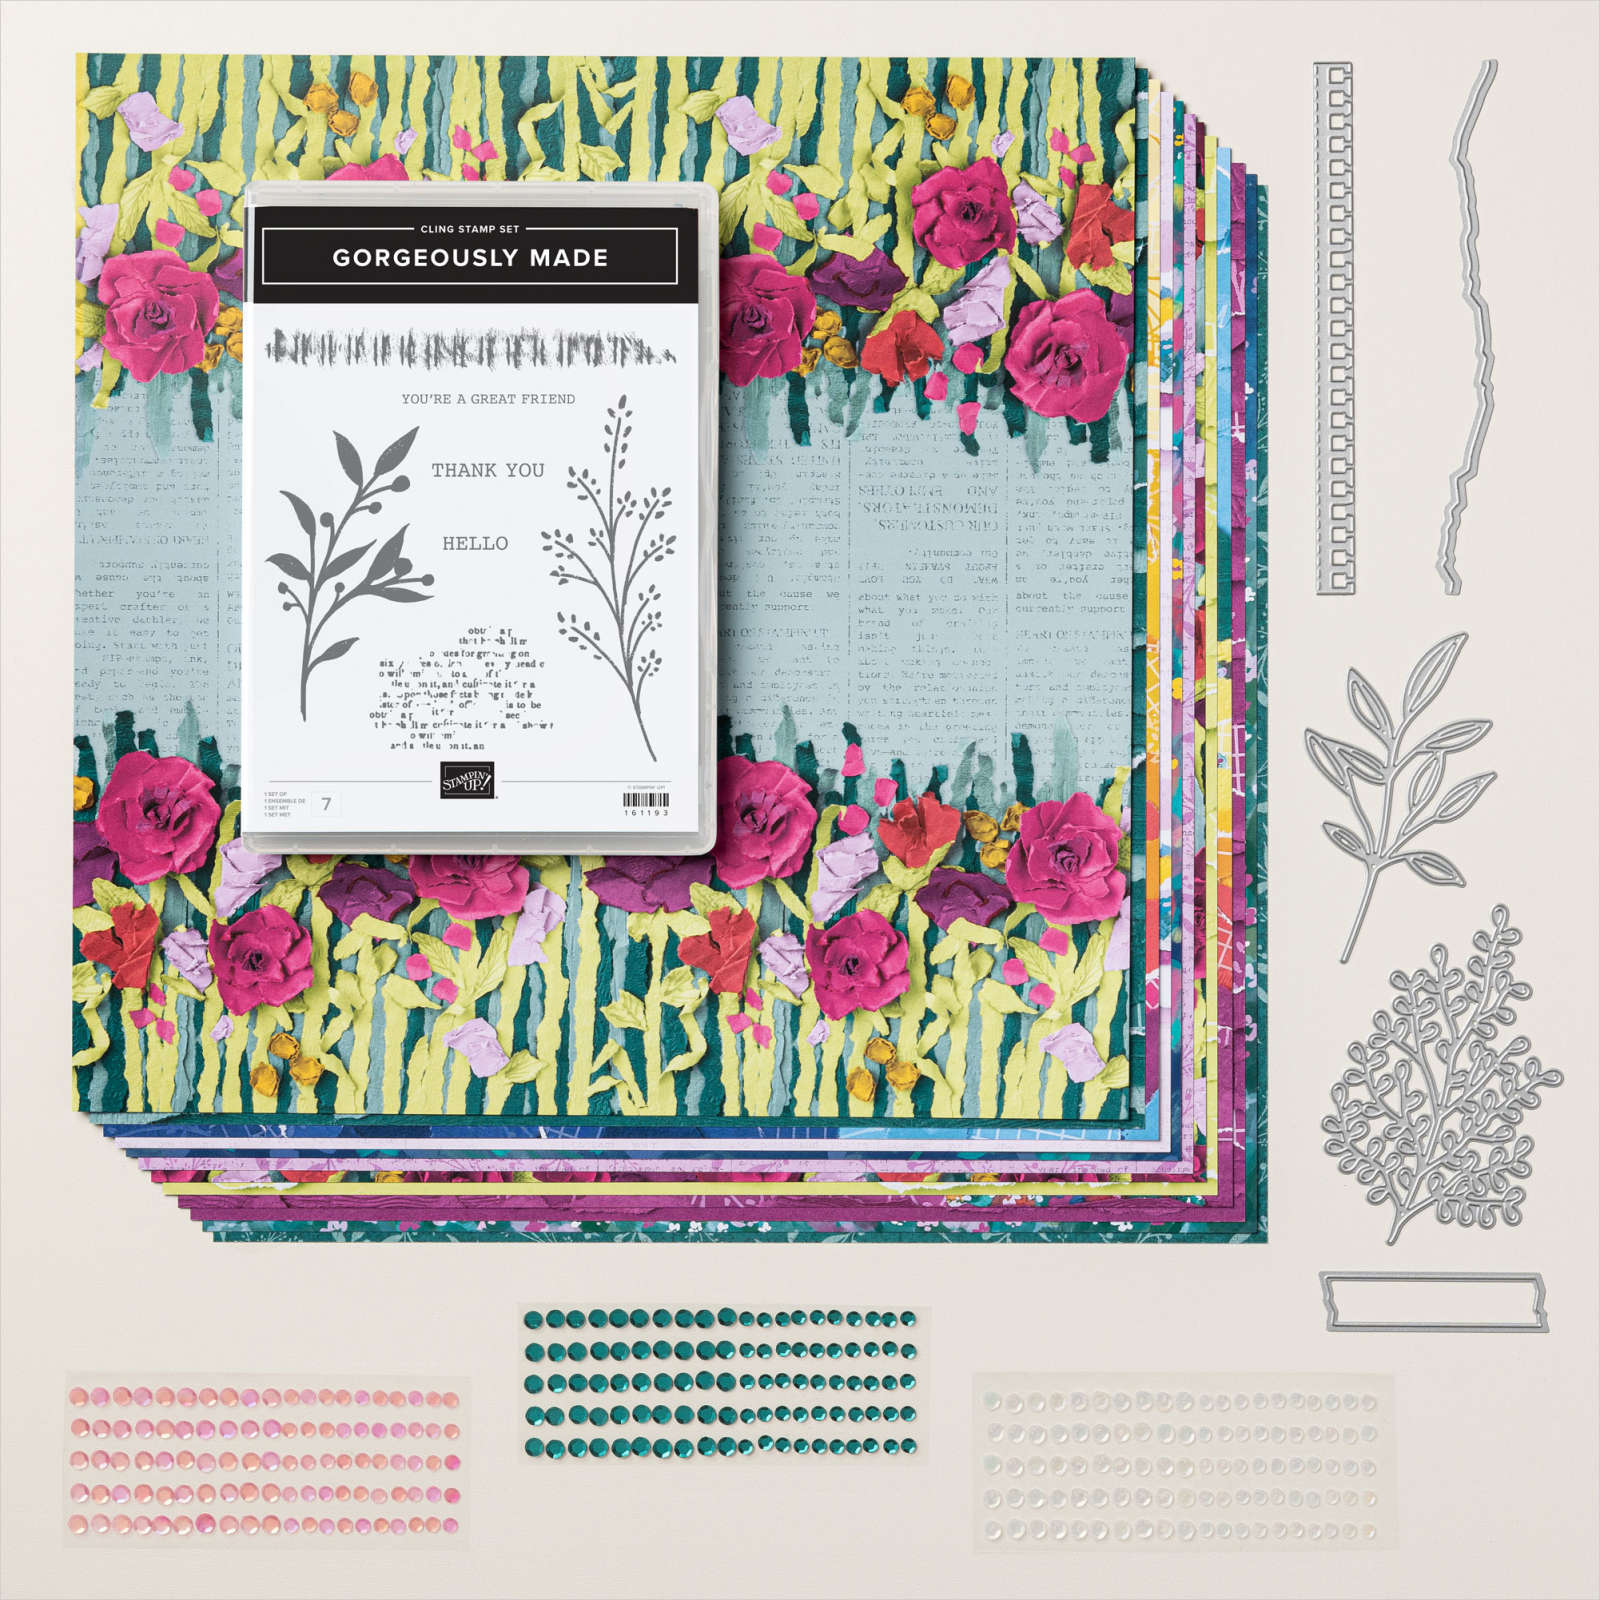
    It's not!  Look at this gorgeous designer paper below.  See the sheet, second from the upper right?  That's what they used!  
    They did stamp on it with one of the images in the bundle; heat embossing in White.  

    This gorgeous designer paper is discounted in June; instead of $12.50 it's $10.62.  See it here

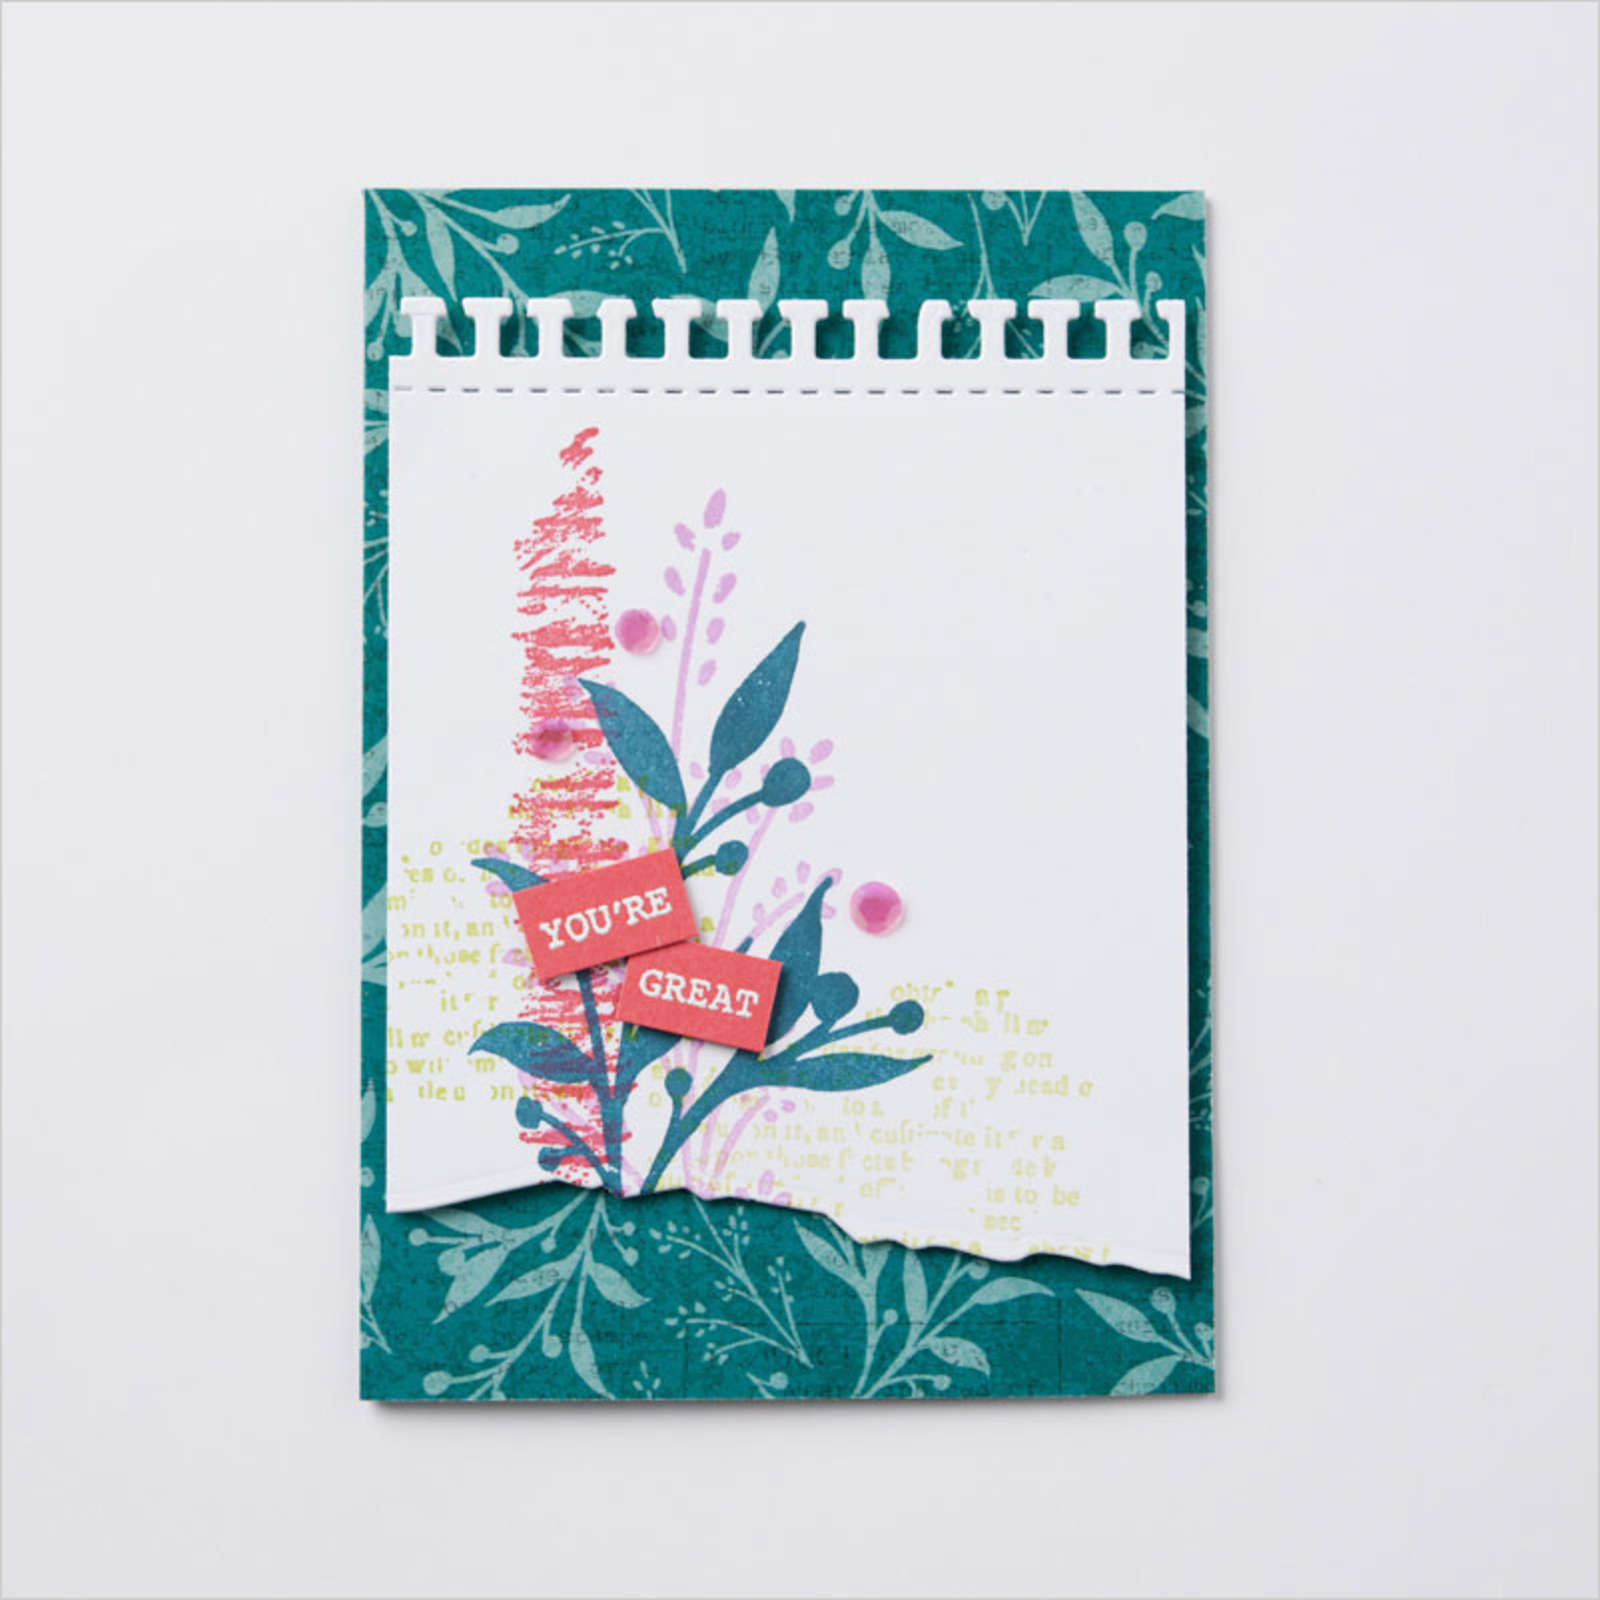
    This last card shows off the stamps, designer paper and the neat notebook edge die-cut.  

    What do you think?  Is this suite your style?  

    ~~~

    June Specials:

    Designer Paper is 15% off in June!

    WOW – get $155 in product for $99 with free shipping! click here!

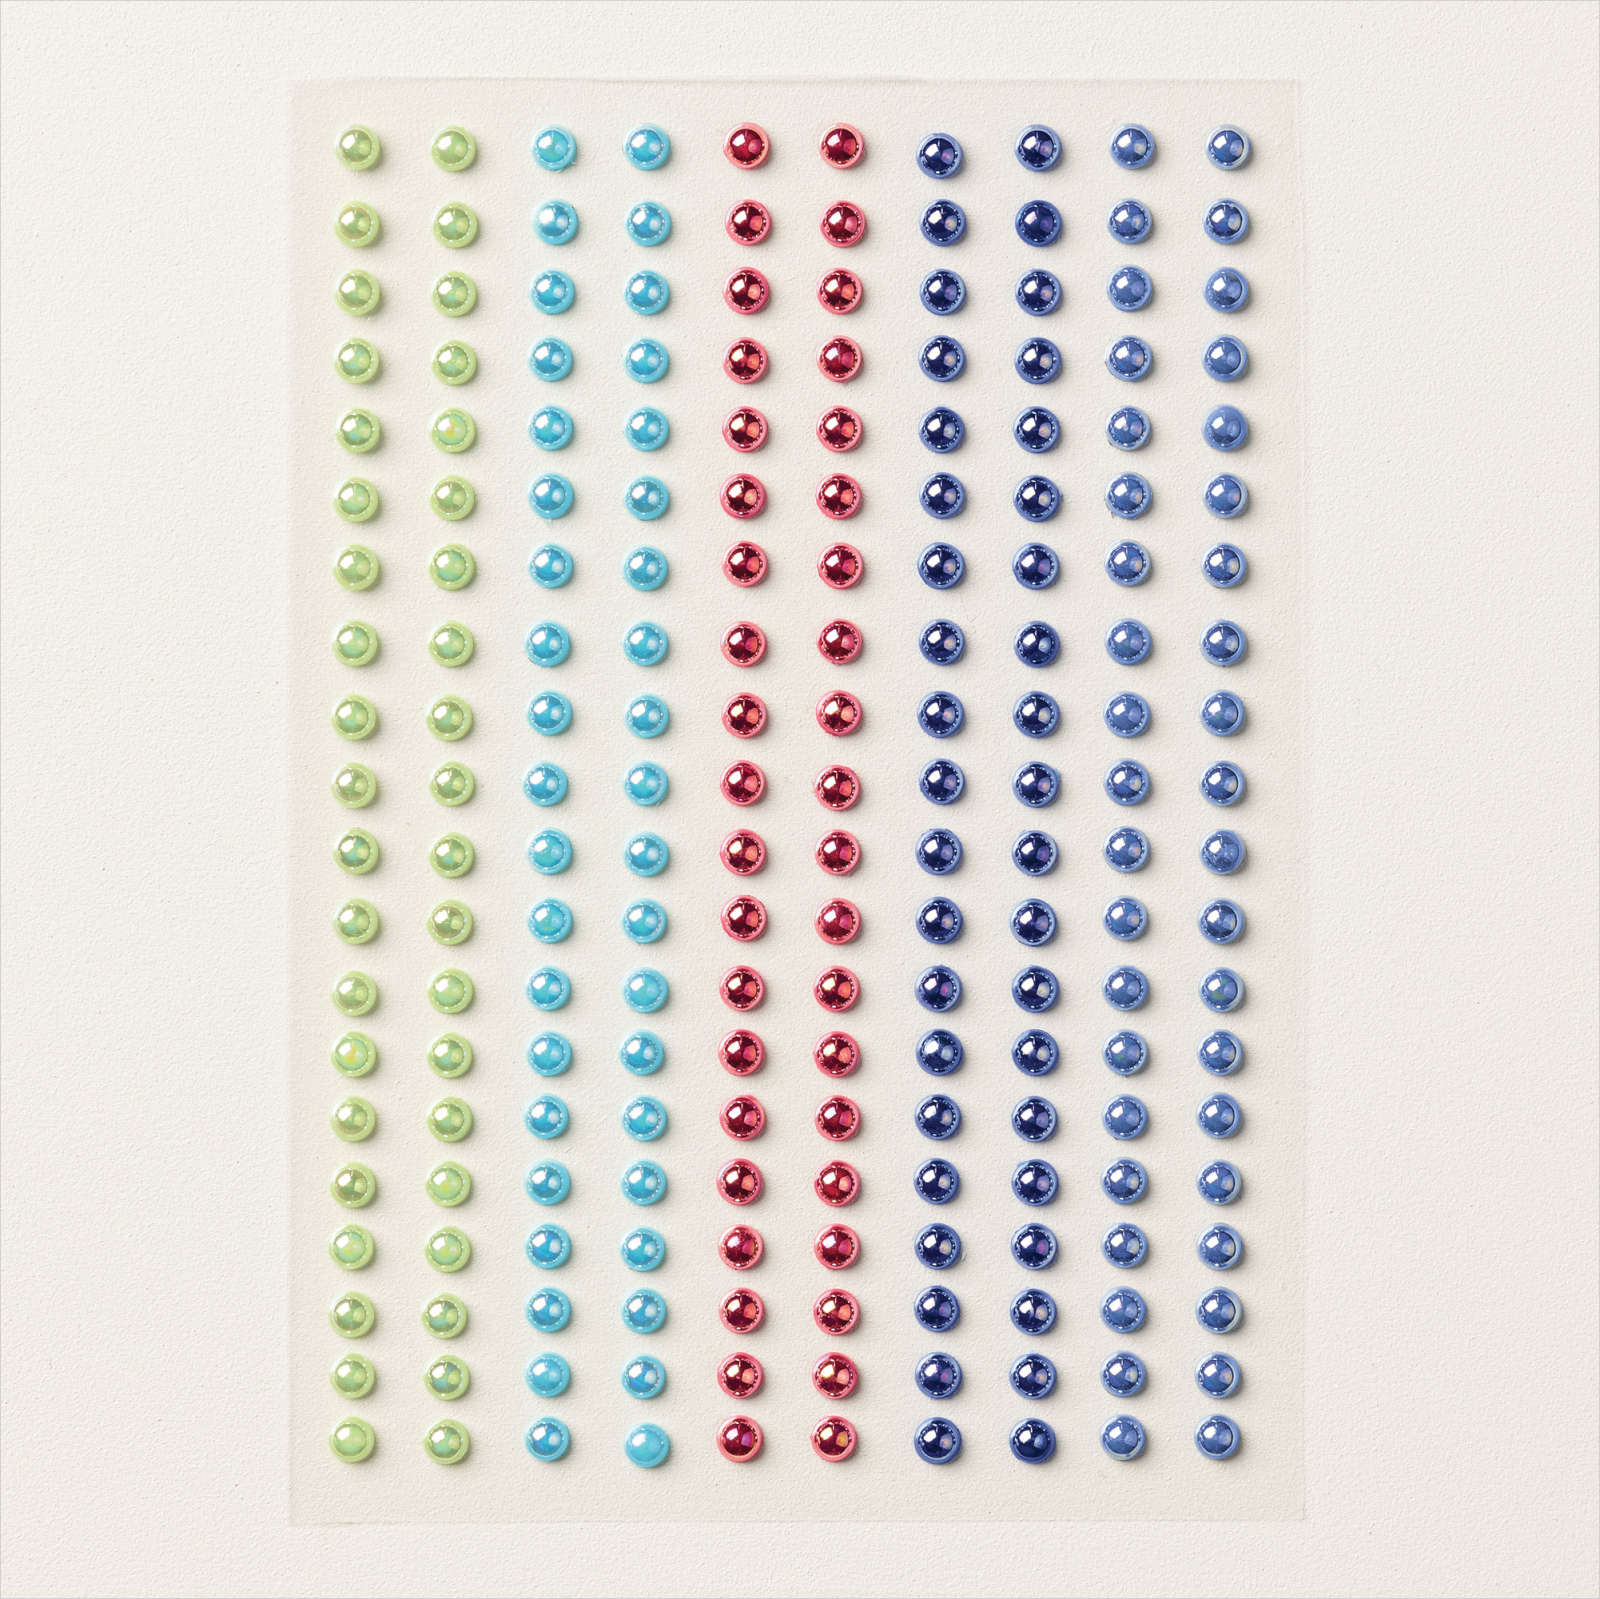
    Get a package of In Color pearls with online orders over $55 using a host code.

    *current host codes: ZHZ6CPYU or AJVB3B3V 

     Earn free products with my loyalty rewards! 

    Click here to download yours and earn a $50 shopping spree!

    Leave a Reply

    Your email address will not be published. Required fields are marked *

  • Fabulous Gone Fishing bundle swap cards


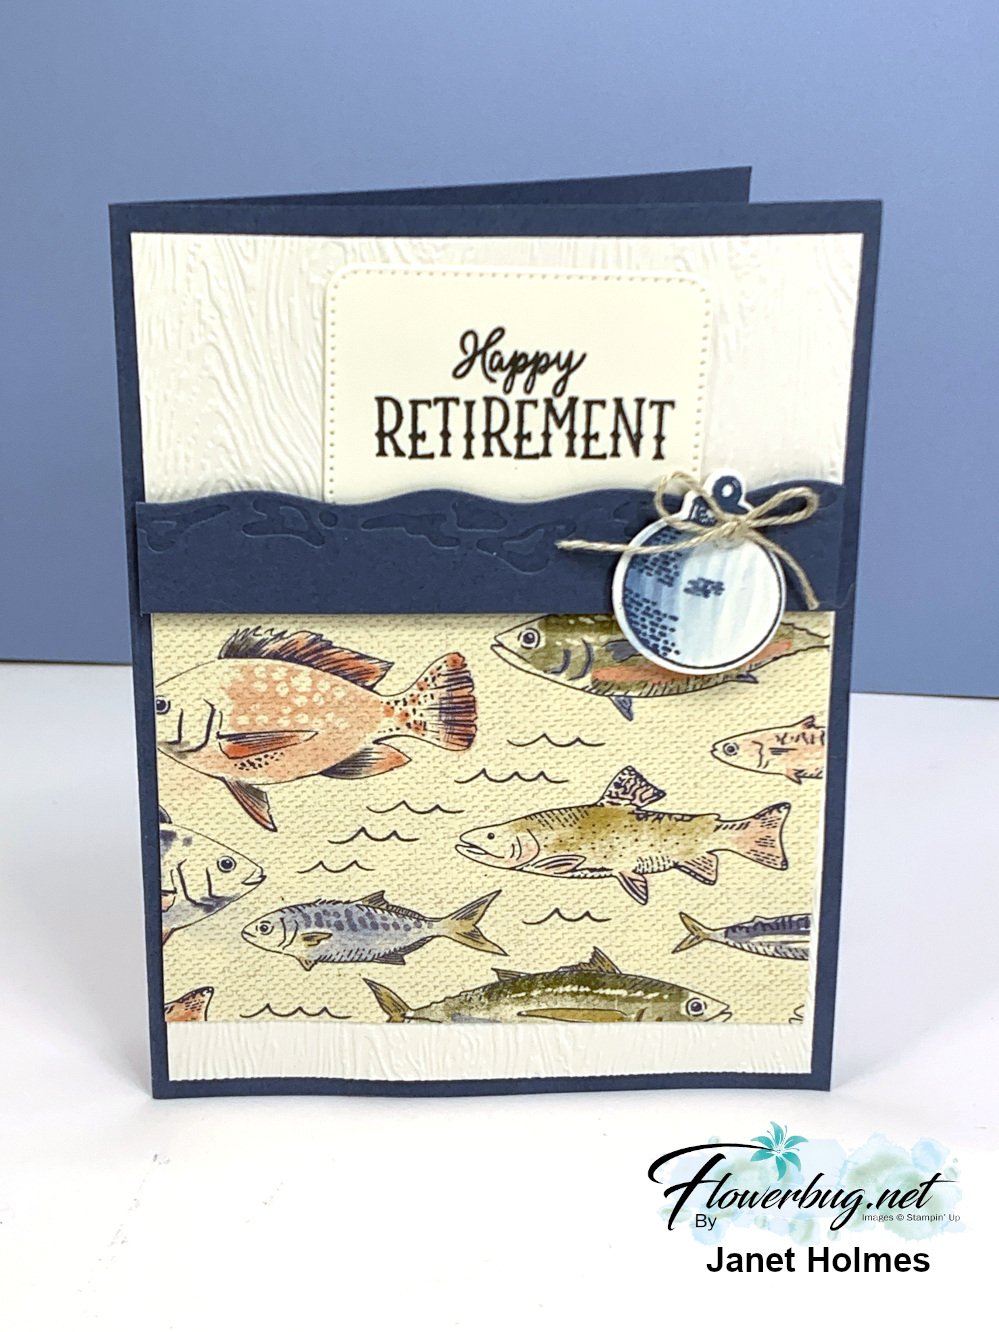
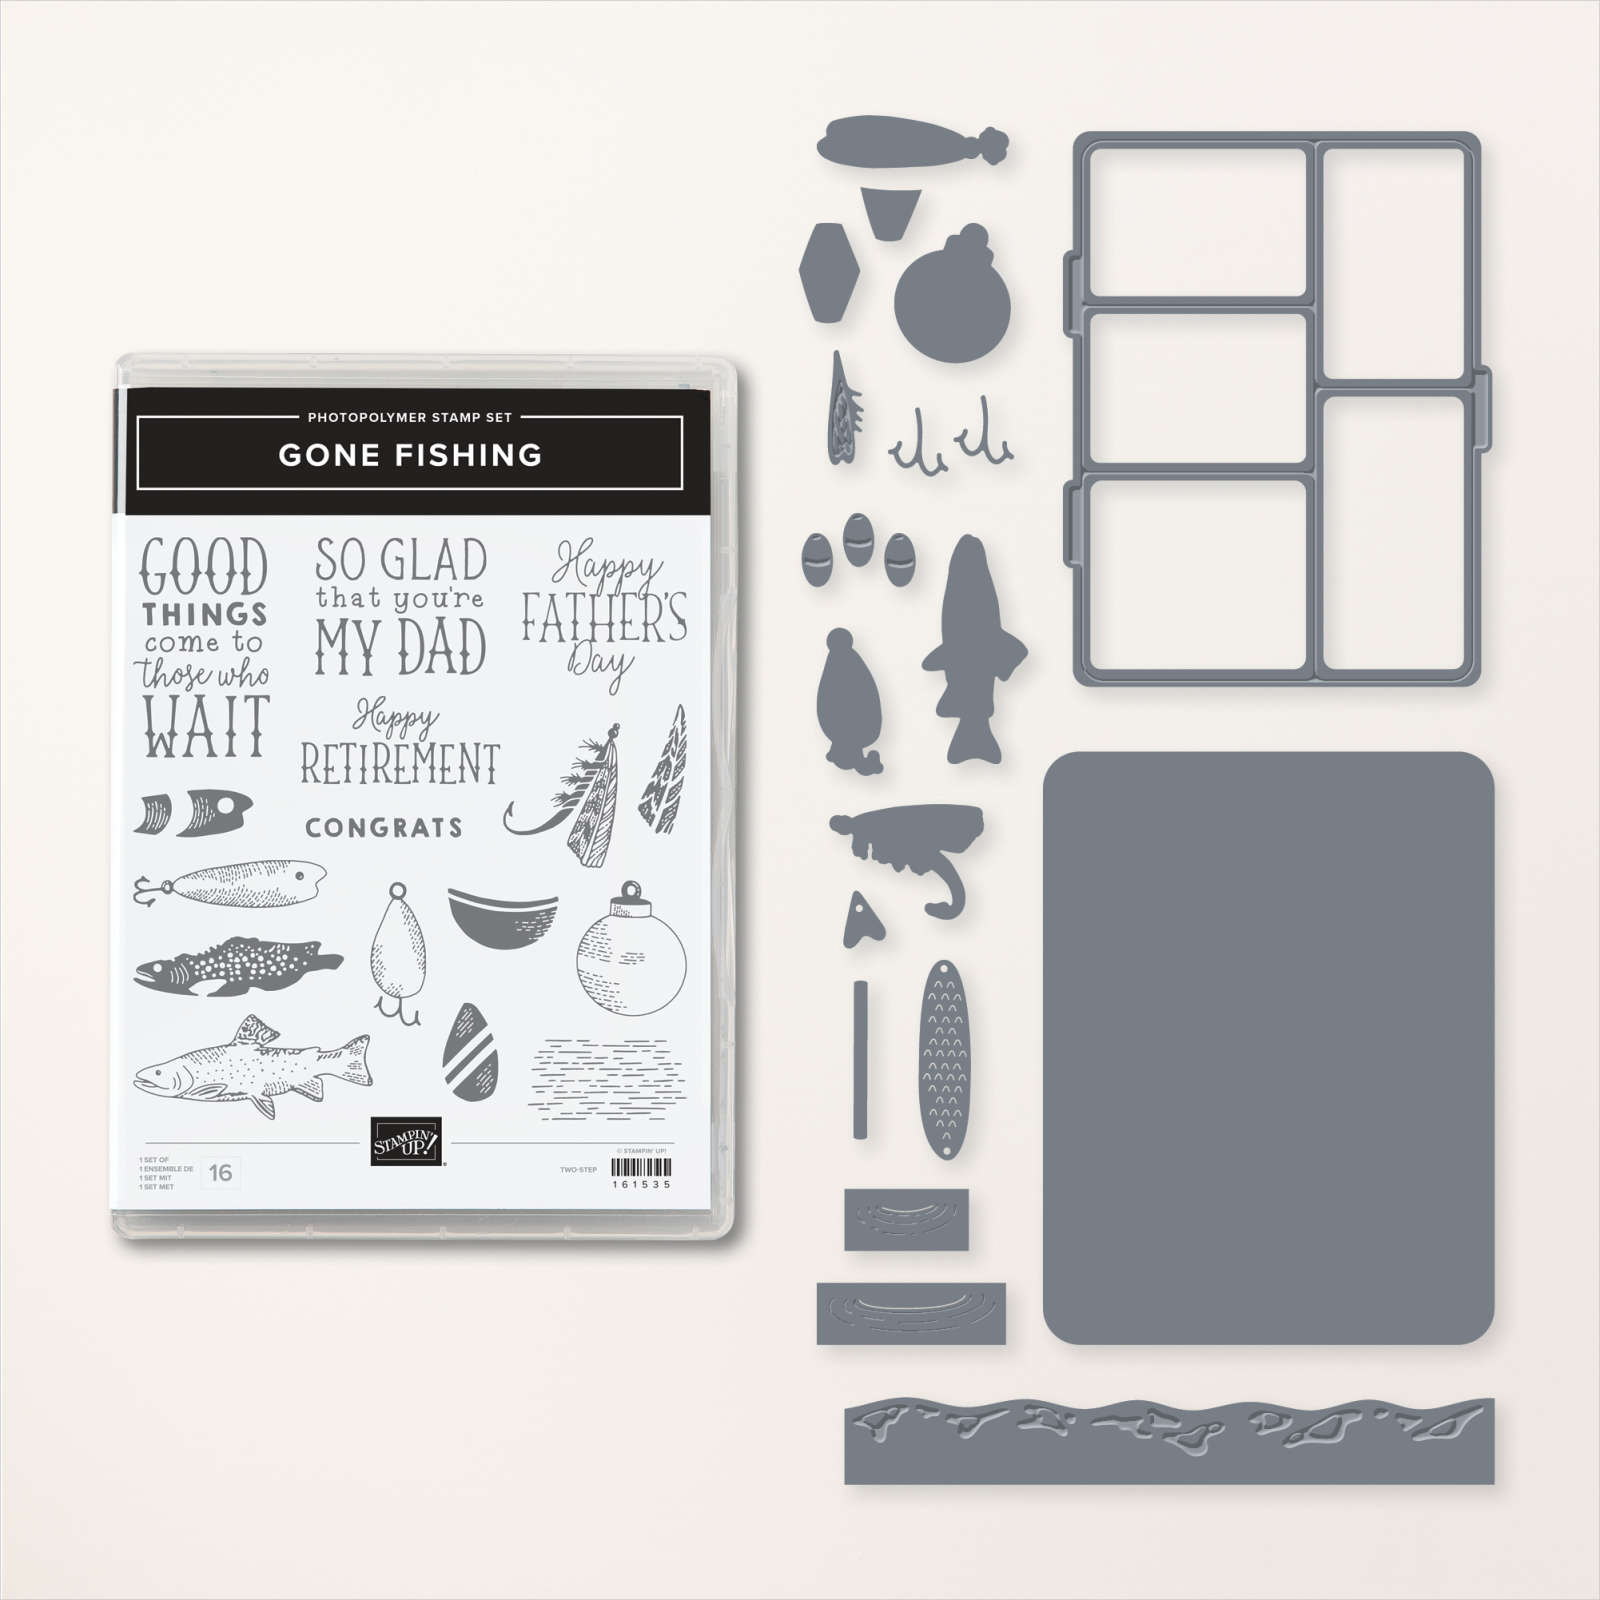
    Father's Day is coming up Sunday and the Gone Fishing bundle is perfect for the occasion.  

    I received two swap cards on the cruise and thought you'd like to see them.  First is my friend Susie Wood's card.  Her style is similar to mine and we often share cards with each other. My husband and I spent time with her and her husband Deke on the cruise; not enough but we both treasure our friendship so much! Check out her fabulous blog here.  She is super creative and a master at fun folds. 

    Her colors are Night of Navy with Vanilla and Boho Blue. The tag is made with our Very Best Trio punch seen here. 

    Next is a card I received from Janet Holmes. The curvy border die-cut shows off wonderfully here.  

    Check out the Gone Fishing bundle here.  

    I'll have lots more to share with this bundle soon!

    ~~~

    June Specials:

    Designer Paper is 15% off in June!

    WOW – get $155 in product for $99 with free shipping! click here!

    Get a package of In Color pearls with online orders over $55 using a host code.

    *current host codes: ZHZ6CPYU or AJVB3B3V 

     Earn free products with my loyalty rewards! 

    Click here to download yours and earn a $50 shopping spree!

    Leave a Reply

    Your email address will not be published. Required fields are marked *

  • Marvelous Nature Ombre technique with video tutorial


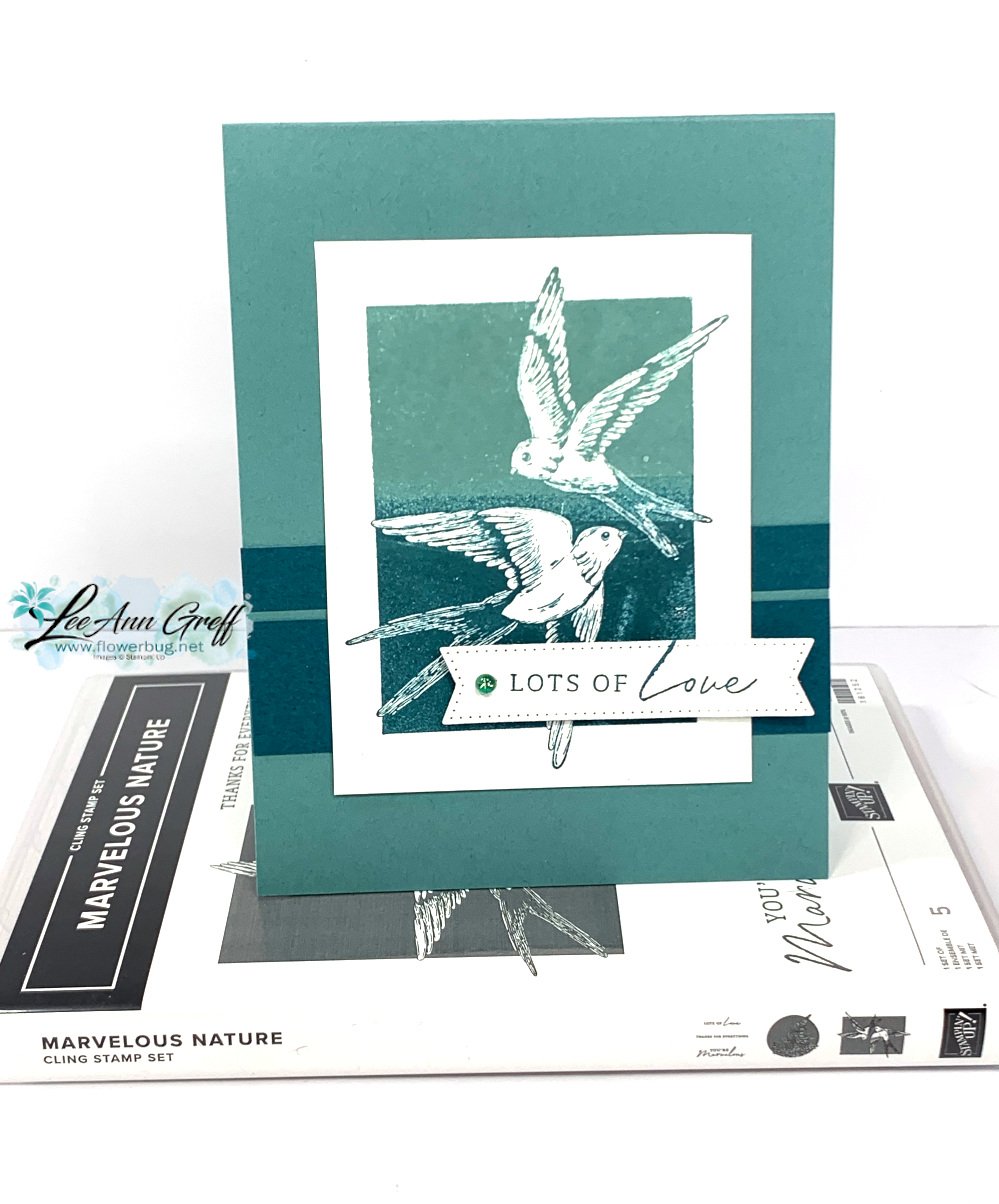
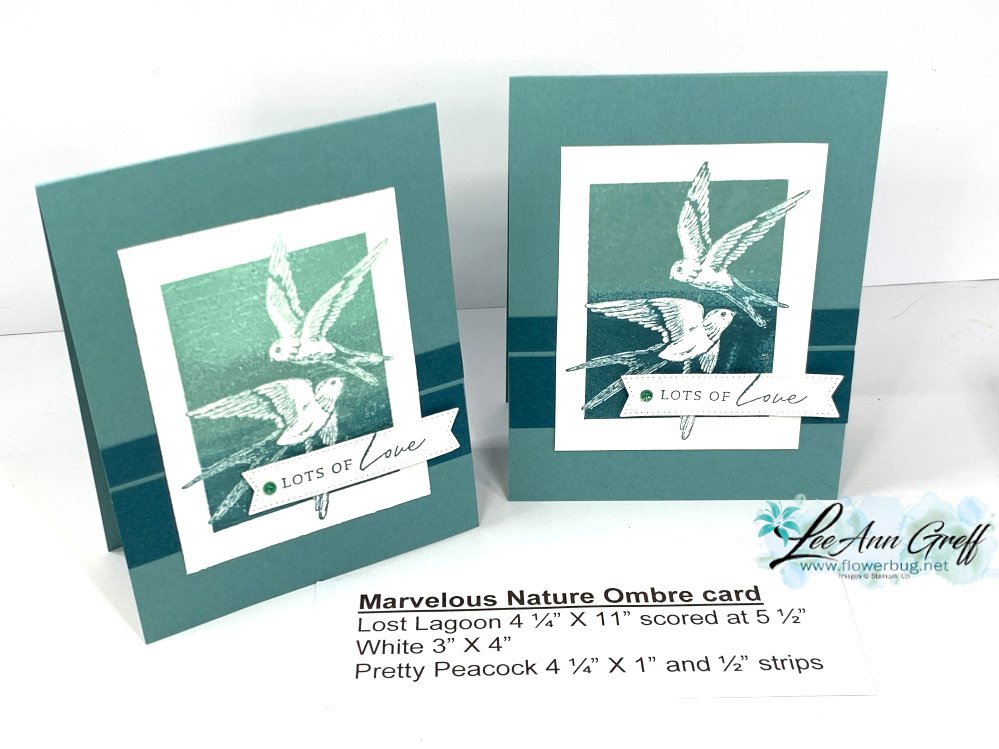
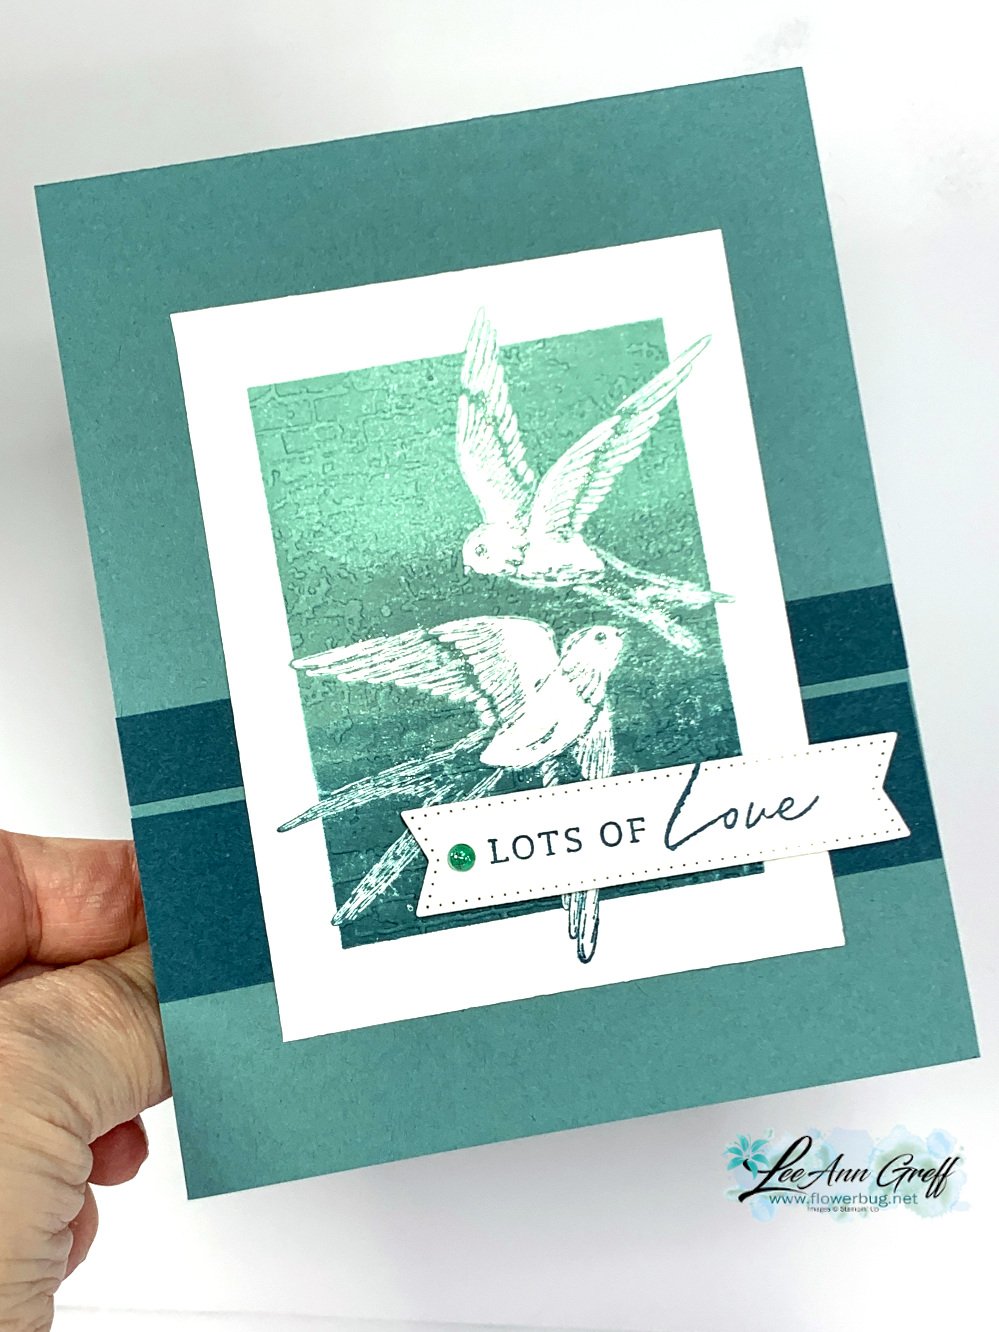
    Today I'm sharing the other card I made during Tuesday's video.  Both featured the new set called Marvelous Nature.  


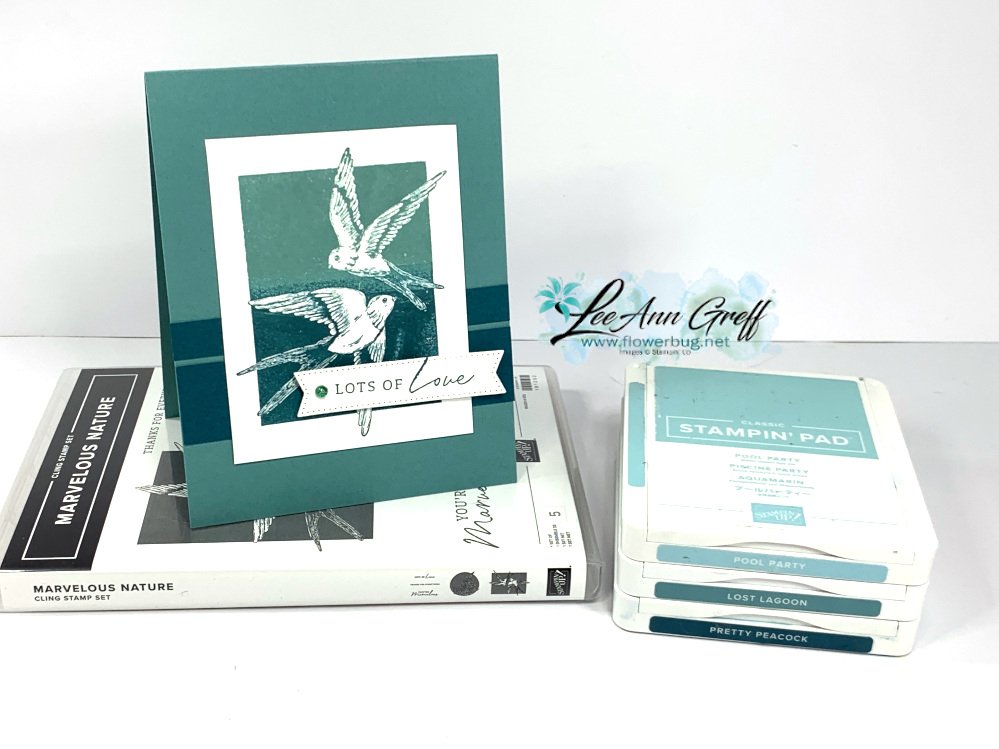
    I used an ombre technique where I inked the solid stamped image with three inks consecutively.  The top is Pool Party, the middle is Lost Lagoon and the bottom is Pretty Peacock.  


    You can see this pretty Marvelous Nature stamp set here. 

    The greeting is from the set but I did use the Stylish Shapes dies for it and popped it up on Dimensionals. 

    The card base is Lost Lagoon with two strips of Pretty Peacock under the main image.  As you can see by the photo below the left card is lighter than the right one.  In the video I went over the upper part of the image one more time using the Stamparatus; mostly so I could get a more solid, complete image. 

    Click here or on the photo below to watch the video.  Don't forget to subscribe to my YouTube channel too!

    ~~~

    June Specials:

    Designer Paper is 15% off in June!

    WOW – get $155 in product for $99 with free shipping! click here!

    Get a package of In Color pearls with online orders over $55 using a host code.

    *current host codes: ZHZ6CPYU or AJVB3B3V 

     Earn free products with my loyalty rewards! 

    Click here to download yours and earn a $50 shopping spree!

    Leave a Reply

    Your email address will not be published. Required fields are marked *


Notice: LeeAnn Greff, Independent Stampin’ Up! Demonstrator, Manager. The content of this website is my sole responsibility as an independent Stampin’ Up! demonstrator and the use of, and content of, the classes, services, or products offered on this website is not endorsed by Stampin’ Up! Copyright 2025