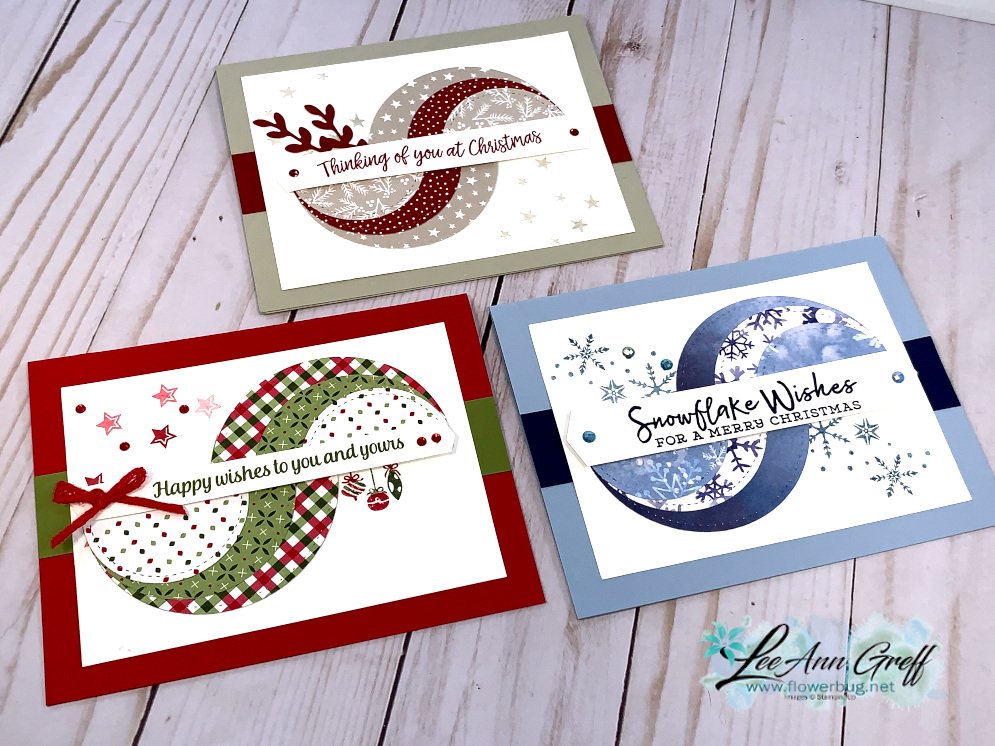
Retro style circles layout; super easy! Catch the Live video tonight!
Tonight at 7:30 pm Central Time I'm sharing how to make these retro style circle cards on Facebook Live. Click here to join me. You can also see this video below!
Basically you need three sizes of circle dies or punches for the start of this layout. Cut them in half and layer together with the edges meeting on one side. Adhere and add a long greeting between the two.
Watch how on my FB Live replay!
Measurements:
5 1/2" X 8 1/2" card base
3 1/2" X 4 3/4" Whisper White; the greeting strip is about 5" long and either 1/2" or 3/4" wide depending on your greeting image.
1" X 5 1/2" horizontal strip
Circles from the Stitched Shapes dies are the largest three circles.
You'll want ink, stamps and embellishments that coordinate with your Designer Paper. Remember you could use card stock instead of DSP.
These projects feature the Softly Sophisticated designer paper from our recent Sale-a-Bration promotion. Sadly SAB is over so it's not available anymore. You can easily substitute your favorite designer paper instead.
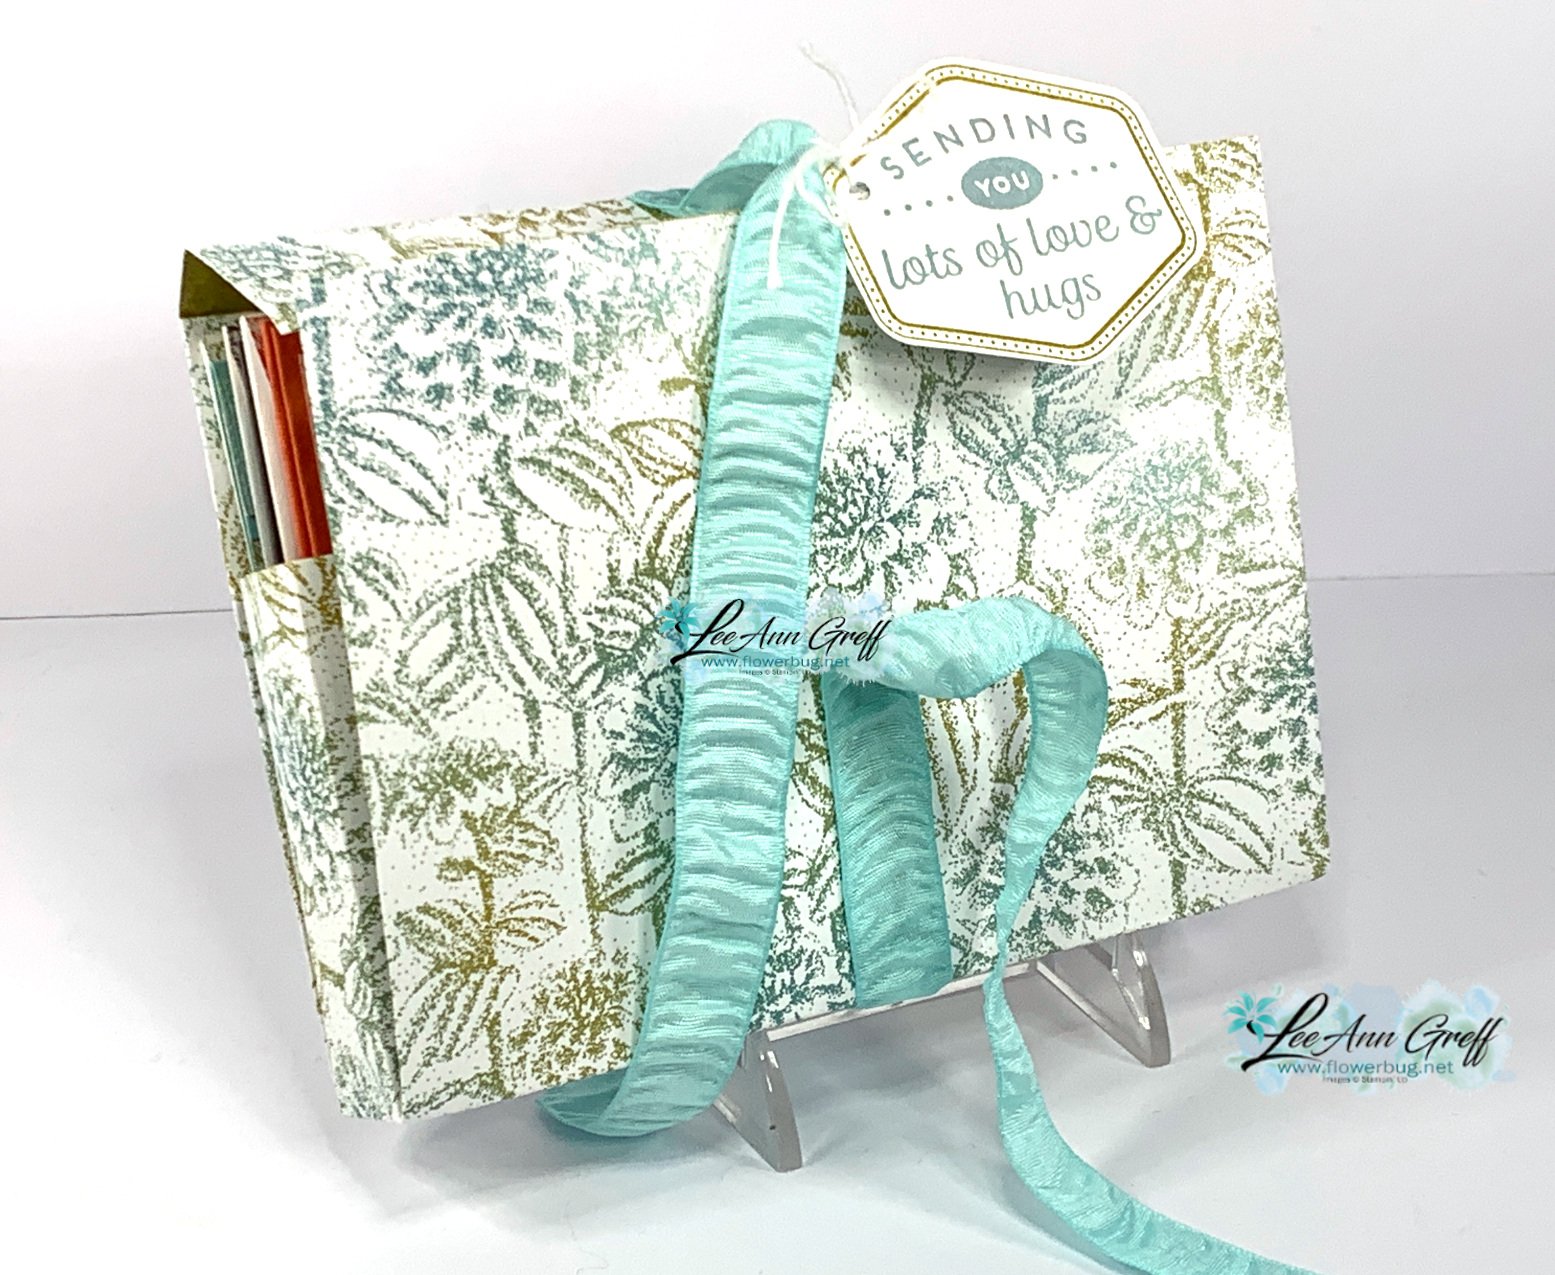
Please watch the video tutorial below to see how to make this box. I used the crinkled Pool Party ribbon from SAB to close it and the Heartfelt Hexagon stamp & punch bundle on these projects.
I decided to attach the ribbon on this box instead of leaving it loose. I used Tear & Tape and adhered it to the back, upper flap and half of the front. I tied the tag to the ribbon with twine so it's easy to tie together again.
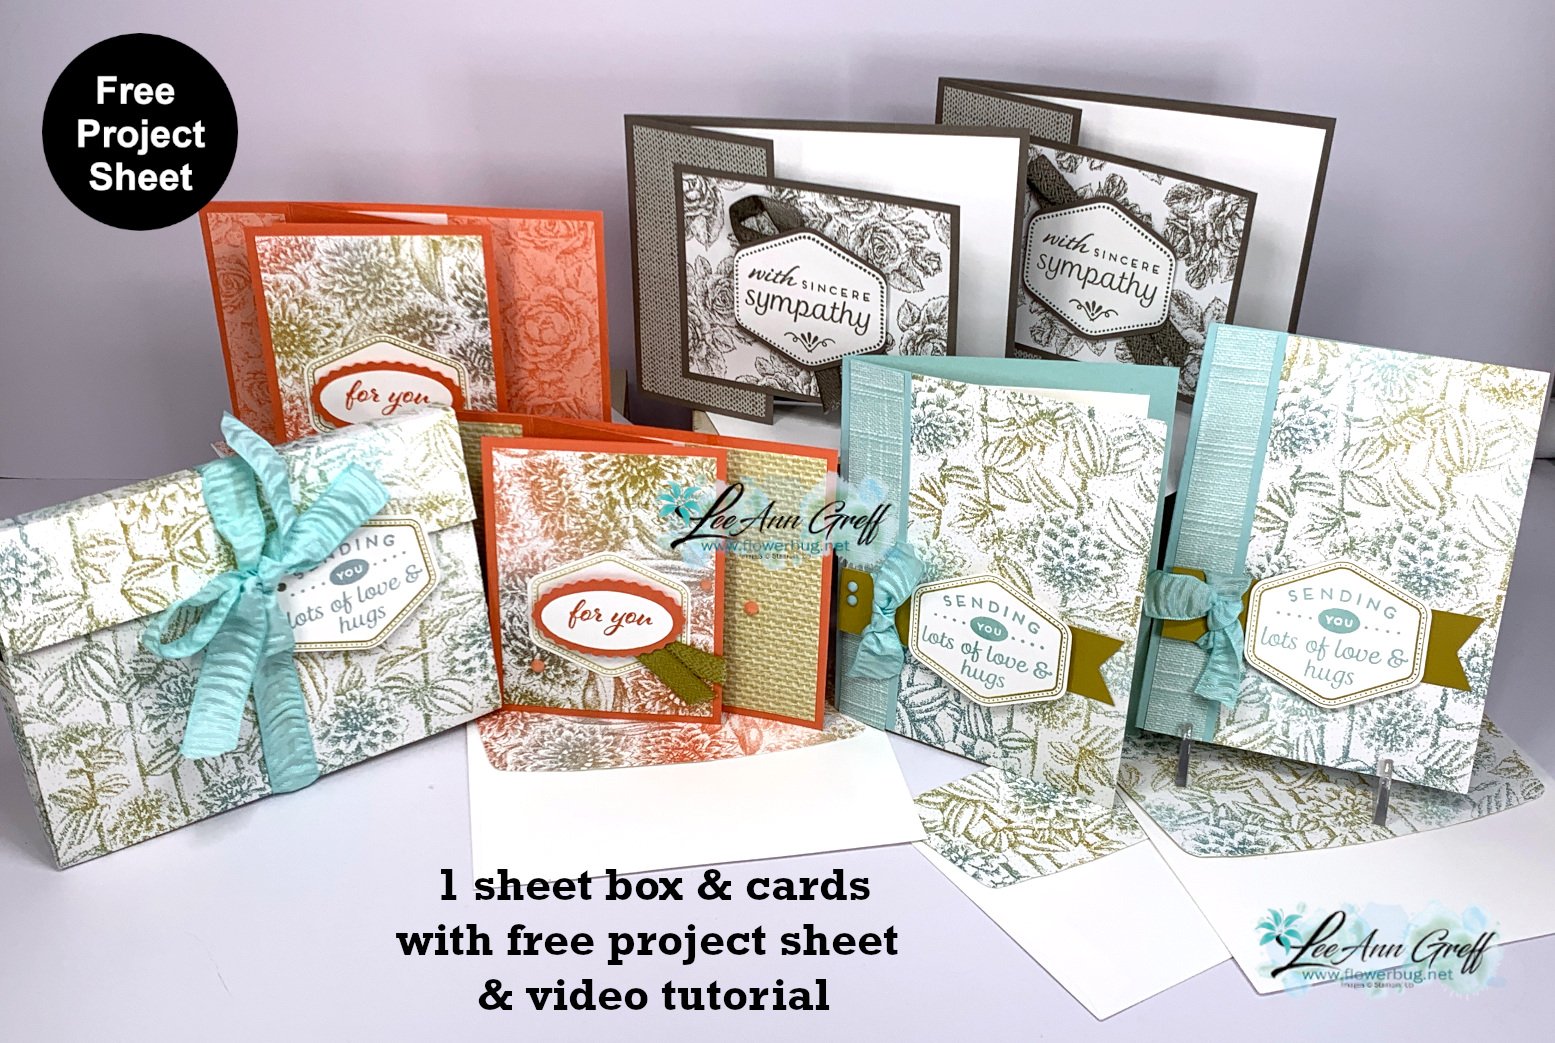
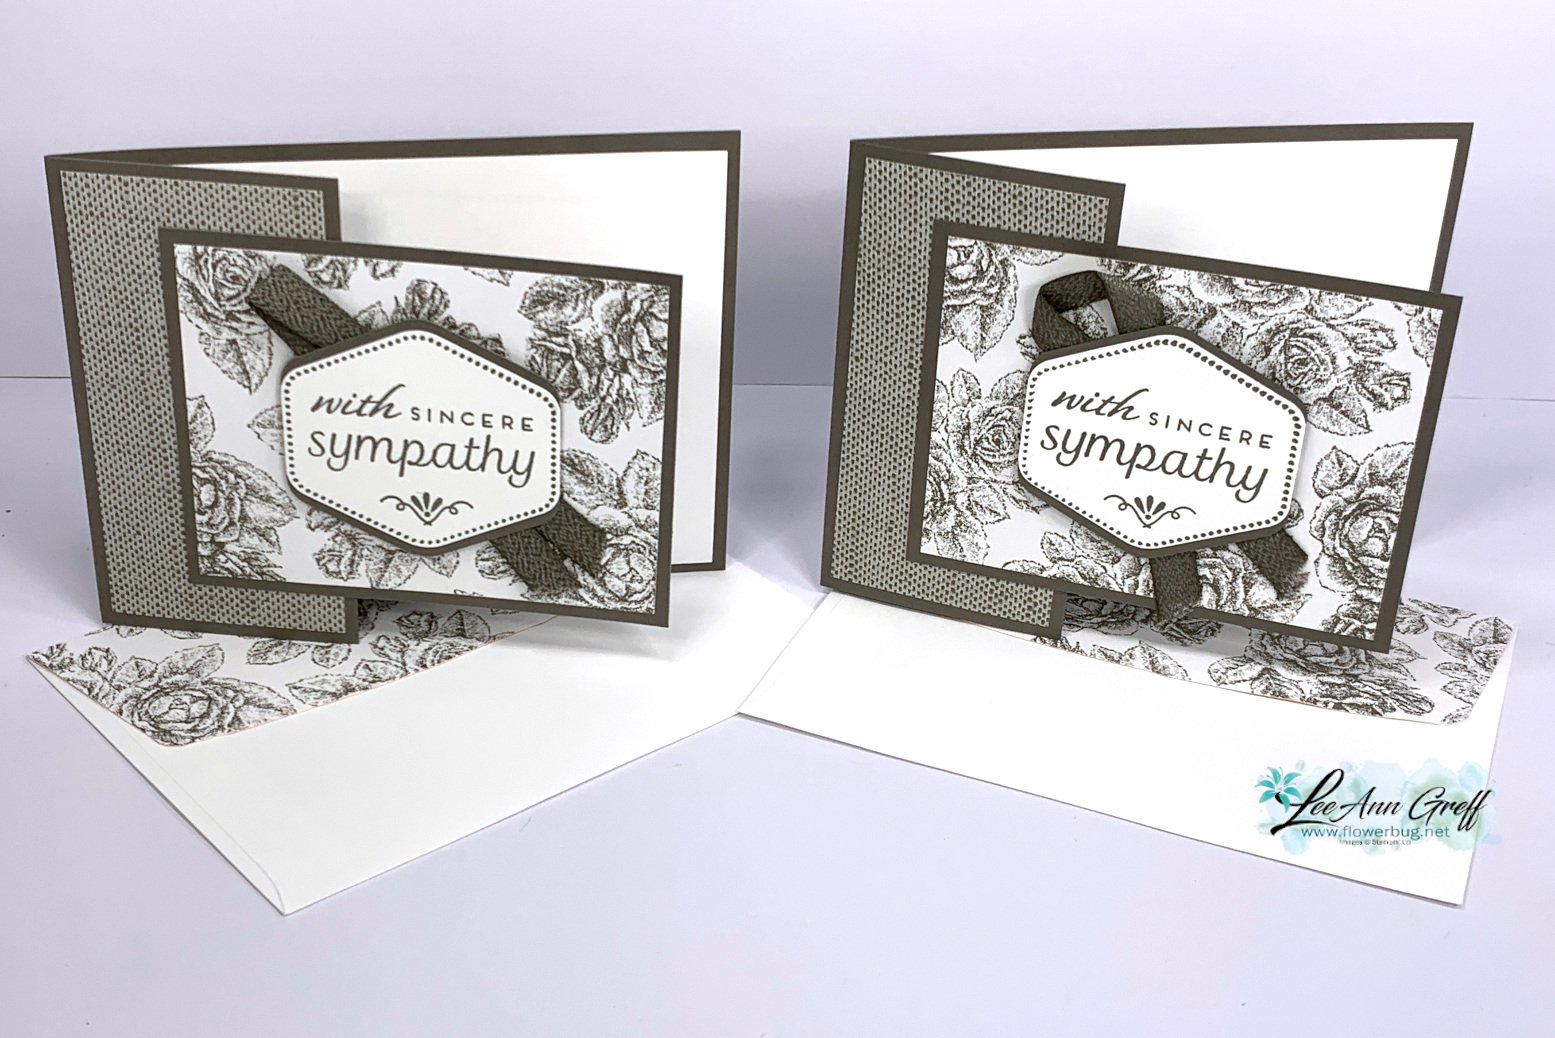
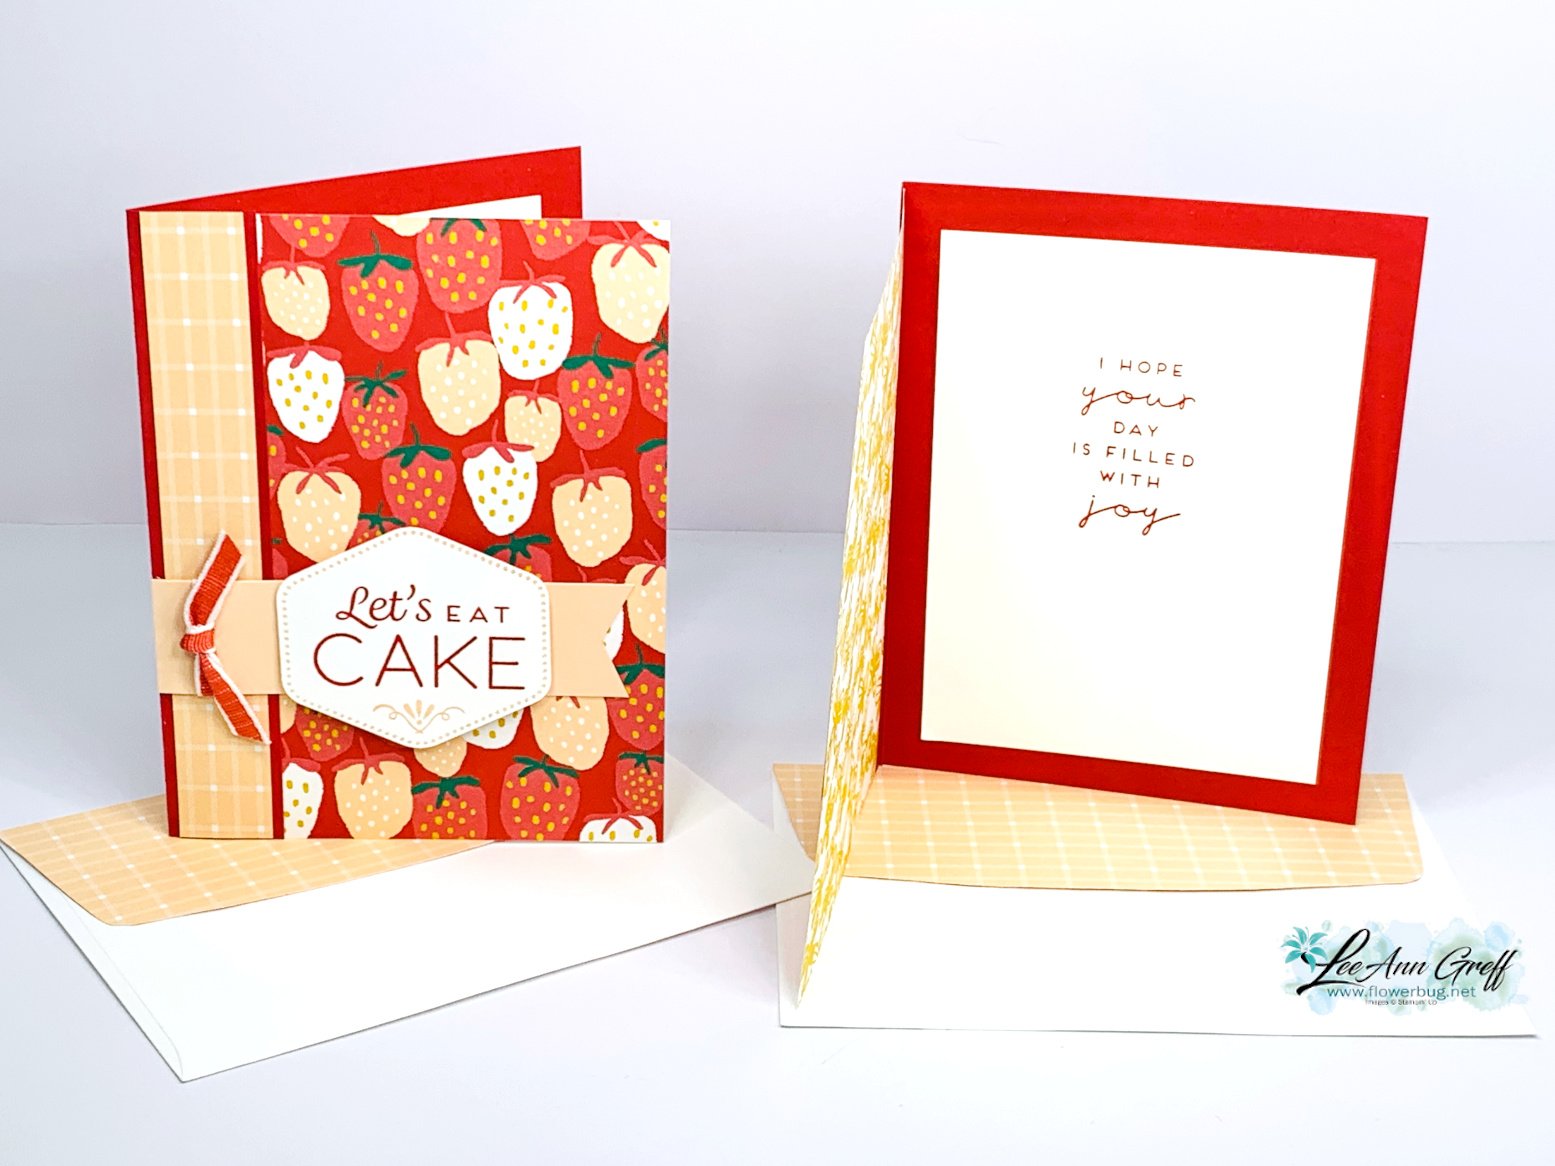
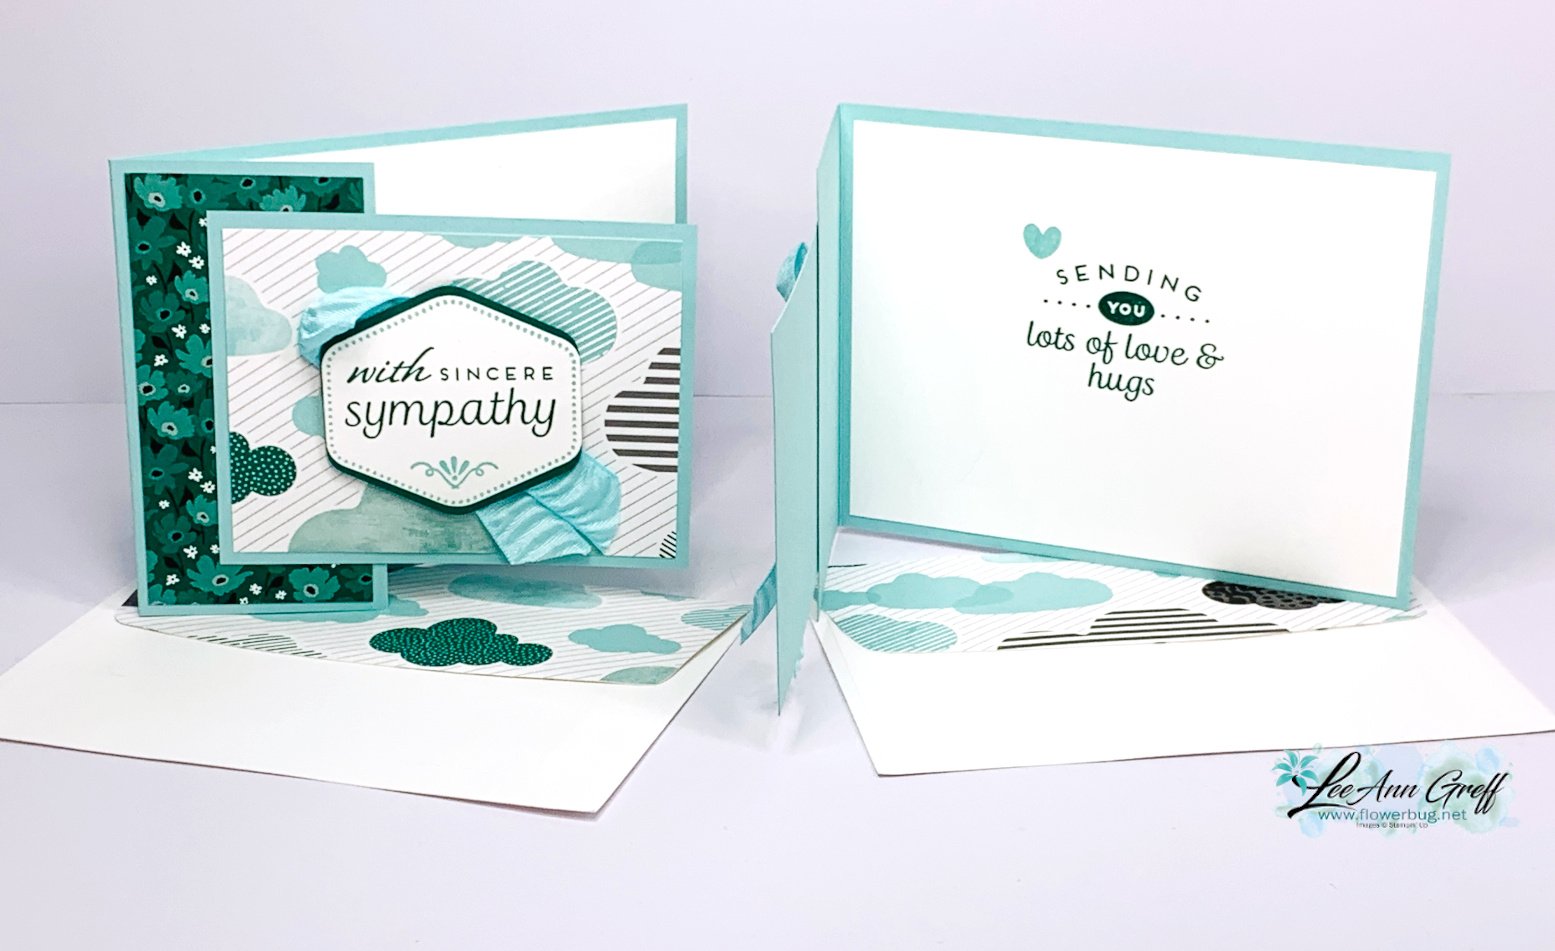
Next I'll share the individual cards with the measurements. Each one is a special but easy fun fold layout. I used just one stamp set on these cards – the Heartfelt Hexagon set. The coordinating Hexagon punch is unavailable right now; it's out of stock but will be back in April.
Note the decorated envelopes to match! Doing this makes your projects extra special and uses up your designer paper stash too.
This card is a new take on a book-binding card fold. It has just one extra layer of card stock to make it a new fold.
Measurements: Calypso Coral card 11" X 4 1/4" score at 2 1/8", 4 1/4" & 5 1/2". 2nd piece is 3 1/4" X 4", White inside 2" X 4". DSP – large panel is 3" X 4", 1" X 4" & 2" X 4"
This card shows off both sides of your designer paper since the DSP is actually the front of your card base.
Measurements: Pool Party is 5 1/4" X 5 1/2" score at 4 1/4". DSP – 1 piece at 3/4" X 5 1/2", 1 piece at 4" X 5 1/2". Wild Wheat strip 4" X 1"
Click here or on the photo below to watch the video tutorial. It will help you understand how to make the box. Don't forget to follow me on YouTube while you're there!
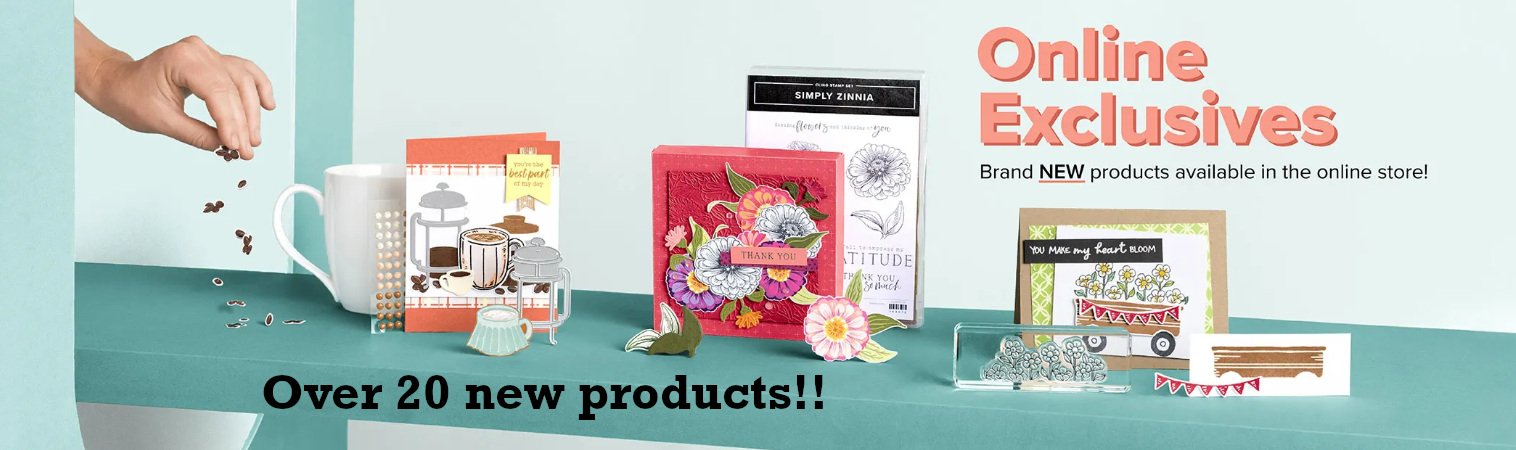
New Online Exclusives are now available! Over 20 exciting new products
Woo hoo! The new Online Exclusive products are now available to everyone! They've released over 20 brand new stamps, bundles, designer papers and embellishments and they are fabulous!
Remember these are not in any published catalogs; they can only be seen online. But they can be purchased by anyone on any type of order. They've said these are while supplies last. Some will be re-ordered when they run out of stock and others will not be.
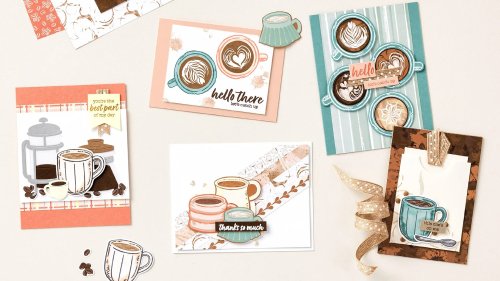
I'm sharing projects featuring the Latte Love on today's Facebook Live. See it here at 11 am CT. It will be uploaded to my YouTube channel herelater today as well.
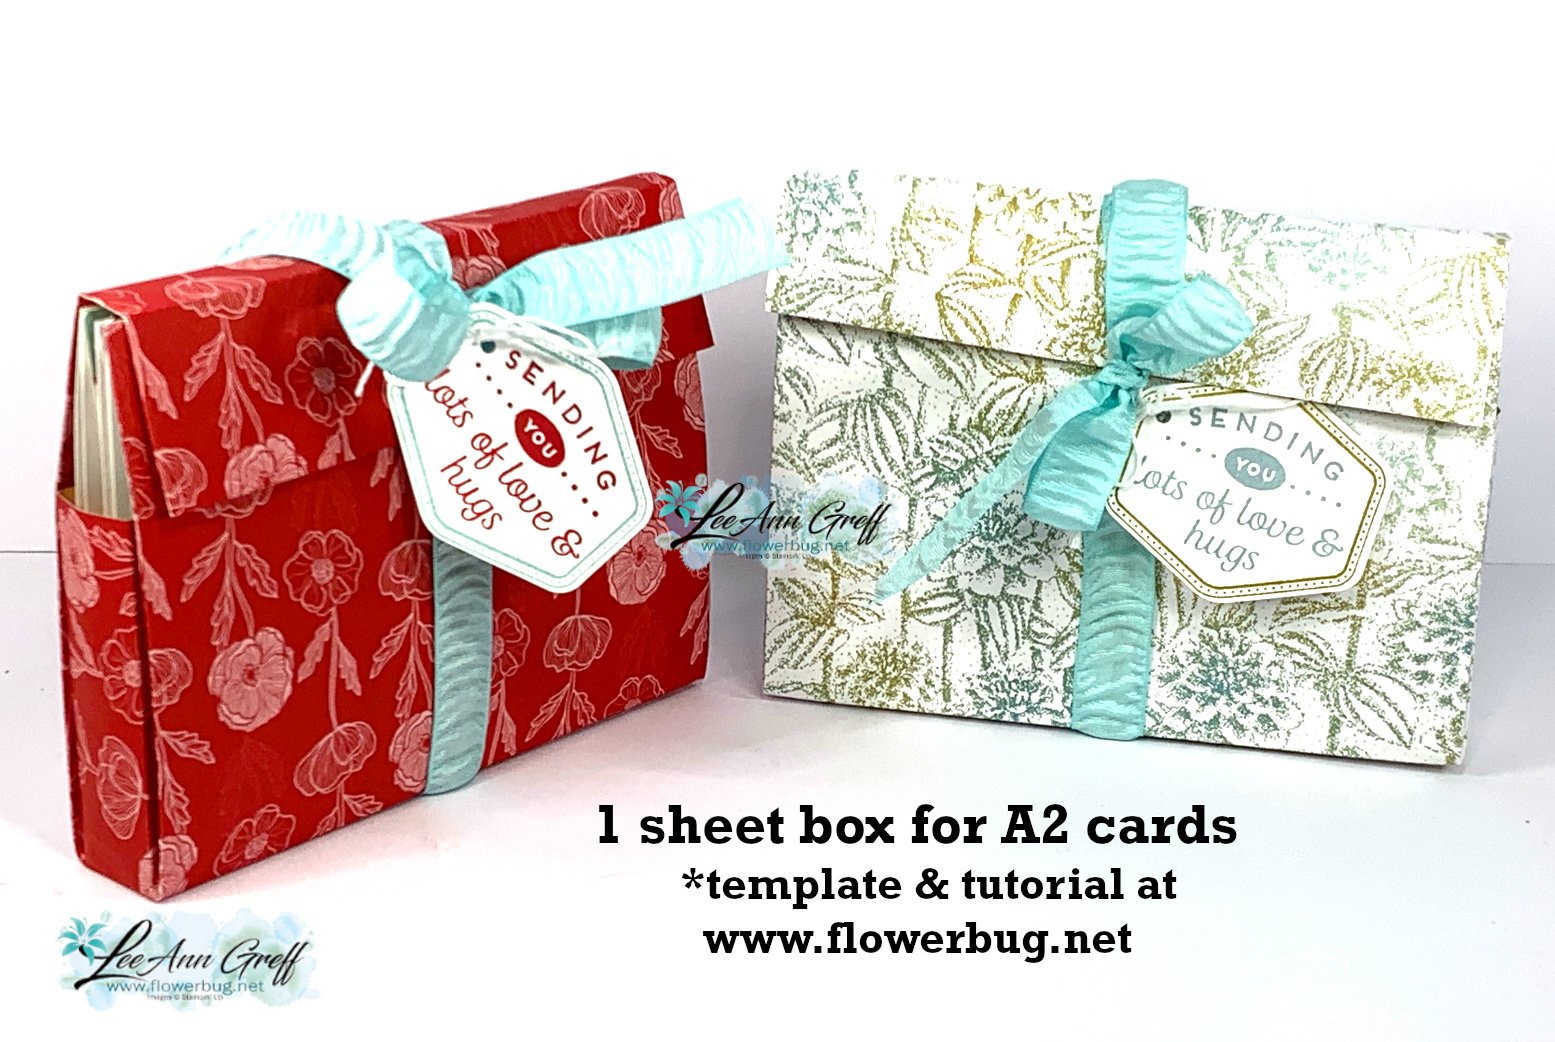
It fits six A2 sized cards and envelopes inside. It's the perfect way to gift cards to someone.
I used the Sunny Days Sale-a-Bration paper for the box and the cards too. Of course Sale-a-Bration is now over but hopefully you ordered this beautiful paper. If not you can substitute any other designer paper.
I created a free project sheet for this easy box and the cards too! See it below. There's also a template for it but it will help you to watch the video too. Click hereto watch it. Be sure to follow me on YouTube here.
Measurements: Petal Pink card 11" X 4 1/4" score at 2 1/8", 4 1/4" & 5 1/2". 2nd piece is 3 1/4" X 4", White inside 2" X 4". DSP – large panel is 3" X 4", left is 1" X 4" & right is 2" X 4"
This next card has the designer paper as the card front; attached to the front flap. Love this and how you can see both sides of our pretty paper!
Below is the video you can watch. I share a second version of this box & cards using the Softly Sophisticated designer paper. I'll share details on this box & cards tomorrow.
Notice: LeeAnn Greff, Independent Stampin’ Up! Demonstrator, Manager. The content of this website is my sole responsibility as an independent Stampin’ Up! demonstrator and the use of, and content of, the classes, services, or products offered on this website is not endorsed by Stampin’ Up! Copyright 2025





























Leave a Reply