/


Latest Post

Retro style circles layout; super easy! Catch the Live video tonight!


Tonight at 7:30 pm Central Time I'm sharing how to make these retro style circle cards on Facebook Live.  Click here to join me.   You can also see this video below!

Basically you need three sizes of circle dies or punches for the start of this layout.  Cut them in half and layer together with the edges meeting on one side. Adhere and add a long greeting between the two. 

Watch how on my FB Live replay!

Measurements:

  • 5 1/2" X 8 1/2" card base
  • 3 1/2" X 4 3/4" Whisper White; the greeting strip is about 5" long and either 1/2" or 3/4" wide depending on your greeting image.
  • 1" X 5 1/2" horizontal strip
  • Circles from the Stitched Shapes dies are the largest three circles. 

You'll want ink, stamps and embellishments that coordinate with your Designer Paper.  Remember you could use card stock instead of DSP. 
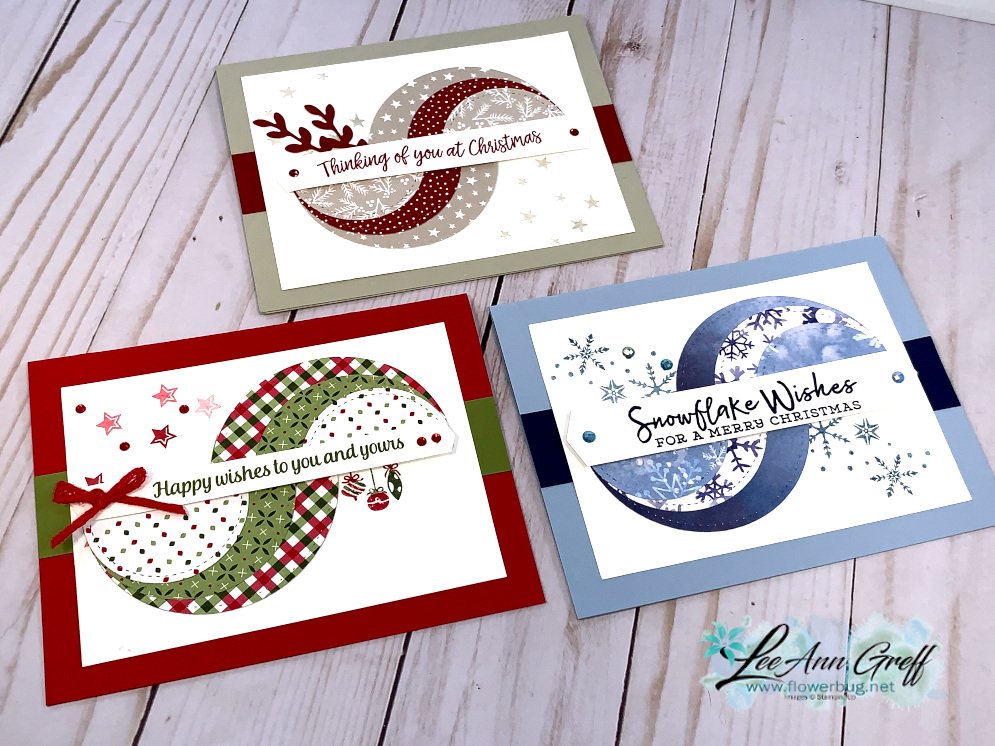

Products used:

  • Designer papers – Heartwarming Hugs, new Classic Christmas & Snowflake Splendor
  • Stamps – Tree Angle, Snowflake Wishes & Curvy Christmas
  • Colors – Real Red & Olive, Seaside Spray & Night of Navy, Sahara Sand & Cherry Cobbler  
  • Other: Stitched Shapes dies, Curvy Dies & Pick a Banner punch

~~~

November Specials!

Current Host code is GRC9VVUU


All online orders receive my FREE Curvy Celebrations 22 project PDF Tutorial! 

All Posts

  • Cute Christmas Stockings in the November Paper Pumpkin kit; get yours by November 10th


    Here's a peek of the upcoming November Paper Pumpkin kit! 

    Each month there's a new all inclusive kit but you need to subscribe or purchase a pre-paid subscription by the 10th to get that month's kit. 

    The November kit details:
     
    · Celebrate Christmas with adorable stockings and gift tags!
    · Makes 8 projects: 8 stockings with 8 gift tags
    · Precut paper pieces
    · Safety pins and specialty gold foil
    · Coordinating colors: Flirty Flamingo, Pool Party, Poppy Parade (Classic Stampin’ Spot), Shaded Spruce, Very Vanilla
    · Fabric stockings and paper tags come in a unique box!
     
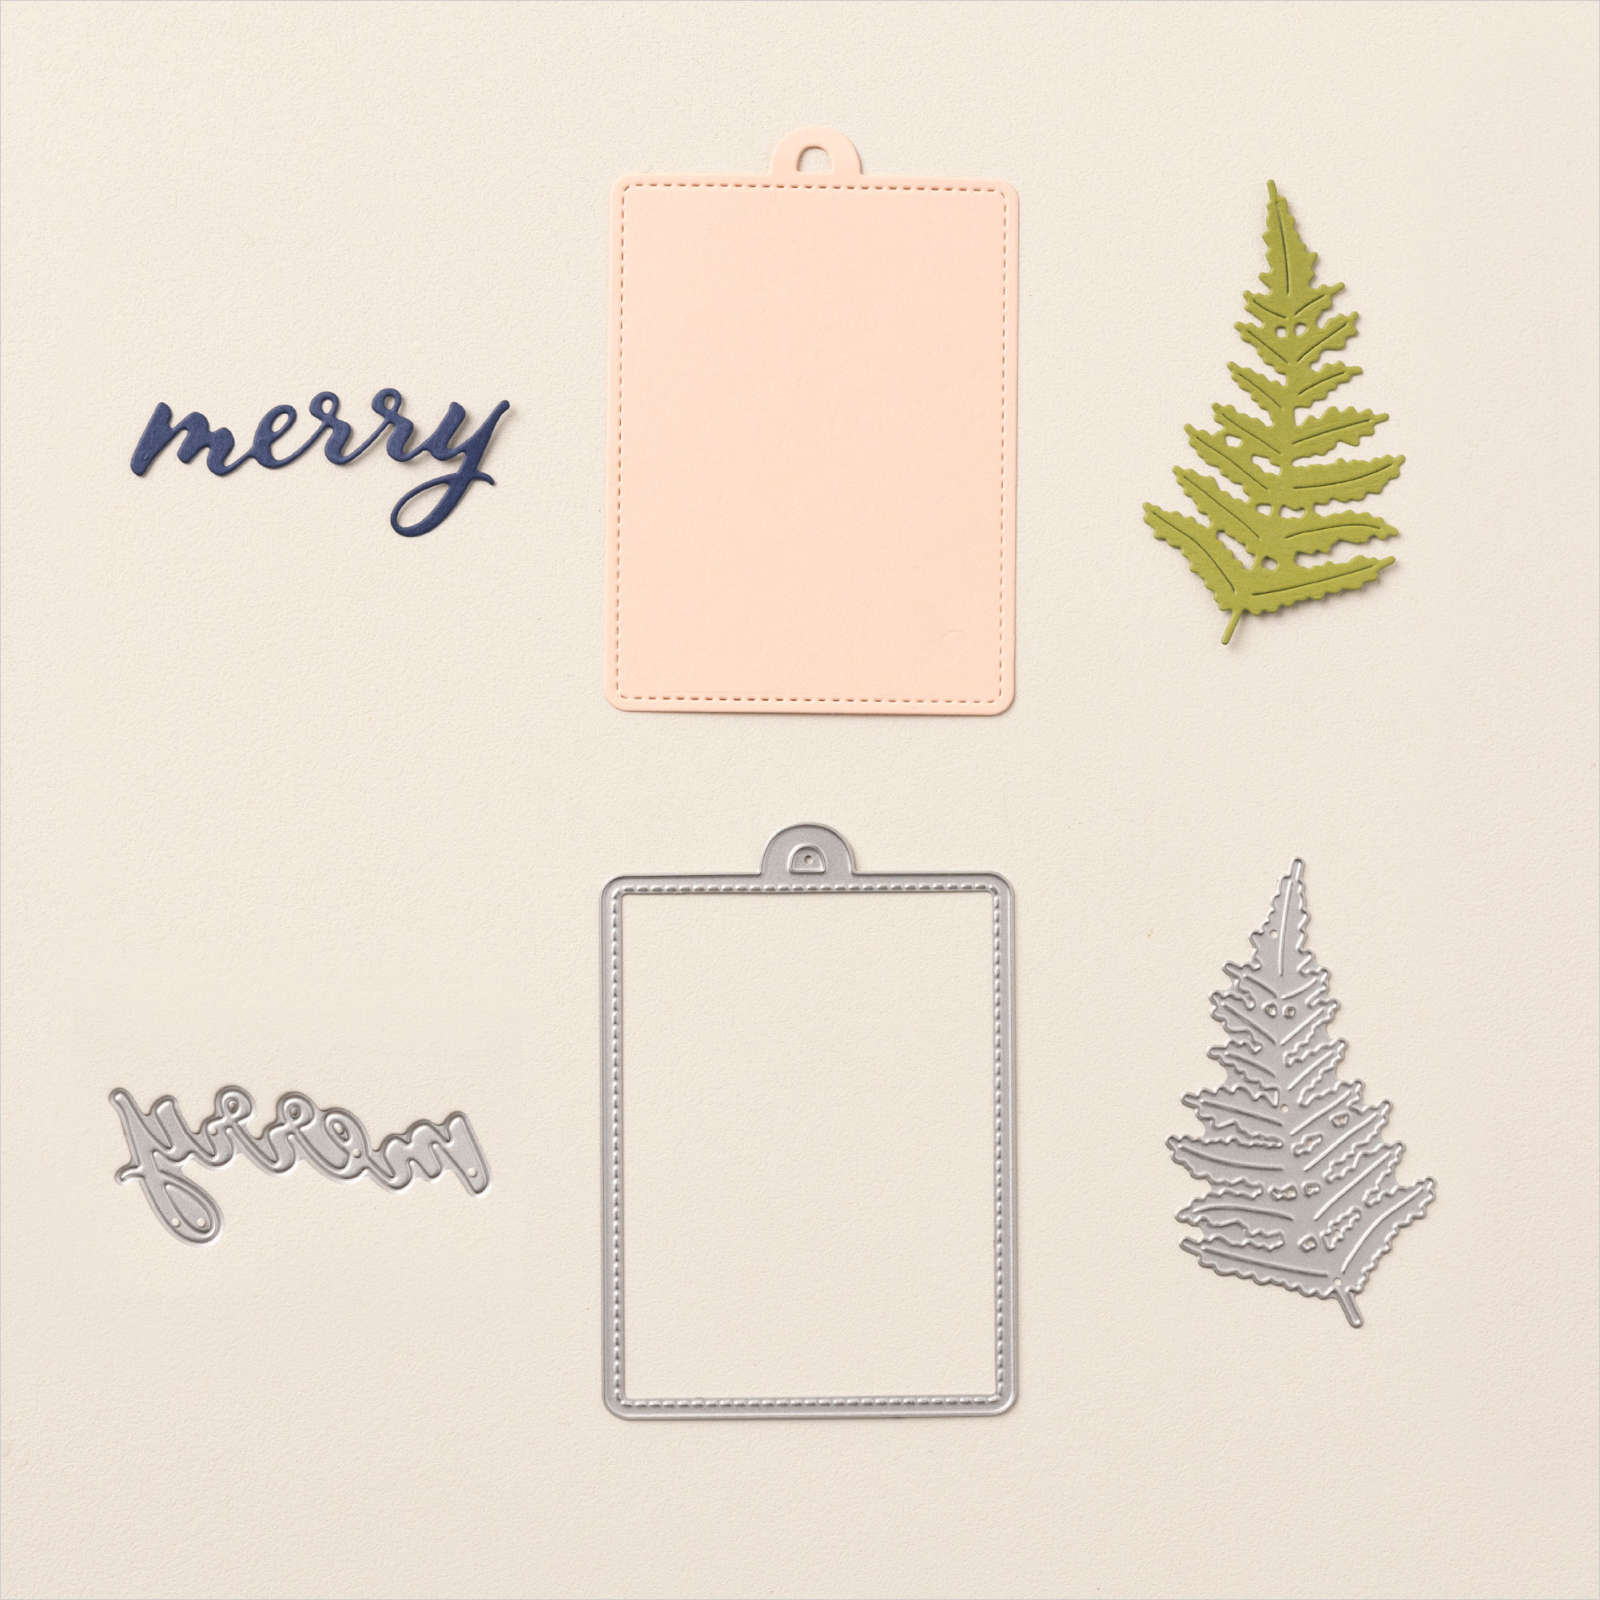
    Subscribers can also shop the exclusive Merry Tags & More Dies add-on, which coordinates with our October, November, and December kits. This is available while supplies last. 
     
    The Add-on details: Item number: 165639
    · Name: Merry Tags & More Dies Price: $12.00 USD
     
    Click here to subscribe to get a kit every month (you can choose which kits you receive; simply skip a month when you don't fancy it). 
    Or Click here to purchase a pre-paid subscription. 
     

    ~~~

    November Specials:

    *current host code link:  VGUD6UA7

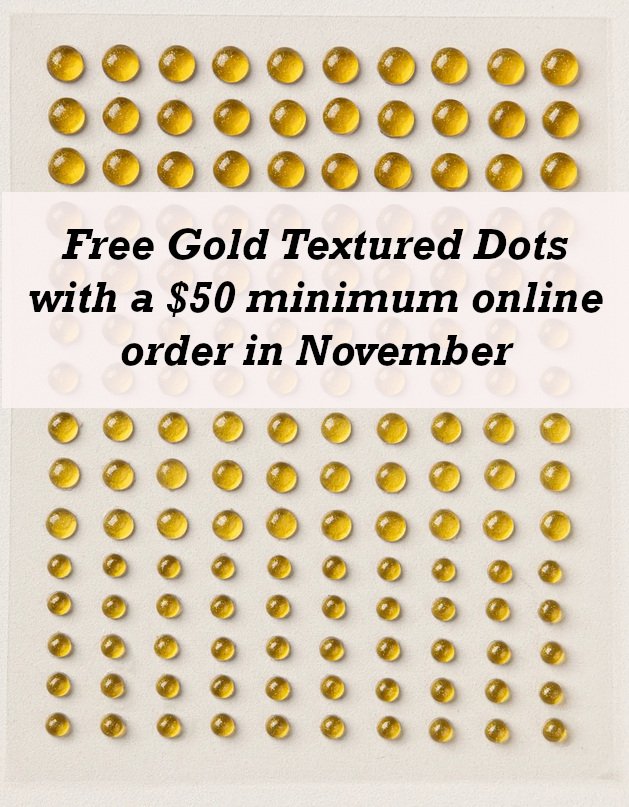
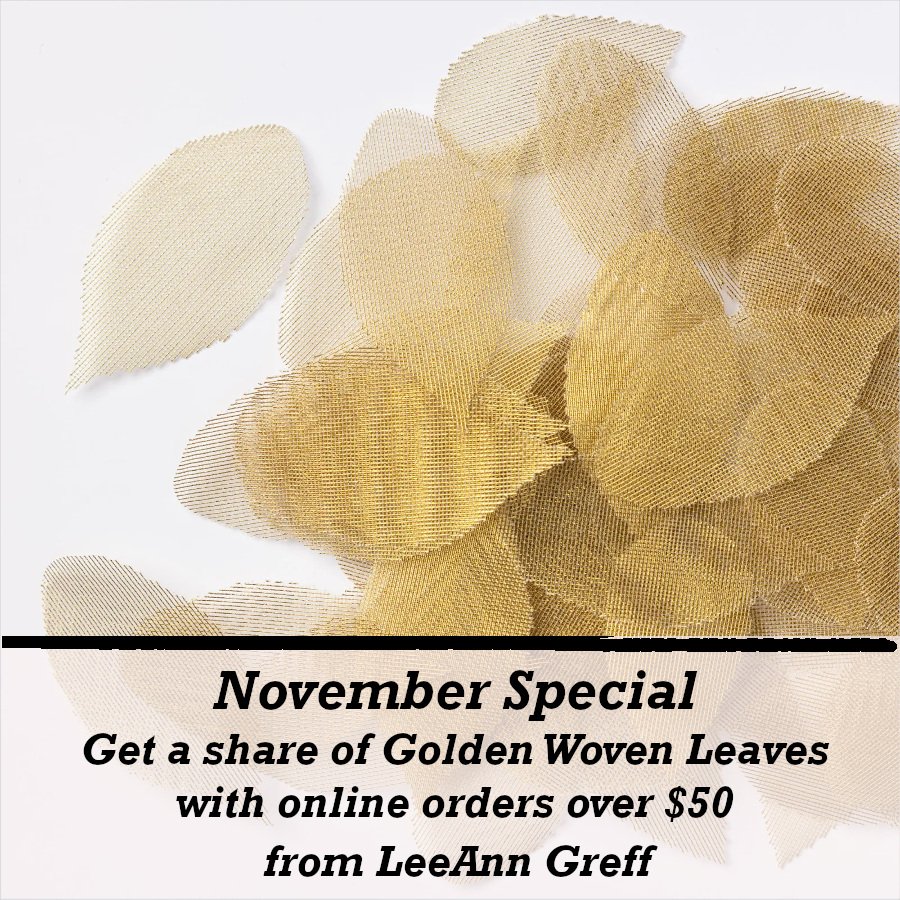
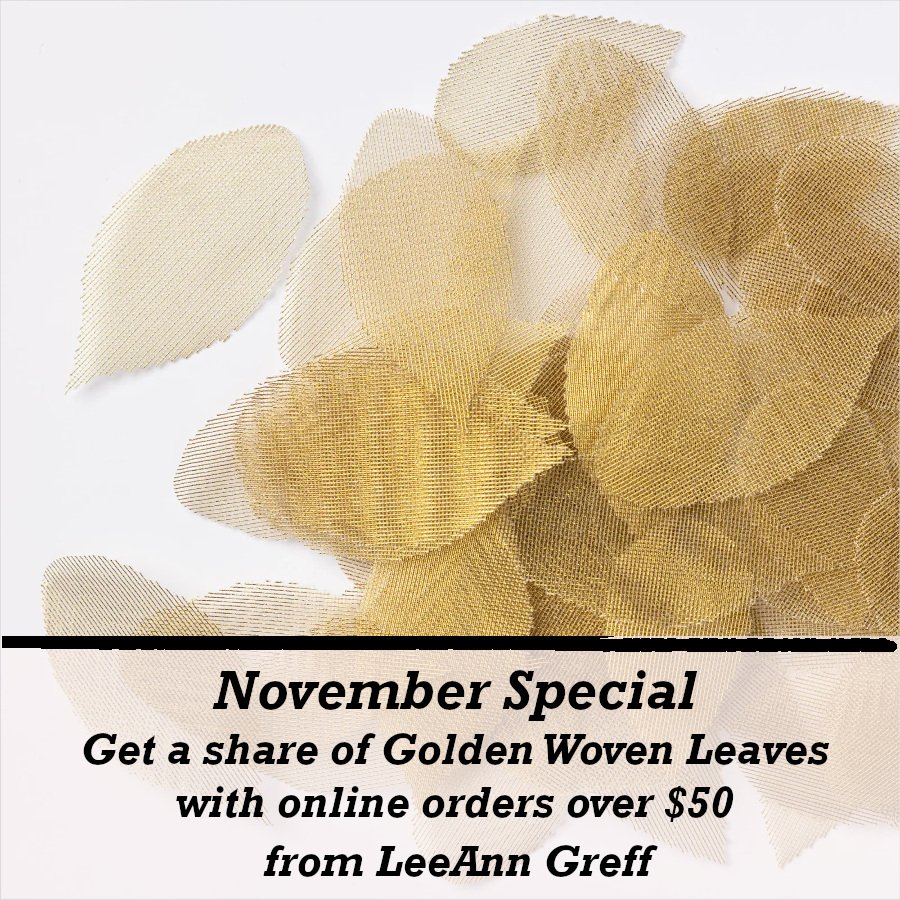
    Get a package of Gold Textured dots with your online order 


    ~~~

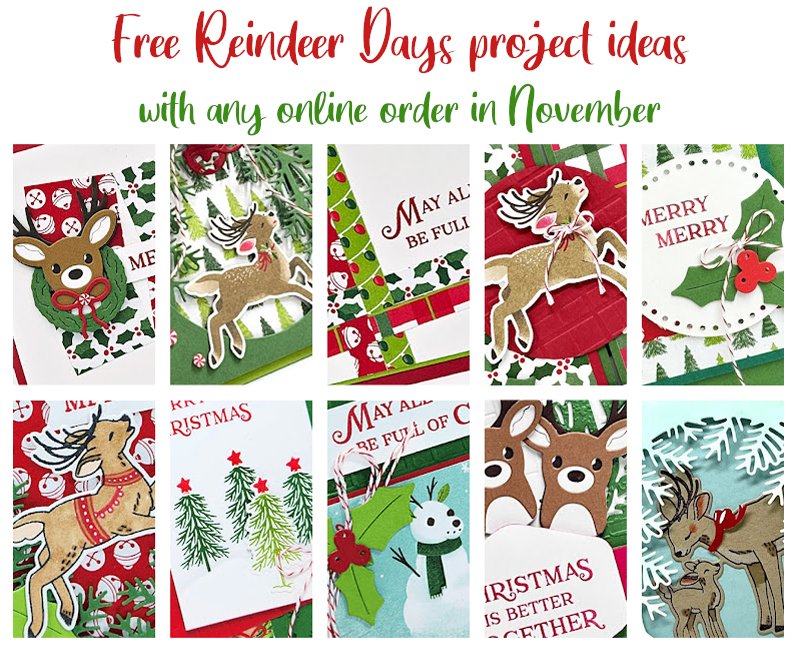
           All online orders in November will receive a free PDF tutorial featuring the Reindeer Days suite


    Leave a Reply

    Your email address will not be published. Required fields are marked *

  • Expressions in Kindness kit is back! And the sale ends today!


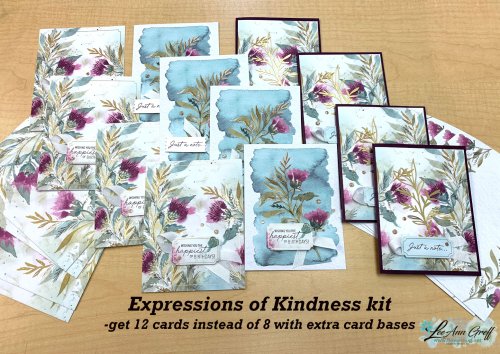
    The Expressions in Kindness card kit is gorgeous! Look at these stunning cards…..

    This beautiful kit has been out of stock for many weeks.  I'm so glad it's back in time for the kit promotion.  It was $23 and is now $20.70 but that price ends today!  See it here. 

    The kit is meant to make 8 cards but one set of the card bases is printed on both sides.  I couldn't waste it so I trimmed it to add to both White & Blackberry Bliss card bases.  I did have to add two greeting labels to get 12 finished cards but that's all I added besides extra envelopes.  

    Here are the other 2 sets of cards; I didn't change much.

    Our kits are all inclusive which means everything is included including a stamp set, Blackberry Bliss ink spot, envelopes, gems, ribbon and adhesives. 

    Even though I consider myself an experienced stamper I love our kits.  They give me a chance to create without a lot of prep or planning.  They're great for gifts or last minute crafting. 

    Check out all of our all inclusive kits here.  Today is the last day of the kit sale! 

    ~~~

    October Specials:

    *current host code link:  VGUD6UA7

    Get a share of Woven Golden Leaves  


    ~~~

    Get an extra $30 in your Starter kit in October!  Click here to read more

    ~~~

    The Kits Collection is on sale!  Check it out here.

    ~~~

           All online orders in October will receive a free PDF tutorial featuring the Season of Elegance suite

    Leave a Reply

    Your email address will not be published. Required fields are marked *

  • Last of our Team swaps include a neat technique and a fun fold


    Today I'm sharing the last three card swaps from my Team in October.  Our theme was winter or Christmas. 

    First is Roxann's card. It's a Christmas village scene! 

    She used the Yuletide Village stamp set seen here.  She also used the Falling Snow background stamp; which she heat embossed with White powder. 

    She fussy cut all of these homes, church and trees!  It's so pretty and real looking!  

    ~~~

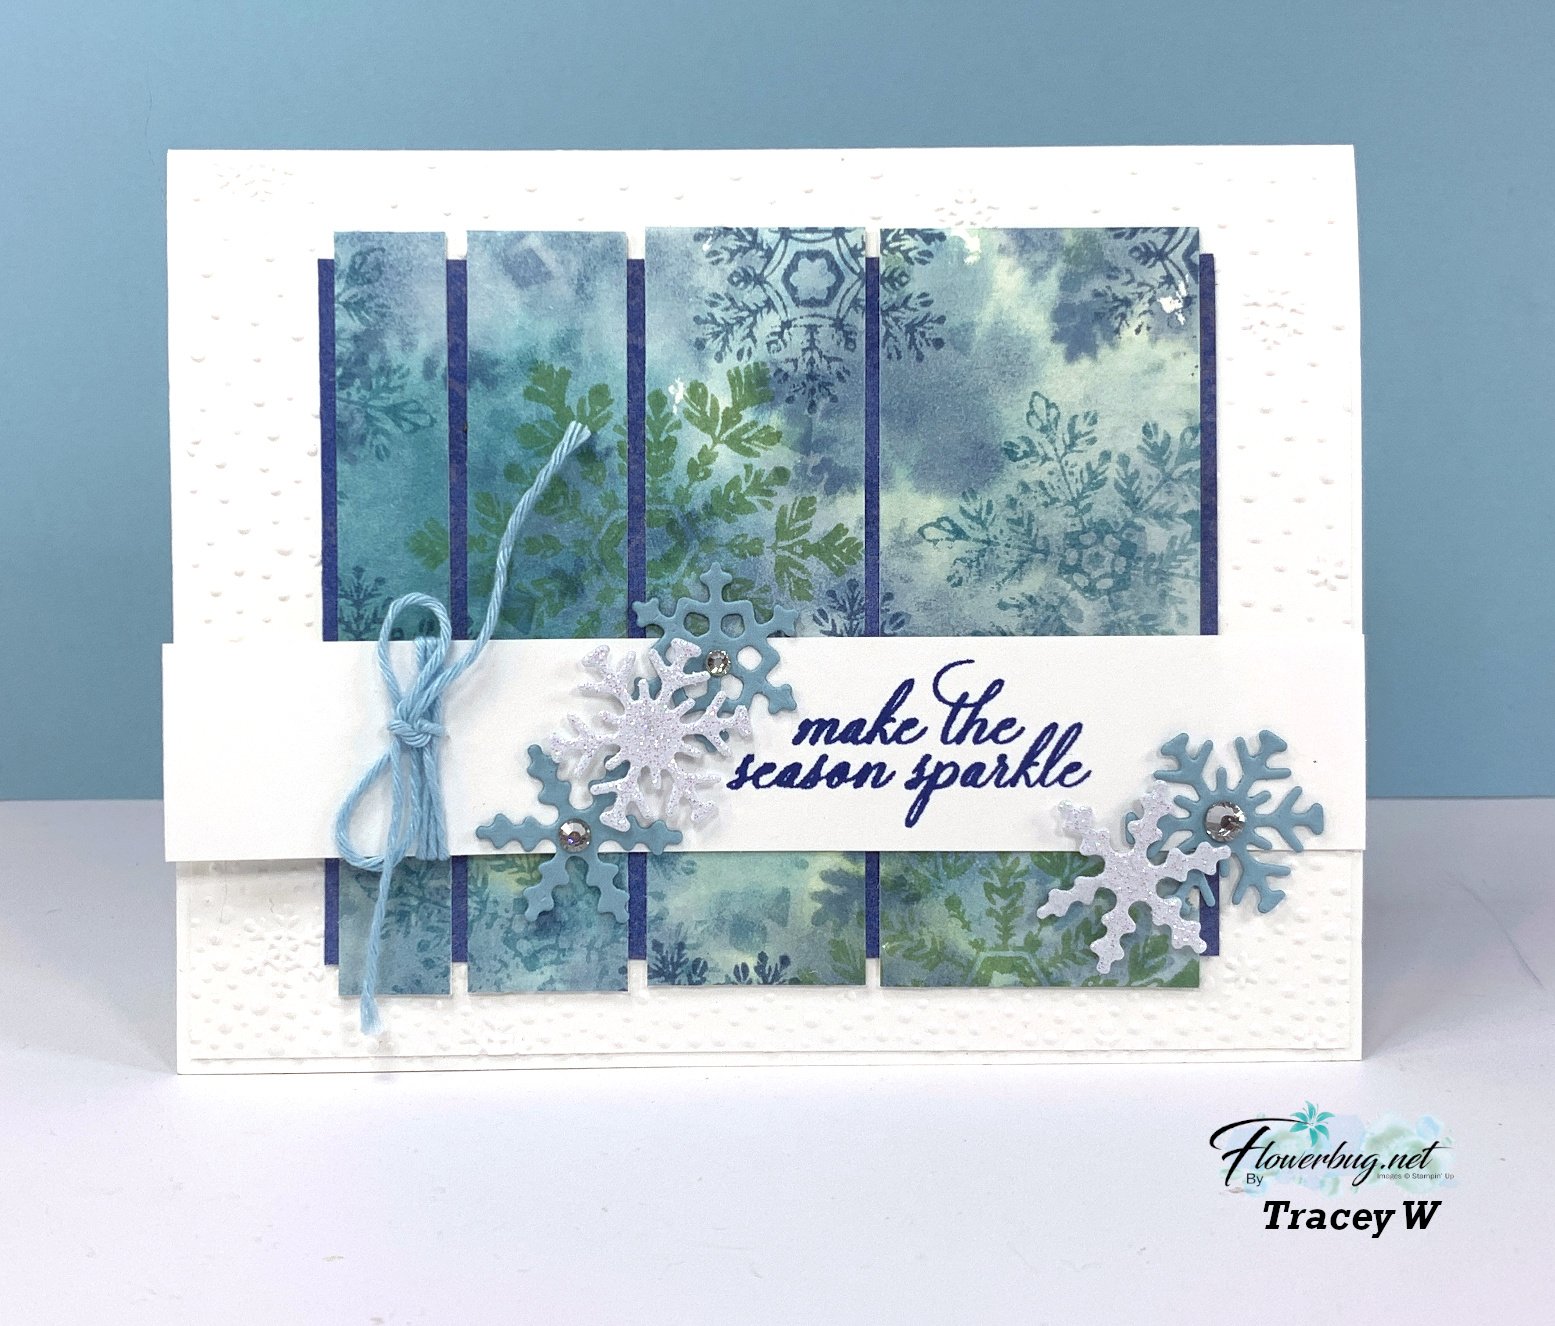
    Next is a fantastic technique made by Tracey.  You might think she used designer paper here….. 

    It's not! She made her own stamped background using watercolor paper and three colors of ink. Here's how she did it:

    She thoroughly wet the watercolor paper before stamping the snowflake images in the following inks: Pool Party (looks like green here), Balmy Blue & Boho Blue. When you stamp on the wet paper the ink travels and blends together but leaves a faint impression of the snowflake images sometimes.  Simply gorgeous!

    The snowflake die-cuts are from the Frozen Edges dies seen here. The greeting and snowflake images are from the Sparkling Snowflakes stamp set seen here. 

    Measurements of the layers are as follows:

    • Card base 5 1/2" X 8 1/2" score at 4 1/4", Textured white layer 5 3/8" X 4 1/8", greeting strip 5 1/2" X 1"
    • Blue background is 4 1/8" X 3 1/4"
    • Watercolor paper strips – left to right – 1/2" X 3 1/2", 3/4" X 3 1/2", 1" X 3 1/2" and 1 1/2" X 3 1/2" 

    ~~~

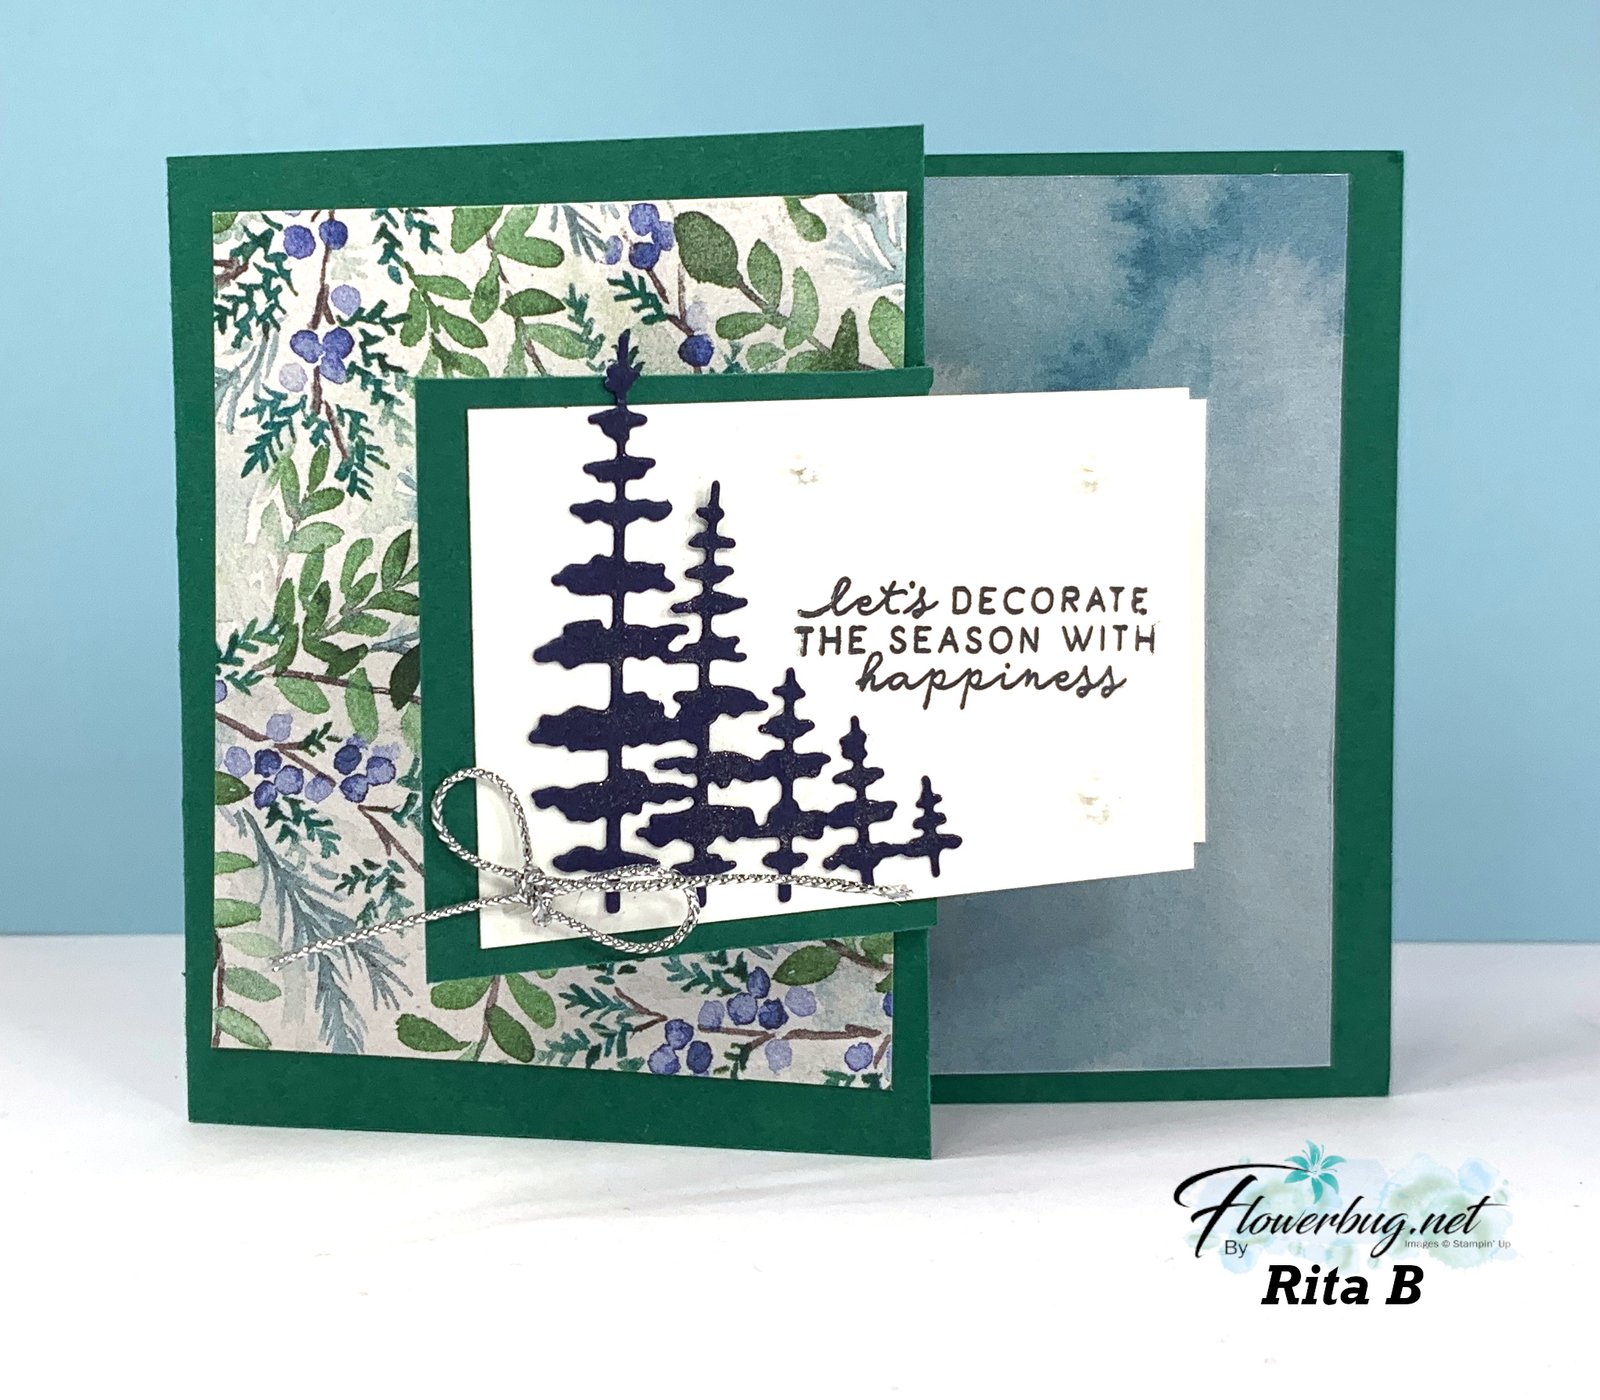
    Next is a pretty fun fold made by Rita. 

    She used the Winter Meadow designer paper and the Encircled in Nature dies (seen here) for her trees.  The front panel (White) is adhered to a flap that is part of the card base.  It's a neat fold! 

    Her card base measures 11" X 4 1/4", score at 2 1/4" & 5 1/2". Then make a mark at 1" from the top and 1" from the bottom on the 2 1/4" score line. You'll trim off the outer portion and that creates a flap for the White layer which measures 3 1/4" X 2". 

    Thank you to all of my Flowerbug's for creating incredible cards for our October card swap.  My gals are super talented!!

    ~~~

    October Specials:

    *current host code link:  VGUD6UA7

    Get a share of Woven Golden Leaves  


    ~~~

    Get an extra $30 in your Starter kit in October!  Click here to read more

    ~~~

    The Kits Collection is on sale!  Check it out here.

    ~~~

           All online orders in October will receive a free PDF tutorial featuring the Season of Elegance suite

    Leave a Reply

    Your email address will not be published. Required fields are marked *


Notice: LeeAnn Greff, Independent Stampin’ Up! Demonstrator, Manager. The content of this website is my sole responsibility as an independent Stampin’ Up! demonstrator and the use of, and content of, the classes, services, or products offered on this website is not endorsed by Stampin’ Up! Copyright 2025