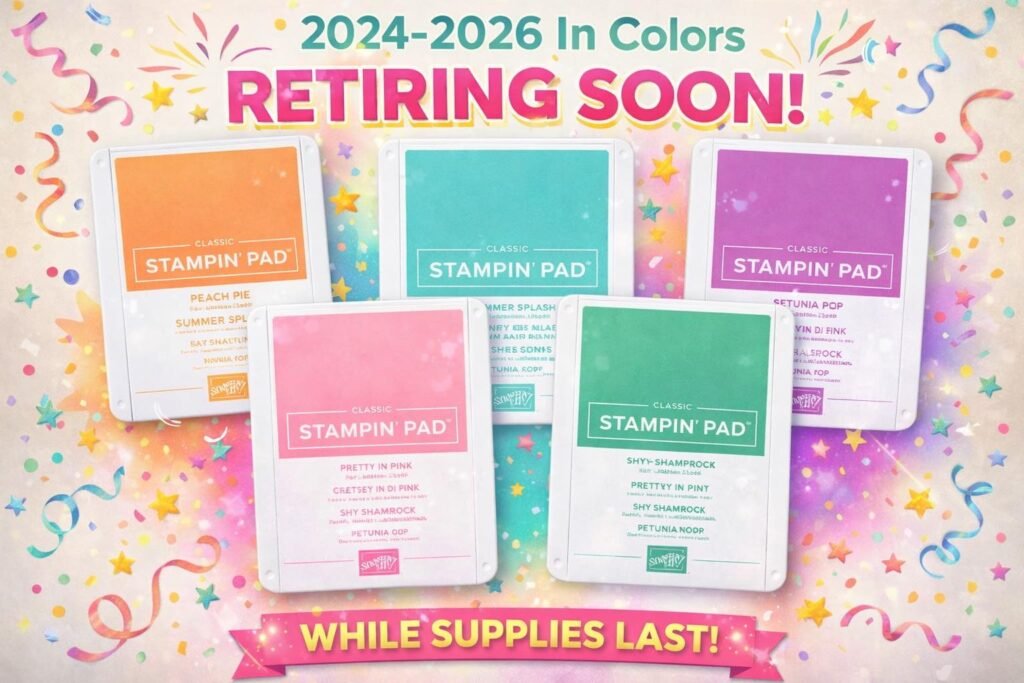
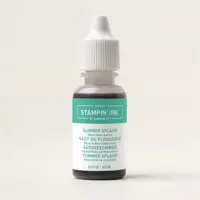
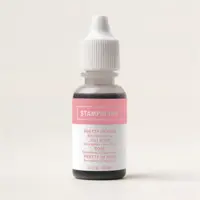
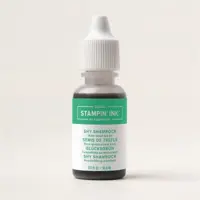
Retiring In Colors! Don’t wait to get what you need; many are in low inventory now!
The 2024-26 In Colors were among our very favorites and sadly they are retiring in March. Most of these items are in low inventory now. Please do not wait to get what you need while you can.
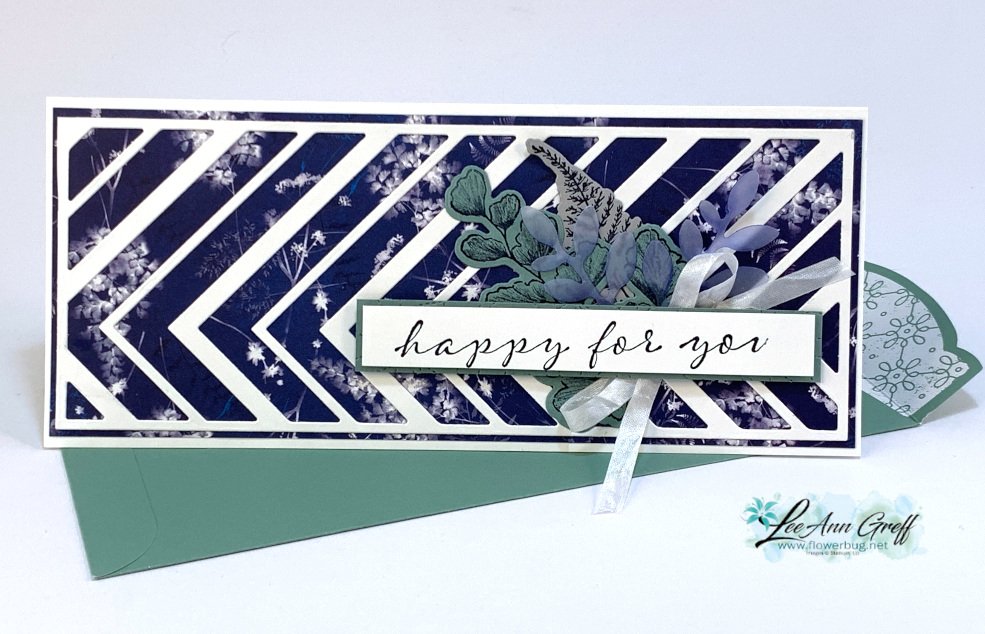
My card base is White and I added a piece of Sun Prints Designer Paper behind the chevron die-cut. Scroll down for measurements and the video too.
Did you know we have Slimline Envelopes that perfectly match these dies and a typical slim line card? They carried over into the new Annual Catalog too. They come in 3 colors; White, Smoky Slate & Soft Succulent. See them here.
I used the Slim Saying stamp set along with the Nature's Prints bundle from the new 2022-23 Annual Catalog. See the Slim Saying stamp set here and the Nature's Prints bundle here.
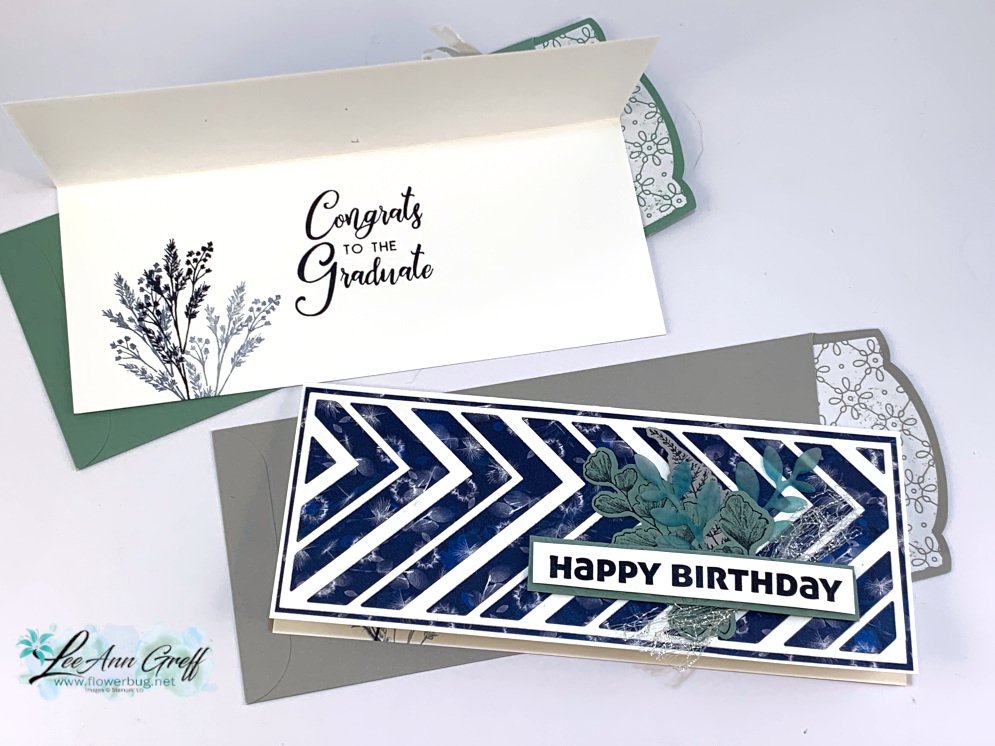
At club they chose either a birthday card or a graduation card; it works for both. And some made theirs into a wedding or anniversary card!
The Slim Saying stamp set & Slim Card dies are both retiring and are while supplies last. I'll be sharing more cards with this bundle today on my FB Live here at 11 am CT and also this week right here on my blog.
Measurements: White card base 8 1/2" X 7 1/4" scored at 3 5/8", White for die-cut 3 1/2" X 8 1/2", greeting 4 1/2" X 5/8" • Soft Succulent for greeting layer 3/4" X 4 1/2" & scrap for leaf die-cut • Smoky Slate scrap for fern die-cut • DSP 8 3/8" X 3 3/8"
Click on the photo below to watch the video. Or click hereto see it on my YouTube channel.
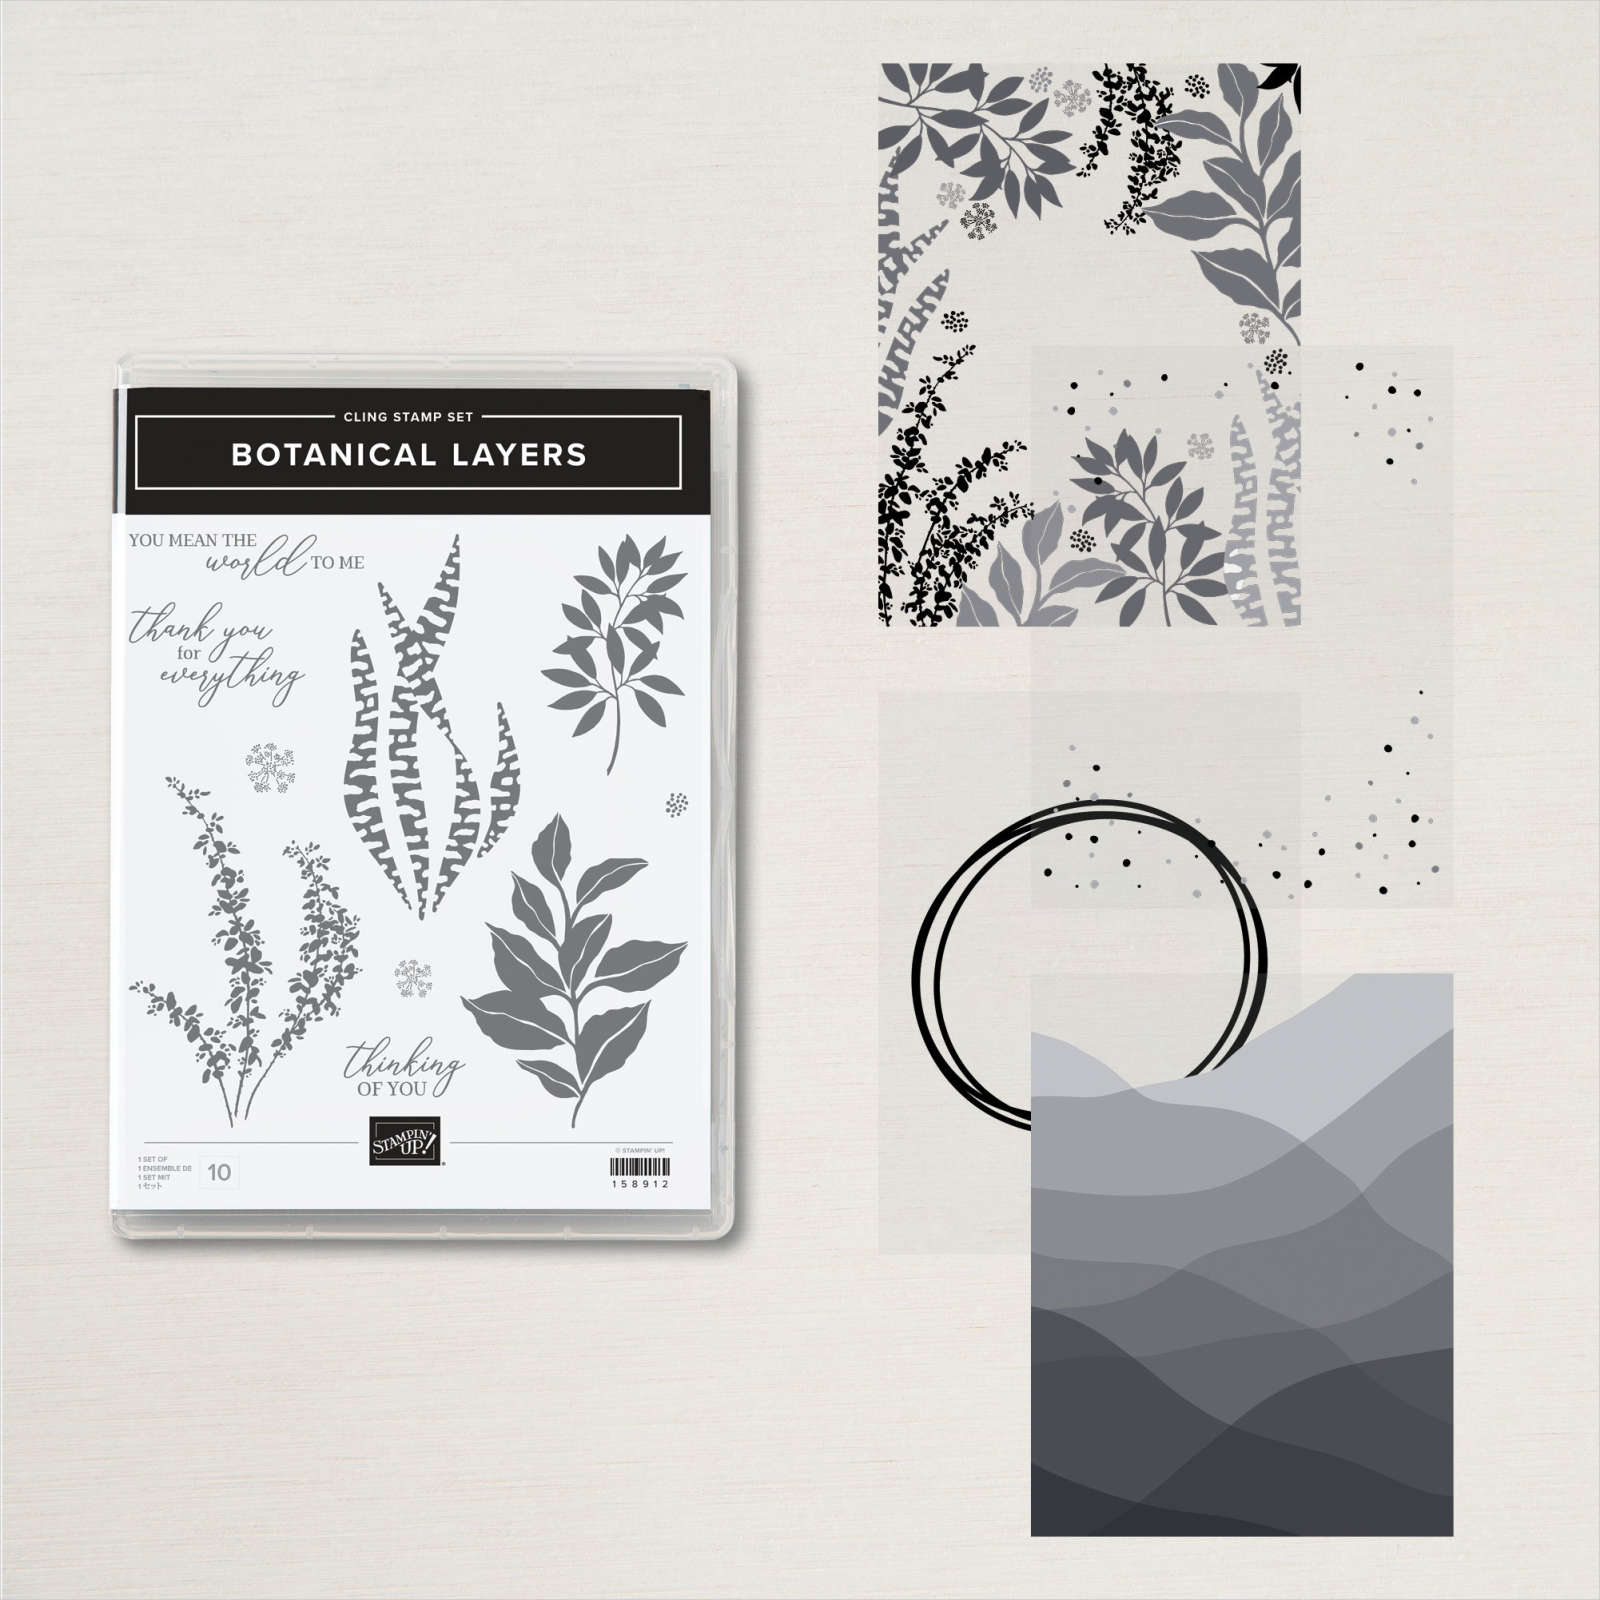
I’ve got more ideas yet! Botanical Layers bundle cards with video
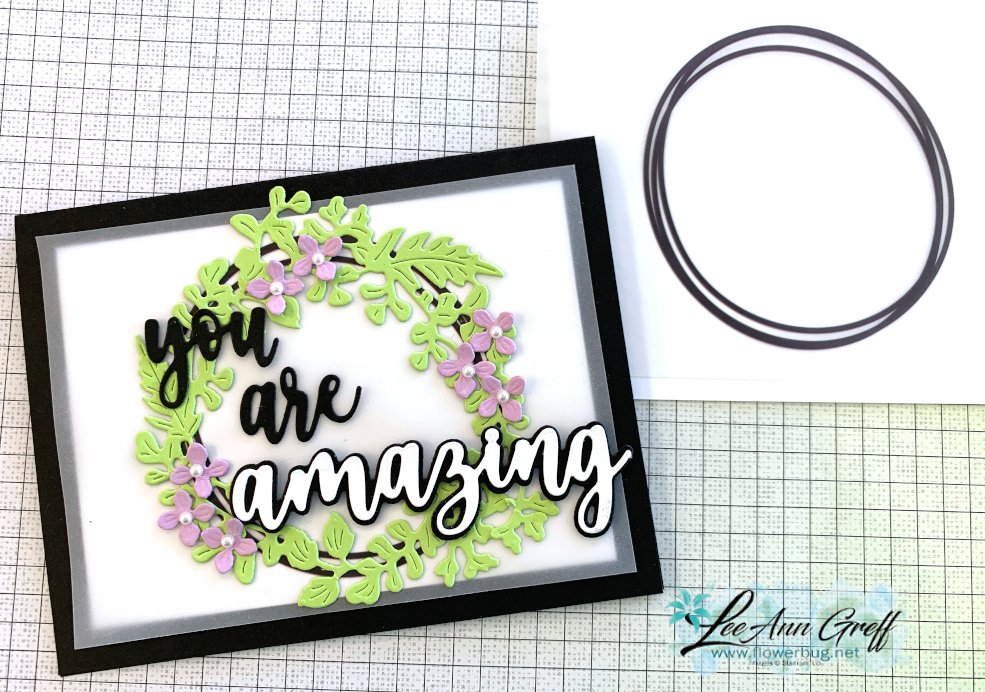
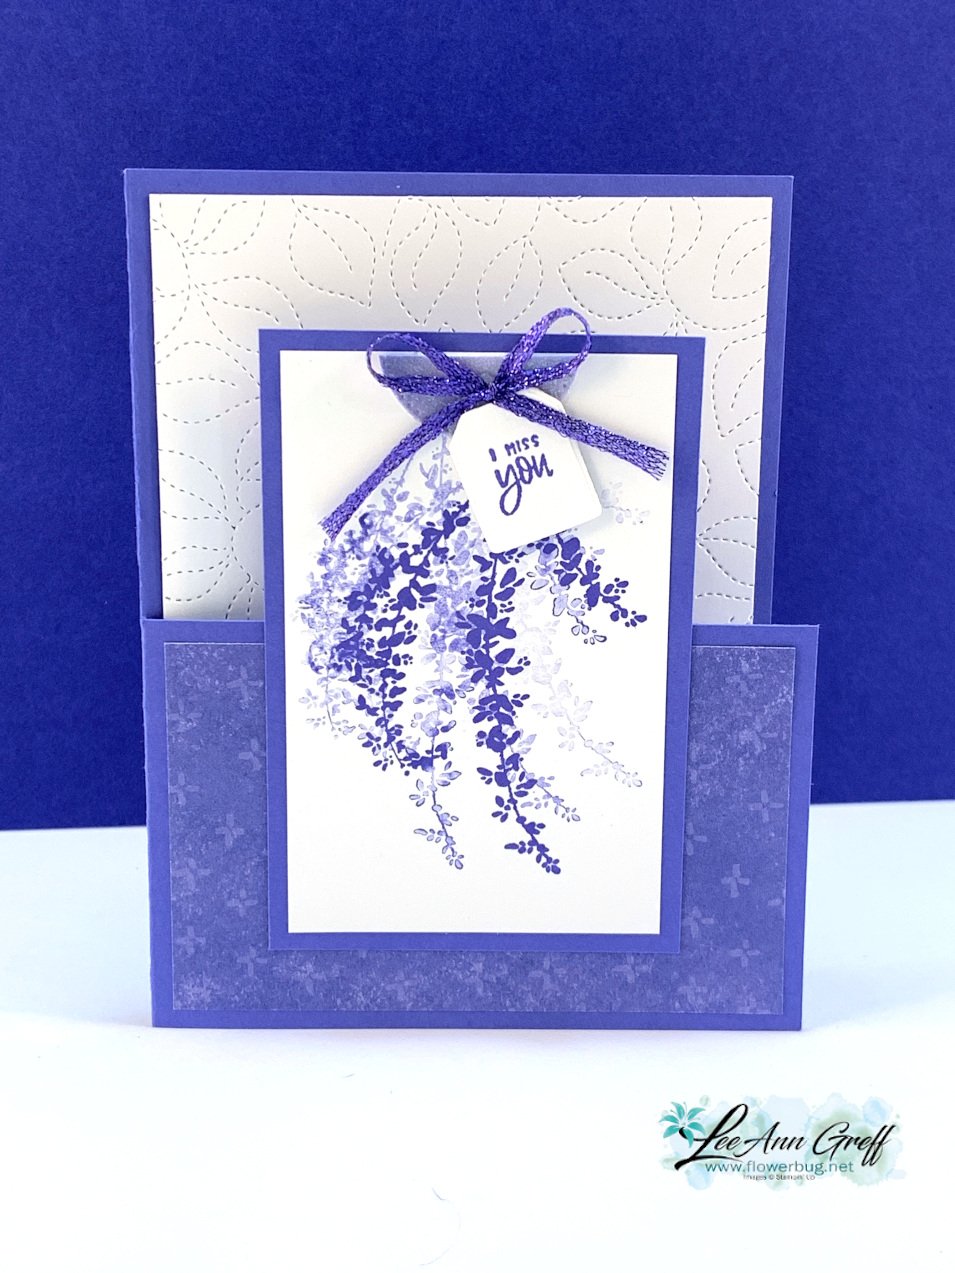
I challenged myself to use each pattern of the vellum included in the Lovely Layers vellum. You can see it here;you get 60 sheets in the pack! It includes 4 different prints and many sheets of plain vellum too.
This first card has a printed circle on it. The easy solution was to add a die-cut wreath. I used three sets of dies here; the Natural Prints, Amazing Thanks& Hydrangea dies.
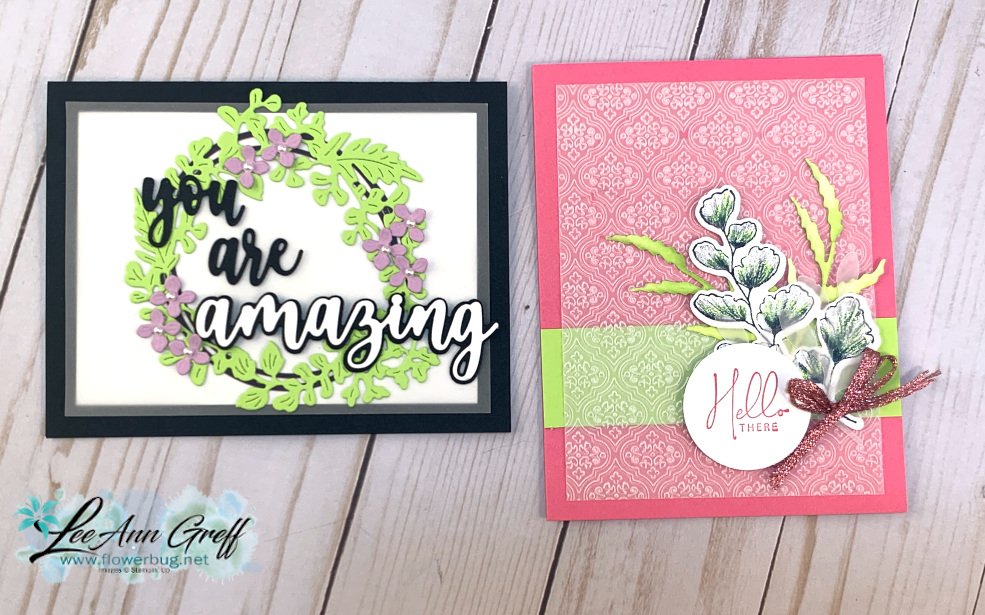
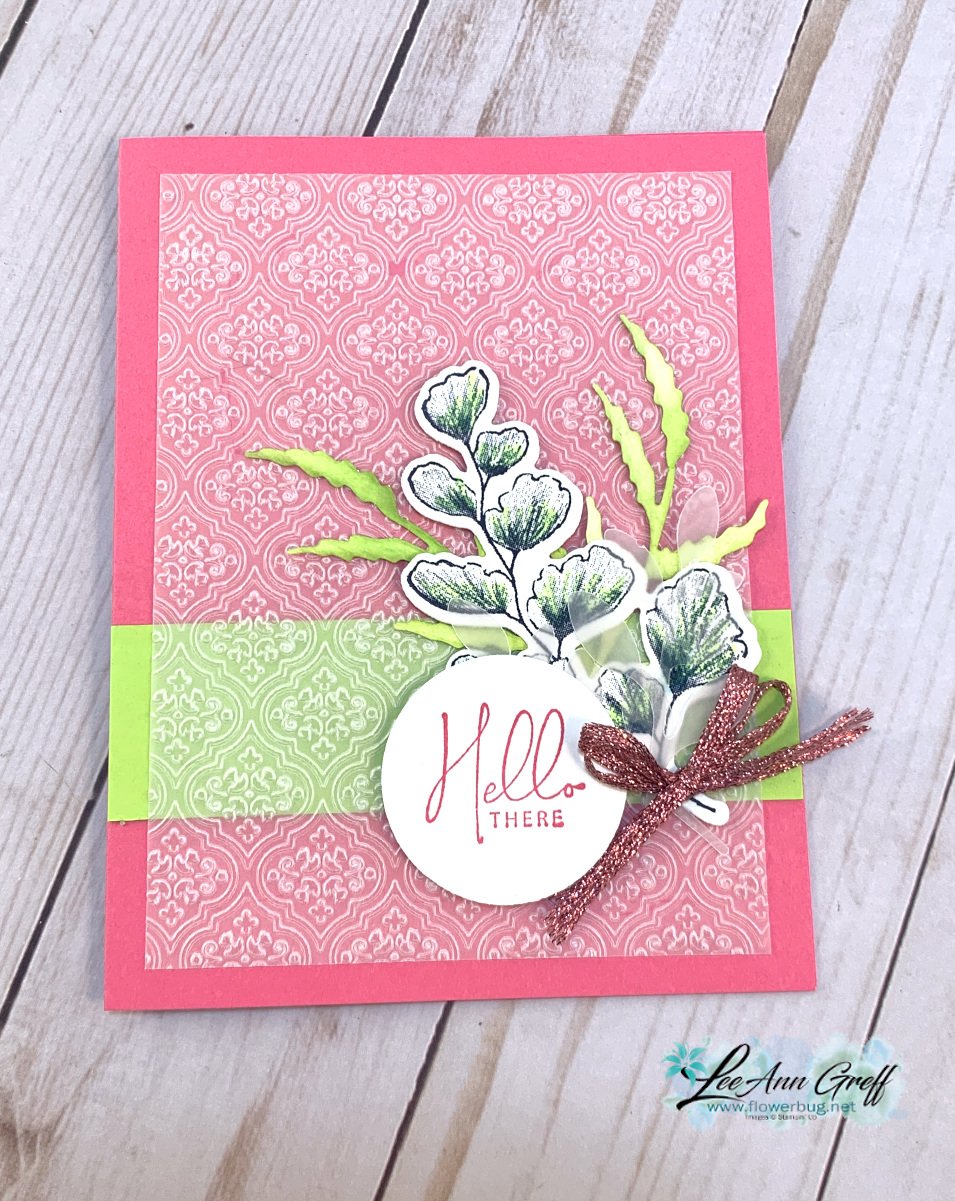
For this card I textured it with the new Quatrefoil Tile embossing folder. Embossing vellum is a wonderful way to add it to your projects; it's texture and opaqueness is so beautiful.
The colors are Polished Pink & Parakeet Party. I used the Poppy Moments and Natural Prints dies for the greenery and the Nature's Prints stamp set for the stamped leaves and greeting.
Click on the photo below to watch the video and see more ideas using this bundle.
It's a Dutch door monochromatic card in Orchid Oasis. Do you like these type of cards as much as I do? I find cards with one main color very soothing to the eye and just plain pretty!
I stamped the main image multiple times without reinking. I love that about our inks; you can get multiple hues with one color.
Details:
The card front opens at the bottom only.
I used the Stitched Greenery die for the inside White layer.
There is a half circle of Orchid Oasis ombre glimmer paper at the top with the bow.
The tag is from the Tea Cup dies; the greeting is from the Cup of Tea stamp set.
Measurements:
Card base 5 1/2" X8 1/2"; score at 4 1/4" then trim off at 2 3/4" up to the top of the card. Save this piece for the front layer
Front layer (cut from the card base) is 2 3/4" X 4"
White front is 2 1/2" X 3 3/4"; inside is 4" X 5 1/4"
Notice: LeeAnn Greff, Independent Stampin’ Up! Demonstrator, Manager. The content of this website is my sole responsibility as an independent Stampin’ Up! demonstrator and the use of, and content of, the classes, services, or products offered on this website is not endorsed by Stampin’ Up! Copyright 2025


Leave a Reply