/


Latest Post

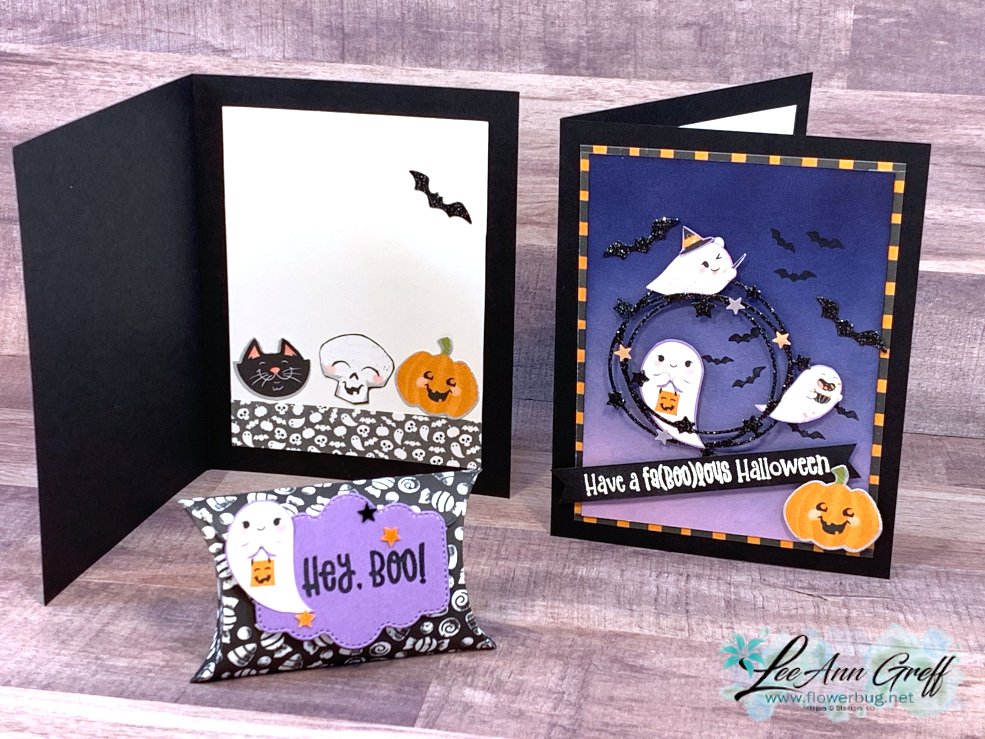
Ready for some fabulous ‘Cute Halloween’ projects?! Check out the video tutorial


Look at this adorable Halloween card I made on last week's FB Live.  Follow me on Facebook here so you don't miss my weekly videos!  There's on tonight at 7:30 pm CT and every Tuesday at 11 am CT. 
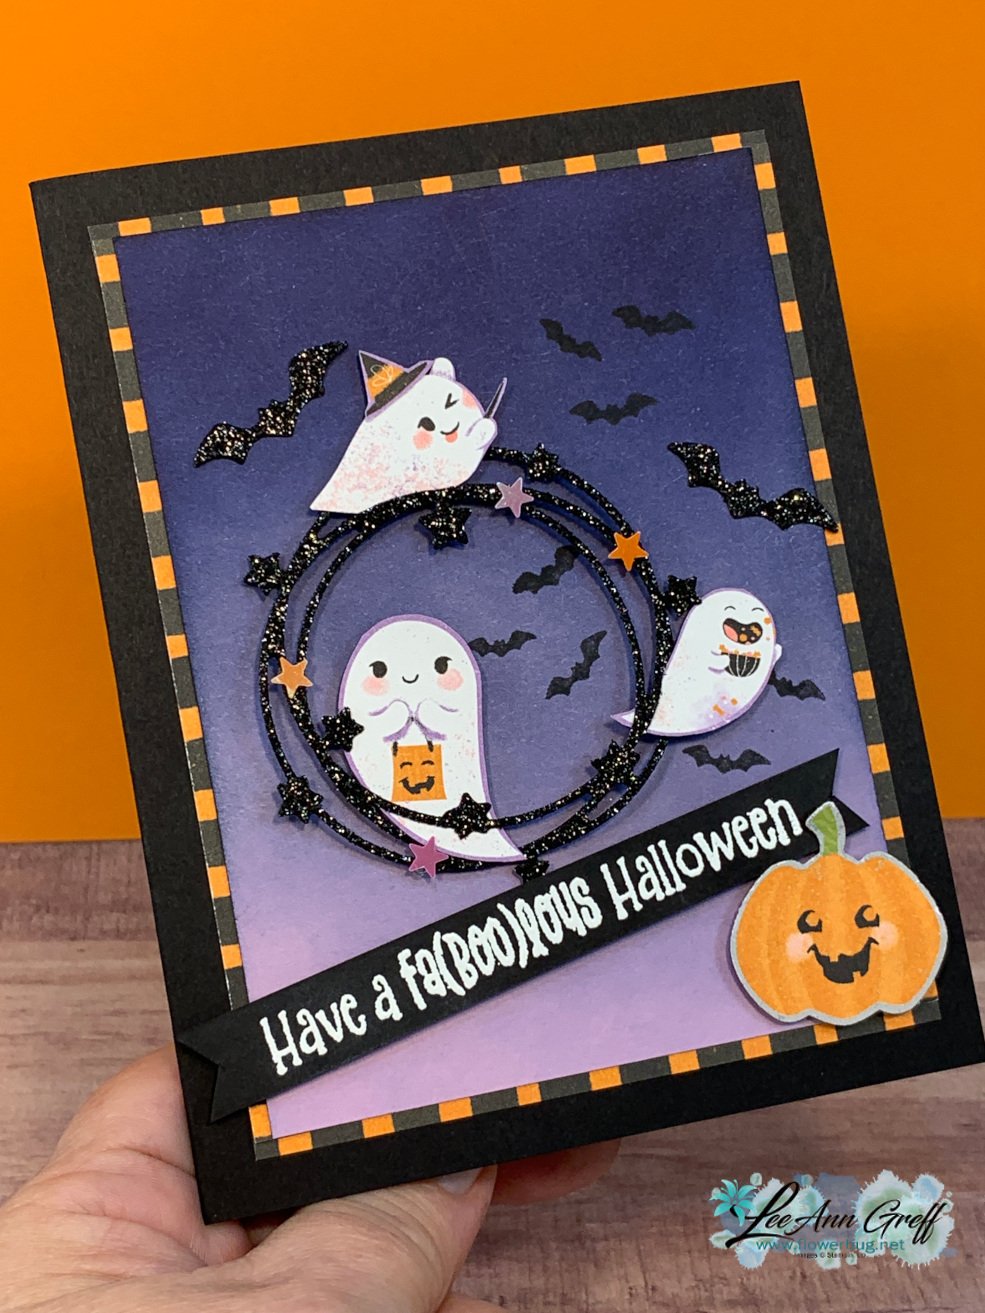
Product used:

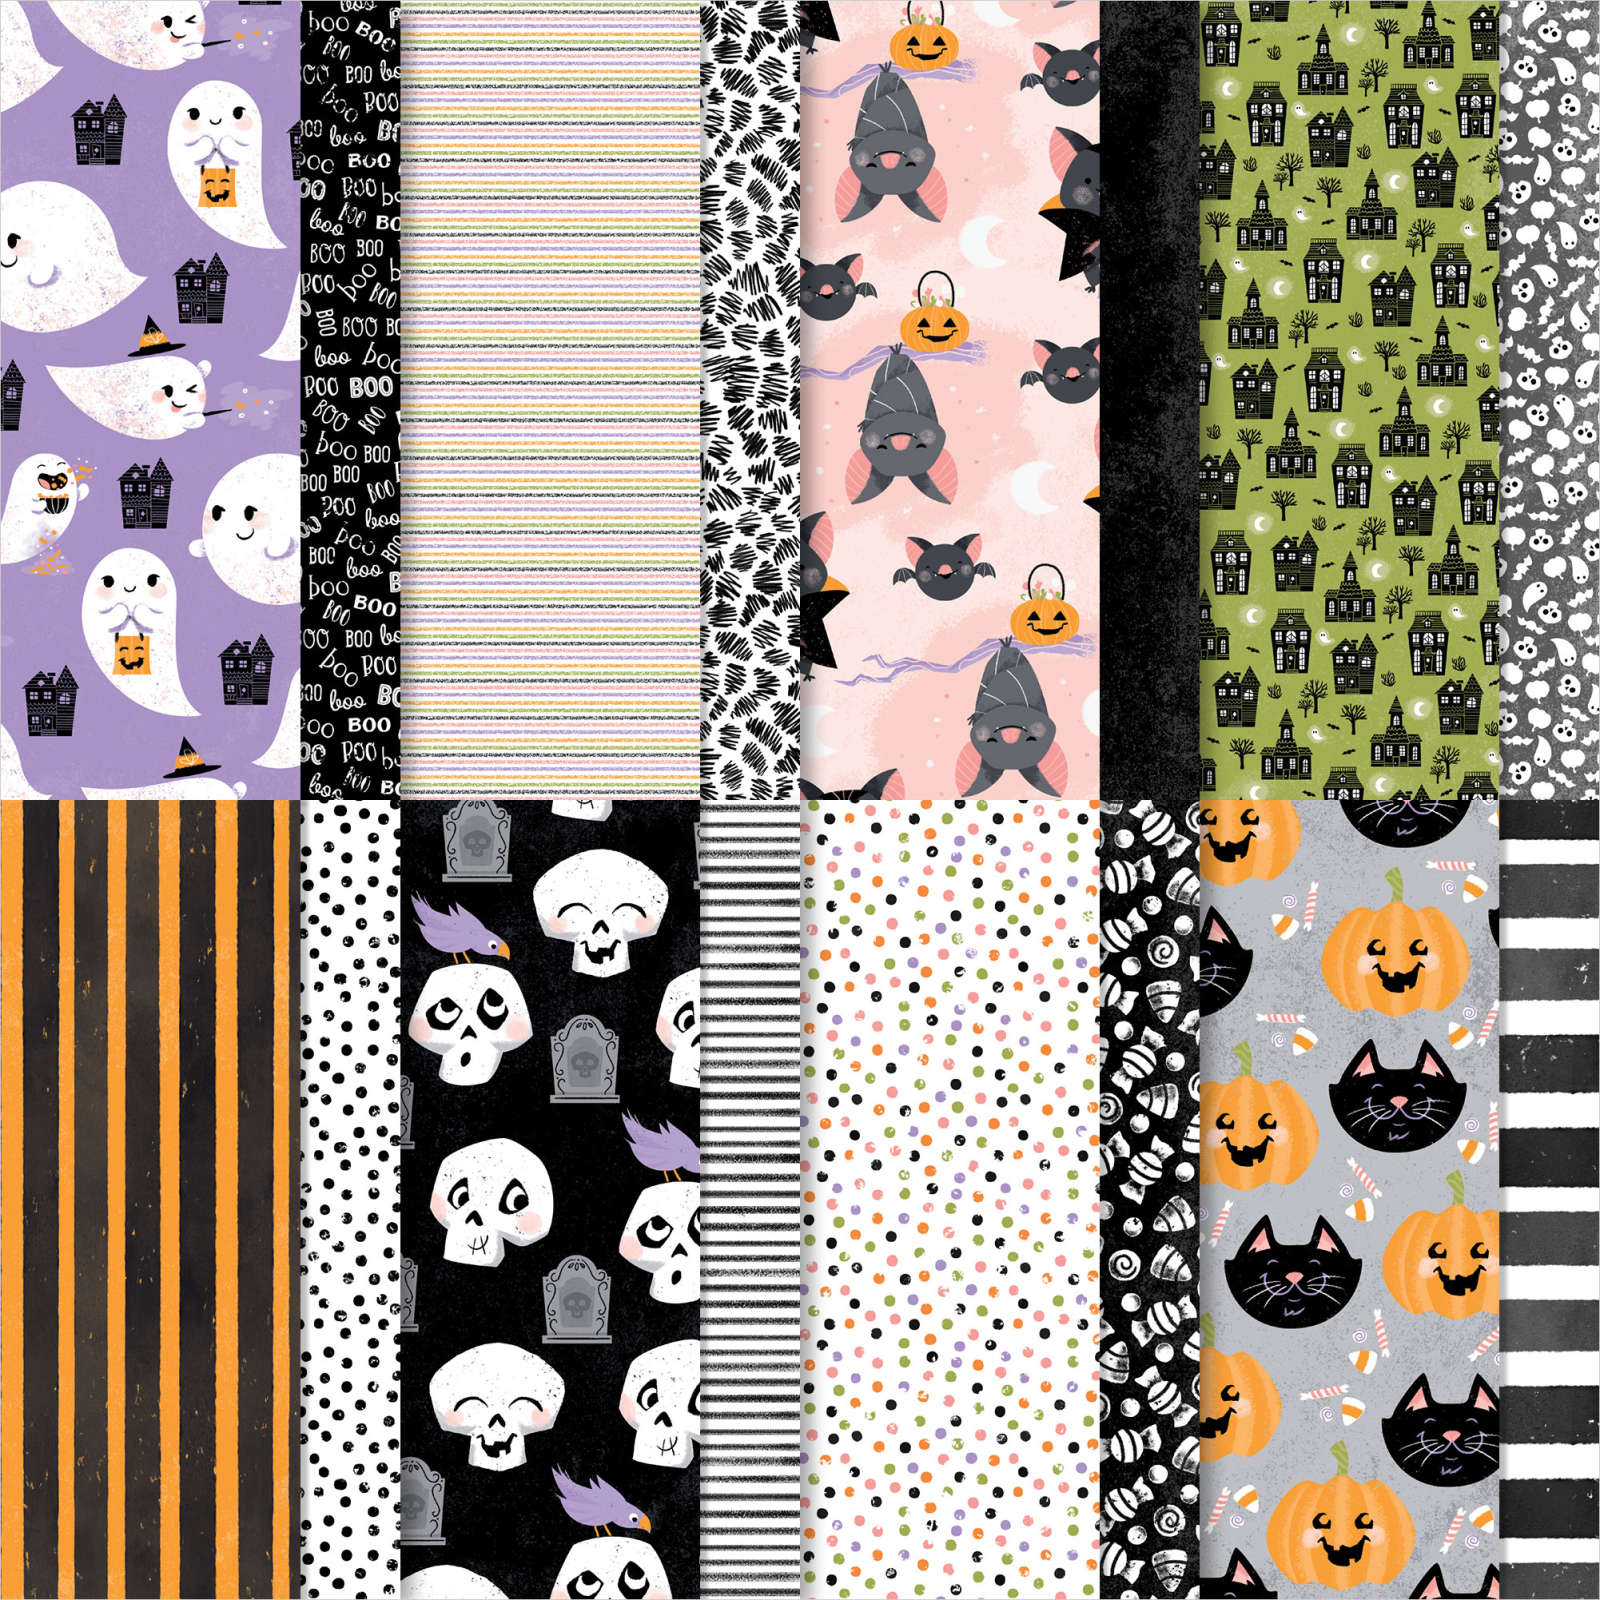
  •  the ghosts, pumpkin and striped trim are from the Cute Halloween designer paper in the Holiday catalog.  See it here. 
  • I punched one of the ghosts and the pumpkin with the Halloween punch. It's in a bundle with the Cutest Halloween set seen here or on page 51, which is where the greeting is from. *Sadly the Halloween punch is now on back-order until November!
  • the wreath & bats are die-cut with the Seasonal Swirl dies seen here & Black Glimmer paper in the annual catalog; seen here
  • the ombre background is actually Fresh Freesia CS, with Misty Moonlight & Night of Navy added with our Blending Brushes *watch the video below
  • Cute Stars Adhesive-backed sequins are also added to the wreath
Check out the ghostly treat box in the photo above.  It's so simple to make with the Pretty Pillow box dies!
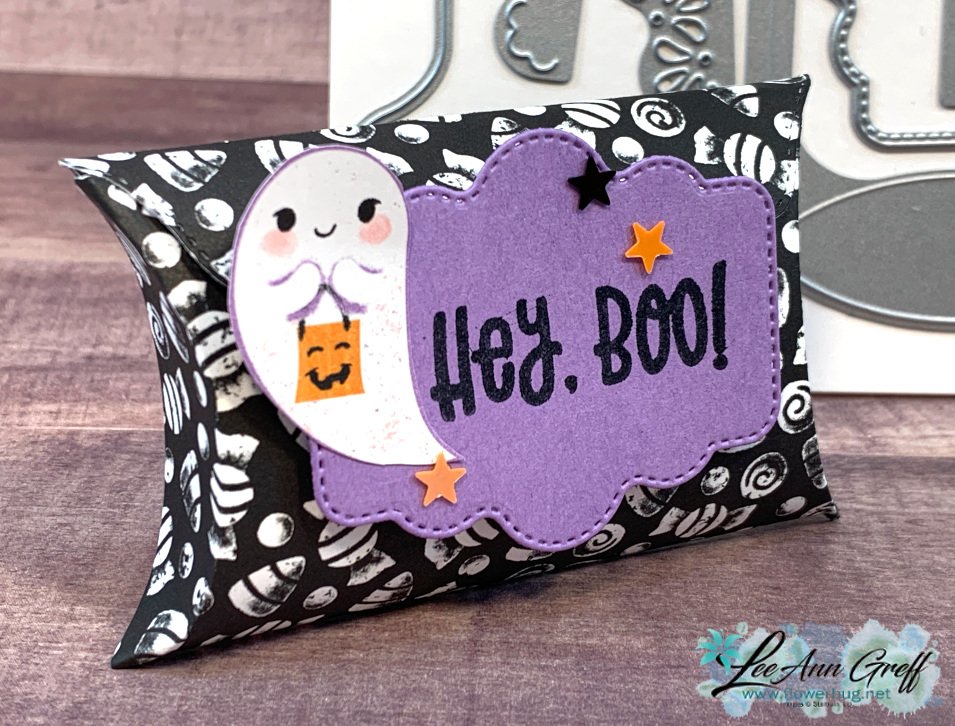
The stitched tag is also in the Pretty Pillow Box dies.  Look how it latches – the scalloped front slips in behind the tag in front.  I love that I don't need a special way to keep it closed; the tag does it for me! 

Check out the other version I made with the fun skeletons on the right?  I fussy cut them from the Cute Halloween paper. 

Measurements:

  • White 4 ¼” X 11” scored at 5 ½”, cut 1 ¾” from the right
  • Black 5 ½” X 8 ½” scored at 4 ¼”,
  • White & Fresh Freesia 3 ¾” X 4 ¾”, Black ½” X 4” strip for greeting
  • Cute Halloween DSP ½” strips

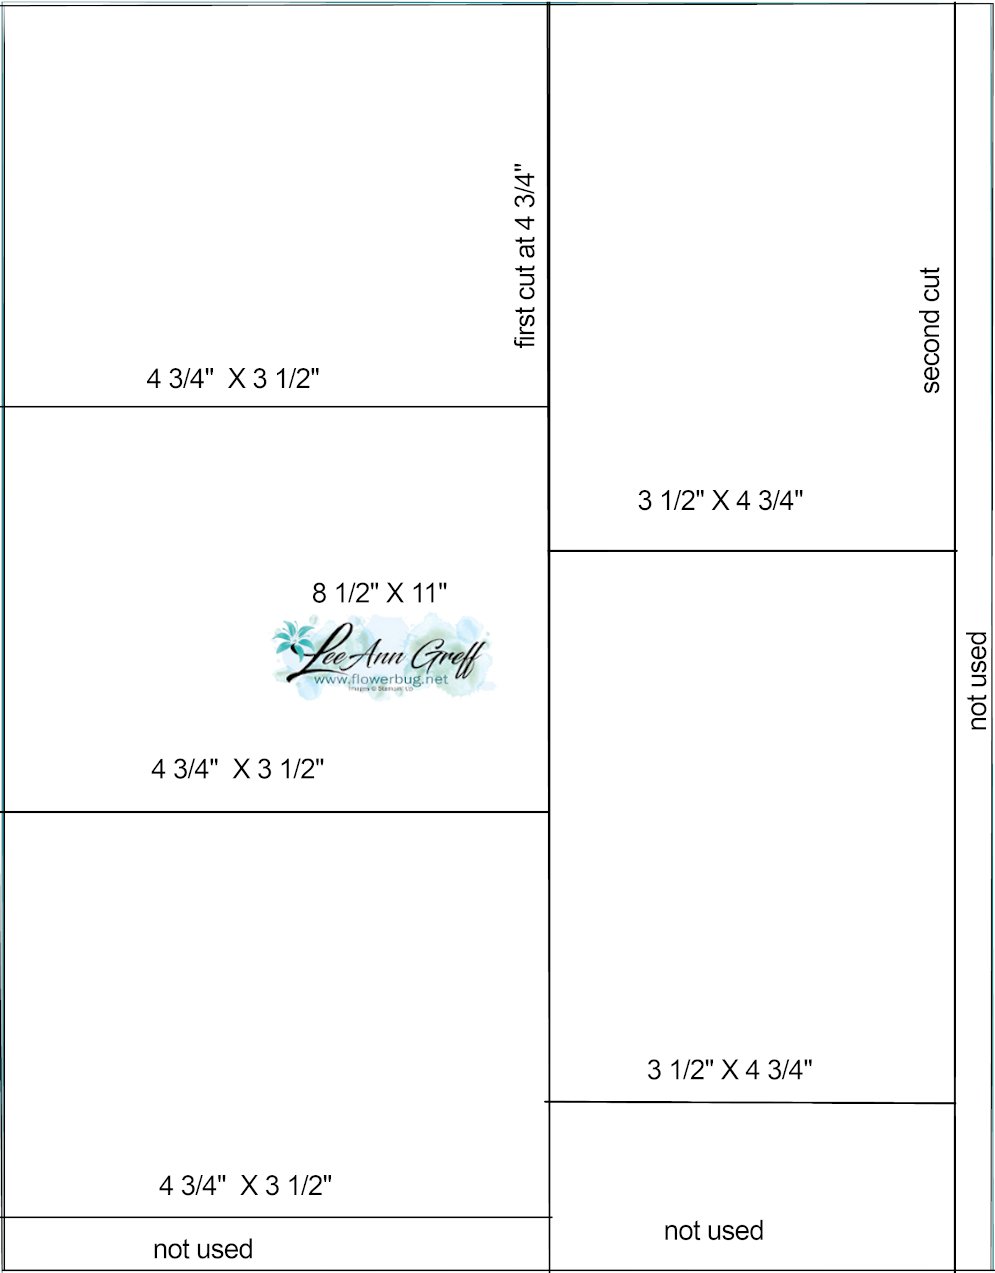
I haven't shared this for awhile so here it is; my favorite cutting template especially for inside a card.  Get 5 pieces from one 8 1/2" X 11" sheet of card stock. If you're making multiples this can save you a lot! 
Below is the video.  I make another project using Sparkle of the Season before this one. Fast forward to about 22 minutes in to see this neat Halloween card. 

~~~

September Specials

Host code: ASETFASJ or T7VSZQ64

*click here to order

All online orders will receive a free PDF tutorial filled with projects featuring

the Painted Christmas Suite!

Get a pkg. of Holiday Rhinestones with a $50 online order from me in September! 

Order here

BEST DEAL!

Get a Free Bundle  from the Holiday Catalog when you choose the Starter kit!  Pick out $125 in product of your choice for just $99 and shipping is free!  

All Posts

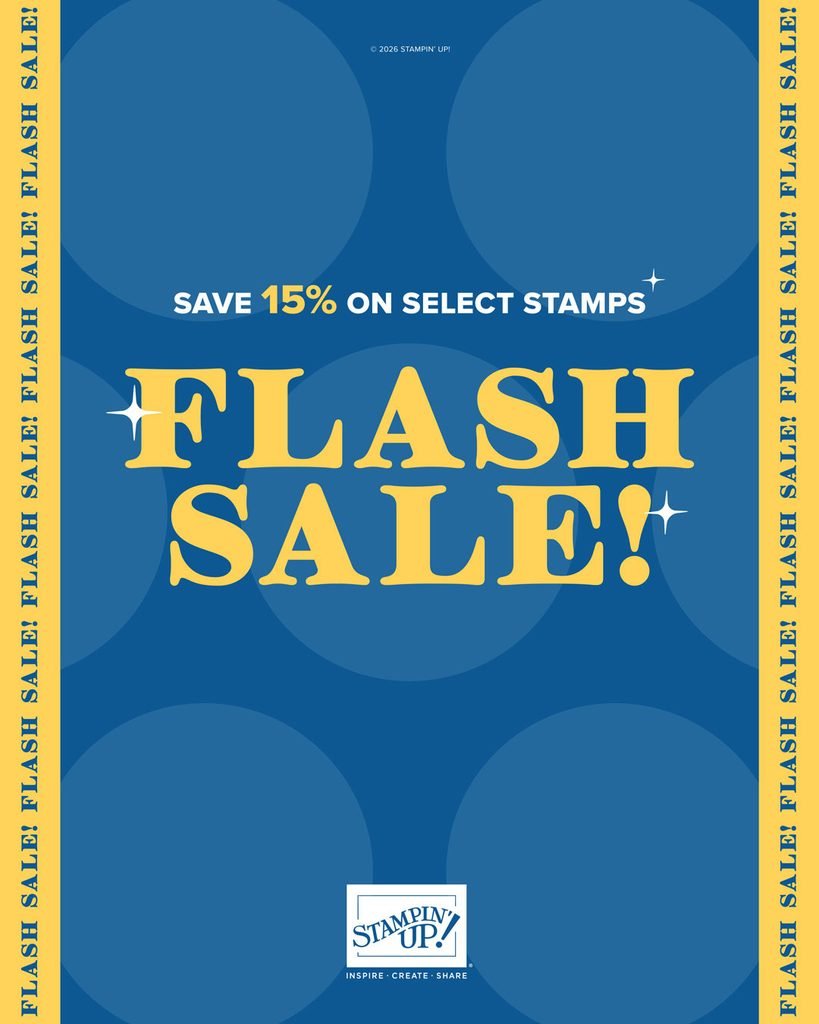
  • Stamp sale through Friday only!


    Stampin’ Up! announced stamp sets will be discounted from Wednesday through Friday of this week. Grab those sets you’ve been wanting this week! Go here to see them.

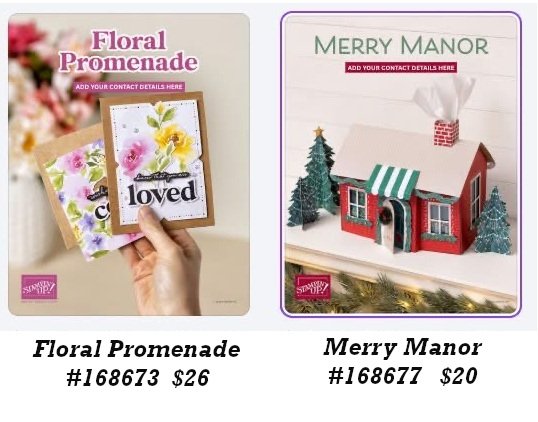
    Don’t forget about the other opportunities as well – Product of the Month, new items in the Holiday catalog and Online items!

    September Specials:

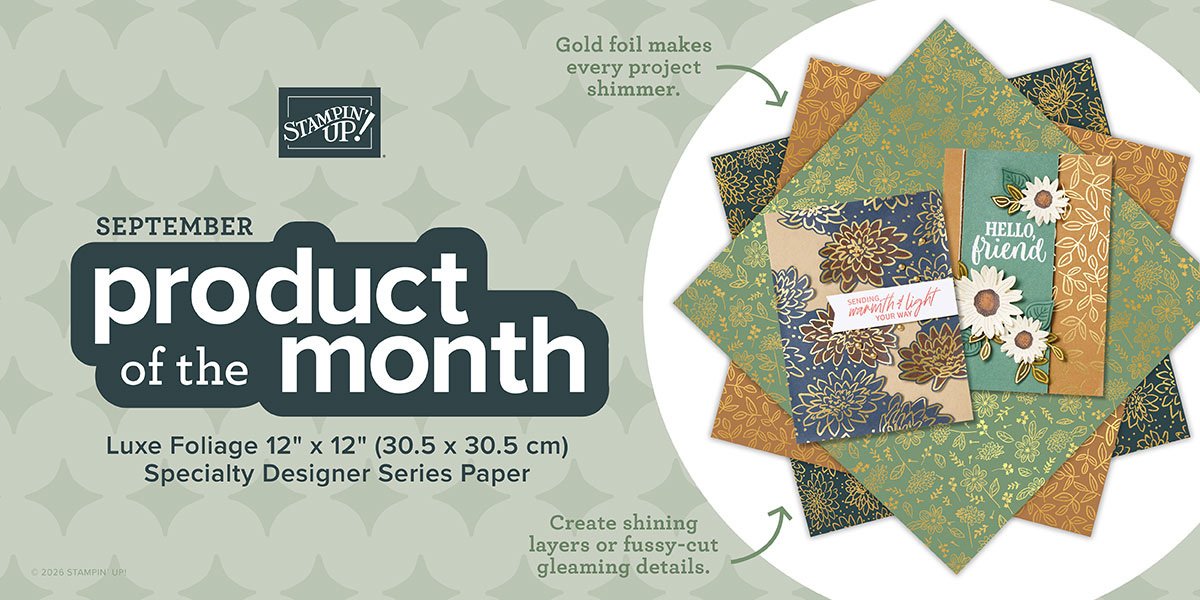
    There’s a new Product of the Month for September.

    It’s called Luxe Foliage Specialty Designer paper and can be seen here. It’s yours for just $5 once your order reaches the $75 point.

    There is also a few new kits in our Kit Collection too. You can see it all here!

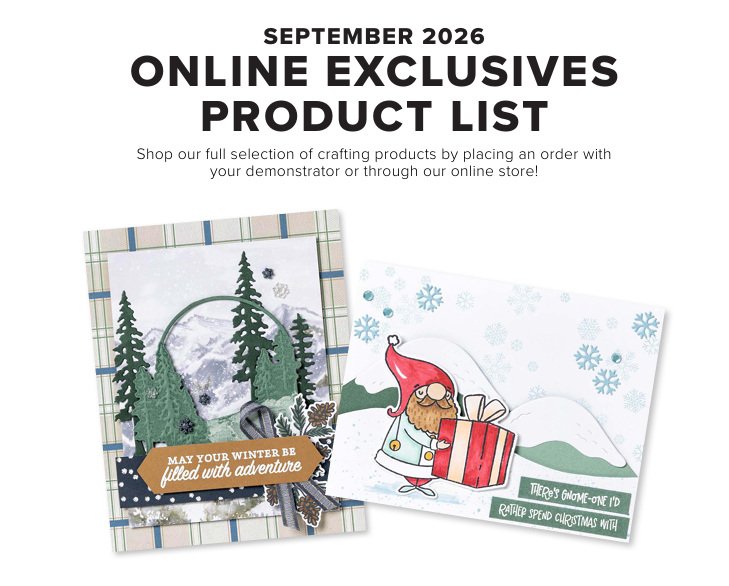
    There are new Online Exclusives! Click here to see them.

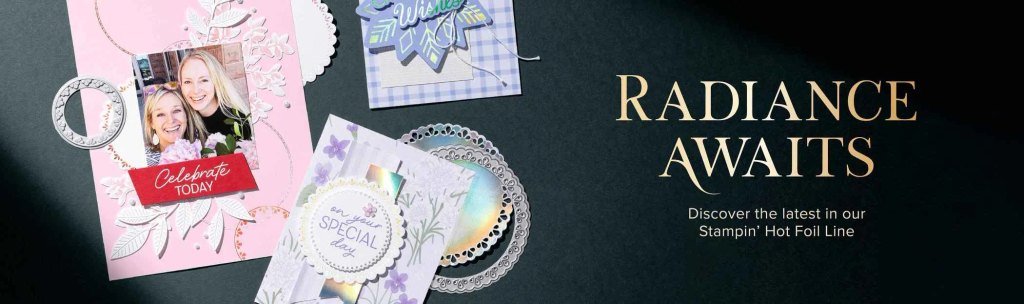
    New Hot Foil products are here! Check them out here.

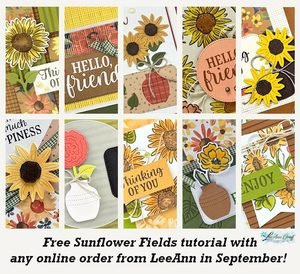
    Get this free Sunflower PDF tutorial with ANY online purchase from me in September! Gorgeous cards in this one!

    Leave a Reply

    Your email address will not be published. Required fields are marked *

  • Noel Tidings fun fold Christmas card with video & free project sheet


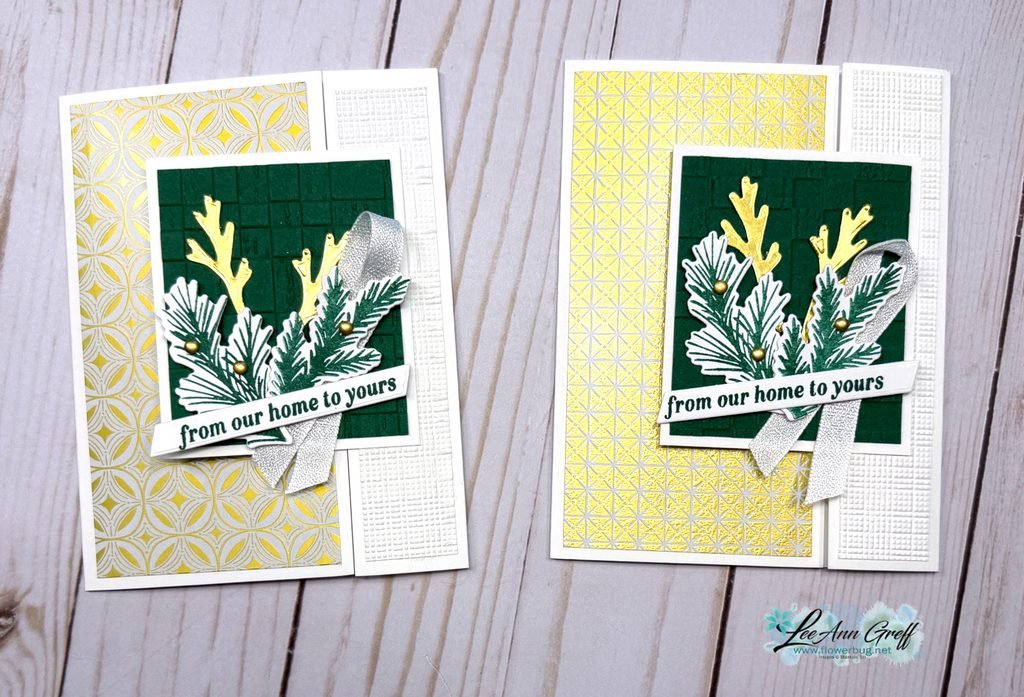
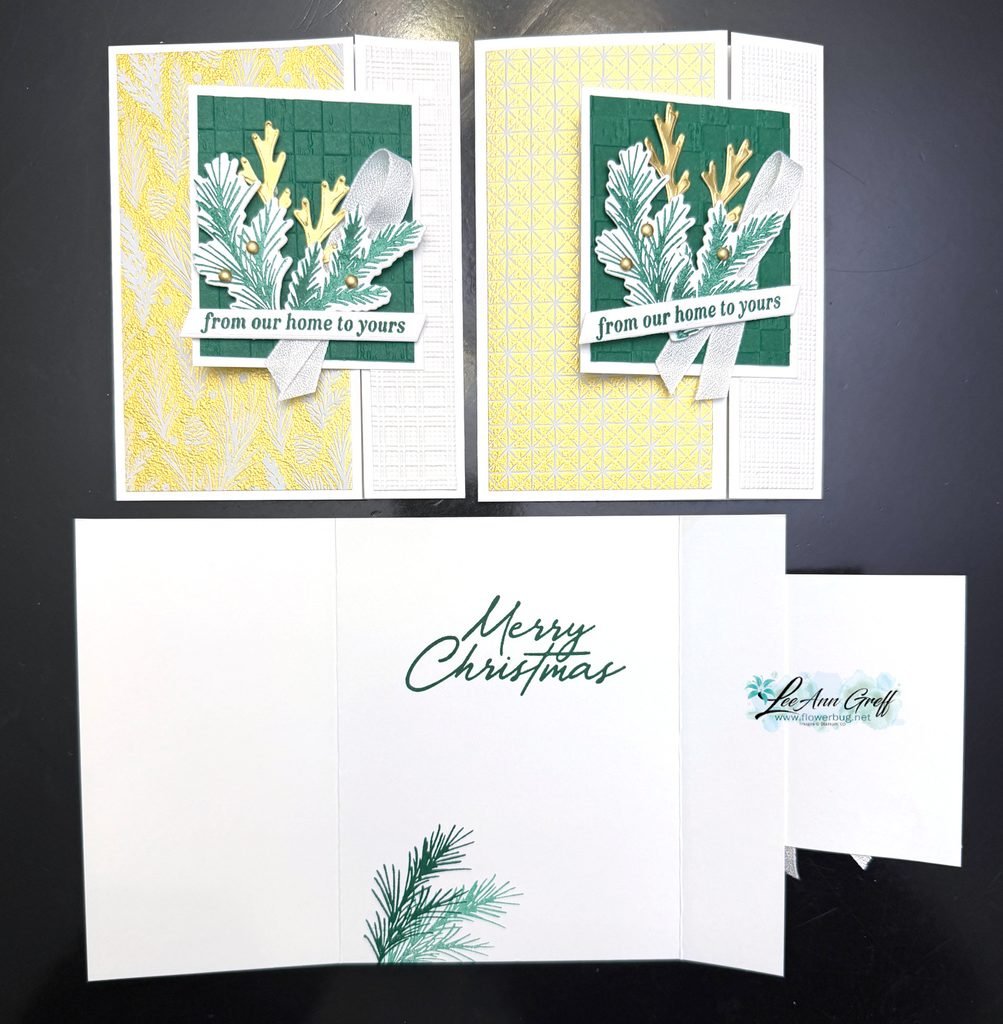
    Here’s the card I shared on last week’s video; it’s one I made for a long distance card swap I joined.

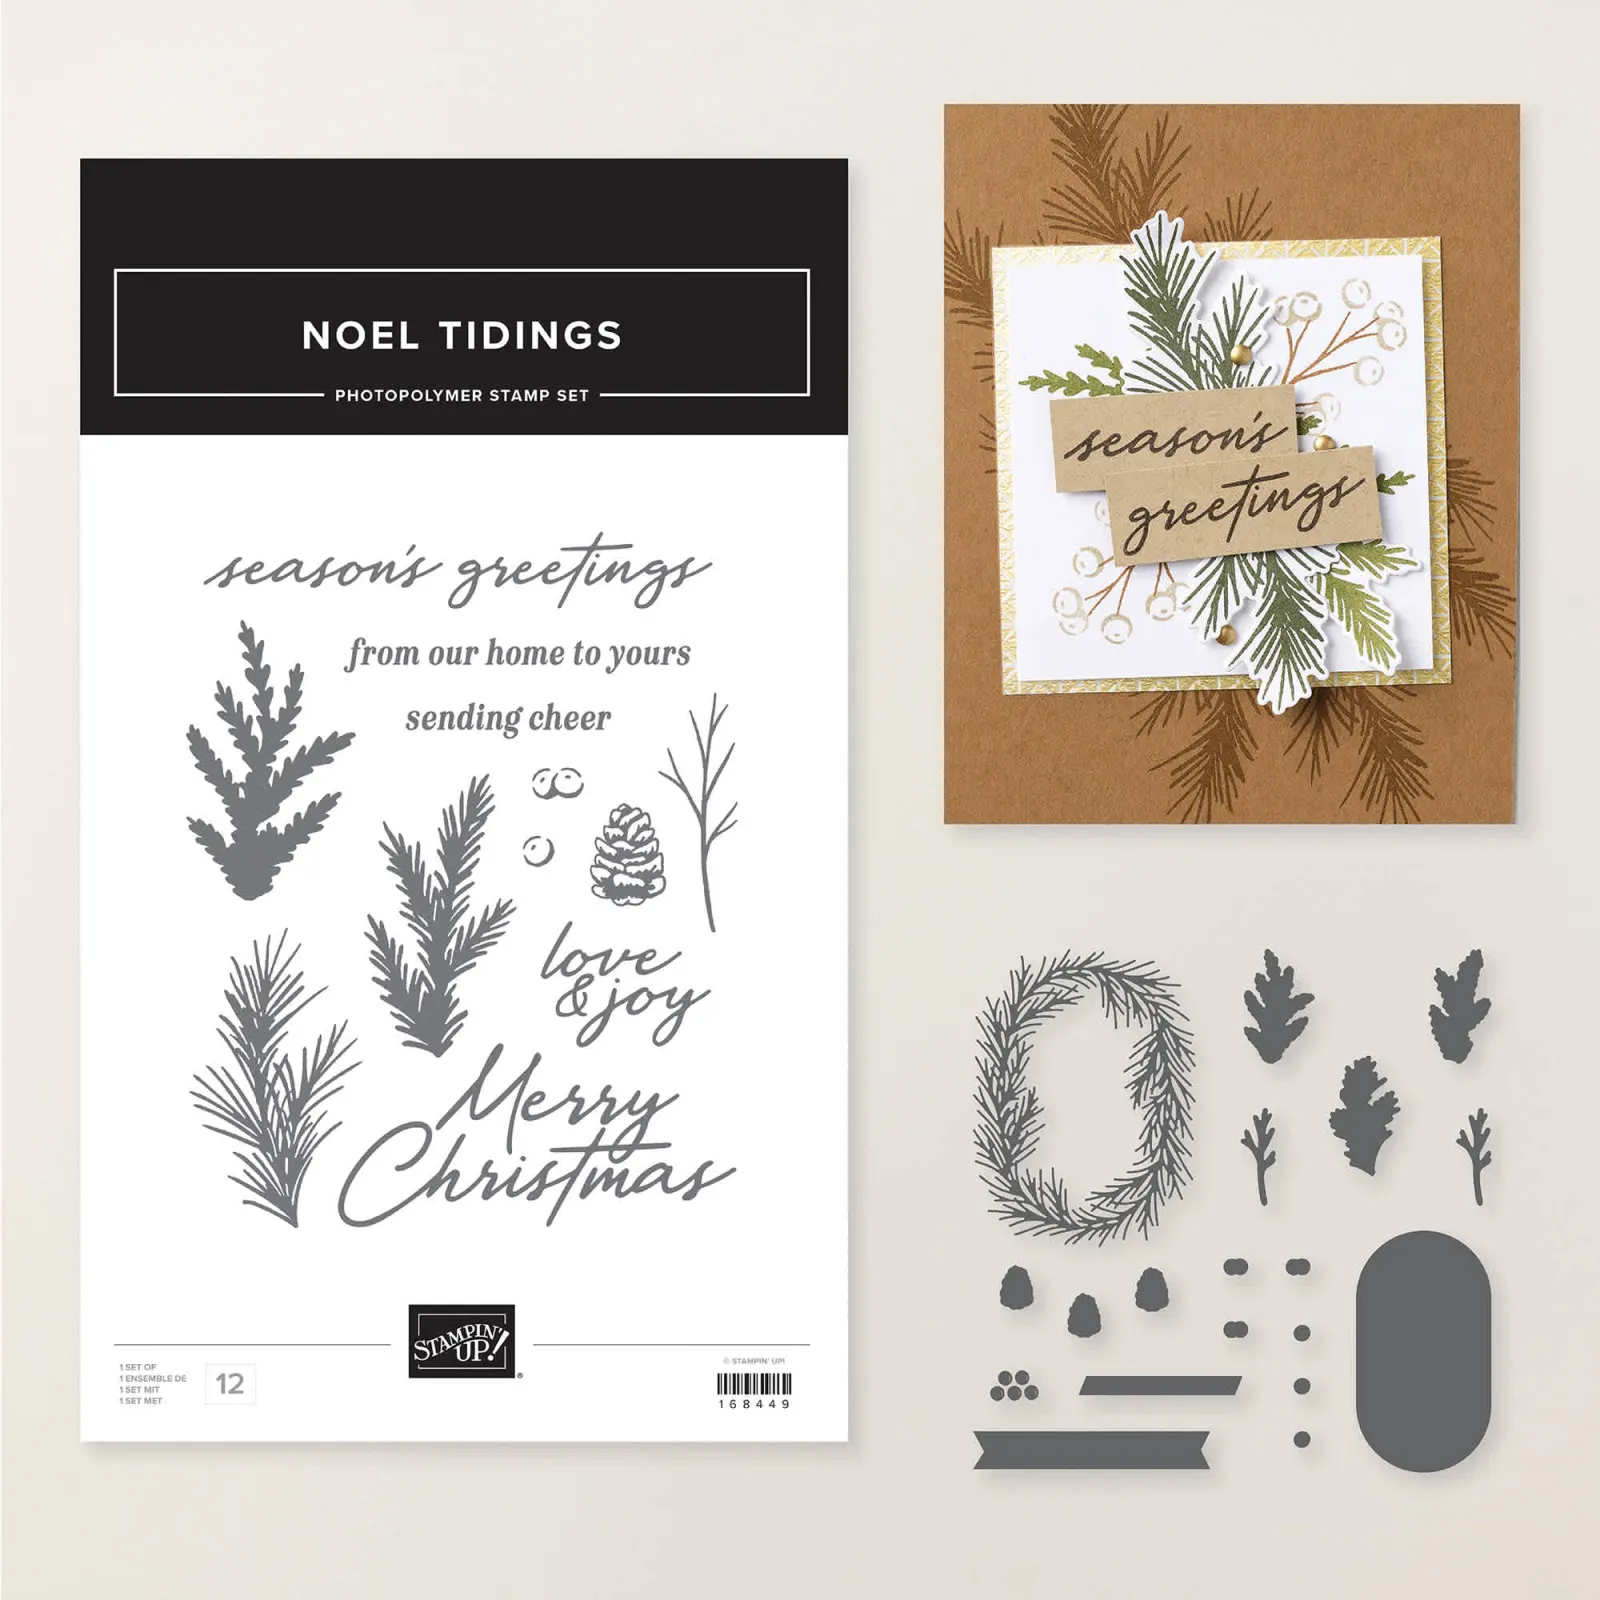
    It features the Neutral Noel suite seen here. I used the Noel Tidings bundle along with the Neutral Noel specialty designer paper seen here. My colors include Shaded Spruce, White and Gold.

    Notice the textures on the Shaded Spruce and White layers. These are new embossing folders from the 2026 Holiday catalog; however both are unavailable right now. They’re out of stock but returning later this month.

    *Remember that when you want to know when something is back in stock you can opt in to be notified; this is right on the product item page online. See the Rustic Check folder here and the Softly Woven folder here.

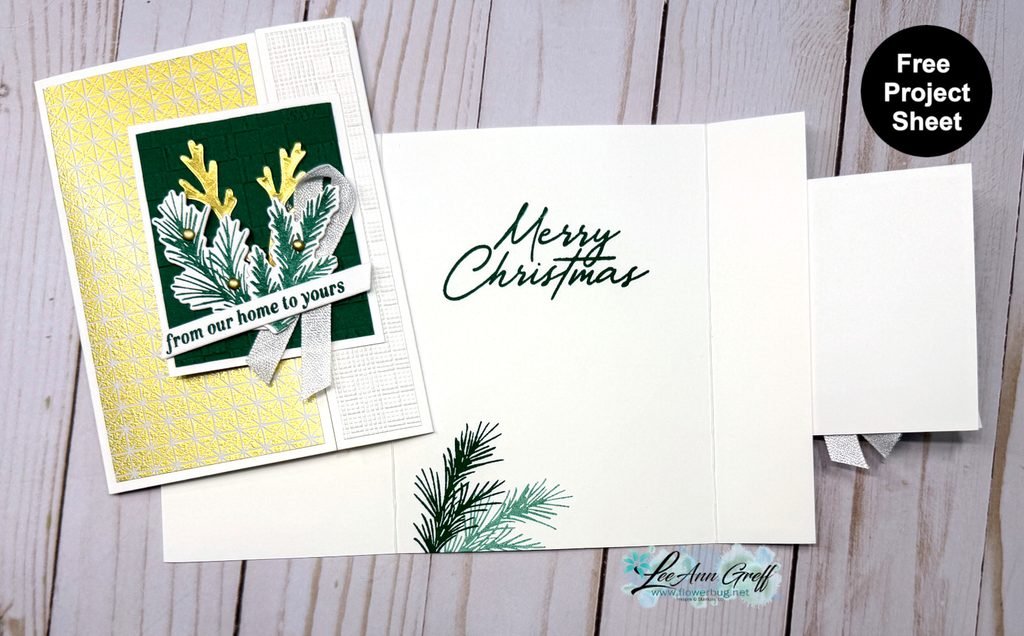
    This card opens in a unique way; the center panel is attached to the right side instead of the usual left side. It’s fun to switch things up now & then.

    I stamped the pine boughs and the greetings using the Noel Tidings stamp set; the dies coordinate with many of the images. See the bundle here.

    I shared how to make this card on last week’s video. You can see it here or click on the link below.

    I also created a free project sheet with measurements. Click here to download or print it. *Remember that I have a bunch of these free project sheets stored on my blog here.

    Below is the video tutorial for this card. You’ll get a few stamping tips from me as usual.

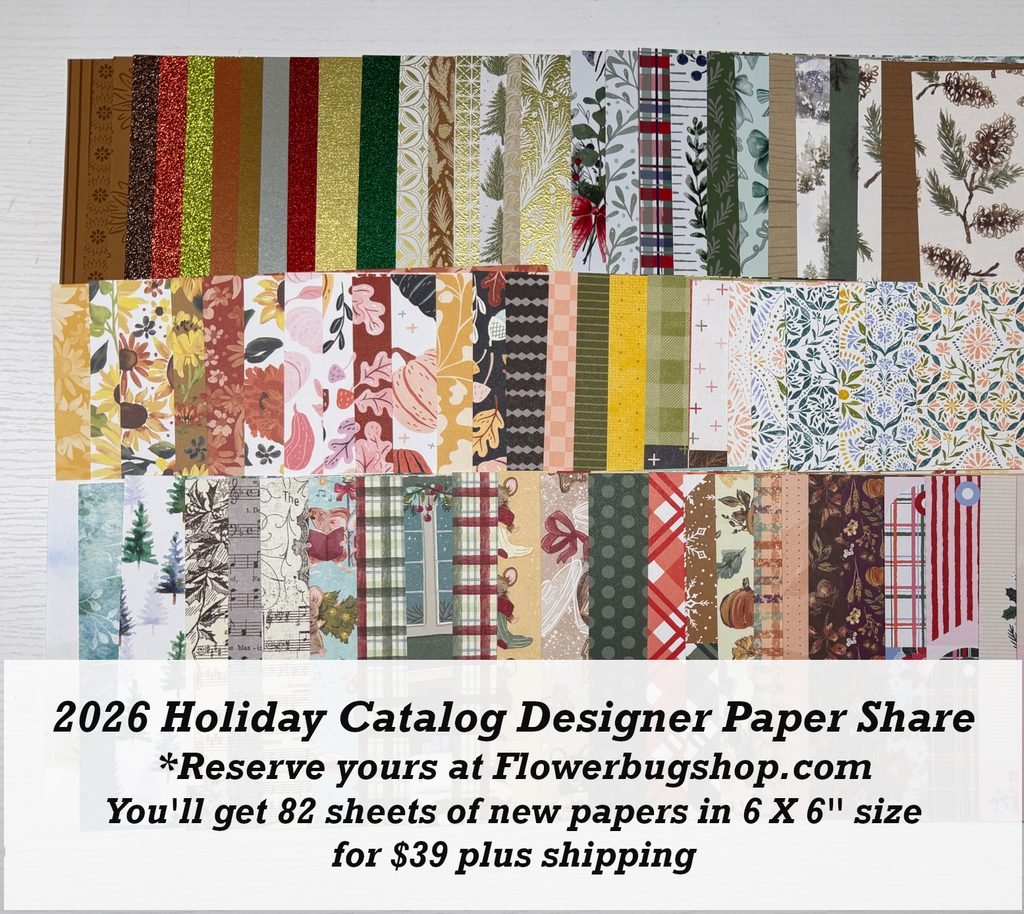
    I still have spots left in my Holiday designer paper share. Opt in for it here; it’s the last share I’ll offer this year.

    Leave a Reply

    Your email address will not be published. Required fields are marked *

  • Timeless Tidings fun fold card kit to go with tutorial


    My other September card kit is the Timeless Tidings card kit which features all fun fold layouts.

    This designer paper includes multiple printed tags and other elements that makes creating quick and easy. Look!

    Each of the cards above has a unique fold and the layouts make the most of the fun tags and printed elements in the kit.

    There are 3 different layouts and you’ll make 3 of each. Besides the Timeless Tidings DSP I also added the 3 color Christmas twine and the Christmas berries & leaves to the cards.

    The pre-cut kit includes 1/2 pkg of the designer paper and a share of the twine and berries/leaves gems. You’ll receive the PDF tutorial AND all pre-cut pieces. To complete your cards just add stamped greetings and cut your new DSP using the tutorial provided. Everything else is done for you. It’s so fun to play and create with these pre-cut kits; I get a ton of compliments and lots of repeat customers.

    Click here to opt in for the pre-cut kit – $32 plus shipping. The kits will ship out in mid September.

    Click here to get the PDF tutorial for $16. The tutorial is emailed to you immediately after payment; check your spam or junk folder.

    I have multiple kits available; grab another one or two and save on shipping costs. Or add on my Holiday designer paper share. See it all here.

    Leave a Reply

    Your email address will not be published. Required fields are marked *


Notice: LeeAnn Greff, Independent Stampin’ Up! Demonstrator, Manager. The content of this website is my sole responsibility as an independent Stampin’ Up! demonstrator and the use of, and content of, the classes, services, or products offered on this website is not endorsed by Stampin’ Up! Copyright 2025