/


Latest Post

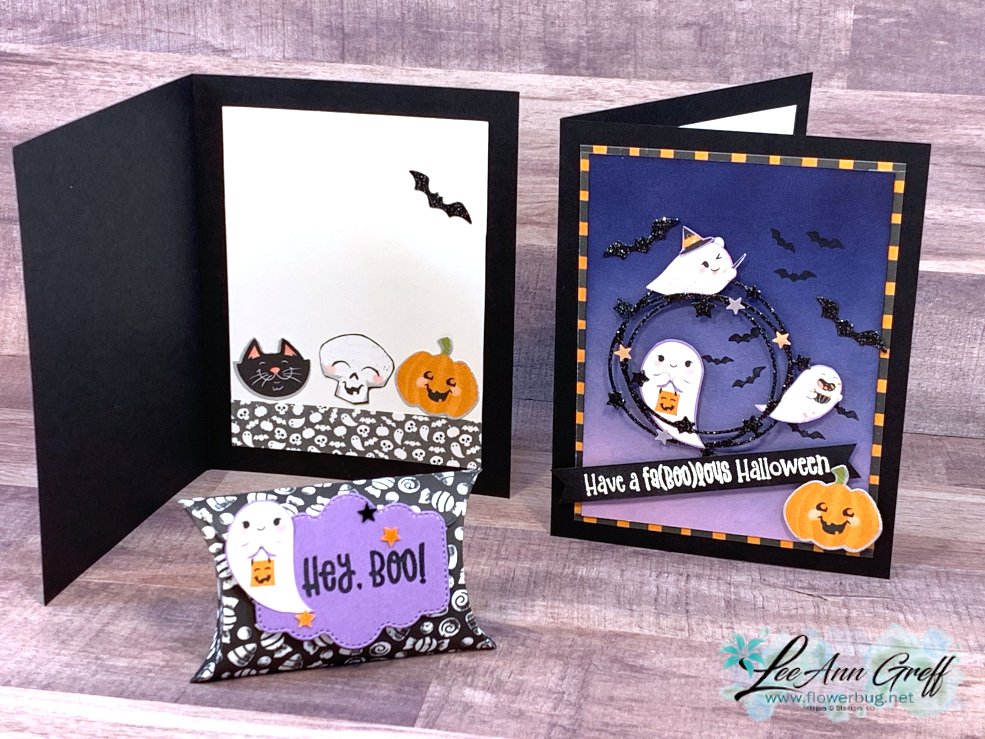
Ready for some fabulous ‘Cute Halloween’ projects?! Check out the video tutorial


Look at this adorable Halloween card I made on last week's FB Live.  Follow me on Facebook here so you don't miss my weekly videos!  There's on tonight at 7:30 pm CT and every Tuesday at 11 am CT. 
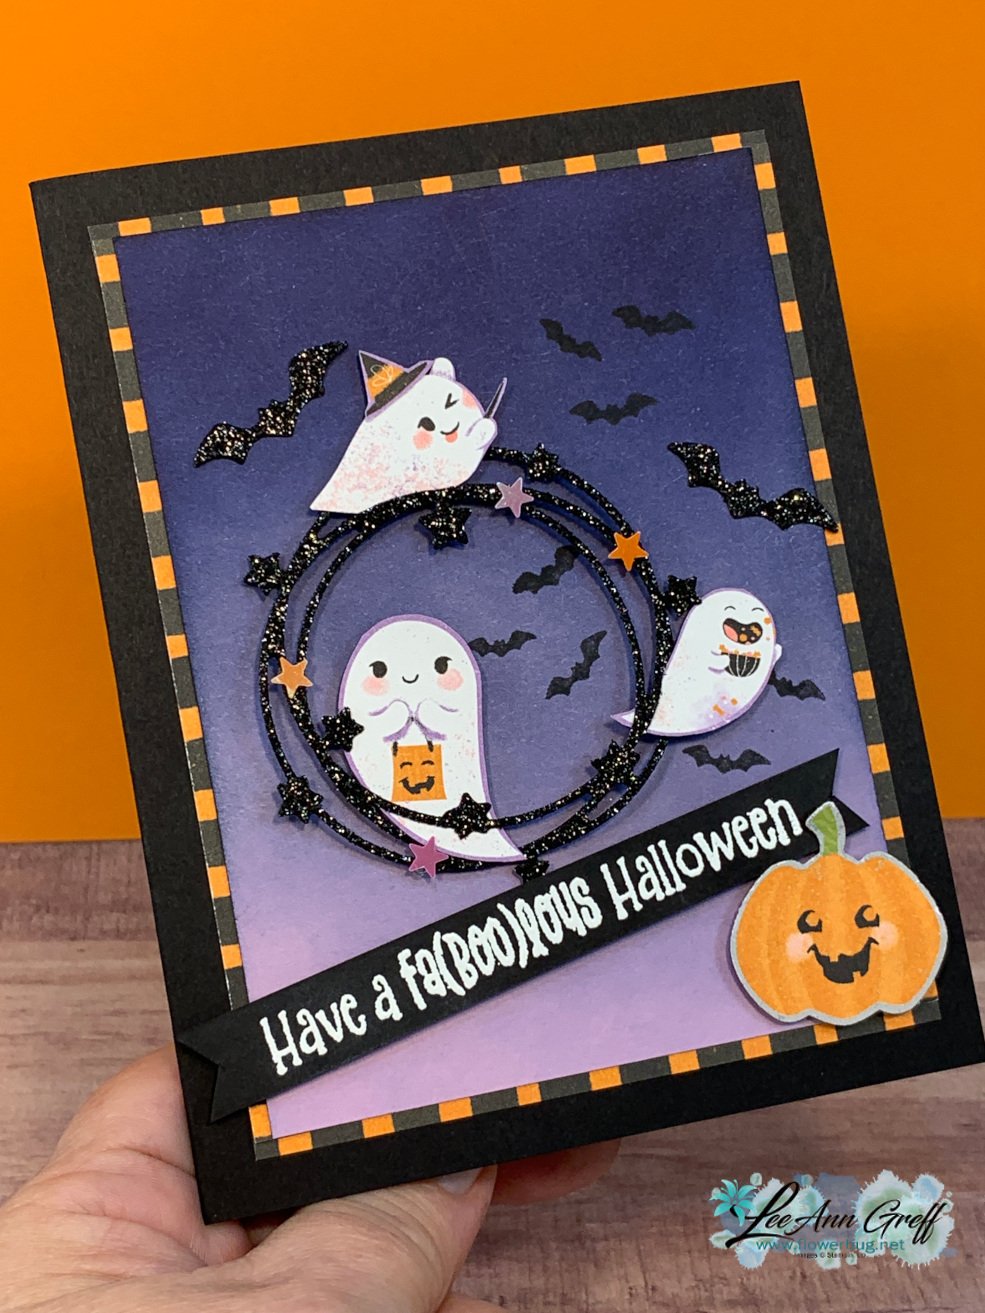
Product used:

  •  the ghosts, pumpkin and striped trim are from the Cute Halloween designer paper in the Holiday catalog.  See it here. 
  • I punched one of the ghosts and the pumpkin with the Halloween punch. It's in a bundle with the Cutest Halloween set seen here or on page 51, which is where the greeting is from. *Sadly the Halloween punch is now on back-order until November!
  • the wreath & bats are die-cut with the Seasonal Swirl dies seen here & Black Glimmer paper in the annual catalog; seen here
  • the ombre background is actually Fresh Freesia CS, with Misty Moonlight & Night of Navy added with our Blending Brushes *watch the video below
  • Cute Stars Adhesive-backed sequins are also added to the wreath
Check out the ghostly treat box in the photo above.  It's so simple to make with the Pretty Pillow box dies!
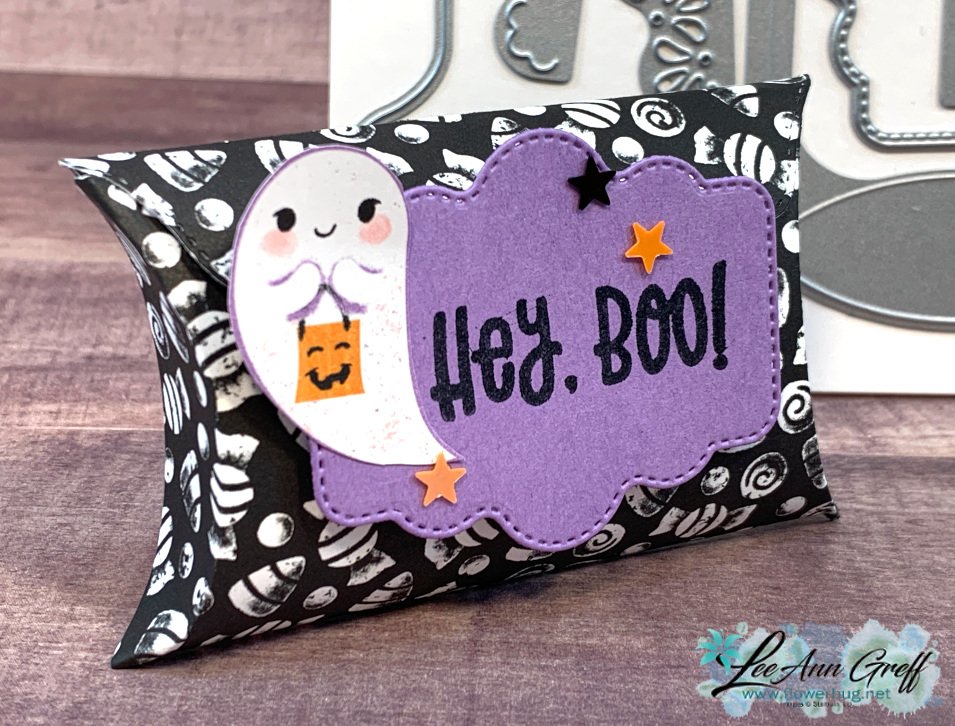
The stitched tag is also in the Pretty Pillow Box dies.  Look how it latches – the scalloped front slips in behind the tag in front.  I love that I don't need a special way to keep it closed; the tag does it for me! 

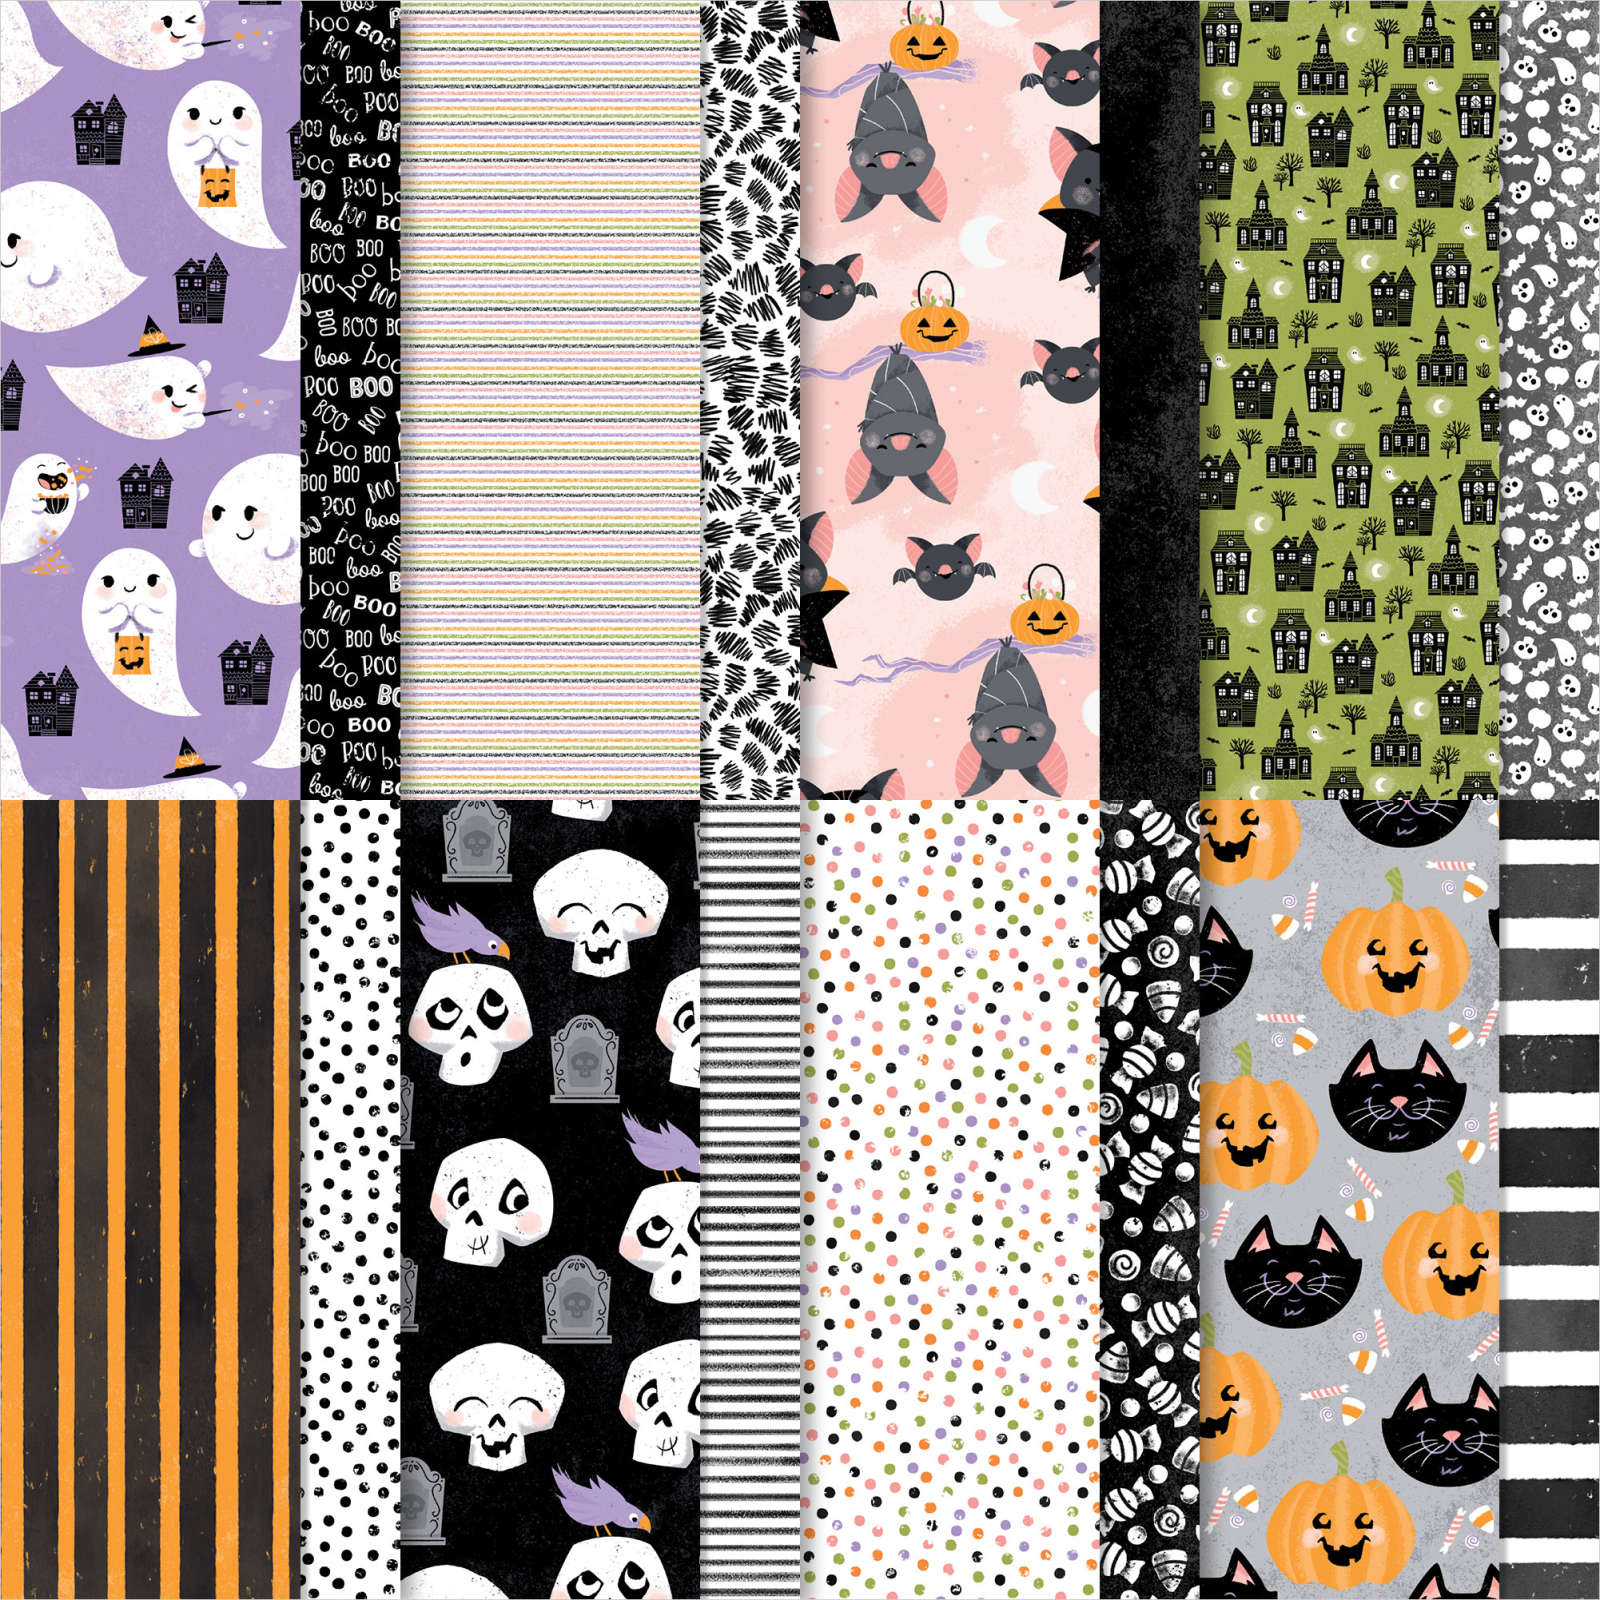
Check out the other version I made with the fun skeletons on the right?  I fussy cut them from the Cute Halloween paper. 

Measurements:

  • White 4 ¼” X 11” scored at 5 ½”, cut 1 ¾” from the right
  • Black 5 ½” X 8 ½” scored at 4 ¼”,
  • White & Fresh Freesia 3 ¾” X 4 ¾”, Black ½” X 4” strip for greeting
  • Cute Halloween DSP ½” strips

I haven't shared this for awhile so here it is; my favorite cutting template especially for inside a card.  Get 5 pieces from one 8 1/2" X 11" sheet of card stock. If you're making multiples this can save you a lot! 
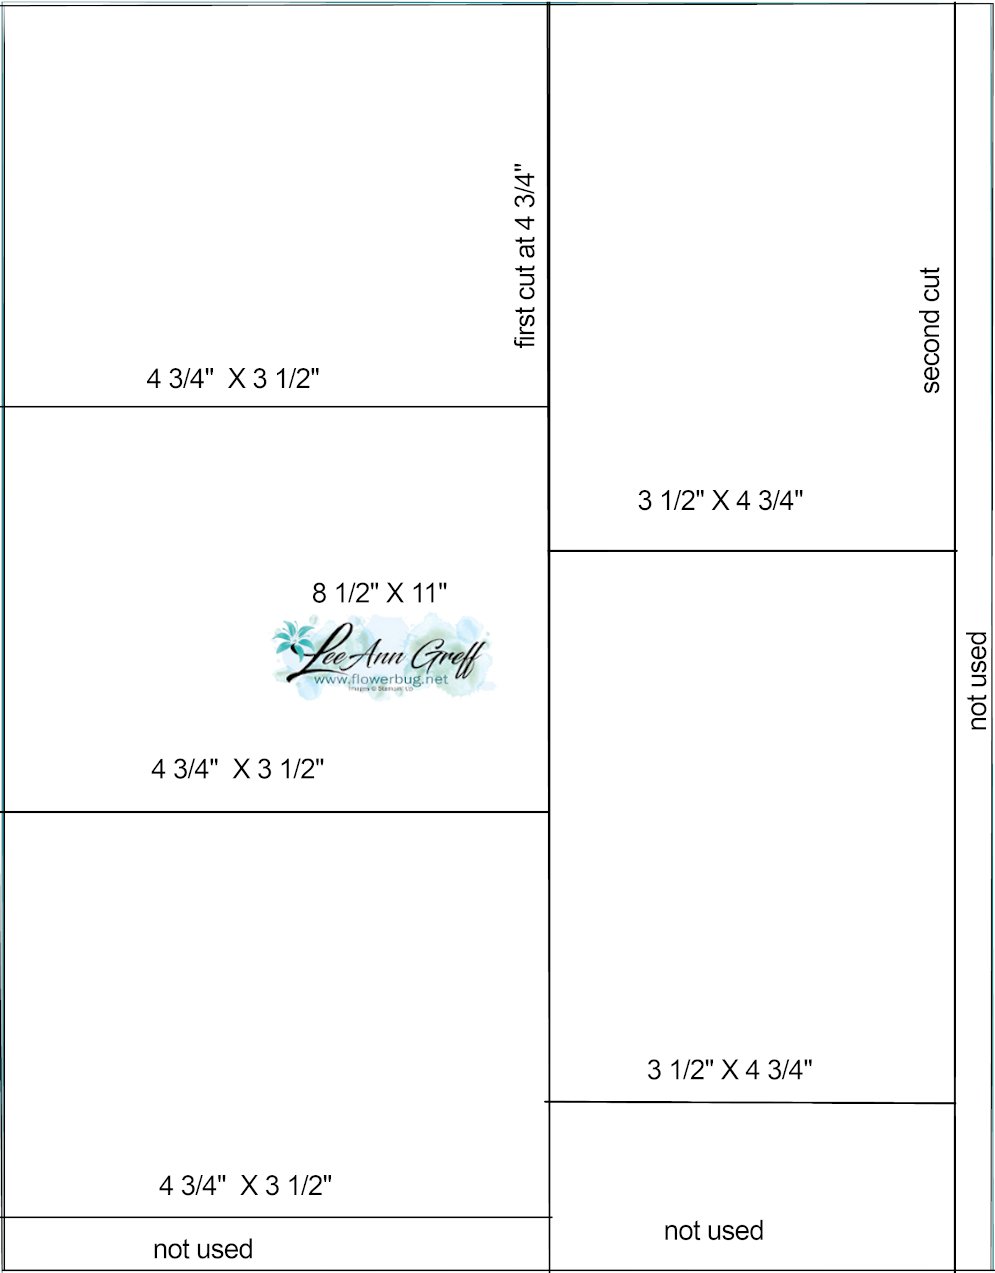
Below is the video.  I make another project using Sparkle of the Season before this one. Fast forward to about 22 minutes in to see this neat Halloween card. 

~~~

September Specials

Host code: ASETFASJ or T7VSZQ64

*click here to order

All online orders will receive a free PDF tutorial filled with projects featuring

the Painted Christmas Suite!

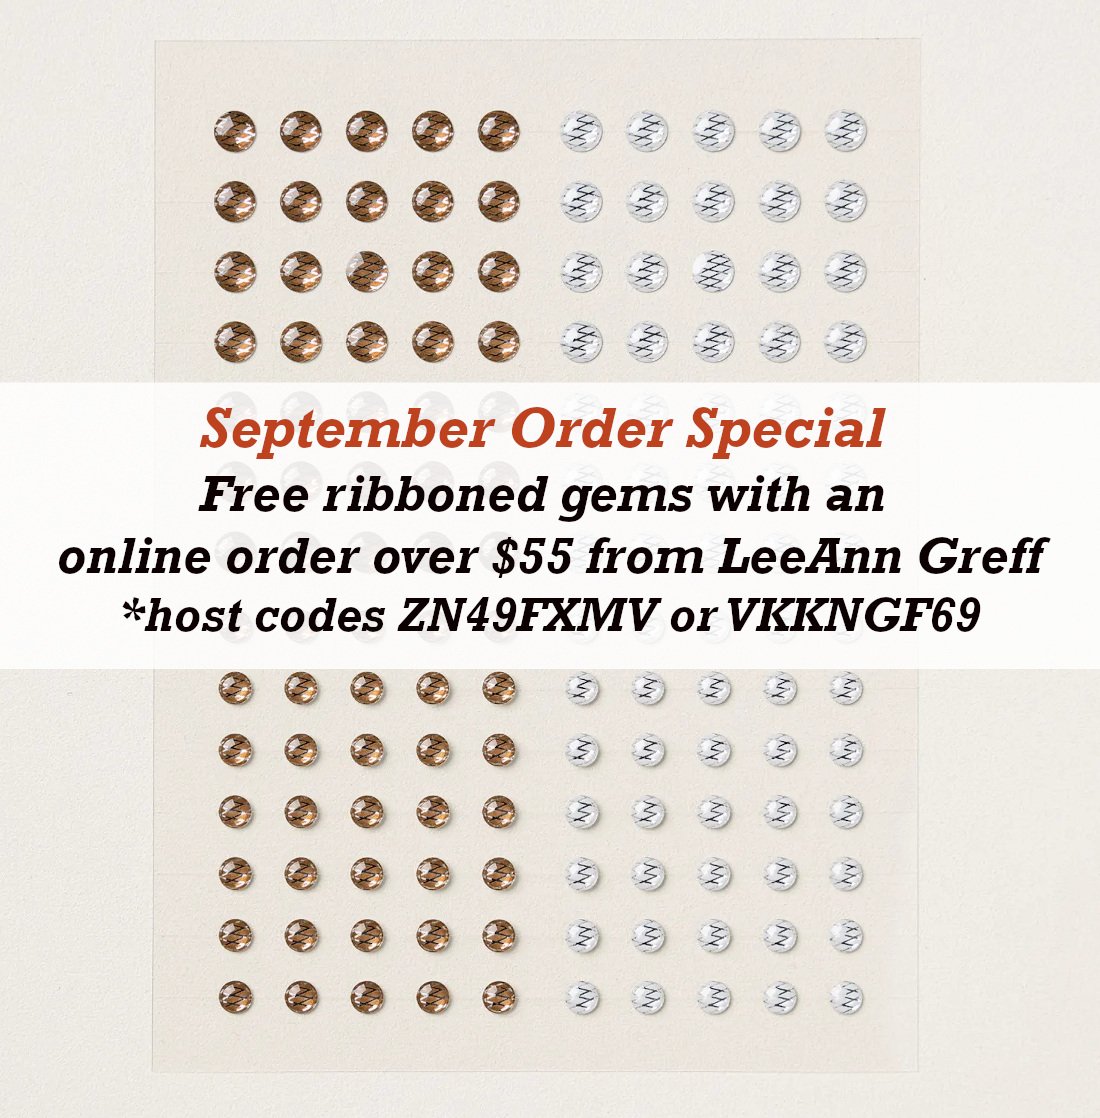
Get a pkg. of Holiday Rhinestones with a $50 online order from me in September! 

Order here

BEST DEAL!

Get a Free Bundle  from the Holiday Catalog when you choose the Starter kit!  Pick out $125 in product of your choice for just $99 and shipping is free!  

All Posts

  • Gorgeous Season of Green & Gold card kit to go; now with video!


    The gorgeous Green & Gold foil specialty paper is the star of these beautiful cards.  

    Aren't they pretty?  The patterns include gold foil on one side of each sheet. 4 of 5 designs are fancy folds. 

    You have a choice between a pre-cut kit or a PDF tutorial.  Both now include a video tutorial!

    The tutorial includes photos, measurements, the supply list and step by step instructions. You'll also receive a link to an unlisted video tutorial. This will be sent via email after purchase.  

    The kit to go is $31 and includes the following:

    • 10 pre-cut cards with die-cuts
    • 1/2 pkg. Season of Green & Gold DSP (6" X 12")
    • a share of Iridescent sheet ribbon and Neutral sequins
    • the PDF tutorial & video link

    Click here to pre-order the kit to go. Click here to purchase the PDF tutorial $16. 

    The PDF tutorial will be sent to you immediately after purchase.  Please check your spam or junk folder. 

    You'll need inks, greeting images, a scissors (some fussy cutting), adhesives and a paper trimmer to cut your new designer paper. 

    Products used:

    • Stamps – Everyday Greetings & Greetings of the Season
    • Inks – Garden Green, Mossy Meadow
    • Cardstock – Garden Green, Mossy Meadow, Old Olive, Gold Foil, Vanilla, White
    • Dies & Folders – Stylish Shapes, Unbounded Love, Magical Meadow, Thoughtful Wishes, Golden Greenery, Greetings of the Season dies. Distressed Tile, Exposed Brick & Timber embossing folders. 
    • Other – Die-cut machine, adhesives, paper snips scissors, Paper trimmer

    Save $$ on shipping if you order more than one kit.  See them all at my shop here. 

    ~~~

    September Specials:

    *current host code links: ENS36KE4 or ZN49FXMV


    ~~~

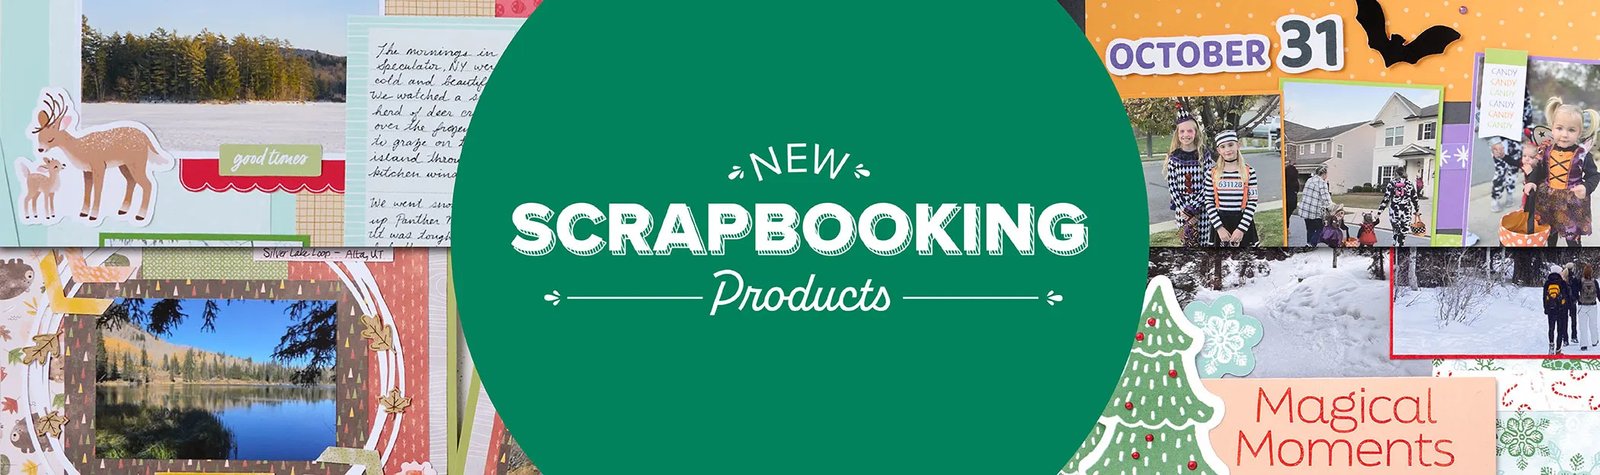
    Check out the new Scrapbooking Line from Stampin' Up! 

    See the Brochure here

    ~~~

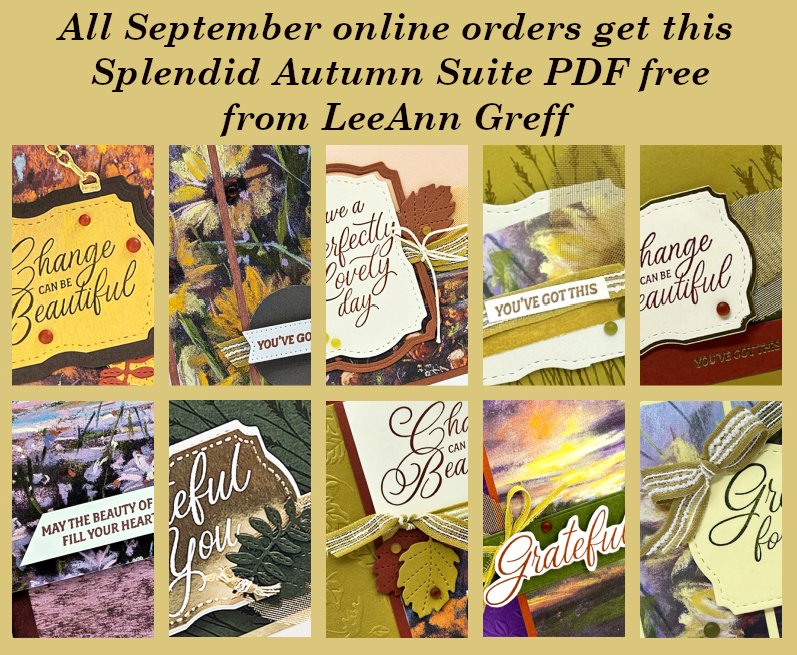
    All online orders will receive a free PDF tutorial featuring the

    Splendid Autumn suite

    Leave a Reply

    Your email address will not be published. Required fields are marked *

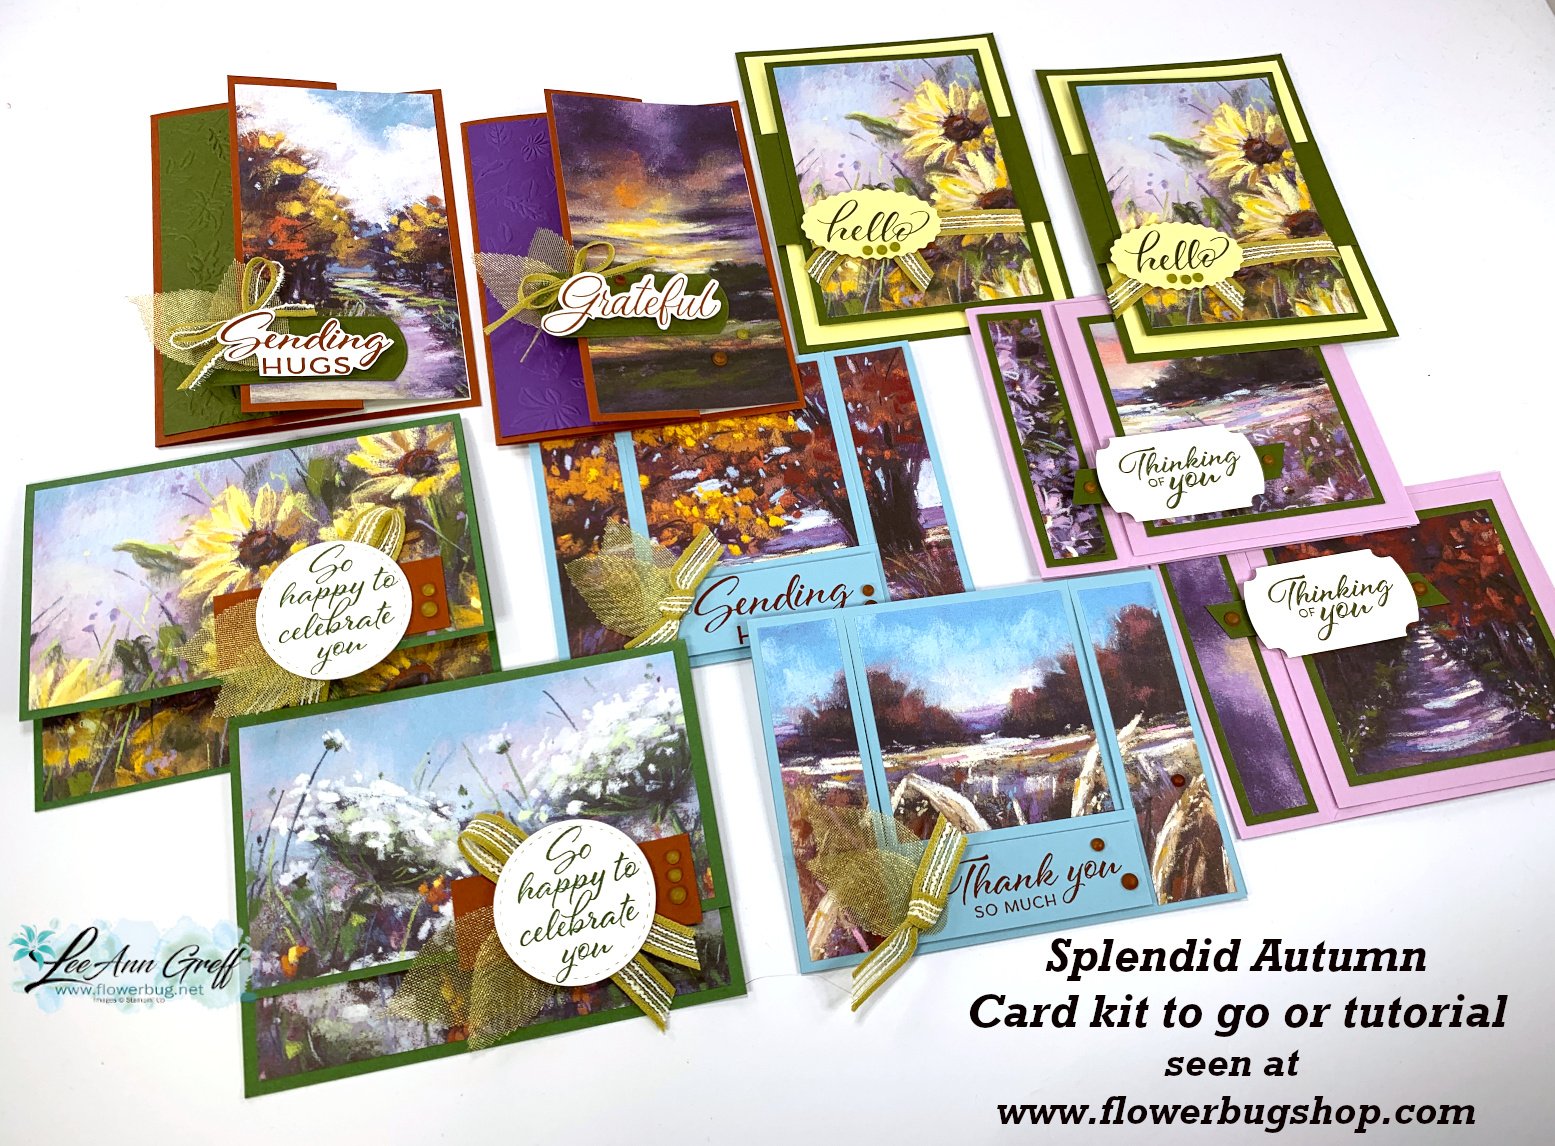
  • New, beautiful Splendid Autumn card kit to go; now with an exclusive video tutorial!


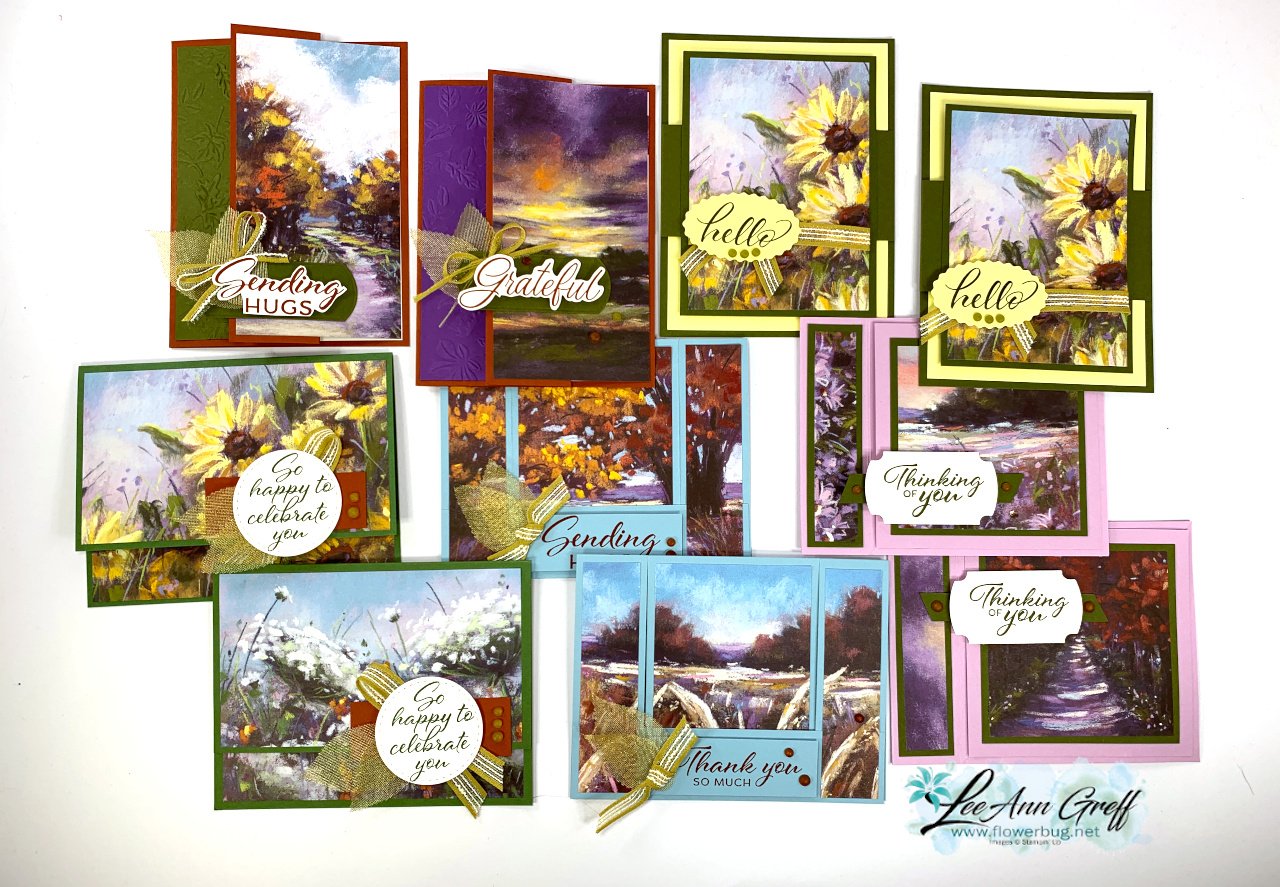
    Stampin' Up! knows we love scenic designer series paper and they created another winner with the Splendid Autumn DSP. I chose to feature it for one of my September card kits to go. 

    Each of the cards are a unique fun fold layout. I chose these designs specifically to show off the pretty papers. 

    I offer both a pre-cut kit with products or the PDF tutorial option.  Both include the tutorial and now an unlisted video on how to assemble each card!  The PDF tutorial is emailed to you immediately after purchase from my shop. The video link is emailed to you soon after.  The pre-cut card kit is mailed out at the end of September.

    This month's kit to go includes the following:

    • 1/2 pkg Splendid Autumn 6" Designer Series Paper
    • a share of Faux Glass gems and woven gold leaves
    • a share of Wild Wheat rustic ribbon
    • both the PDF tutorial and the video tutorial

    Click here to purchase the card kit to go for $31 plus shipping. Click here to get the PDF tutorial for $16.  *see all of the available kits or tutorials here. 

    *this is the kit my subscribers will receive.   Subscribe here if you're interested in receiving a card kit filled with both products AND a pre-cut card kit.  My subscribers get their kits at a reduced rate.

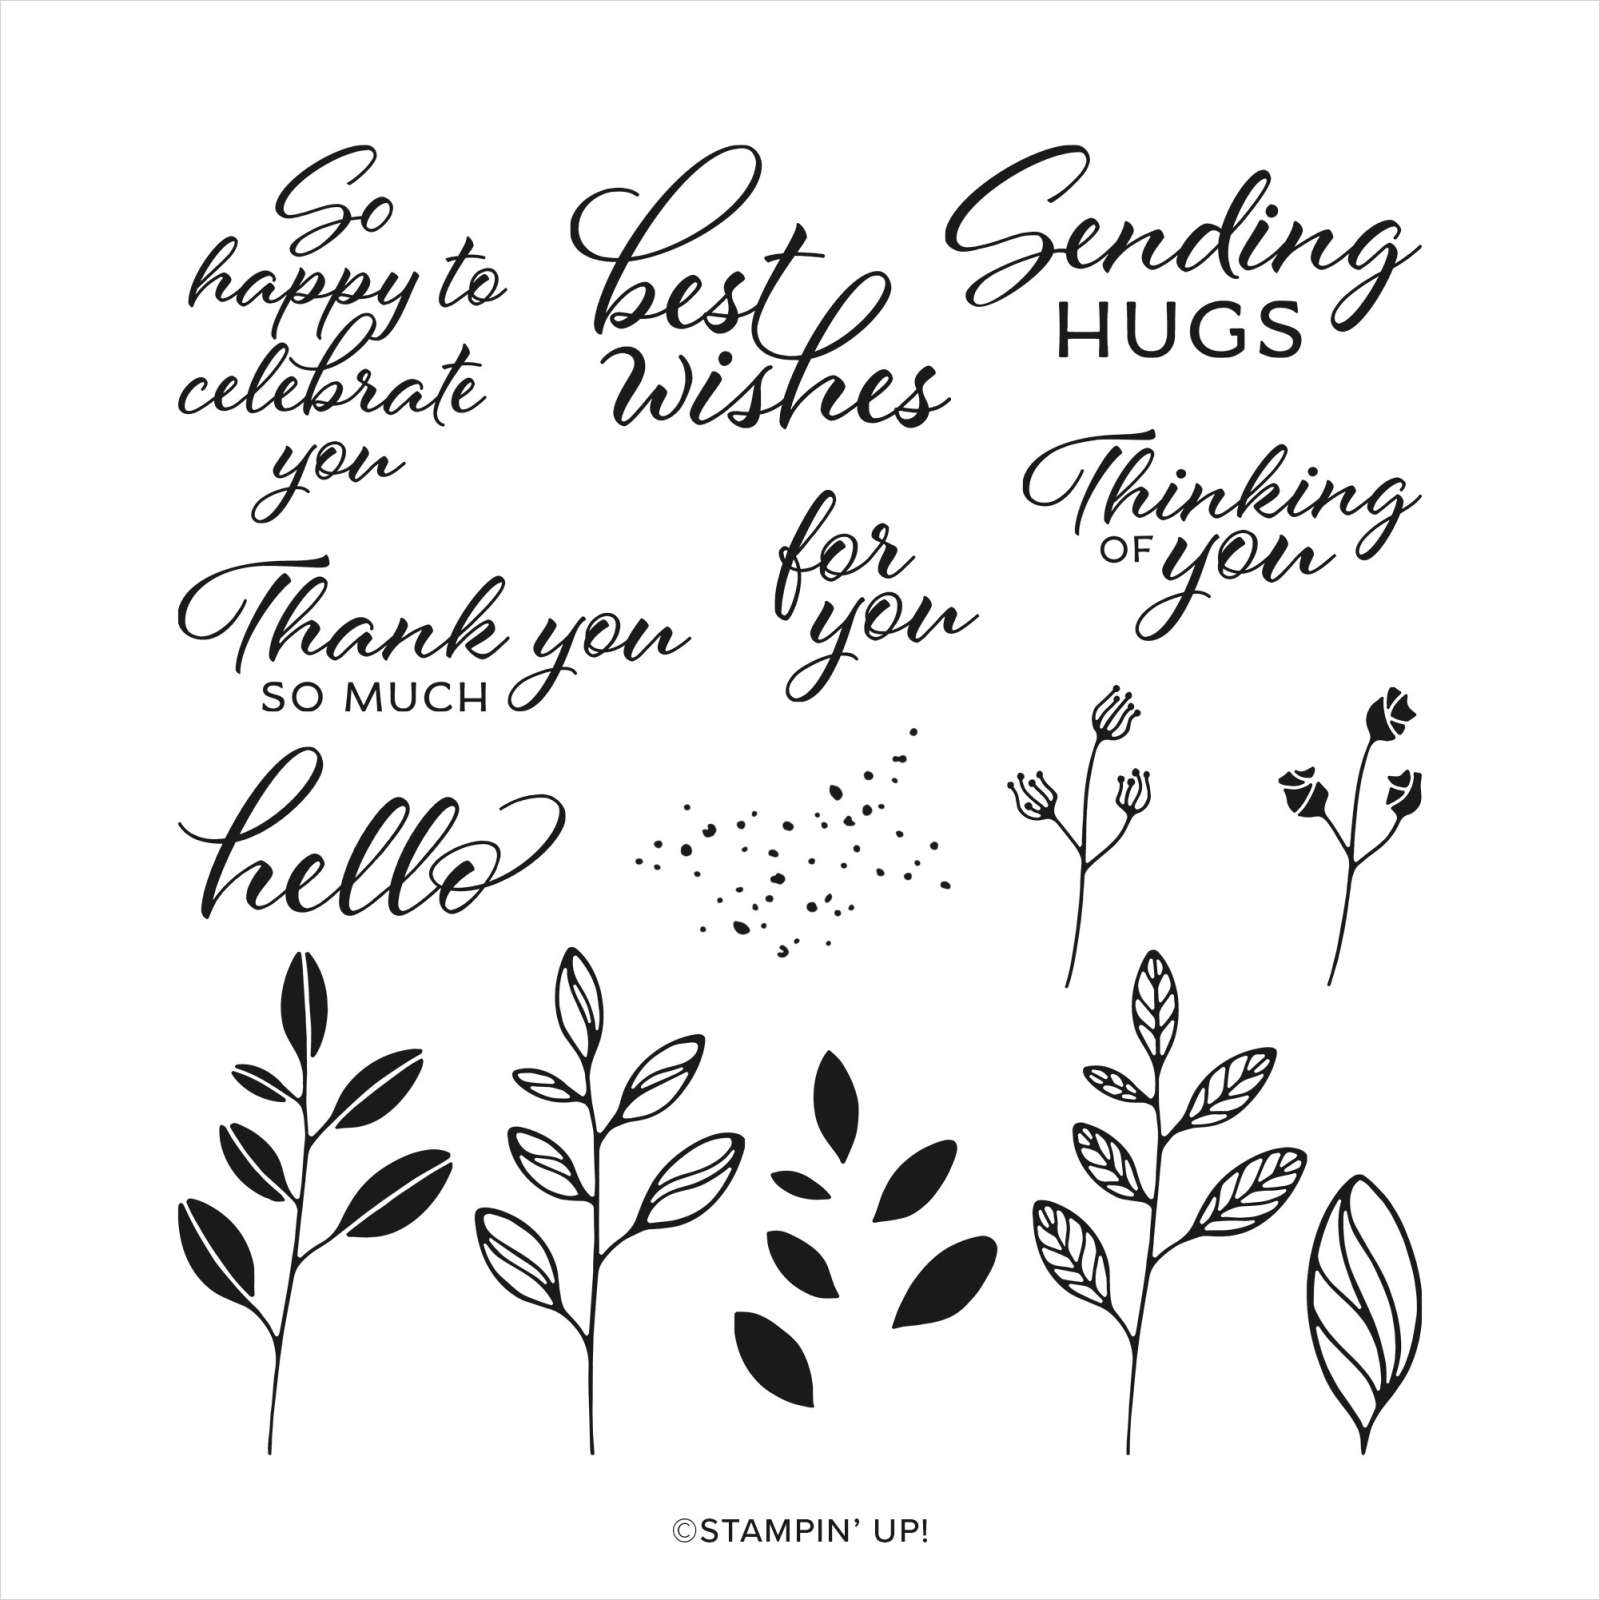
    I used the Layering Leaves stamp set for my greetings. I LOVE it; it's a go-to for an all occasions greeting set. 

    However you can substitute any greetings instead.  I specifically plan my cards kits so you only need greeting images; not a specific stamp set.

    *I'll share the other new kit for September tomorrow!

    ~~~

    September Specials:

    *current host code links: ENS36KE4 or ZN49FXMV


    ~~~

    Check out the new Scrapbooking Line from Stampin' Up! 

    See the Brochure here

    ~~~

    All online orders will receive a free PDF tutorial featuring the

    Splendid Autumn suite

    Leave a Reply

    Your email address will not be published. Required fields are marked *

  • A pretty Regal Winter Tent card with free project sheet & video tutorial. So easy!


    I haven't made a tent card in a long time! It can also be called an easel card too. 

    This card layout really shows off our pretty designer paper. And it's sooo easy too!  As you can see it's basically 3 layers and an embellishment.  See the Regal Winter DSP here. 

    My colors were inspired by the pretty DSP and include Pretty Peacock, Cherry Cobbler & White. That Cherry Cobbler gold edged ribbon is new; it's fine and easy to work with. 

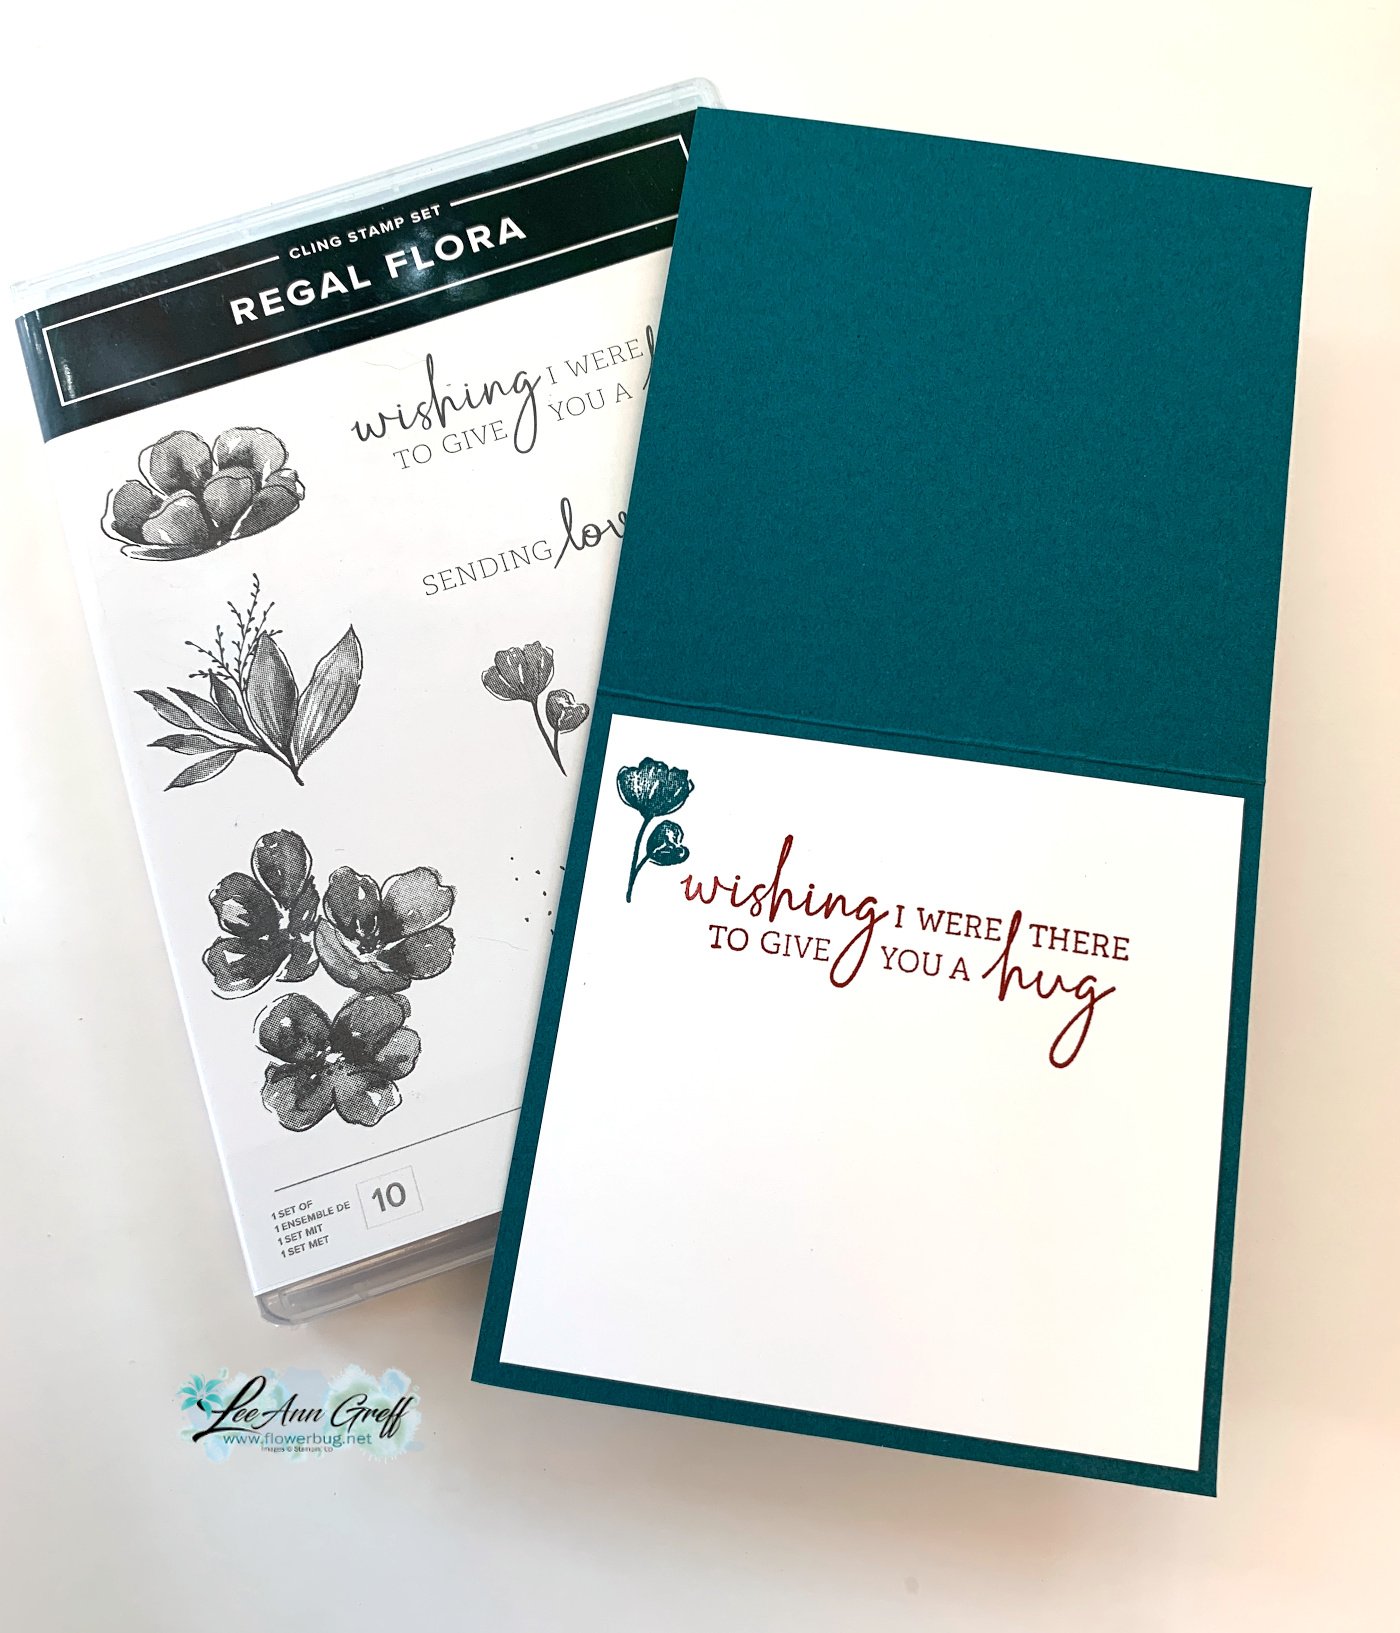
    The greeting is from the Regal Flora stamp set however the greeting is originally all in one row.  I cut it in half and stamped them separately to fit on my die-cut. They're easy to reposition back together like it came. 

    Here's a view of the inside: 

    Click on the following link to download or print the free project sheet: Download Regal Flora Easel card

    Below is the video for this card and another. Be sure to follow me on my YouTube channel here.  I shared another gorgeous card with this suite 2 weeks ago.  

    ~~~

    September Specials:

    *current host code links: ENS36KE4 or ZN49FXMV


    ~~~

    Check out the new Scrapbooking Line from Stampin' Up! 

    See the Brochure here

    ~~~

    All online orders will receive a free PDF tutorial featuring the

    Splendid Autumn suite

    Leave a Reply

    Your email address will not be published. Required fields are marked *


Notice: LeeAnn Greff, Independent Stampin’ Up! Demonstrator, Manager. The content of this website is my sole responsibility as an independent Stampin’ Up! demonstrator and the use of, and content of, the classes, services, or products offered on this website is not endorsed by Stampin’ Up! Copyright 2025