/


Latest Post

Rainbow of Happiness shaker card with video tutorial


Did you know you get a free $50 shopping spree when you place online orders with me?  It's true!  

I love to give these sprees to my online or local shoppers.  If you never knew about this and have shopped with me in the past you can redeem your spree too!  

Click here to download the form. 

I played with the Rainbow of Happiness bundle on Facebook Live earlier this week.  Here's a neat shaker card I made: 

Shaker cards look difficult but they're fun AND easy!  Watch the video below to see how it's done.

The Rainbow of Happiness bundle is 10% off in our Spring catalog.  See it here.  I just noticed it's on low inventory. That means when they run our it will not be available again until the product is restocked. That Global Shipping issue you know!!

It's hard to see in the photo above but the paper inside the shaker is our Rainbow Glimmer specialty paper from the annual catalog.  I share a neat trick to get these rainbow die-cuts in place in the video below or click here. 

Here's a close up of another: 

Here are some details:

  • The large rainbow is made with the Brilliant Rainbow dies – it's part of the Rainbow of Happiness bundle. 
  • The small clouds are die-cut from our Supple Shimmer paper & the Rainbow dies
  • The sequins & beads in the shaker are from the Sparkle & Shine sequins
  • I used our Foam Adhesive strips on the back side of the White die-cut piece to raise it and keep the shaker pieces in place.
  • The large clouds are punched with our new Cloud Punch. One is punched from the Sunshine & Rainbows free DSP during our Sale-a-Bration promotion. See it here. 
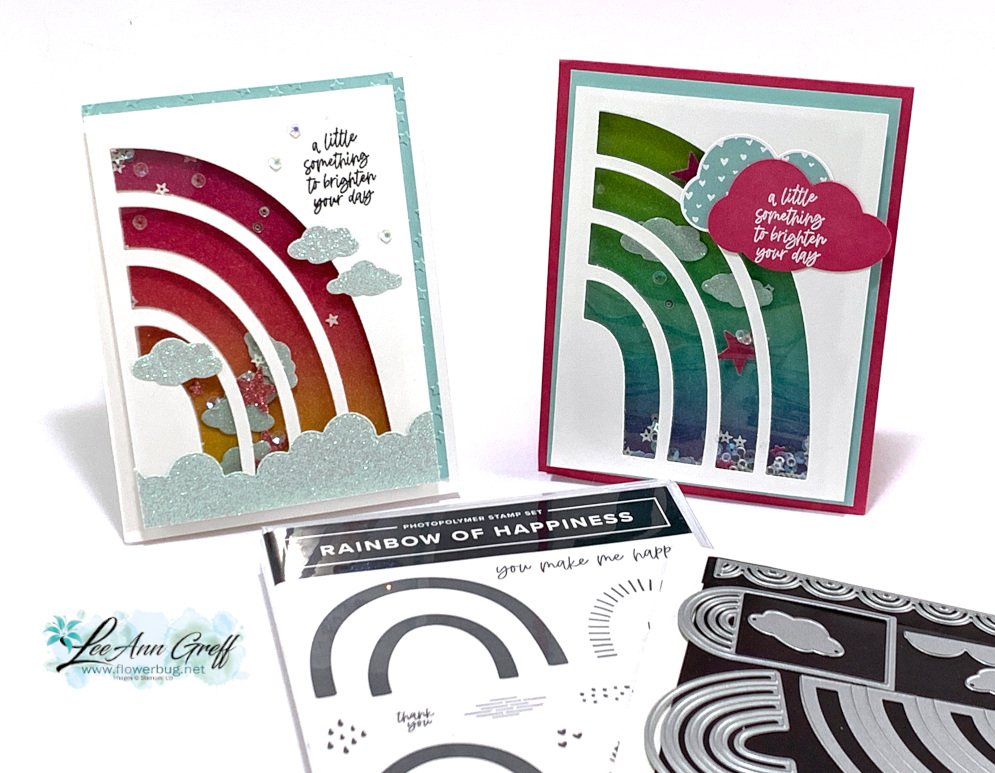
The card above on the left has a cloud bank made with our Border Basic dies and our new Supple Shimmer paper.  Stampin' Up! is terrific at coordinating their products so incredibly.  

The shaker card is the first project I make in the video below. Click on it to watch! 

~~~

January Specials:

Purchase the Starter Kit during Sale-a-Bration

and choose ANY 2 stamp sets free plus FREE shipping too!

Click here to get yours.


Host codes:  T9YW6QCC or S9WGFH9Z

 *click here to order 

Use the host code above & get free Iridescent Rhinestones with

a $50 order in January, 2022! 

All Posts

  • 2022 Holiday Carryover List & Last Chance Sale list is here!


    They've announced which Holiday catalog products will carry over and which ones will retire. 

    The sales period starts December 1st and they are while supplies last. 

    Click here to see the carryover list.

    Click here to see the Last Chance list.  Select items are reduced from 20-60%!! 


    I shared this fun card on Tuesday's FB Live this week.  Here's a link to the video.  

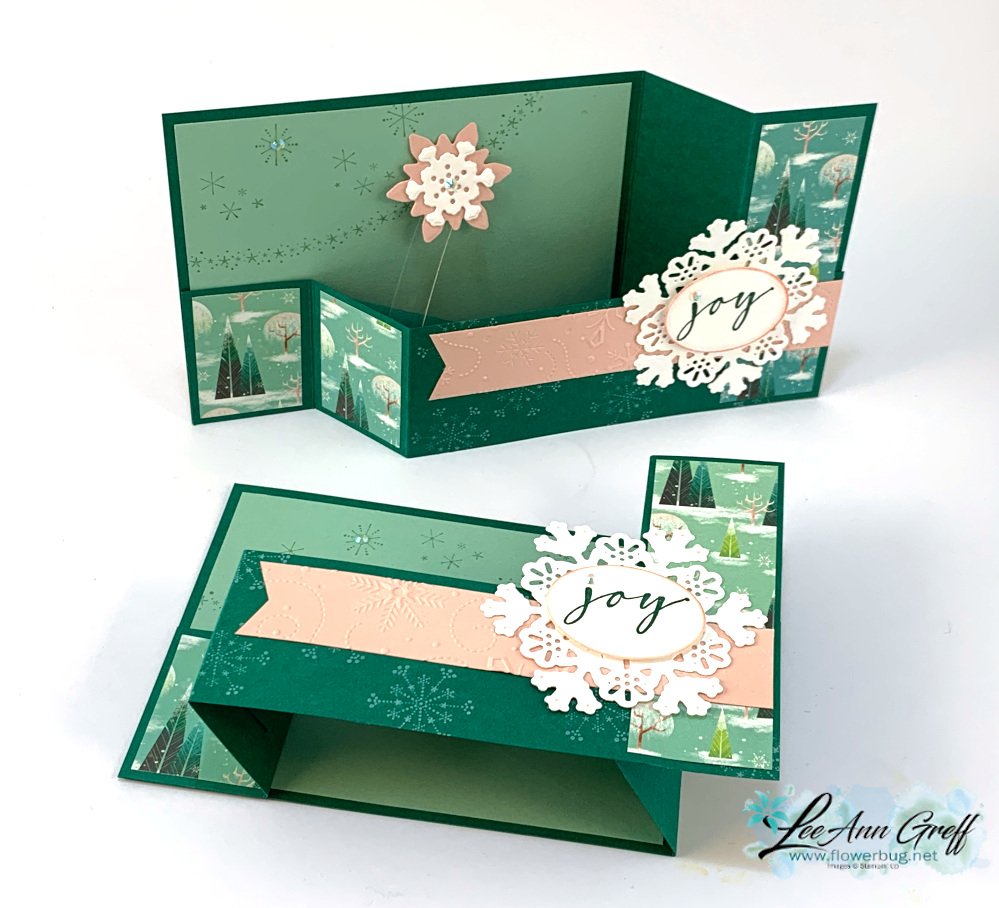
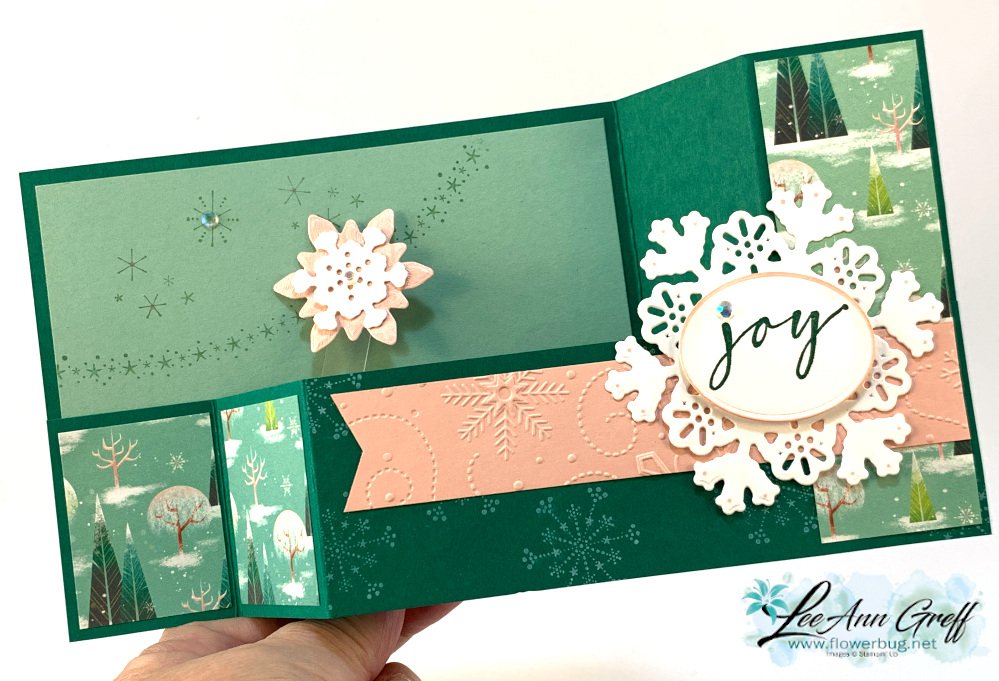
    It's a wiper card featuring the Christmas Lights bundle and the Santa Express designer paper.  

    The colors include Shaded Spruce, Mint Macaron and Blushing Bride.  Of course they came from the colors in the Santa Express DSP.  This paper will be 40% off starting December 1st with the Last Chance sale.  But remember it's while supplies last!  

    Inks include Shaded Spruce, Mint Macaron, White Craft & Blushing Bride.  The 'Joy' greeting is from the Brightest Glow stamp set.

    Here are the measurements of each piece.  But honestly to figure out how to put it together you may want to watch the video.  

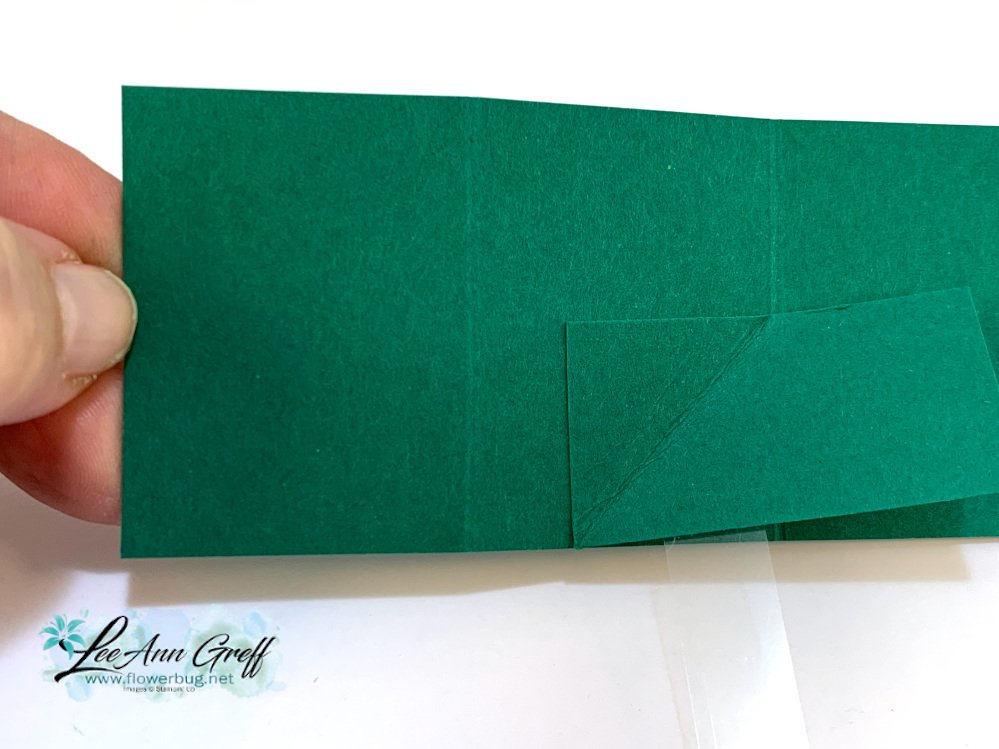
    • Shaded Spruce 8 1/2" X 4 1/4" scored at 5 1/2" & 7", 8 1/2" X 2" scored at 5 1/2" & 7", inside
      piece is 2" X 1" scored at 1" to the corner diagonally
      • Mint Macaron 5 1/4" X 4"
      • Blushing Bride 5 1/4" X 1" & scraps for snowflakes
      • DSP 1 1/8" X 4" for right side, 2 pieces at 1 3/8" X 1 3/4" for left
      • White 5 1/4" X 4" for back and scraps for snowflakes & oval greeting

    Here's a photo of the wiper mechanism.  This is the scored end of the 8 1/2" X 2" layer. 


    It's a super fun card to open and then open again and again!  There are endless possibilities to add to your wiper pop-up; think greetings, animals, balloons, stars….  

    Here’s the project sheet for you with measurements and product list Download Christmas Lights Wiper card Nov 2022

    The Christmas Lights bundle includes the stamped snowflakes and these pretty snowflake die-cuts too. 

    The oval die-cut is from the All That dies in the Annual catalog.  The embossing folder is Wintry; in the Annual catalog. 

    Here's the video; click on the photo to watch it.  

    ~~~

    Order online here

    Host code link: KA9ZYZB6

    November Specials: 

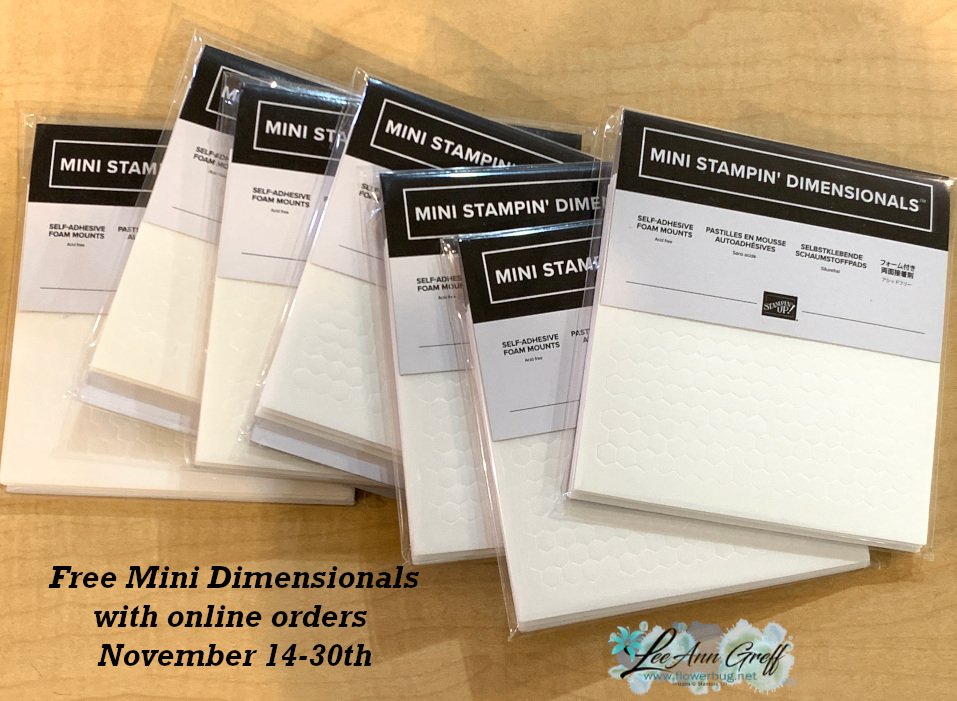
    1. Get a pack of mini Stampin' Dimensionals from me with online orders over $55!


    2. All orders in November will receive a big project tutorial – a collection of 12 cards featuring this new collection of products.

    Earn free products with my loyalty rewards! 

    Click here to download yours and earn a $50 shopping spree!

    Leave a Reply

    Your email address will not be published. Required fields are marked *

  • 2 more fun fold card ideas for you; from the Flowerbugs!


    Happy Thanksgiving!!  I hope you enjoy a wonderful holiday weekend and spend it with friends or maybe stamping!

    We'll be with our kids in Fargo and besides enjoying our turkey dinner we'll be playing games, going to an escape room and I'll be addressing some Christmas cards too.  

    ~~~

    Here are more of our Flowerbug's Team swaps featuring fancy folds.  

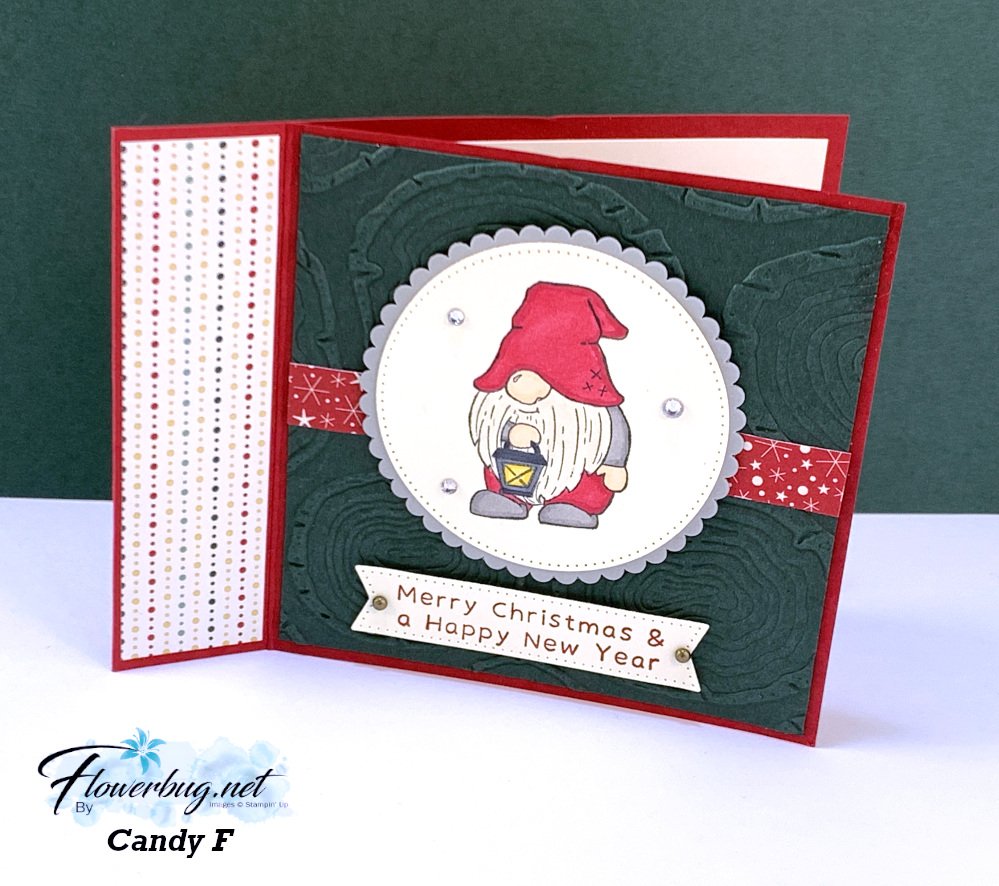
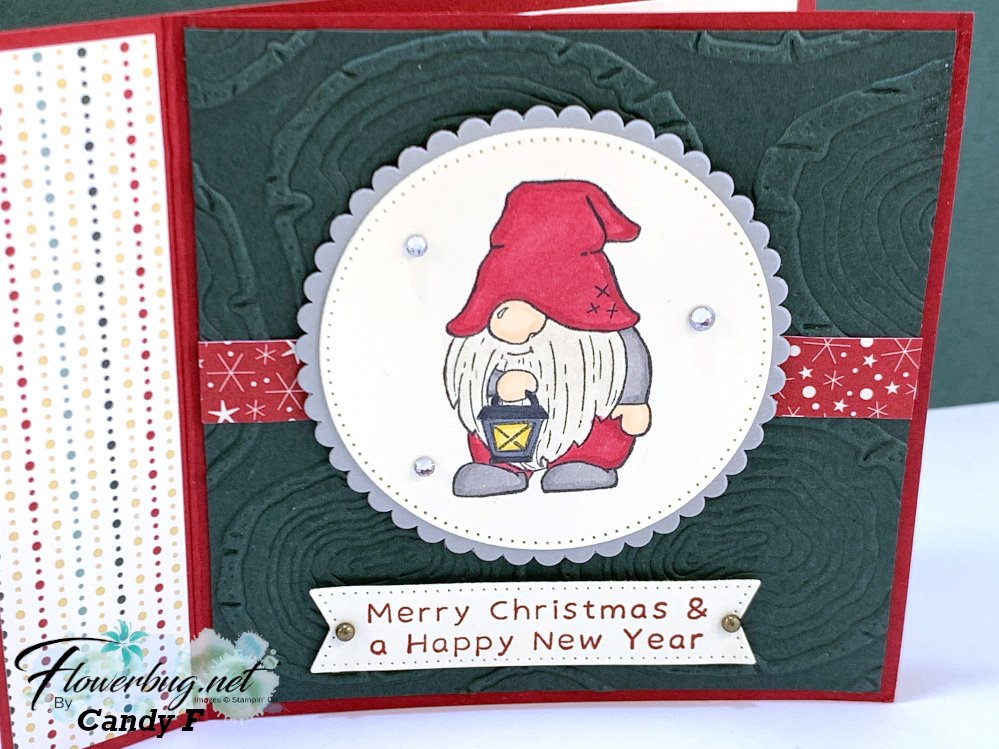
    Candy made this 'book binding' card with the Kindest Gnomes; see it here.  


    Measurements are: 

    • Cherry Cobbler card base 4 1/4" X 11" scored at 4 1/4" & 5 1/2"
    • DSP 1" X 4" on the 'binding', 1/2" X 4" strip across
    • Evergreen layer 4" square


    Roxann made this amazing Diamond Fold card.  She used the Splendid Day specialty designer paper from the 2022 Holiday Catalog; seen here. 

    Her colors include Petal Pink &Soft Sea Foam. It's finished size is 5" square so it does not fit into a standard A2 size envelope.  

    Measurements:

    • Card base 5" X 10".  Score at 2 1/2" & 5".  You'll find the upper center at 2 1/2" and make a mark.  From the top, cut down on both sides to the first score line, removing those upper corners. 
    • Then make a mark from the bottom up on each side at the 7 1/2" mark.  Cut from the bottom center; also at 2 1/2", and cut to the 7 1/2" mark, removing the bottom outer corners. 
    • Soft Sea Foam squares are 3 1/4"
    • Designer paper squares are 3"

    Maybe someday I'll create one of these and share how it's done. It's a neat card!  

    I sure have some talented Team Members, don't I?  They always impress me with their creativity, colors and ingenuity.  

    ~~~

    Order online here

    Host code link: KA9ZYZB6

    November Specials: 

    1. Get a pack of mini Stampin' Dimensionals from me with online orders over $55!


    2. All orders in November will receive a big project tutorial – a collection of 12 cards featuring this new collection of products.

    Earn free products with my loyalty rewards! 

    Click here to download yours and earn a $50 shopping spree!

    Leave a Reply

    Your email address will not be published. Required fields are marked *

  • Two more fun fold cards today; Penguins & Sun Prints


    Today I have two more unique 'fun fold' cards for you.  Both made by my talented Flowerbug's Team members. 

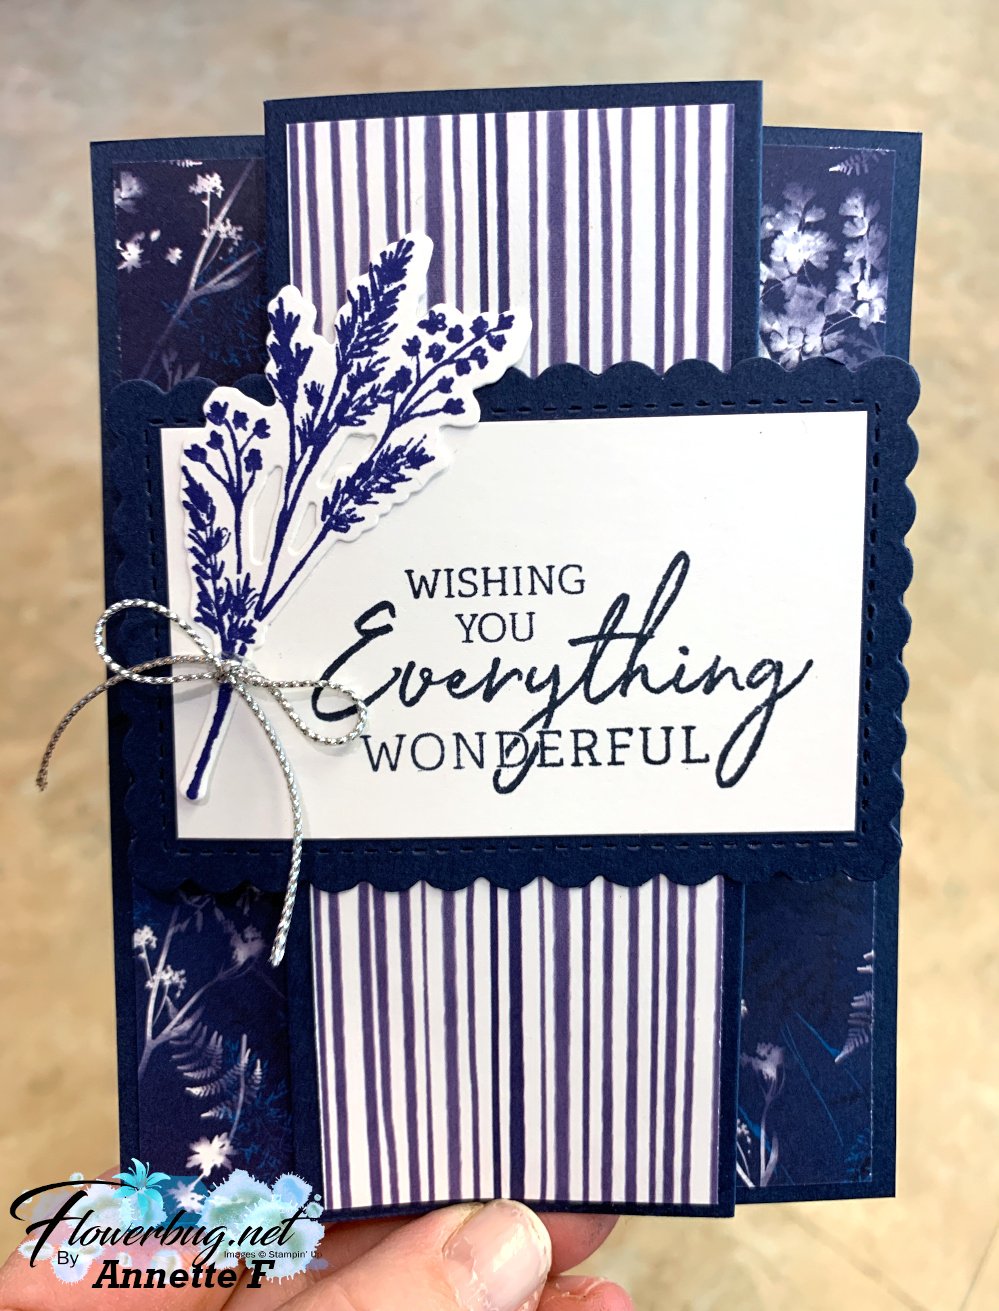
    First is an easy but quite unique fold made by Annette:


    • She used Night of Navy as her card base.  It's 5 1/2" X 8 1/2" and scored on the long side at 2", 3 1/8", 5 3/8" & 6 1/2". 
    • The Sun Prints DSP are 1 3/4" X 5 1/4" on the out side areas and 2" X 5 1/4" on the center.  
    • I didn't show a photo of the back but she added a White layer in the center area for signing.  It's also 2" X 5 1/4" 

    It stands up nicely too.  Here's what it looks like closed for mailing. 

    The scalloped rectangle die-cut if from the Scalloped Contour dies; the greeting is from Charming Sentiments and the pretty stem die-cut is from the Nature's Prints bundle seen here. 

    ~~~

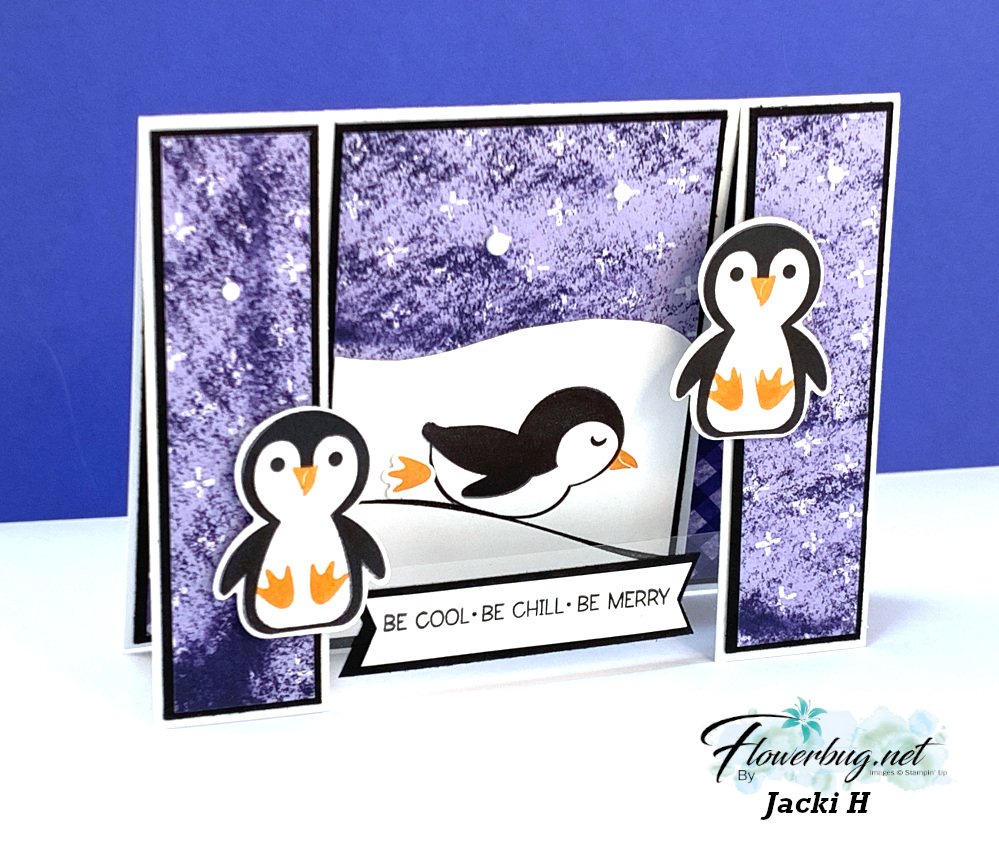
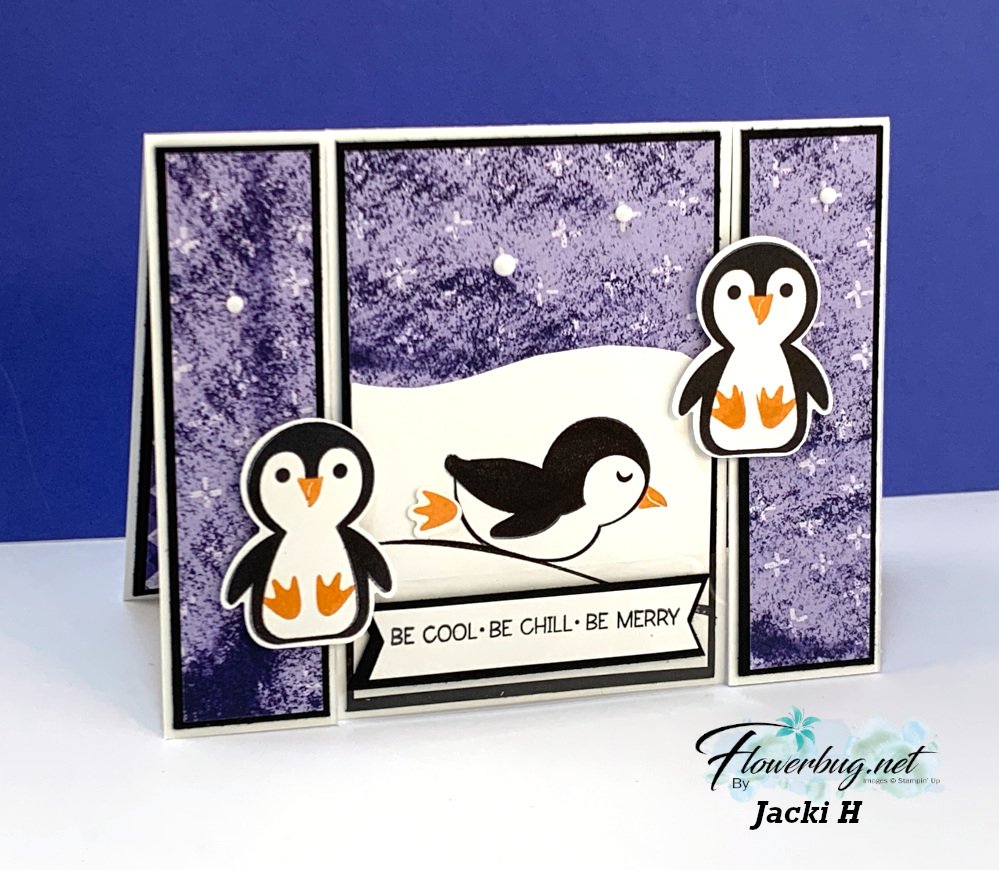
    Next is a cute spanner card made by Jacki. She chose to use the Penguin Place stamp set & coordinating Penguin Builder punch. 

    Can you see how the sides and front greeting are floating in front of the center panel?  It's a neat fold that you'll never see in a pre-made card! 

    She used window sheets across the bottom to hold the greeting layers.  

    The designer paper is from the Tea Boutique 6 X 6" paper in the Annual Catalog.  I love that snow hill curve! 

    Measurements:

    • White card base is 5 1/2" X 8 1/2" scored at 4 1/4".  
    • Then make cuts at 1 1/4" from both sides on the front and cut to the center score line.  That separates the sides from the front panel. 
    • DSP is 2 3/4" X 2" on the center and 1" X 4" on the sides.  

    Here's a link to the Penguin Place stamp set and here's the Penguin Builder punch.  

    ~~~

    Order online here

    Host code link:  XZPZ6TDV  or KA9ZYZB6

    November Specials: 

    1. Get a pack of mini Stampin' Dimensionals from me with online orders over $55!


    2. All orders in November will receive a big project tutorial – a collection of 12 cards featuring this new collection of products.

    Earn free products with my loyalty rewards! 

    Click here to download yours and earn a $50 shopping spree!

    Leave a Reply

    Your email address will not be published. Required fields are marked *


Notice: LeeAnn Greff, Independent Stampin’ Up! Demonstrator, Manager. The content of this website is my sole responsibility as an independent Stampin’ Up! demonstrator and the use of, and content of, the classes, services, or products offered on this website is not endorsed by Stampin’ Up! Copyright 2025