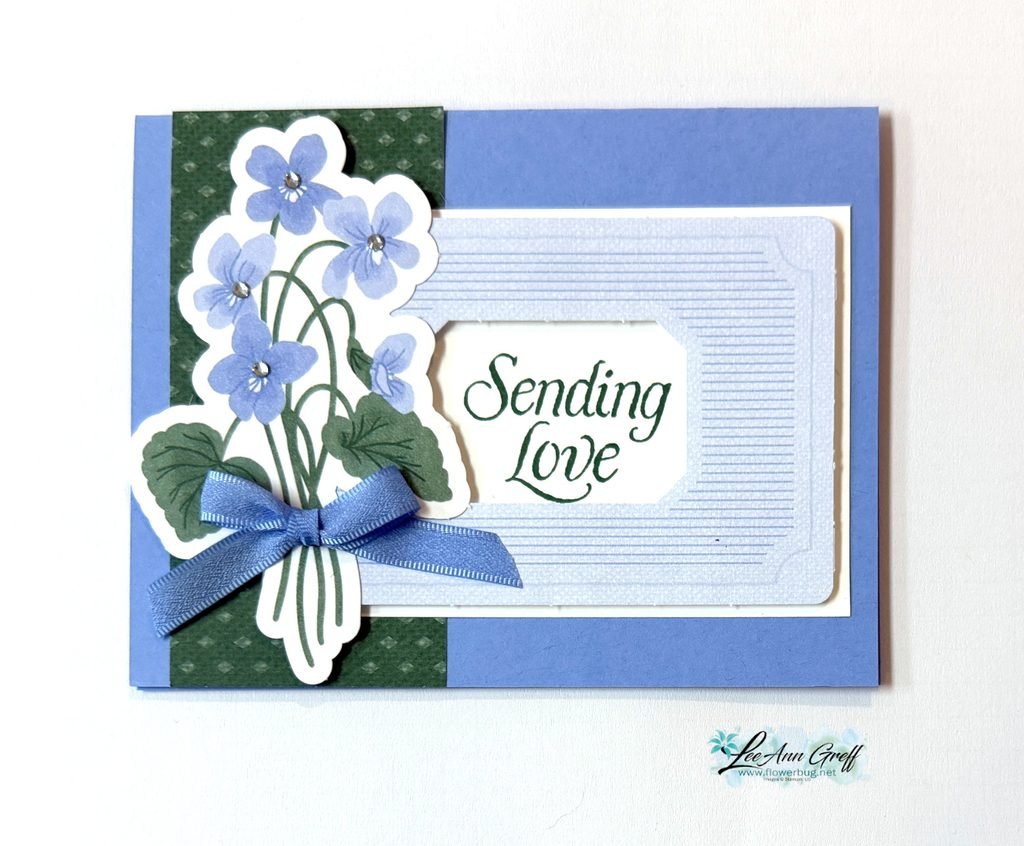
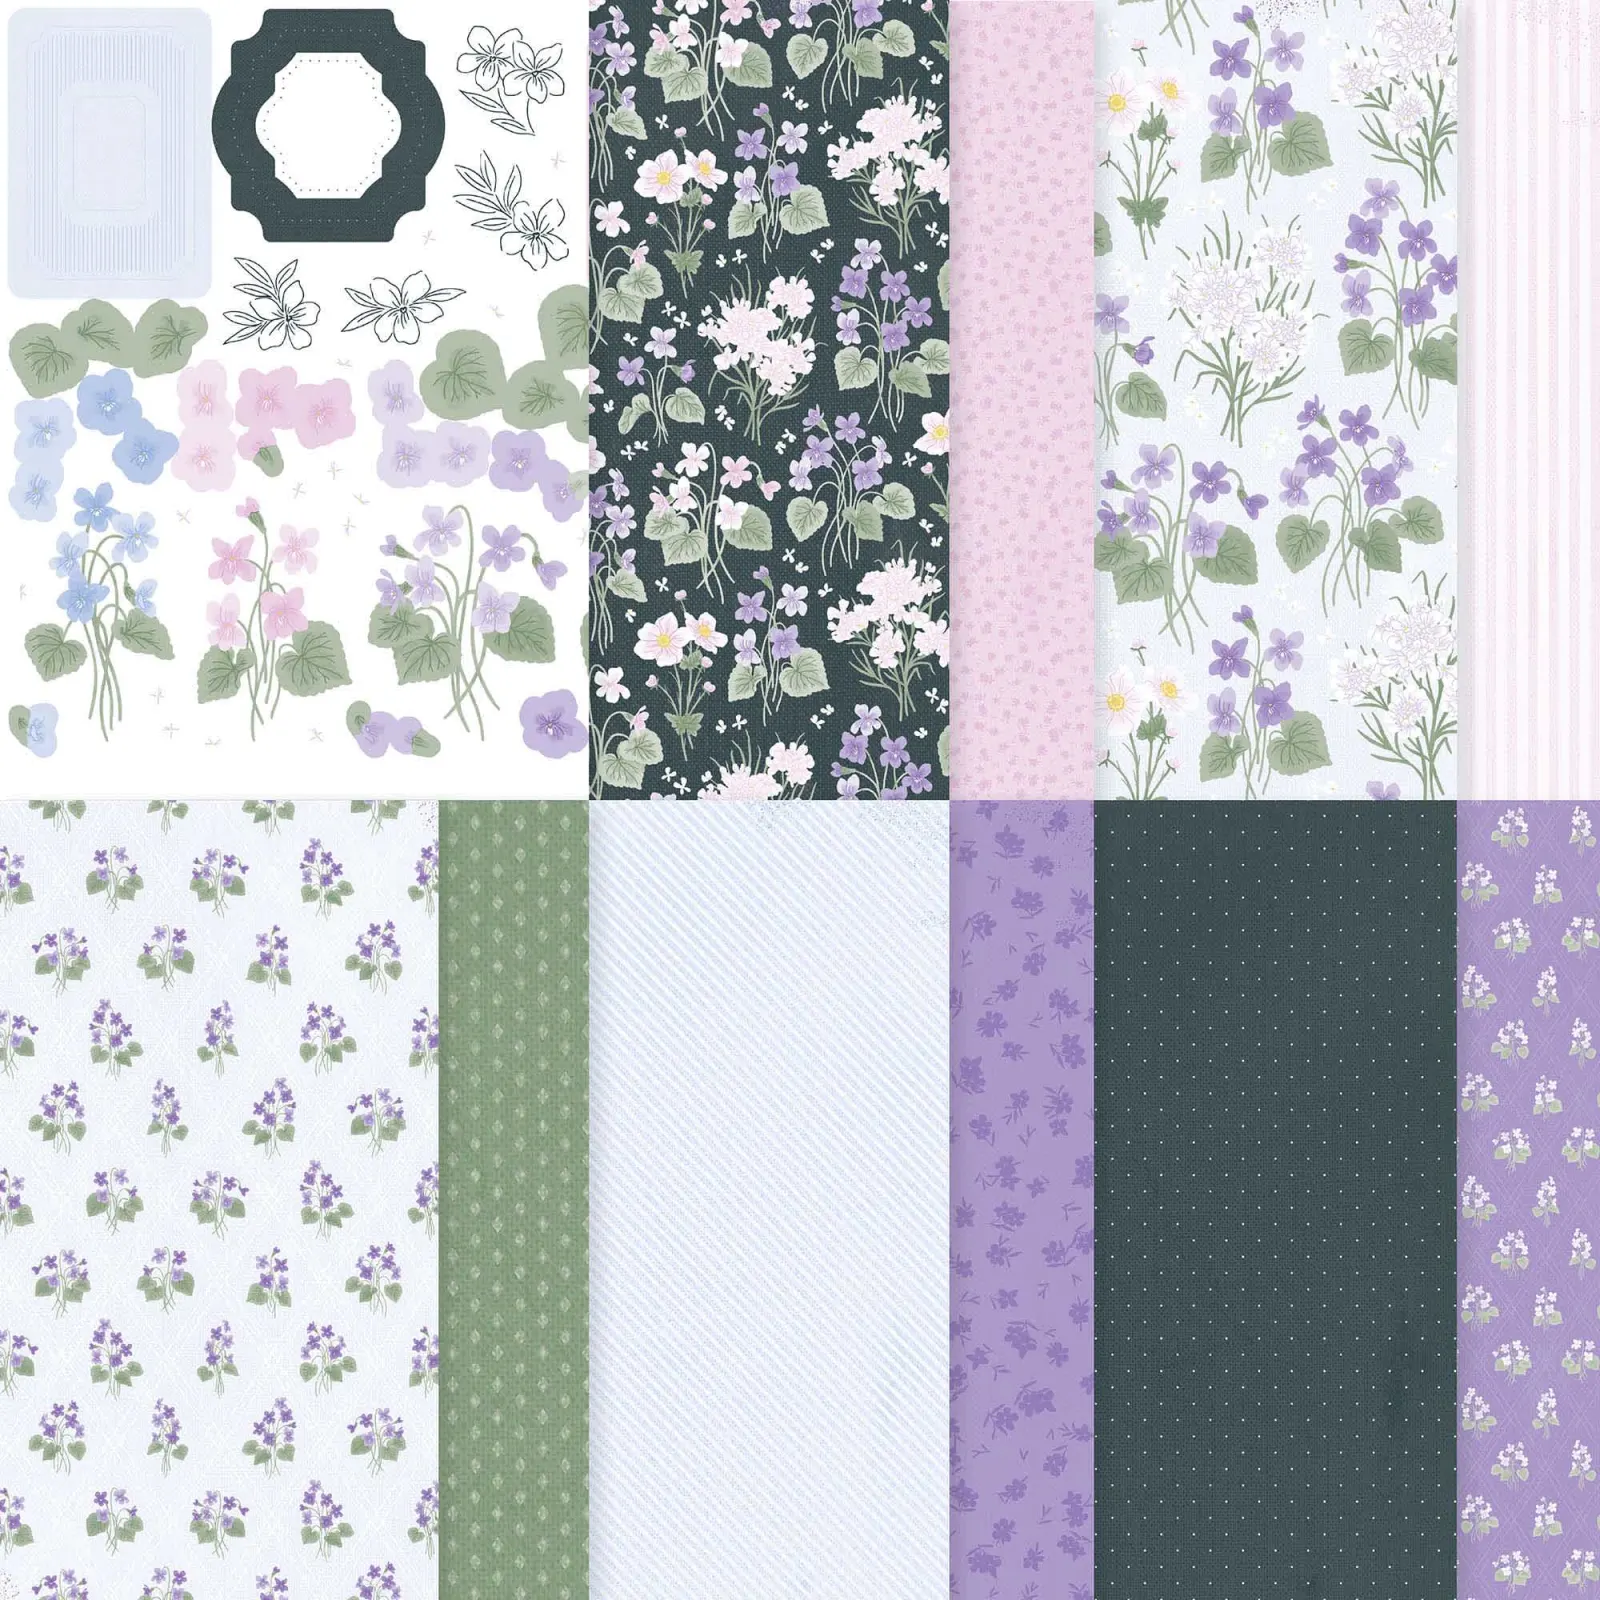
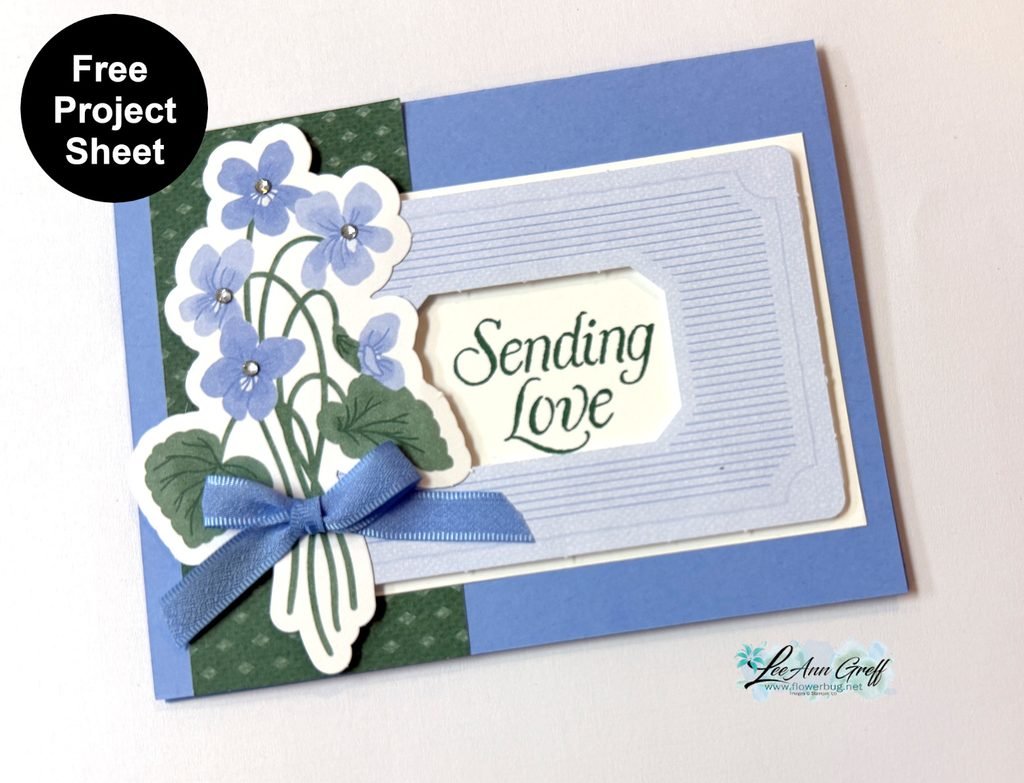
It showcases the pretty Violet Dreams DSP seen here. There are 3 pieces from the DSP on this card: the violets die-cut, the striped frame and the green DSP strip. This DSP has 2 sheets of die-cut ephemera included in the package. I love that; it opens up so many options when creating.
Look closely at the coordinating colors on this card. Stampin’ Up! makes it so easy to create with perfectly matching colors. It’s my very favorite thing about SU. I used the violets as the starting point and simply repeated each color once or twice on my project for a wonderfully cohesive look.
Tip: If you struggle with color coordination pick two colors and repeat them at least once if not twice on your project. This works!
Check out the video below where I shared on more pretty card featuring DSP strips.
All Posts
New Arrivals – kits, online exclusives & more
Here’s an easy way to see all of the newest releases in July; click on any of them to see them in my store.
Remember that Online Exclusives simply means it can be found online. It isn’t in any printed publication. However Stampin’ Up! has given us this PDF you can print out or view.
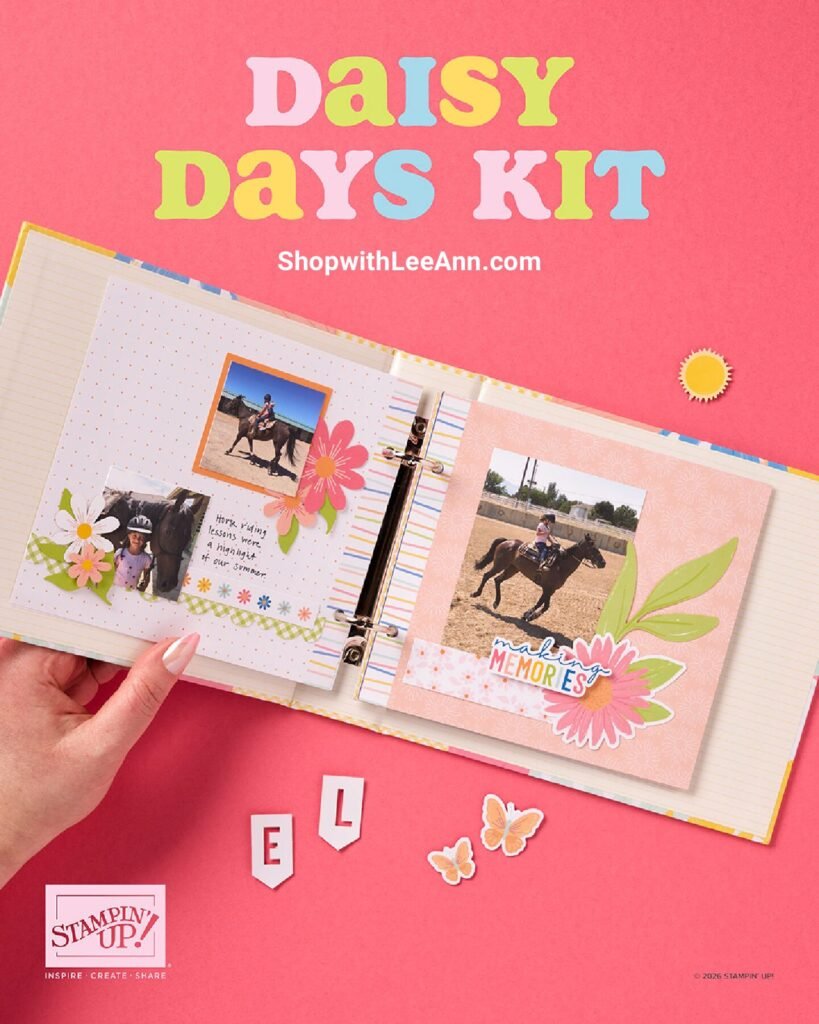
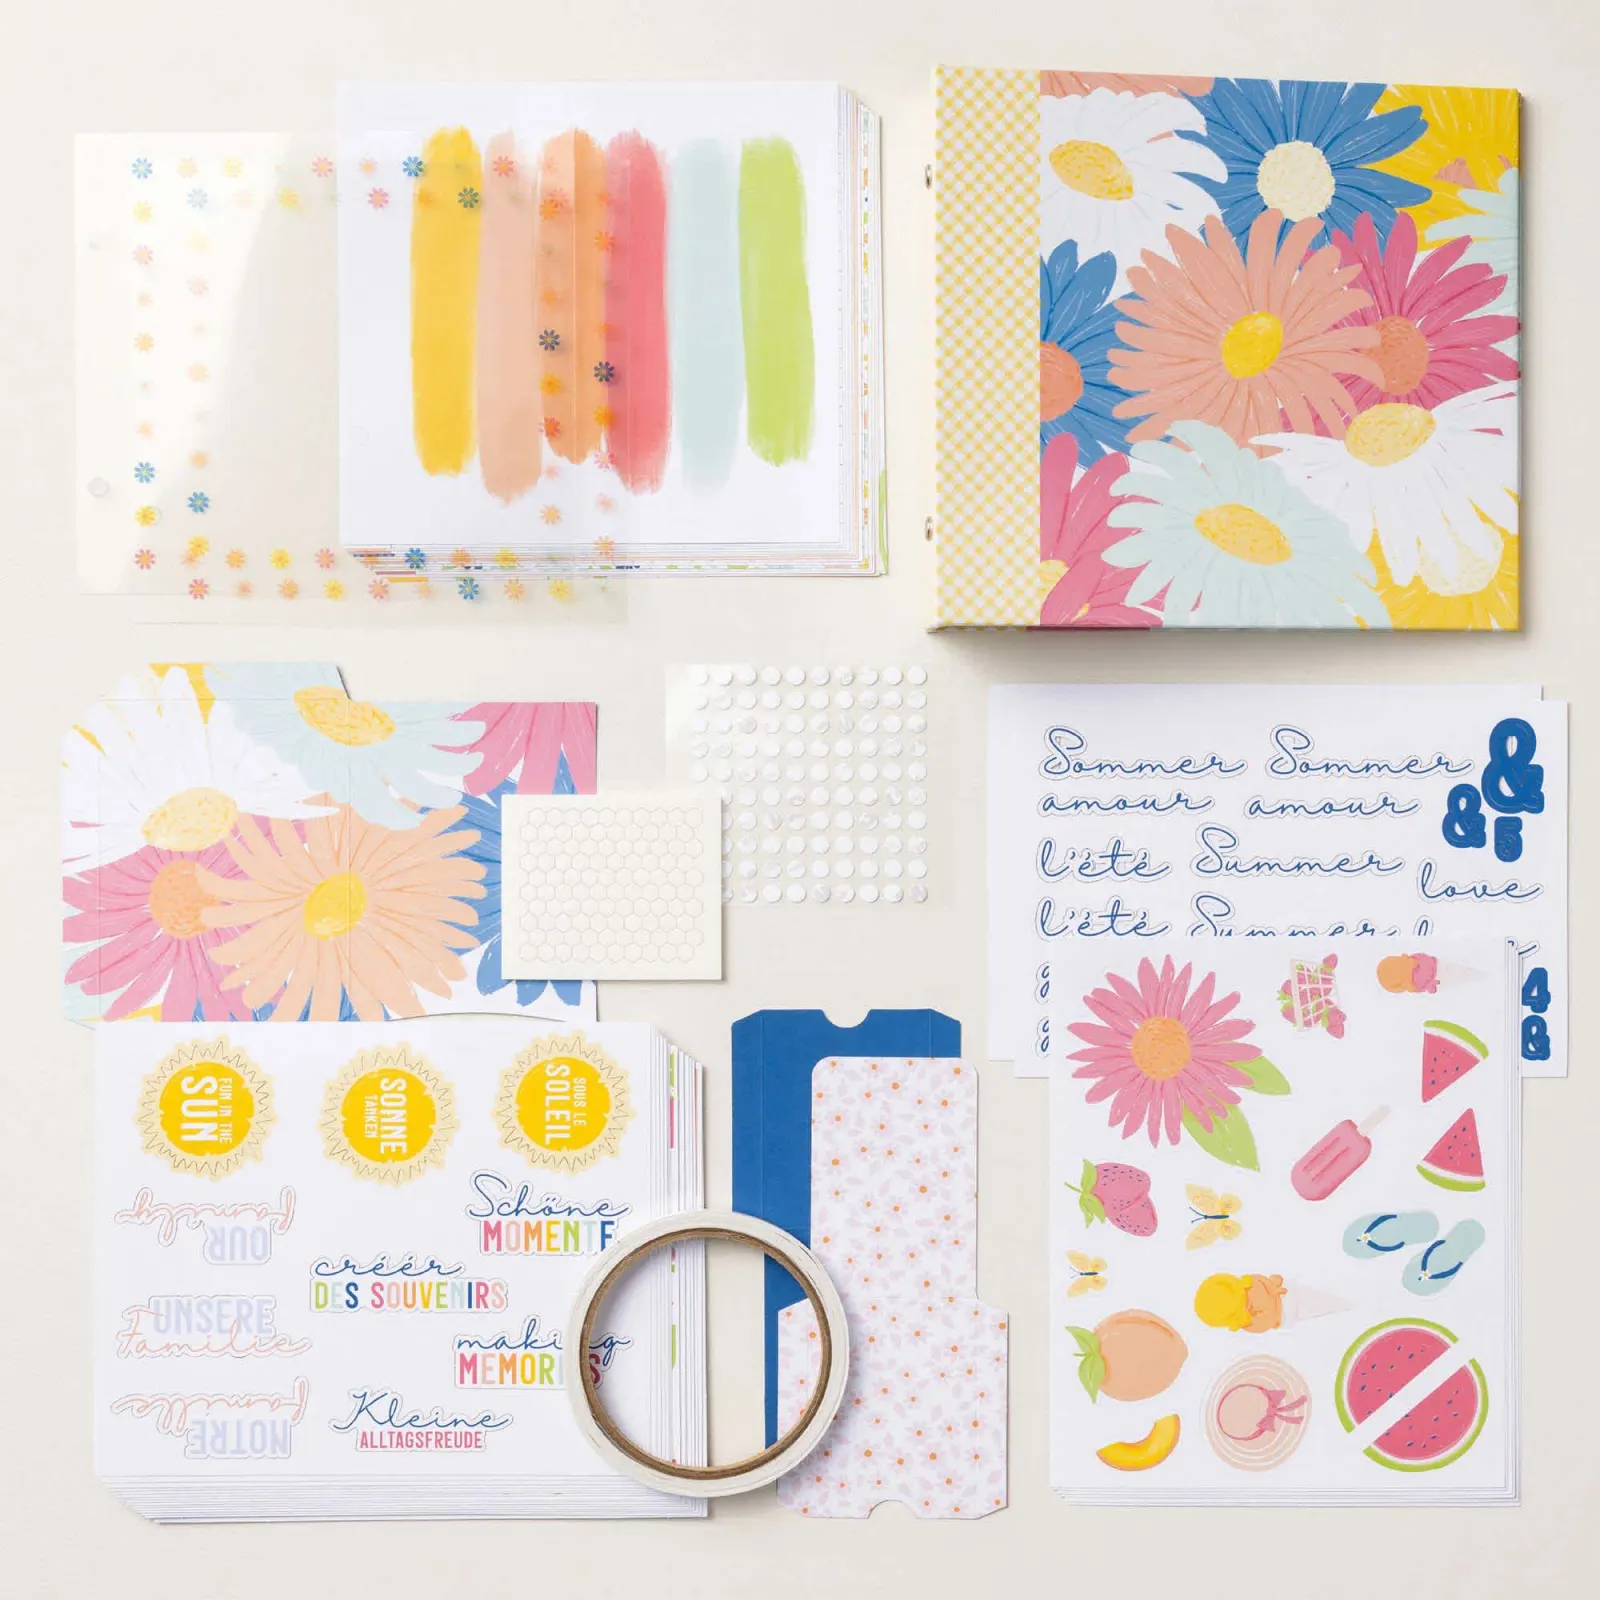
DETAILS – Makes 1 album with 28 pages – Album size: 7-3/4″ x 7″ x 1-7/8″ – Page size: 6.5″ x 6″ – Colors: Blueberry Bushel, Crisp Cantaloupe, Crushed Curry, Granny Apple Green, Pool Party, Strawberry Slush, Timid Tiger – Sentiments printed in English, French, and German
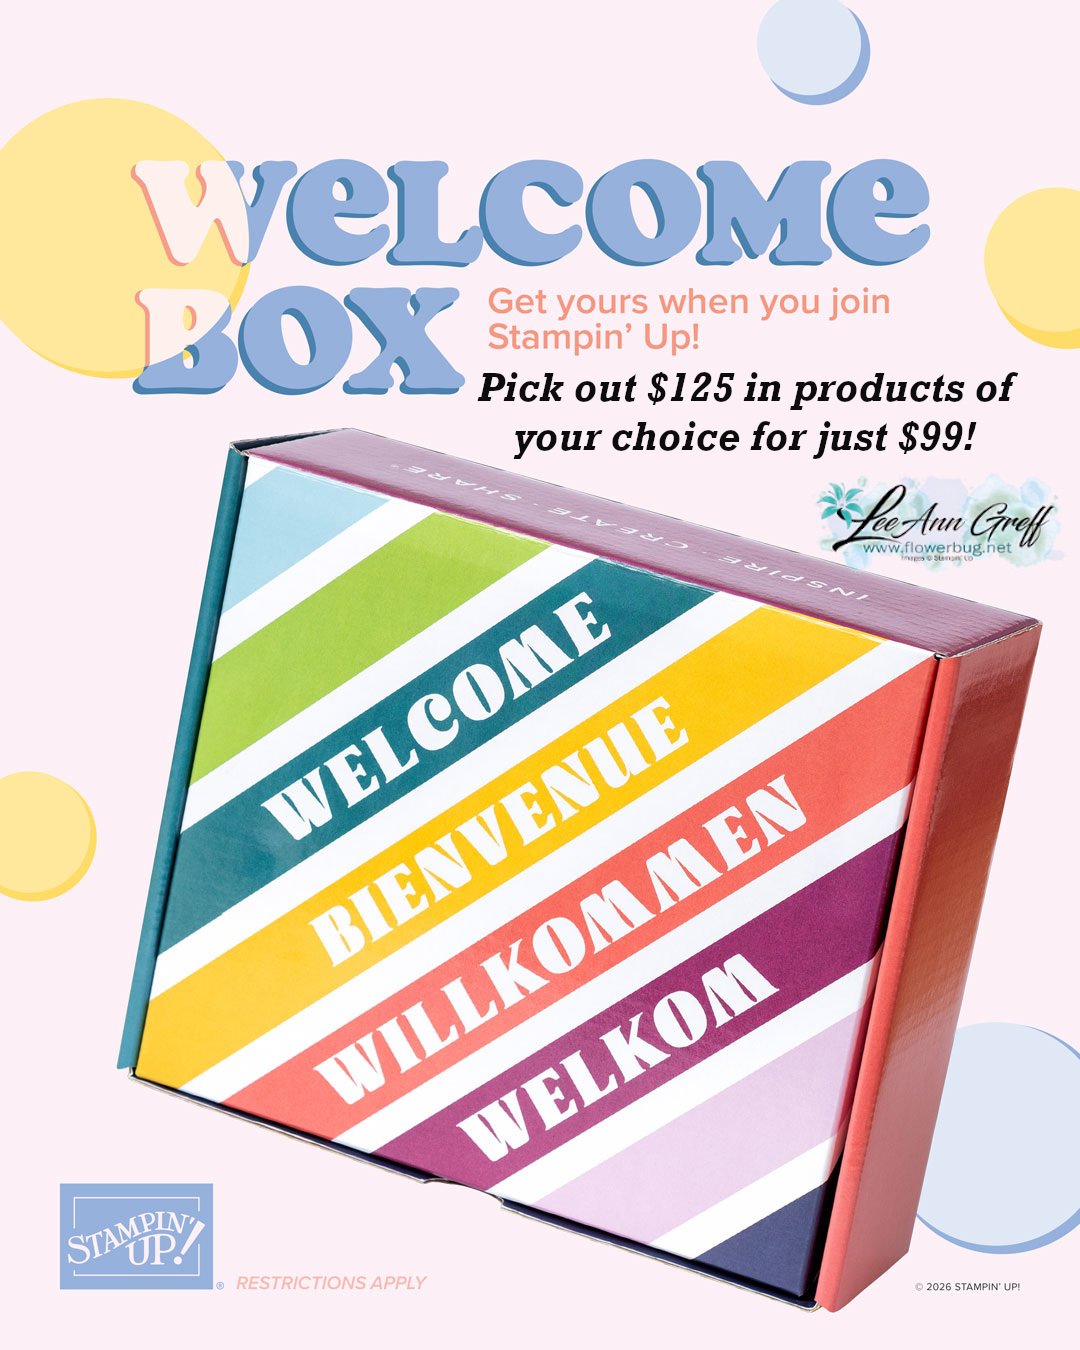
This is super exciting news! All first-time demonstrators (beginning July 1, 2026) will receive a surprise Welcome Box—a gesture of appreciation and a warm welcome into the global Stampin’ Up! creative community.
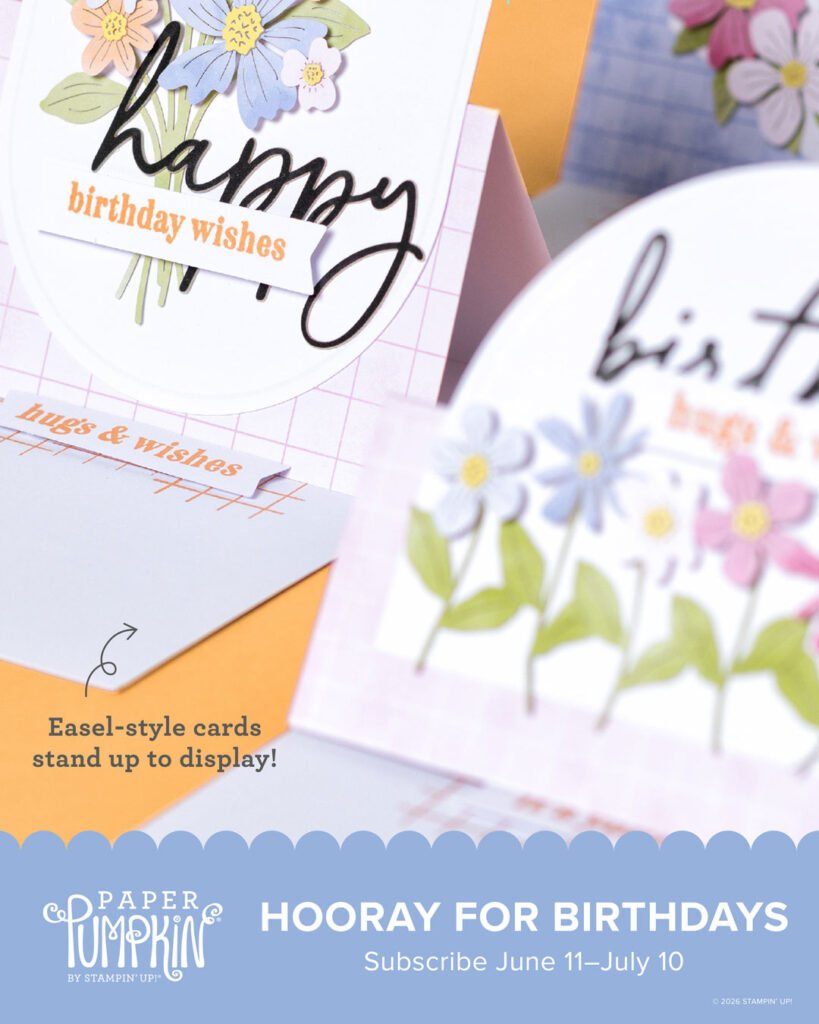
The next 3 months of gorgeous Paper Pumpkin kits – wow!
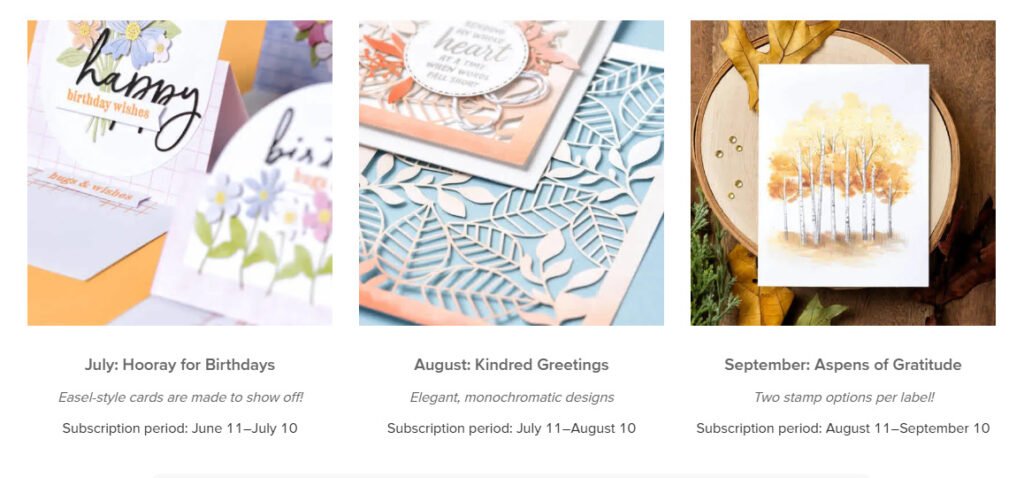
If you love working with ready to create kits; you have to see the next 3 months of Paper Pumpkin card kits! I think they’ll be some of our favorites ever! Here’s a sneak peek:
If you subscribe before July 10th you’ll receive the Hooray for Birthdays kit. Go here to subscribeand get a fun kit in the mail each month.
Remember you are in charge of which kits you receive. You can pause or skip any kit at any time. We always get a hint of what the upcoming kits will be.
Or get a pre-paid subscription in either 3, 6 or 12 months increments. It’s so nice to get a fun surprise in the mail each month! And you save when purchasing a pre-paid subscription plus earn FREE product credits! Shop here for this option.
And remember that once you’re a subscribe you have access to all of the past kits, refills and extras available. A great perk!
Here’s the flyer for the next 3 months. It describes each kit in detail.
Notice: LeeAnn Greff, Independent Stampin’ Up! Demonstrator, Manager. The content of this website is my sole responsibility as an independent Stampin’ Up! demonstrator and the use of, and content of, the classes, services, or products offered on this website is not endorsed by Stampin’ Up! Copyright 2025














Leave a Reply