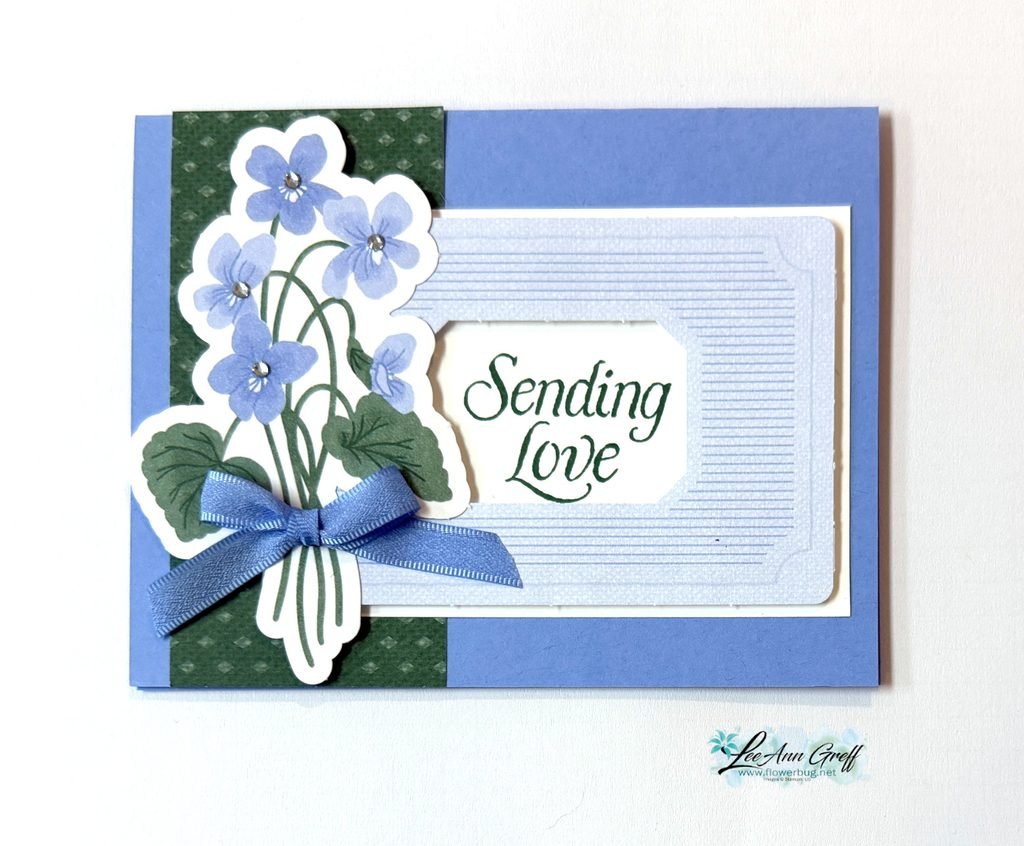
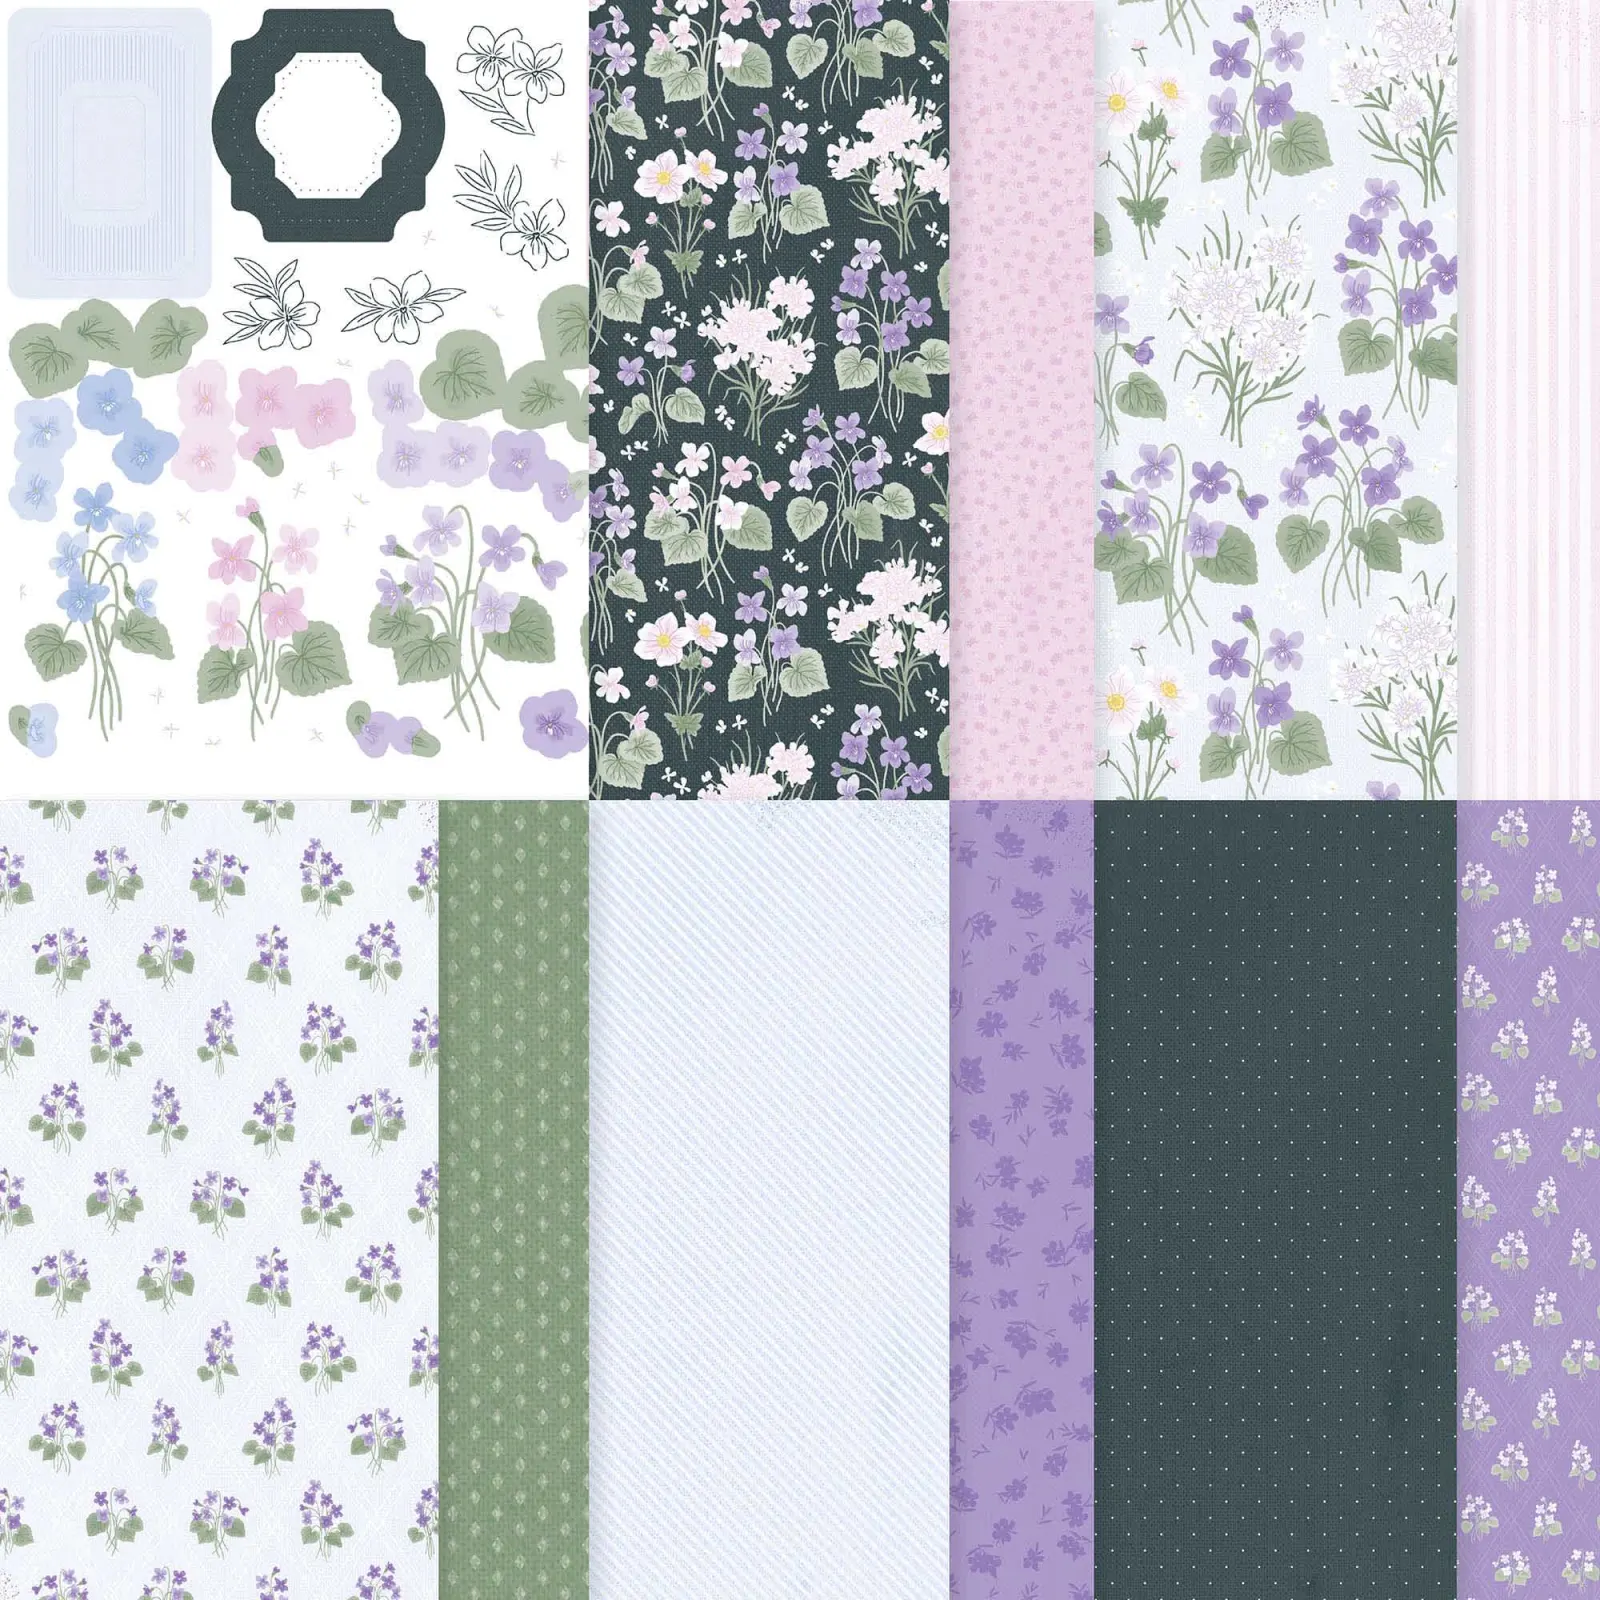
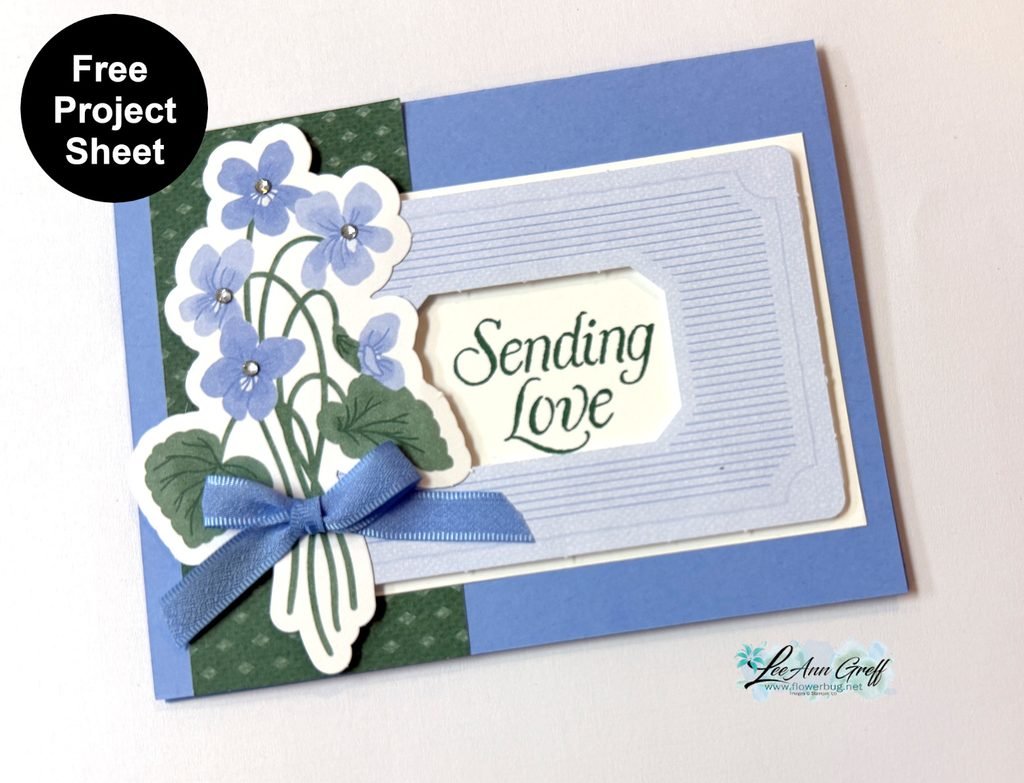
It showcases the pretty Violet Dreams DSP seen here. There are 3 pieces from the DSP on this card: the violets die-cut, the striped frame and the green DSP strip. This DSP has 2 sheets of die-cut ephemera included in the package. I love that; it opens up so many options when creating.
Look closely at the coordinating colors on this card. Stampin’ Up! makes it so easy to create with perfectly matching colors. It’s my very favorite thing about SU. I used the violets as the starting point and simply repeated each color once or twice on my project for a wonderfully cohesive look.
Tip: If you struggle with color coordination pick two colors and repeat them at least once if not twice on your project. This works!
Check out the video below where I shared on more pretty card featuring DSP strips.
All Posts
All About Autumn Triple Stack & Cut cards
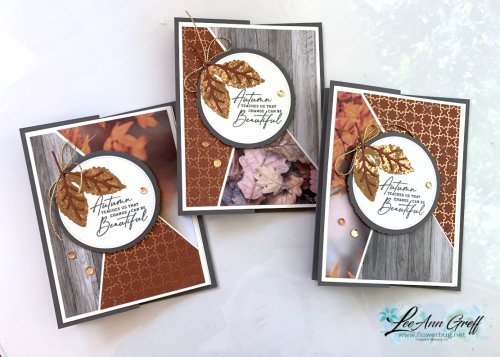
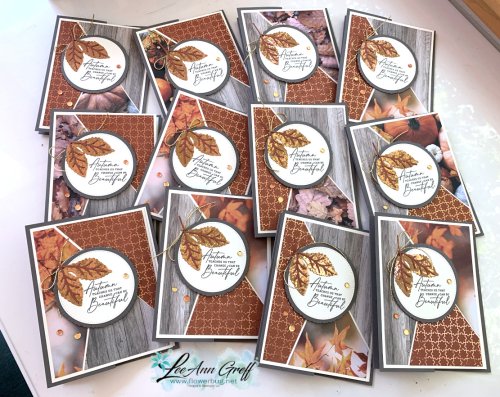
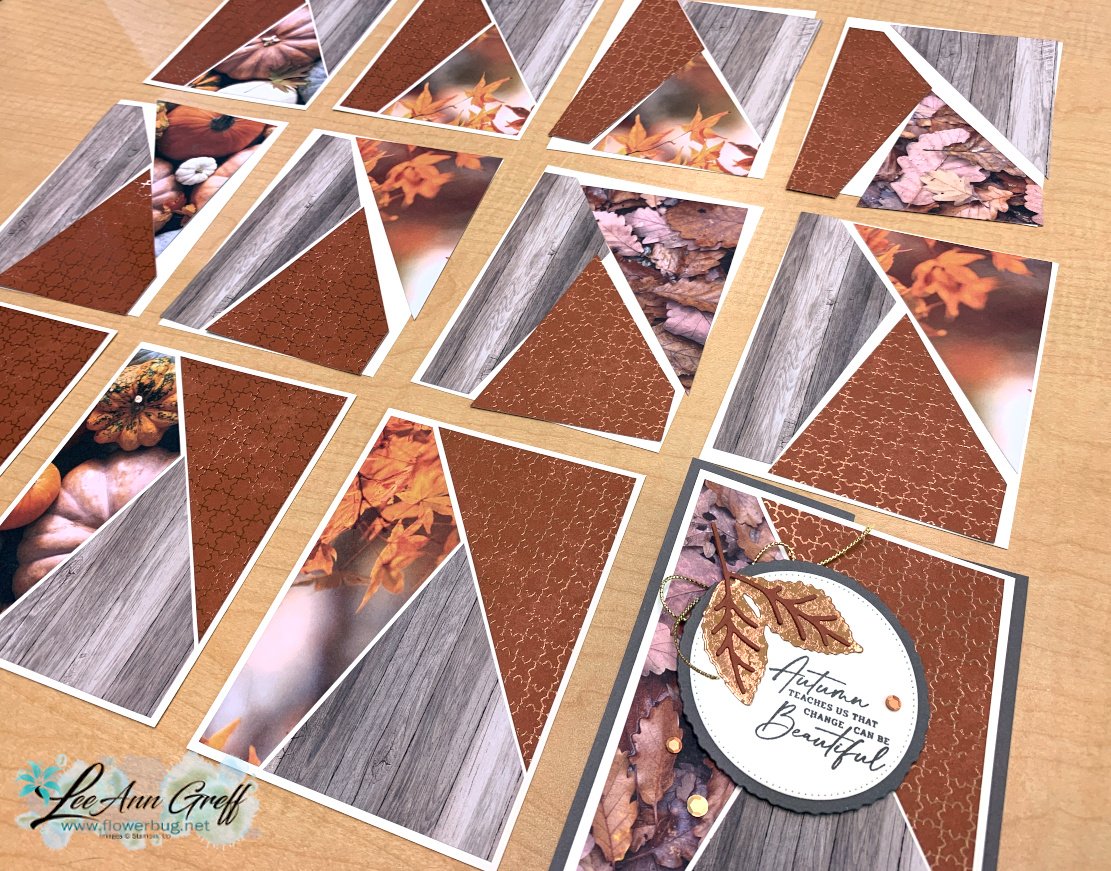
I wanted to share another version of the Triple Stack & Cut cards that I shared yesterday. I made these for my September Team card swap:
I shared how to make these cards here; I also have a video below you can watch. It's a fun way to use your designer paper and make really quick but eye-catching cards.
As you can see in the photo below it's a type of mix & match game.
Tip: when choosing your designer papers I recommend you pick a large and small print and then one that is more of a background print.
Place an online Stampin' Up! order over $100 (before tax & shipping) using one of my current host codes to reserve a Mystery Box. *Host code links – WXX6RCHA or MYF6MXAG
Send me the $14 shipping fee (PayPal or Venmo).
I'll send you your Mystery box via Priority Shipping!
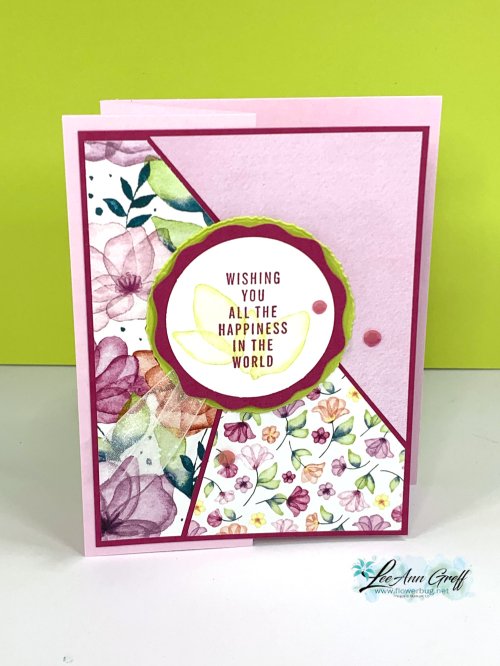
You start out with three different patterns of designer paper measuring 3 3/4" X 5". Stack them together and make the upper right cut – a triangle. You could measure it but I just made sure my stack was even and sliced it off. It's approximately 3/4" from the upper left and 1" from the lower right.
Then for the remaining pieces you continue cutting all three pieces at once, cutting approximately in half on the diagonal and about 1" from the lower left.
You can now mix & match so one piece of each pattern can fit on each of 3 card fronts. I adhered them to a 4" X 5 1/4" piece of Berry Burst card stock. That then adheres to your card base – I folded back my front to create a fun fold design.
Place an online Stampin' Up! order over $100 (before tax & shipping) using one of my current host codes to reserve a Mystery Box. *Host code links – WXX6RCHA or MYF6MXAG
Send me the $14 shipping fee (PayPal or Venmo).
I'll send you your Mystery box via Priority Shipping!
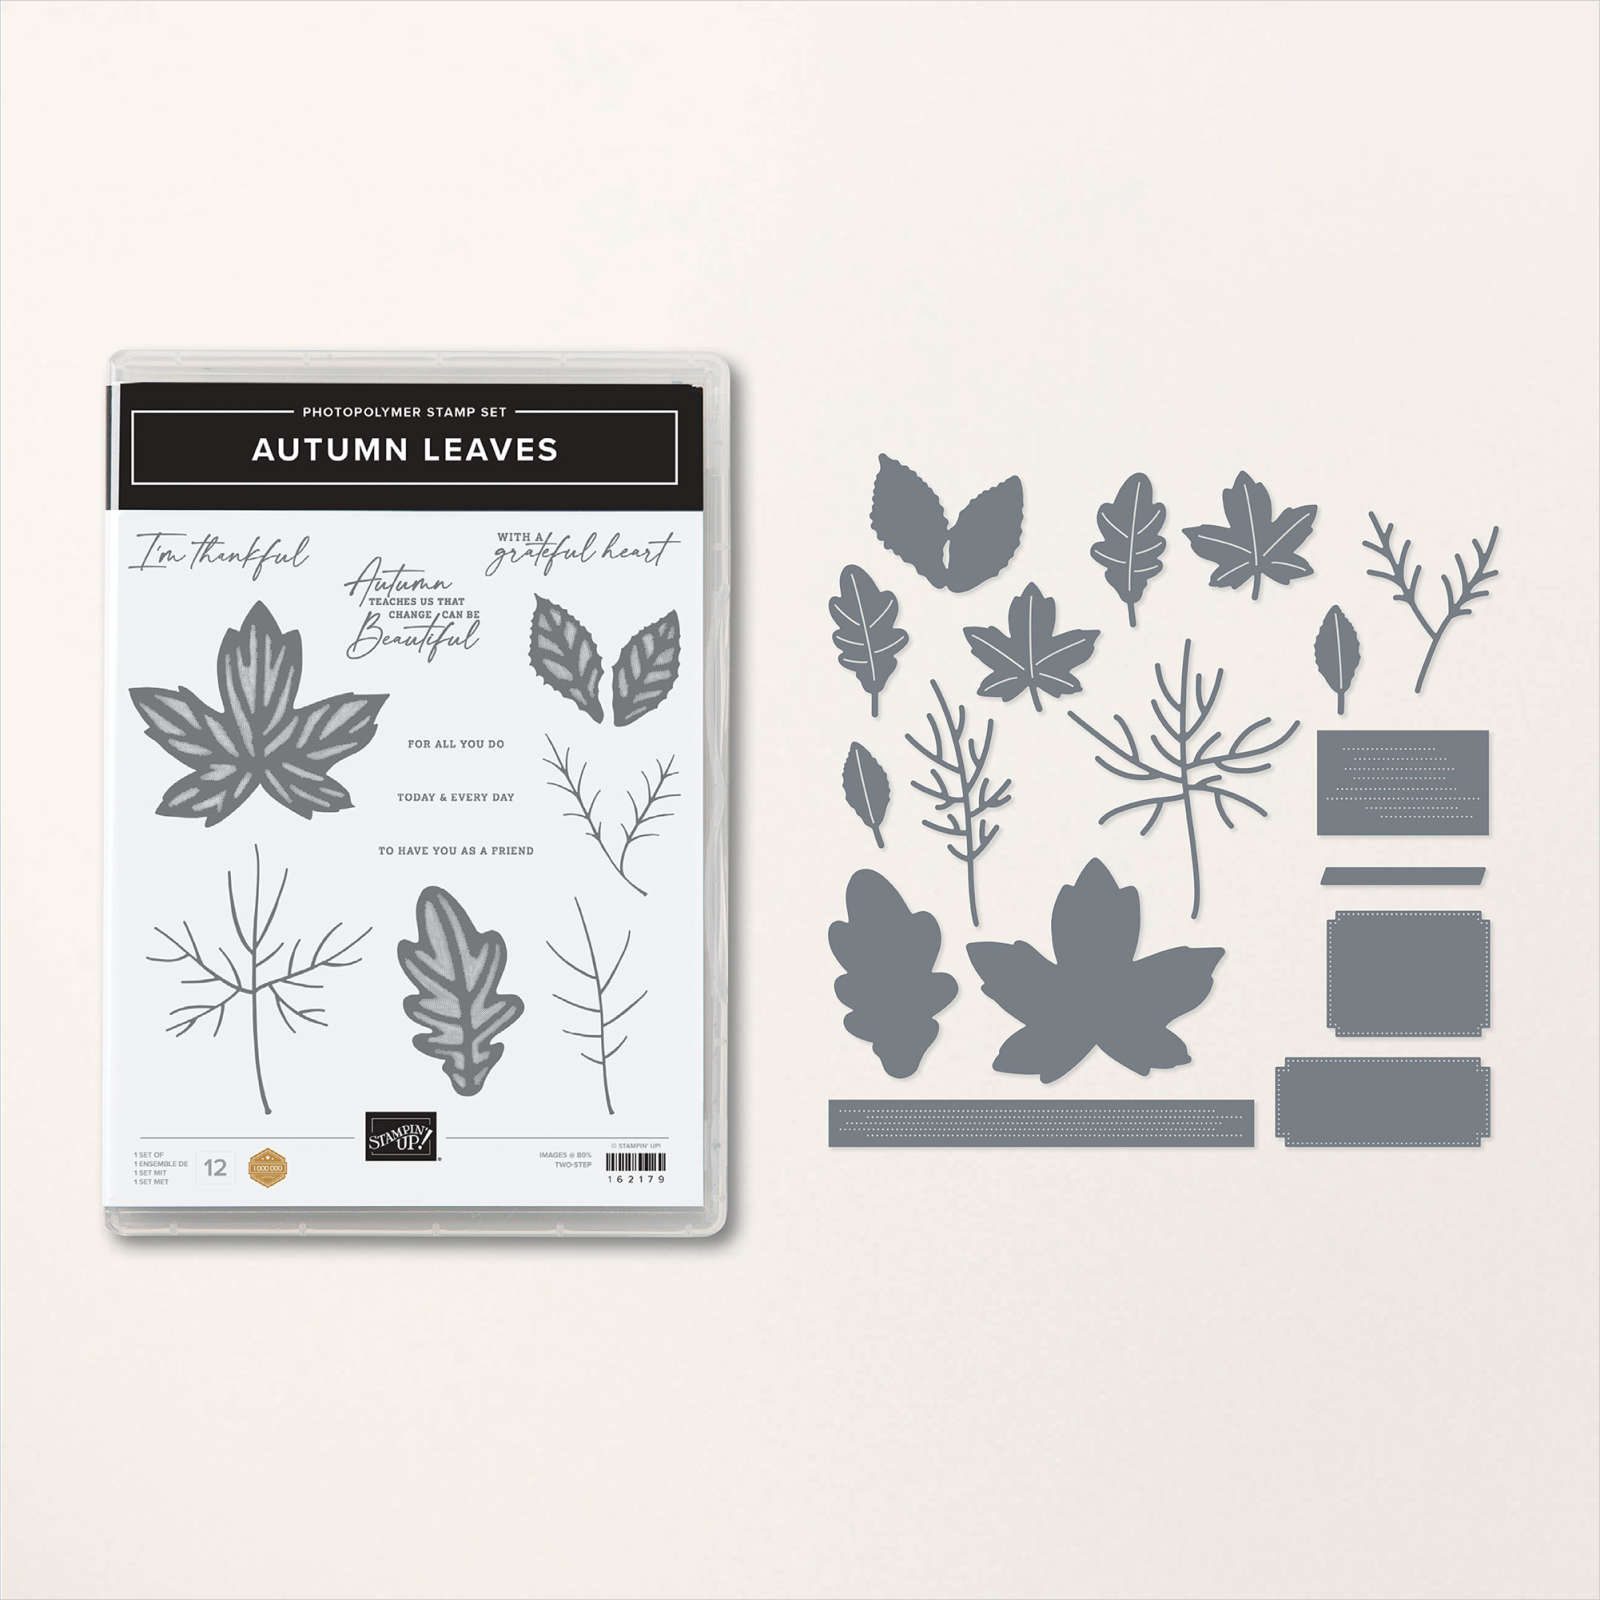
That pretty greeting is from the Autumn Leaves stamp set; the die is from the Timeless Greetings bundle. This beautiful designer paper (All About Autumn seen here) is not currently available. It will be back in later October though.
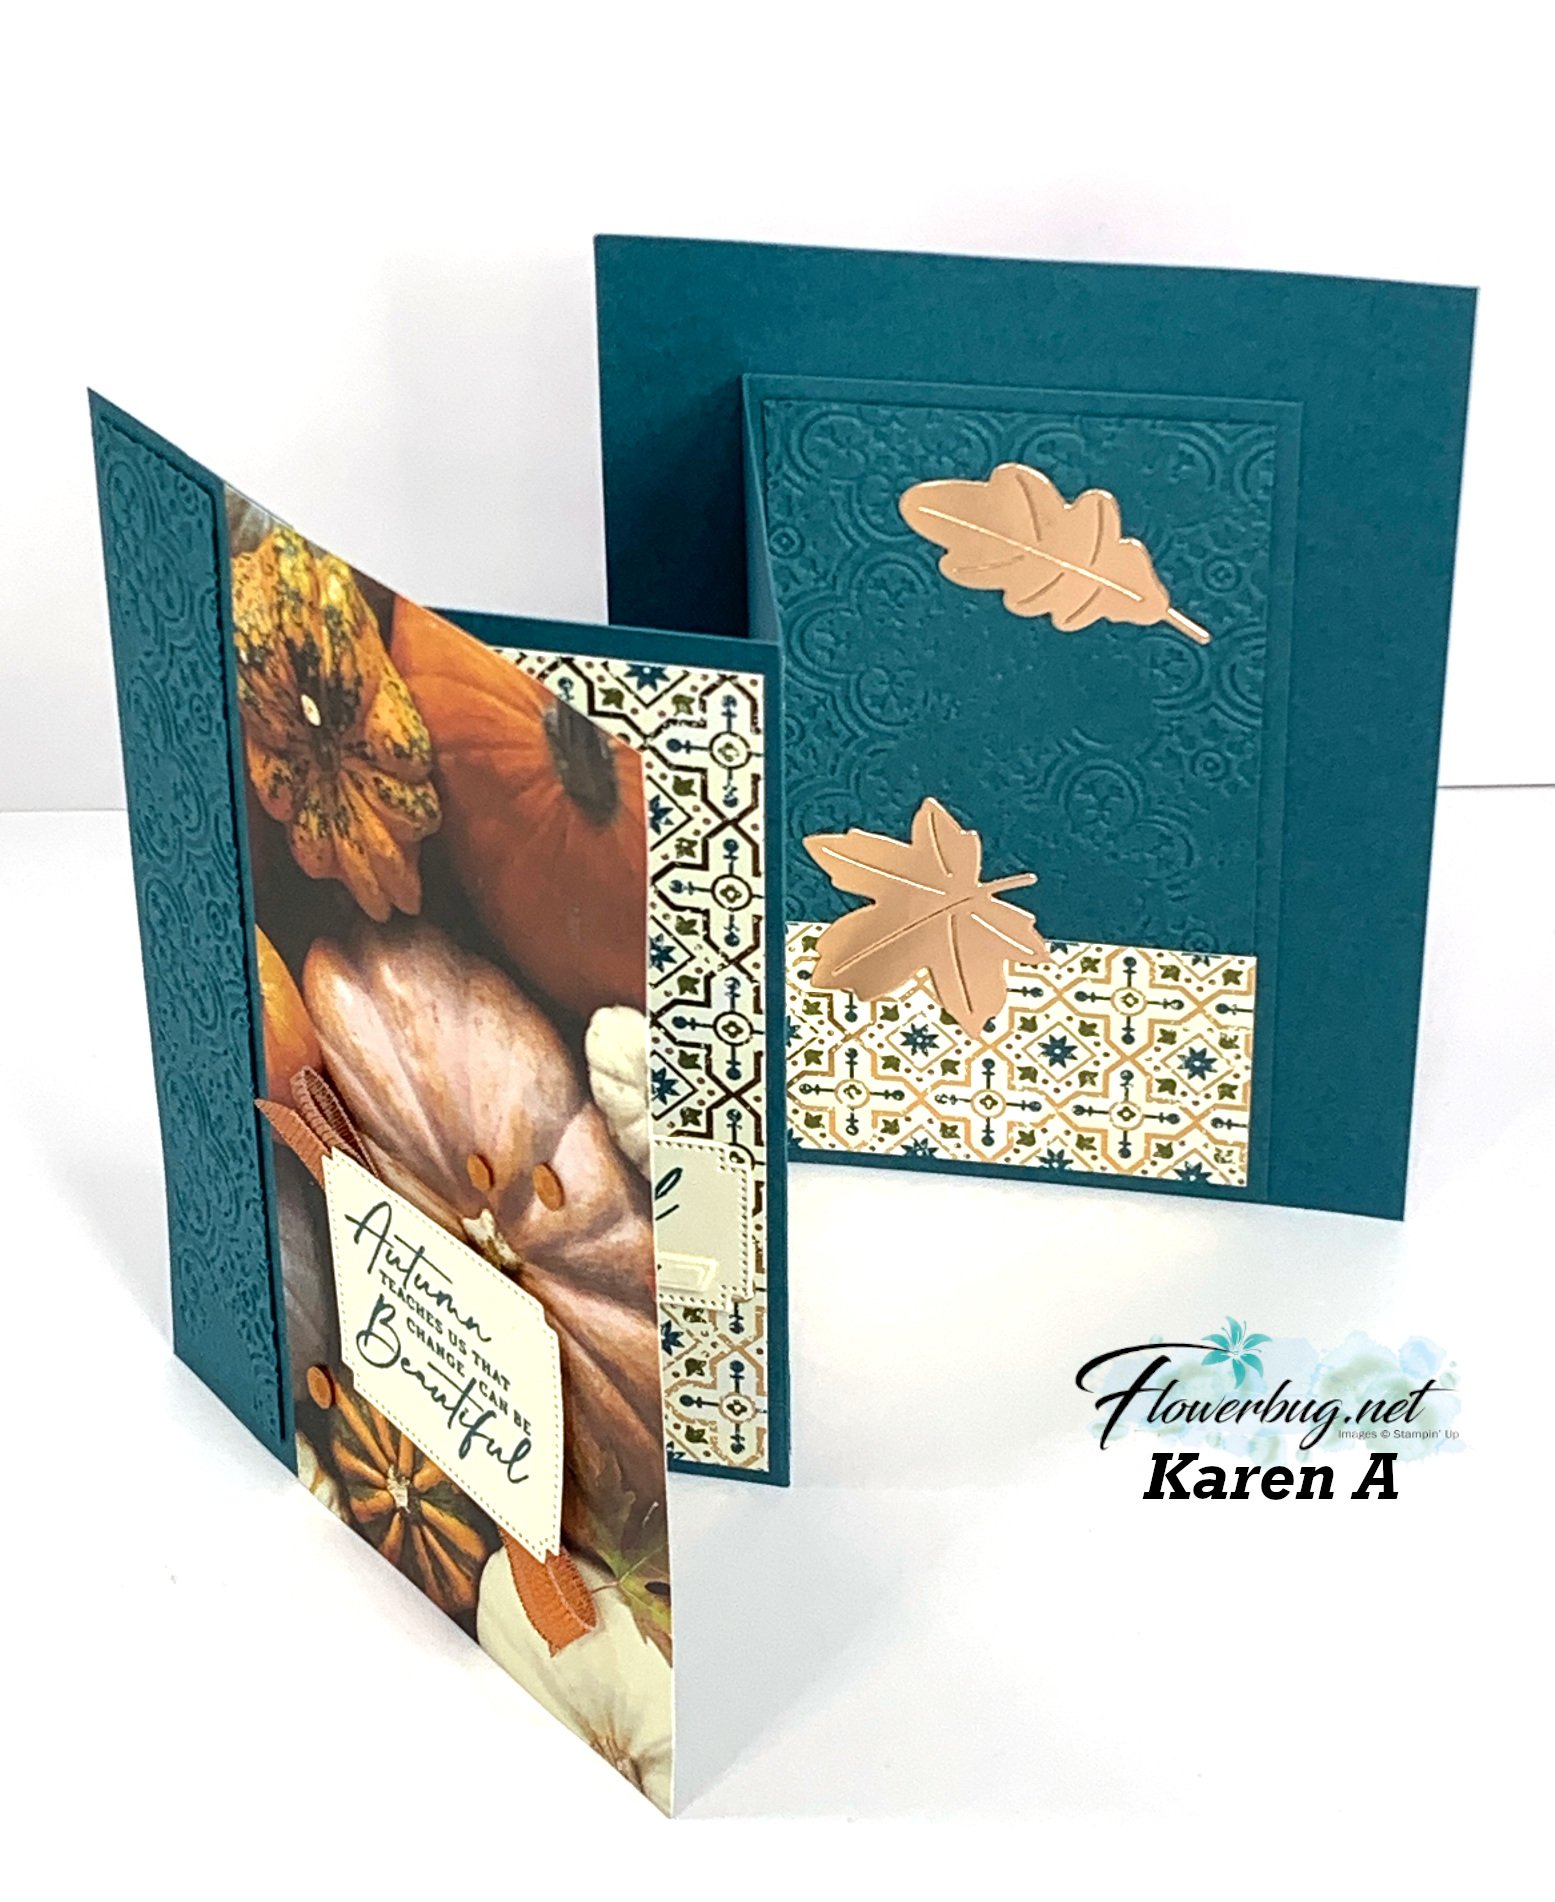
The card front doesn't look at all like it might be a fun fold does it? But check this out!
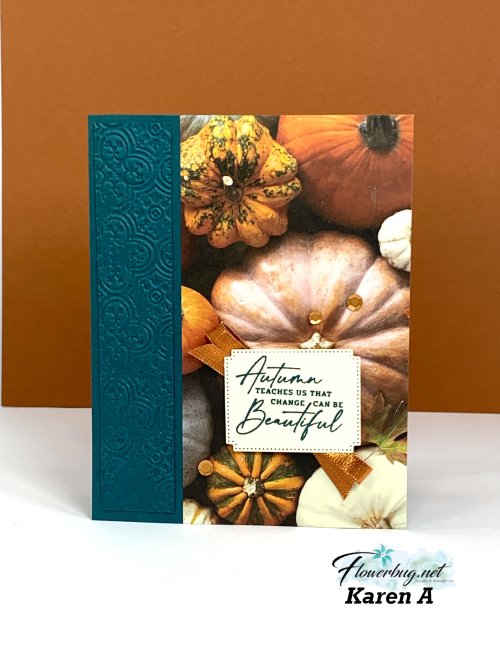
It's called an Accordion fold and she cased this card idea from Sue Campfield. The designer paper on the front is most of the card front; it's adhered to a small layer of card stock though. *You can see the back of the designer paper front on the photo below.
She did an awesome job on the inside of the card; so many layers and textures galore! The texture is from the new Distressed Tile 3D embossing folder seen here.
Place an online Stampin' Up! order over $100 (before tax & shipping) using one of my current host codes to reserve a Mystery Box. *Host code links – WXX6RCHA or MYF6MXAG
Send me the $14 shipping fee (PayPal or Venmo).
I'll send you your Mystery box via Priority Shipping!
Notice: LeeAnn Greff, Independent Stampin’ Up! Demonstrator, Manager. The content of this website is my sole responsibility as an independent Stampin’ Up! demonstrator and the use of, and content of, the classes, services, or products offered on this website is not endorsed by Stampin’ Up! Copyright 2025




























Leave a Reply