/


Latest Post

Quick card with the Violet Dreams DSP


Here’s the second card I made featuring the Violet Dreams suite. I shared it during last week’s video.
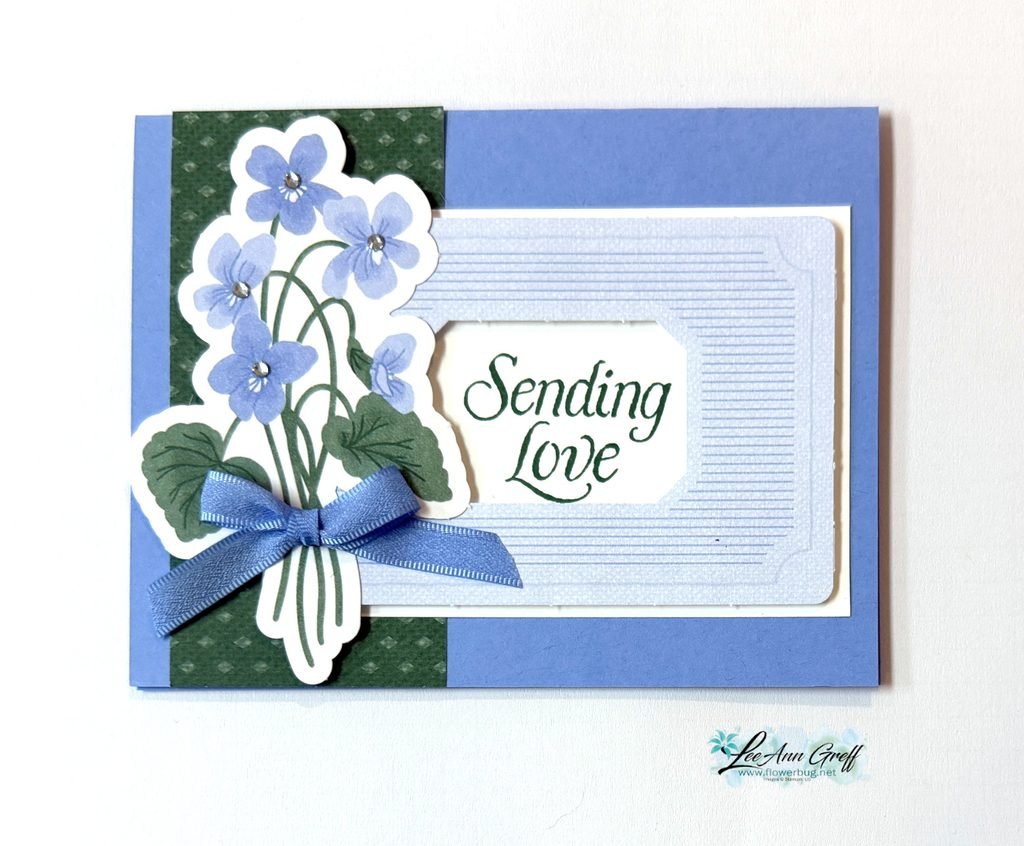
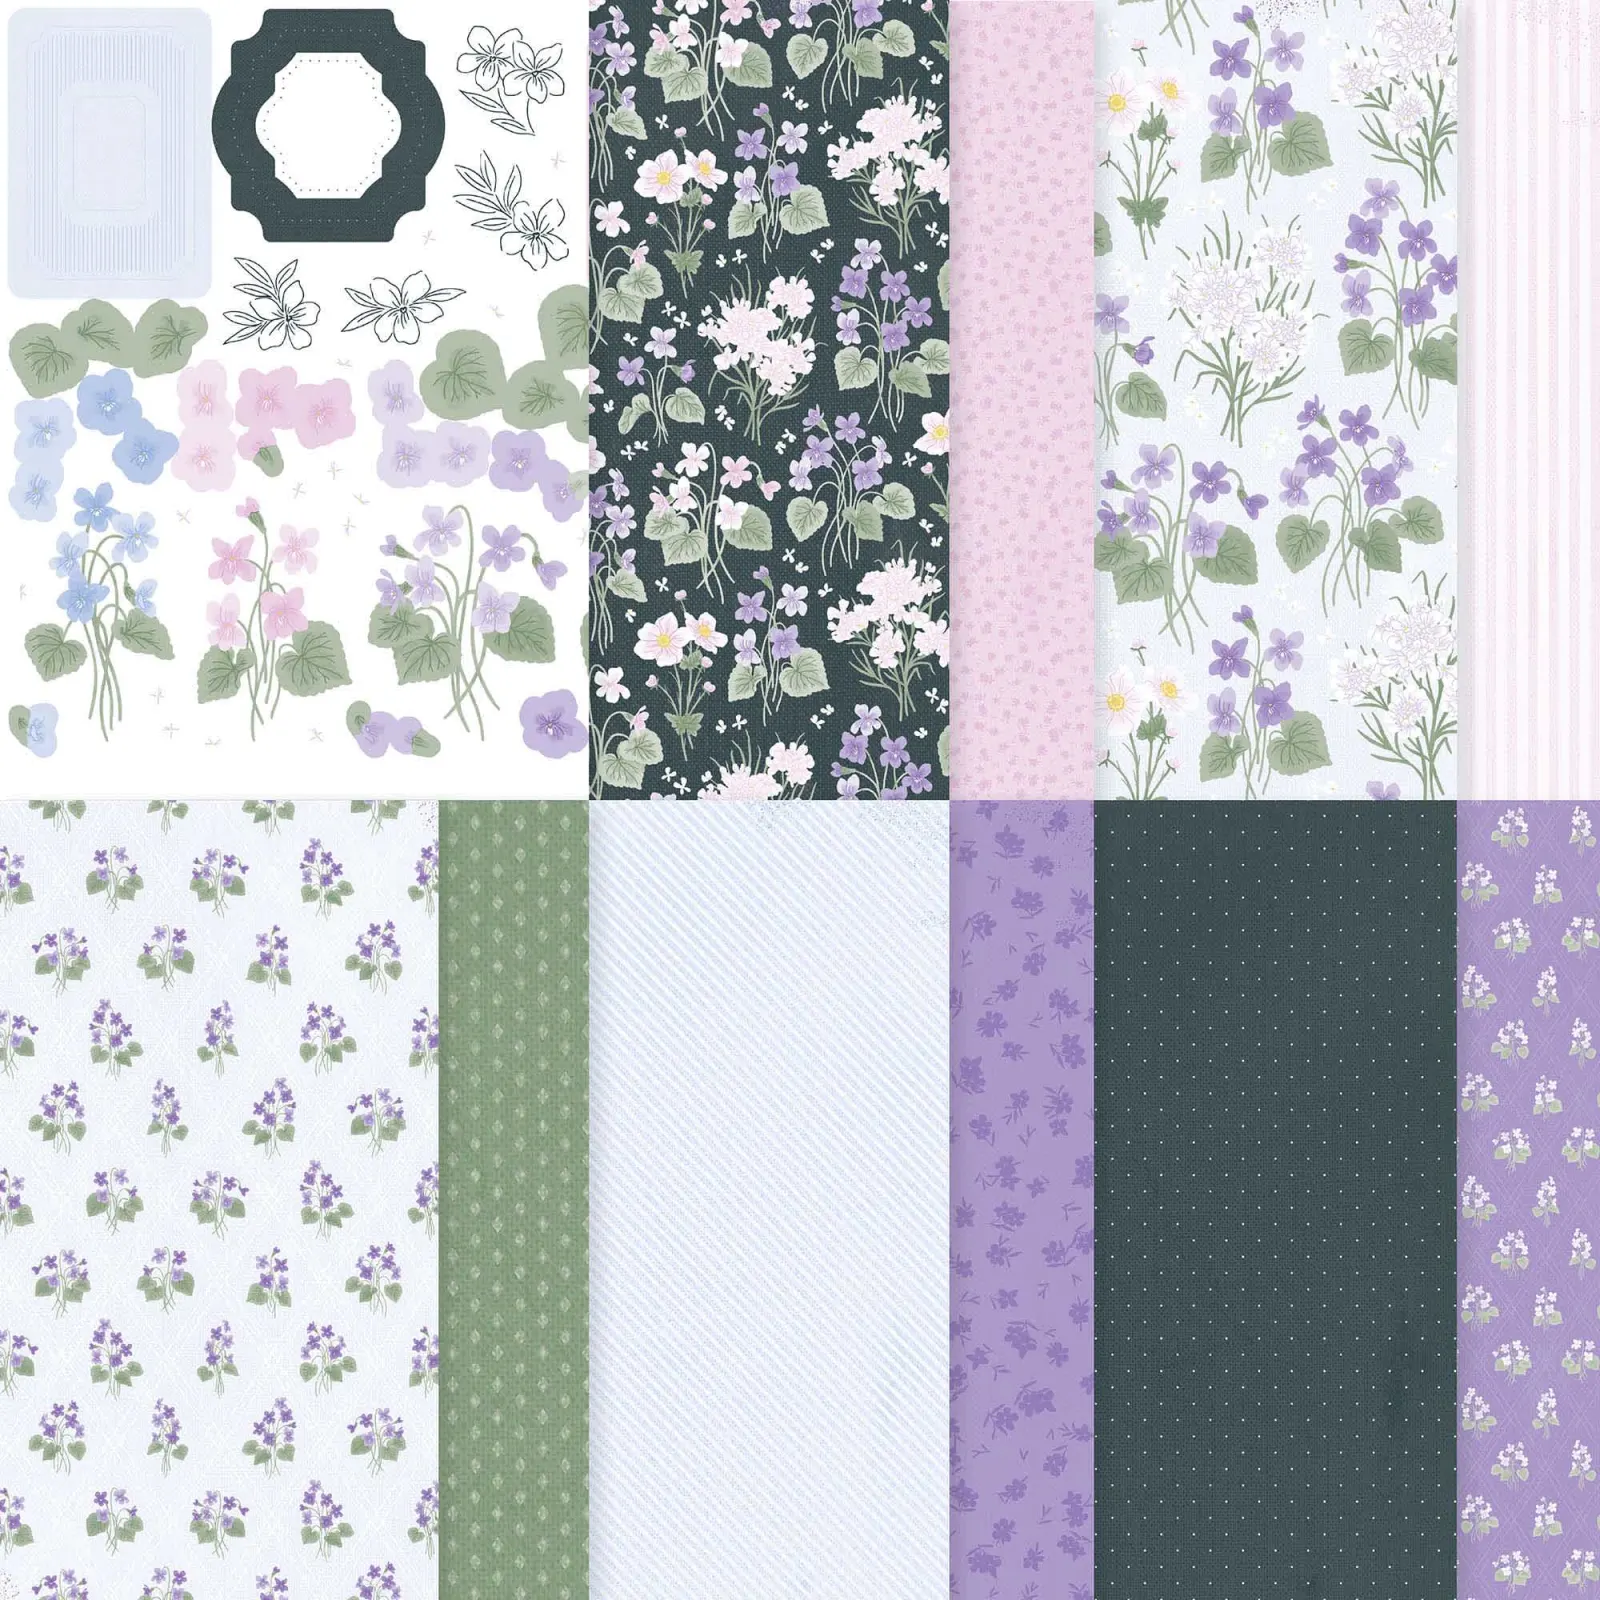
It showcases the pretty Violet Dreams DSP seen here. There are 3 pieces from the DSP on this card: the violets die-cut, the striped frame and the green DSP strip. This DSP has 2 sheets of die-cut ephemera included in the package. I love that; it opens up so many options when creating.

Besides the DSP I added the White layer behind the frame, the Hydrangea Hue ribbon and rhinestones. So quick!

Here’s the free project sheet for this card; click here.
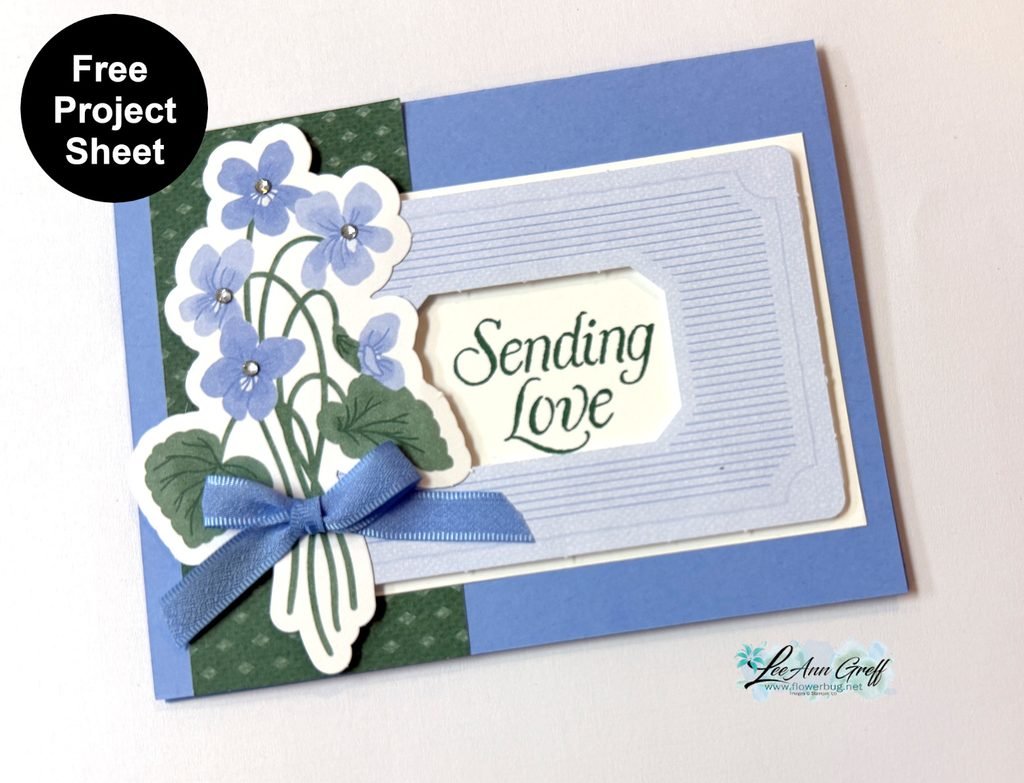
Look closely at the coordinating colors on this card. Stampin’ Up! makes it so easy to create with perfectly matching colors. It’s my very favorite thing about SU.
I used the violets as the starting point and simply repeated each color once or twice on my project for a wonderfully cohesive look.

Tip: If you struggle with color coordination pick two colors and repeat them at least once if not twice on your project. This works!

Check out the video below where I shared on more pretty card featuring DSP strips.

All Posts

  • Friends for Life card with free project sheet & video tutorial


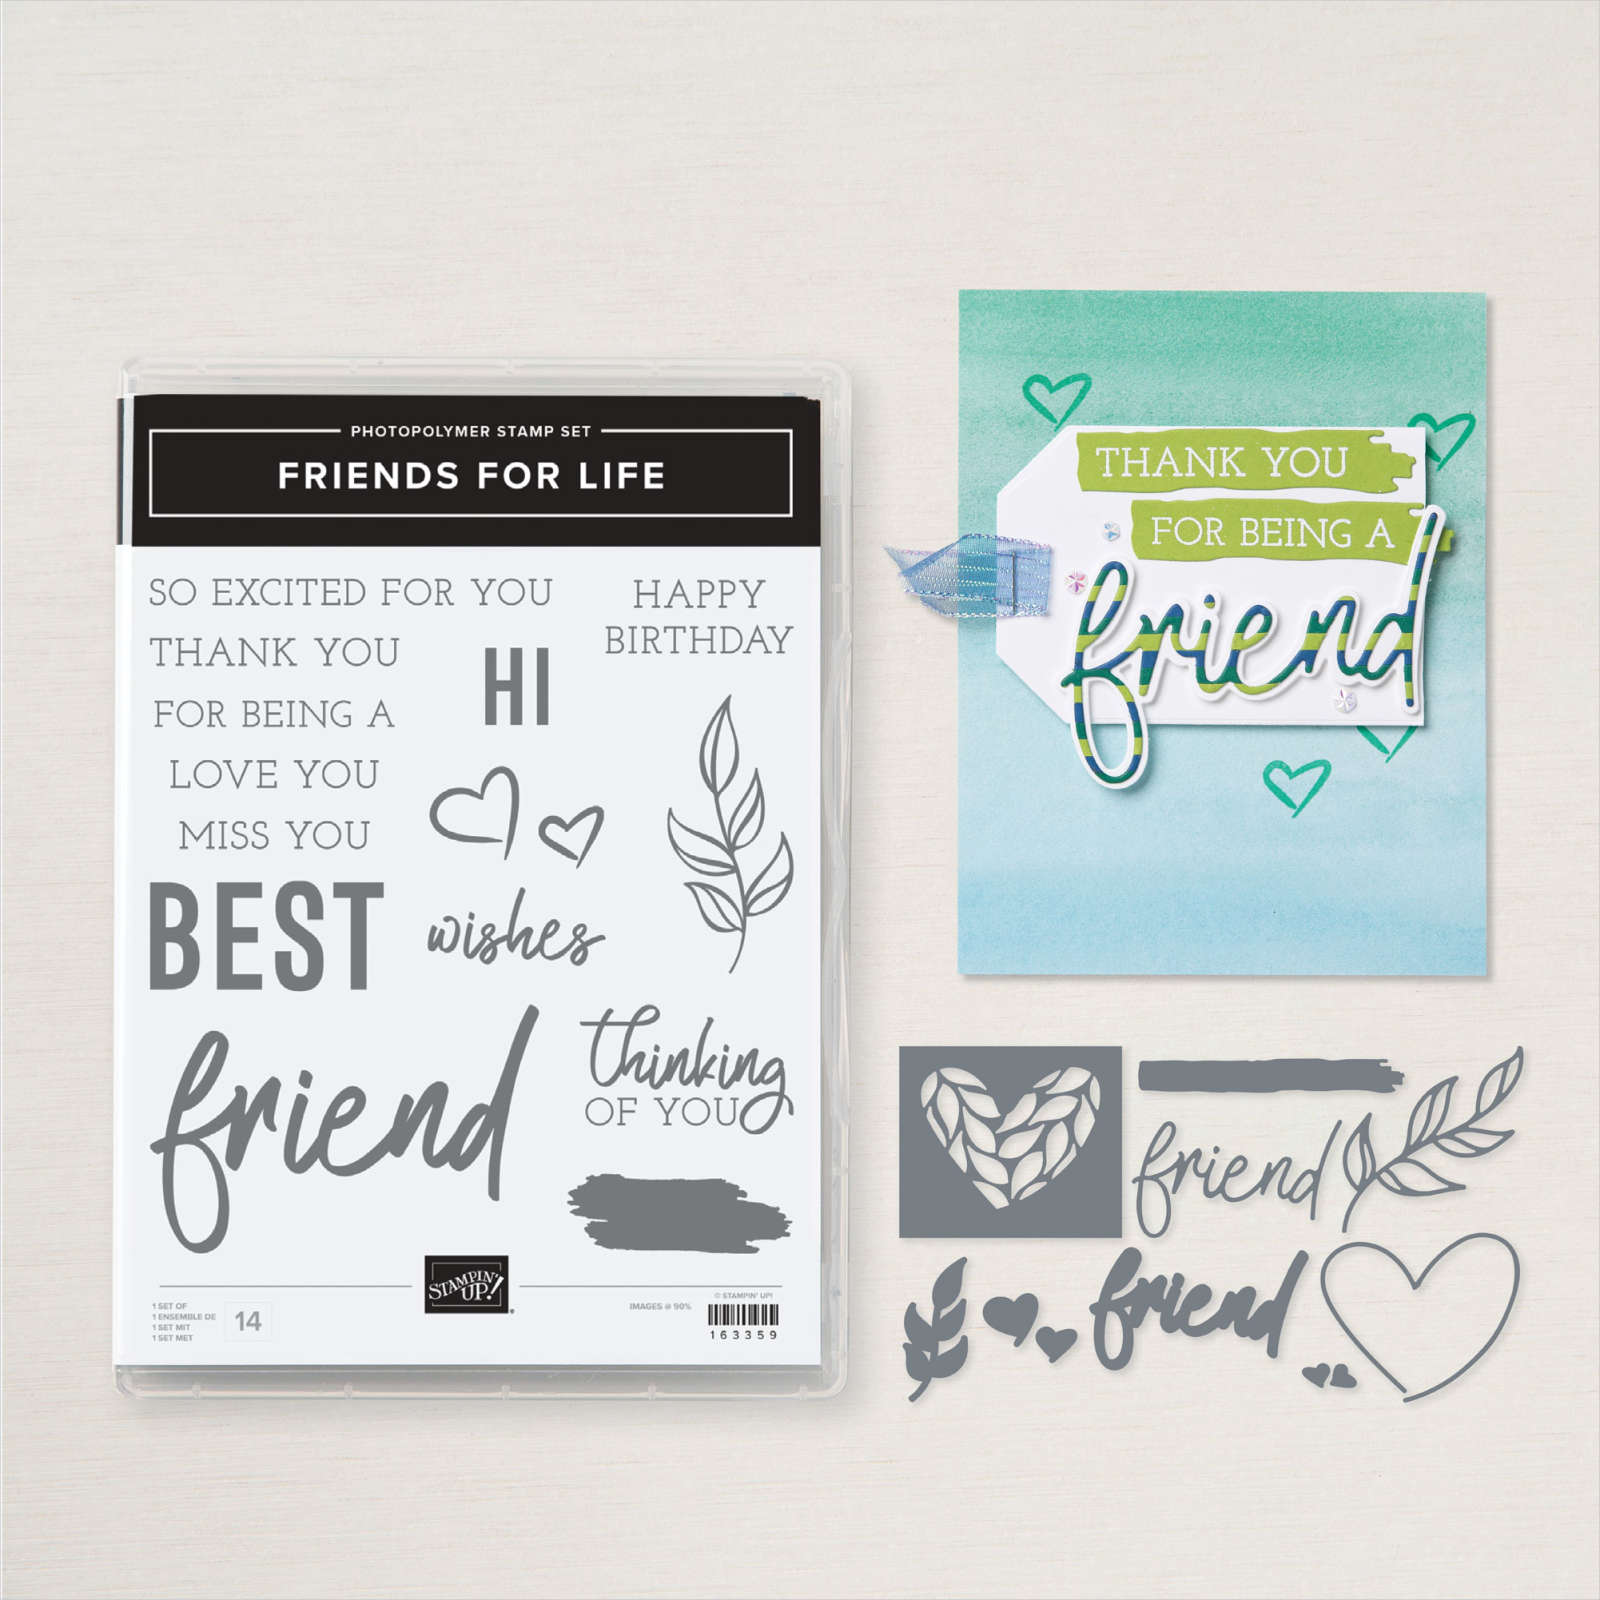
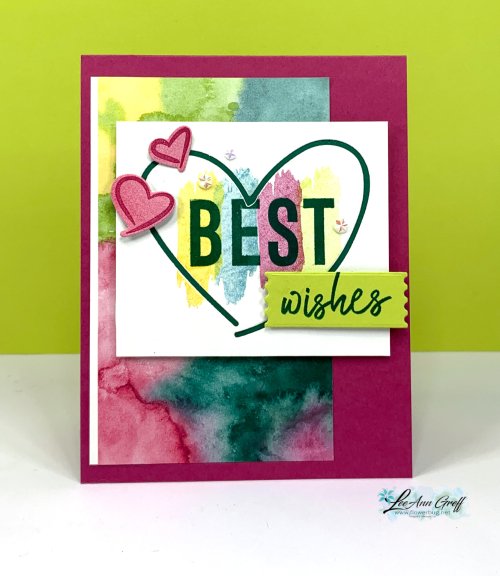
    On last week's video I shared two cards featuring the neat Friends for Life bundle and the Full of Life designer paper.  Here's the first card: 

    I love the bright colors here! The colors are inspired by the Full of Life DSP – Berry Burst, Lemon Lime Twist, Shaded Spruce, Balmy Blue & Daffodil Delight. There is a layer of Shaded Spruce under the White layer to show off the heart die-cut. 

    This neat bundle is on sale in June; discounted by almost 20%. See the Friends for Life bundle here. 

    Notice the heart die-cut from the front layer? I saved it and added it inside the card. 

    I stamped the hearts on another part of the DSP and used the coordinating die to cut them out. The 'wishes' greeting is from the Perennial Postage dies seen here. 

    I kept the layout quite simple because the DSP, die-cuts and stamping are the star here. I die-cut the heart from the White layer before I stamped for ease of time during the video. I stamped the 'BEST' greeting first and then added the vertical highlight image in different colors, stamping off first for a lighter hue. I love the effect!

    Here's the free project sheet you can print or download: Download Friends for Life Best Wishes here

    Below is the video for this card and another; both featuring this Full of Life suite. I hope you watch it to get the many tips I like to share in my videos.  Don't forget to subscribe to my YouTube Channel while you're there!


    ~~~

    June Specials: 

    *current host code links: FERX3EKC or GF24T6XG

    ~~~

    All online orders receive my free tutorial of the month & if your order is over $55 you'll also receive a free gift from me

    Leave a Reply

    Your email address will not be published. Required fields are marked *

  • Hello Hollyhocks kit – pretty AND easy!


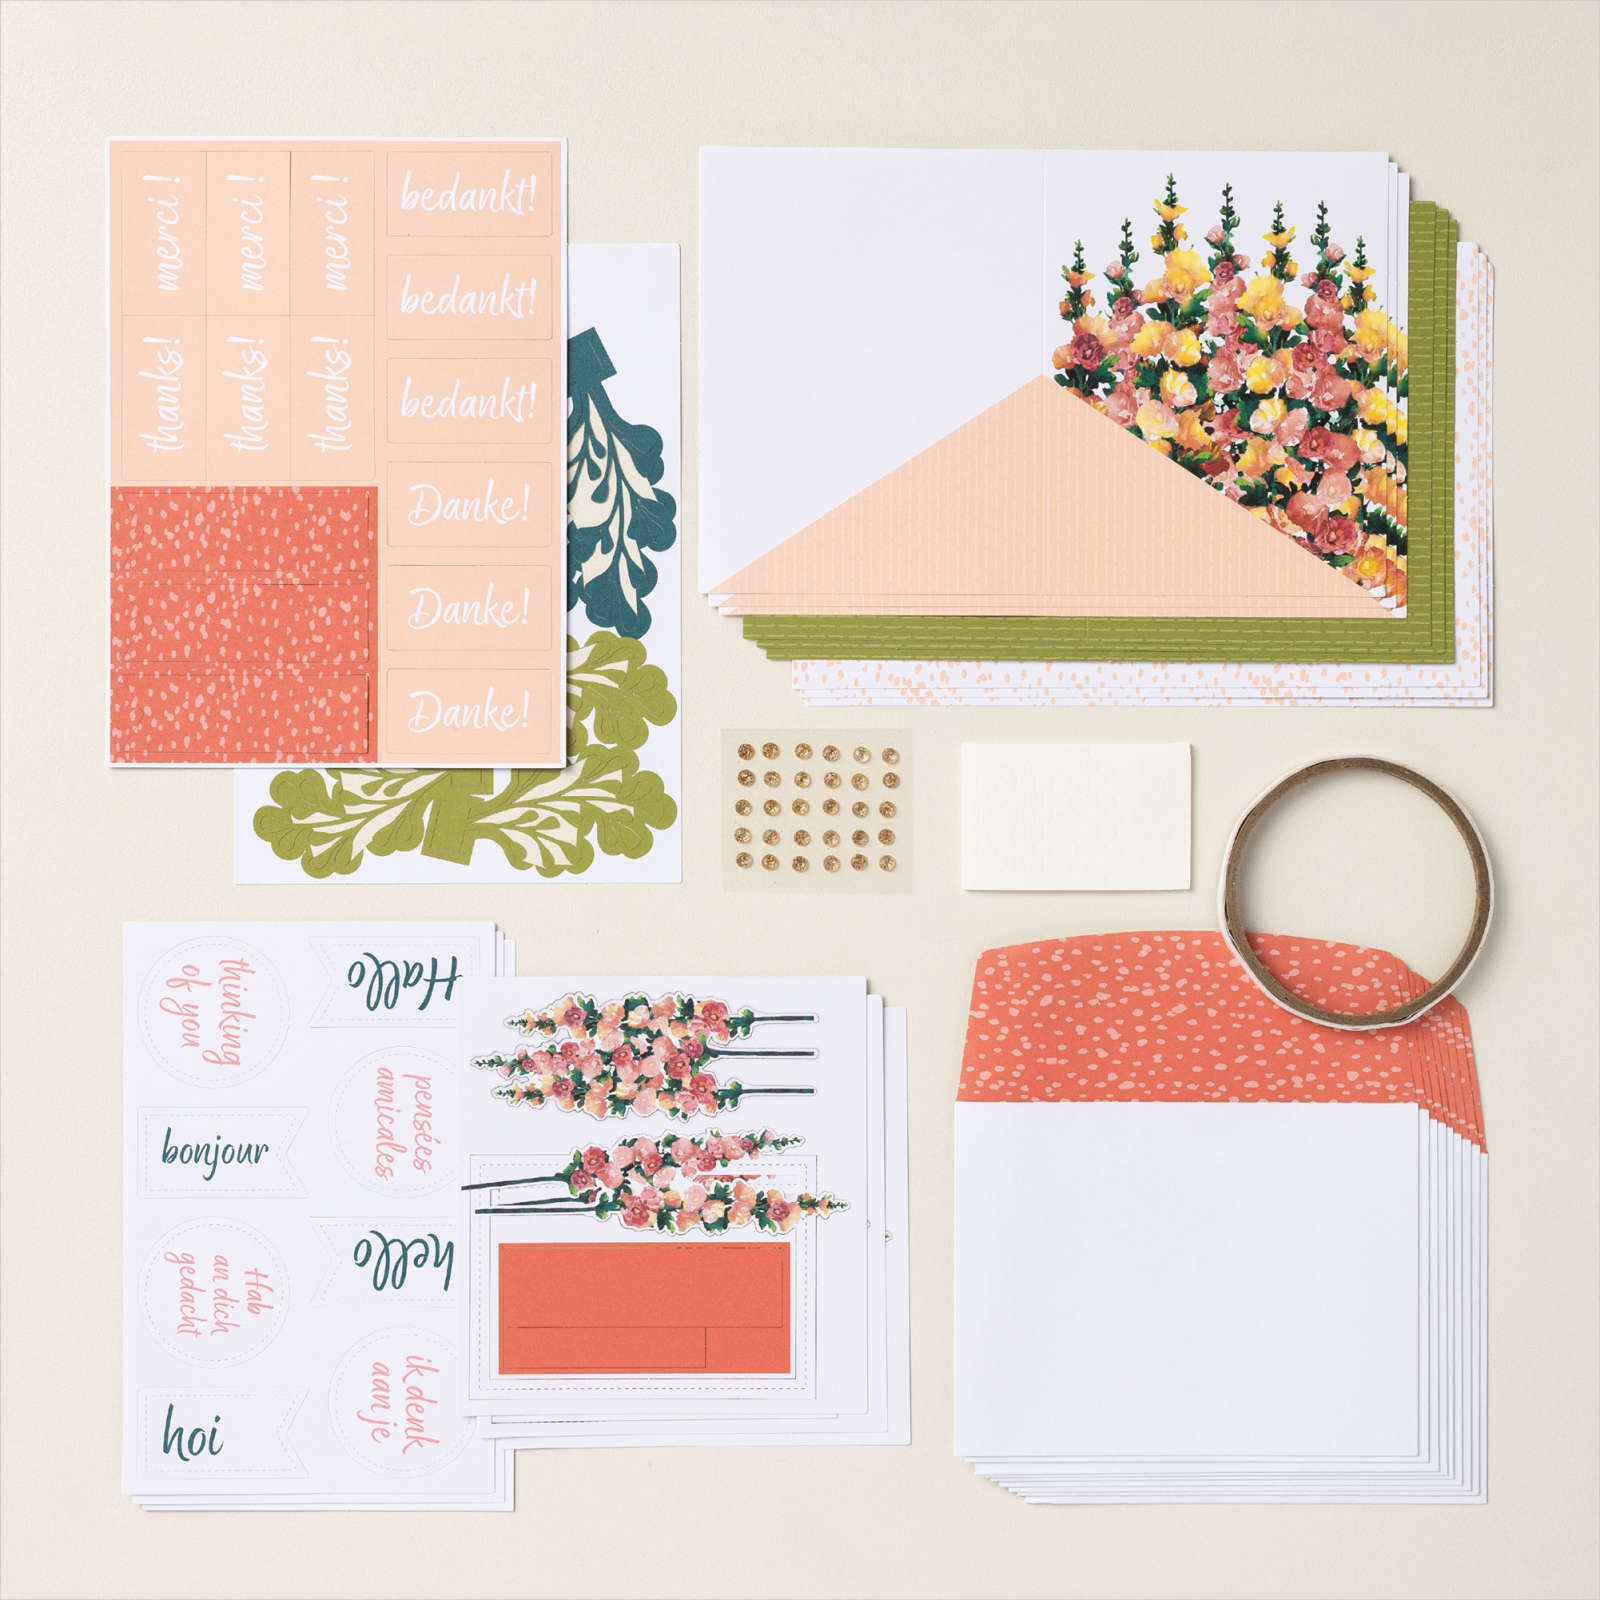
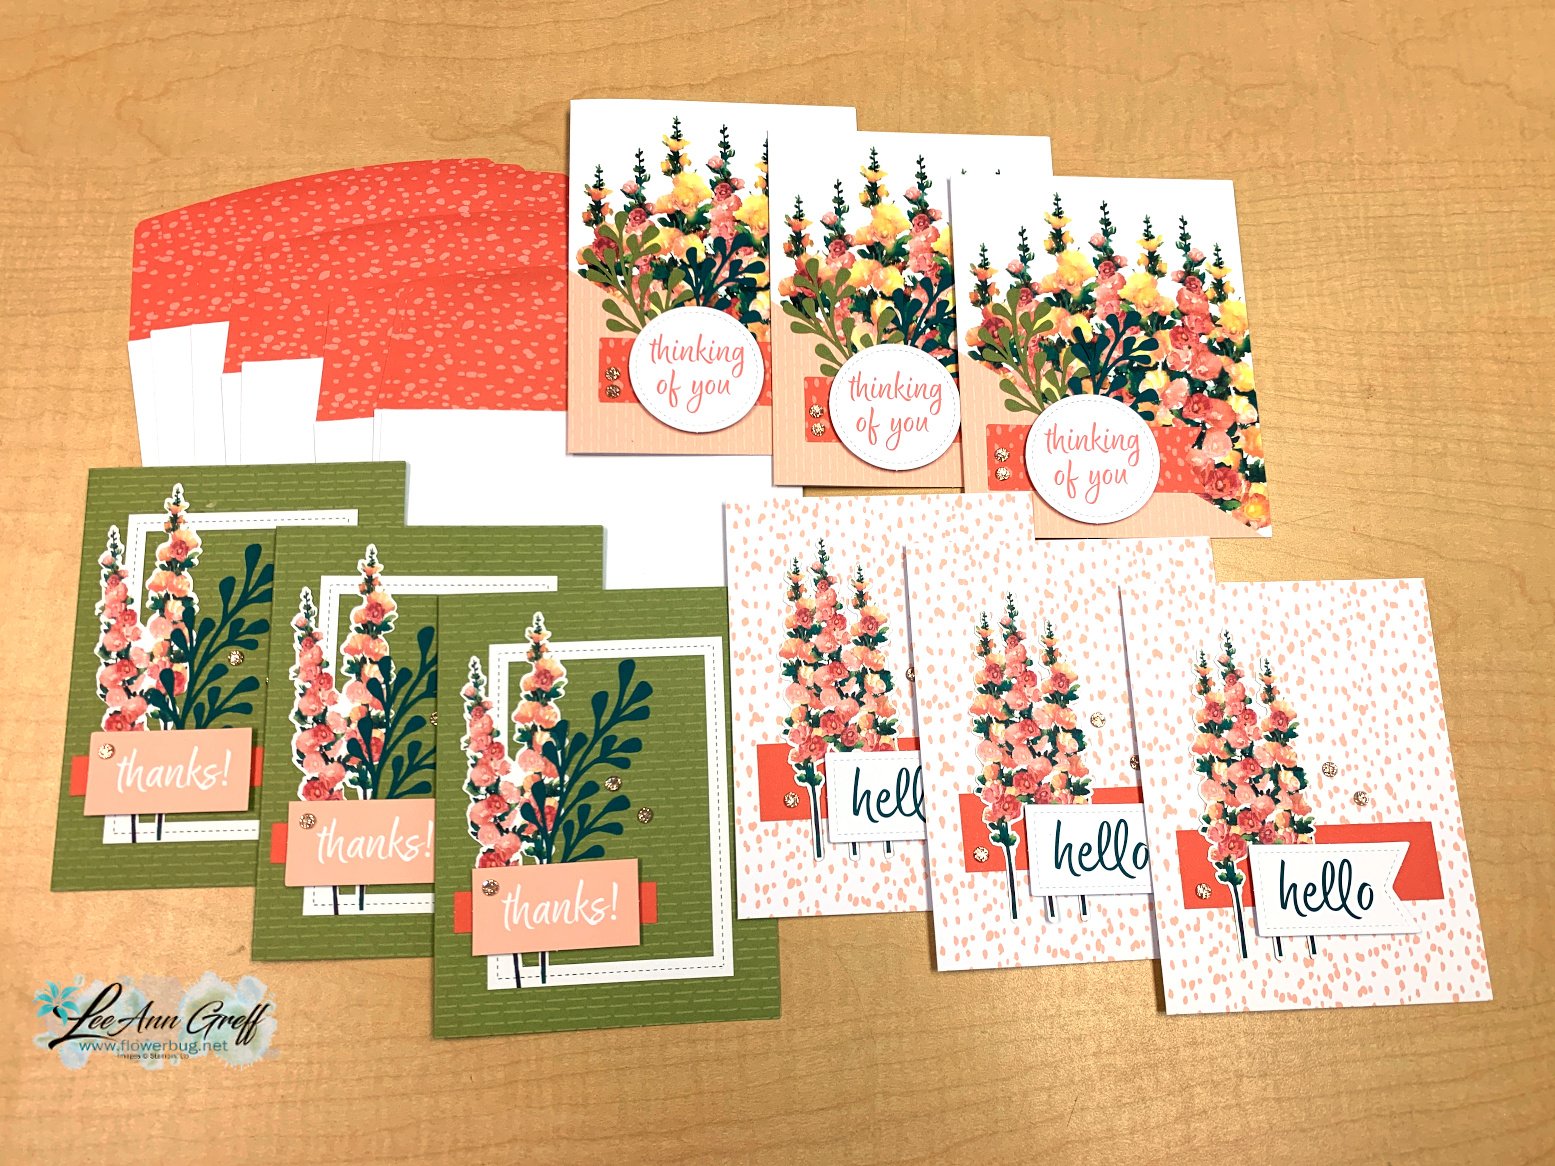
    I spent a few relaxing minutes putting together these pretty cards last weekend. It's the Hello Hollyhock kit from our Kit Collection. 

    They turned out beautifully! You can see this Hello Hollyhocks kit here.  It's a non-stamping kit that's all inclusive and would make a great gift or perfect for a relaxing crafting experience.  

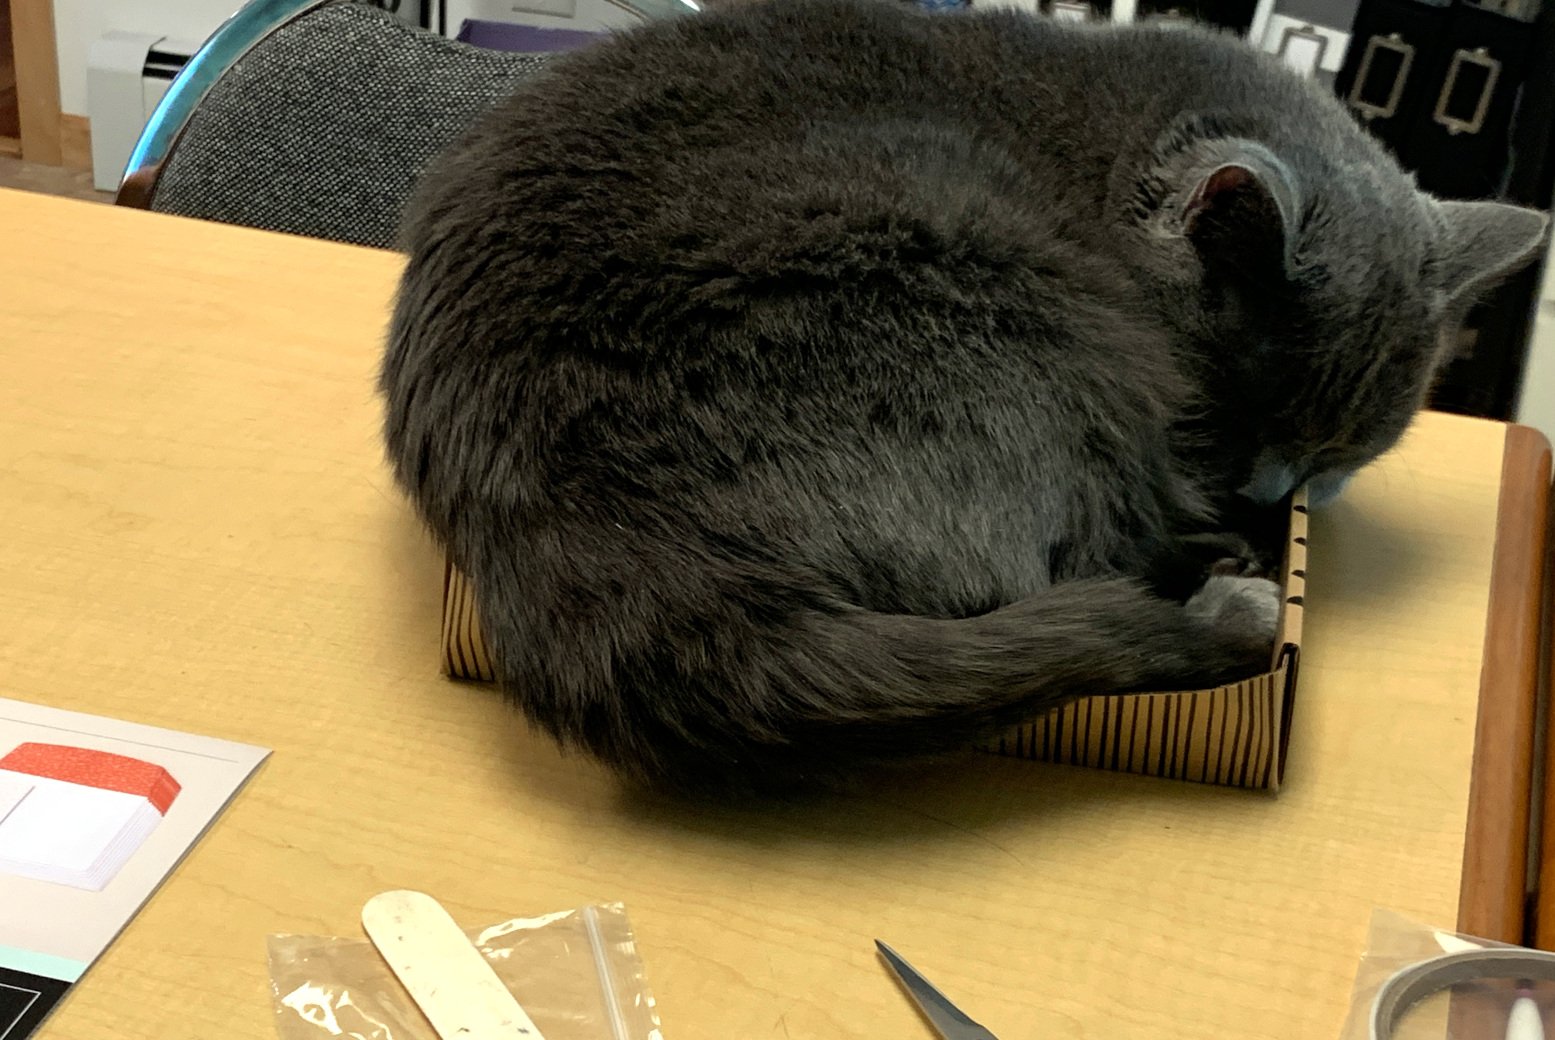
    My cat Jazz loves to hang out with me while I stamp. 

    She wasn't much help but she did settle into the kit box somehow but was quite a tight fit! 

    ~~~

    June Specials: 

    *current host code links: FERX3EKC or GF24T6XG

    ~~~

    All online orders receive my free tutorial of the month & if your order is over $55 you'll also receive a free gift from me

    Leave a Reply

    Your email address will not be published. Required fields are marked *

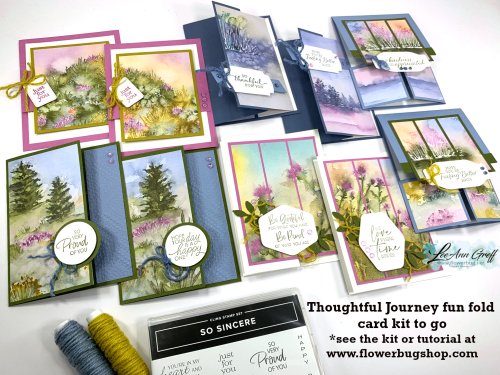
  • Stunning cards in the Thoughtful Journey kit to go; or choose the PDF tutorial


    I couldn't wait to play and create with the gorgeous Thoughtful Journey designer paper.  I think scenic paper like this makes card making a breeze!  I decided to make each card a fancy fold too. 

    I design my kit around the paper and added supplies so all you need to add is stamped greetings. I chose to use the So Sincere set this time; which you can add on at a discount. 

    This incredibly beautiful designer paper is filled with watercolor scenes and backgrounds making is super easy to create with. 

    Opt in for the card kit to go by June 18th; supplies may be limited. The PDF tutorial will be emailed to you immediately after payment; check your spam folder. The pre-cut kit is mailed at the end of June. 

    This kit includes the following:

    • All pre-cut supplies for 10 cards including card stock, die-cuts & punched pieces
    • 1/2 pkg of Thoughtful Journey designer paper (6" X 6") 
    • a share of 2 colors Jute Twine and 3 color Tinsel gems & 10 envelopes
    • the free PDF tutorial which has step by step directions, photos, measurements & a supplies list

    *It does not include stamped images, textured layers or adhesives.  You will need greeting images, a few colors of ink, adhesives and a paper trimmer to cut your new designer paper. 

    Reserve your pre-cut card kit here.  It's $29 plus shipping.  Or choose the PDF tutorial option for $15  here.

    Add on the So Sincere stamp set at an extra 10% off. Message me here for a price quote. 

    The best deal is to add on another kit to save on shipping. See them all here. 

    *This is the kit my subscribers will receive in June.  If you're interested in getting a pre-cut kit each month with $20 in product  click here to opt in. You get an extra surprise in your package now and then & can cancel, skip or opt out at any time. It's $38 with Priority shipping. 


    ~~~

    June Specials:

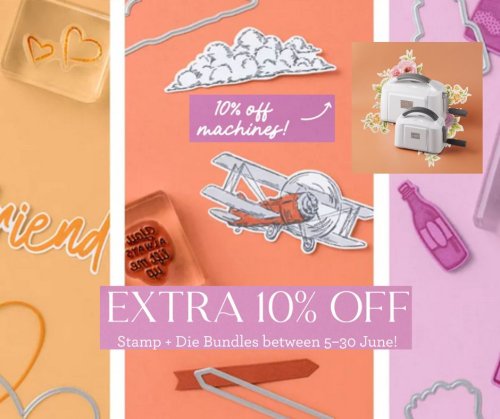
    All Stamp & Die bundles are 20% off in June!

    *current host code links: FERX3EKC or GF24T6XG

    ~~~

    All online orders receive my free tutorial of the month & if your order is over $55 you'll also receive a free gift from me

    Leave a Reply

    Your email address will not be published. Required fields are marked *


Notice: LeeAnn Greff, Independent Stampin’ Up! Demonstrator, Manager. The content of this website is my sole responsibility as an independent Stampin’ Up! demonstrator and the use of, and content of, the classes, services, or products offered on this website is not endorsed by Stampin’ Up! Copyright 2025