/


Latest Post

Quick card with the Violet Dreams DSP


Here’s the second card I made featuring the Violet Dreams suite. I shared it during last week’s video.
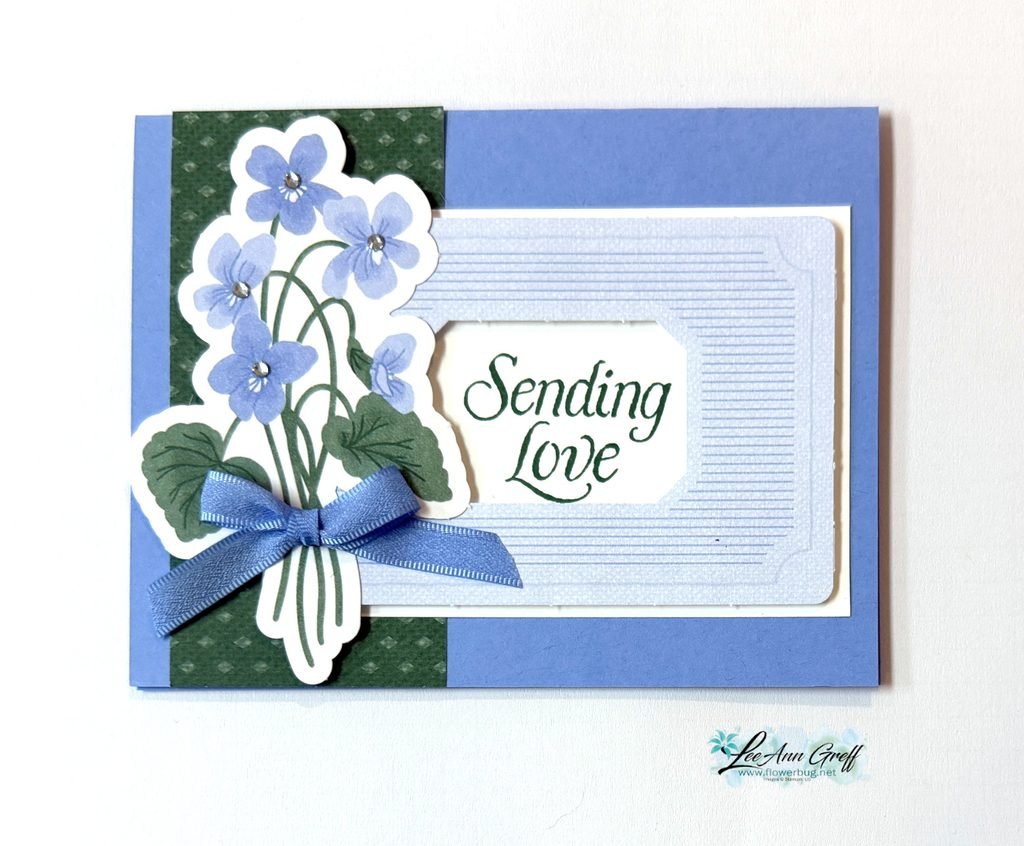
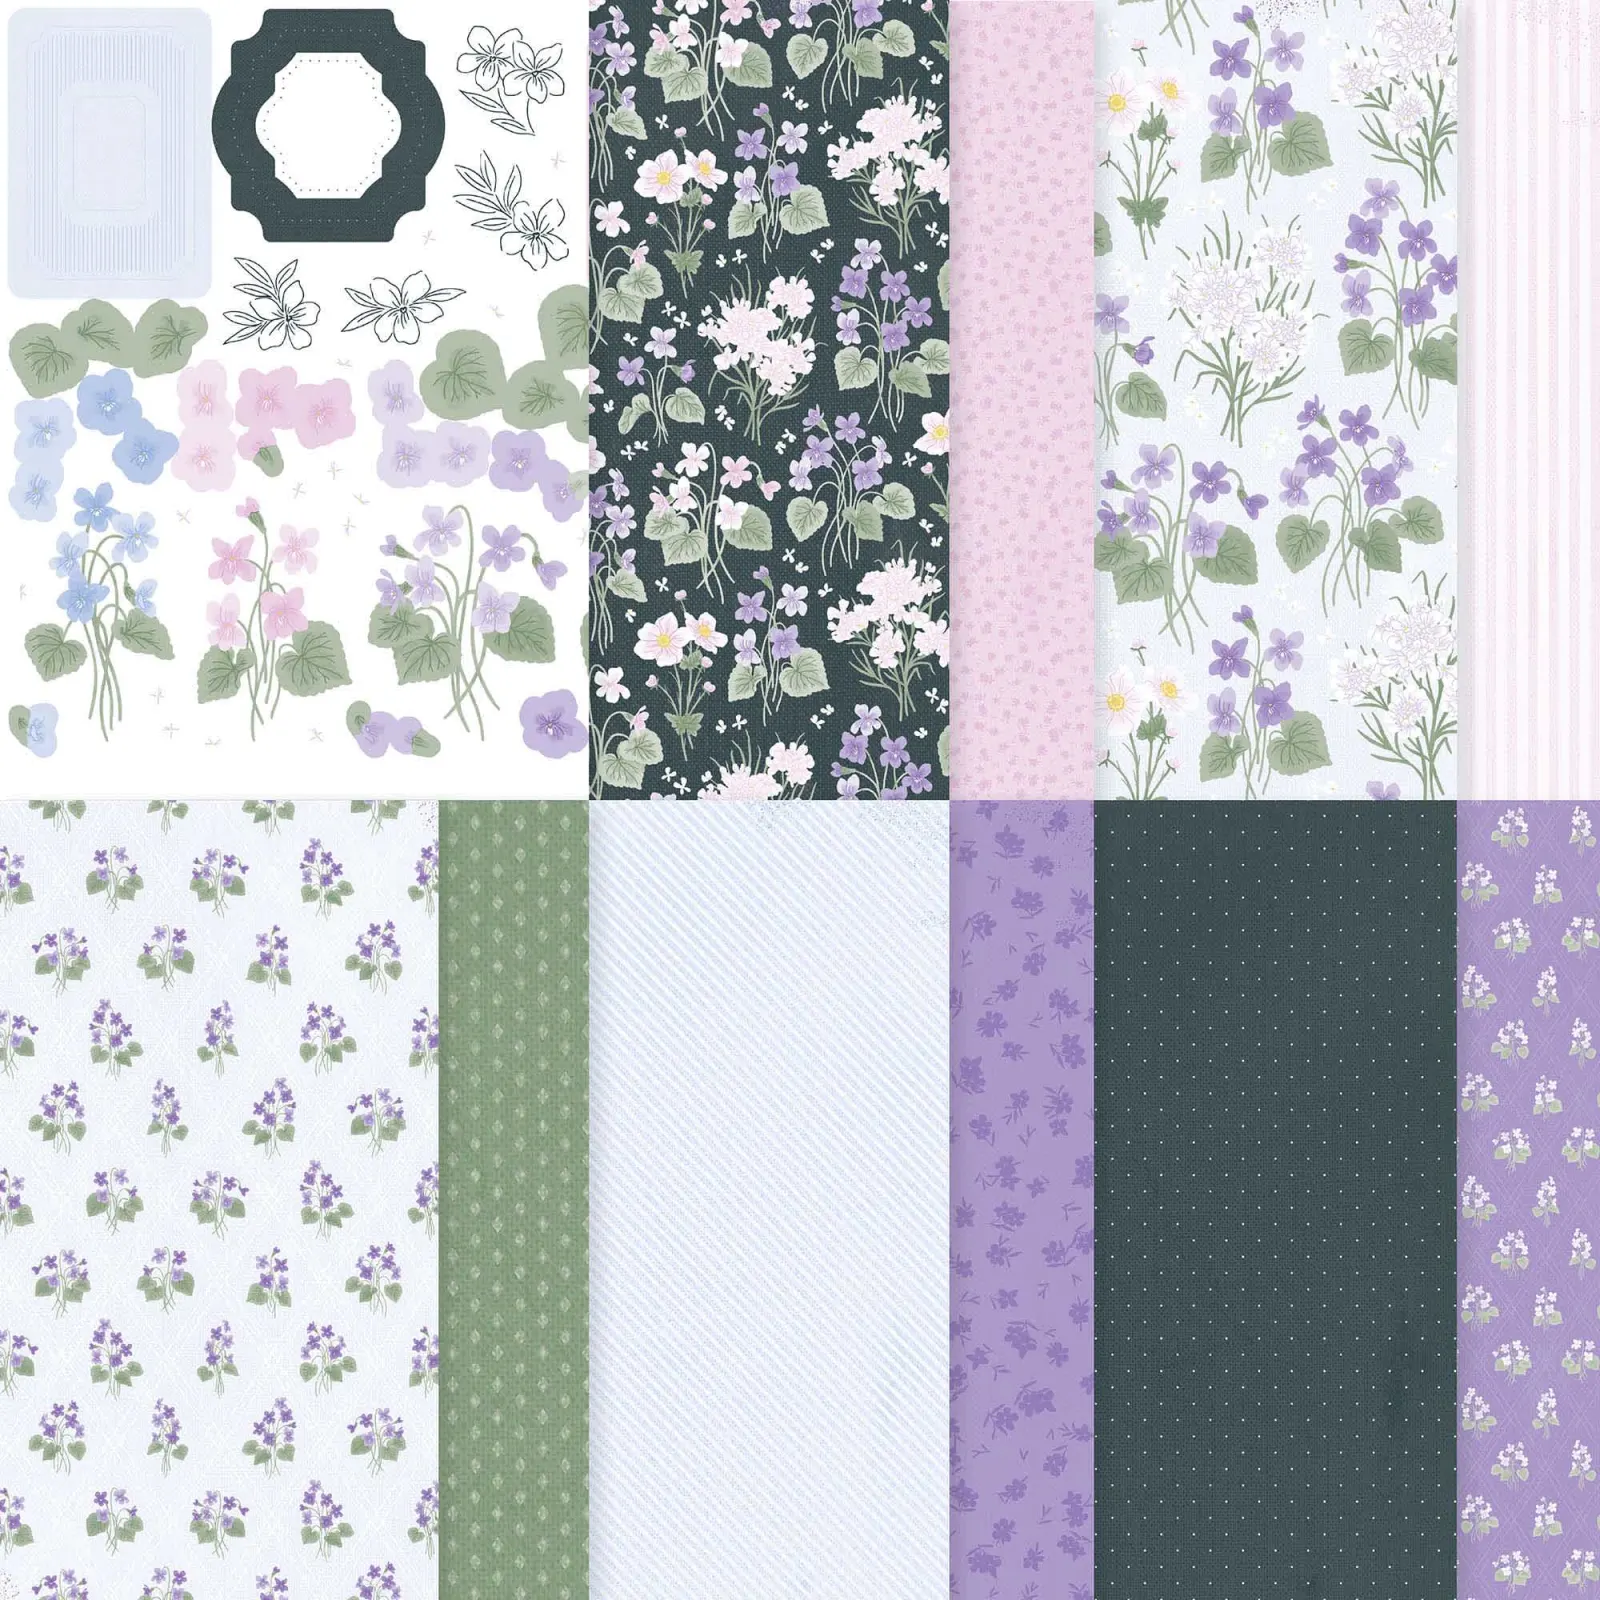
It showcases the pretty Violet Dreams DSP seen here. There are 3 pieces from the DSP on this card: the violets die-cut, the striped frame and the green DSP strip. This DSP has 2 sheets of die-cut ephemera included in the package. I love that; it opens up so many options when creating.

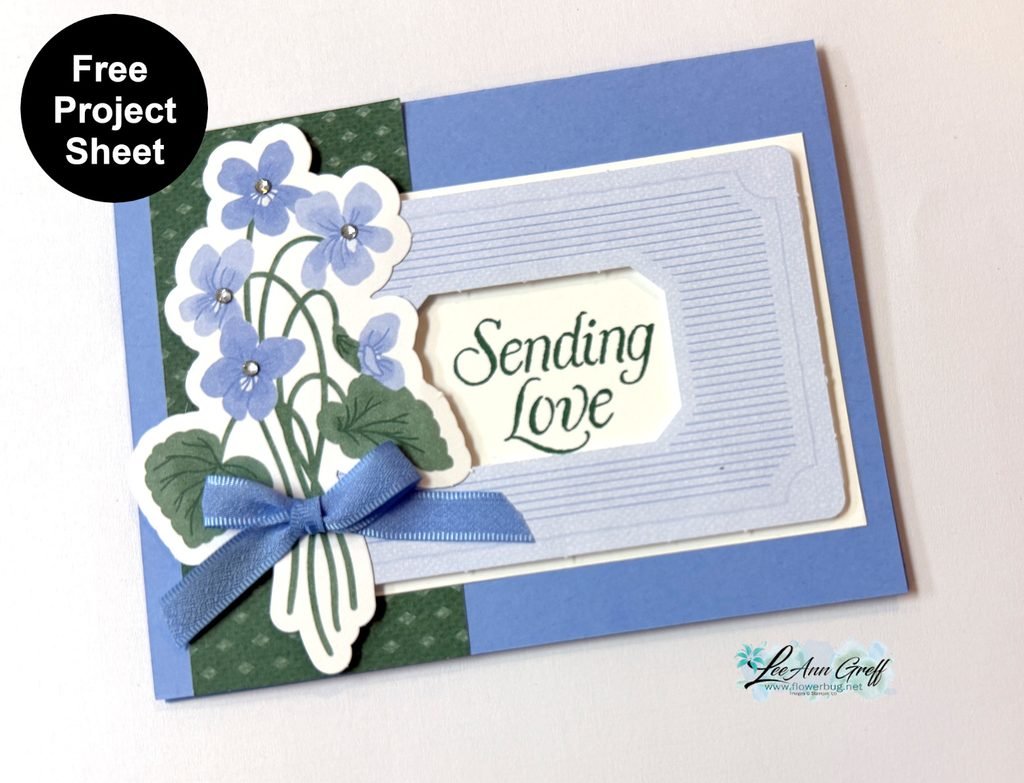
Besides the DSP I added the White layer behind the frame, the Hydrangea Hue ribbon and rhinestones. So quick!

Here’s the free project sheet for this card; click here.
Look closely at the coordinating colors on this card. Stampin’ Up! makes it so easy to create with perfectly matching colors. It’s my very favorite thing about SU.
I used the violets as the starting point and simply repeated each color once or twice on my project for a wonderfully cohesive look.

Tip: If you struggle with color coordination pick two colors and repeat them at least once if not twice on your project. This works!

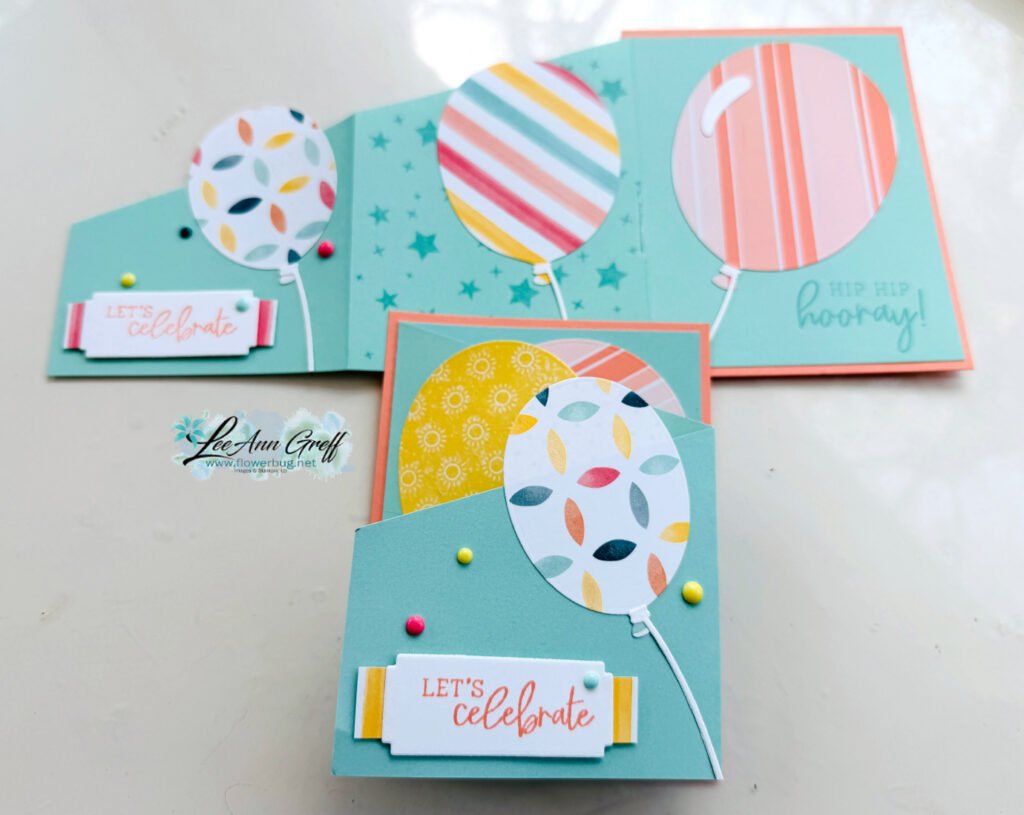
Check out the video below where I shared on more pretty card featuring DSP strips.
All Posts

  • Flash Sale on select products; one day only!


    Stampin’ Up! is offering a one day sale on select products; mostly memory keeping but many items are great for card makers too.

    Check it out here.

    Leave a Reply

    Your email address will not be published. Required fields are marked *

  • Lovely & Beautiful fancy fold card swap with measurements


    Kim made this amazing card for our April Team swap:

    She combined new and current products for this beautiful card cased from Karen Hadler. That beautiful textured flower is from an upcoming bundle called Opulent Oasis. It includes a new die that textures; it’s called Textured Impression dies. I’ll share more details on this new product soon. It will be released on May 5th in the 2026 May-August catalog.

    The designer paper is called Lovely & Beautiful and can be seen here. The pretty leaf die-cut is from the Nature’s Symphony dies.
    Here’s how it looks once opened:

    So many layers!! The card stock colors include Old Olive, Petal Pink and Fresh Freesia.

    Measurements:

    – Olive card base 11″ X 4 1/4″ score at 2 3/4″ & 5 1/2″, second piece – 9″ X 3 34″ scored at 3″ & 6″
    – Petal Pink layers 2 1/2″ X 4″ and 5 1/4″ X 4″ on the large piece. 3 pieces at 2 3/4″ X 3 1/2″ on the shorter piece
    – DSP 1 1/4″ X 3 3/4″ and 5″ X 3 3/4″ on the large piece. 2 pieces at 2 1/2″ X 3 1/4″ on the shorter piece
    – Fresh Freesia 2 1/2″ X 3 1/4″

    I hope you enjoyed seeing her gorgeous card. More swaps soon!

    April Specials:

    Check out the Last Chance list here; these items go fast!

    Product of the Month is the Eyelet Blooms dies

    *Get a free 12 project tutorial when you redeem this POM from me!

    ~~~

    Free PDF tutorial featuring the Delicate Whispers suite!

    Leave a Reply

    Your email address will not be published. Required fields are marked *

  • Three pretty swap cards with great layouts


    Our Team swap theme was nature or animals this month. I’m sharing three pretty cards I think you’ll want to case.

    First is a card made by Jonna who is featuring the Nature’s Symphony suite.

    She used the Nature’s Symphony stamp set and the Nature’s Walk designer paper here. I love the layout so much! Adding your greeting strip across the front is a fantastic way to break up the large layers.
    Her colors include Pretty Peacock and White.

    Measurements are as follows:

    – Cloud Cover card base 8 1/2″ X 5 1/2″ score at 4 1/4″
    – Pretty Peacock large layer 5 3/8″ X 4 3/8″, small layer 3″ X 4 1/4″, strip 4 1/8″ X 1″, inside is 4 1/8″ X 5 3/8″
    – White 2 3/4″ X 4″, inside 4″ X 5 1/4″
    – DSP 4″ X 5 1/4″

    Inks used: Pretty Peacock and White Craft ink.

    The next card is made by Tracey who used a new to me’ tearing technique on her pretty card:

    She used the Floral Charm designer paper. Actually it’s just one sheet and measured 3″ X 4″ before she tore it. The technique she used is called ‘Rip & Flip’. You tear the lower half off and flip it to reveal the other side. Slide the torn piece under the upper portion to hide the ‘cut’ side. So cool!

    Look at the ribbon above the greeting circle. She formed loops of Berry Burst 1/4″ shiny ribbon and adhered it underneath the flowers and greeting. So smart and unique!
    The colored and die-cut flowers are from the Extraordinary Flora bundle seen here.

    Measurements:

    – Pretty Peacock card base 5 1/2″ X 8 1/2″ score at 4 1/4″
    – Berry Burst 4 1/4″ X 3 1/4″
    – DSP 4″ X 3″
    – White circle die-cut

    Lastly is Candy’s card featuring the Nature’s Symphony stamp set with a neat technique:

    She cased this technique from Kim Quade. She created a window with the Stylish Shapes dies and another piece of paper. She used Blending Brushes inside the window for the soft, multicolored look and stamped the leaves before removing her mask.

    Her ink colors include Balmy Blue, Daffodil Delight and Fresh Freesia. She stamped the images with Secret Sea. Beautifully done!

    I’ll share more swap cards tomorrow.

    April Specials:

    Check out the Last Chance list here; these items go fast!

    Product of the Month is the Eyelet Blooms dies

    *Get a free 12 project tutorial when you redeem this POM from me!

    ~~~

    Free PDF tutorial featuring the Delicate Whispers suite!

    Leave a Reply

    Your email address will not be published. Required fields are marked *


Notice: LeeAnn Greff, Independent Stampin’ Up! Demonstrator, Manager. The content of this website is my sole responsibility as an independent Stampin’ Up! demonstrator and the use of, and content of, the classes, services, or products offered on this website is not endorsed by Stampin’ Up! Copyright 2025