/


Latest Post

Quick Card template & cute Christmas treats & snowman tags


I shared a ton of Holiday projects on this week's FB Live.  You can see the video below but here are the projects:

I used the Brightly Gleaming Specialty DSP here along with Very Vanilla, Navy, Brass foil and Peacock CS.  This pretty paper is on sale at 50% off!  See it here.

This is one of the easiest layouts you can make that still has some layers to it.  I like the card below best since you can stamp directly on the single layer and do not need a second greeting piece to stamp on like the cards on the left & right above.  Measurements below: 


Easy Christmas card

  • Main card – 8 ½” X 5 ½” or 4 ¼” X 11”, DSP – 3” square
  • CS – 4 ¼” X 3 ¼”, Vanilla greeting layer is 7/8" X 3", Foil strip – ½” X 4”

Next I have a super cute candy box treat made by my friend Marilyn.  She used the Celebration Label dies; they're 50% off now while supplies last!  See them here. 

Celebration Labels Treat box

  • Use the largest 2 dies.  Center the CS die-cut at 6”; score at 5 3/8” and 6 5/8”
  • Box is 2 3/8” X 5 1/8” scored at ½” on each edge

Next is a fun candy bar pull up treat.  I love making these since they're so quick & easy. 

Santa Pull Up Treat
Red CS 6 1/2" X 7" score at 3/8", 3/4", 3 1/2" and 3 7/8".
Black glitter belt 1" X 7"

This candy bar is in a thin card board box so I had to score it.  Usually I just wrap the card stock around the candy bar and glue the edge overlapping each other.  That one is a lot quicker. 

Lastly is a sweet snowman tag. 


It's a piece of Snowflake Splendor DSP and White CS both measuring 4 1/2" X 2" and tied together at the top.  I used the Delightful Tag Topper & 2" circle punches here. The stitched nose is made with the Triangle dies.  I drew Black 'stones' with a marker for his smile. 

Below you can get the tips on putting these projects together.  Don't forget to subscribe to my YouTube channel here. 

~~~


December Ordering Special: 

Current Host code is AHJNPWNB

Order online here

All online orders will receive my 16 Christmas cards class PDF!

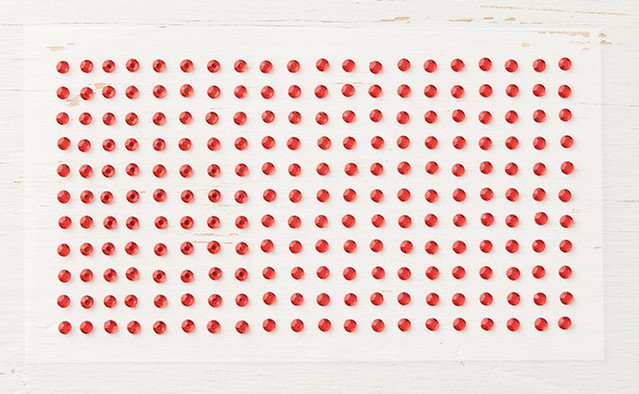
Get a free package of 220 Red Rhinestones from me with an online order over $50 using the host code above.
Below are the Multipurpose Glue stands we're making. They're $6 each and available in my Shop here.  

All Posts

  • Curvy Christmas & the Postage Punch


    Check out this easy card using the new Curvy Christmas stamp set and the Postage Punch!  

    It's super simple! Here's how I made it:

    1. Stamp the curvy trees image on the White CS using Shaded Spruce ink.  Color the trees with a Light Shaded Spruce Blends marker.  Add a tiny star using Cherry Cobbler ink on one tree. Adhere it to the Cherry Cobbler layer and to the main card.
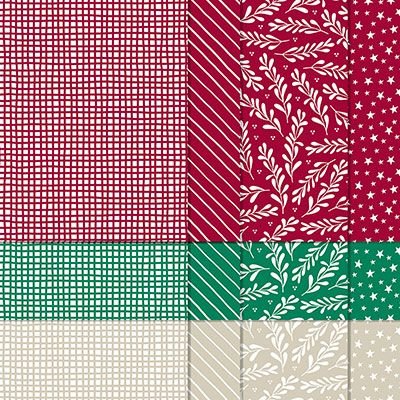
    2. Punch out three pieces of Classic Christmas designer paper with the Postage Punch seen here.  Adhere to the White CS. 
    3. Stamp the greeting in Cherry Cobbler ink on a 1/2" strip of White CS.  Punch the ends with the Banners Pick a Punch. Add it to the card with mini dimensionals. 
    4. Finish with a few Holiday rhinestones. 

    You can see this stamp set here; it's only available through January 4th.  And the Classic Christmas Designer Paper is here while supplies last. 

    Remember that everyone who orders any of these products or places an online order with me in November will receive a free 22 project PDF tutorial featuring the Curvy Celebration products! 


    ~~~

    November Specials!

    Current Host code is GRC9VVUU


    All online orders receive my FREE Curvy Celebrations 22 project PDF Tutorial! 

    Leave a Reply

    Your email address will not be published. Required fields are marked *

  • Gift Wrapped Box Fold Card with video


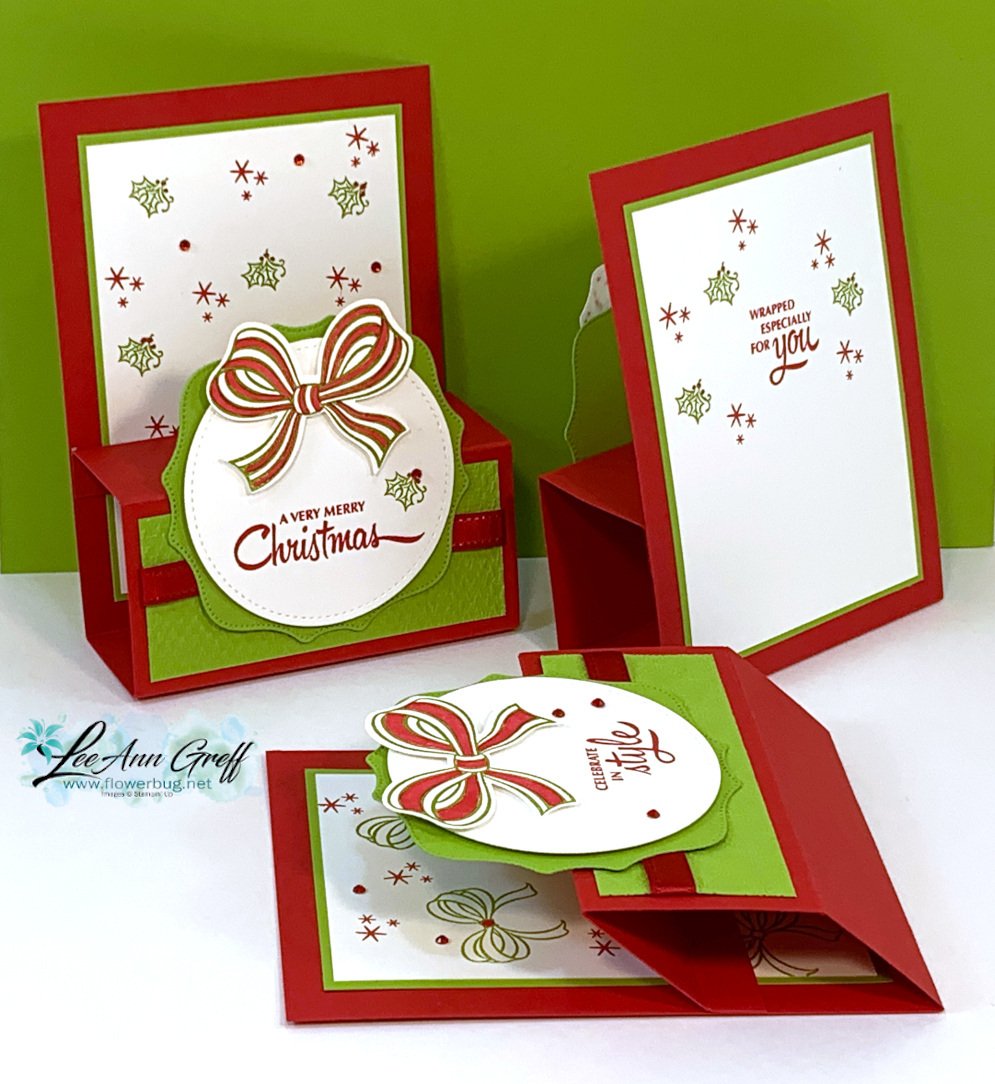
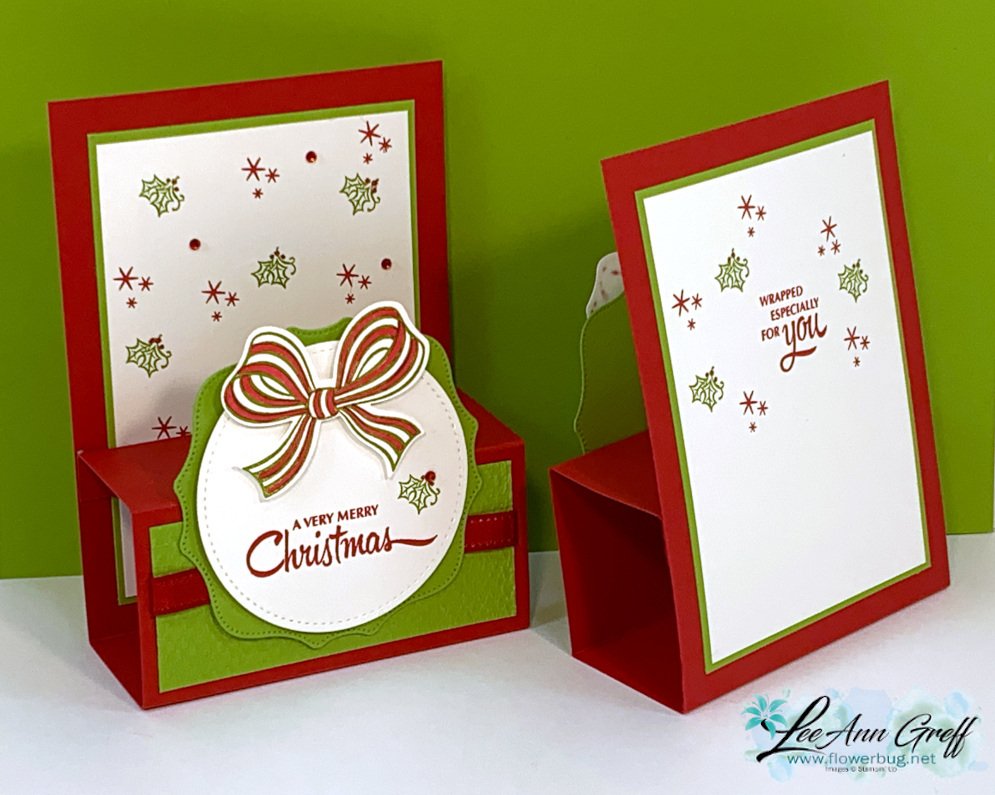
    Check out this cute Christmas card we made at my October Card Clubs!  It's a box fold card; a super cute but easy fun fold. 

    The colors are Real Red with Granny Apple Green & White. The dies on the front are the Stitched Shapes and Hippos & Friends.

    It even folds flat for mailing!  As you can see the back is similar to the front; leaving some space to write or sign the card.  

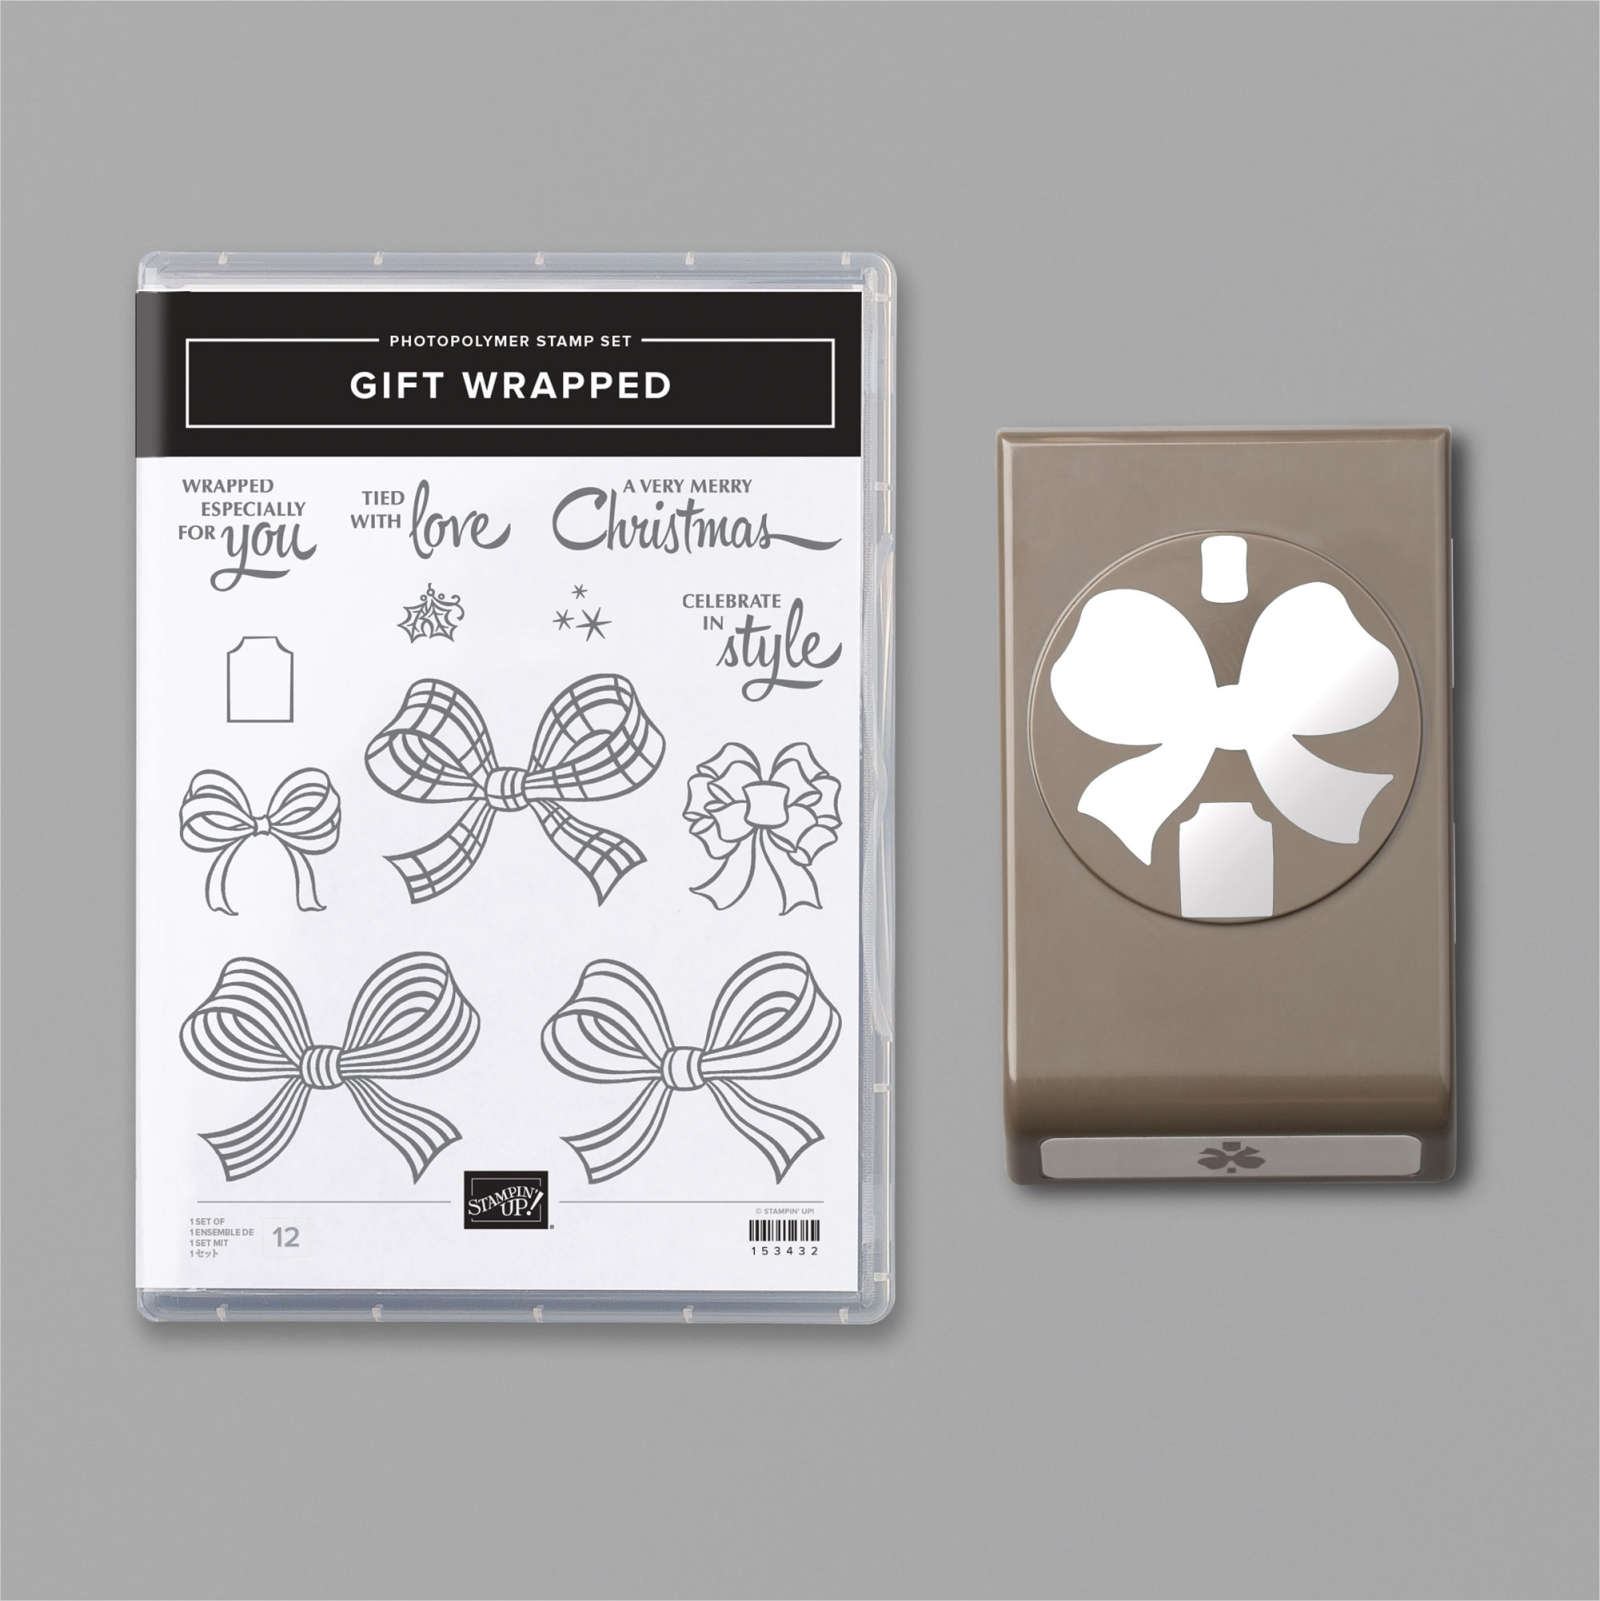
    I used the Gift Wrapped punch bundle from the Holiday catalog.  You can see it here. 

    Check out the video and measurements below. 

    Here's the video: 


    Measurements:

    Real Red 4 1/4" X 11" scored at 5 1/2", 7", 9" and 10 1/2"
    Granny Apple Green 3 5/8" X 4 7/8" (2 pieces) plus scrap for die-cut
    Whisper White 3 1/2" X 4 3/4" (2 pieces) plus scrap for circle die-cut and bow

    ~~~

    November Specials!

    Current Host code is GRC9VVUU


    All online orders receive my FREE Curvy Celebrations 22 project PDF Tutorial! 

    Leave a Reply

    Your email address will not be published. Required fields are marked *

  • Peaceful Nativity WOW card


    Look what happens when you combine a beautiful background with the Nativity Dies?!  

    Candace created this gorgeous card for our October Christmas cards swap with my Flowerbug's Team.  She is a master at sponging backgrounds.  I believe she used Pacific Point here.  She simply added a greeting (from For Unto Us set) embossed in Silver and the pretty scenic die-cuts in Black.  

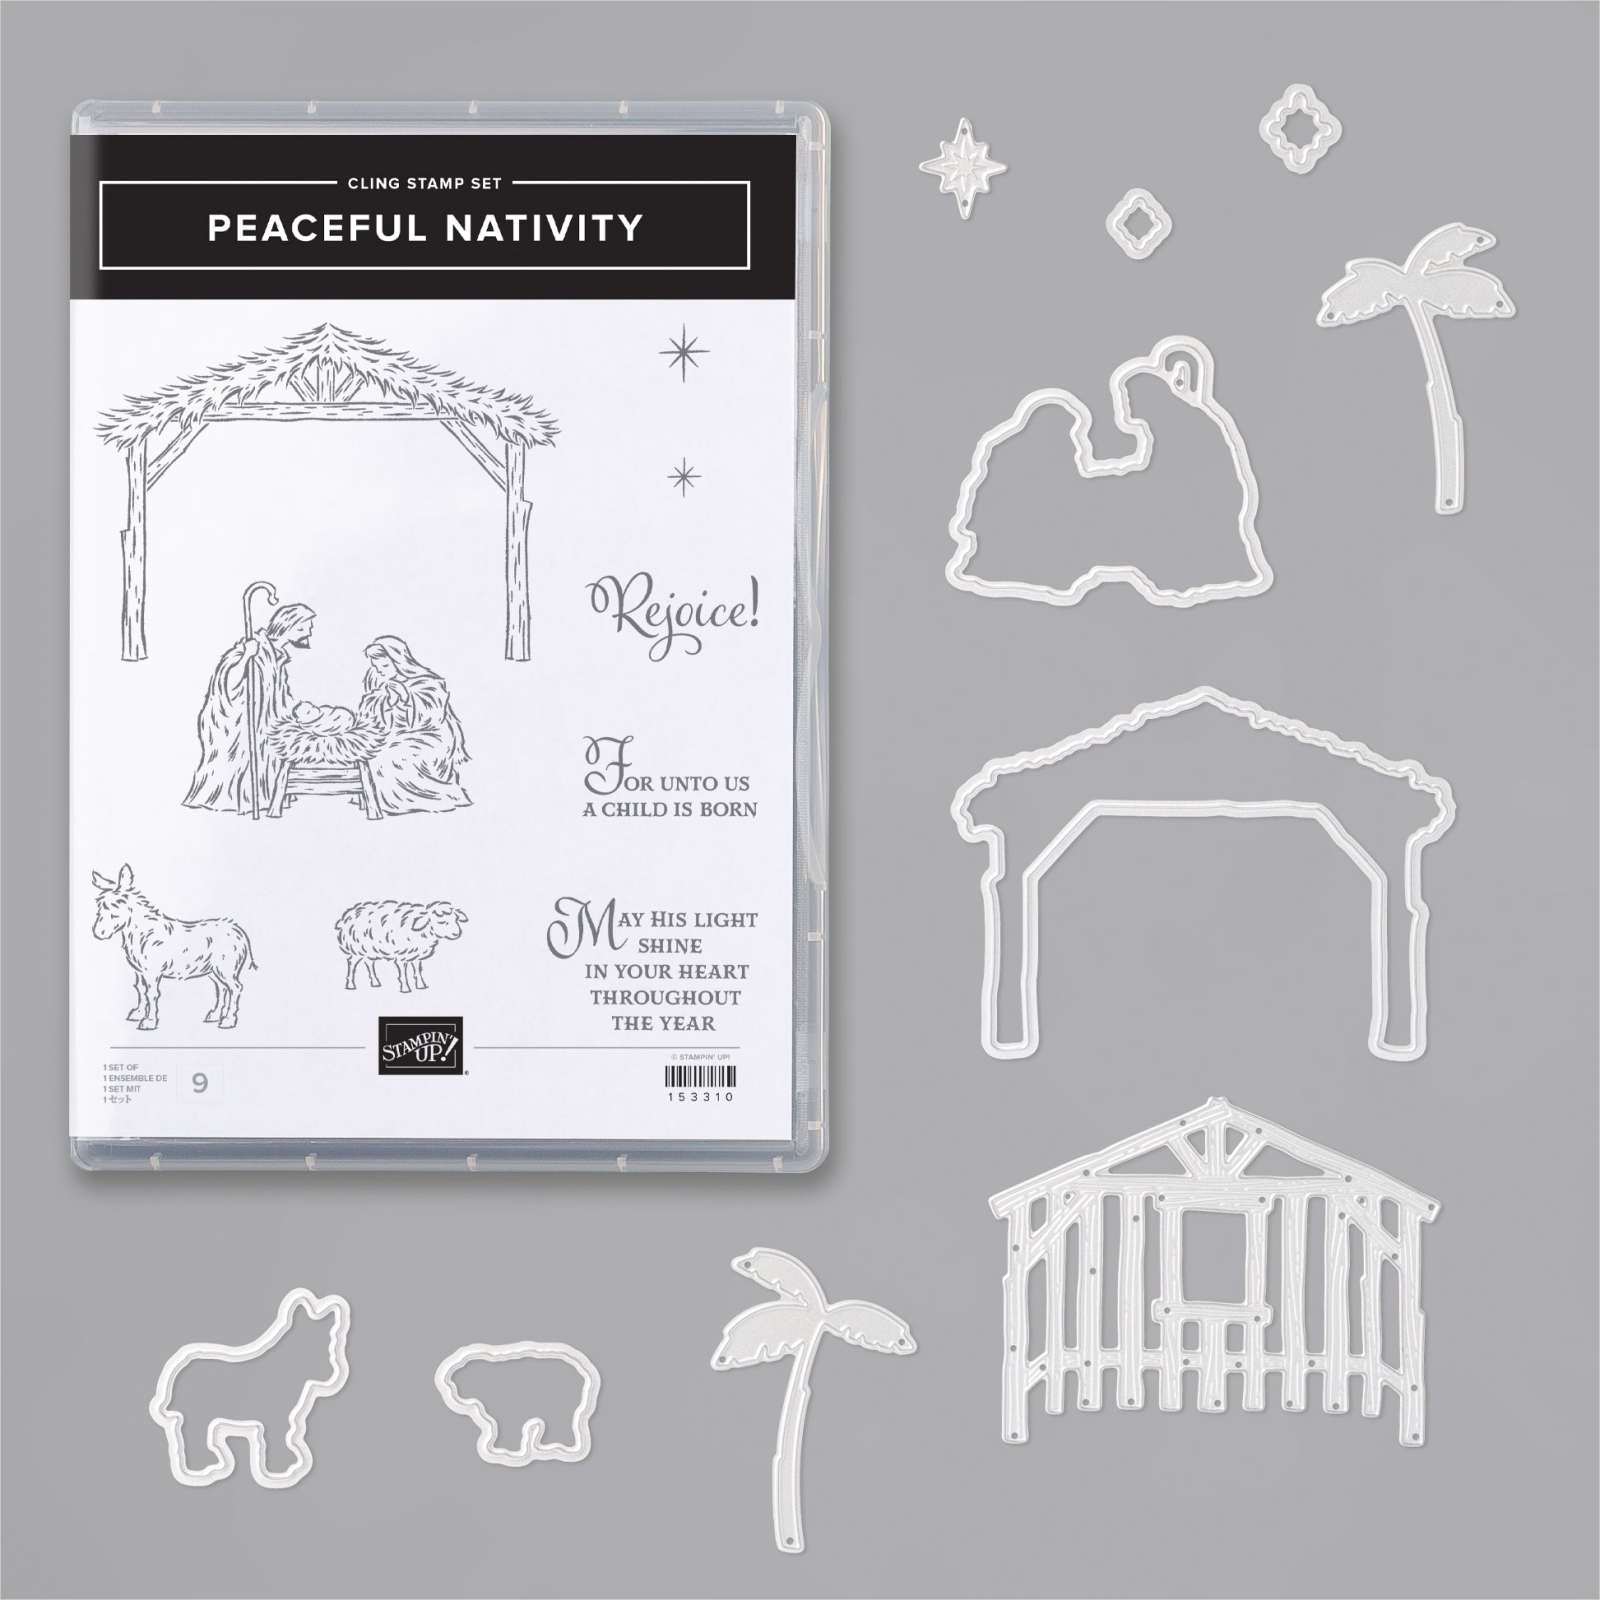
    Click here to see the For Unto Us stamp set and here for the Peaceful Nativity bundle. 

    More Team swaps tomorrow! 

    ~~~

    November Specials!

    Current Host code is GRC9VVUU


    All online orders receive my FREE Curvy Celebrations 22 project PDF Tutorial! 


    Leave a Reply

    Your email address will not be published. Required fields are marked *


Notice: LeeAnn Greff, Independent Stampin’ Up! Demonstrator, Manager. The content of this website is my sole responsibility as an independent Stampin’ Up! demonstrator and the use of, and content of, the classes, services, or products offered on this website is not endorsed by Stampin’ Up! Copyright 2025