/


Latest Post

Quick Card template & cute Christmas treats & snowman tags


I shared a ton of Holiday projects on this week's FB Live.  You can see the video below but here are the projects:

I used the Brightly Gleaming Specialty DSP here along with Very Vanilla, Navy, Brass foil and Peacock CS.  This pretty paper is on sale at 50% off!  See it here.

This is one of the easiest layouts you can make that still has some layers to it.  I like the card below best since you can stamp directly on the single layer and do not need a second greeting piece to stamp on like the cards on the left & right above.  Measurements below: 


Easy Christmas card

  • Main card – 8 ½” X 5 ½” or 4 ¼” X 11”, DSP – 3” square
  • CS – 4 ¼” X 3 ¼”, Vanilla greeting layer is 7/8" X 3", Foil strip – ½” X 4”

Next I have a super cute candy box treat made by my friend Marilyn.  She used the Celebration Label dies; they're 50% off now while supplies last!  See them here. 

Celebration Labels Treat box

  • Use the largest 2 dies.  Center the CS die-cut at 6”; score at 5 3/8” and 6 5/8”
  • Box is 2 3/8” X 5 1/8” scored at ½” on each edge

Next is a fun candy bar pull up treat.  I love making these since they're so quick & easy. 

Santa Pull Up Treat
Red CS 6 1/2" X 7" score at 3/8", 3/4", 3 1/2" and 3 7/8".
Black glitter belt 1" X 7"

This candy bar is in a thin card board box so I had to score it.  Usually I just wrap the card stock around the candy bar and glue the edge overlapping each other.  That one is a lot quicker. 

Lastly is a sweet snowman tag. 


It's a piece of Snowflake Splendor DSP and White CS both measuring 4 1/2" X 2" and tied together at the top.  I used the Delightful Tag Topper & 2" circle punches here. The stitched nose is made with the Triangle dies.  I drew Black 'stones' with a marker for his smile. 

Below you can get the tips on putting these projects together.  Don't forget to subscribe to my YouTube channel here. 

~~~


December Ordering Special: 

Current Host code is AHJNPWNB

Order online here

All online orders will receive my 16 Christmas cards class PDF!

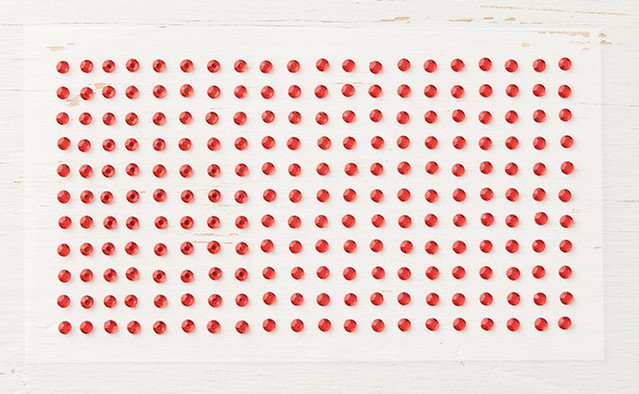
Get a free package of 220 Red Rhinestones from me with an online order over $50 using the host code above.
Below are the Multipurpose Glue stands we're making. They're $6 each and available in my Shop here.  

All Posts

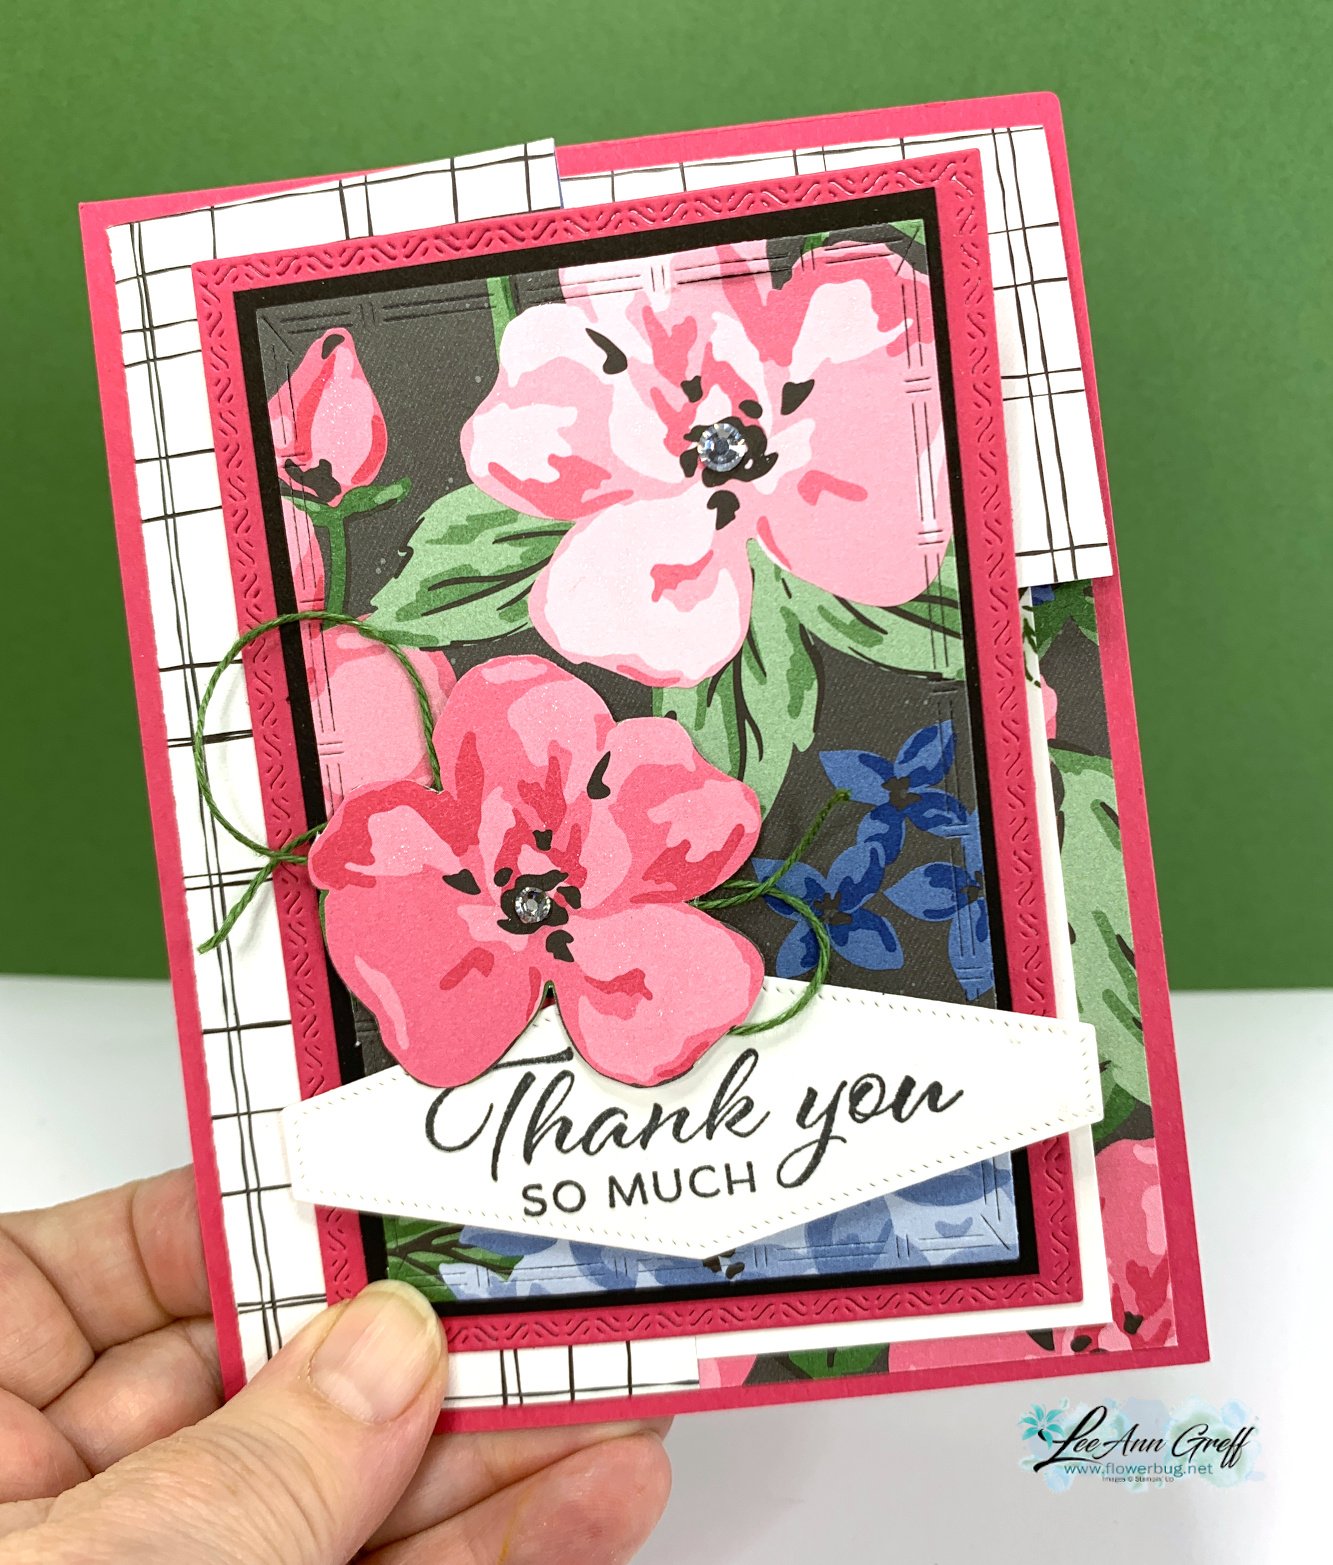
  • Corner DSP pop up fun fold card with video tutorial & free project sheet


    I shared this card on last week's video and am happy to share it with you here today.  I also have a free project sheet below too. 

    It features the Lovely Garden designer paper seen online here.  

    My card base is Melon Mambo with Black, White & Garden Green accents. The greeting is from the Layering Leaves stamp set and the Stylish Shapes dies. 

    I made a second version during the video (seen here) in different colors.  

    The stitched die-cut I used on the DSP is from the new Textured Notes dies seen here.  I love these!  I bet they'll sell fast!

    I fussy cut extra flowers to pop up over the printed flower in the DSP.

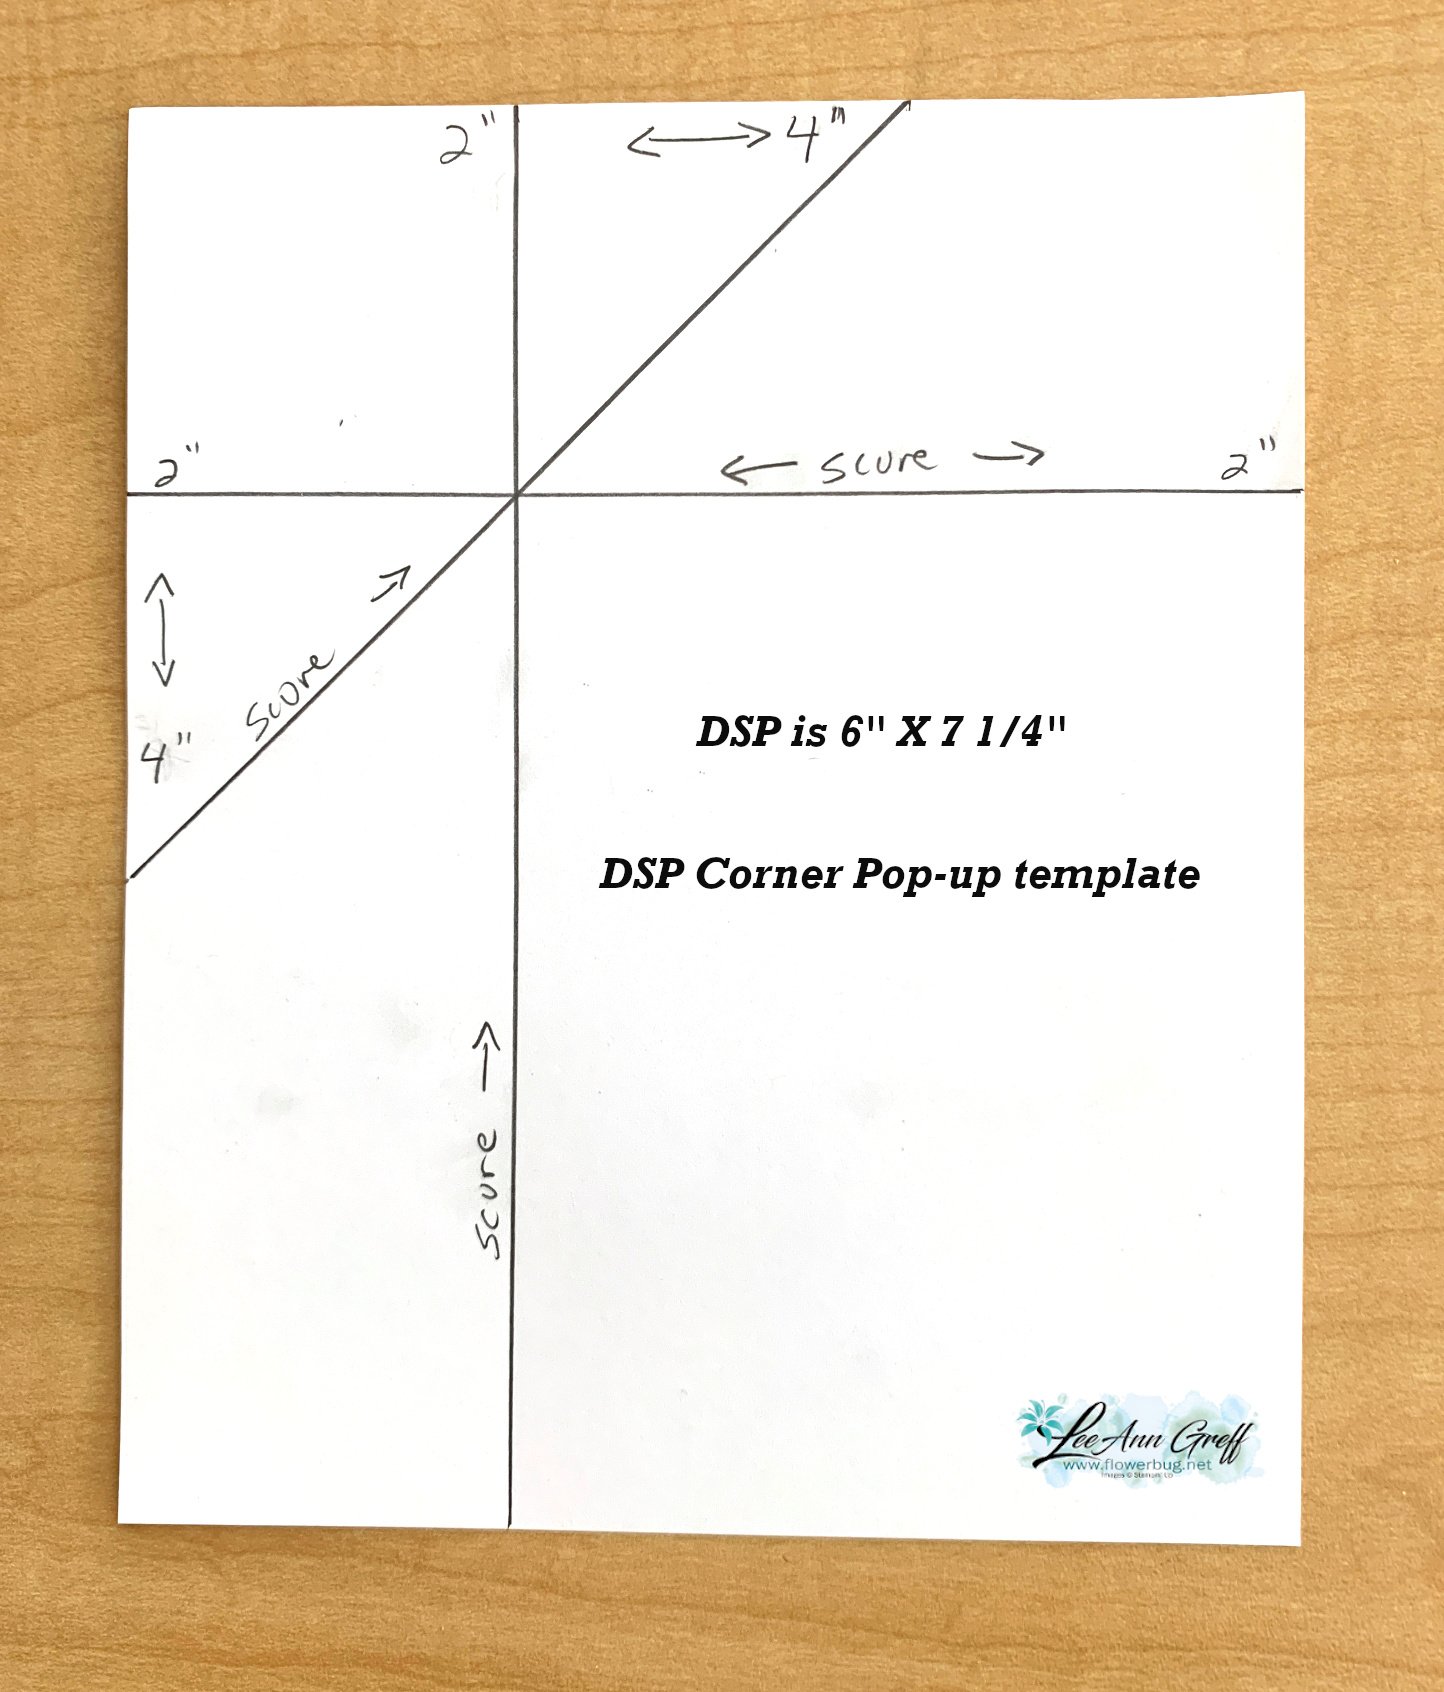
    Here's the template for the DSP part of this card.  My generous friend Susie Wood shared this with me. 

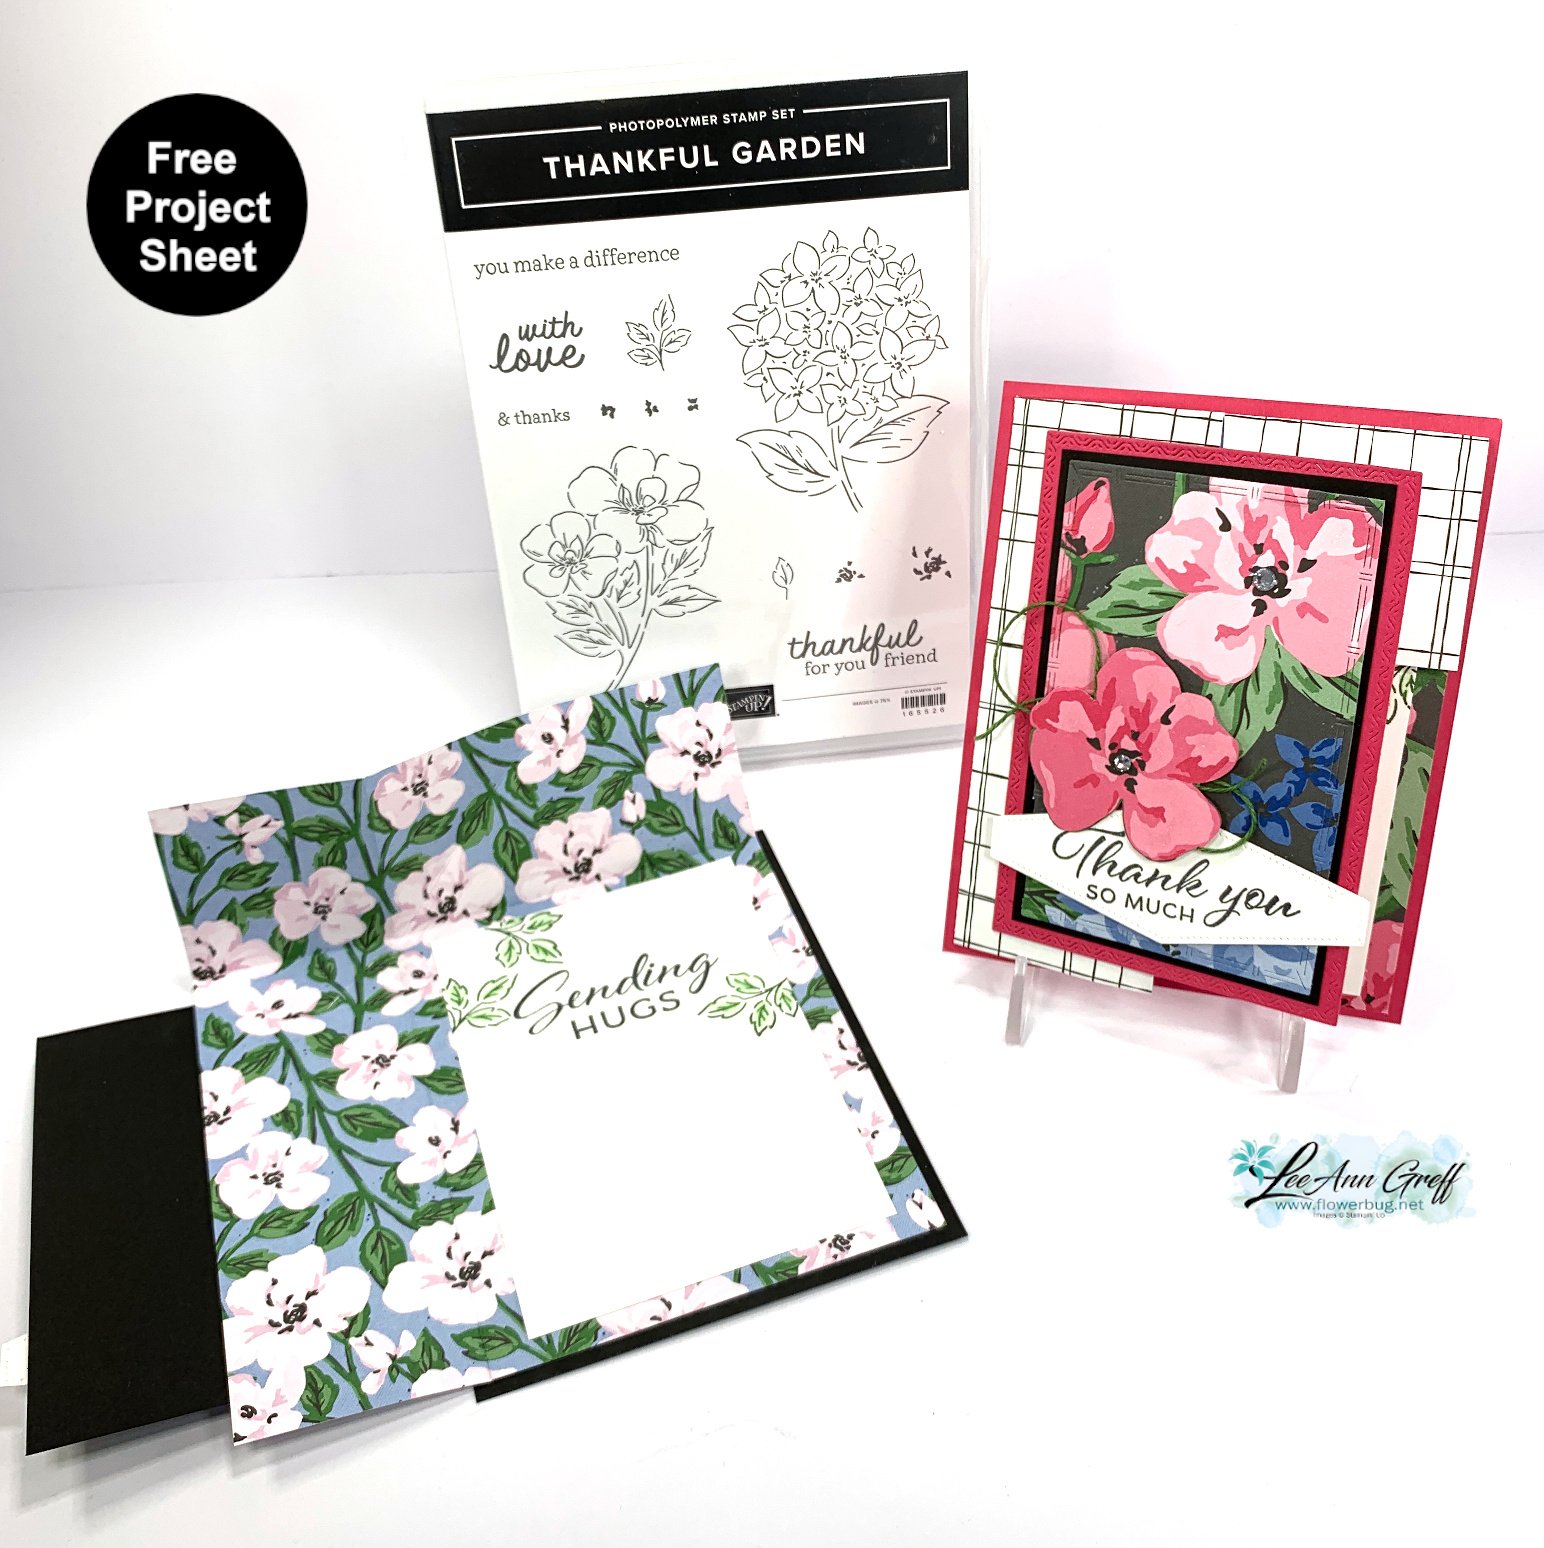
    In the photo below you can see how this card opens. The DSP measures 6" side and 7 1/4" tall and is scored at 2" from the upper and left sides.  Then fold it at an angle matching up the score lines.  Watch the video below to understand this. 

    Here is the free project sheet for this card. Click on the following link to print or download it. Download Lovely Garden Corner pop up

    Below is the video tutorial for this card and another unique fun fold using the Lovely Garden designer series paper.  

    ~~~

    March Specials:

    *current host code link:  

    PNQMAWXD

    Get a free Floral Delight tutorial with any online order in March!

     Free Iridescent Foil gems!

    Leave a Reply

    Your email address will not be published. Required fields are marked *

  • Pretty Center pop-out fun fold card with free project sheet & video tutorial


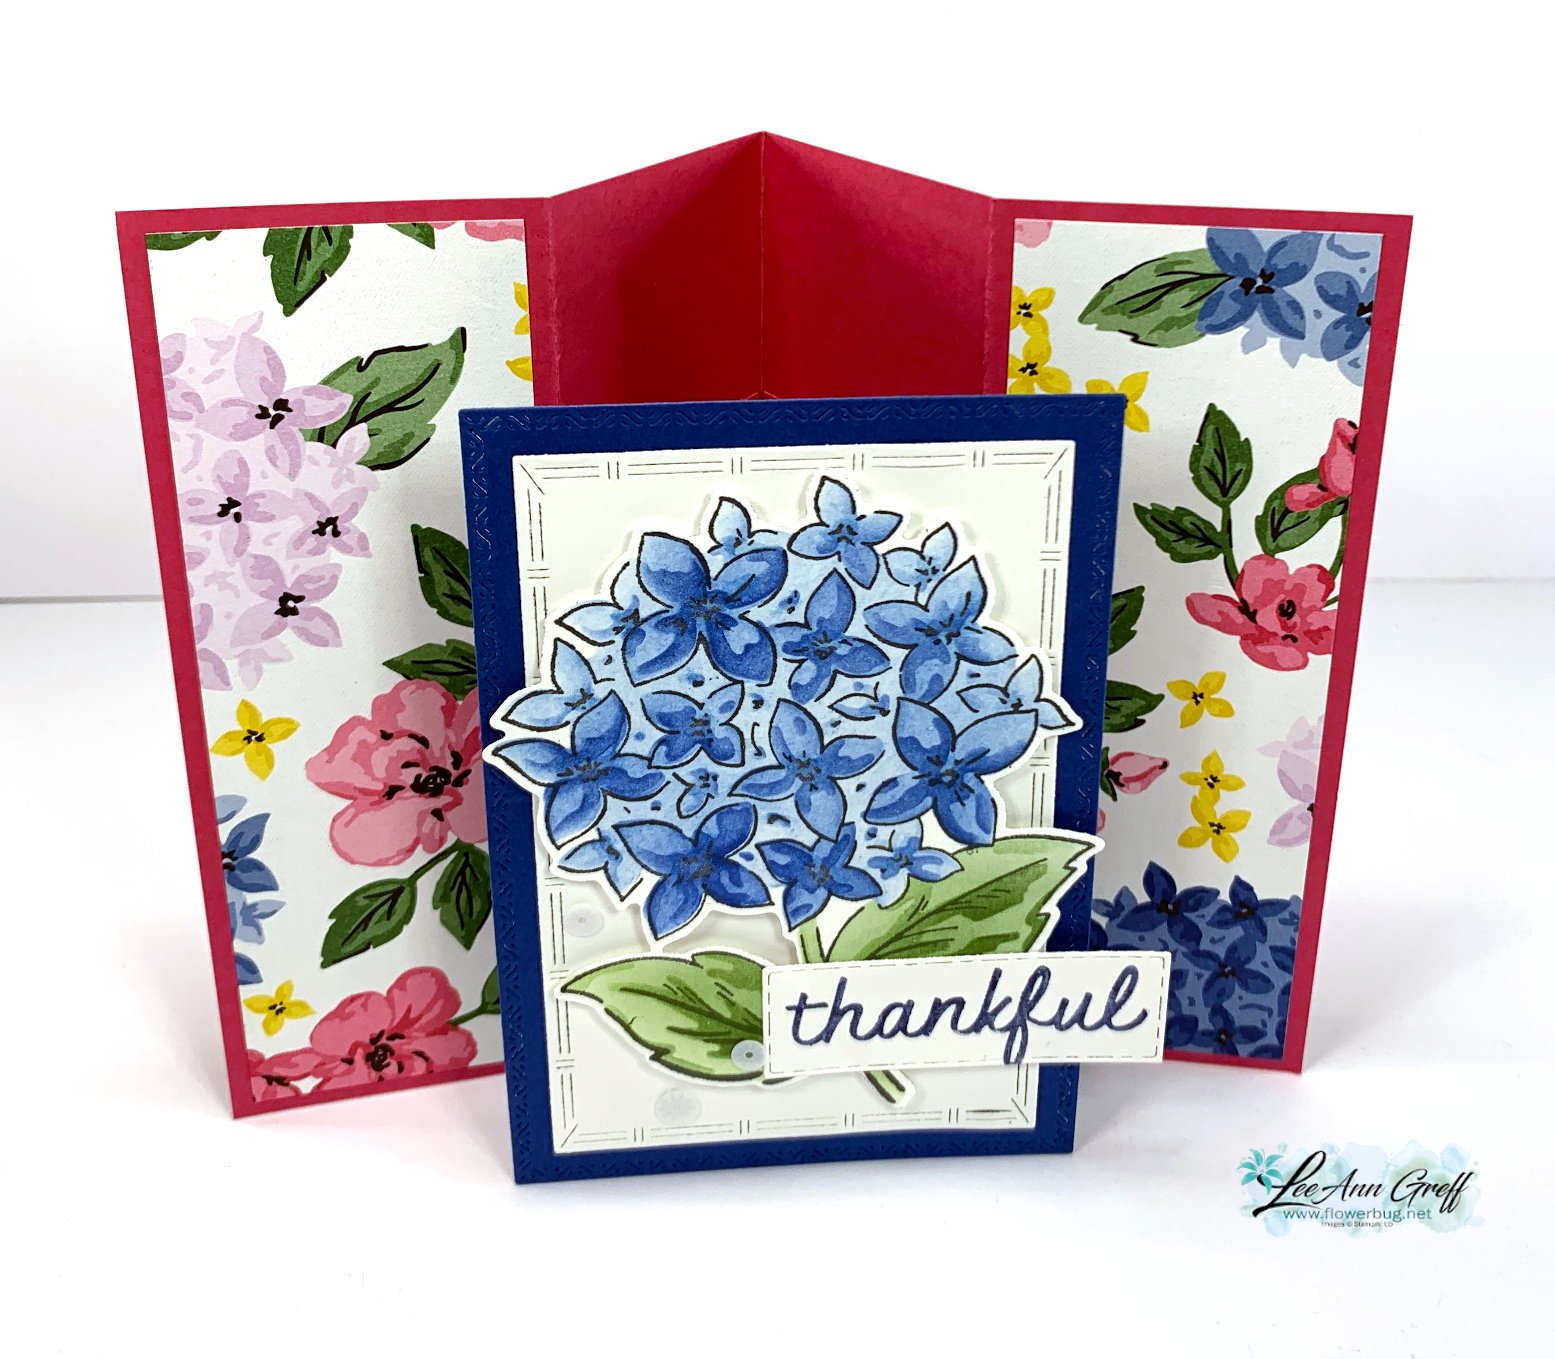
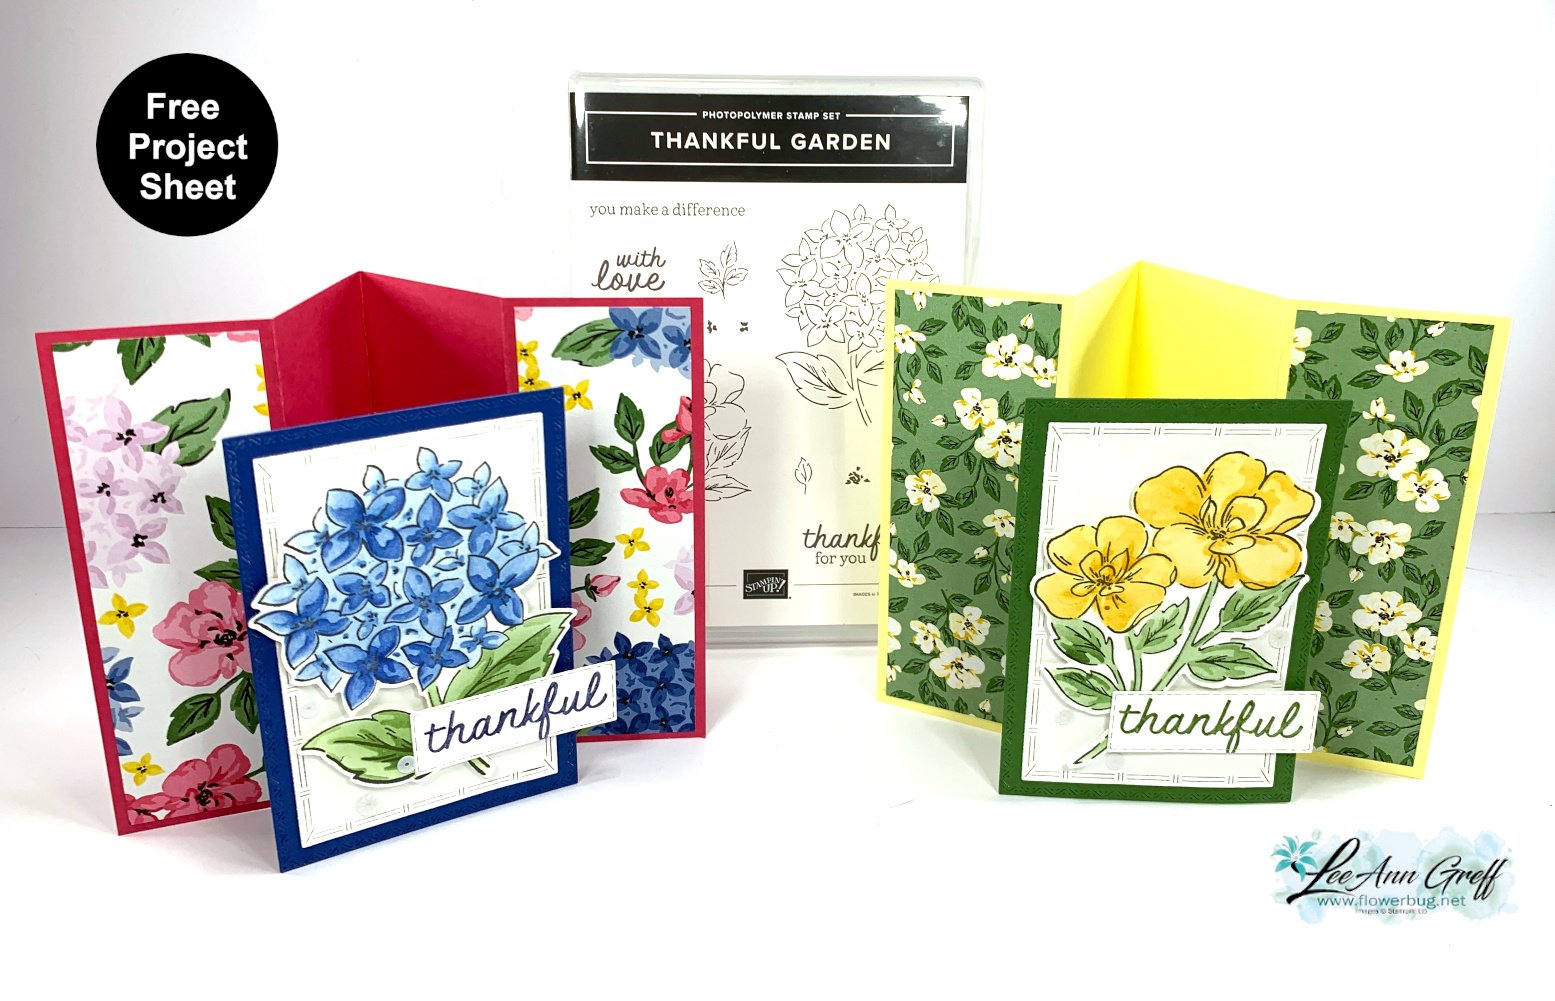
    I'm so excited to share this super neat fun fold card with you today!  It's called a Center Pop-out fun fold.  I found this neat fold from my friend Terri Gaines. 

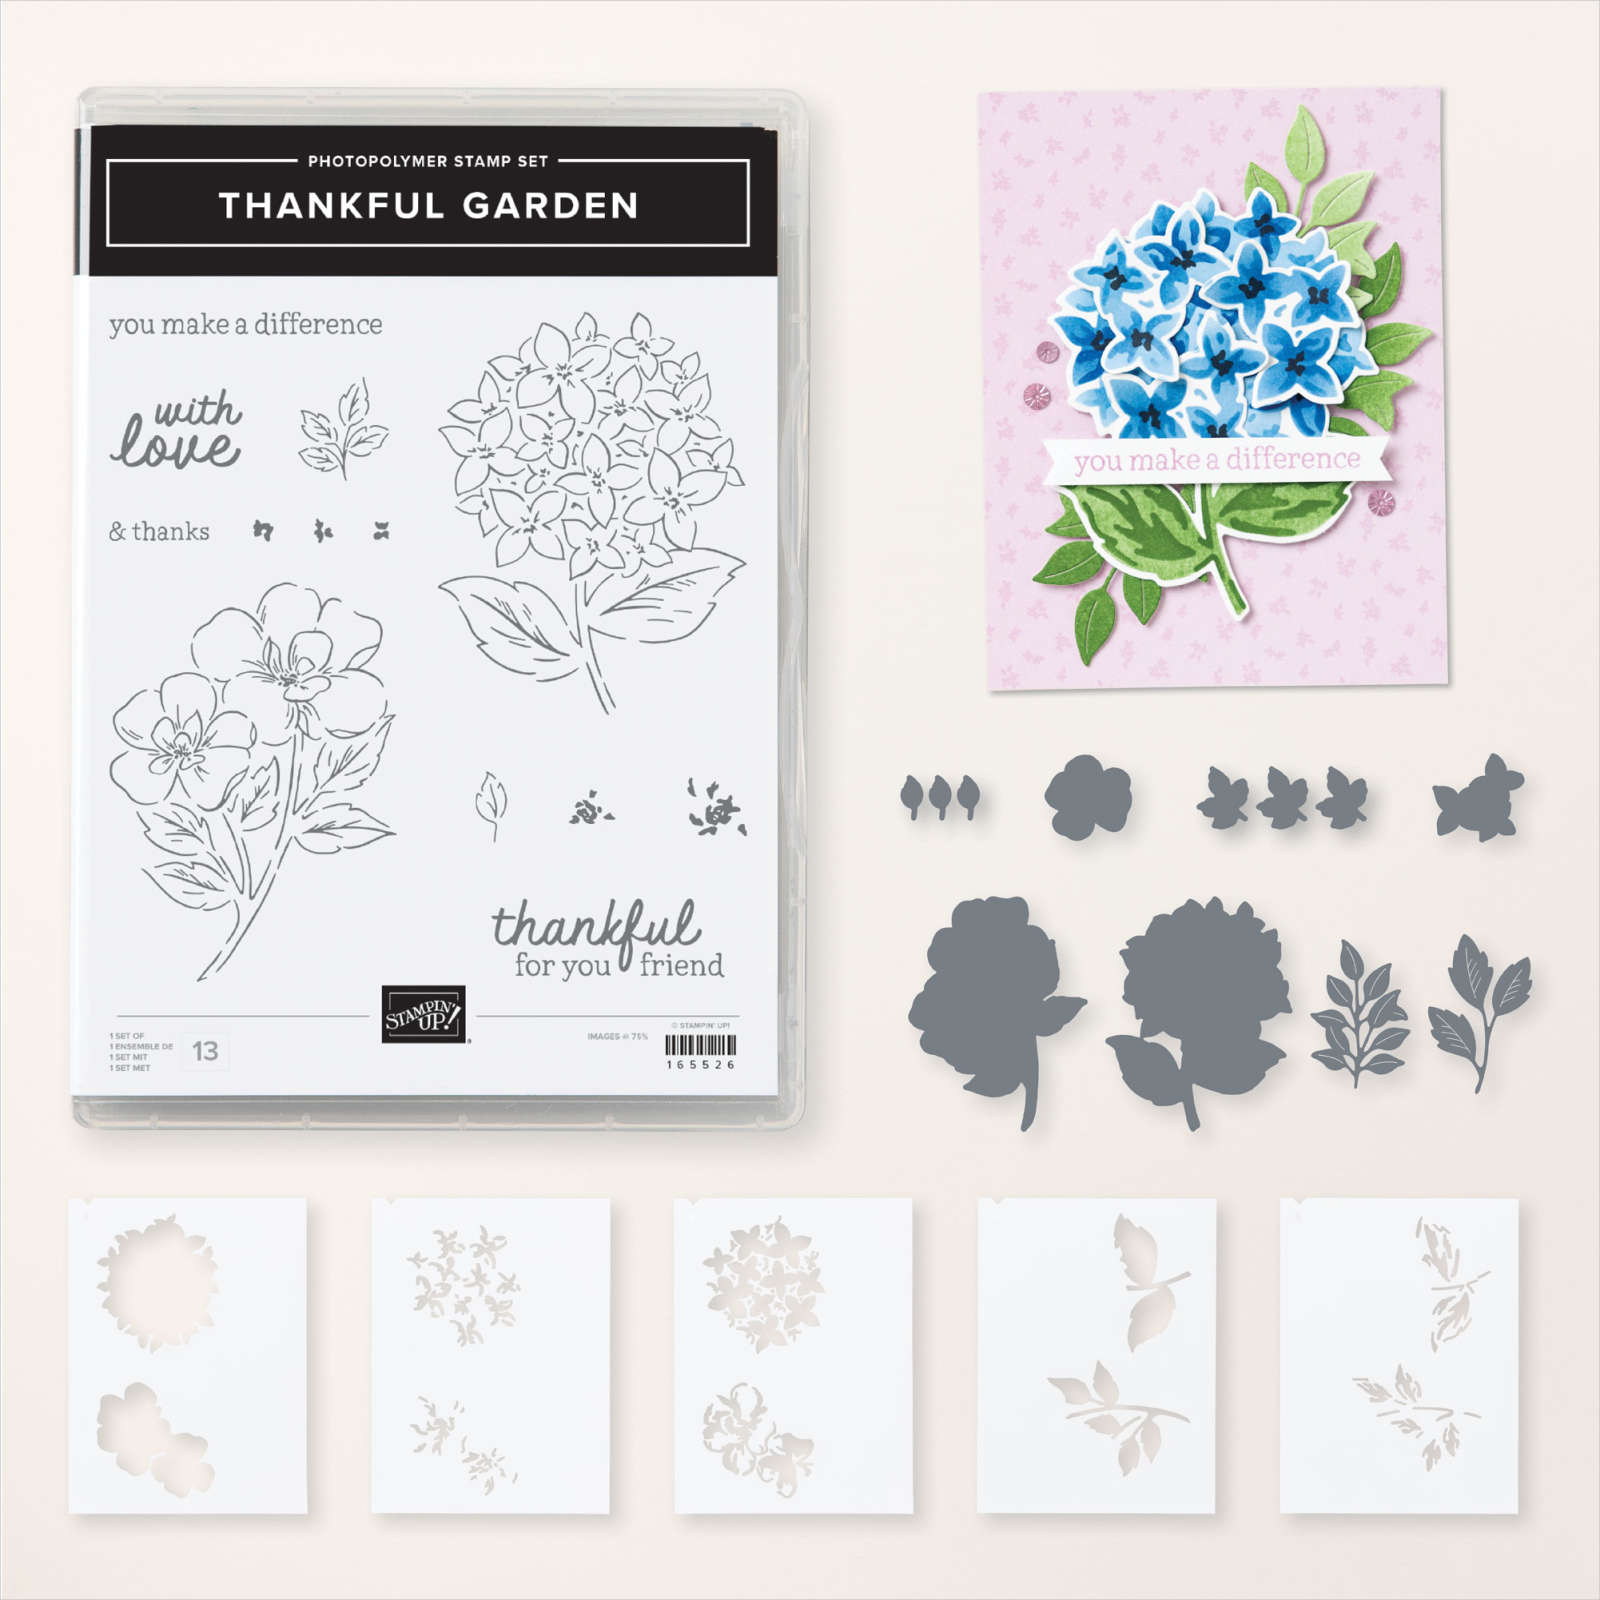
    I chose to feature the Thankful Garden bundle seen here and the Lovely Garden Designer paper seen here. 

    I love these stencils!  They are so easy to work with. Watch the video below for a special tip on lining them up.

    This card looks like it might be hard to assemble but with the center 'brace' that helps the center panel pop out it's quite simple.  It will really help you understand how to make it if you watch the video tutorial below. 

    My colors include Melon Mambo with Blueberry Bushel. Here's how the card looks with the inside brace added before I adhered the center panel: 

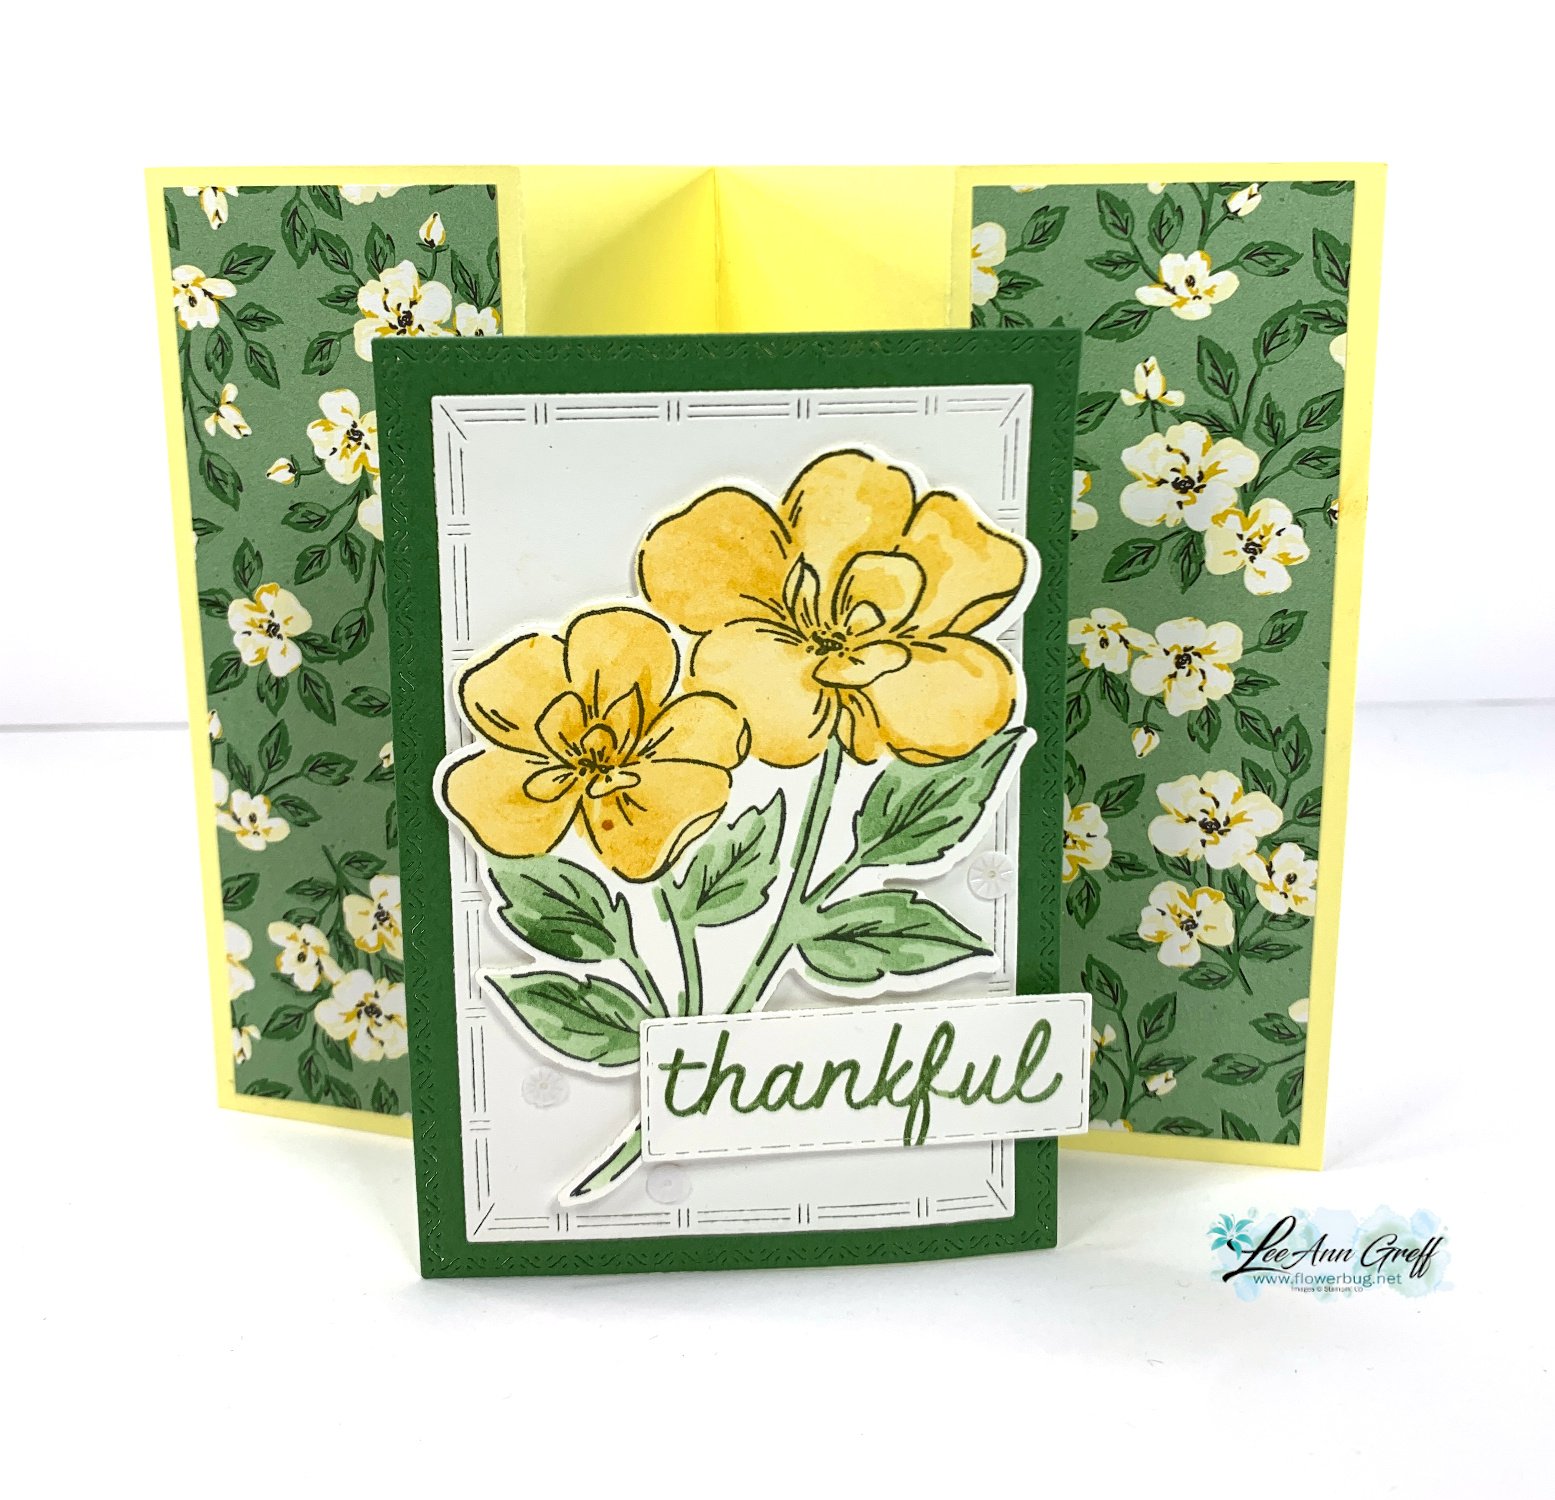
    I made the yellow/green version on the video to show a different color combo.  

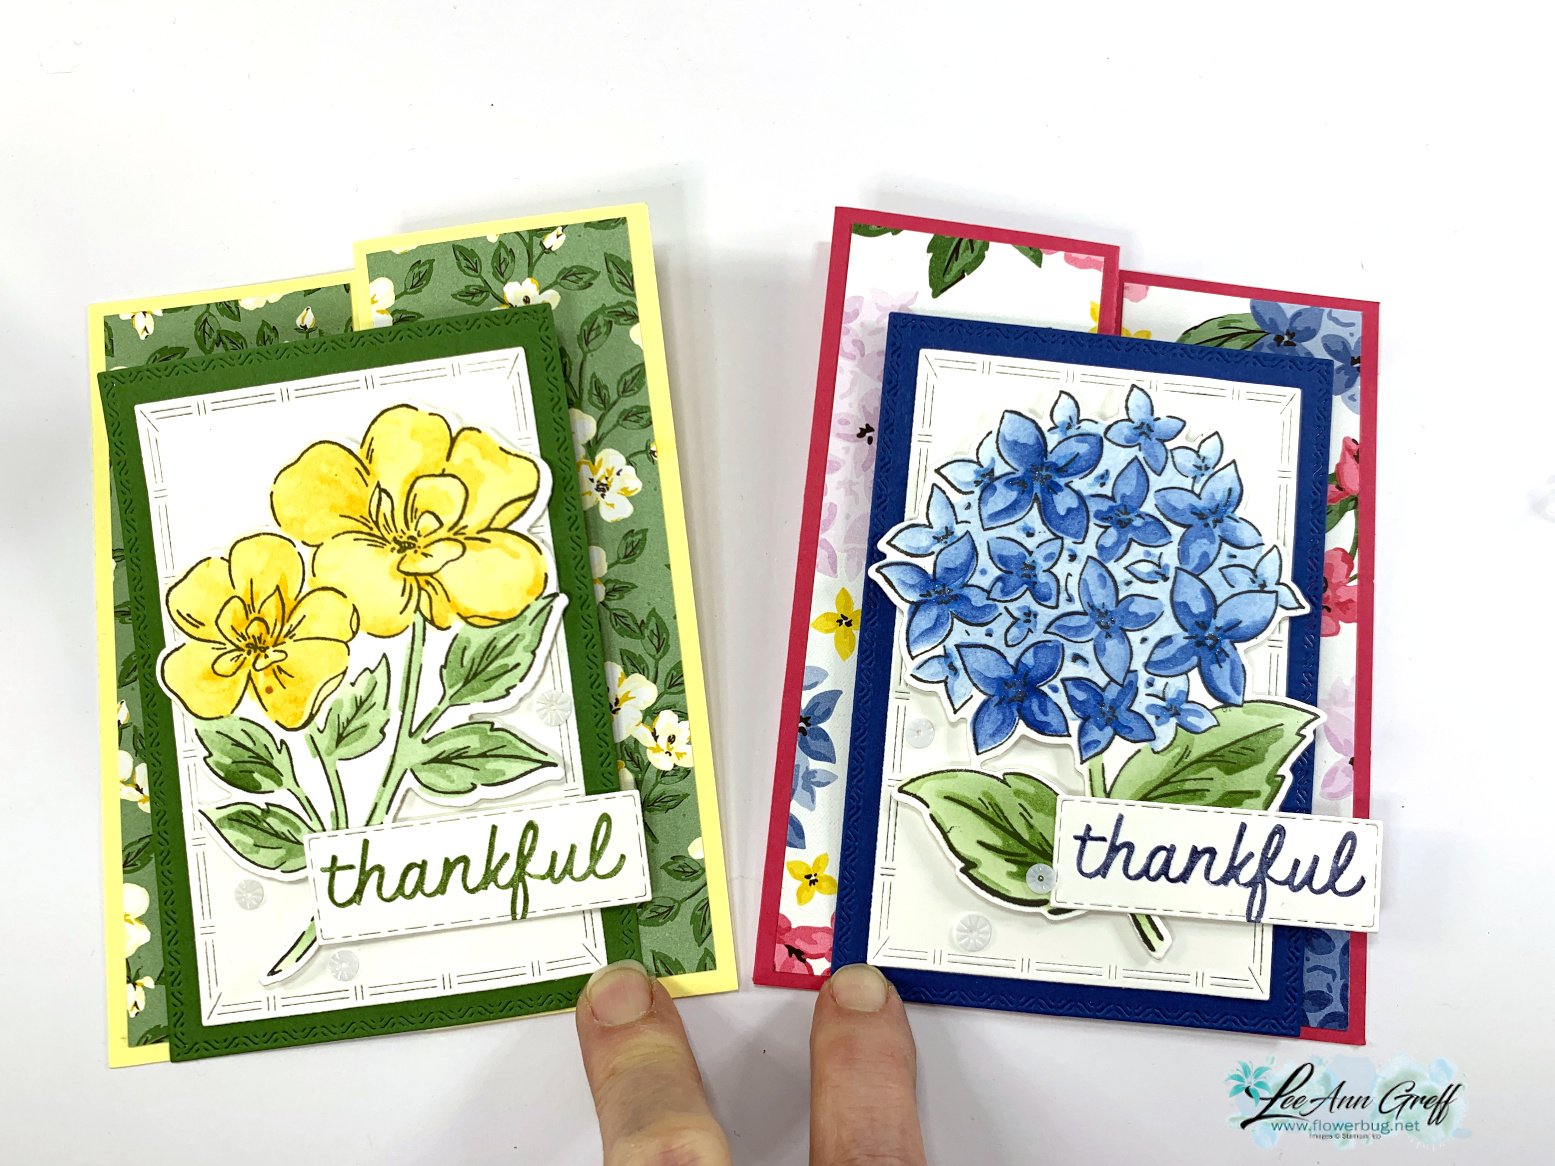
    I colored the flowers by using the stencils included in the bundle. So easy and makes you look like a true artist with the high and low lights added with blending brushes.  

    Here's the free project sheet with measurements & step by step directions.  Click on the following link to download or print it.  Download Thankful Garden Center pop up card 

    Which one do you prefer?  

    Below is the video tutorial for this card and another unique fun fold using the Lovely Garden designer series paper.  

    ~~~

    March Specials:

    *current host code link:  

    PNQMAWXD

    Get a free Floral Delight tutorial with any online order in March!

     Free Iridescent Foil gems!

    Leave a Reply

    Your email address will not be published. Required fields are marked *

  • Delicate Wings card kit to go; limited quantity left


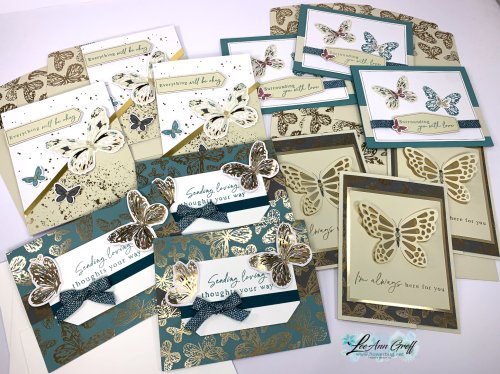
    I loved the Delicate Wings Paper Pumpkin kit so much I bought a bunch of refill packages.  I transformed the kit from 9 cards to 12 and have some available in my store.  They're so pretty!  

    If you love butterflies and glitz you'll enjoy making these pretty cards.  It includes the following:

    • pre-cut or punched layers for all 12 cards
    • a share of Iridescent Foil gems
    • a share of Pretty Peacock & Gold metallic ribbon
    • the PDF tutorial with directions, measurements, photos & a supplies list

    The tutorial will be emailed to you immediately after payment.  Please check your spam folder.  The kit will be mailed out within a few days. 

    You will need greeting stamps, adhesives and a paper trimmer. 

    You can see this pre-cut kit to go here.  It's $29 plus shipping.  If you're already signed up to receive a kit this month message me and you can pay without additional shipping costs.  

    I have many other kits available right now; grab two or more and save on shipping!  www.flowerbugshop.com 

    ~~~

    March Specials:

    *current host code link:  

    PNQMAWXD

    Get a free Floral Delight tutorial with any online order in March!

     Free Iridescent Foil gems!

    Leave a Reply

    Your email address will not be published. Required fields are marked *


Notice: LeeAnn Greff, Independent Stampin’ Up! Demonstrator, Manager. The content of this website is my sole responsibility as an independent Stampin’ Up! demonstrator and the use of, and content of, the classes, services, or products offered on this website is not endorsed by Stampin’ Up! Copyright 2025