/


Latest Post

Quarter Diagonal cards; watch on FB Live tonight!


If you're like most stampers you have a LOT of Designer Paper stocked up.  I've been on a mission to use mine up and help you with ideas to use yours too.  There's always more we want; so here's a way to use some so you don't feel so bad about purchasing more!  Ha! 

Below are the cards we're making tonight on Facebook Live – Stamp with Me.  It's the 2nd and 4th Monday nights each month at 7:30 pm CT.  Join me here. 

Be sure to follow my FB page so you get notified when I'm live.  

I chose to use the Magic in the Night designer paper; seen here in our Halloween DSP in the 2020 Holiday catalog.  I love the colors of Pretty Peacock, Cajun Craze, Black, Blackberry Bliss and White.  And as you can see some of the designs are not all Halloween!  

The greetings and die-cuts are from the Celebration Tidings Bundle seen here.  I love that it has multiple holidays and these dies are amazing! 

Here's how you create the diagonal layers; it's so easy! 
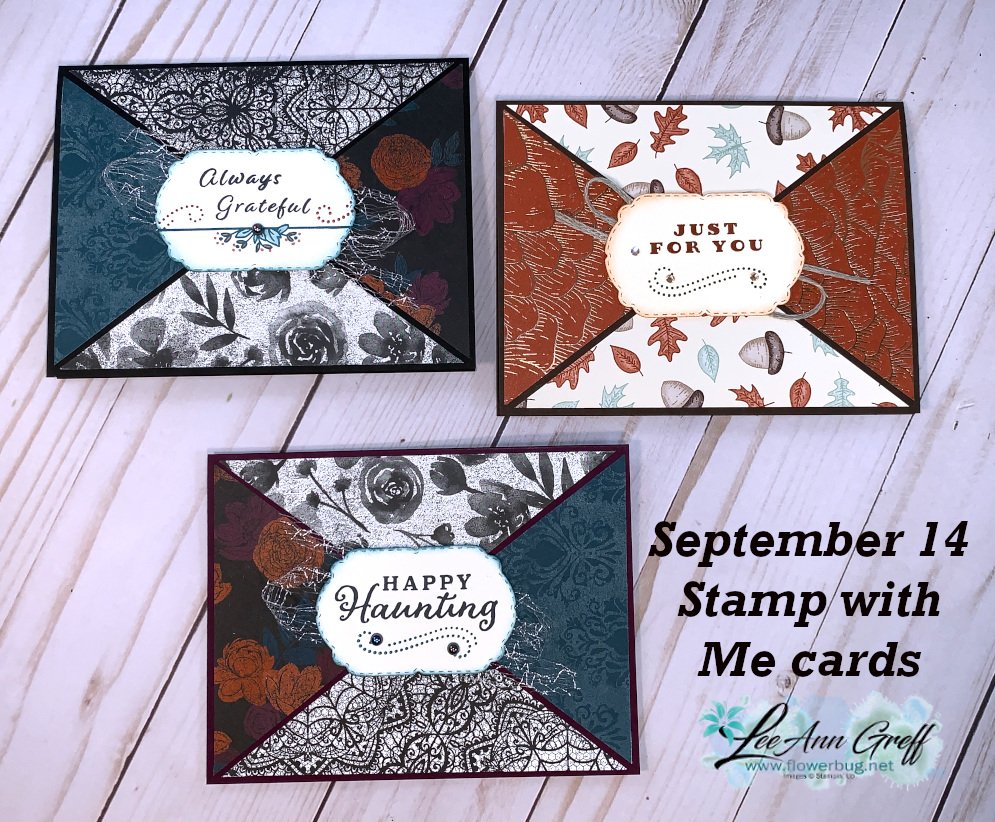
For 2 cards, cut 2 pieces of Designer paper (or card stock) at 4" X 5 1/4". Then cut each in half on the diagonal. Next put those pieces back together on your paper trimmer to reform the full piece (just placing; not gluing) and cut on the diagonal in the other direction. Now you'll have 4 triangle shaped pieces from one 4" X 5 1/4" piece.
I chose two coordinating pieces of DSP that would work on all 4 sides and that makes 2 full card fronts.

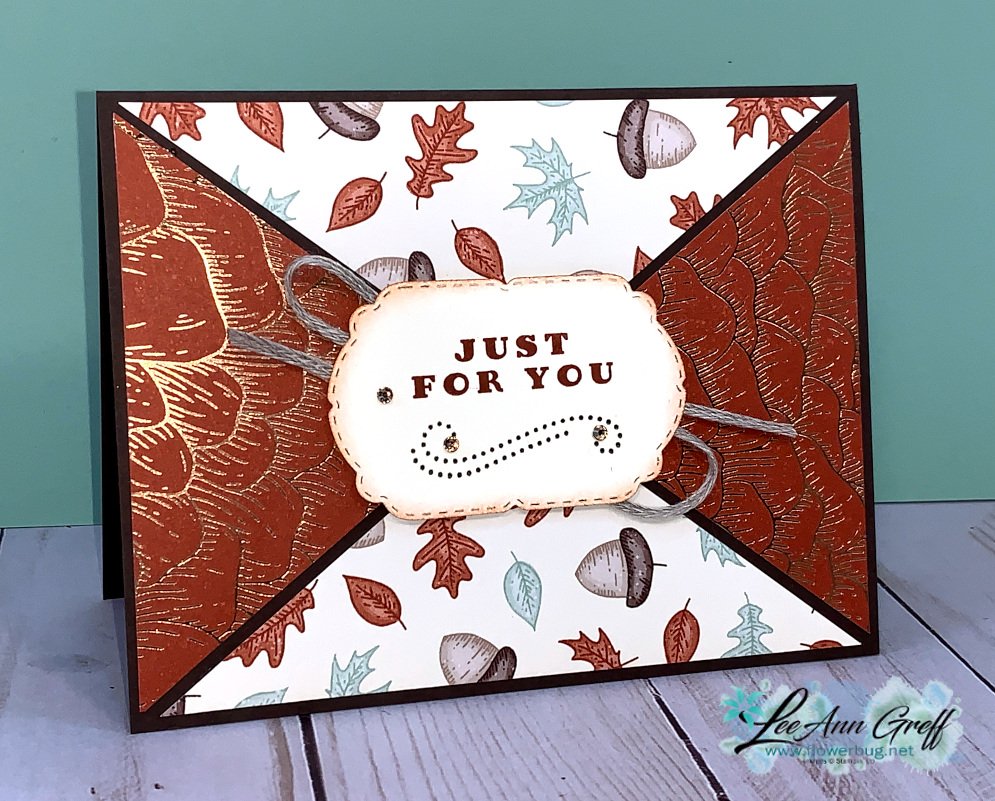
For the card below I chose to use the Gilded Autumn specialty DSP.  The colors here are Early Espresso, Cajun Craze and Vanilla. 
 

~~~

Current Host code is 7VPEDARH

Get a free package of All the Trimming embellishments in September with an

online order over $55. 

*Remember that if your order is over $99 you should consider purchasing the Starter kit here.

And if it's over $150 you should definitely get the Starter kit.  

Order online here

 Get my Beautiful Autumn pdf tutorial free with any online order in September!


It includes directions, photos and measurements for 13 cards!
 

All Posts

  • July Specials


    Here’s the news on the July Stampin’ Up! specials:

    There are new Online Exclusives out this month! They include florals, Fall, Halloween and Christmas! See them all here.

    Here are a few links & graphics of two of the suites:

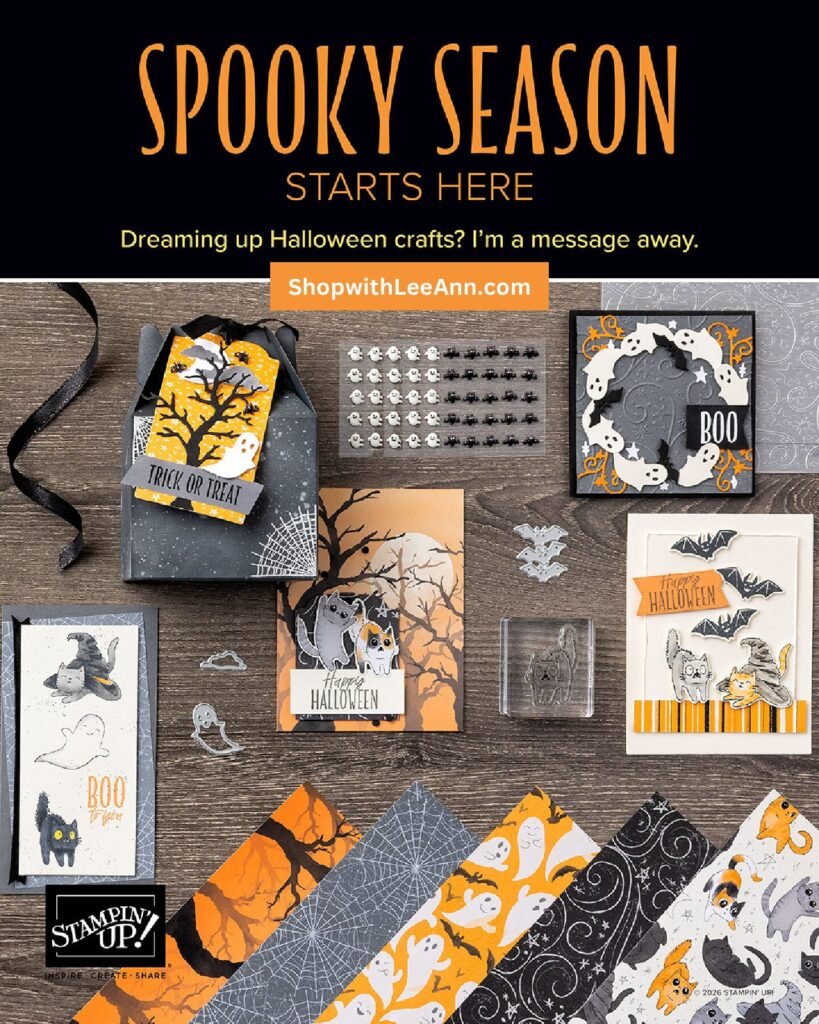
    You can see the Spooky Season suite here.

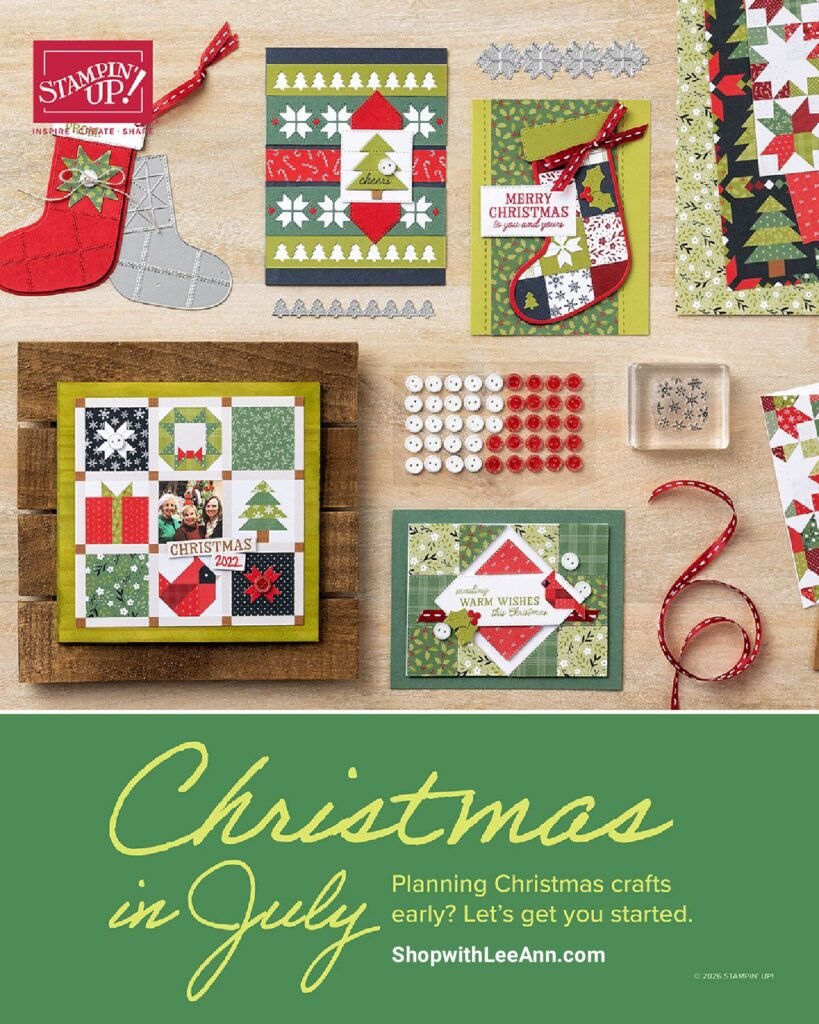
    See all of our Christmas products here!

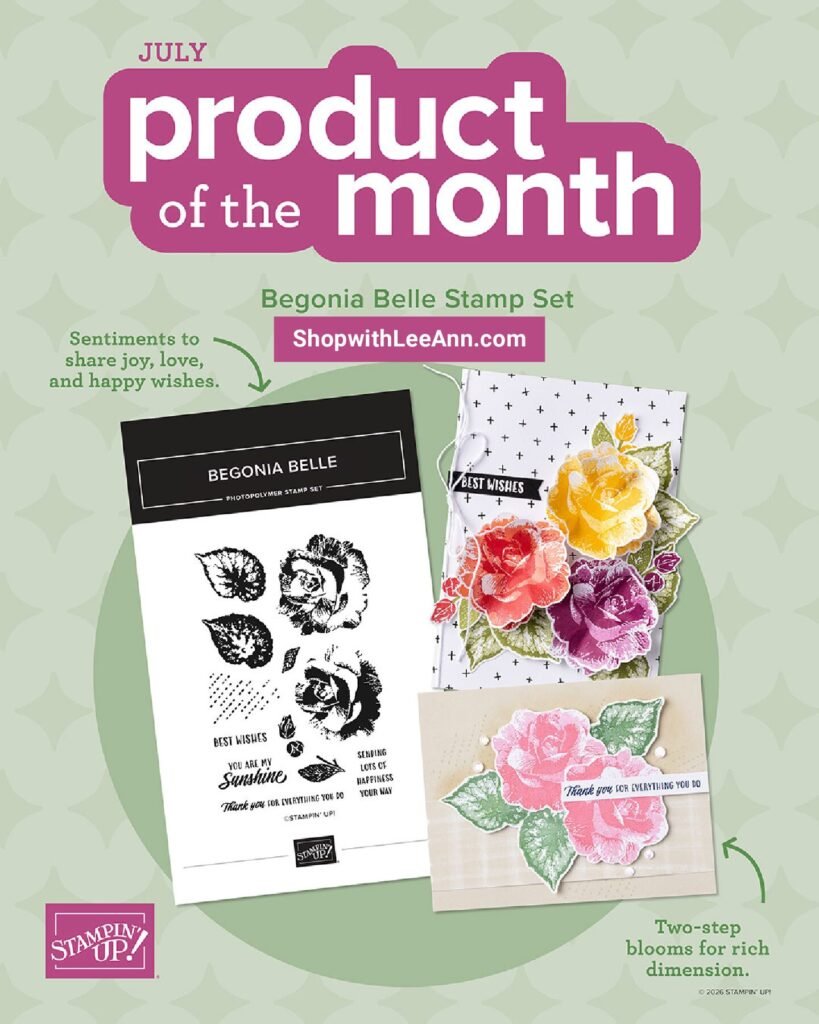
    Our newest Product of the Month is this beautiful Begonia Belle stamp set: It’s just $5 once you hit the $75 mark in your shopping cart!
    See it here

    We have two new kits in our Kit Collection:

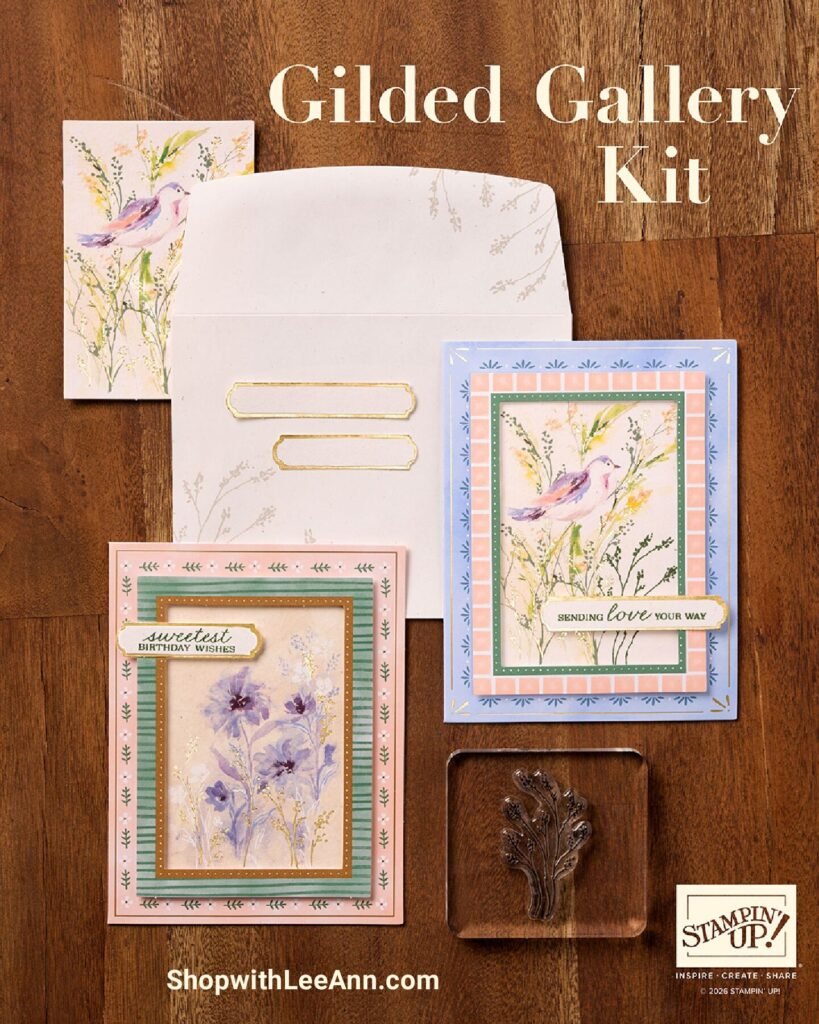
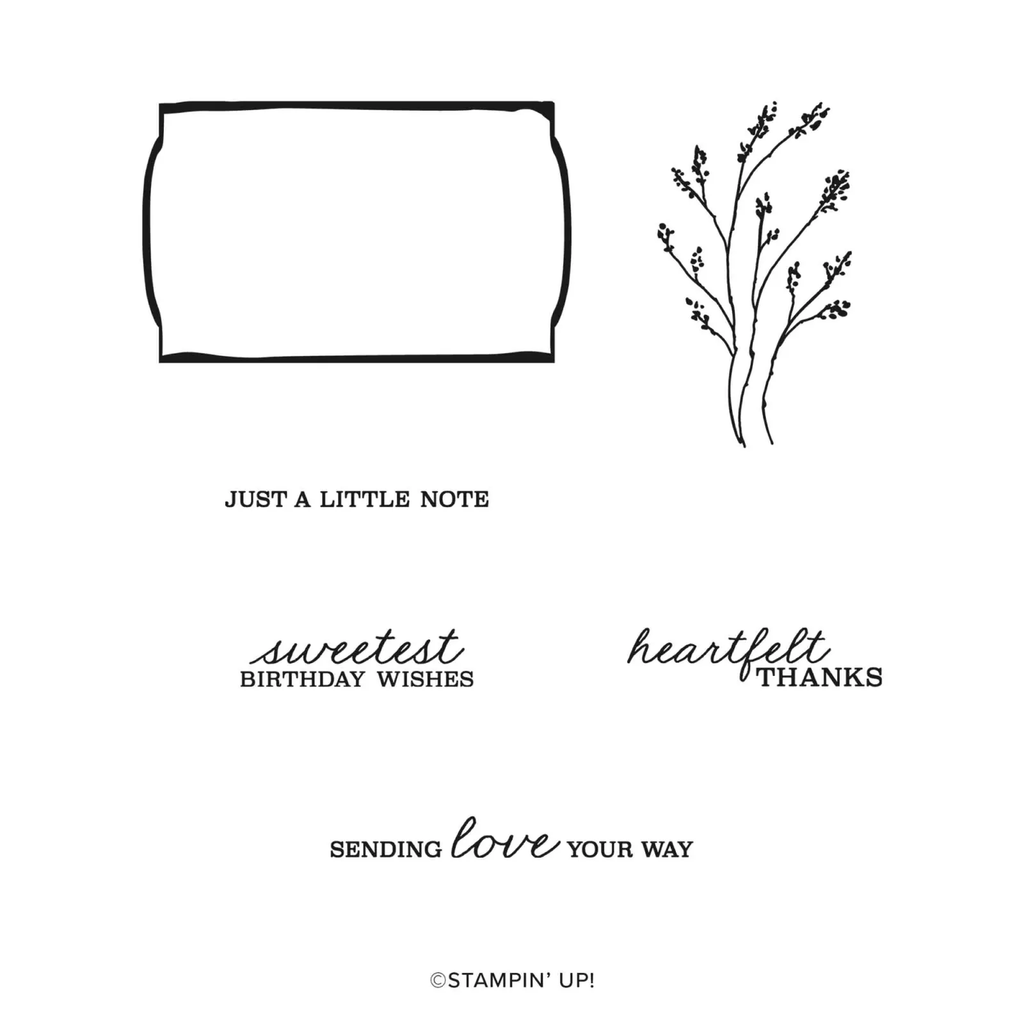
    The Gilded Gallery card kit can be seen here. It’s $25, makes 10 cards with envelopes and includes a beautiful stamp set and ink spot.

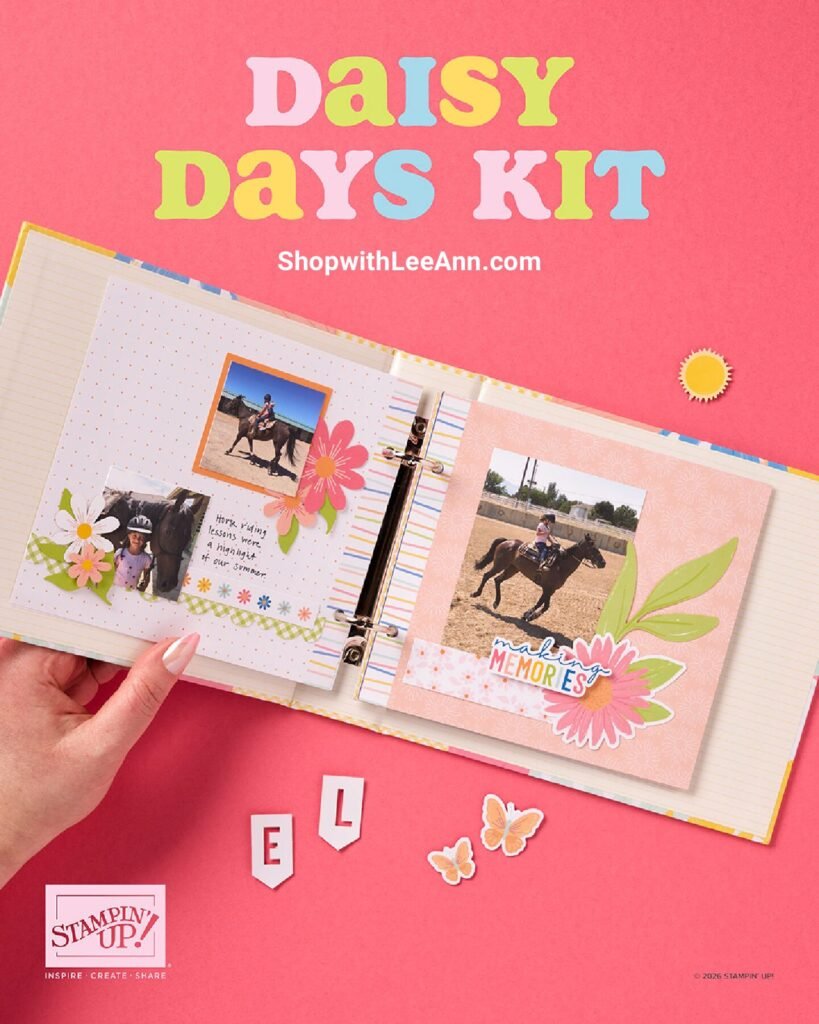
    The other kit is a fun scrapbook album called Daisy Days:

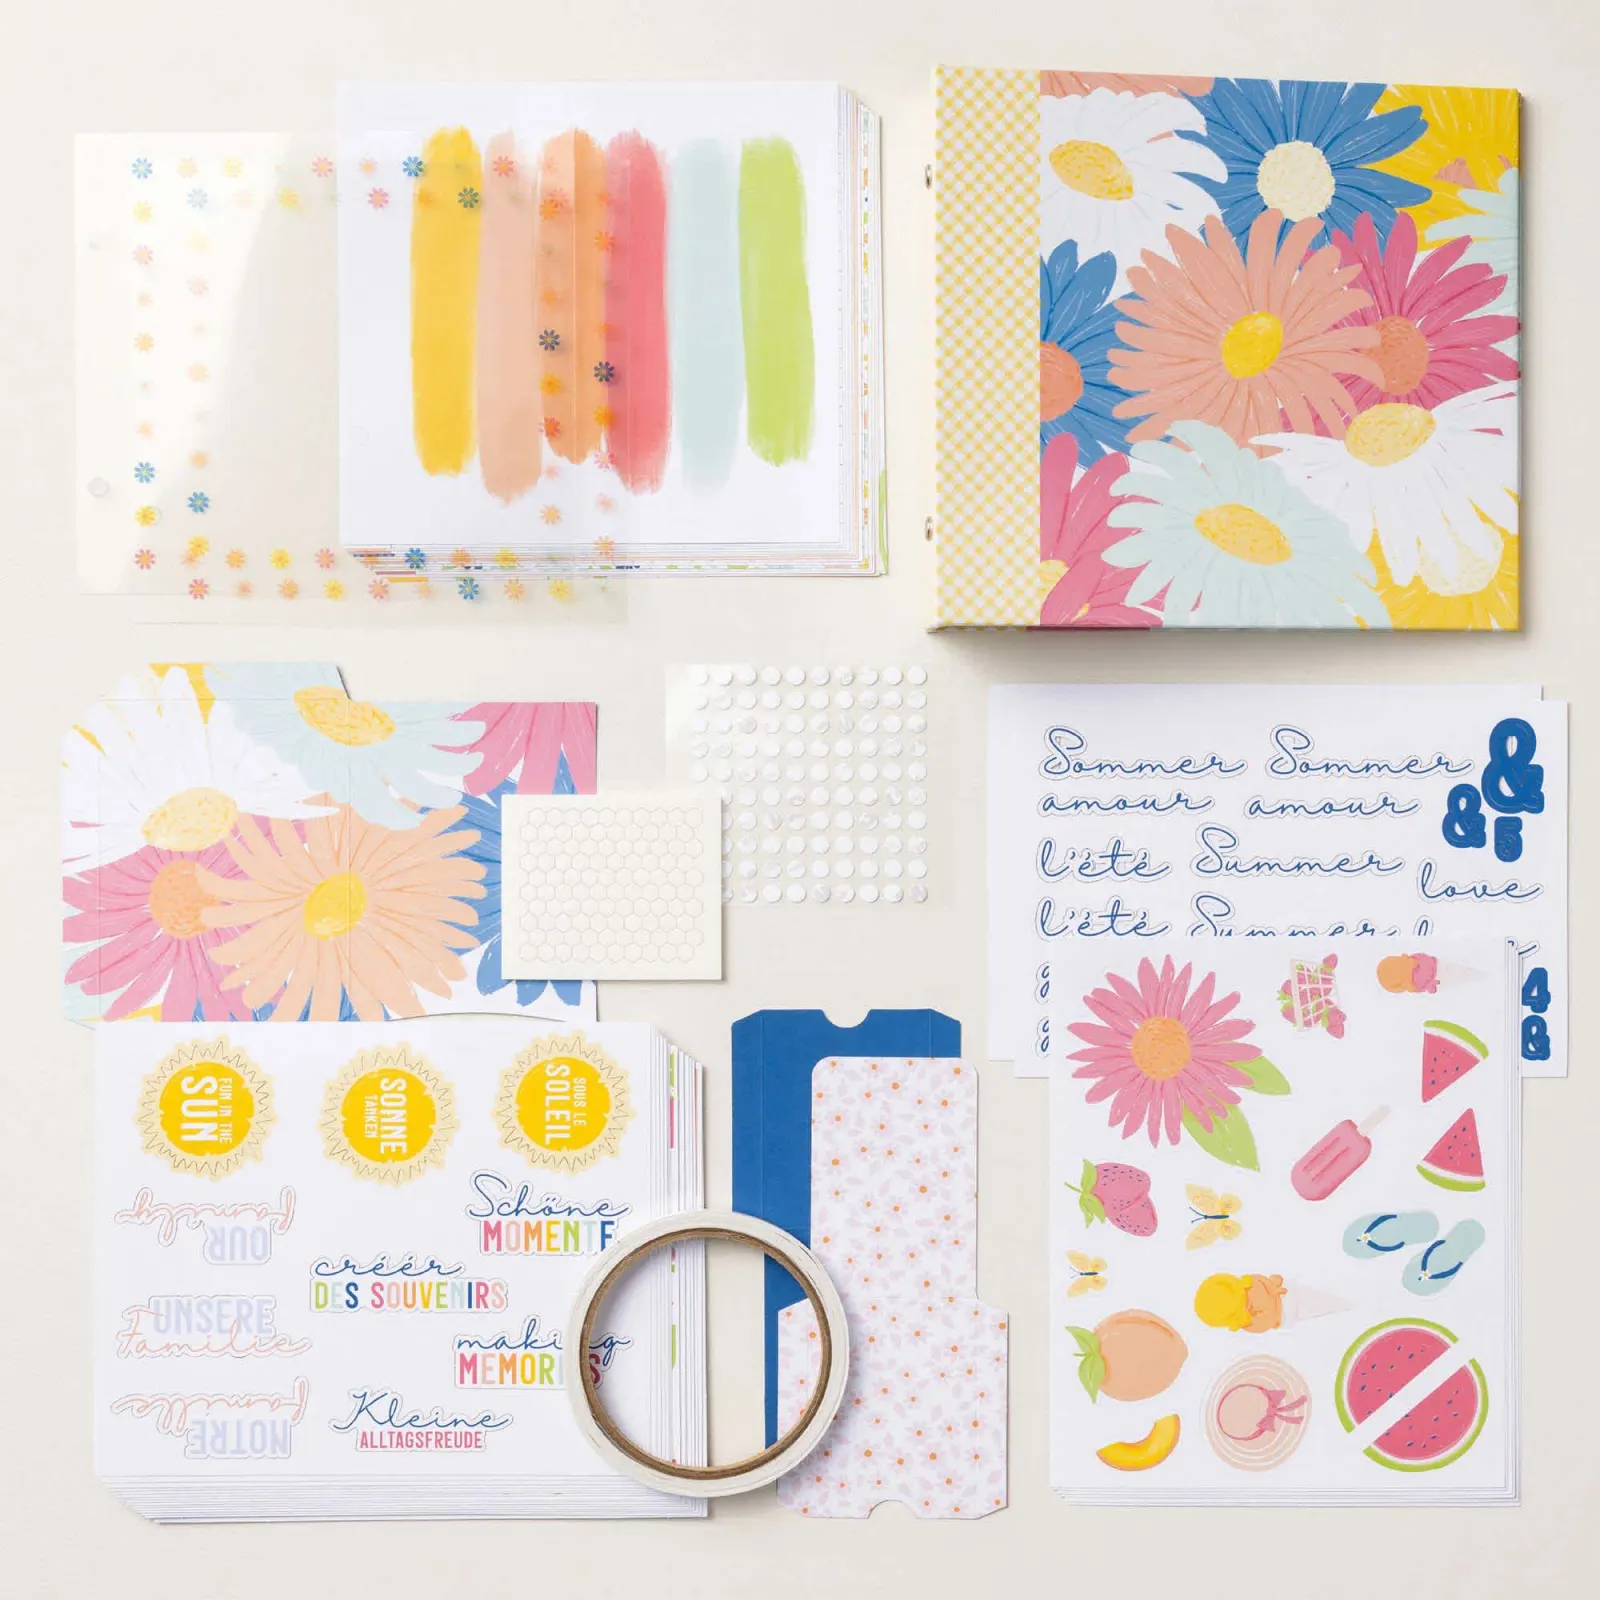
    See it here. It includes the following:

    DETAILS
    – Makes 1 album with 28 pages
    – Album size: 7-3/4″ x 7″ x 1-7/8″
    – Page size: 6.5″ x 6″
    – Colors: Blueberry Bushel, Crisp Cantaloupe, Crushed Curry, Granny Apple Green, Pool Party, Strawberry Slush, Timid Tiger
    – Sentiments printed in English, French, and German

    – Step-by-step instructions
    – Precut images and sentiments
    – Printed pockets
    – Acetate sheets
    – Adhesive

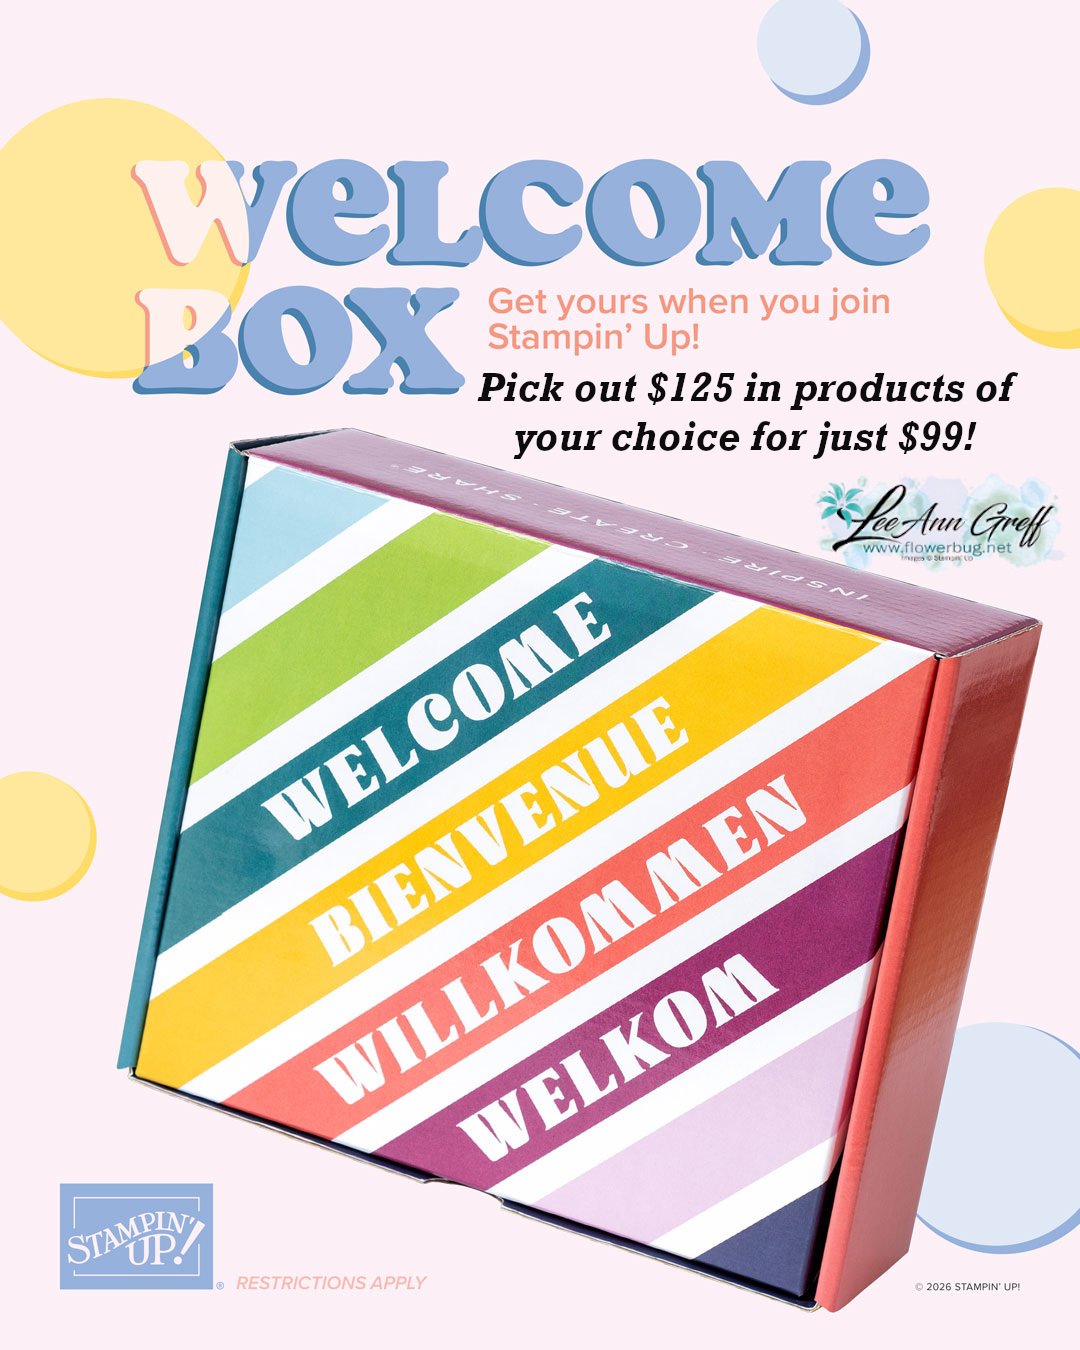
    And lastly is the new Welcome box!

    This is super exciting news! All first-time demonstrators (beginning July 1, 2026) will receive a surprise Welcome Box—a gesture of appreciation and a warm welcome into the global Stampin’ Up! creative community.

    Here is a video that shows what’s inside. But here are the details:

    What’s Inside the Welcome Box

    • A handwritten welcome letter from Sara
    • Stampin’ Up!-branded swag:
      • Pen
      • Pop-up pencil case
      • Pop-up waste basket
    • An exclusive card kit including:
      • Kit-sized stamp set
      • Full-size clear block
      • Classic Stampin’ Spot
      • Supplies to create eight “hello” cards

    Here’s the link to join my Team; it’s just $99 and you can choose up to $125 in products of your choice!

    Important Notes

    • The Welcome Box is exclusive to first-time demonstrators. Beginning July 1, 2026, anyone joining for the first time will receive a Welcome Box.
    • Current demonstrators have a one-time opportunity to order a Welcome Box after it launches. See below for details.
    • Rejoining demonstrators will receive all other joining perks (including the coupon code) but not a Welcome Box.

    Leave a Reply

    Your email address will not be published. Required fields are marked *

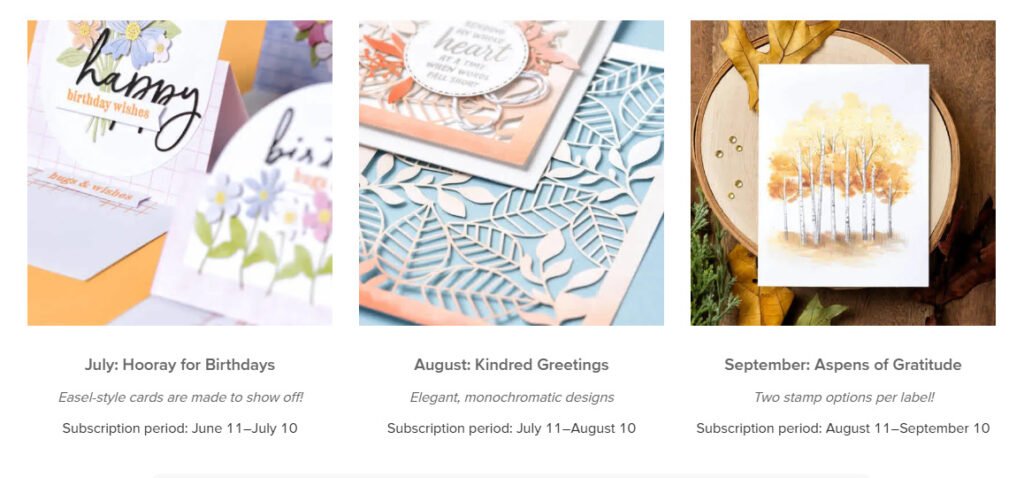
  • The next 3 months of gorgeous Paper Pumpkin kits – wow!


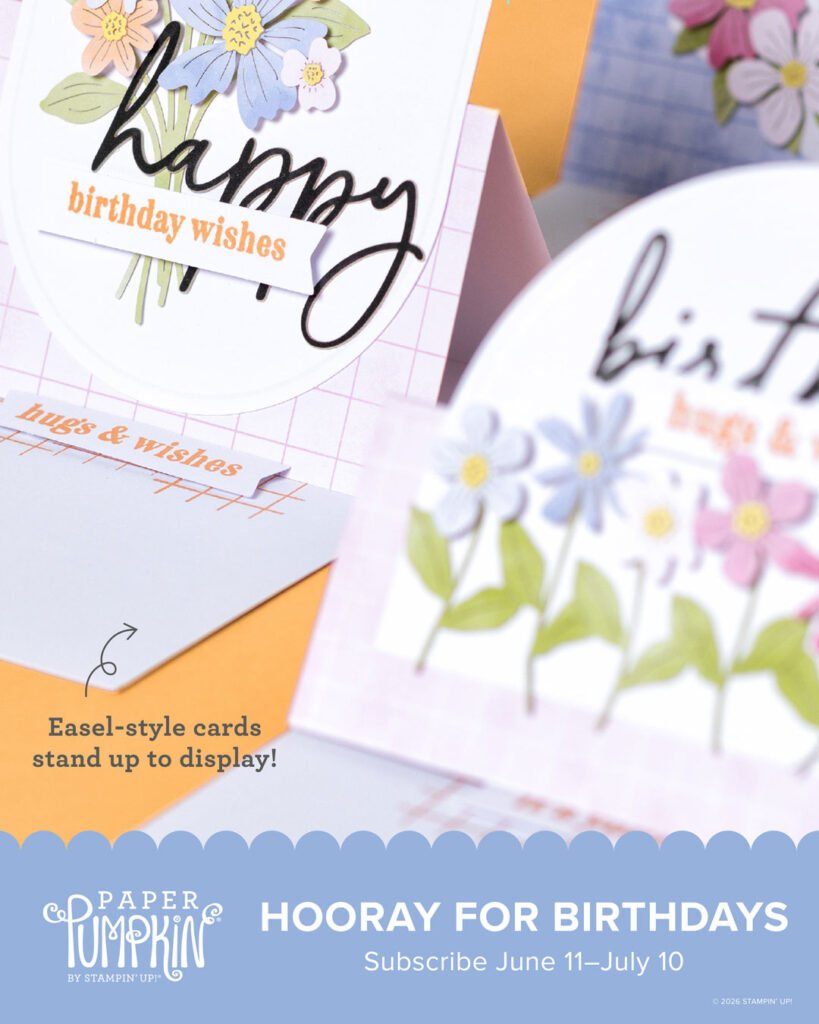
    If you love working with ready to create kits; you have to see the next 3 months of Paper Pumpkin card kits! I think they’ll be some of our favorites ever! Here’s a sneak peek:

    If you subscribe before July 10th you’ll receive the Hooray for Birthdays kit. Go here to subscribe and get a fun kit in the mail each month.

    Remember you are in charge of which kits you receive. You can pause or skip any kit at any time. We always get a hint of what the upcoming kits will be.

    Or get a pre-paid subscription in either 3, 6 or 12 months increments. It’s so nice to get a fun surprise in the mail each month! And you save when purchasing a pre-paid subscription plus earn FREE product credits! Shop here for this option.

    And remember that once you’re a subscribe you have access to all of the past kits, refills and extras available. A great perk!

    Here’s the flyer for the next 3 months. It describes each kit in detail.

    Leave a Reply

    Your email address will not be published. Required fields are marked *

  • Striking and fun Black Magic technique with video!


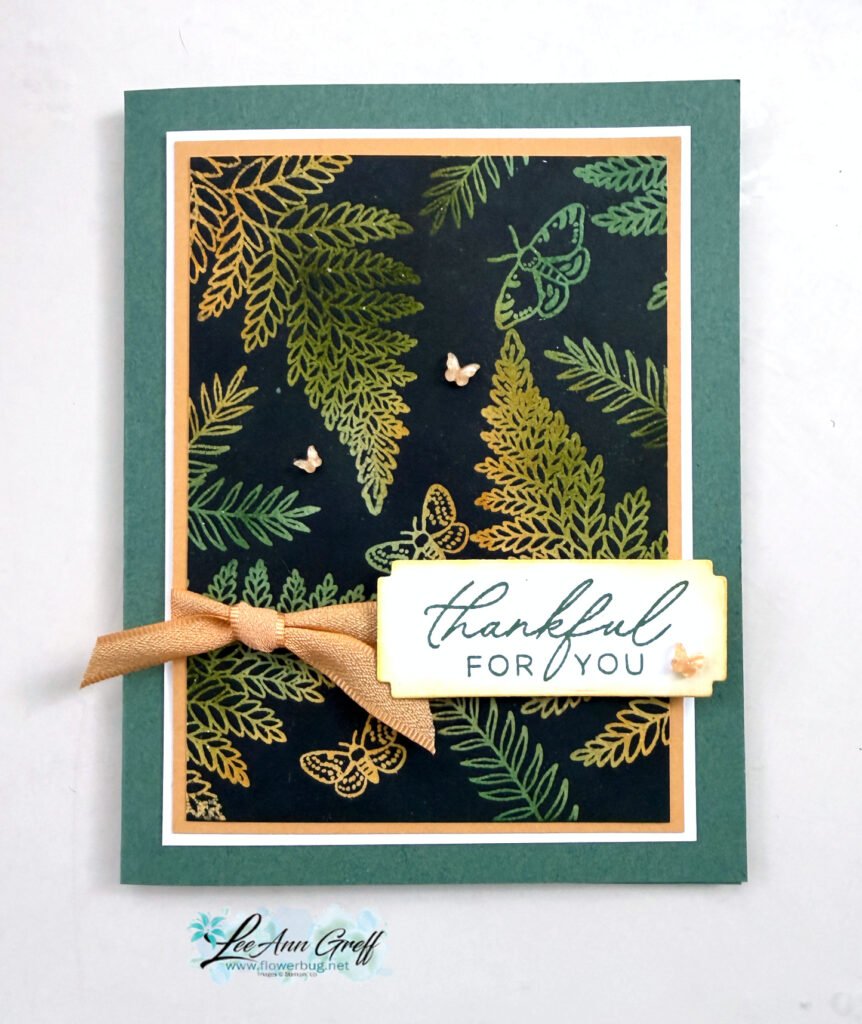
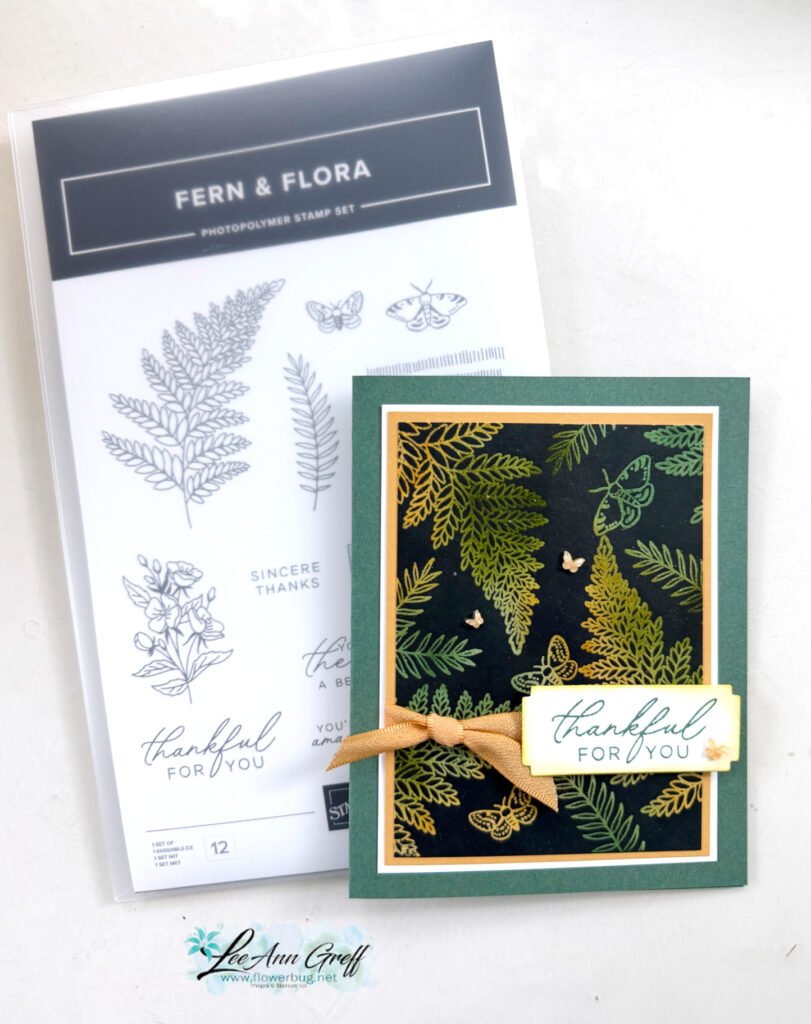
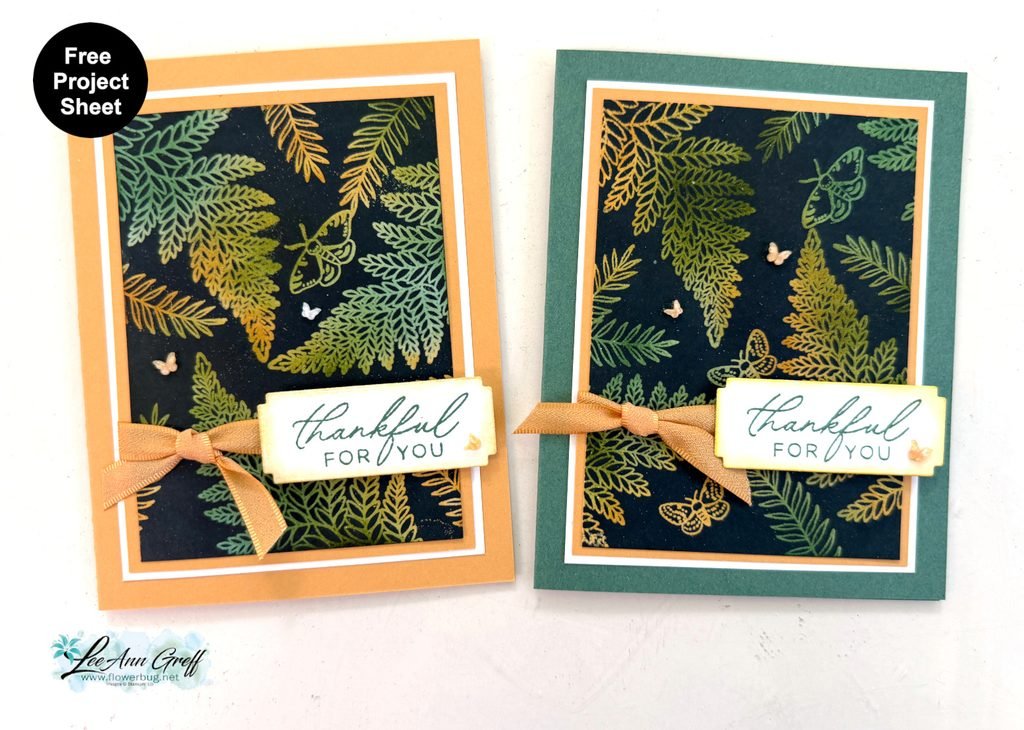
    I shared this pretty card on last week’s Live video. It’s the Black Magic technique!

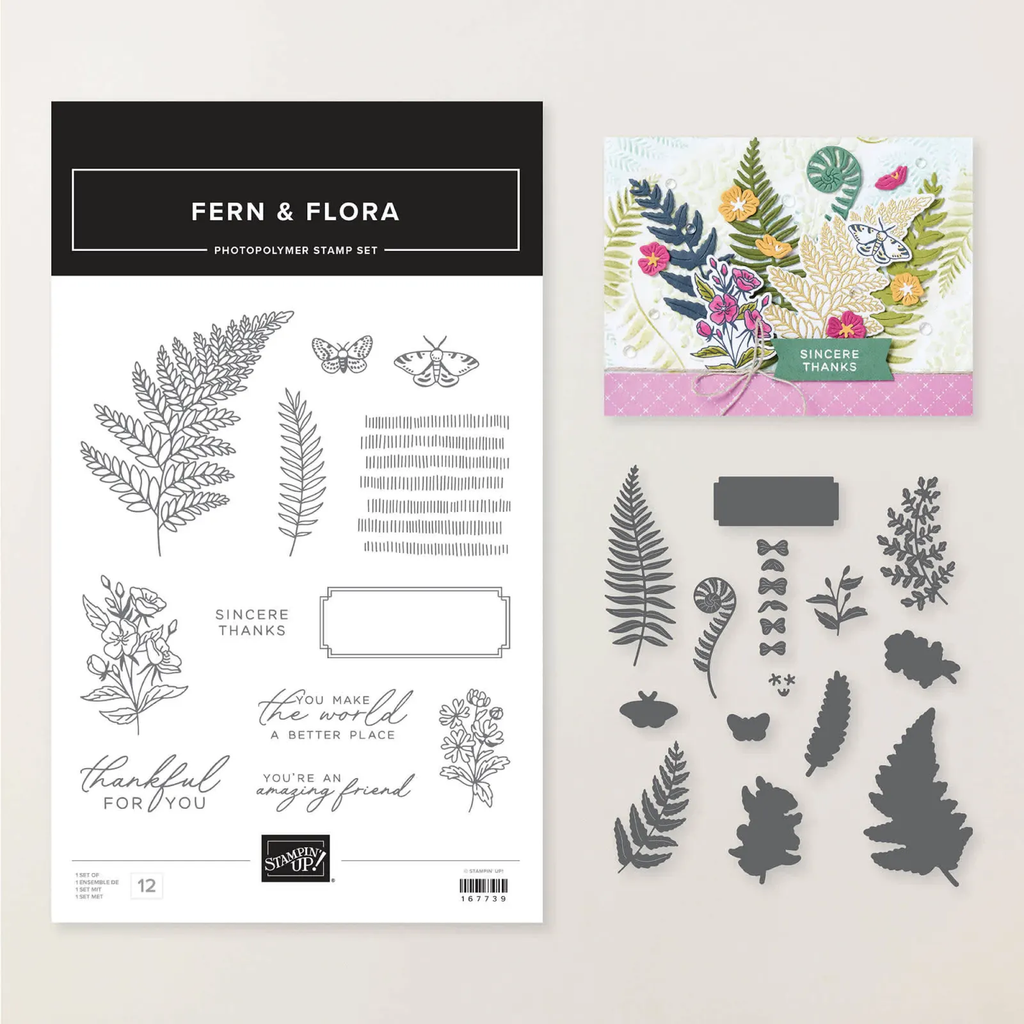
    My colors include Peaceful Pine, Old Olive (ink only), Golden Glow and White. It features the Fern & Flora bundle seen here.

    What is the Black Magic technique? It’s where you start with a light neutral piece of card stock and add color with sponges or markers. Then stamp images in Versamark and heat emboss with clear embossing powder. The magic happens when you cover it completely with a water based ink (here I used Secret Sea). Then wipe off the ink that does not ‘stick’ to the heat embossed areas. True magic!

    Watch my video tutorial further below to see this technique in action.

    On this card I used mostly the stamp images; only the greeting die-cut is from the dies. I added a few In Color butterfly gems and the pretty Golden Glow ribbon too.

    I created a free project sheet for this card; click here to download it or to print it.

    I made one with Golden Glow as the card base and the other as Peaceful Pine as the card base.

    Below is the video tutorial for this card and another.

    Leave a Reply

    Your email address will not be published. Required fields are marked *


Notice: LeeAnn Greff, Independent Stampin’ Up! Demonstrator, Manager. The content of this website is my sole responsibility as an independent Stampin’ Up! demonstrator and the use of, and content of, the classes, services, or products offered on this website is not endorsed by Stampin’ Up! Copyright 2025