/


Latest Post

Punch Party; get it FREE during Sale-a-Bration


Who doesn't love free!?  There is a bonus stamp set added to every order over $300 during Sale-a-Bration this year.  It's called Punch Party & is available to both customers and demonstrators too! One thing I love about Stampin' Up! is that us demonstrators enjoy the same perks as customers! 
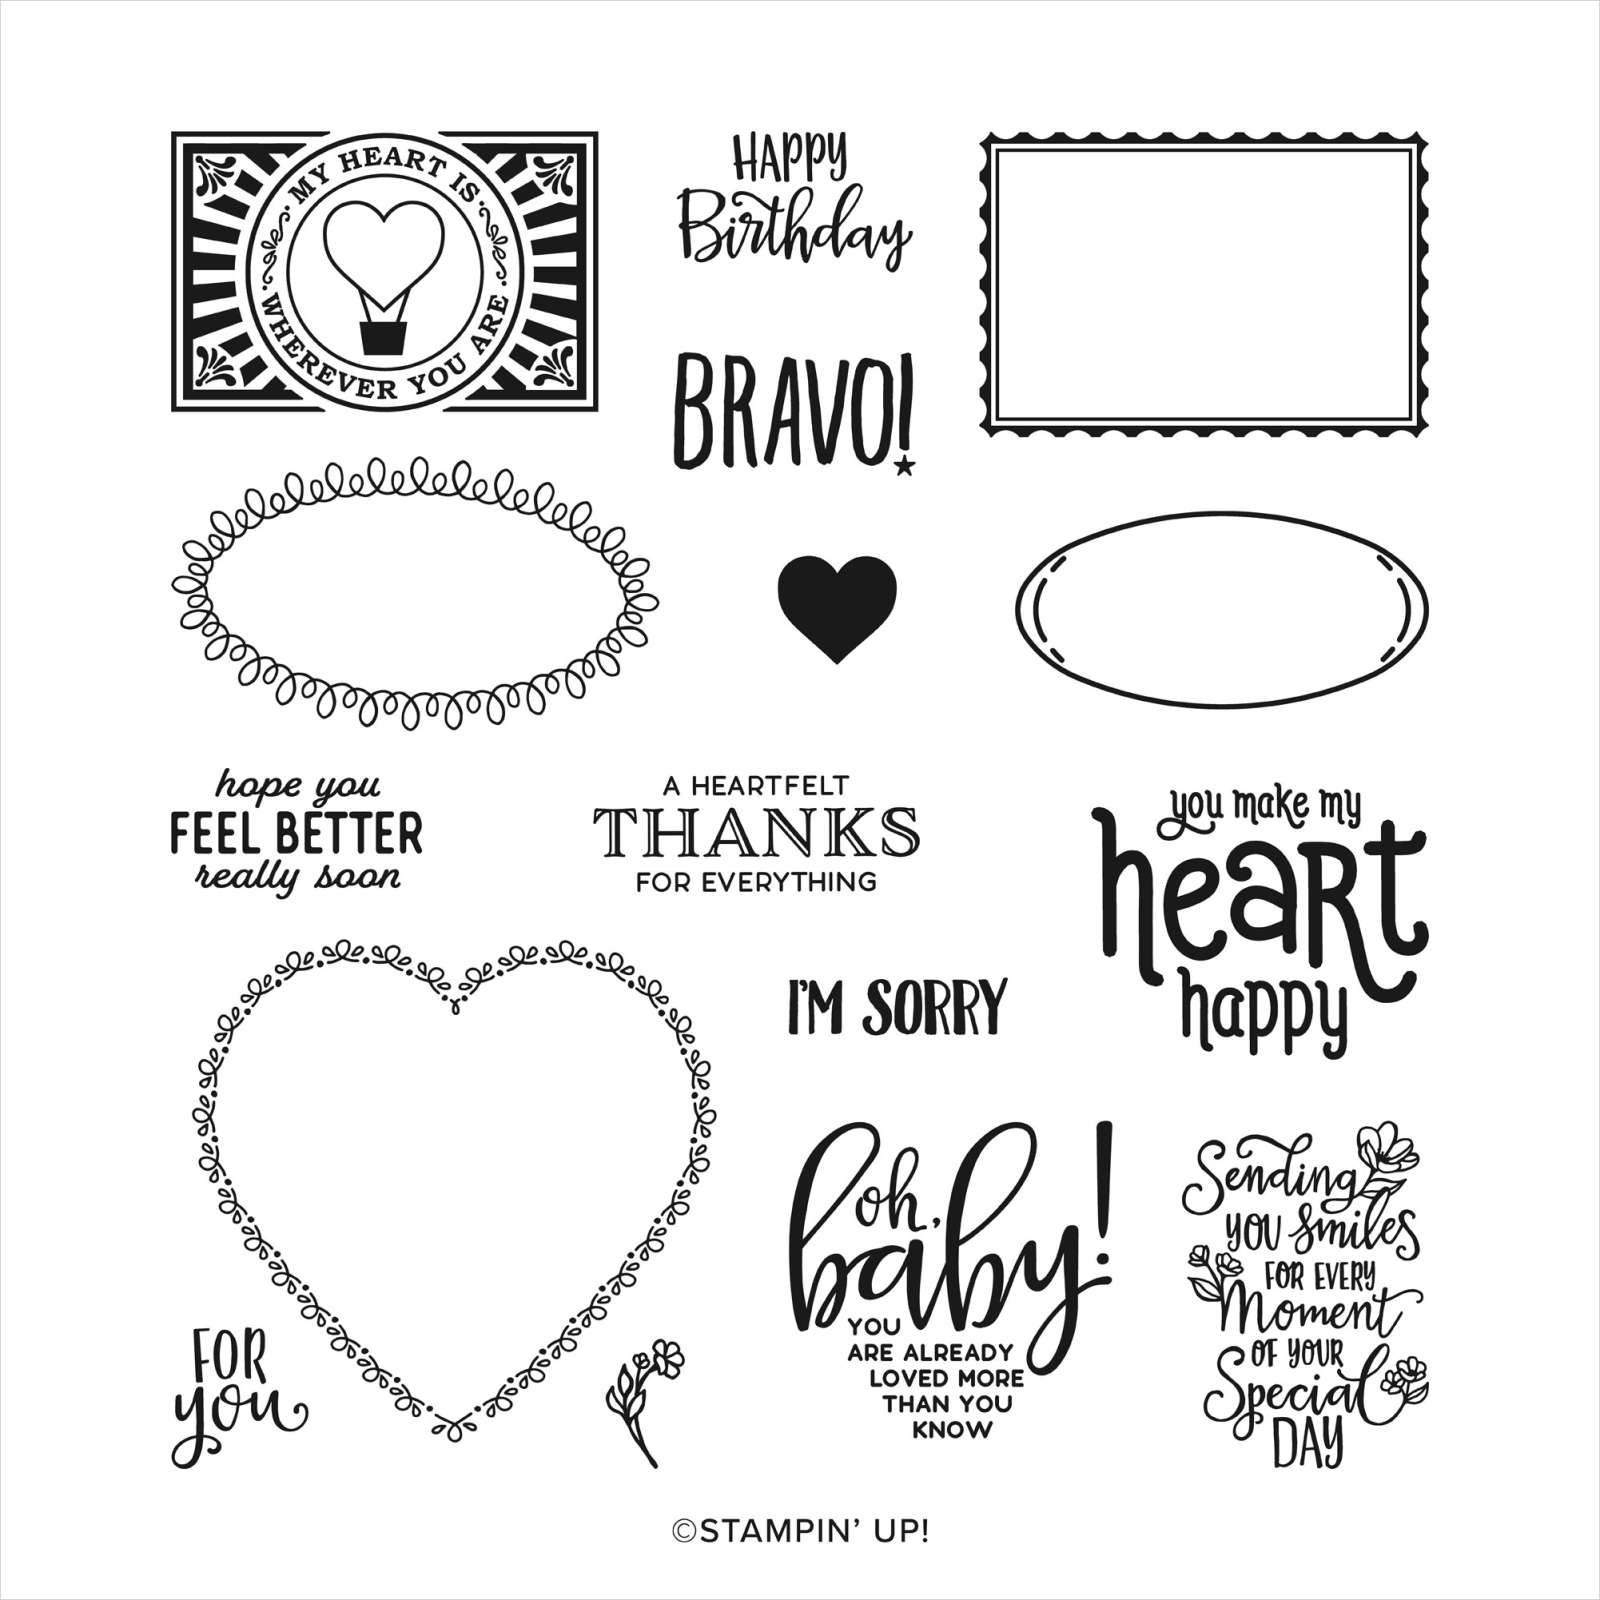
I was able to pre-order this set during December; another favorite perk of being a Stampin' Up! Demonstrator.  
Details:

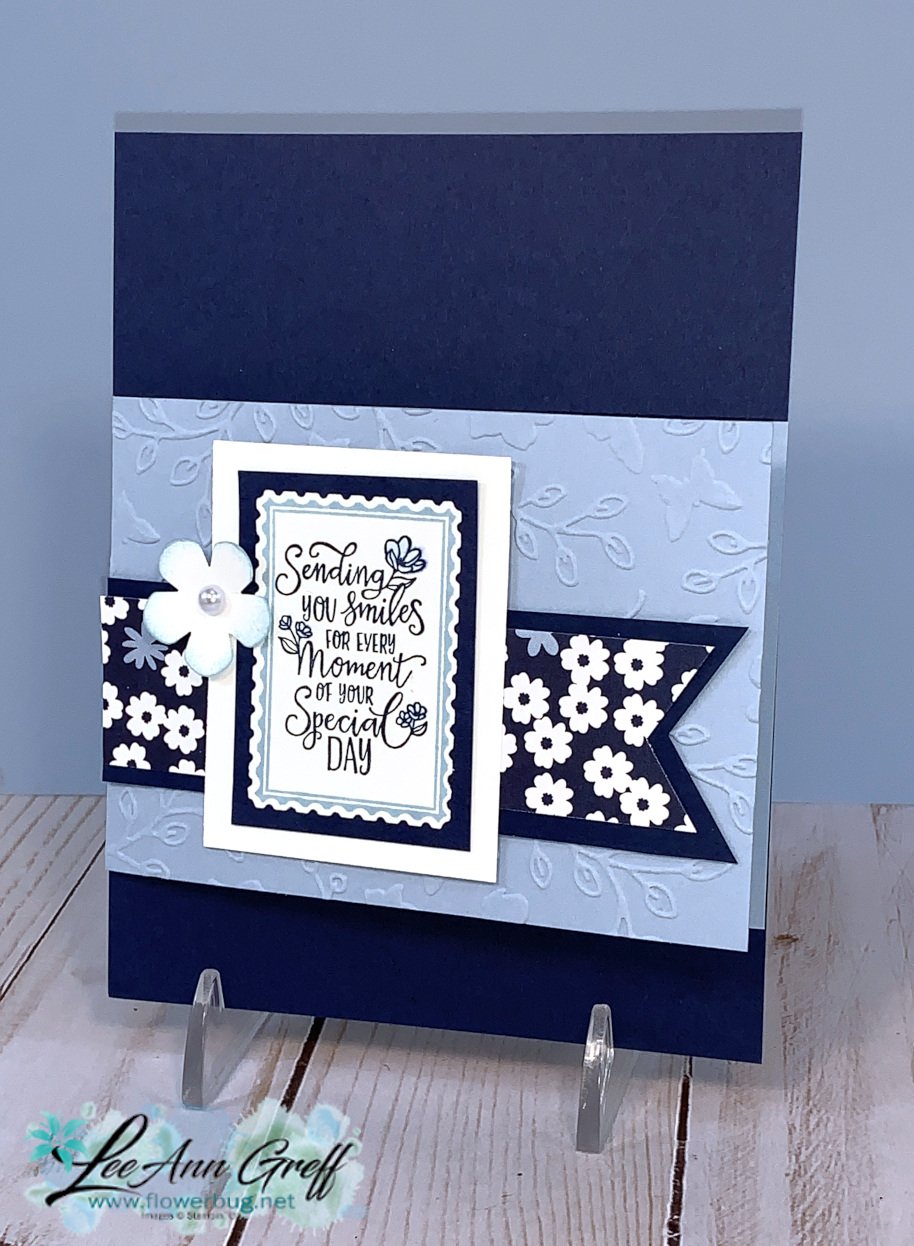
  • I also used a new and FREE Designer Paper called Paper Blooms here.  The colors are Seaside Spray with Navy & White.  I use this pretty color combo often. 
  • Can you tell it's a fun fold?  The Seaside Spray is 3" X 8 1/2" scored at 4 1/4".  I added texture with the Meadow Moments embossing folder.  The Navy layer is a quarter sheet 5 1/2" X 4 1/4". 
  • I punched a white Small Bloom punch and added a pearl to the center.  It's sponged for a bit of color.  
  • The main image is stamped and punched out with the Rectangular Postage Punch. 

Here's a close up of this lovely stamped image. 

Have you considered purchasing the Starter kit and enjoying a discount on your Stampin' Up! products?  It's so rewarding to be a part of this fabulous company in multiple ways! 

Here are my top 10 reasons! 

1. Enjoy the discount of 20% off all products!
2. Early release and preordering!
3. Extra income while doing something you love!
4. Access to the Stampin' Up! website!
5. My exclusive team Facebook page, FB Lives, and in-person get togethers.
6. Fun team swaps for ideas. Monthly challenges & prizes.
7. Exclusive Facebook Page with Stampin' Up!
8. My team training and one-on-one training to help you get started and continue successfully! There is no limit on the training- it's as much or as little as you want!
9. Earn Stampin’ rewards towards products you love, by hosting in-person and online workshops!
10. Share your love of Stampin’ Up! products with others as you build your business with Stampin’ Up! and ME, your team leader!
 
So, why wait? Join my Flowerbugs team here!

Choose the Starter Kit for $99; pick out $125 in product of your choice!

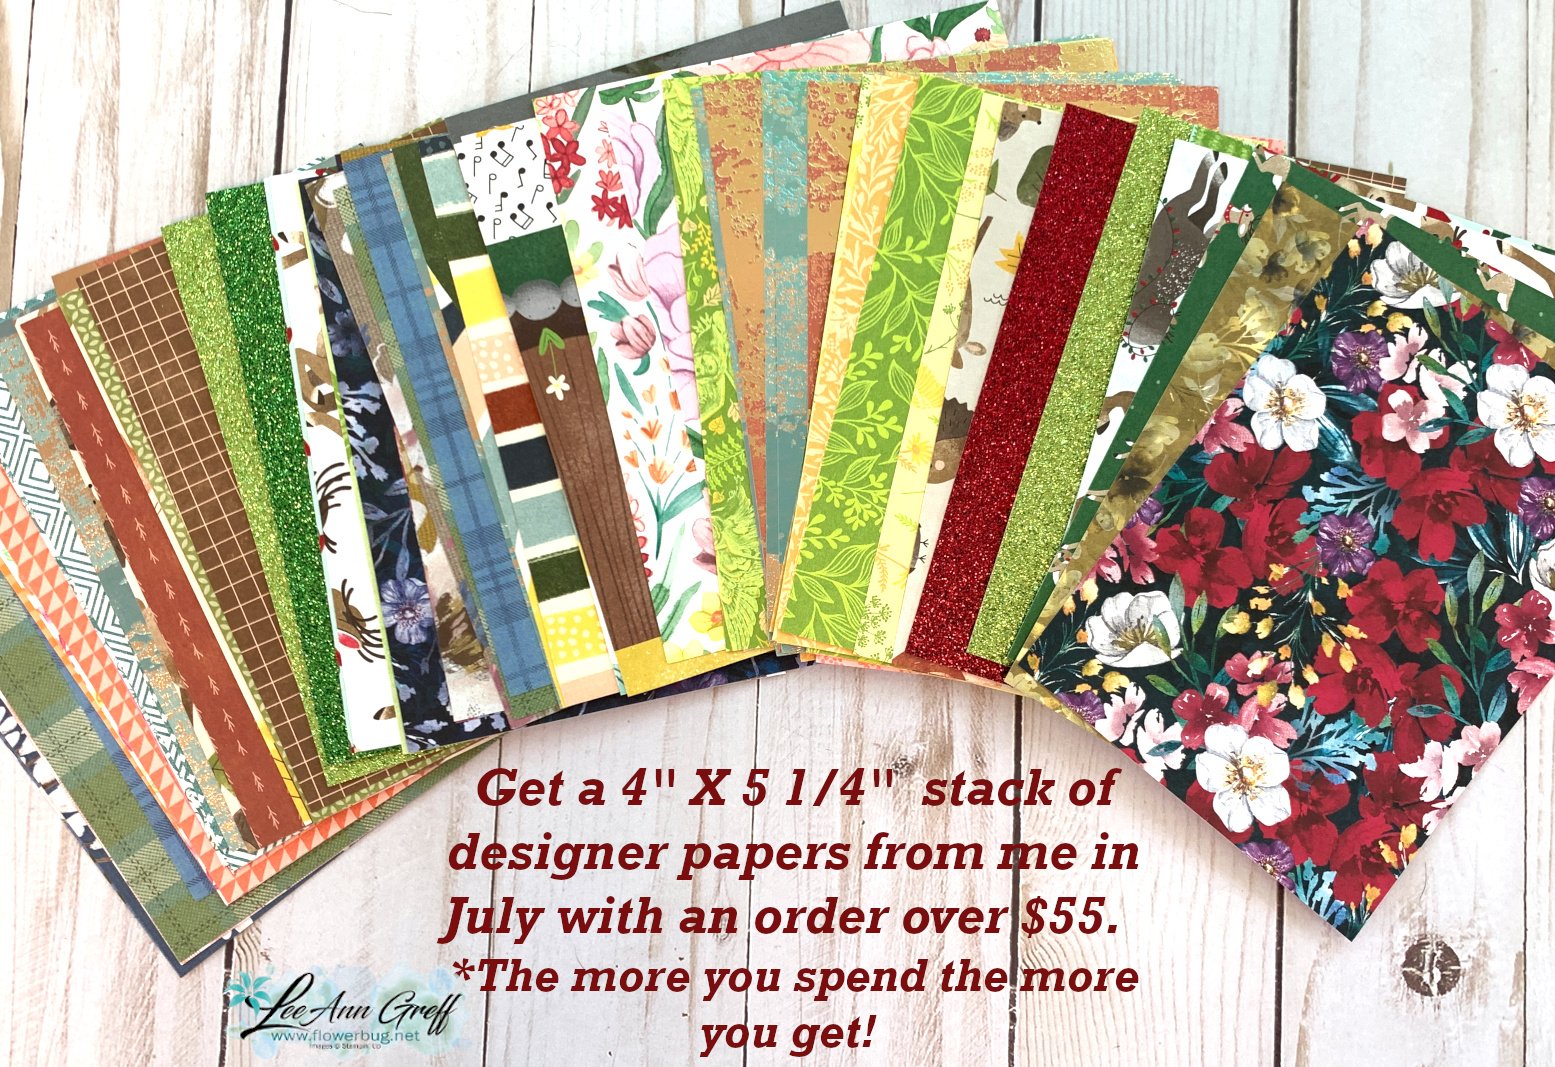
During Sale-a-Bration you get 5 packs of NEW 6" Designer Paper FREE! 


Go here to read about it

~~~

Current Host code is JQAFYSUW

Order online here

Get a package of 200 Pastel Pearls from me with an online order over $50 using the host code above.

*If your order is over $150 do not use the code; you'll still receive a gift! 

Below are the Multipurpose Glue stands we're making. They're $6 each and available in my Shop here.  

All Posts

  • Gorgeous Prairie Grass Joy Fold card with video & free project sheet


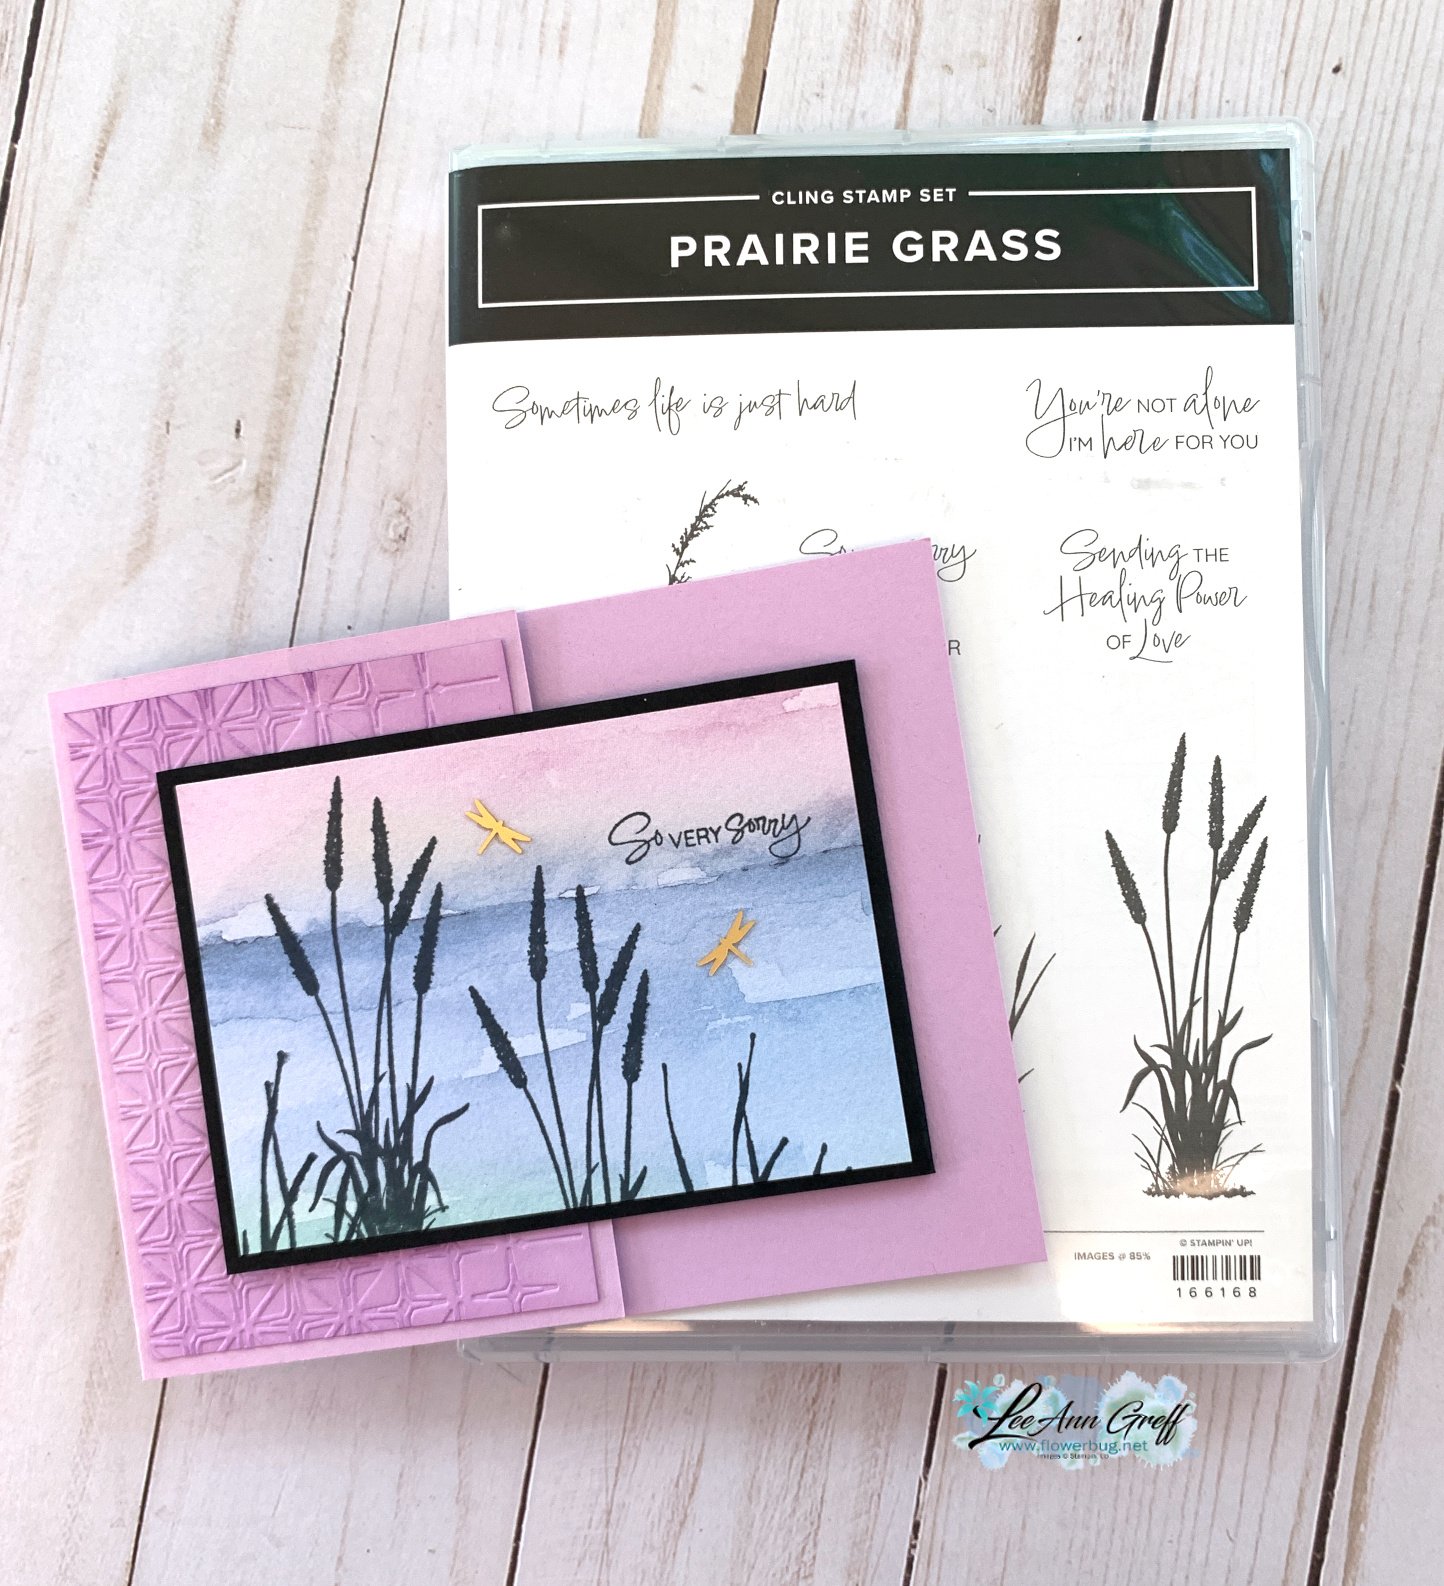
    I shared this pretty card on last week's Live video.  

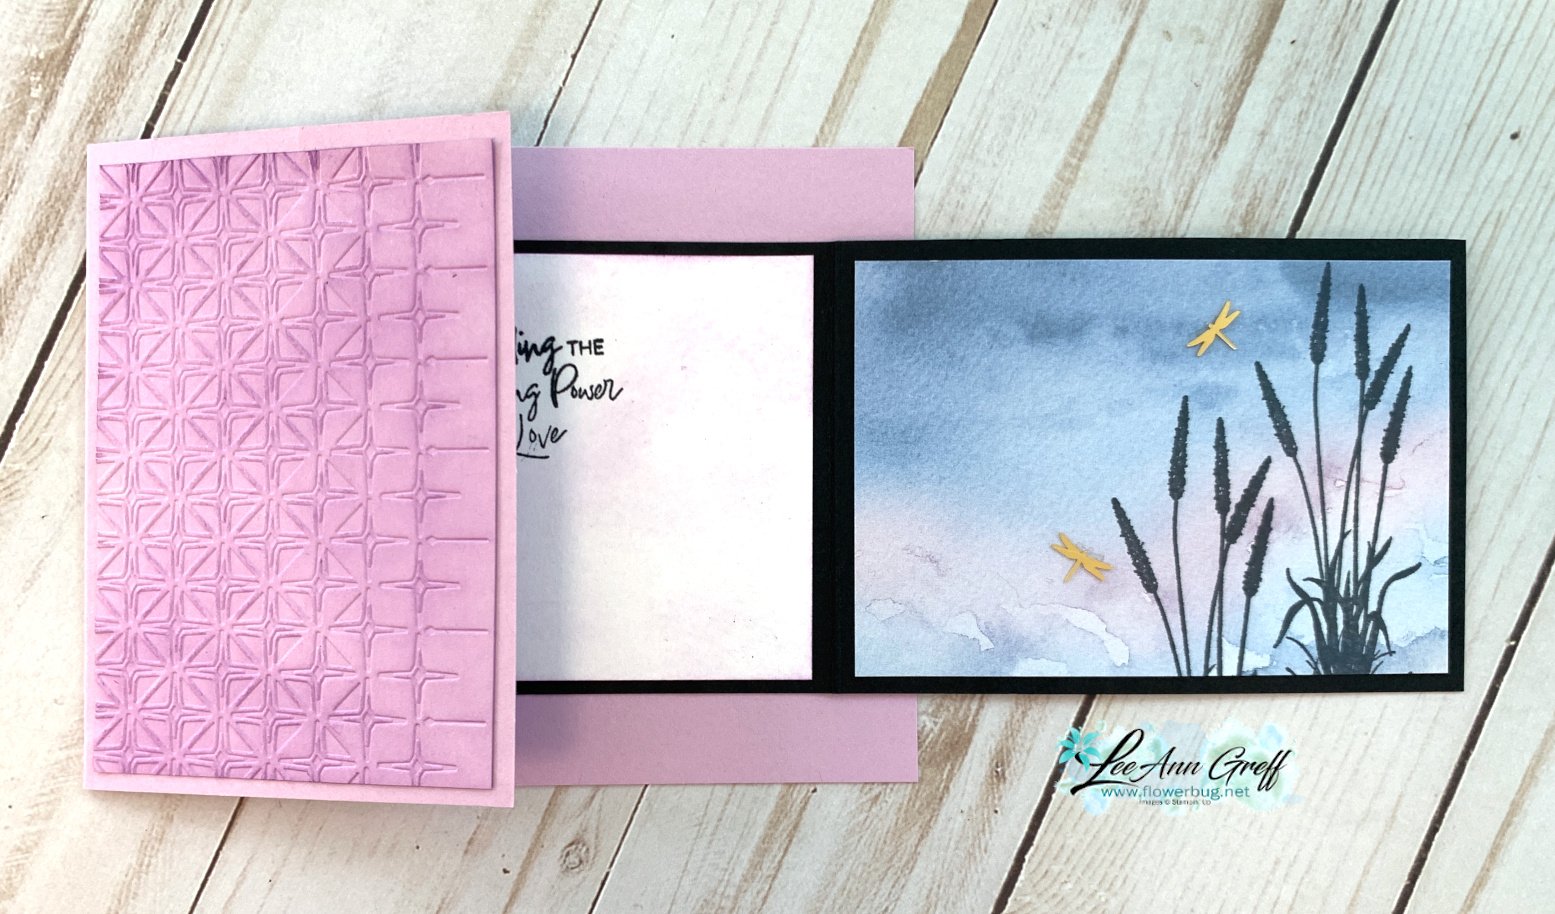
    Isn't it pretty?  The colors include Fresh Freesia with Black accents. All of my projects featured the brand new Prairie Grass stamp set seen here.  

    I also used the amazing Thoughtful Journey DSP seen here.  It's absolutely perfect for scene builder stamps like this one and has some of the best and easiest backgrounds to start with.  

    This card is called a 'Joy Fold' – who knows why but it's actually one fold name I haven't forgotten. Basically it has two flaps that overlap each other. It gives you multiple opportunities to use your Designer Papers or textured layers.  

    The embossing folder here is called Glass & Gardens seen here.  It's unavailable right now but you can add yourself to the list to be notified when it's back in stock.  

    Here's the free project sheet for this card with measurements, directions and supplies.  Click on the following link to print or download it.  Download Prairie Grass JoyFold card

    And here's the video below where I share two other cards featuring this amazing Prairie Grass stamp set. 

    ~~~

    July Specials:


    New Online Exclusives are here!  Click here

    ~~~

    Get my Turtle-y Cute PDF tutorial free with any online order in July!

    Leave a Reply

    Your email address will not be published. Required fields are marked *

  • WOW! Check out this Beautiful Butterflies stained glass technique


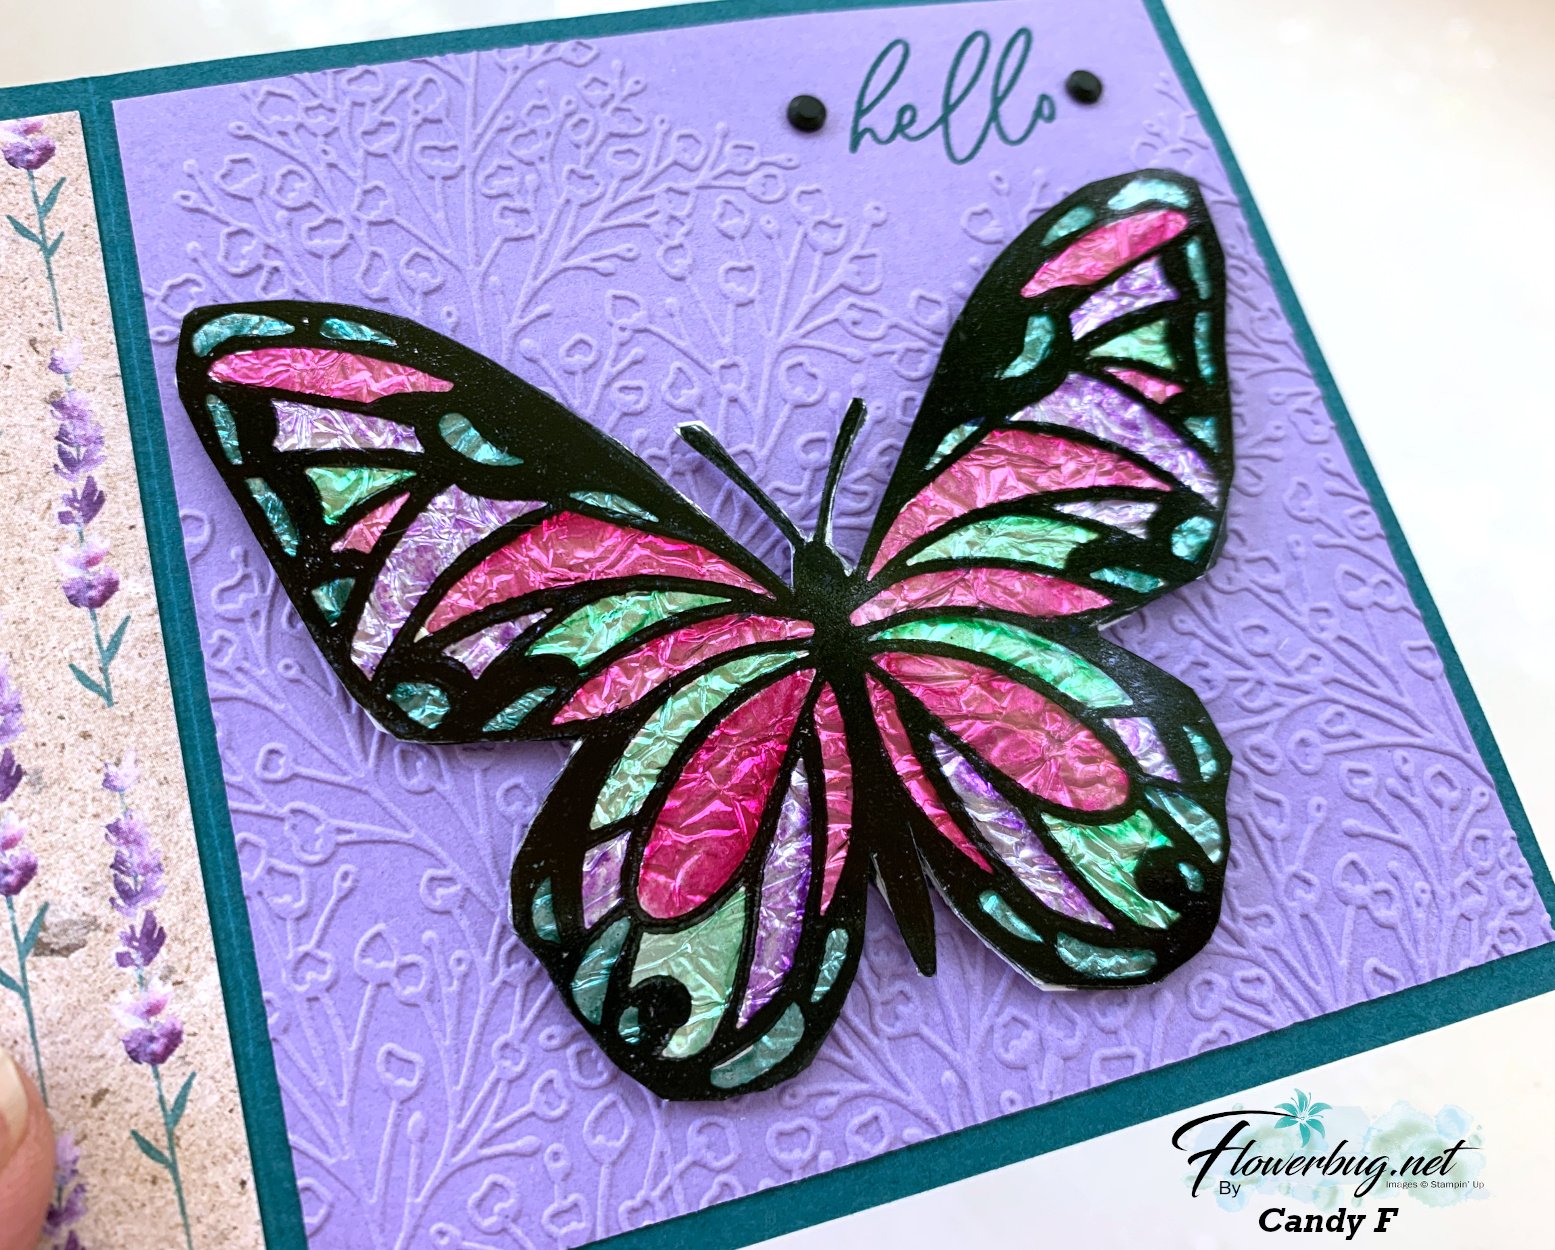
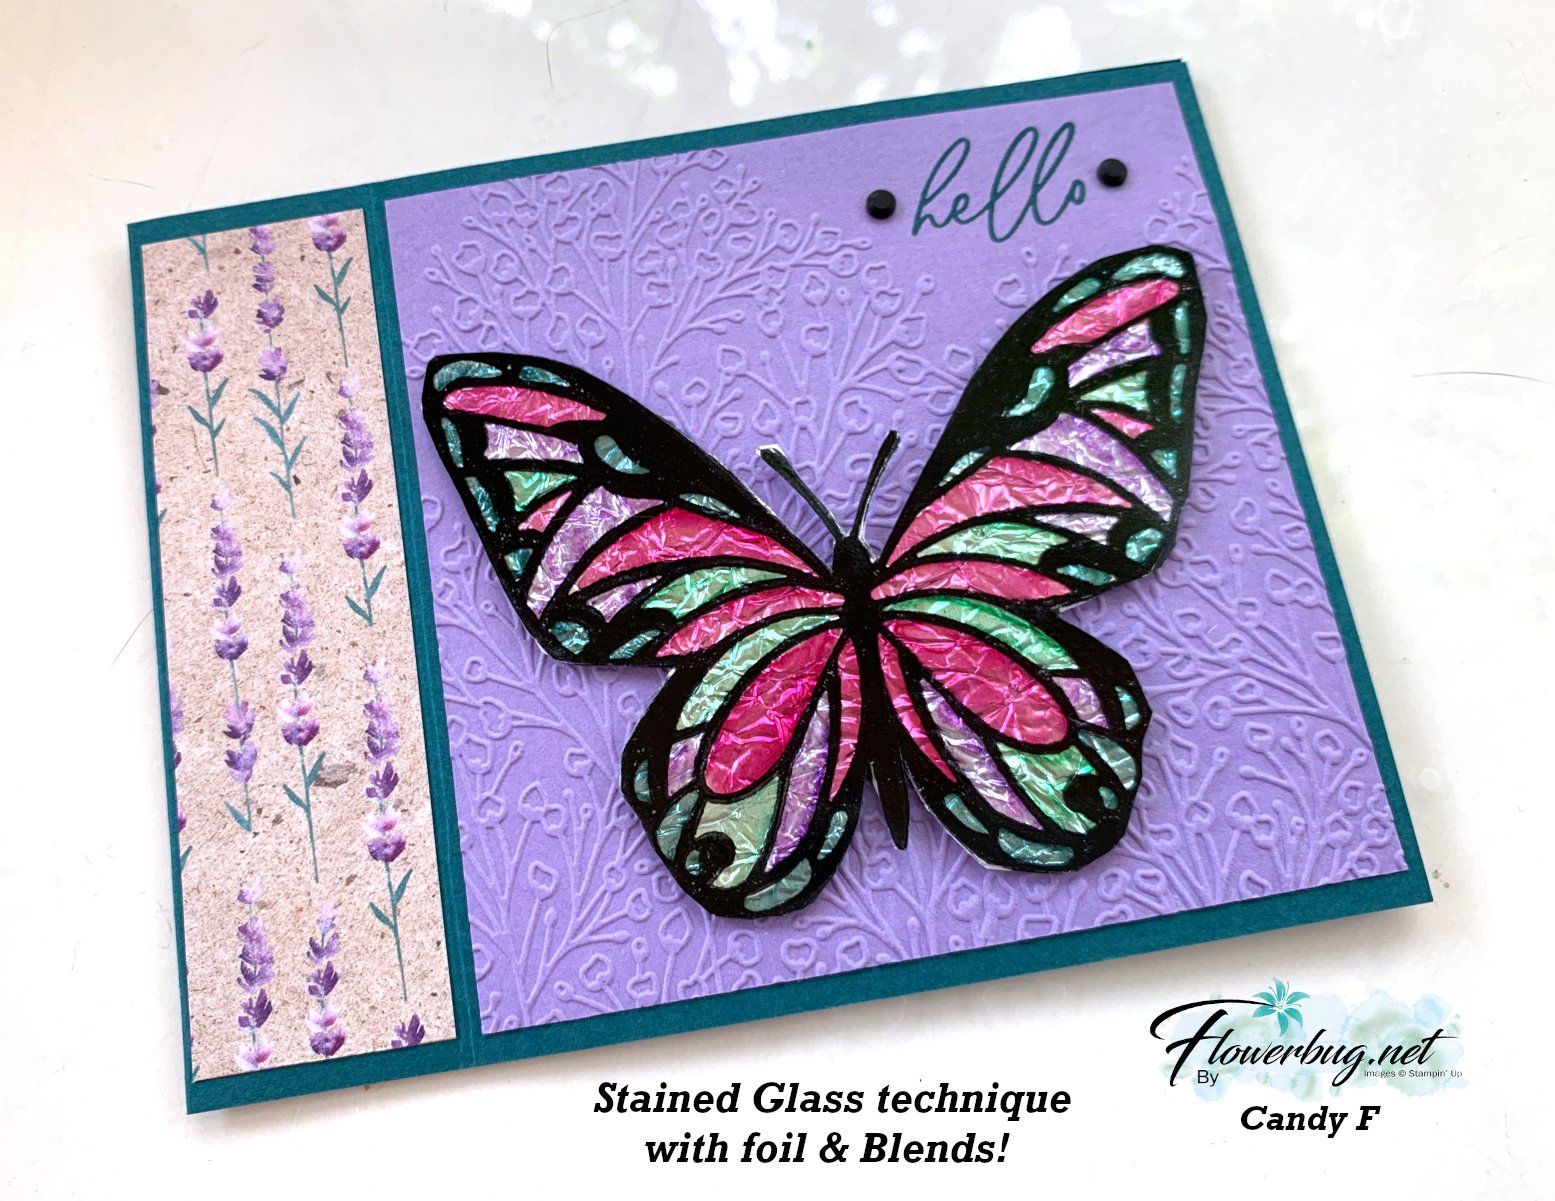
    I was amazed by Candy's card swap this month!  Look at this beauty!!


    It's called the Stained Glass technique and she made it for our July Team swap featuring Window Sheets.  

    Her colors include Pretty Peacock with Highland Heather. The bundle is called Beautiful Butterflies and can be seen here. 

    Steps:

    • She stamped the butterfly image on a window sheet using Black Stazon ink. 
    • Turn it over and color with Blends markers. 
    • Add adhesive sheet to the Blends side. Press onto slightly crinkled aluminum foil. 
    • Adhere to a second butterfly stamped on White CS for support and to cover the foil. 
    • Fussy cut; add to card. 

    Other products used here:

    Measurements:

    • Card base 11" X 4 1/4" score at 4 1/4" & 5 1/2"
    • Highland Heather 4" square
    • DSP strip 1 1/8" X 4"
    • inside 4" square

    Thank you for creating your incredible swap card Candy!  Great job!!

    ~~~

    July Specials:


    New Online Exclusives are here!  Click here

    ~~~

    Get my Turtle-y Cute PDF tutorial free with any online order in July!

    Leave a Reply

    Your email address will not be published. Required fields are marked *

  • Wow; Mixed Florals Reverse Image Technique with window sheets!


    I'm continuing to share our July team swaps featuring window sheets. 

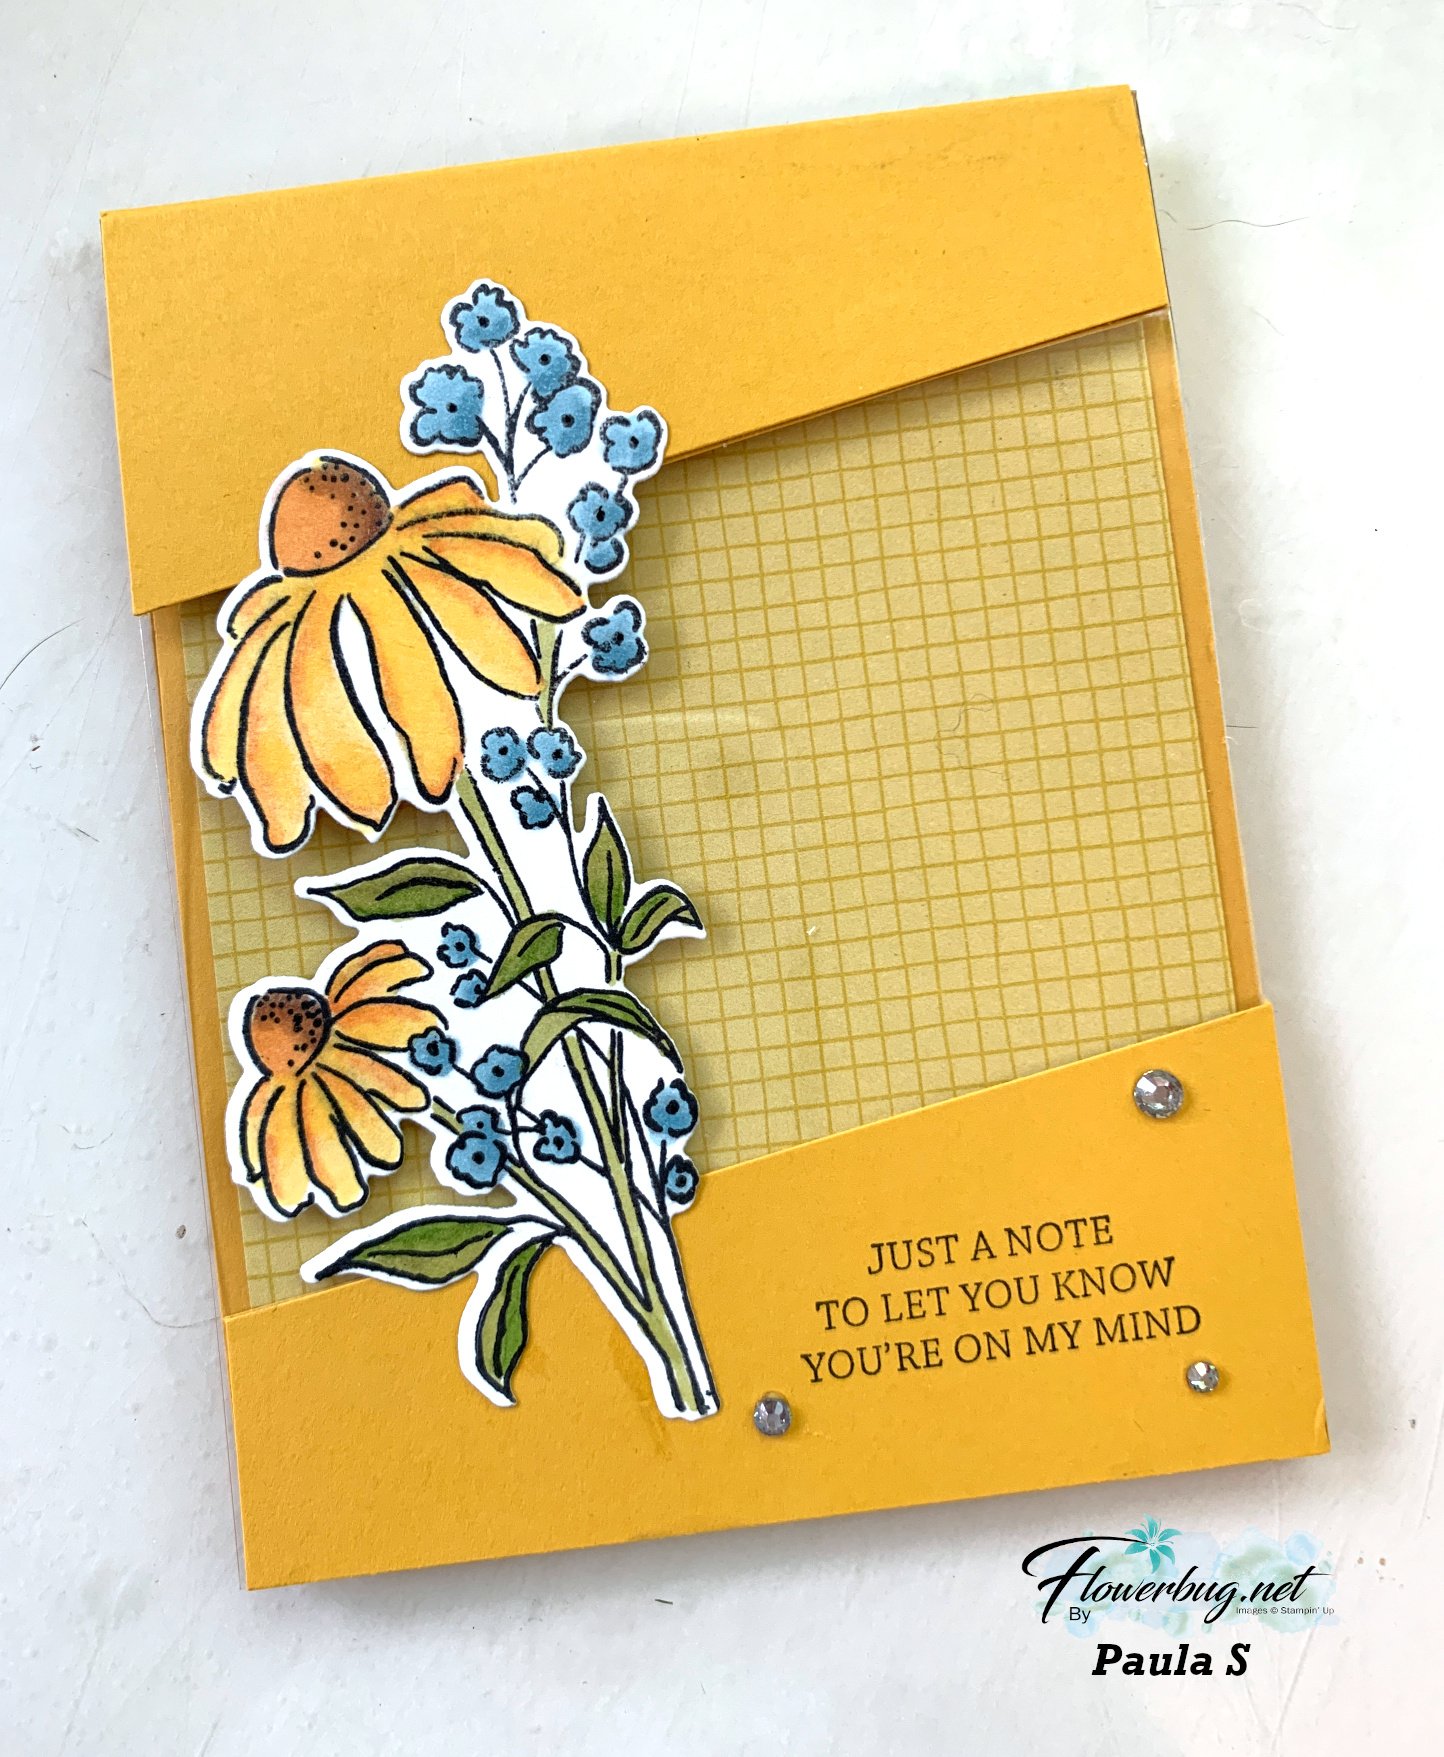
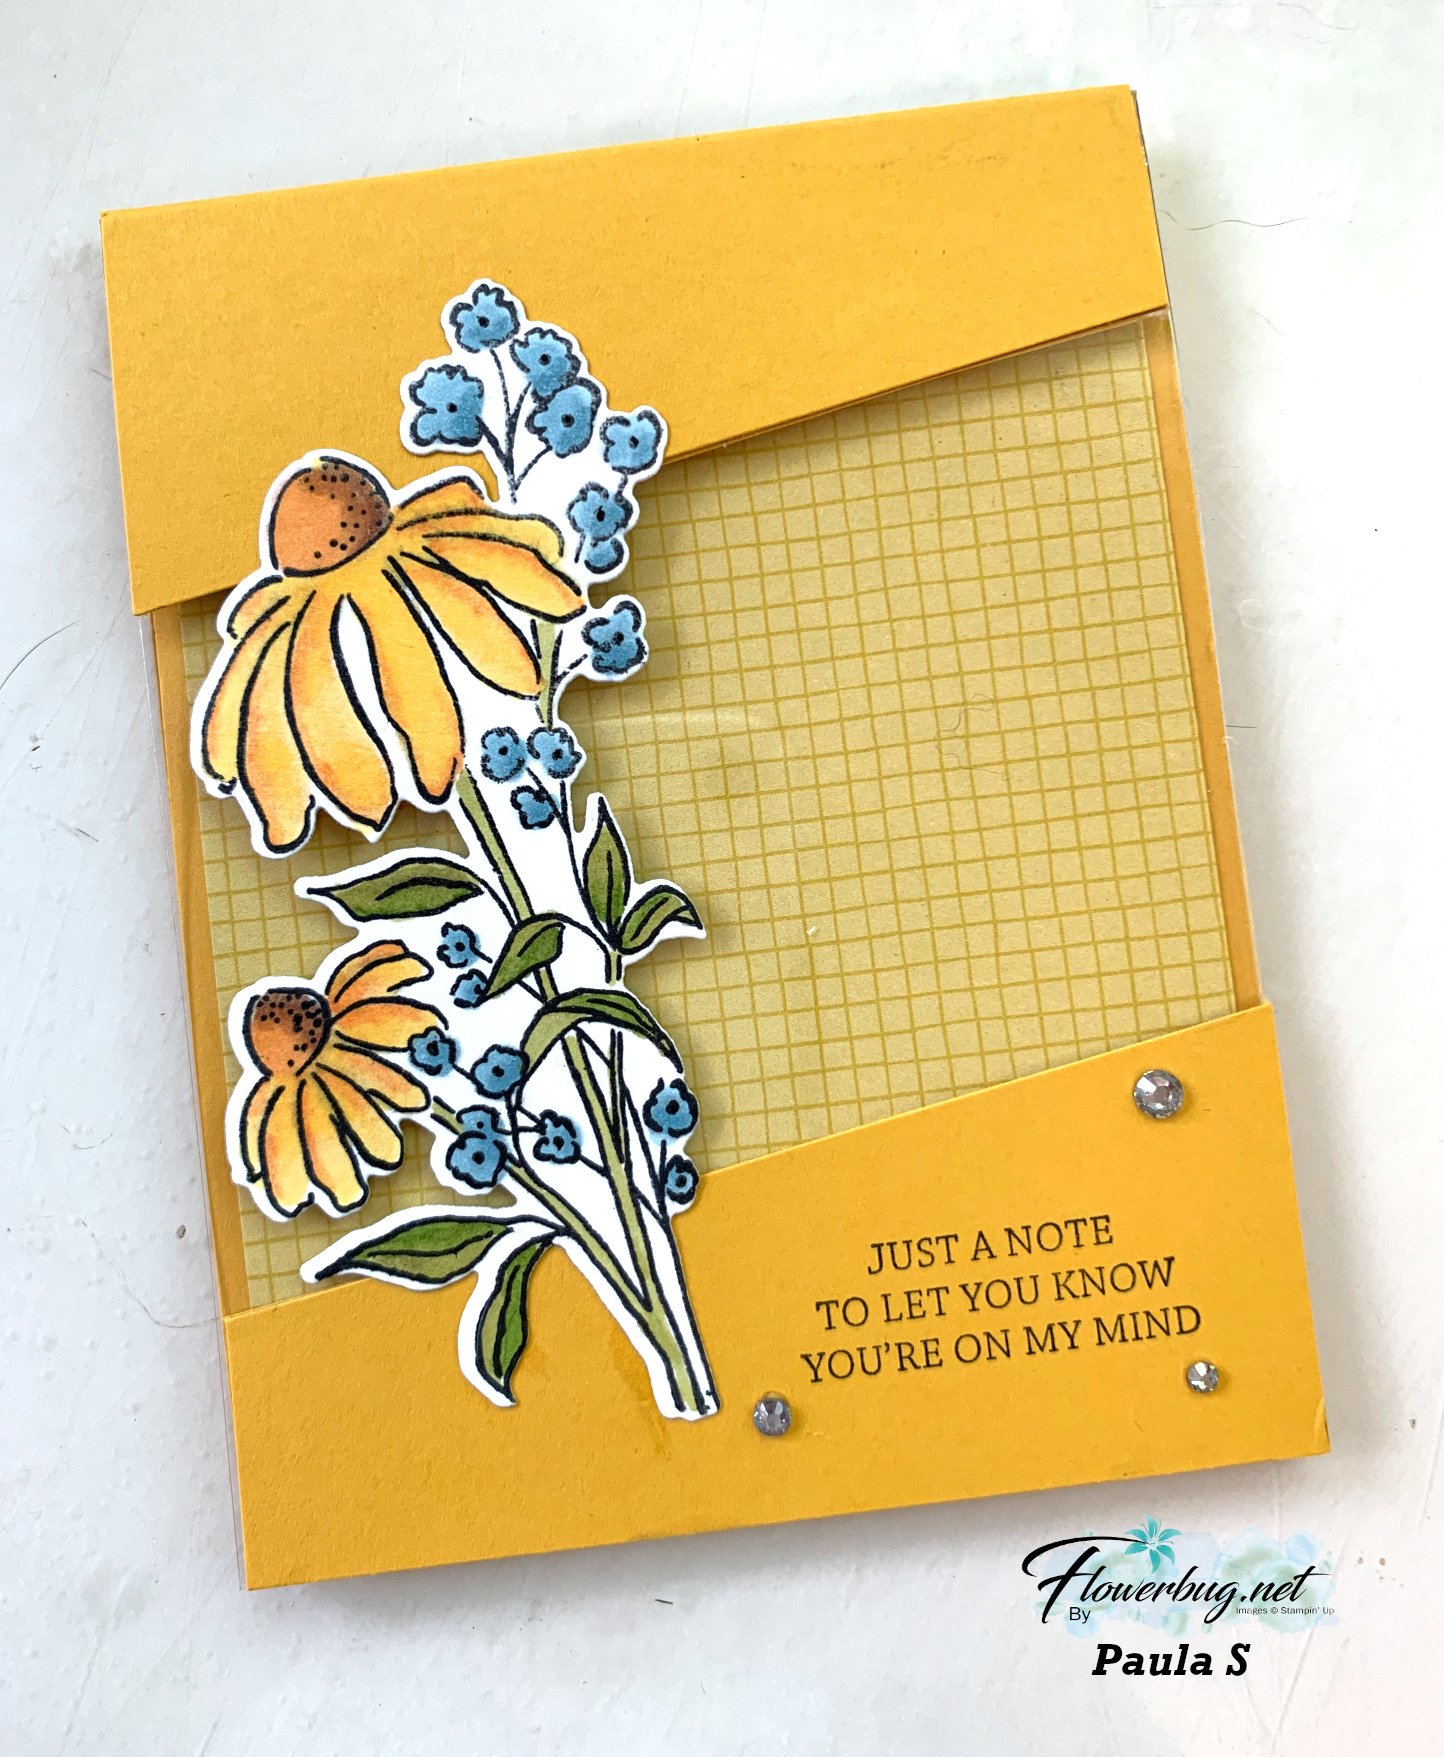
    Look at the stunning card made by Paula. For her card swap she made a Reverse Image technique cased from Kylie Bertucci.  

    The stamp & die bundle is called Mixed Florals and can be seen here.

    She used Crushed Curry for her card base and Floral Impressions designer paper.  I'm so impressed by her gorgeous coloring with the Blends markers!  What pretty shading she achieved! 

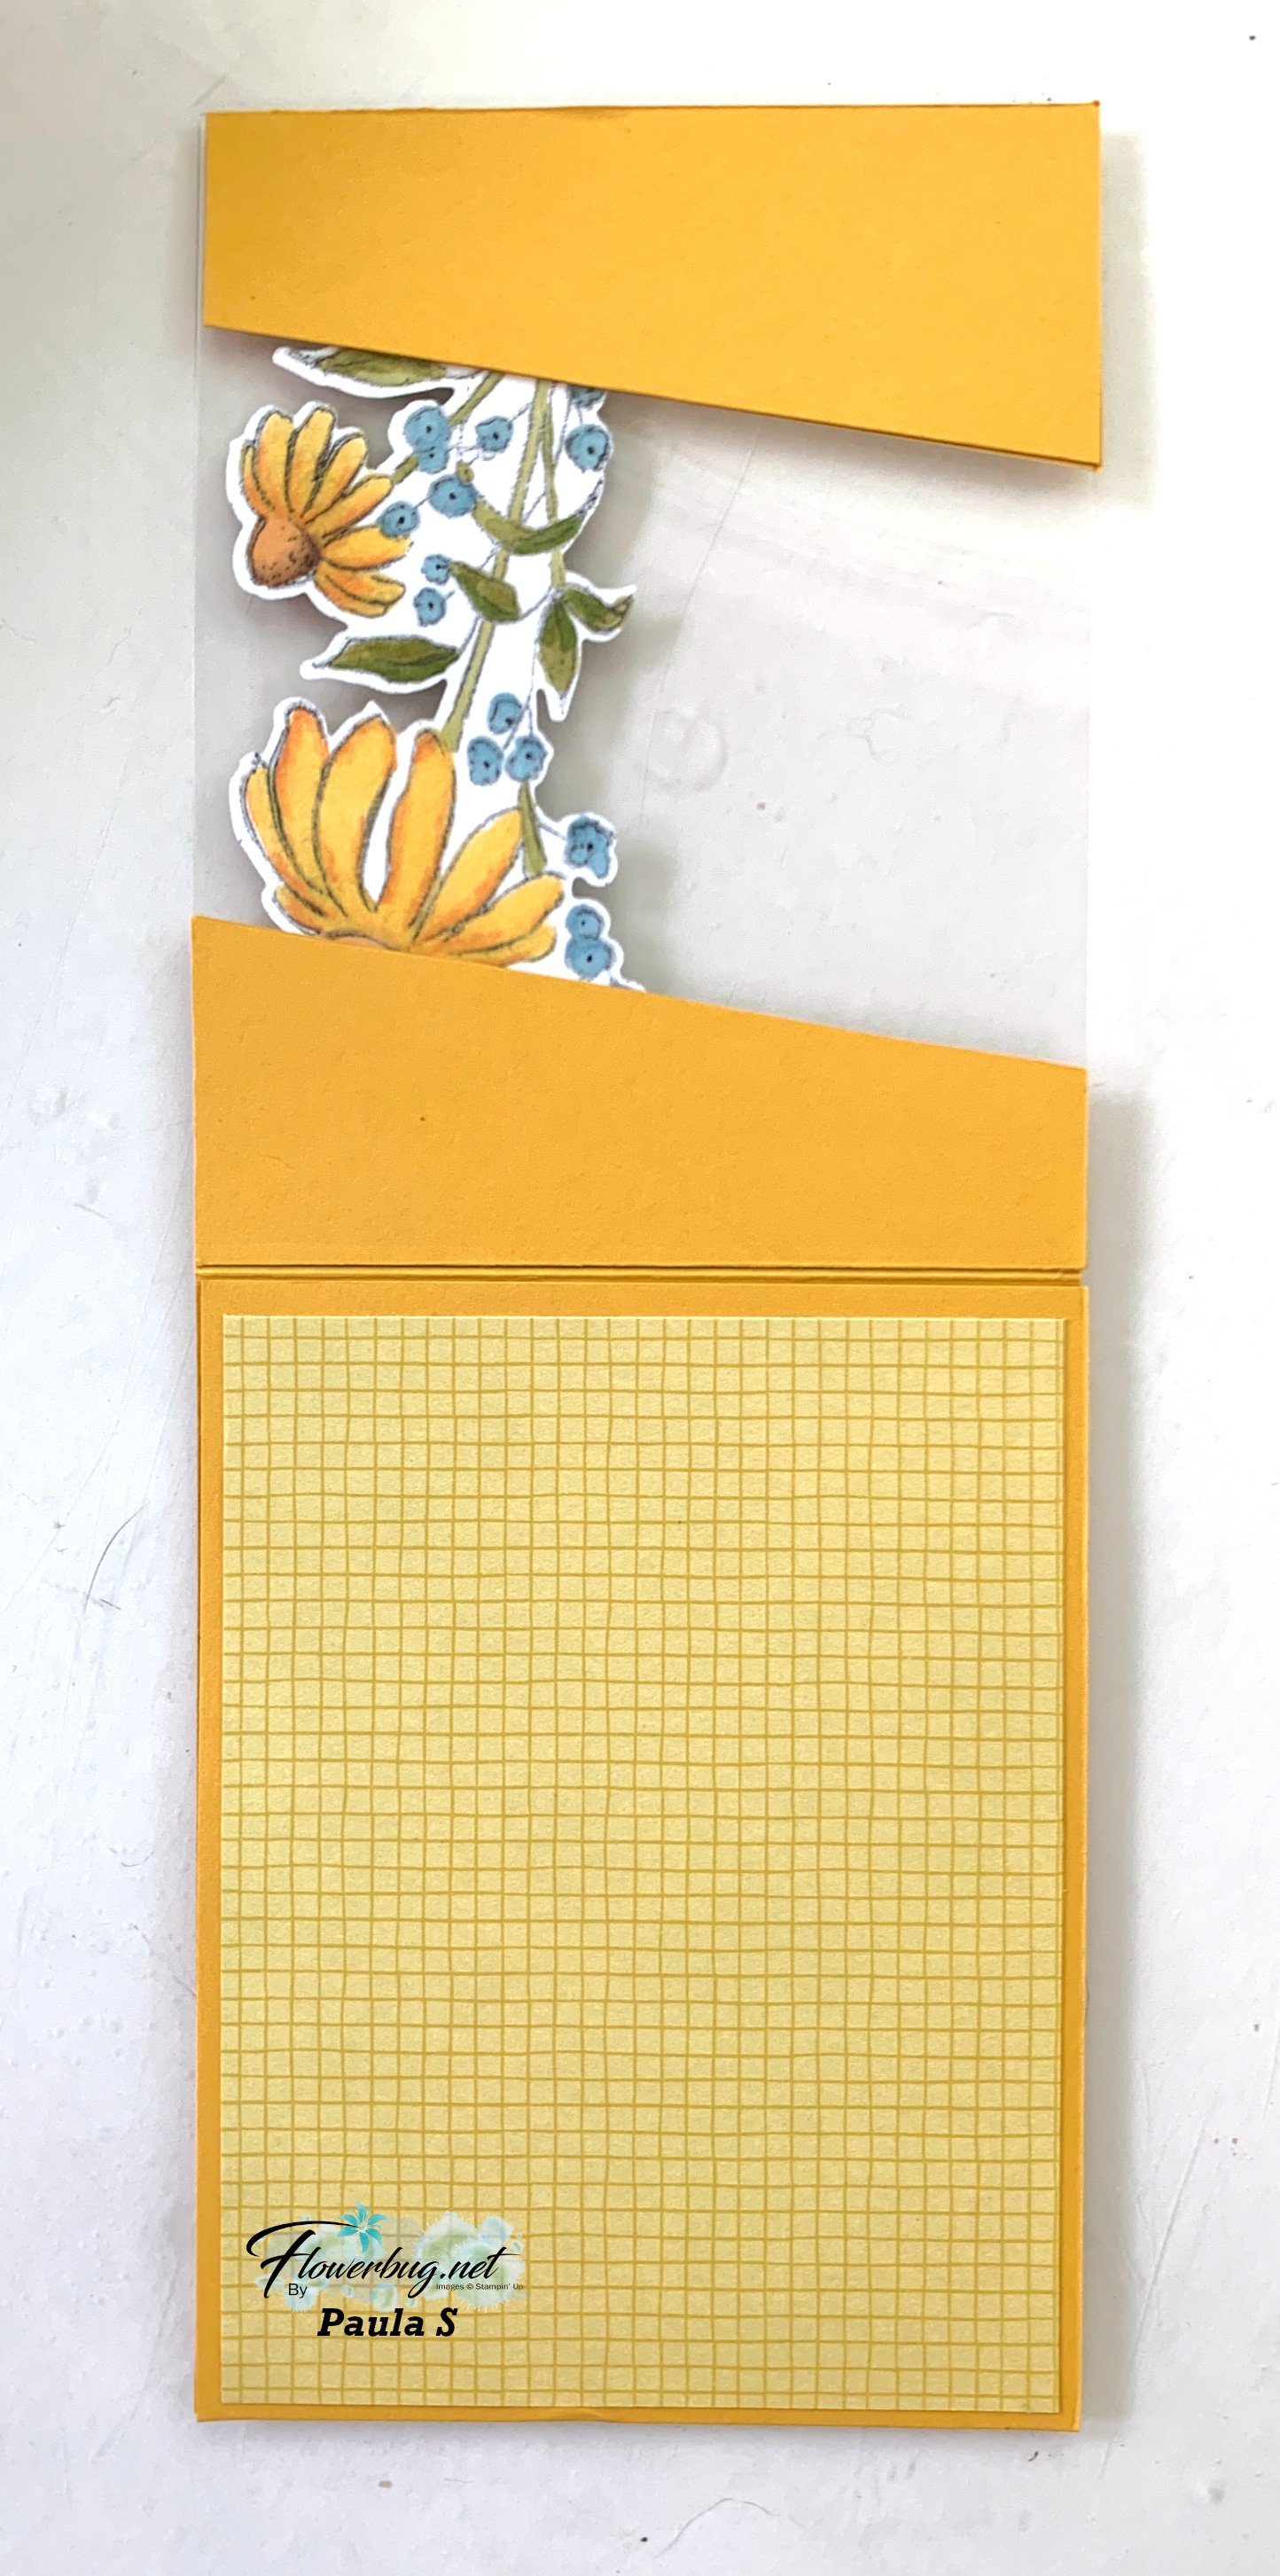
    Below you can see how she also colored the reverse side so when you flipped up the card front it's just as pretty on the inside!  So neat.  I also love the diagonal slant on the front. 

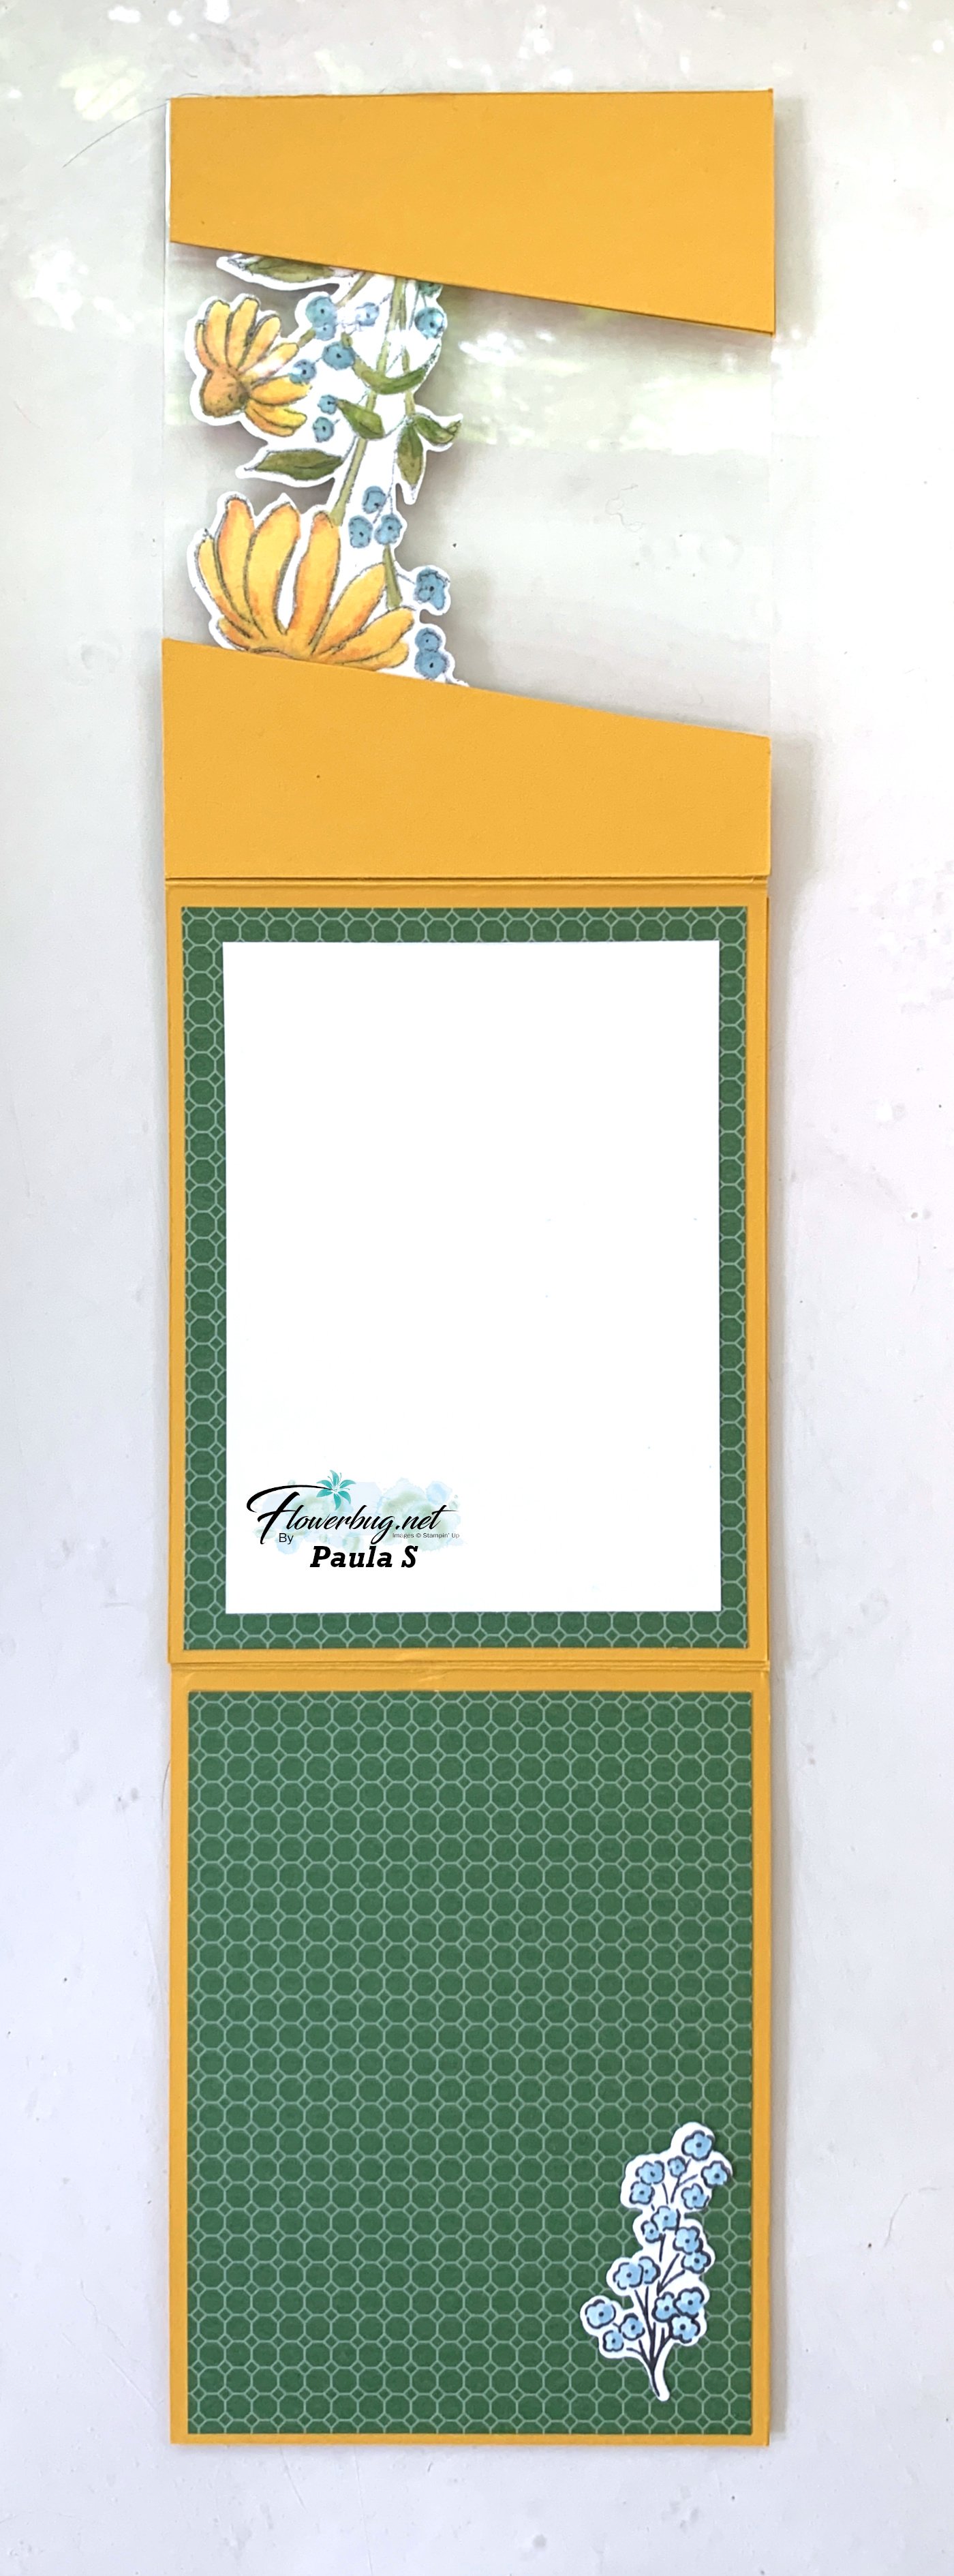
    The card opens to reveal 3 layers!  

    Measurements:

    • Crushed Curry card base- 1 at 4 1/4" X 11" scored at 5 1/2", another at 7 1/4" X 4 1/4" scored at 5 1/2" (cut on the diagonal) and two extra slat pieces to cover both front & inside of the card. 
    • DSP – 4" X 5 1/4" X 3 pieces
    • White inside 3 1/2" X 4 3/4"; plus die-cuts 


    Thanks so much for your creative & beautiful card Paula! 

    ~~~

    July Specials:


    New Online Exclusives are here!  Click here

    ~~~

    Get my Turtle-y Cute PDF tutorial free with any online order in July!

    Leave a Reply

    Your email address will not be published. Required fields are marked *


Notice: LeeAnn Greff, Independent Stampin’ Up! Demonstrator, Manager. The content of this website is my sole responsibility as an independent Stampin’ Up! demonstrator and the use of, and content of, the classes, services, or products offered on this website is not endorsed by Stampin’ Up! Copyright 2025