/


Latest Post

Pretty Pumpkins with Be Dazzling specialty paper


After seeing other projects with the Pretty Pumpkin bundle I had to get it.  I love the images and the font in the greetings. 

I stamped the large pumpkin image in Pumpkin Pie ink and colored them and the leaves with Blends markers using both Pumpkin Pie & Olive markers plus light Crumb Cake for the stem & light Cajun Craze for the darkest areas on the pumpkins. 
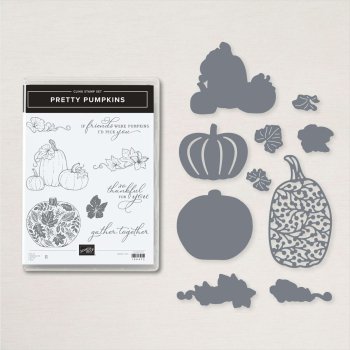

I was playing around with the Be Dazzling specialty paper and decided to try to color it.  I had a spritzer filled with rubbing alcohol & either Pumpkin Pie or Cajun Craze ink refill.  So I spritzed it on to a piece of the glittery paper.  It worked beautifully!  I did have to let it sit for a few minutes to set well.  Then I rubbed it with tissue to get any excess off before I die-cut the pretty filigree pumpkin with it.  

I also spritzed my White twine to color it as well. 

Other products:

  • Ornate Layer & Potted Succulent dies
  • Timeworn Type 3D embossing folder
  • Wink of Stella on the leaves

~~~

August Specials

Host code: UTDM9JQG

*click here to order

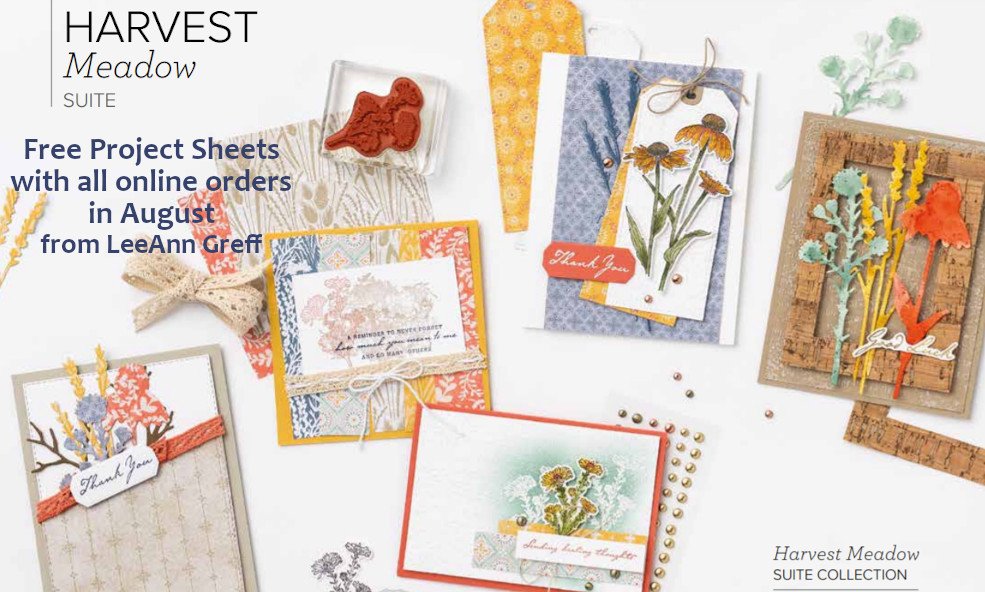
All online orders will receive a free PDF tutorial filled with projects featuring

the Harvest Meadow Suite!
Get the Cute Star Adhesive-Backed Sequins with a $50 online order from me in August!

Order here


Get a Free Bundle  from the Holiday Catalog when you choose the Starter kit!  Pick out $125 in product of your choice for just $99 and shipping is free!  

All Posts

  • Gift Wrapped Box Fold Card with video


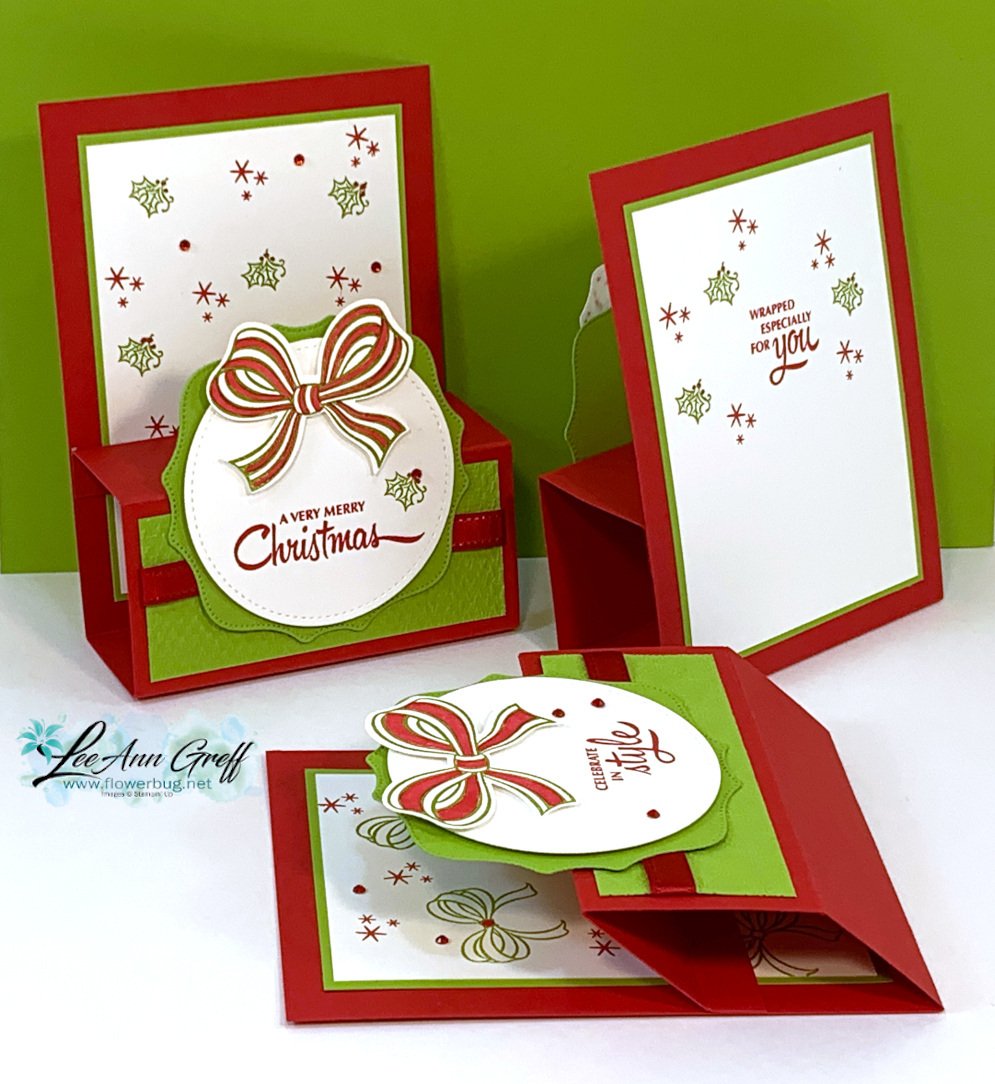
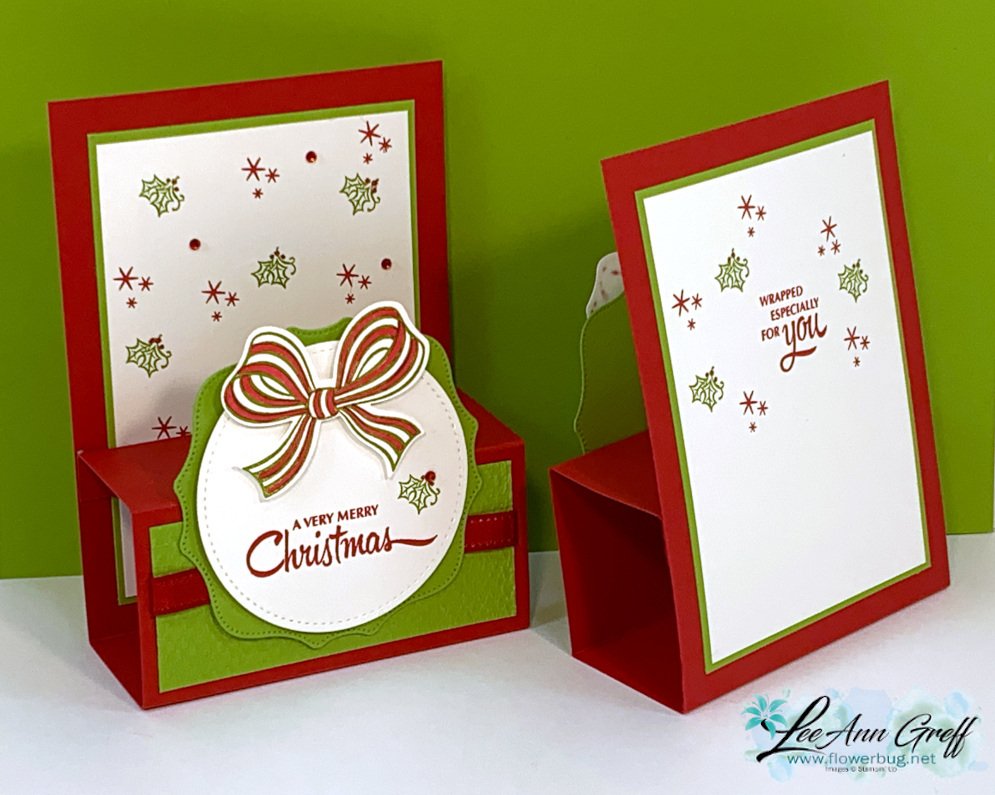
    Check out this cute Christmas card we made at my October Card Clubs!  It's a box fold card; a super cute but easy fun fold. 

    The colors are Real Red with Granny Apple Green & White. The dies on the front are the Stitched Shapes and Hippos & Friends.

    It even folds flat for mailing!  As you can see the back is similar to the front; leaving some space to write or sign the card.  

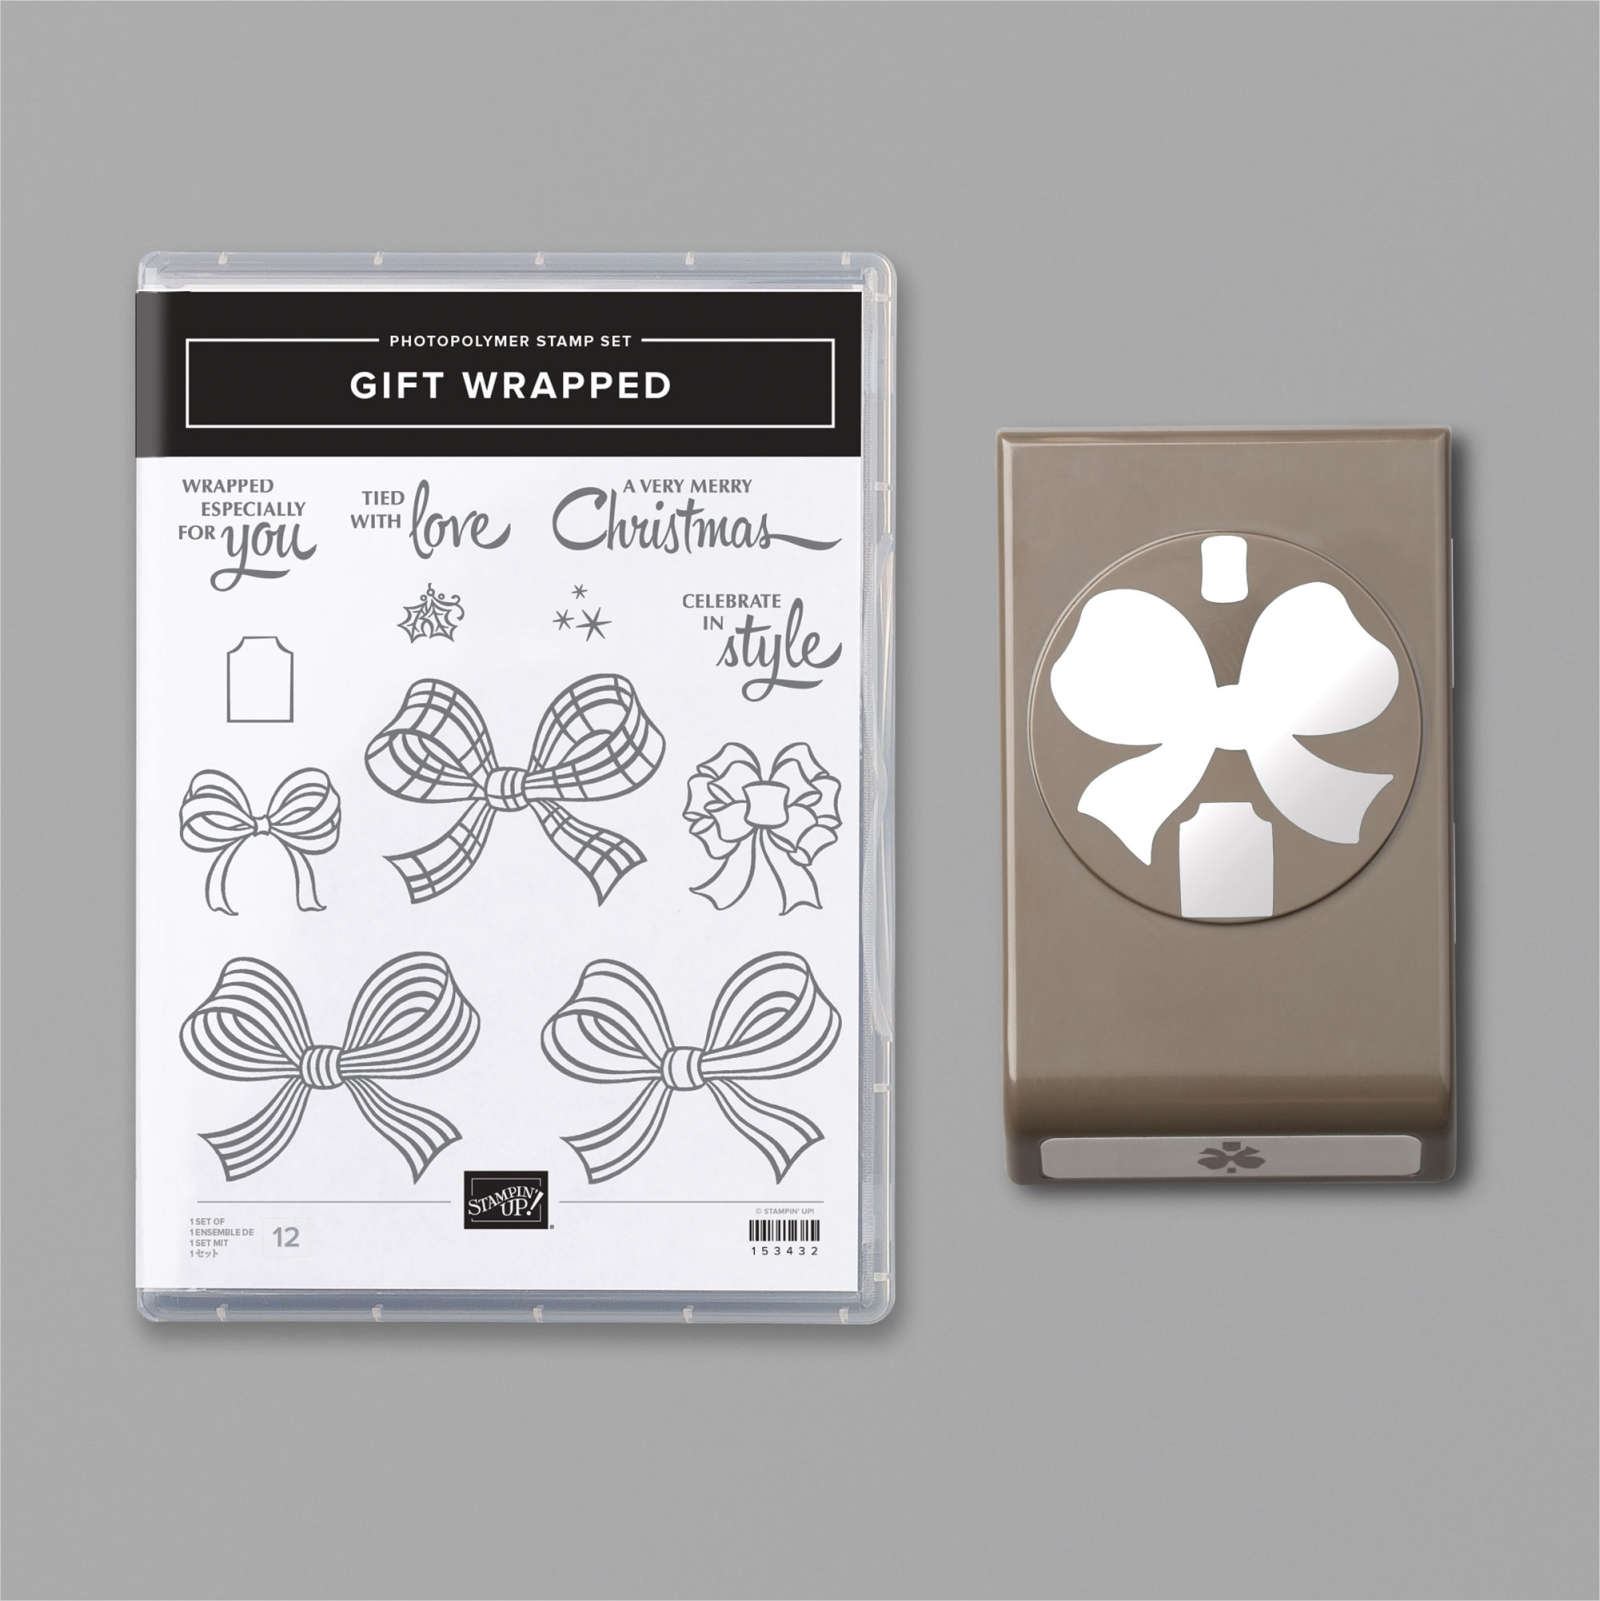
    I used the Gift Wrapped punch bundle from the Holiday catalog.  You can see it here. 

    Check out the video and measurements below. 

    Here's the video: 


    Measurements:

    Real Red 4 1/4" X 11" scored at 5 1/2", 7", 9" and 10 1/2"
    Granny Apple Green 3 5/8" X 4 7/8" (2 pieces) plus scrap for die-cut
    Whisper White 3 1/2" X 4 3/4" (2 pieces) plus scrap for circle die-cut and bow

    ~~~

    November Specials!

    Current Host code is GRC9VVUU


    All online orders receive my FREE Curvy Celebrations 22 project PDF Tutorial! 

    Leave a Reply

    Your email address will not be published. Required fields are marked *

  • Peaceful Nativity WOW card


    Look what happens when you combine a beautiful background with the Nativity Dies?!  

    Candace created this gorgeous card for our October Christmas cards swap with my Flowerbug's Team.  She is a master at sponging backgrounds.  I believe she used Pacific Point here.  She simply added a greeting (from For Unto Us set) embossed in Silver and the pretty scenic die-cuts in Black.  

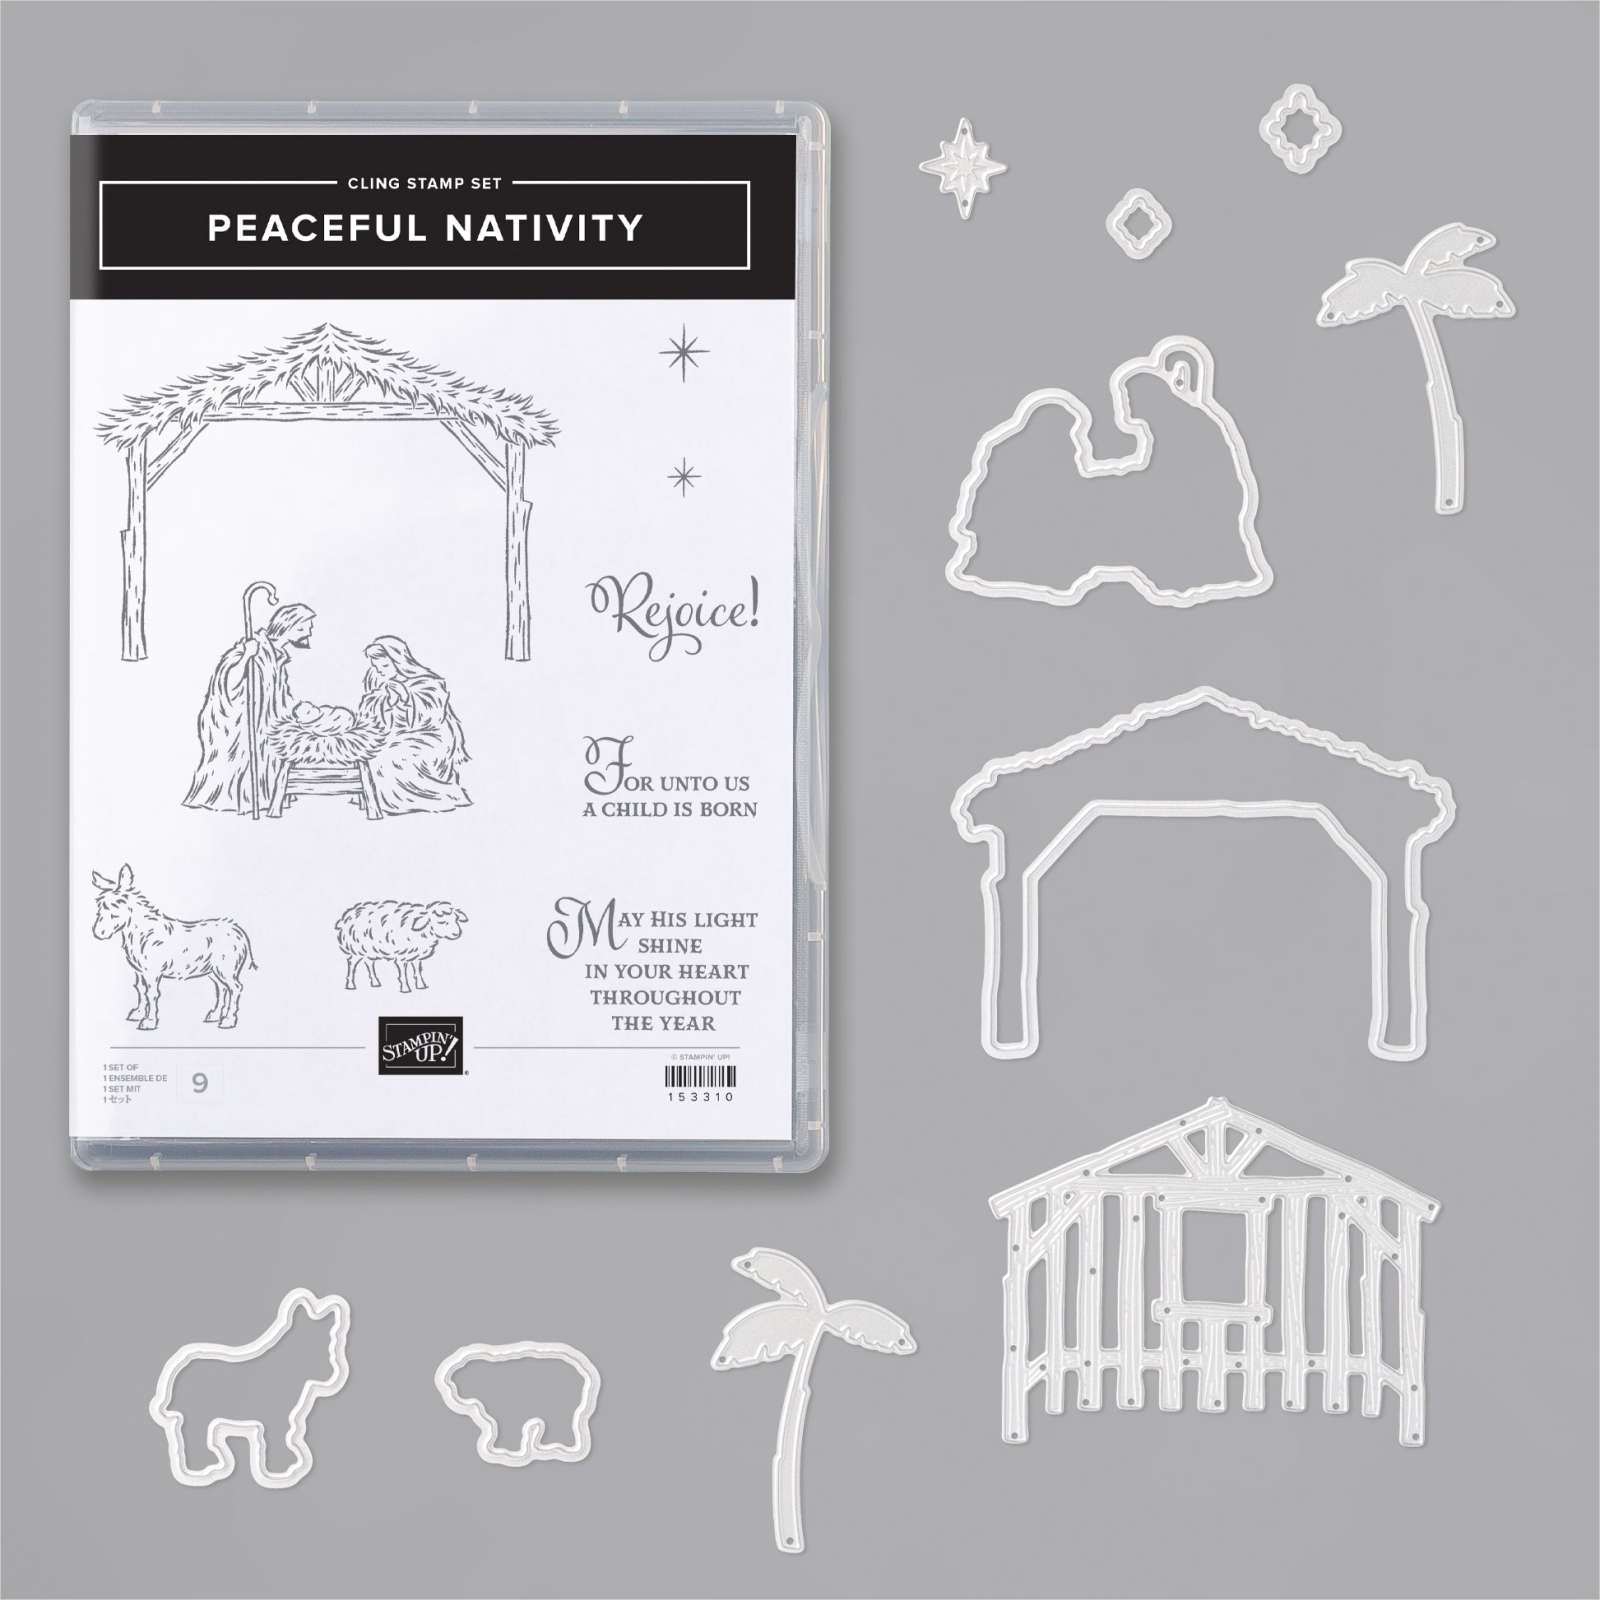
    Click here to see the For Unto Us stamp set and here for the Peaceful Nativity bundle. 

    More Team swaps tomorrow! 

    ~~~

    November Specials!

    Current Host code is GRC9VVUU


    All online orders receive my FREE Curvy Celebrations 22 project PDF Tutorial! 


    Leave a Reply

    Your email address will not be published. Required fields are marked *

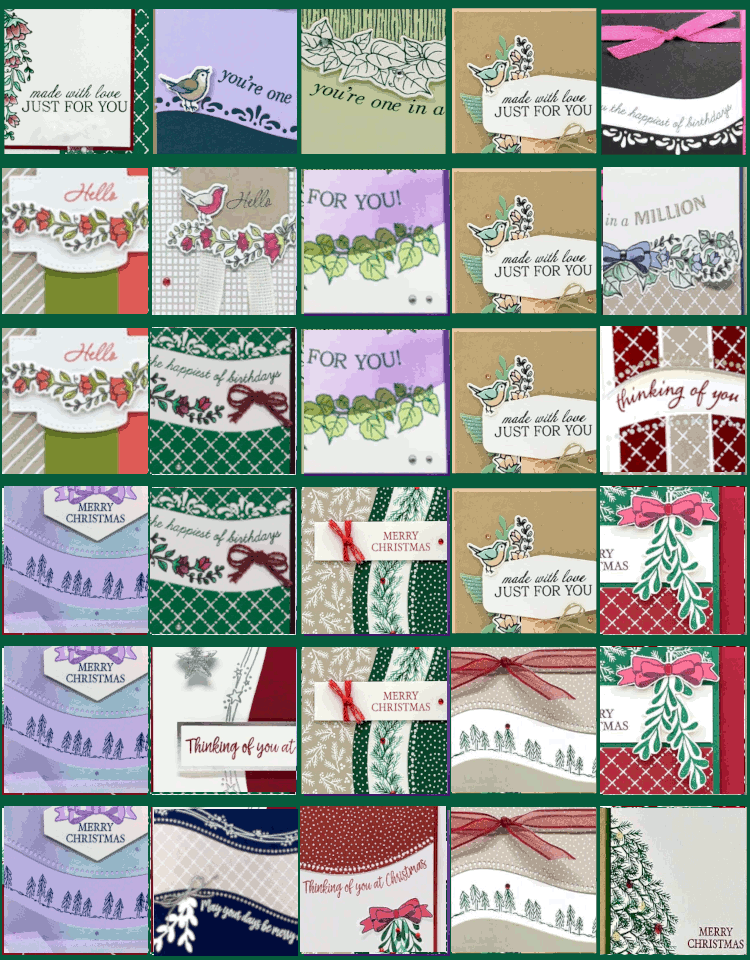
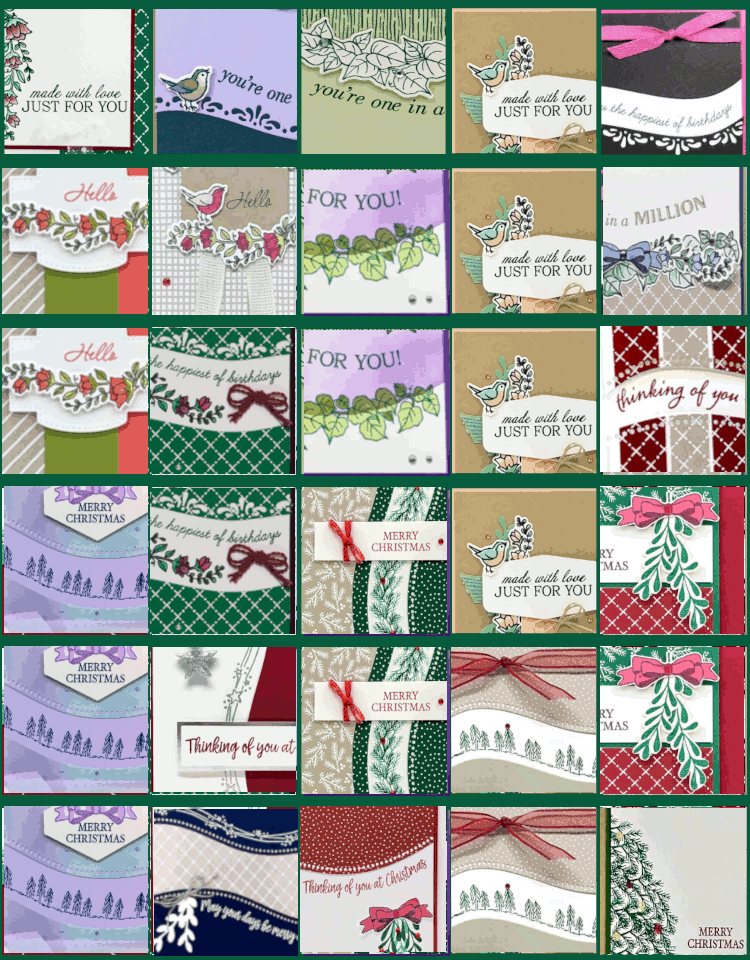
  • Curvy Celebrations!! Woo hoo; it’s available today!


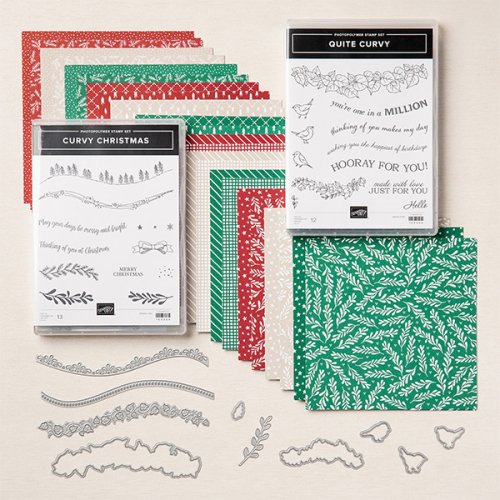
    Stampin' Up! is releasing brand new product today!!  Most of these Curvy Celebration items are from the upcoming spring catalog!  Demonstrators could pre-order these items early but now you can get them too.

    In fact you can get all of this for $70.50!   

    See them all here.

    I love these products so much I'm giving away a huge 22 project PDF tutorial to everyone who either purchases any of these items from me or places an online order in my store. 


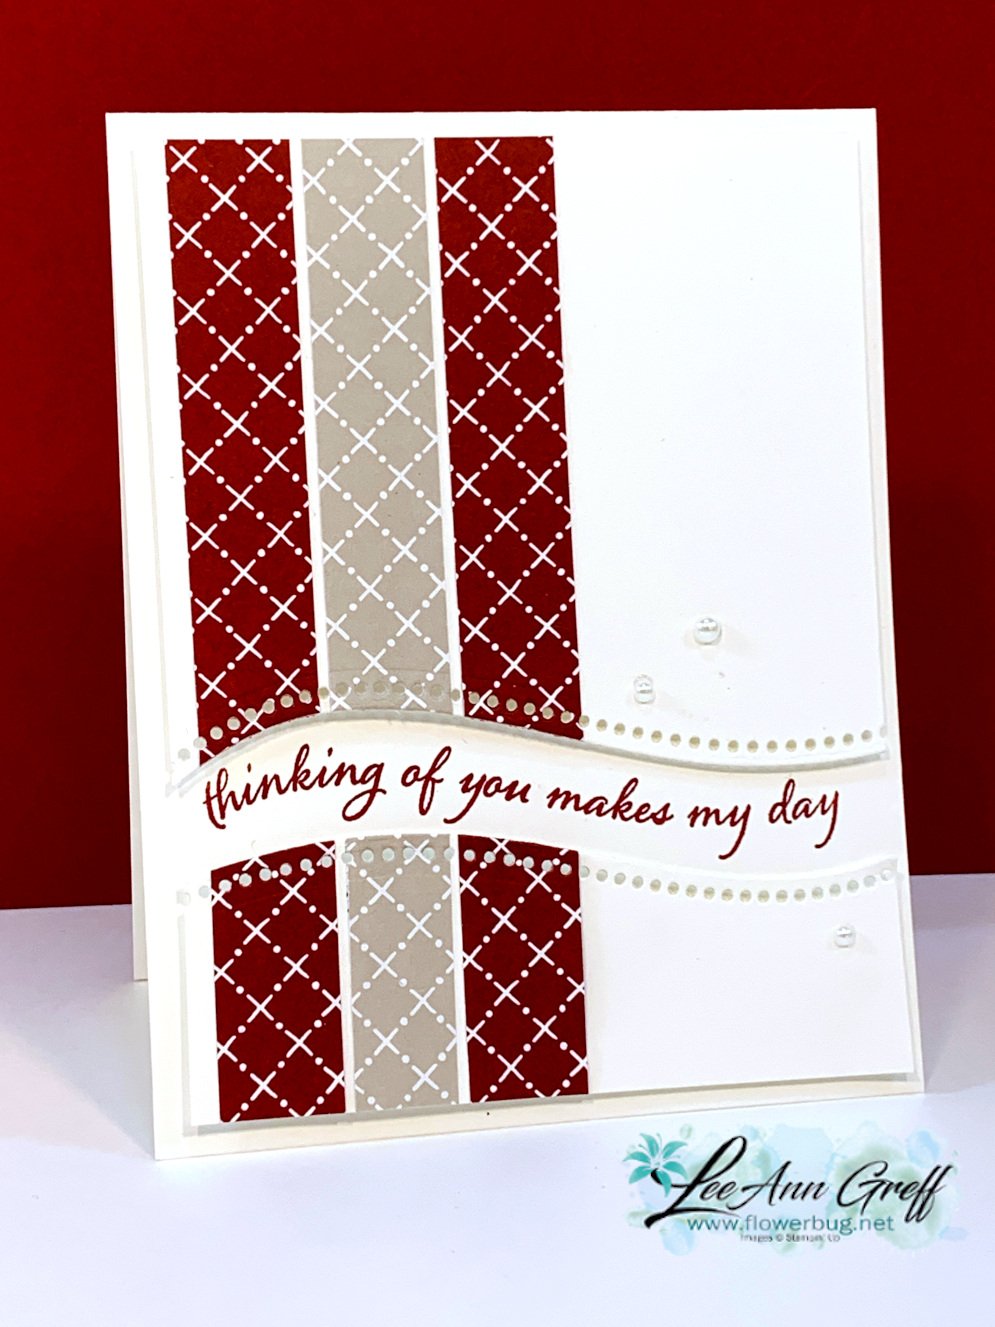
    I also joined a few online swaps with these products; here's one of my favorites!


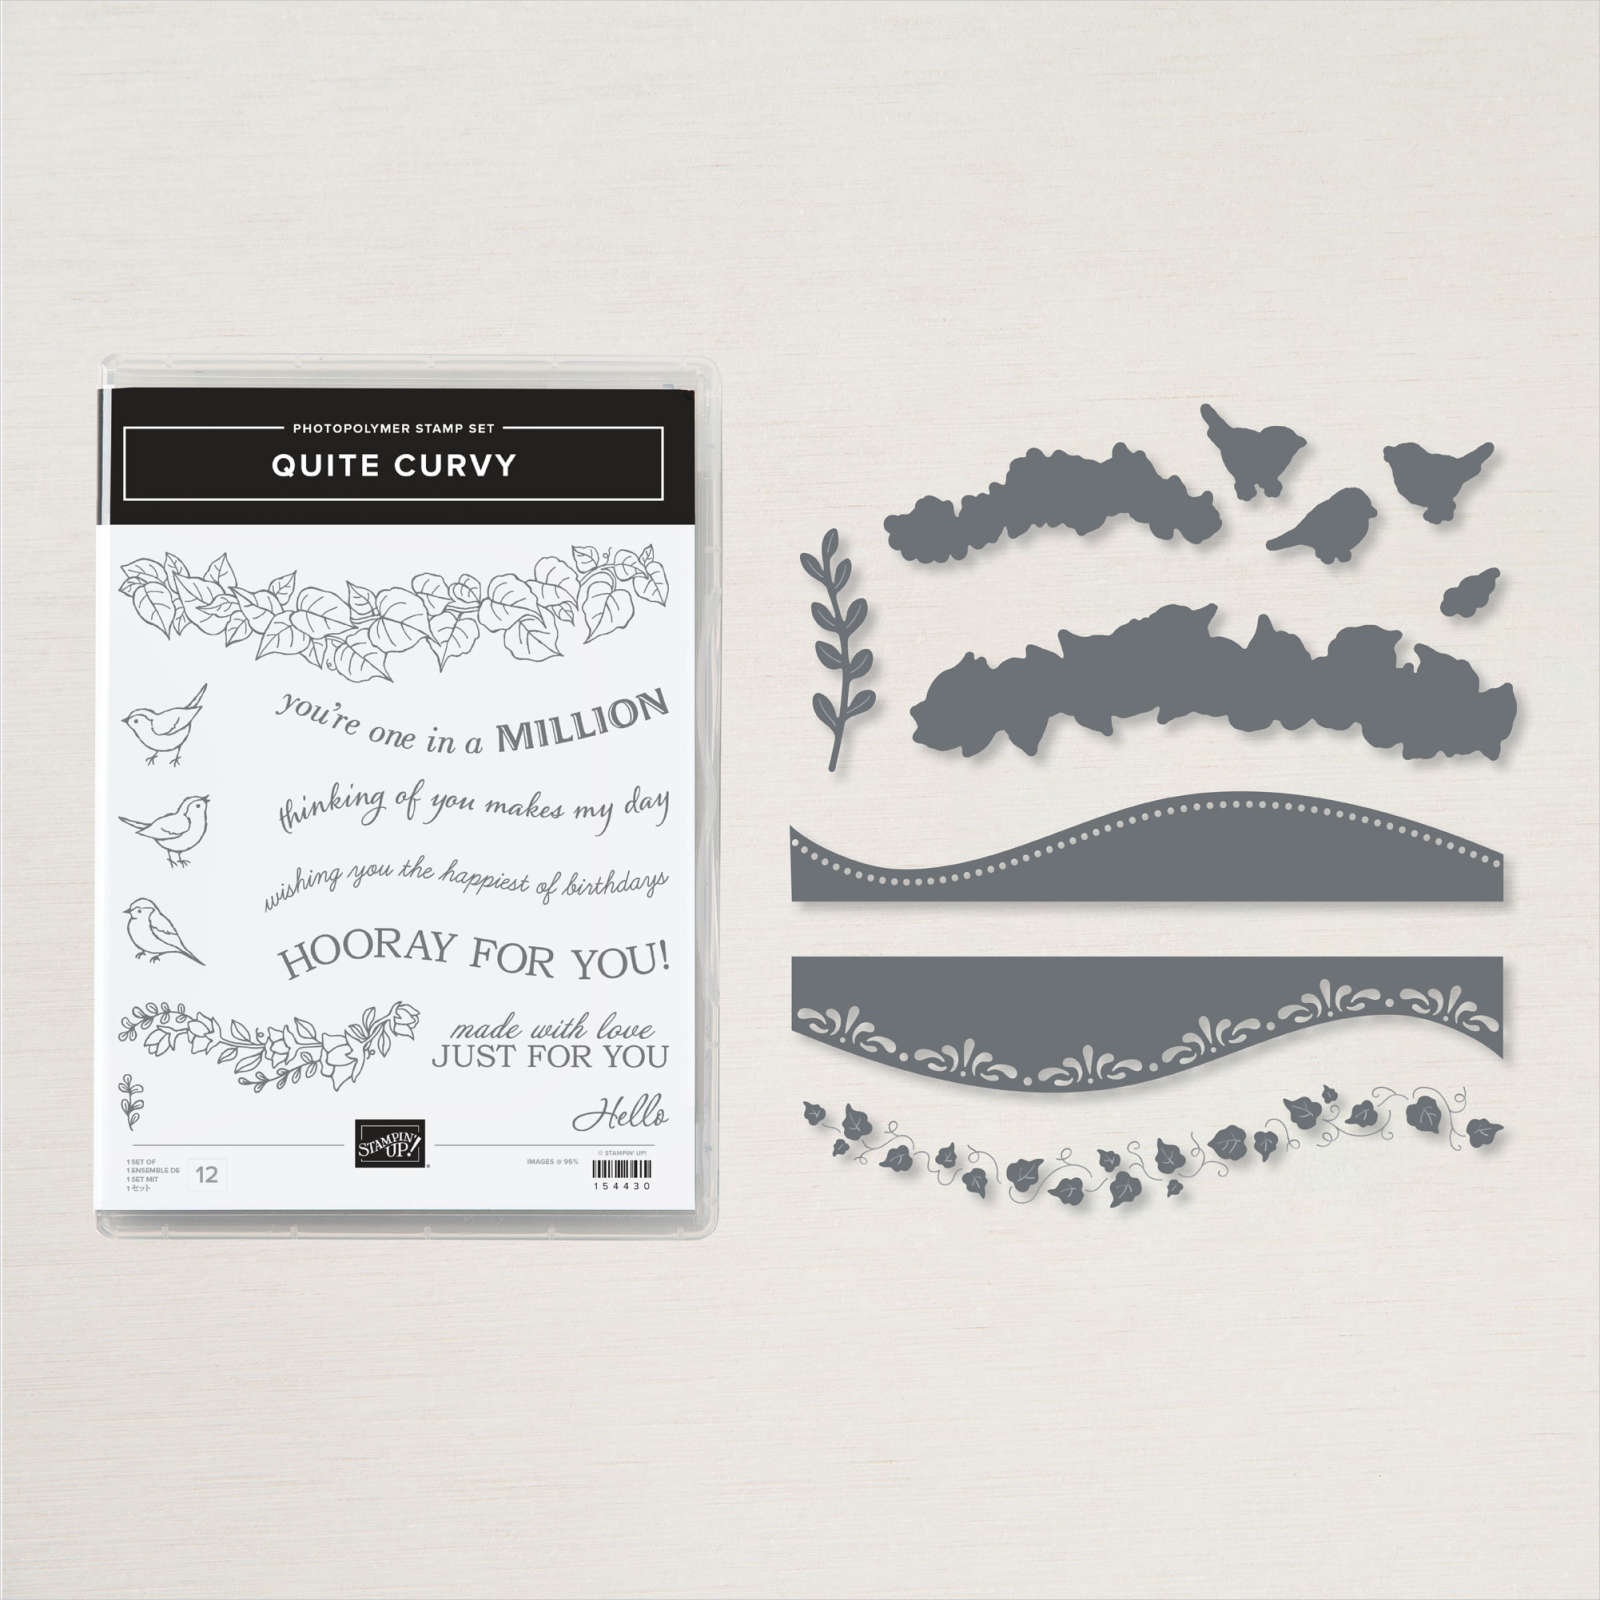
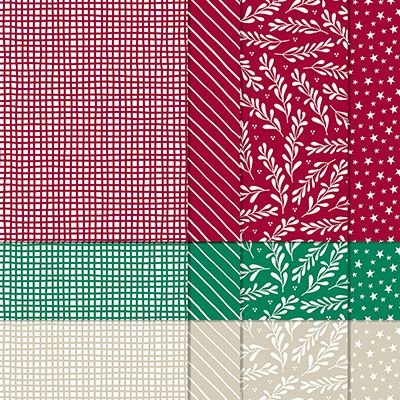
    I chose to use two of the colors in the Classic Christmas 6" designer paper pack; Cherry Cobbler & Sahara Sand.  I cut 3/4" long strips and adhered them to a 5 1/4" X 4" piece of White CS.  Then I used the dotted, curvy die to cut about 4" down from the top.  Then I turned the die over to cut the other end and trimmed it to fit the card. 

    The greeting is from the Quite Curvy stamp set which is available in the bundle at 10% off.   


    Get it whole bundle and I'll send you a free Winter Snow embossing folder

    and the 22 project PDF tutorial too!  

    ~~~

    November Specials!

    Current Host code is GRC9VVUU


    All online orders receive my FREE Curvy Celebrations 22 project PDF Tutorial! 

    Leave a Reply

    Your email address will not be published. Required fields are marked *


Notice: LeeAnn Greff, Independent Stampin’ Up! Demonstrator, Manager. The content of this website is my sole responsibility as an independent Stampin’ Up! demonstrator and the use of, and content of, the classes, services, or products offered on this website is not endorsed by Stampin’ Up! Copyright 2025