/


Latest Post

Pretty Pumpkins with Be Dazzling specialty paper


After seeing other projects with the Pretty Pumpkin bundle I had to get it.  I love the images and the font in the greetings. 

I stamped the large pumpkin image in Pumpkin Pie ink and colored them and the leaves with Blends markers using both Pumpkin Pie & Olive markers plus light Crumb Cake for the stem & light Cajun Craze for the darkest areas on the pumpkins. 
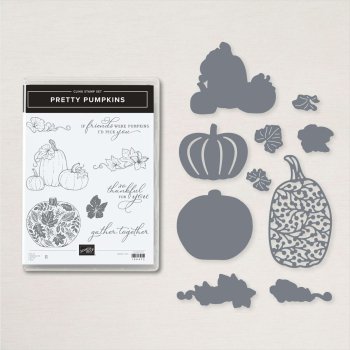

I was playing around with the Be Dazzling specialty paper and decided to try to color it.  I had a spritzer filled with rubbing alcohol & either Pumpkin Pie or Cajun Craze ink refill.  So I spritzed it on to a piece of the glittery paper.  It worked beautifully!  I did have to let it sit for a few minutes to set well.  Then I rubbed it with tissue to get any excess off before I die-cut the pretty filigree pumpkin with it.  

I also spritzed my White twine to color it as well. 

Other products:

  • Ornate Layer & Potted Succulent dies
  • Timeworn Type 3D embossing folder
  • Wink of Stella on the leaves

~~~

August Specials

Host code: UTDM9JQG

*click here to order

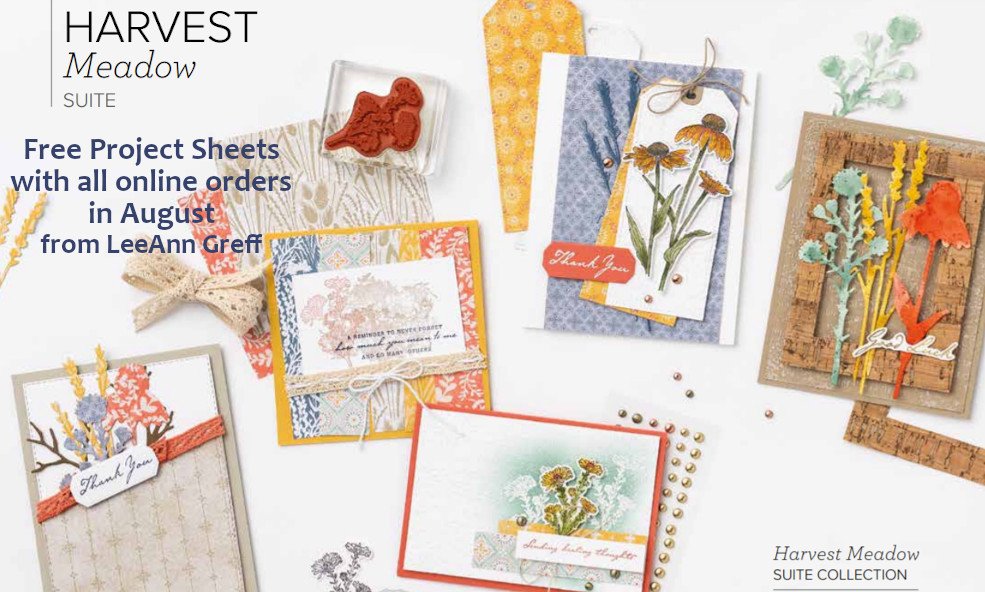
All online orders will receive a free PDF tutorial filled with projects featuring

the Harvest Meadow Suite!
Get the Cute Star Adhesive-Backed Sequins with a $50 online order from me in August!

Order here


Get a Free Bundle  from the Holiday Catalog when you choose the Starter kit!  Pick out $125 in product of your choice for just $99 and shipping is free!  

All Posts

  • The Clearance Rack has lots of new items! Run (don’t walk) to see it all


    Woo hoo!  The Clearance Rack has been updated with new products at amazing prices!  Don't wait another minute to check it out; they're while supplies last. Items can go FAST!! 

    Click here to shop. 

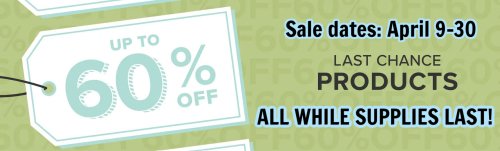
    Remember that you can shop the Last Chance items at the same time.

    And the kit collection too!  

    ~~~

    April Specials: 

    *current host code link:   D6QRFZ7J

    Here's a link to the Last Chance list 

    A free gift with orders in April:

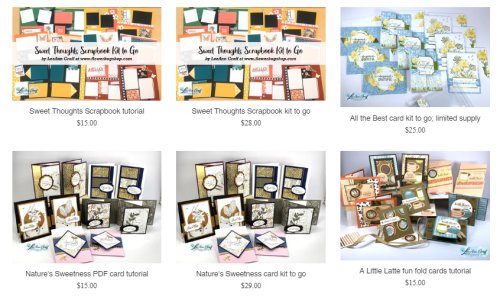
    Check out my available Kits & Tutorials here:

    All online orders in April will receive a free multi-project tutorial!

    Leave a Reply

    Your email address will not be published. Required fields are marked *

  • Let’s Chat is cute & nostalgic! See the video & free project sheet


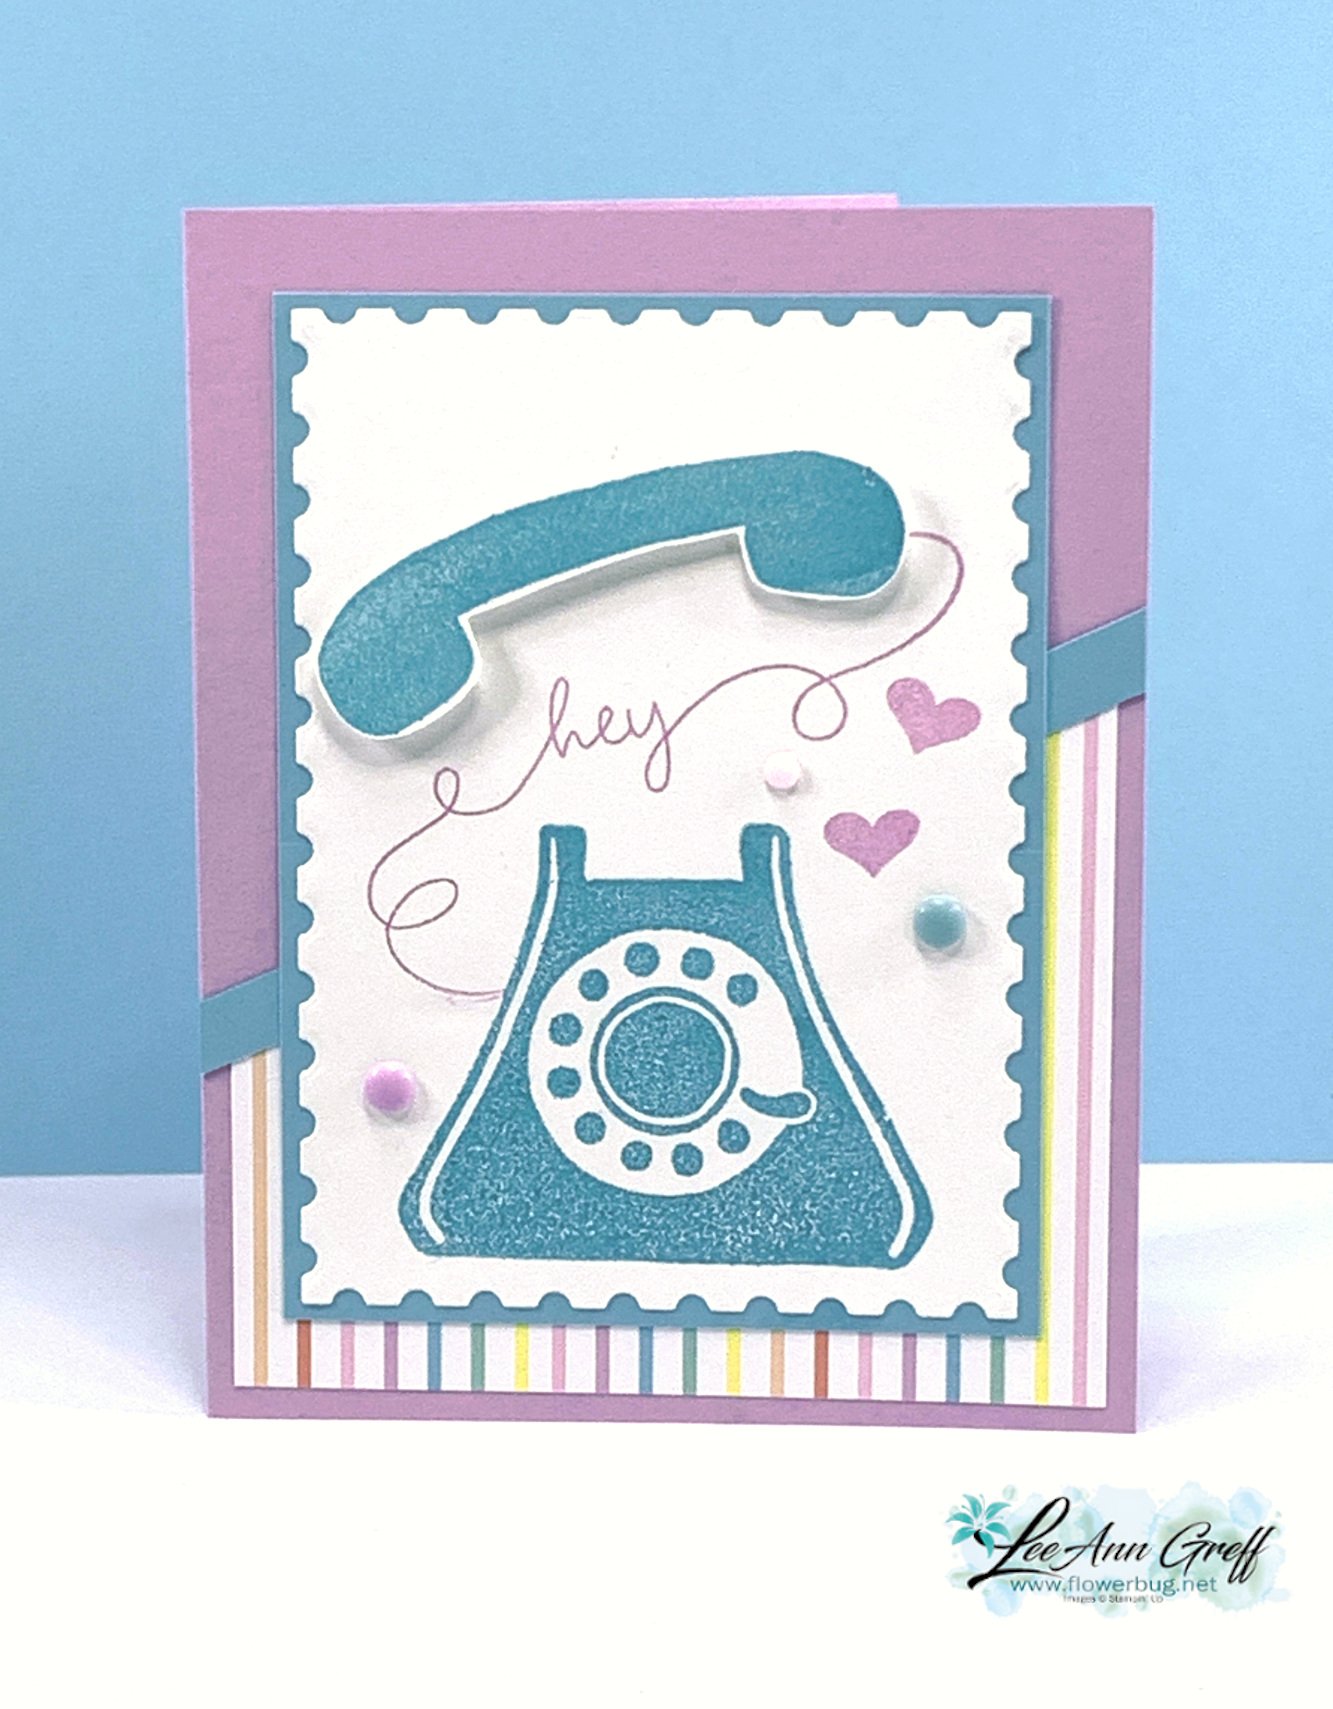
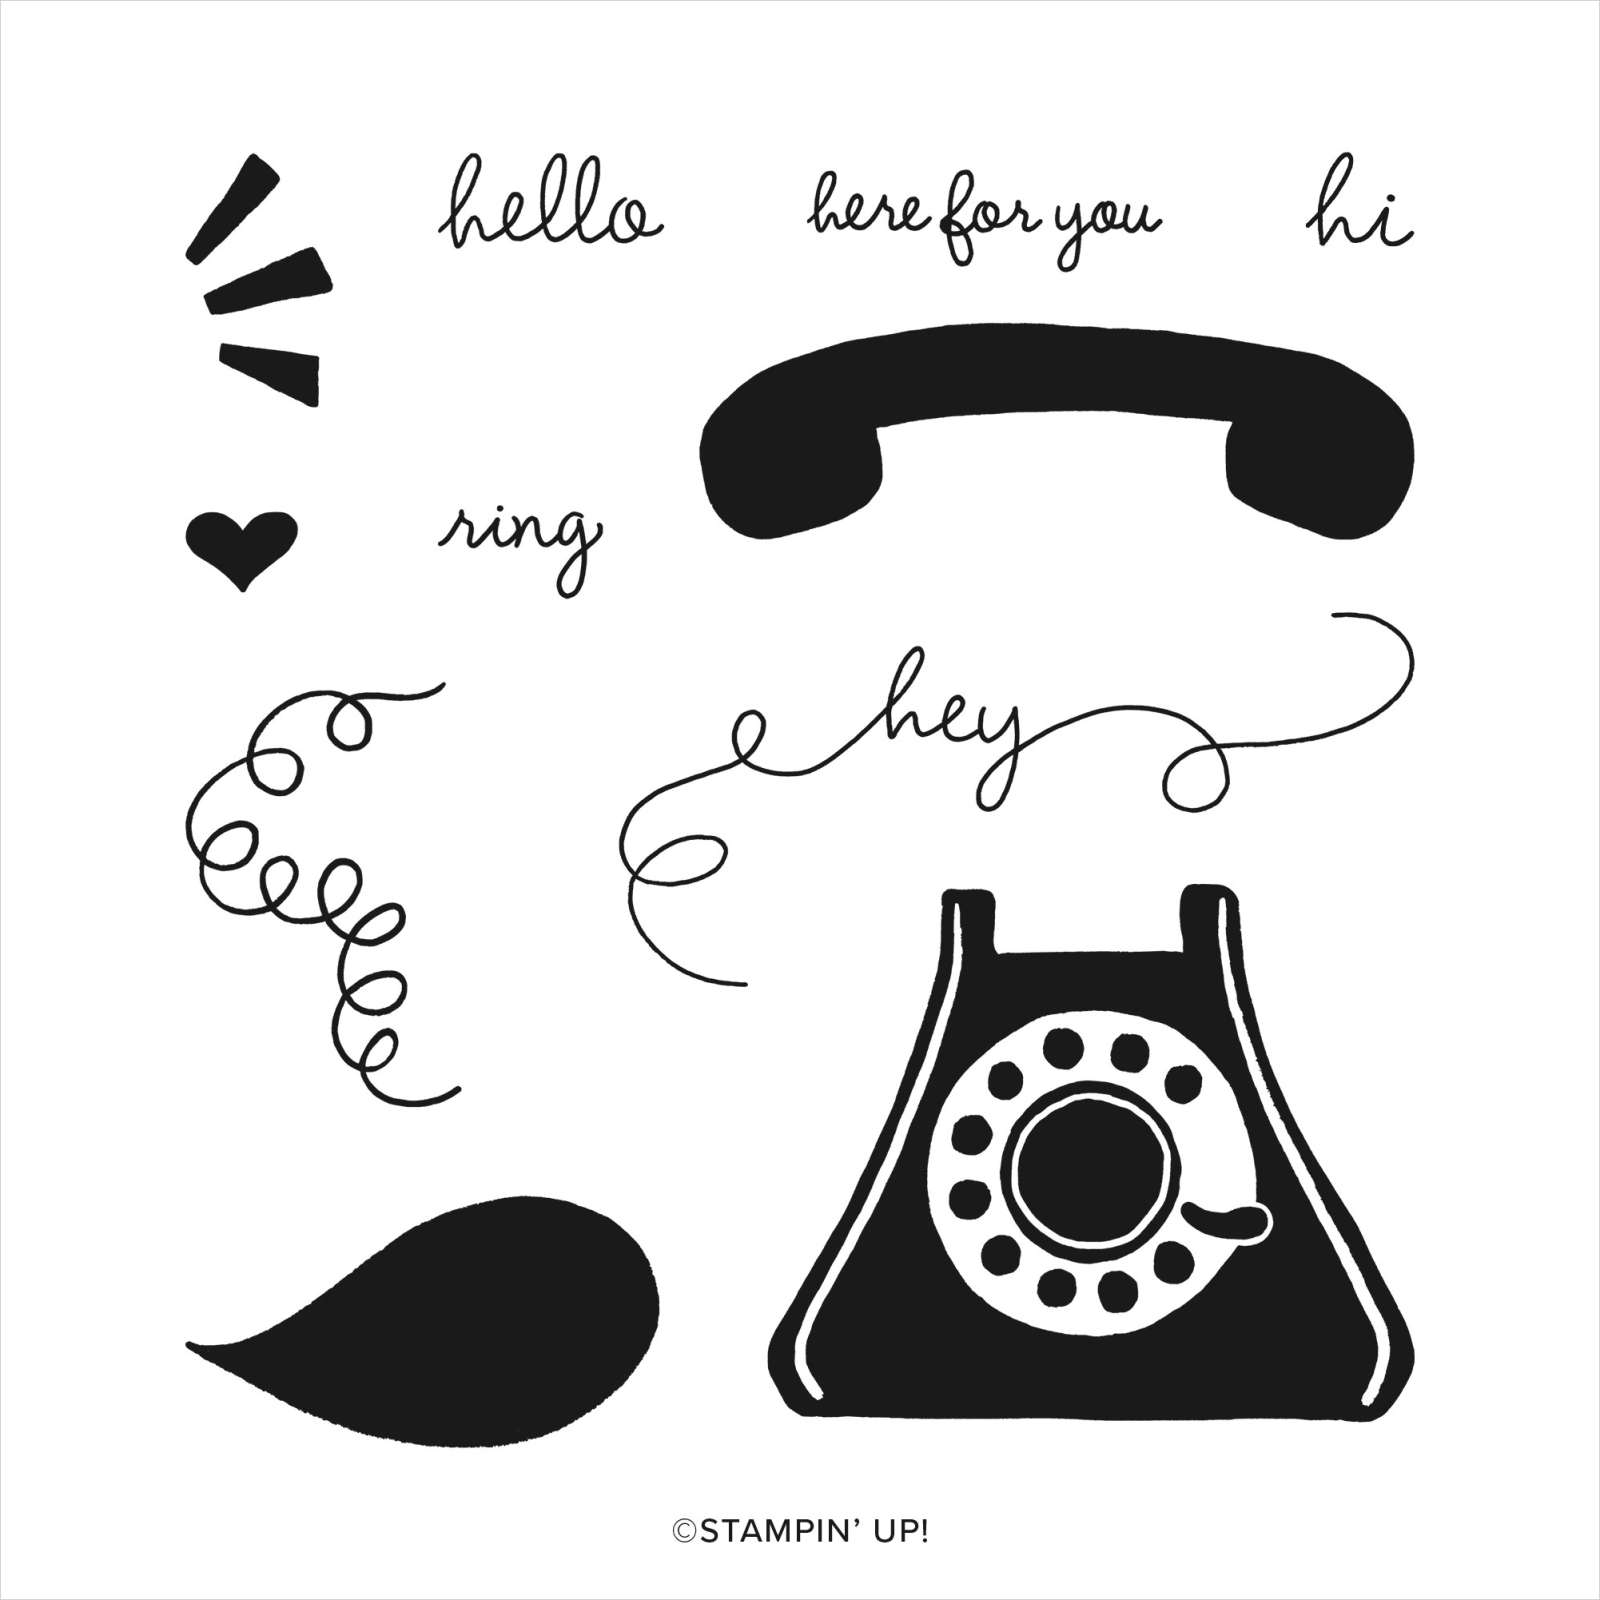
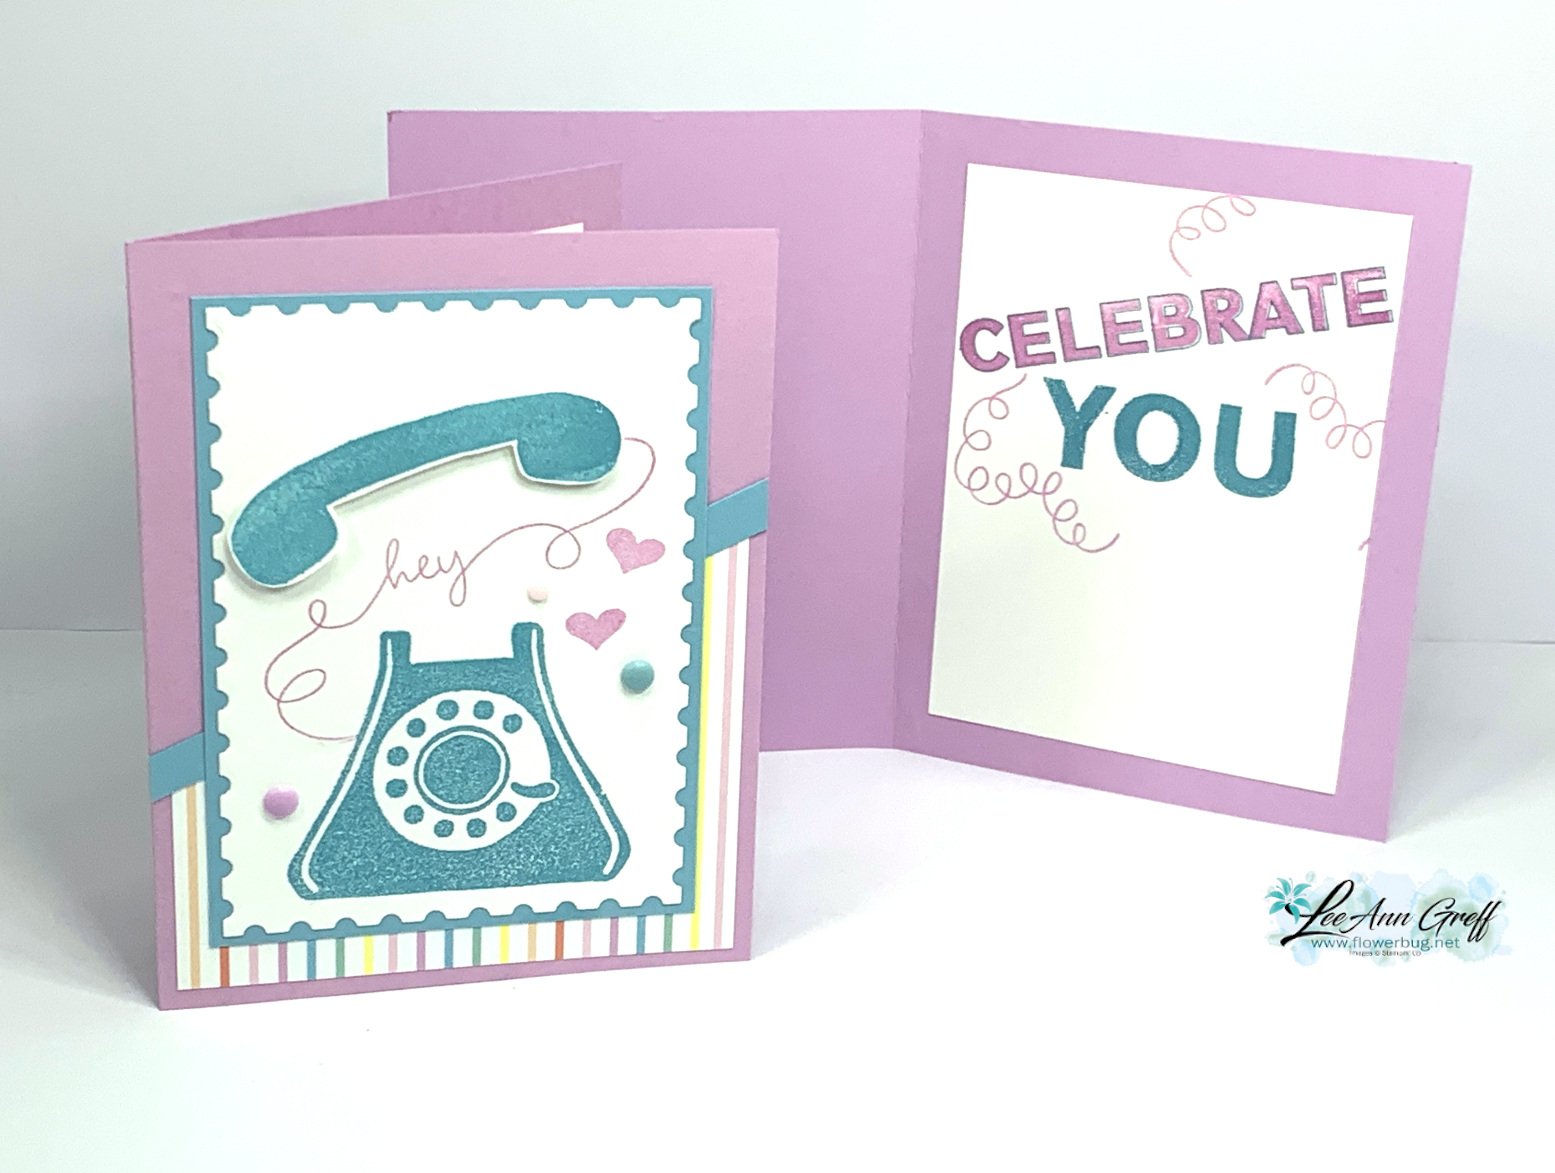
    Today I'm sharing one of the Club cards we made during my April Card Clubs. I chose the 'Let's Chat' stamp set seen here. 

    I love this set!  Between the fun old-fashioned telephone, the greetings and the curvy 'cord' images it's a blast to create with. 

    I chose to use the retiring Hot Air Balloon designer paper seen here for my color palette of Fresh Freesia & Balmy Blue. We did fussy cut the head set to add at the top with Stampin' Dimensionals. 

    For the inside of the card I used the Happy Little Things stamp set seen here.  I really like the many greeting combinations you can make. t's one of our online exclusives.  

    If you'd like the free project sheet click on this link: Download April 24 Let's Chat

    Below is the video on how I made this card along with a few resist techniques featuring new Annual Catalog products. I hope you watch it AND subscribe to my YouTube channel too. 

    ~~~

    April Specials: 

    *current host code link:  W62MPU2R

    ~~~

    Here's a link to the Last Chance list 

    A free gift with orders in April:

    Check out my available Kits & Tutorials here:

    All online orders in April will receive a free multi-project tutorial!

    Leave a Reply

    Your email address will not be published. Required fields are marked *

  • Have you seen the clever Happy Houseplants kit?!


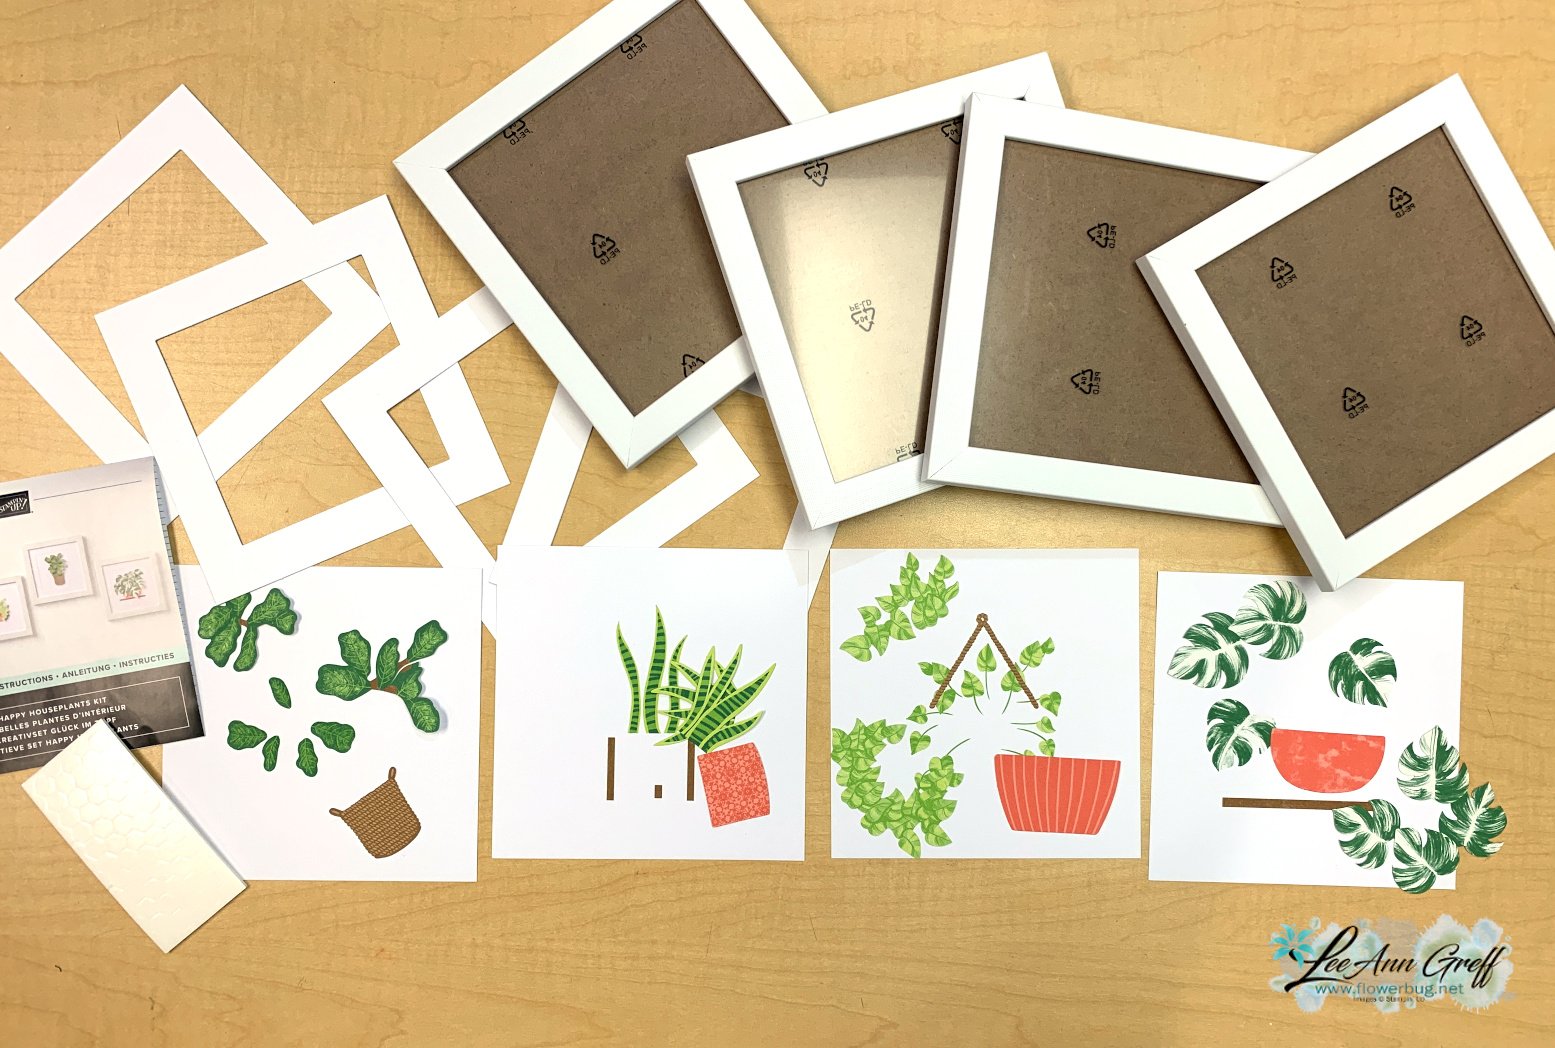
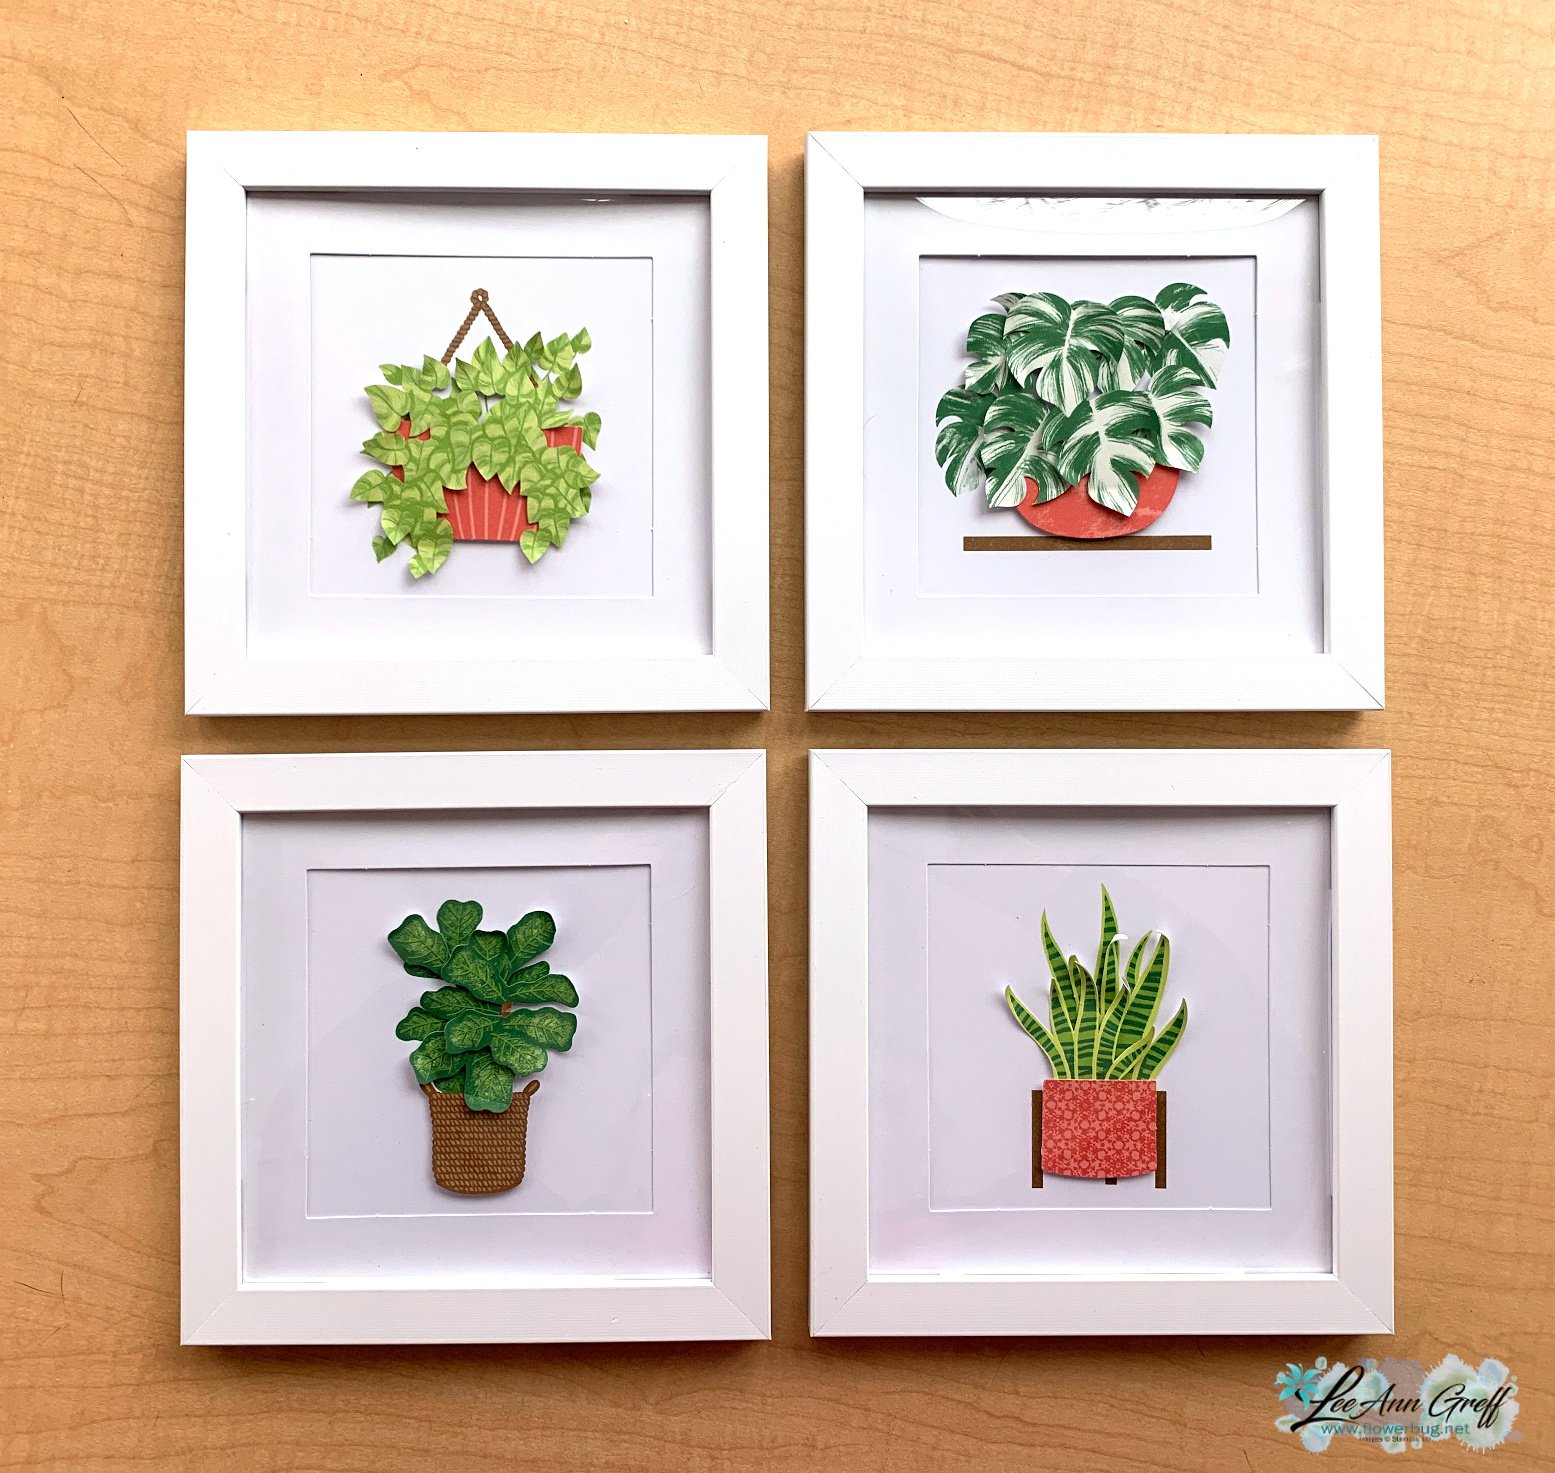
    One of our most unique kits lately is the Happy Houseplant kit.  It includes 4 frames with everything you need to create adorable home decor!  

    It's in our Kit Collection seen here and is all inclusive. That means it includes everything you need to create the 4 pieces of framed art all for just $25. They're 7" square when finished.

    I think they're perfect to place in a hall, bathroom or a guest room.  Maybe near a real plant as a coordinating accent. 

    A few tips on putting these together. The clear acrylic cover sheet has adhesive on both sides for protection.  Remove them before assembling. 

    See how 3D they are?  I used a bone folder to curl the plants a bit. The kit comes with Dimensionals for adding an elevated look. 

    Because the pre-cut plant layers are meant to be popped up for a 3D look I added foam adhesive strips seen here to the edges of my frame after I added the clear acrylic sheet. *don't look too close; I added the adhesive strips to the frame edges before I added the clear sheet and had to remove them!

    I love the plants & pots this kit creates. What a beautiful set of home decor art! 

    This kit would make a fabulous gift for someone who has a new home and needs art, someone who likes to craft but not collect, or someone who is redecorating.  

    While you're shopping be sure to check out the rest of the kits in our Kit Collection here.

    Also don't forget about the Last Chance sale – grab some products on sale!  See it all here. 

    ~~~

    April Specials: 

    *current host code link:  W62MPU2R

    ~~~

    Here's a link to the Last Chance list 

    A free gift with orders in April:

    Check out my available Kits & Tutorials here:

    All online orders in April will receive a free multi-project tutorial!

    Leave a Reply

    Your email address will not be published. Required fields are marked *


Notice: LeeAnn Greff, Independent Stampin’ Up! Demonstrator, Manager. The content of this website is my sole responsibility as an independent Stampin’ Up! demonstrator and the use of, and content of, the classes, services, or products offered on this website is not endorsed by Stampin’ Up! Copyright 2025