/


Latest Post

Pretty Pumpkin projects in out of the box colors with Video too!


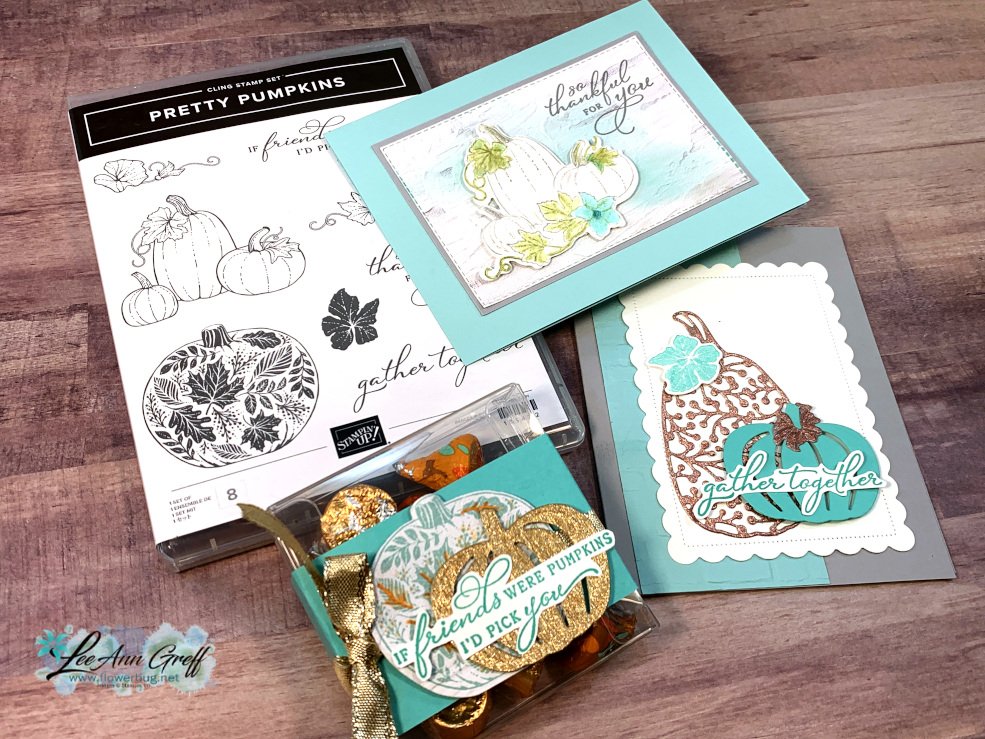
On Tuesday's FB Live I featured the Pretty Pumpkins bundle in out of the box colors.  I was inspired by the white pumpkins that are trendy now and by a card made by Deb Crowley.  
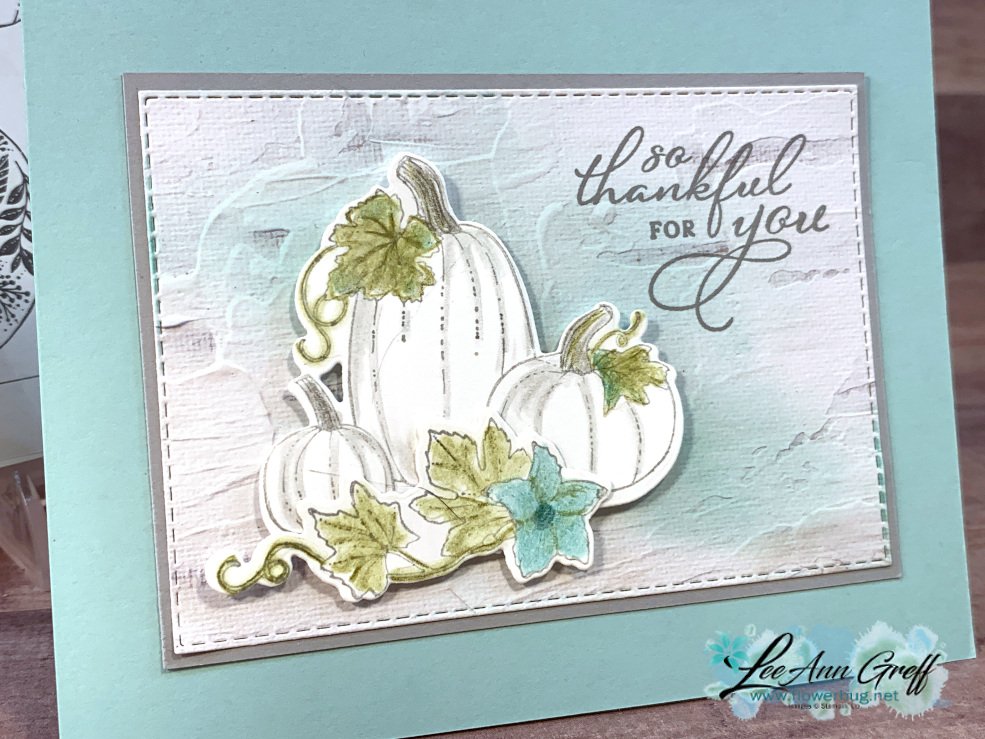
Isn't it gorgeous?  The colors are Pool Party, Olive & Smoky Slate. I stamped the pumpkins in Smoky Slate onto White Basic card stock and colored them in with our Watercolor Pencils seen here.  A Blender pen is the magic tool when using watercolor pencils!  Watch the video below to see how.  
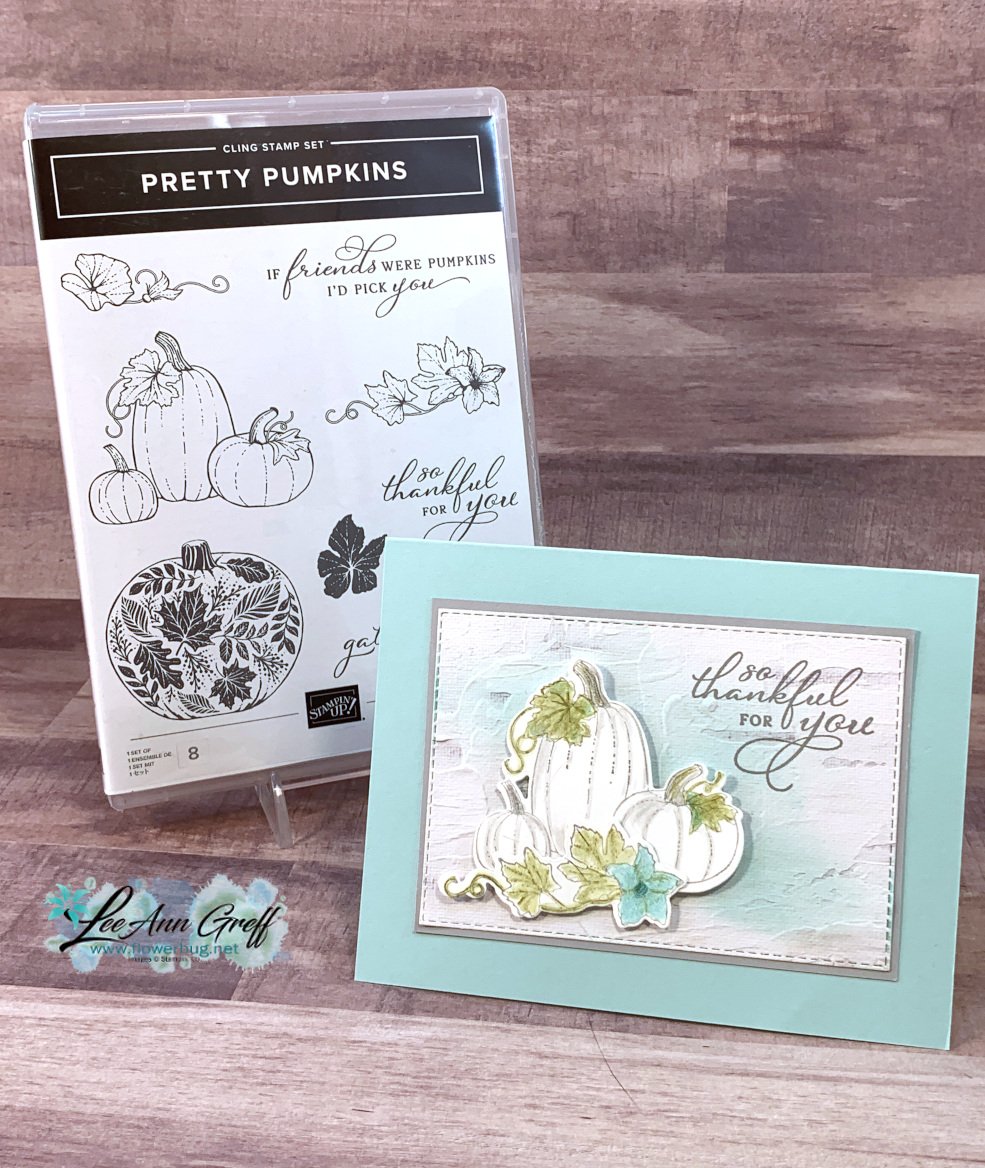
I stamped the greeting directly onto the die-cut stitched rectangle using Smoky Slate ink.  It's cut from In Good Taste designer paper.  I used a blending brush to add a bit of Coastal Cabana ink behind the die-cut pumpkins. 

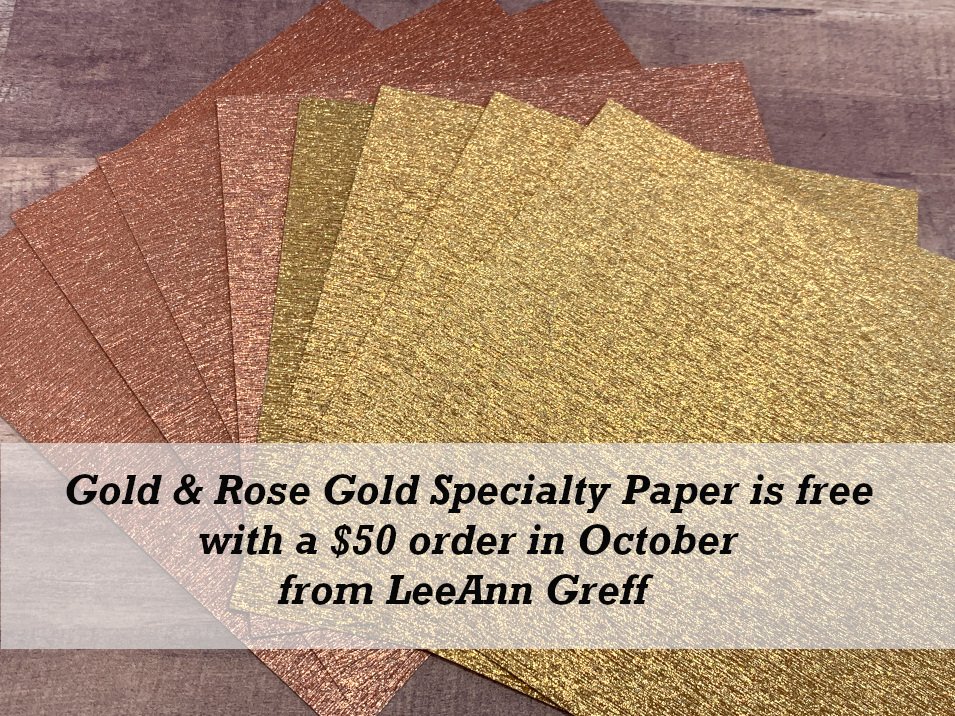
Next is another pretty card in Smoky Slate, Pool Party, Coastal Cabana and Rose Gold.  This pretty specialty paper is in our Annual Catalog on page 134 seen here.  It's also my free gift for orders in October! *see details below
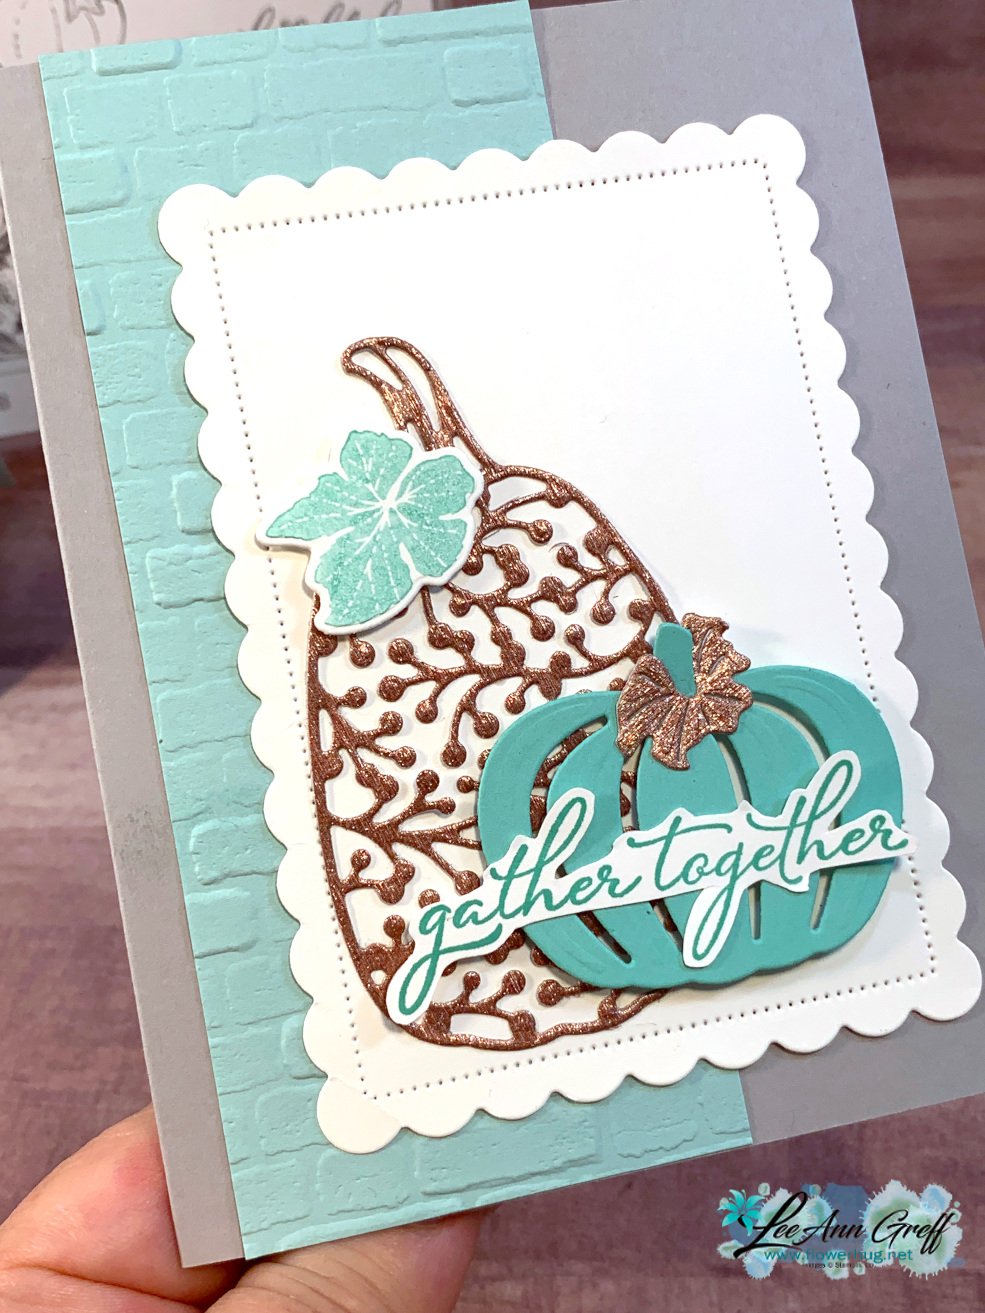
These pumpkin and leaf die-cuts are in the Detailed Pumpkin dies seen here.  *Save 10% when you purchase the bundle – stamp set & dies. I did fussy cut the greeting after stamping it. The embossing folder is called Brick Wall.  

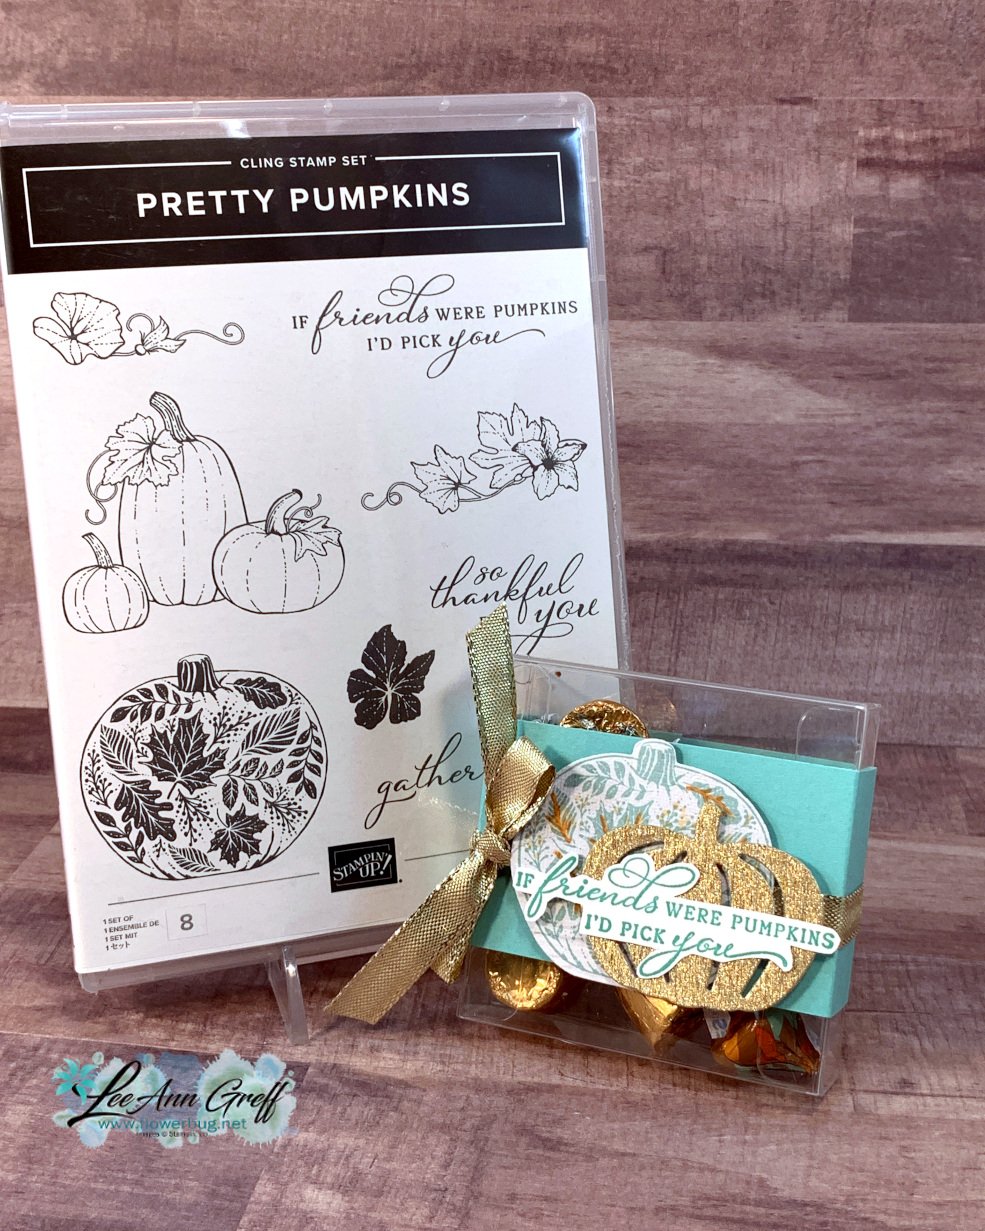
Look at this pretty & quick treats box.  It's one of our 3 1/8" square Acetate boxes seen in the annual catalog here.  You get 10 boxes for $6.  Inside can hold either treats or 3 X 3 cards & envelopes.

I added a 2" X 9" belly band of Coastal Cabana card stock, a few pumpkin die-cuts, a wrap of Gold 3/8" shimmer ribbon and a fussy cut greeting.  
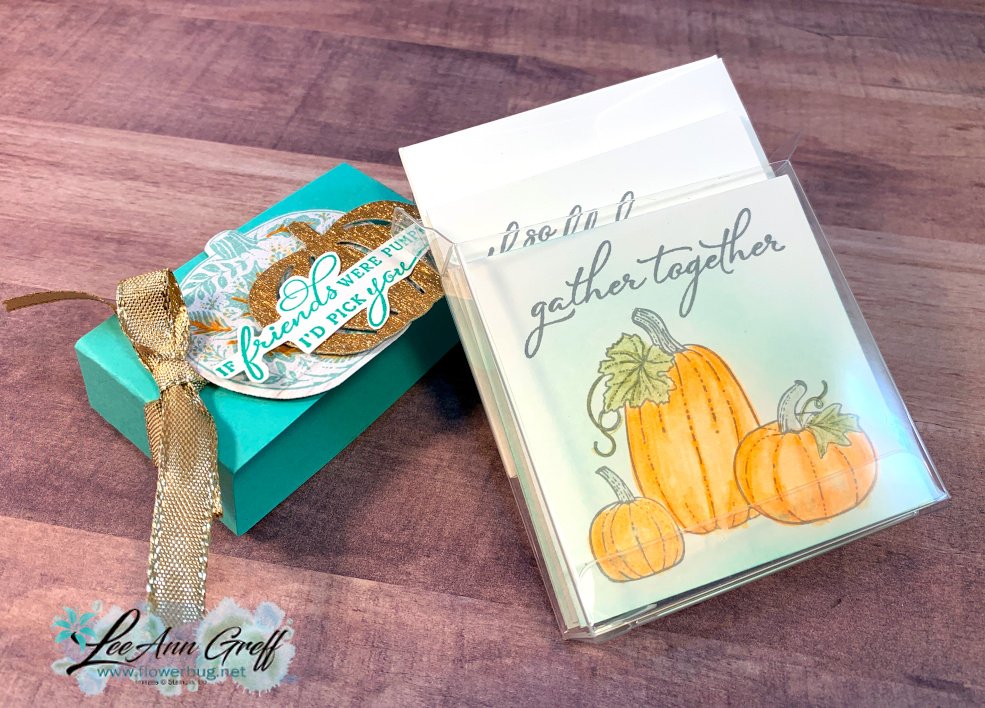
Did you know we carry 3" square envelopes in the Annual Catalog? Check out page 136. They're perfect for little note cards and they fit in this box too!  

You might wonder where you get 3 X 3" cards….   I made them from a piece of 12 X 12" card stock. It's the best size CS to start with. You'll get 8 small cards from one sheet with no waste!  Watch my tip on this in the video below. 

I think these cards would be great at each place setting on the Thanksgiving table!  Think white pumpkins, autumn colored leaves & turquoise ribbon or accents.  Mmm – I think I have a plan! 
And here is the video; click on the image below to watch it. 

~~~

October Specials

Host code: YYUAWBVA

*click here to order

Clearance Rack has new items!!

Get a free package of Gold & Rose Gold Metallic specialty paper from me with a $50 online order in October! 
All online orders will receive my October PDF tutorial free! 

This month it features the Gingerbread & Peppermint suite.

All Posts

  • Little Ladybug; get it FREE


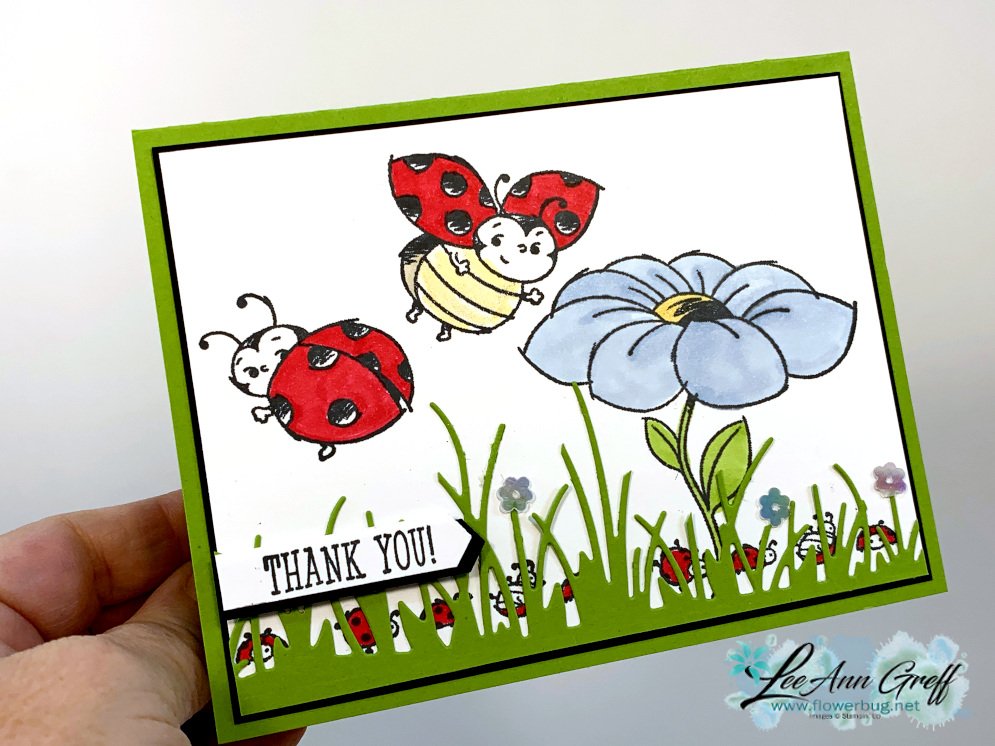
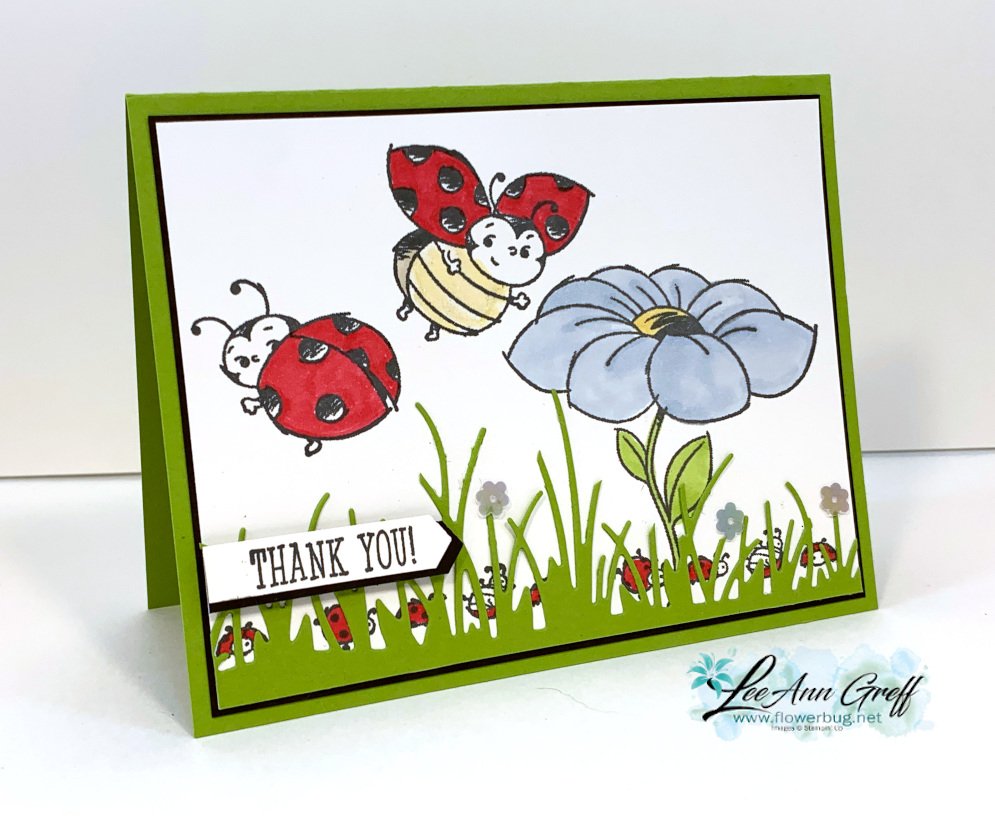
    Here's the other card we made at my January Flowerbug's Team Meeting featuring the Little Ladybug stamp set: 

    I thought the Friendly Silhouettes cat tails/grass die-cut would work well with this set.  See the little ladybugs behind the grass?  I did trim off the 'cattails' so it's just grass here.  

    This Little Ladybug stamp set is free with any $300 order. Gather some friends together for a book party!  Or have your own party and get ALL of the hostess benefits. 

    Did you know if you order $300 you'll get the following:

    1. $36 in free product of your choice
    2. 6 FREE Sale-a-Bration choices! 
    3. The Little Ladybug stamp set; free!
    4. You're over half way to a free stamp set from me with my Buyer Brownie Points rewards program; see that here. 
    5. A free Coastal Weave embossing folder (all orders over $65 in January) 
    6. My free 10 cards January project tutorial (all online orders) 

    Or get in on my January giveaway!  Place an online order with me in January and you'll be entered in the drawing for the Little Ladybug stamp set! 

    Details:

    • Granny Apple Green main card is 5 1/2" X 8 1/2"
    • White layer is 3 7/8" X 5 1/8"
    • Black is 4" X 5 1/4"
    • Images are colored in with Blends markers in Granny Apple Green, So Saffron, Real Red and Seaside Spray
    • The greeting is from the Little Ladybug's stamp set too; punched with the Classic Label punch

    ~~~

    Three January Specials just for you besides Sale-a-Braton! 

    1. All January online orders will earn a ticket in the drawing for a free Little Ladybug stamp set!

    Order online here

    2. All online orders will receive a 10 cards pdf tutorial in an email.

    3. And if your order is over $65 you'll get a free Coastal Weave embossing folder too!

    January Host Code is GEEFZCZV

    Order online here

    Leave a Reply

    Your email address will not be published. Required fields are marked *

  • Little Ladybug Spinner Card!!


    This fabulous spinner card was made by my friend Susie Wood; she sent one to me as we like to make cards for each other to share with our customers.  I love her style so much.  Visit her blog here. 

    Isn't it adorable?!  It's classic Red, Black & White; perfect for the Ladybug set. The center circles are 1 3/4" and 2" in size. The Black piece is 4" X 3 1/4" in size and that circular opening is 2 3/8" using the Circles Collection dies and punches.

    This cute stamp set is FREE with any $300 order placed during Sale-a-Bration; January through March 2020.  If you don't think you can swing that large of an order I have a few suggestions for you. 

    1. Have a workshop/party and invite your friends. Their orders will add up so you can earn it free!
    2. Place one big order (if you can). You'll get 6 free $50 Sale-a-Bration items at the same time and earn $36 in free hostess benefits. 
    3. Have a book party; inviting your fellow stamping friends to order. I can open a host code so all of the orders can be shipped to each person's ome. Sale-a-Bration is a great time to order!  Free products for each $50 you spend.
    4. Purchase the starter kit and join as a Demonstrator!  Then you get 20% off your $300 order so you're really spending just $240 to earn this set!  Plus you would get 6 free Sale-a-Bration items at the same time and $36 in free hostess benefits. 

    All you need for a spinner card is a window, something to spin and some string or thread.  She used our Silver metallic thread here.  The window is made with our Circles Collection Framelits. 

    Watch the FB live replay video below to see how it's done. 

    You might wonder where the black polka dots came from. She used a sponge dauber!  So easy!! 

    Below you can see both cards I demonstrated on my Facebook Live this week.  Click below to see it. Be sure to follow my page so you don't miss it each week on Tuesday's at 11 am CT. 

    ~~~

    Three January Specials just for you! 

    1. All January online orders will earn a ticket in the drawing for a free Little Ladybug stamp set!

    2. All online orders will receive a 10 cards pdf tutorial in an email.


    3. And if your order is over $65 you'll get a free Coastal Weave embossing folder too!


    January Host Code is GEEFZCZV

    Order online here

    Leave a Reply

    Your email address will not be published. Required fields are marked *

  • Cute Little Ladybug projects!


    I created some adorable projects on my Facebook Live this week with the Little Ladybug's stamp set!  Check it out here.  Every Tuesday at 11 am CT I'm Live here.  **Although it will be on Wednesday, January 22nd next week instead.

    We made them at my Flowerbug's Team meeting on Saturday too. 

    The Little Ladybug stamp is found at the back of the Sale-a-Bration catalog.  It's FREE with any $300 order.  Tomorrow I'll share ideas on how you can earn it yourself. 

    Or place an order with me during January and get in on the prize drawing for one lucky person who will get this stamp set free!   


    The card above on the left was made by my friend Susie Wood; it's a spinner card!  I loved it so much I had to make one.  I'll share the details on that card tomorrow and another card next week. 

    I used punches to create the windows on this card from the 5 1/4" X 4" Black CS; it's really a great way to highlight your images.  Sometimes I struggle with smaller images; just what do you do with them to create a great card?! 

    You could use anything in the windows; greetings, flowers, critters – the sky's the limit!  Look at your stamps in a whole new way! 

    Did you notice the 'fussy cut' greetings?  I have a tip for you!  Save the paper backing on your red rubber stamps and use it as an outline to trace over your stamped greeting.  Or if you didn't save it, trace the main rubber stamp itself.  Save the template in your stamp case for repeated use. 

    ~~~

    Three January Specials just for you! 

    1. All January online orders will earn a ticket in the drawing for a free Little Ladybug stamp set!

    2. All online orders will receive a 10 cards pdf tutorial in an email.


    3. And if your order is over $65 you'll get a free Coastal Weave embossing folder too!


    January Host Code is GEEFZCZV

    Order online here

    Leave a Reply

    Your email address will not be published. Required fields are marked *


Notice: LeeAnn Greff, Independent Stampin’ Up! Demonstrator, Manager. The content of this website is my sole responsibility as an independent Stampin’ Up! demonstrator and the use of, and content of, the classes, services, or products offered on this website is not endorsed by Stampin’ Up! Copyright 2025