/


Latest Post

Pleased as Punch fun fold card


I made this card for a recent online swap I participated in.  I believe this type of fold is called a 'Joy Fold' card. 

The Pool Party piece is folded in half; the bottom part is under the front flap of the White layer.  See measurements below.

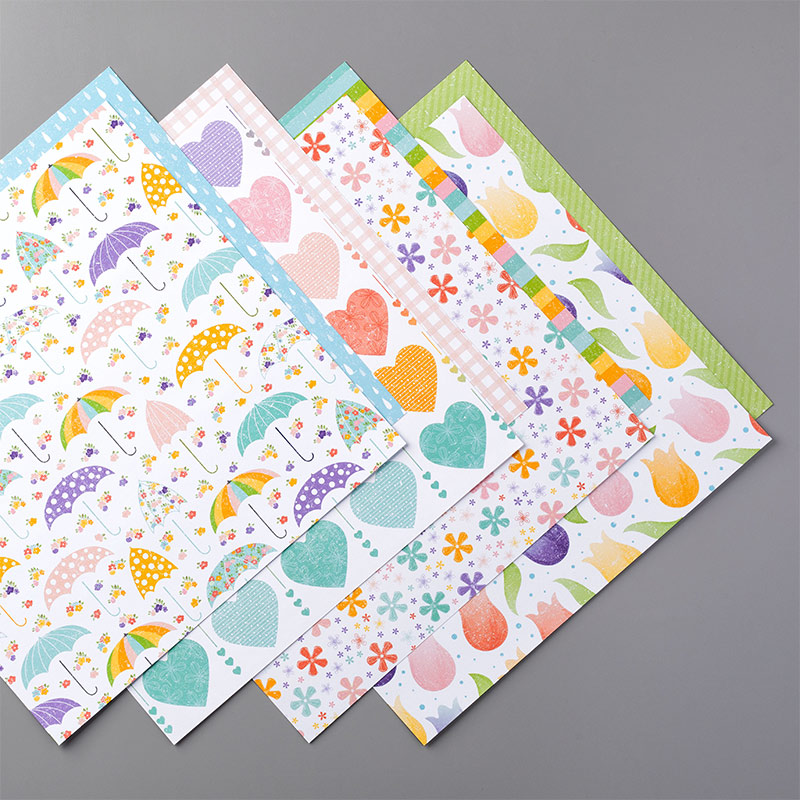
I chose to use the brand new Pleased as Punch designer paper seen here.  It coordinates with FOUR of our current punches – amazing!  The two hearts on this card are punched directly from the designer paper. 

I love it so much I am featuring it for my February card kit to go.  I'll share that with you tomorrow. 

Details:

  • The hearts are punched from the DSP with the Heart Punch Pack
  • The ribbon is the White seam binding on page 25 of the January – June Mini catalog
  • the sequins are from the free SAB Metallic Baker's Twine & Sequins combo pack seen here
  • the embossing folder is the Coastal Weave 3D embossing folder seen here

Measurements:

  • White – 4 1/4" X 8 1/2" scored at 5 1/2"
  • Pool Party 3" X 8 1/2" scored at 4 1/4"
  • So Saffron 2 1/4" X 3 1/2"
  • Pleased as Punch DSP 1/4" X 3 1/2"

~~~

Four February Specials just for you besides Sale-a-Braton

and the Product Coordination Release! 

    1. Earn a ticket in the drawing for each $25 you order online in February for a free Little Ladybug stamp set!

Order online here

2. All online orders will receive a free pdf cards tutorial in an email.

3. And if your order is over $55 you'll get a free package of Champagne Rhinestones too (while supplies last)!

February Host Code is 4CQKPWRV

Order online here

4. Choose any FREE stamp set when you purchase the Starter kit during Sale-a-Bration; of any value! Plus you'll get a free paper trimmer and a 6 X 6 sampler of new Designer Paper!  It's just $99 plus tax; shipping is free!  Click here to join my awesome Flowerbug's Team! 


All Posts

  • All Around Wreath for Christmas


    Have you noticed the All Around Wreath bundle in the annual catalog? Click here; it's quite the gem!  So many occasions are covered in the greetings and die-cuts.  

    Marilyn made this pretty Christmas themed wreath for our Team Christmas card swap. 

    She chose to use two shades of green here; Mossy Meadow with Pear Pizzazz along with a few touches of Gold.  The pears are heat embossed in Gold powder as well as the shimmery thread.  

    Other details:

    • The greeting is die-cut with the Hippo & Friends dies seen here
    • The Vanilla layer is textured with the Pinewood Planks embossing folder
    • She used the same wreath die-cut but in two colors, separating them slightly on the card. 

    ~~~

    November Specials!

    Current Host code is GRC9VVUU


    All online orders receive my FREE Curvy Celebrations 22 project PDF Tutorial! 


    Leave a Reply

    Your email address will not be published. Required fields are marked *

  • Retro style circles layout; super easy! Catch the Live video tonight!


    Tonight at 7:30 pm Central Time I'm sharing how to make these retro style circle cards on Facebook Live.  Click here to join me.   You can also see this video below!

    Basically you need three sizes of circle dies or punches for the start of this layout.  Cut them in half and layer together with the edges meeting on one side. Adhere and add a long greeting between the two. 

    Watch how on my FB Live replay!

    Measurements:

    • 5 1/2" X 8 1/2" card base
    • 3 1/2" X 4 3/4" Whisper White; the greeting strip is about 5" long and either 1/2" or 3/4" wide depending on your greeting image.
    • 1" X 5 1/2" horizontal strip
    • Circles from the Stitched Shapes dies are the largest three circles. 

    You'll want ink, stamps and embellishments that coordinate with your Designer Paper.  Remember you could use card stock instead of DSP. 


    Products used:

    • Designer papers – Heartwarming Hugs, new Classic Christmas & Snowflake Splendor
    • Stamps – Tree Angle, Snowflake Wishes & Curvy Christmas
    • Colors – Real Red & Olive, Seaside Spray & Night of Navy, Sahara Sand & Cherry Cobbler  
    • Other: Stitched Shapes dies, Curvy Dies & Pick a Banner punch

    ~~~

    November Specials!

    Current Host code is GRC9VVUU


    All online orders receive my FREE Curvy Celebrations 22 project PDF Tutorial! 

    Leave a Reply

    Your email address will not be published. Required fields are marked *

  • Curvy Christmas & the Postage Punch


    Check out this easy card using the new Curvy Christmas stamp set and the Postage Punch!  

    It's super simple! Here's how I made it:

    1. Stamp the curvy trees image on the White CS using Shaded Spruce ink.  Color the trees with a Light Shaded Spruce Blends marker.  Add a tiny star using Cherry Cobbler ink on one tree. Adhere it to the Cherry Cobbler layer and to the main card.
    2. Punch out three pieces of Classic Christmas designer paper with the Postage Punch seen here.  Adhere to the White CS. 
    3. Stamp the greeting in Cherry Cobbler ink on a 1/2" strip of White CS.  Punch the ends with the Banners Pick a Punch. Add it to the card with mini dimensionals. 
    4. Finish with a few Holiday rhinestones. 

    You can see this stamp set here; it's only available through January 4th.  And the Classic Christmas Designer Paper is here while supplies last. 

    Remember that everyone who orders any of these products or places an online order with me in November will receive a free 22 project PDF tutorial featuring the Curvy Celebration products! 


    ~~~

    November Specials!

    Current Host code is GRC9VVUU


    All online orders receive my FREE Curvy Celebrations 22 project PDF Tutorial! 

    Leave a Reply

    Your email address will not be published. Required fields are marked *


Notice: LeeAnn Greff, Independent Stampin’ Up! Demonstrator, Manager. The content of this website is my sole responsibility as an independent Stampin’ Up! demonstrator and the use of, and content of, the classes, services, or products offered on this website is not endorsed by Stampin’ Up! Copyright 2025