Today is the second batch of Glitz, Shine or Glimmer card swaps by my Flowerbug's Team. You'll love the wide array of gorgeous cards they made!
But first I have to tell you about the Last Chance & Carry Over lists from the 2023 Holiday catalog.
The holiday catalog ends January 3rd and they've released the items that are retiring AND those that will carry over into 2024. *see all items here!
This Last Chance Products promotion will include two lists: a retiring list and a carryover list.
Details:
- Not all items on the Last Chance Products List will be discounted.
- All products are available while supplies last, and there are no purchase limits.
- Stamp sets are not guaranteed during this promotion and are while supplies last.
~~~
First up today is a birthday card made by Deloris. She used the beautiful Autumn Leaves dies as her main focus.
Measurements & products:
- All About Autumn center panel 2 3/4" X 5 1/2" (DSP is discontinued now)
- More Dazzle paper 1/2" X 5 1/2" strips
- Pretty Peacock card base 8 1/2" X 5 1/2" scored at 4 1/4" – front textured with the Distressed Tile embossing folder
- Vanilla die-cut 2 3/8" X 4" – Countryside Corners dies (2023-24 Annual catalog)
- Greeting from the Lasting Joy stamp set (2023-24 Annual catalog)
~~~
Next is a pretty Christmas card made by Jane. She chose to feature the Merriest Trees bundle seen here.
This card is all about Lost Lagoon and Silver which are absolutely beautiful together!
Products used:
- Lost Lagoon card stock
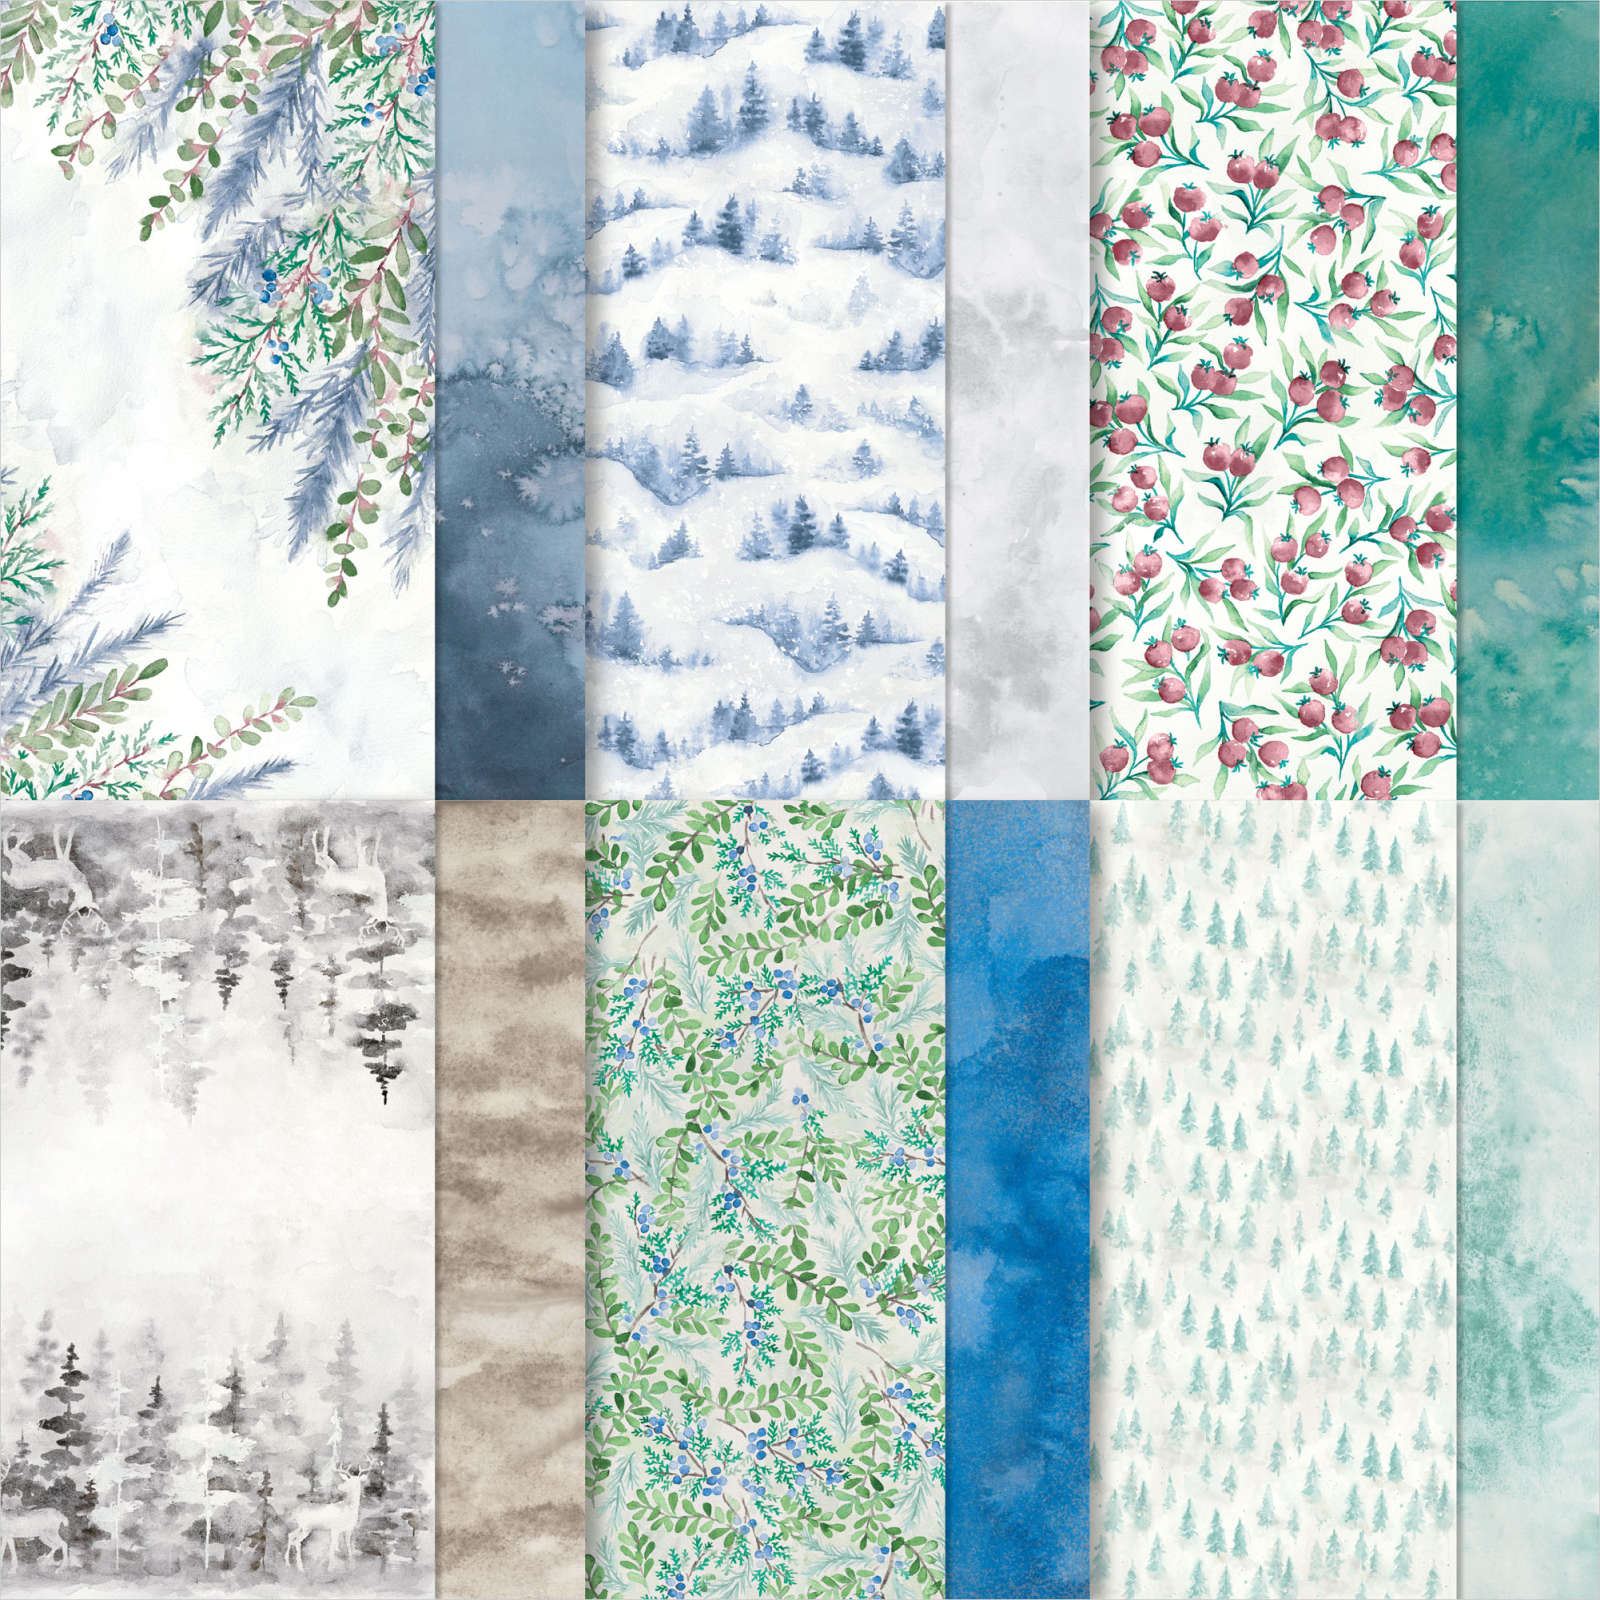
- Snowflake Magic specialty & Winter Meadow designer papers (2023 Holiday catalog)
- Silver & Gold adhesive backed glimmer paper (Online Exclusives but sold out now)
- Elegant Trim (silver cord – Annual catalog)
- Festive Pearls (Annual catalog)
Measurements:
- Lost Lagoon card base 8 1/2" X 5 1/2" score at 4 1/4"
- White 4" X 5 1/4"
- Snowflake Magic 1" X 5 1/8"
- Winter Meadow 2 7/8" X 5 1/8"
~~~
Next is a pretty card made by Candy
I love her pretty color combo of Crumb Cake, Flirty Flamingo & White.
Products & measurements:
- Crumb Cake card base 8 1/2" X 5 1/2" score at 4 1/4" (textured with the Stripes & Splatters 3D embossing folder 2023-24 Annual catalog)
- Dry Brushed Metallic specialty paper (Online Exclusives) 2" X 5 1/2"
- Deckled Rectangle dies 2 1/8" X 3 1/2" (Annual catalog)
- Flirty Flamingo greeting 2 1/8" long (Stylish Shapes dies 2023-24 Annual catalog)
- Inks – Old Olive, Flirty Flamingo & Old Olive Stampin' Write markers
- Brass Butterflies (Annual catalog)
I love sharing my Team's cards and their special styles! Stop back in for more gorgeous card swaps tomorrow!
~~~
November Specials:
*current host code: 4D2ZDS6Q
Click on the photo below to see all of the new online products


Leave a Reply