/


Latest Post

Regency Park with the Baby Wipe technique!


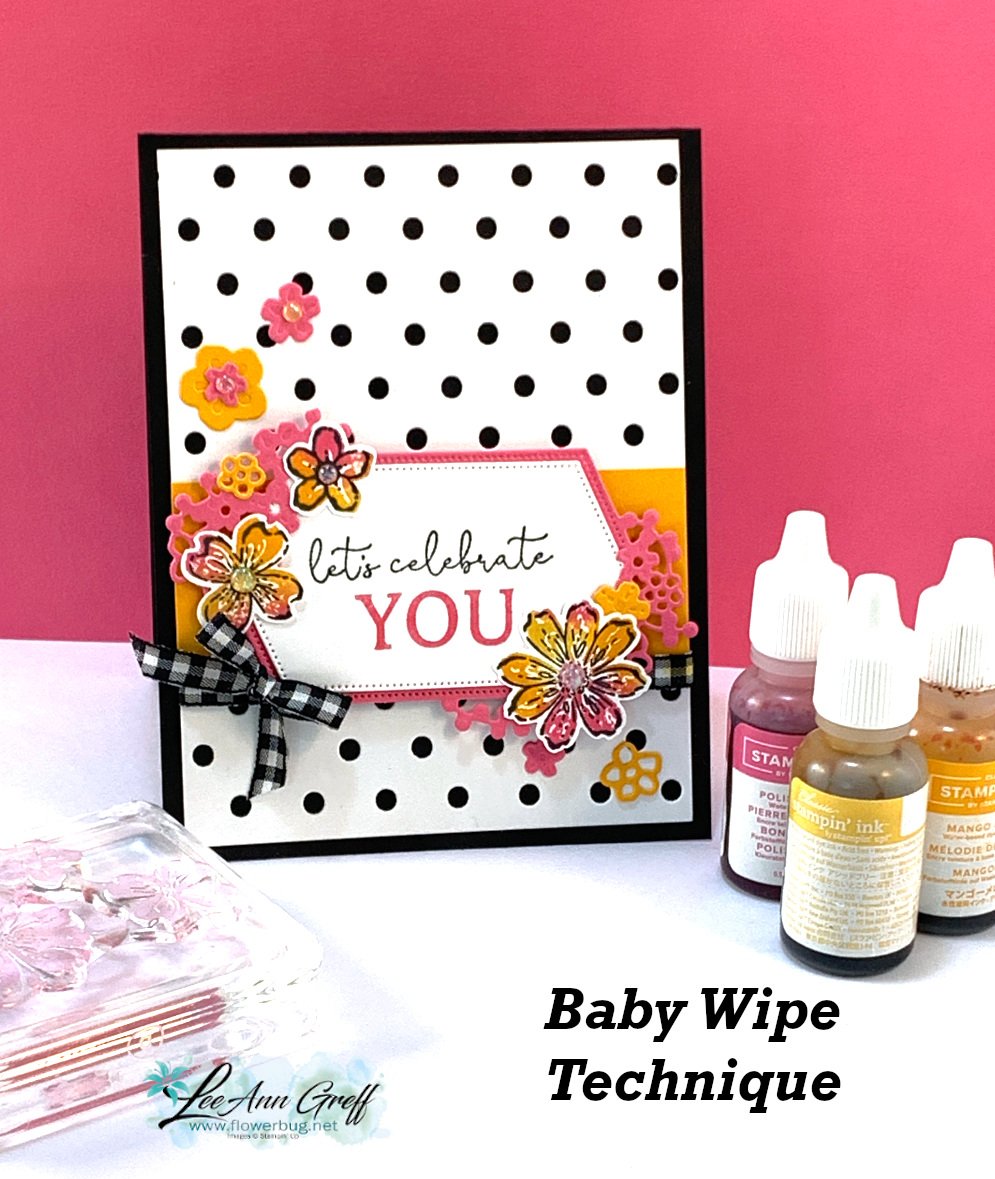
During March our Flowerbug's Team has been focusing on using re-inkers.  I hadn't played with the 'baby wipe' technique for awhile.  I chose the Regency Park suite when creating this cute card: 
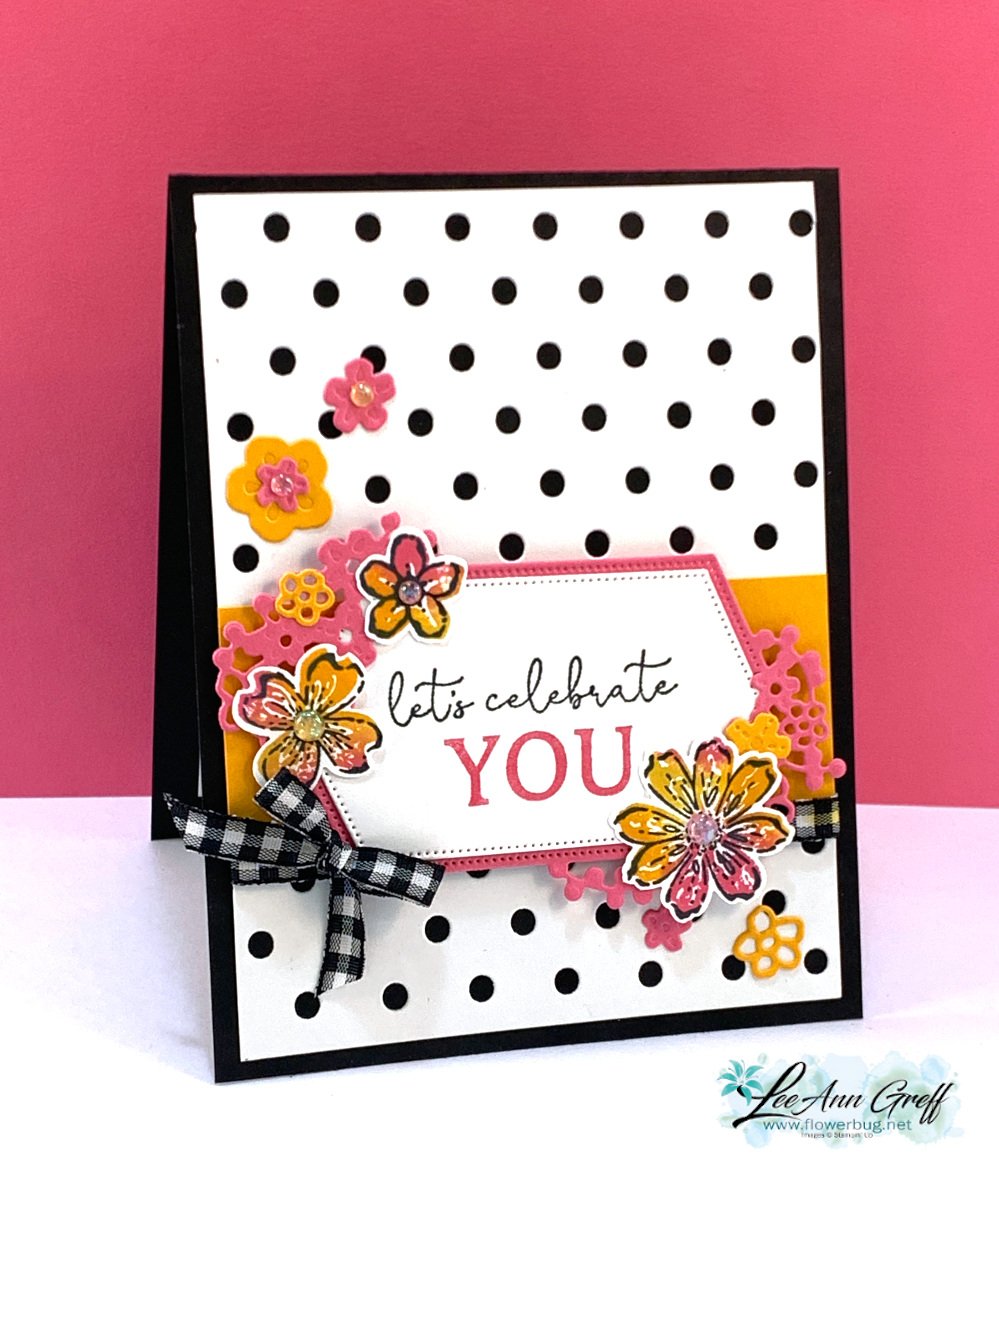
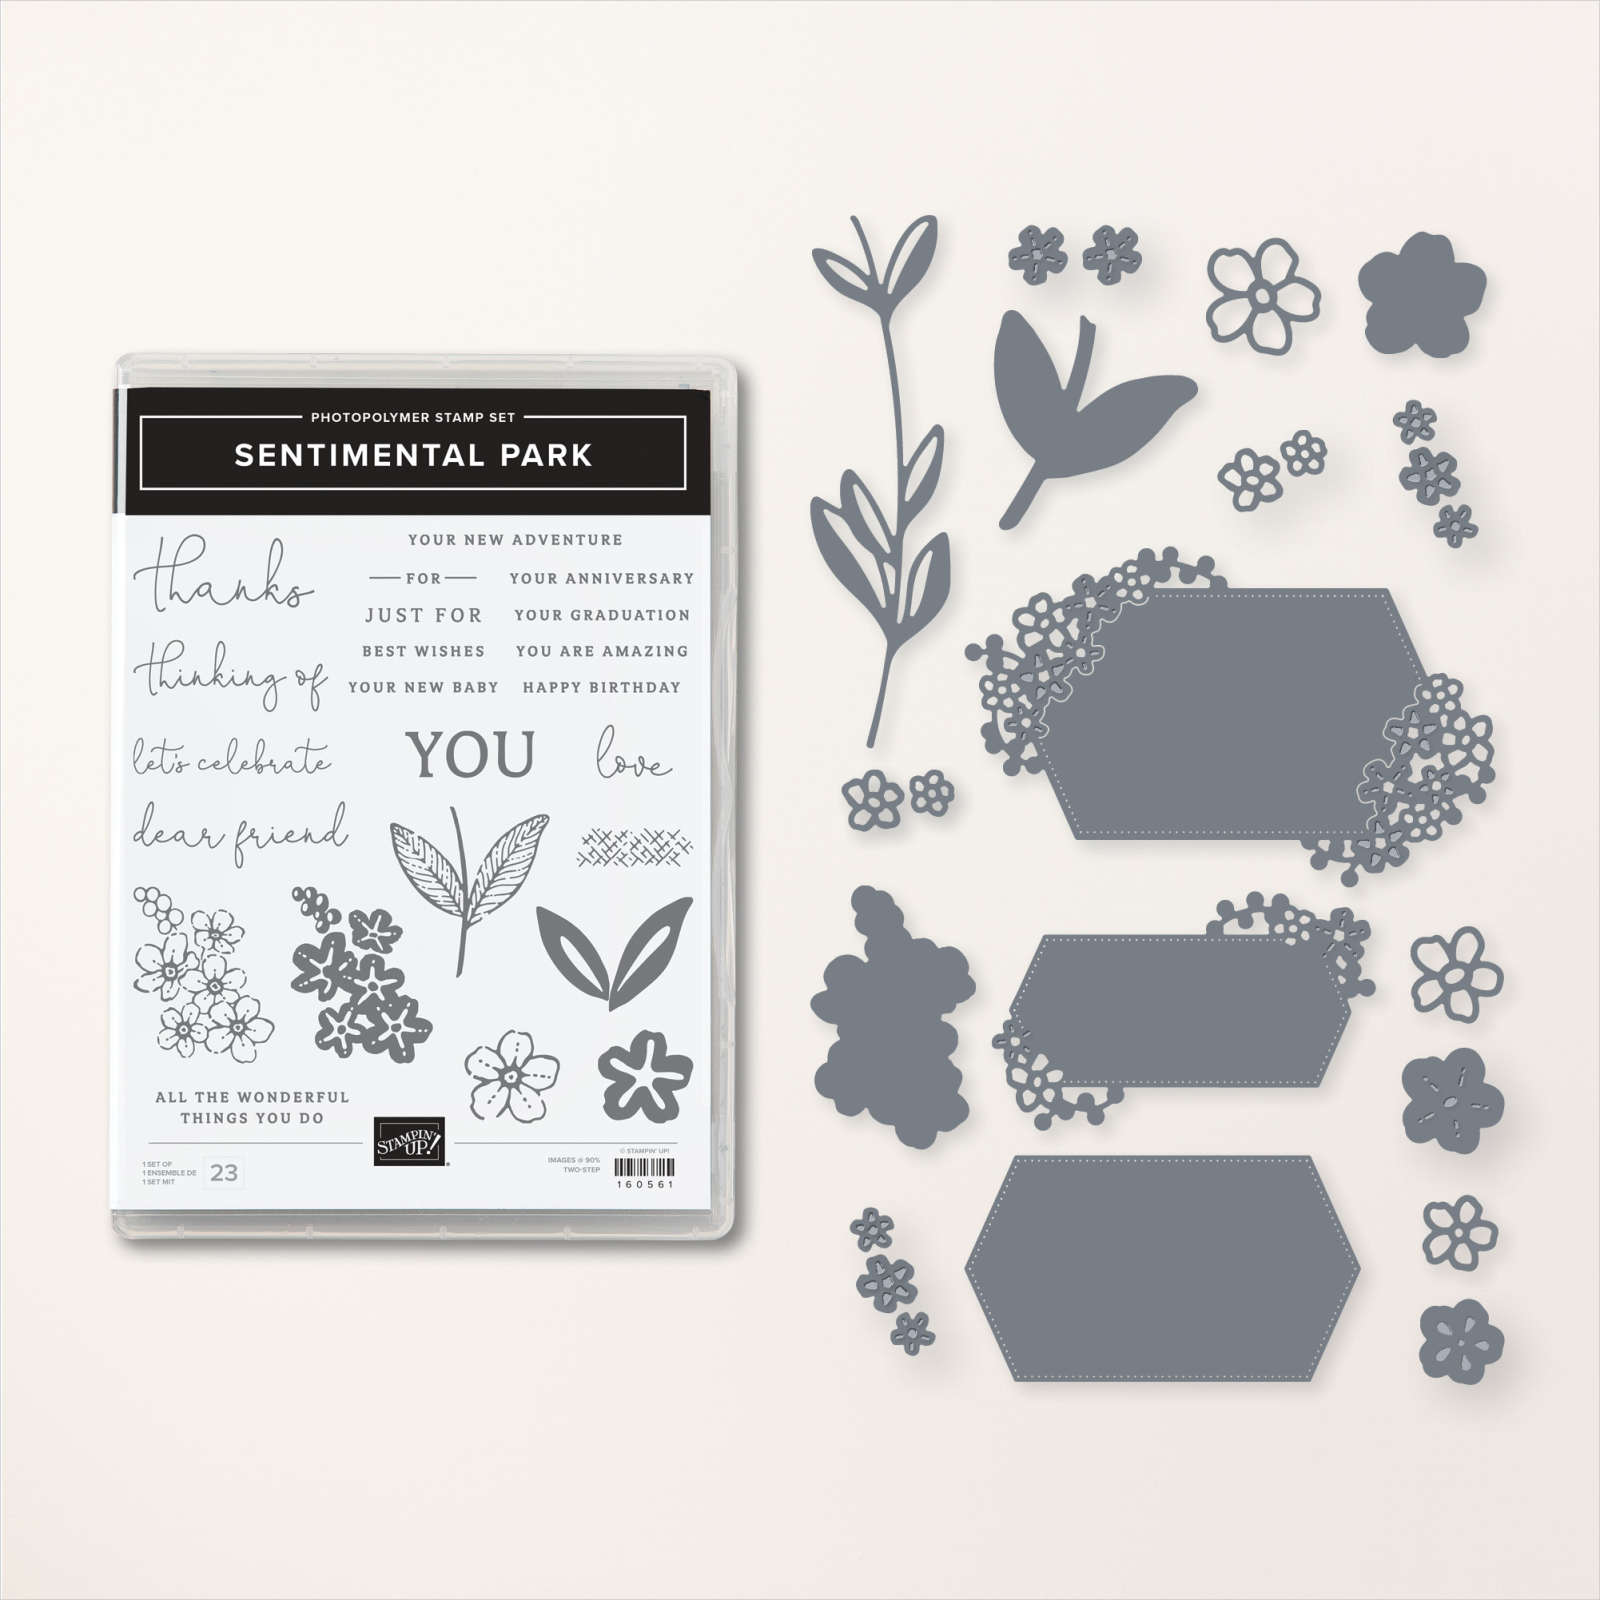
It might not show up well here but the White greeting die-cut is 'caught' and held in place by the larger die & the outer two corners of flowers. These dies fit together perfectly!  *you can see the dies in the photo below; the bottom most label nestles into the largest one with flowers on two edges. 

Here's the Sentimental Park bundle as well, with the greeting & die-cuts. This bundle was one of my first purchases from the Spring catalog and I've used it a lot! 
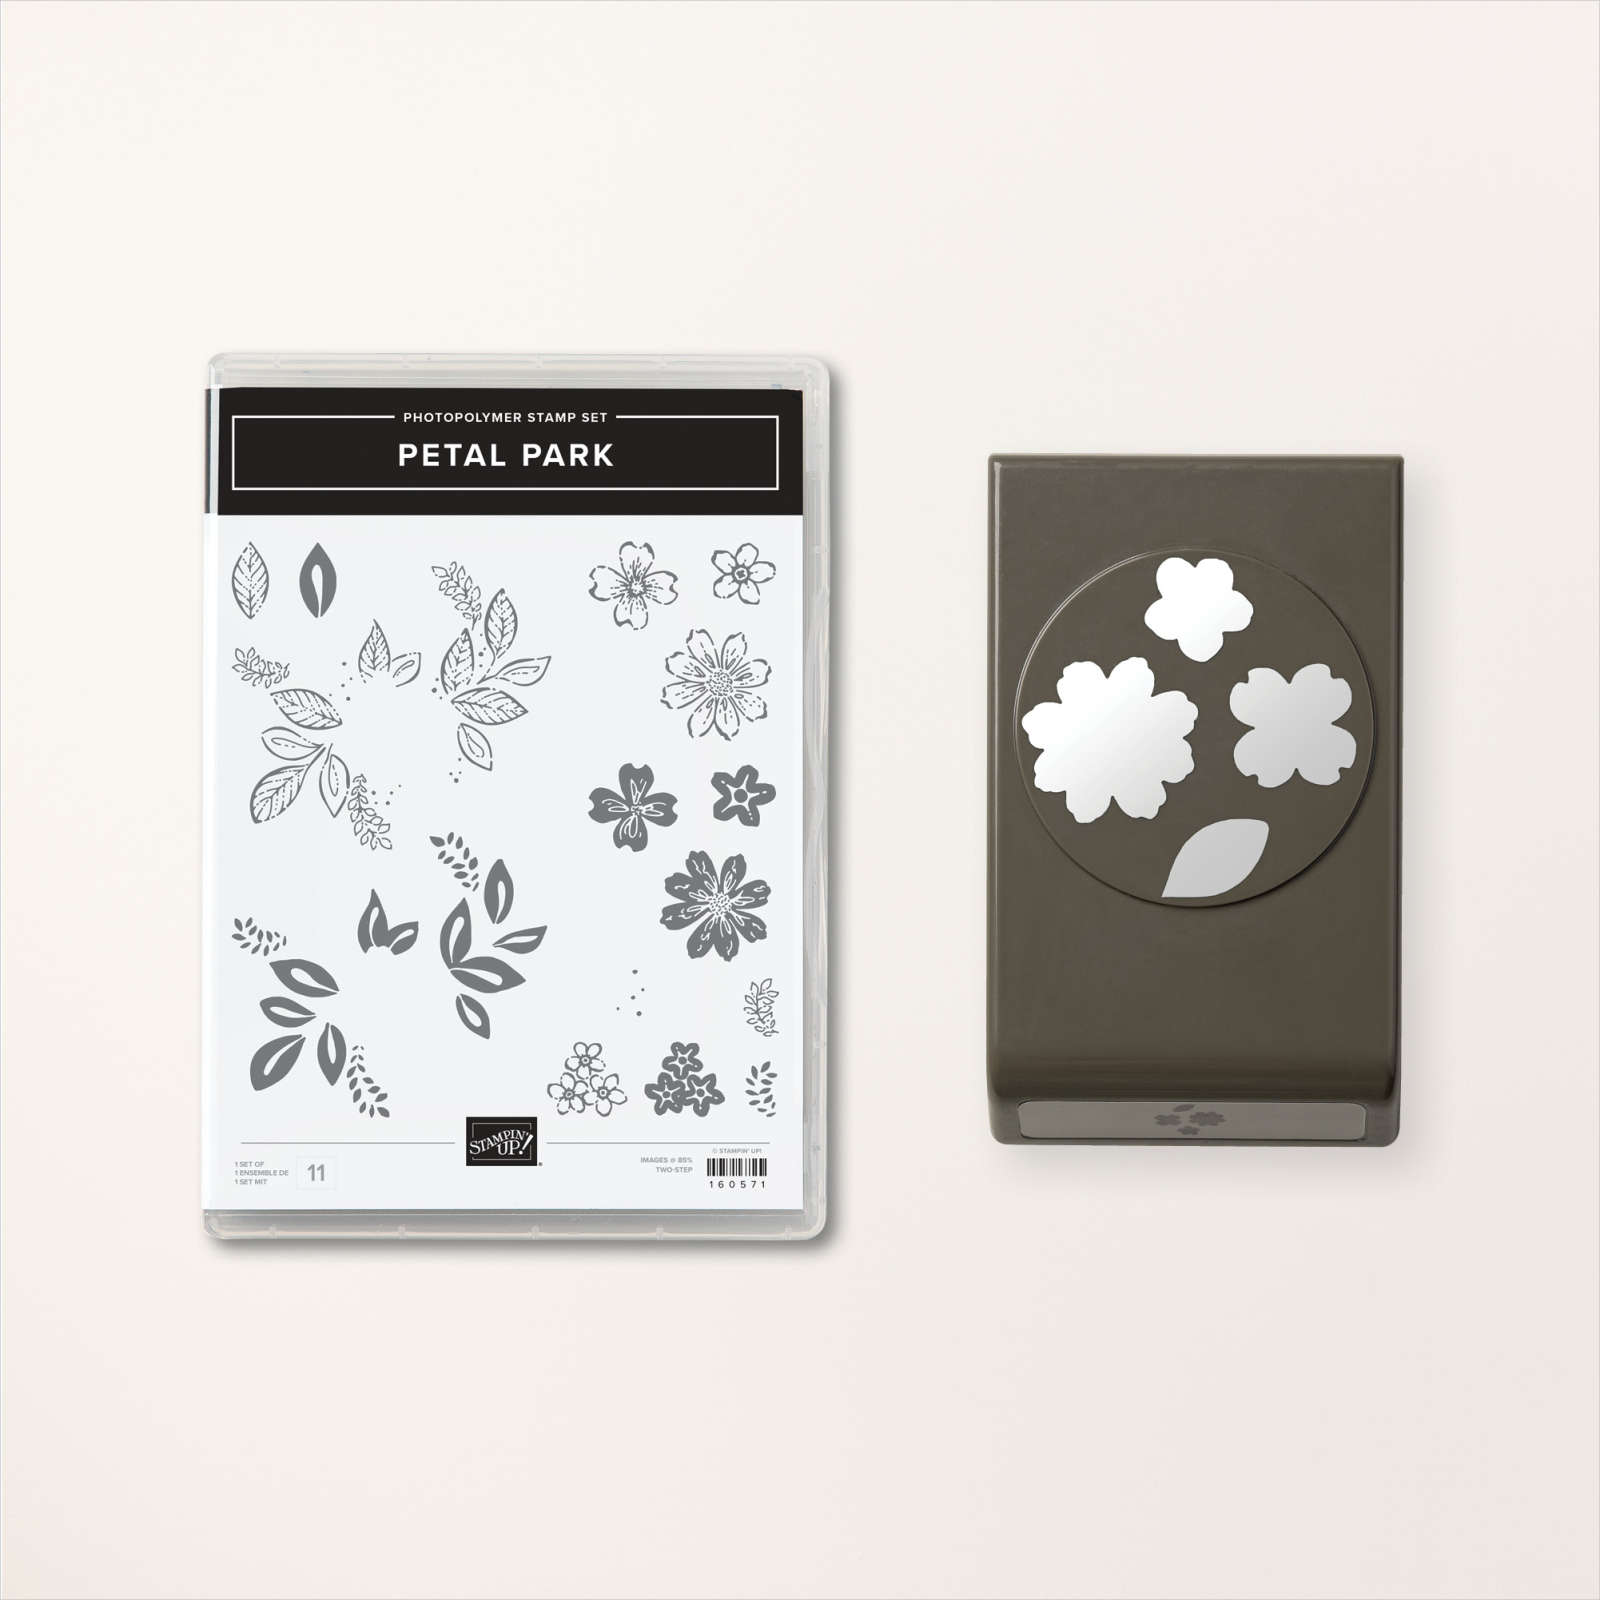
The other bundle in this suite is the Petal Park bundle seen here. It includes the stamp set & coordinating flower punch. I used the solid flowers on the middle right for my baby wipe technique and added the outline flowers (top right) in Black. 
  I had a die-cut dotted background piece (from Dots & Spots here) among my 'extra's and thought it would work well for my background. 


What supplies do you need for the Baby Wipe technique?  

  1. A baby wipe or two
  2. At least 2-3 colors of ink refills
  3. A stamp and card stock

Success tips for the 'Baby Wipe' technique:

  • Choose colors that work well together.  I tend to choose 3 of my favorites like yellows with pinks, blues with greens, purples with blues etc.
  • Pick a stamp with a solid image; lots of rubber.  An outline image will not show your colors well.
  • Fold the moist baby wipe into an ink pad; I use at least 4 layers. 
  • Drop multiple drops of each color in each area. For example – 4 drops of yellow, move over a bit, 4 more drops of yellow etc.  Then fill with the second color in the same manner. Fill in any empty areas with the 3rd or last color. 
  • When inking your image stamp it in your 'baby wipe' handmade ink pad multiple times, trying to keep it in the same place as much as possible. Moving the image around too much can muddy your colors. 
  • Huff the image and stamp!  

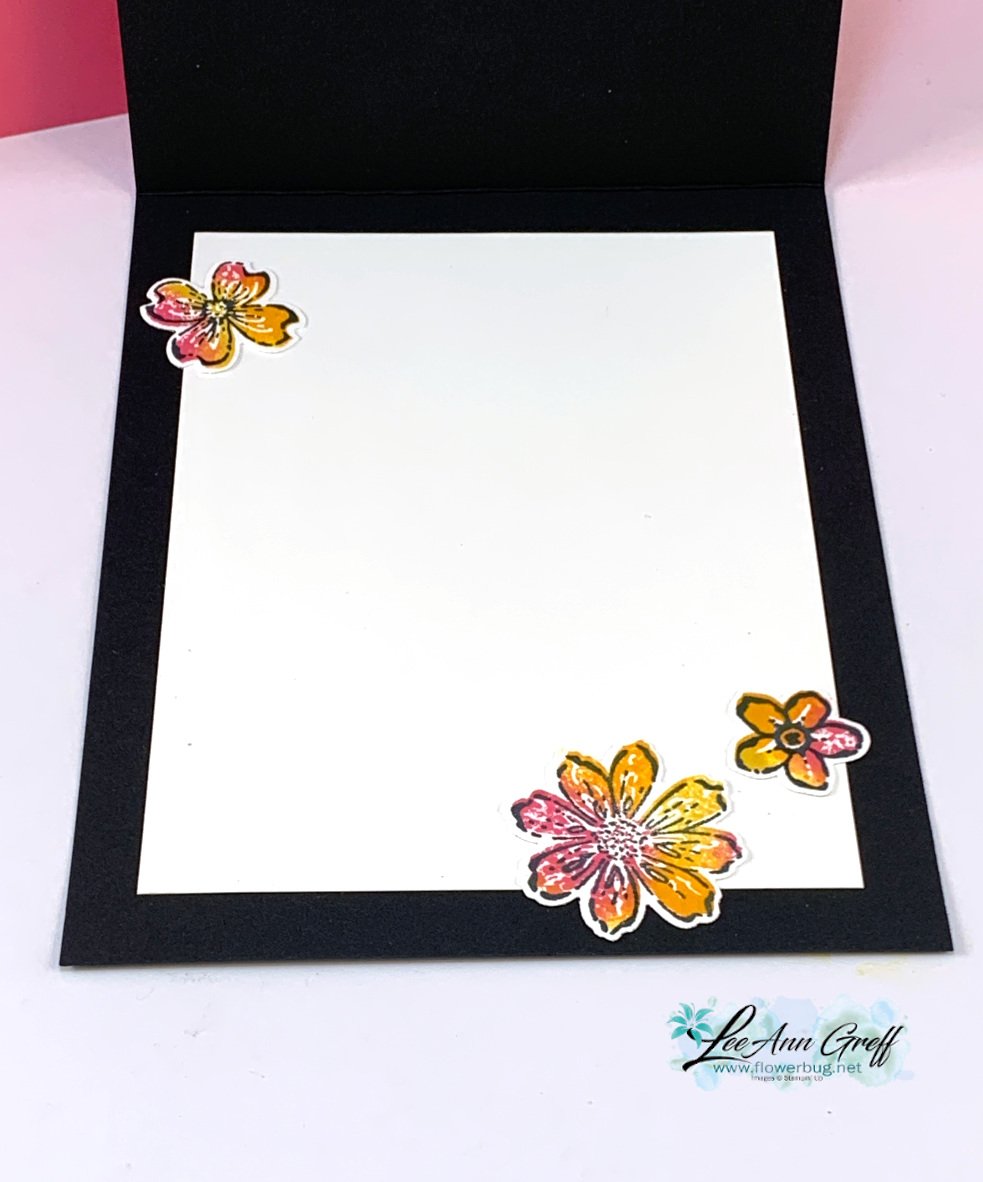
Here's the inside of my card; I added a few more of the multi-colored punched flowers. 

My colors include Polished Pink, Daffodil Delight and Mango Melody.  
~~~

March Specials:

See the new Online Exclusives here! 

*current host code: BFE4C2KM or EWJYEGFV

Get a free class kit with online orders over $55 when using the host code above!

Earn free products with my loyalty rewards! 

Click here to download yours and earn a $50 shopping spree!
All Posts

  • Double Stampin’ Rewards start tomorrow!


    Great news! Starting tomorrow you’ll receive double Stampin’ Rewards with your online orders! YAY!!

    Earn double Stampin’ Rewards (2x Rewards) for 3 days only, starting August 19 and ending August 21. That means 20% instead of the standard 10%!
    All orders qualify once the Stampin’ Rewards threshold of $20 USD is met.

    Details:

    Leave a Reply

    Your email address will not be published. Required fields are marked *

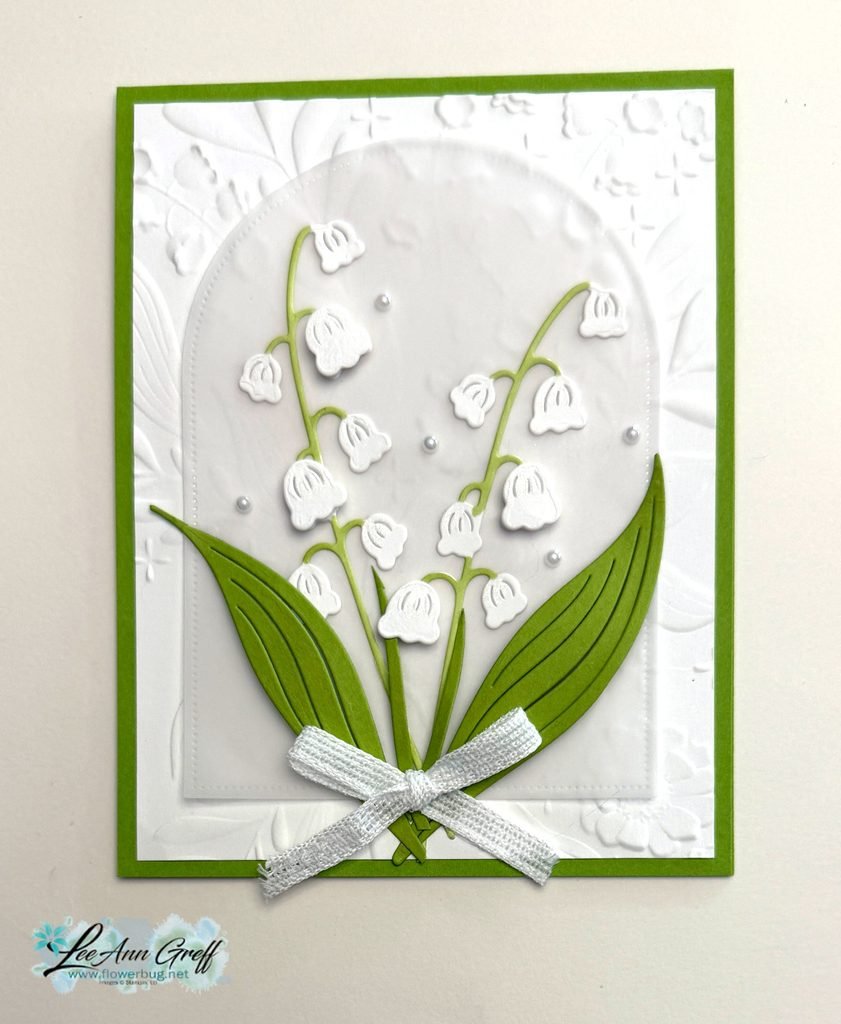
  • Simple Lily of the Valley card; it’s a WOW! Grab the free project sheet or watch the video


    I shared this beautiful Lily of the Valley card on last week’s Live video. It’s one of those cards that looks simple and easy but involves a bit of effort.

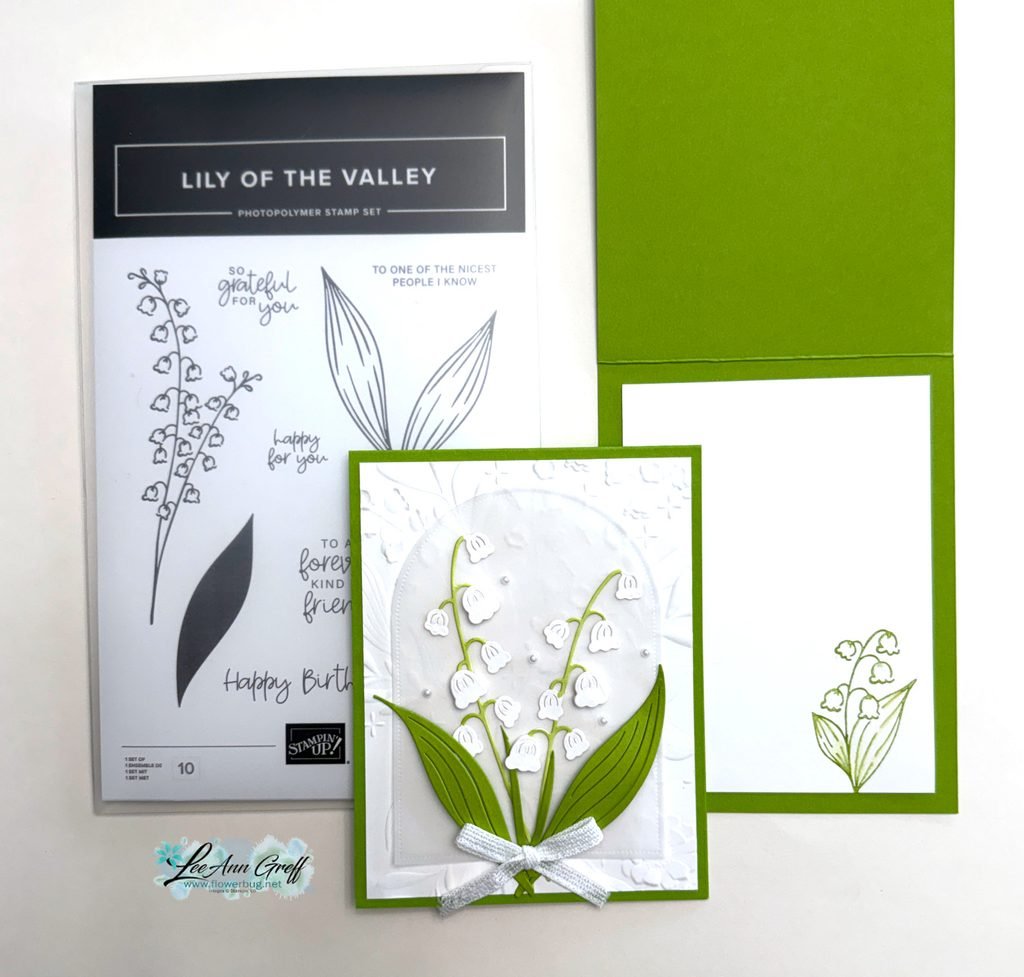
    I used the Lily of the Valley dies along with the Everyday Arches dies on the vellum and the Floral Spray 3D embossing folder (it’s back in stock) for the background. White & Granny Apple Green are my colors here.

    Since I did-cut the flowers from White CS I used a Granny Apple Green blends marker to color the stems on the flowers. I also curled the die-cut leaves a bit and cut one apart for the thicker stems in the center area. Watch the video to see how.

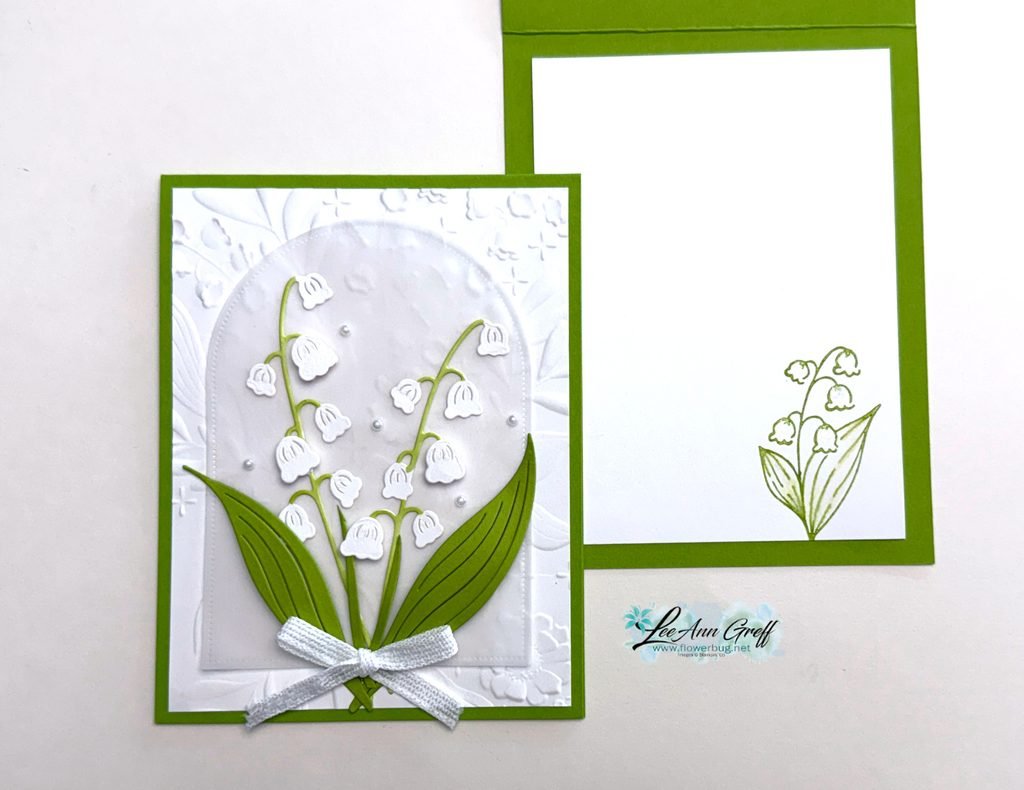
    Did you notice there isn’t a greeting on the front? It’s okay to leave them off now and then. This way my card can be used for any purpose.

    I didn’t even stamp one on the inside. Just a simple leaf/flower image. Click here to see the Lily of the Valley in my store. It’s wonderful.

    I created a free project sheet for this card as well as my video below. Click here for the project sheet you can download or print.

    Don’t miss out on the Designer Paper & Cardstock sale! Click here to shop and save.

    Double rewards for three days this week!

    Leave a Reply

    Your email address will not be published. Required fields are marked *

  • Golden Glow Specialty DSP is just $5 with a qualifying order; while supplies last.


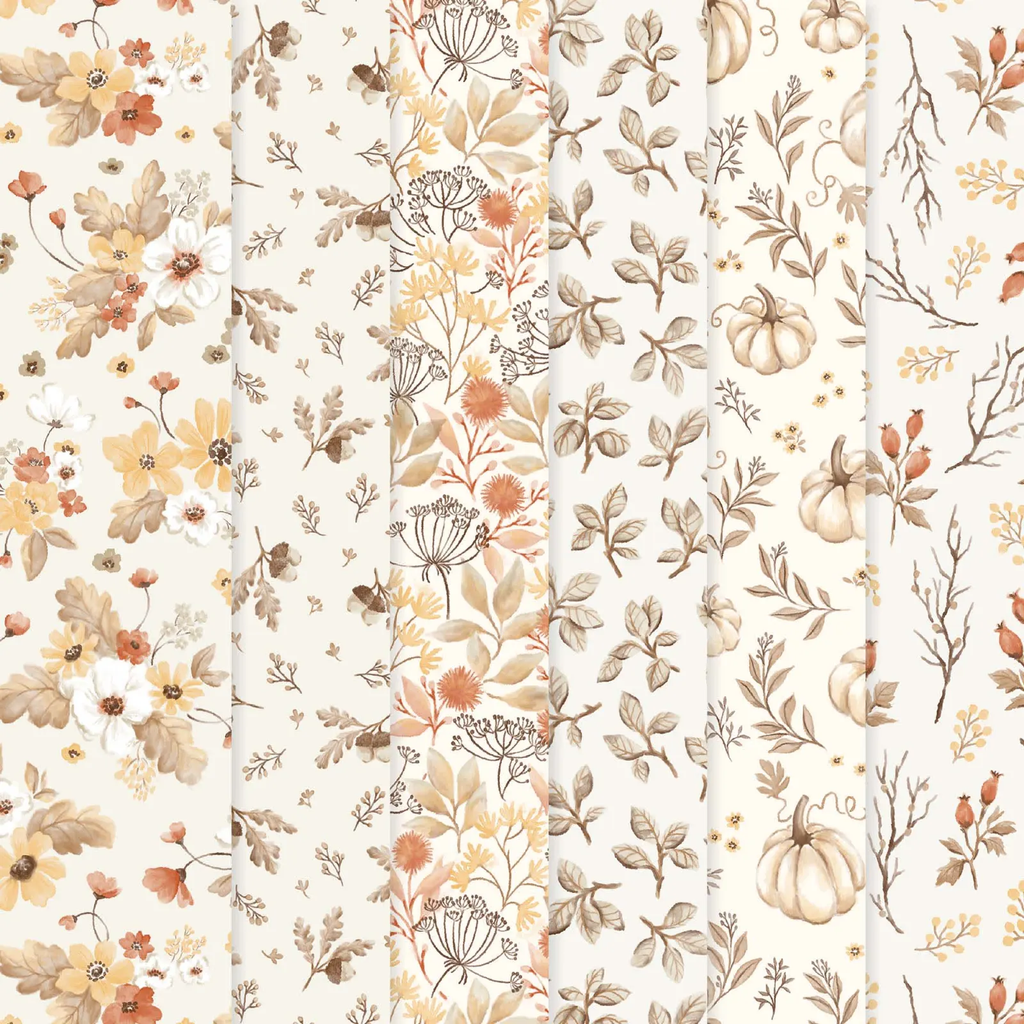
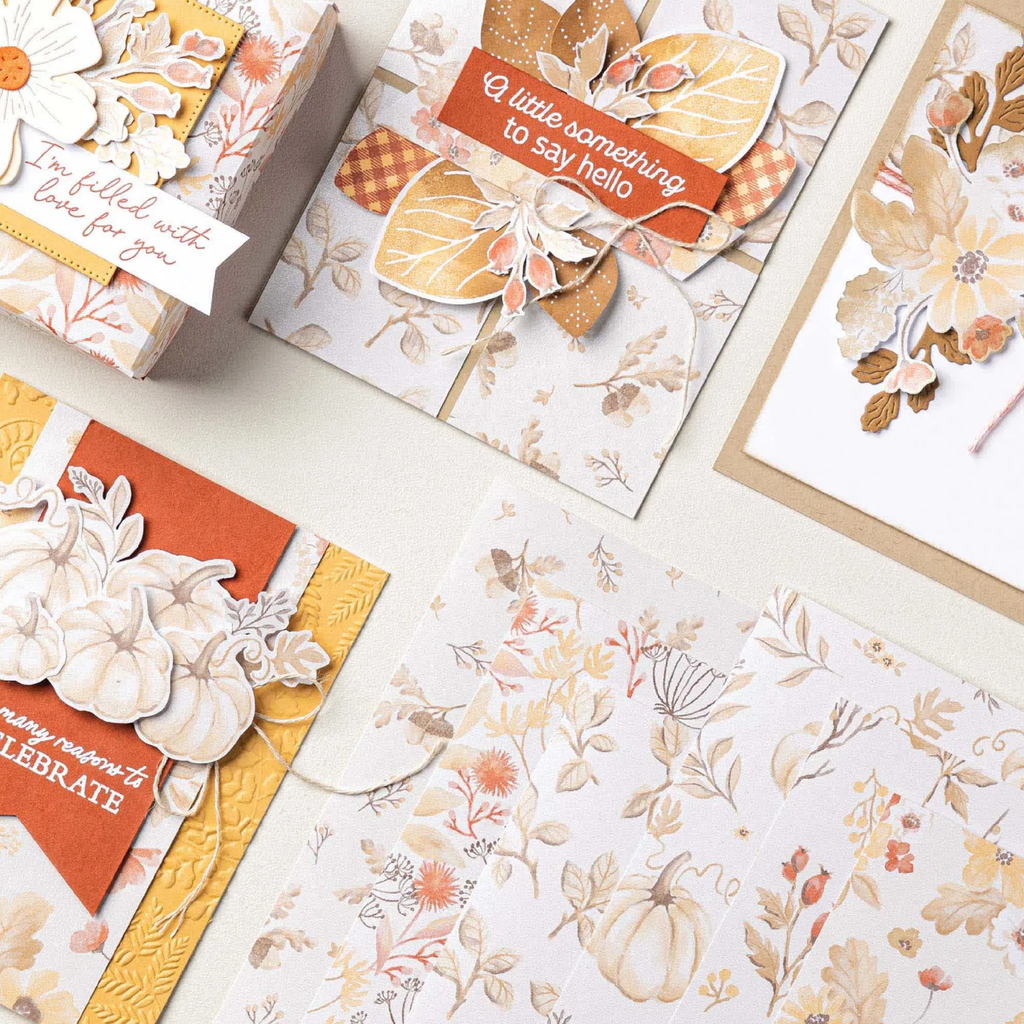
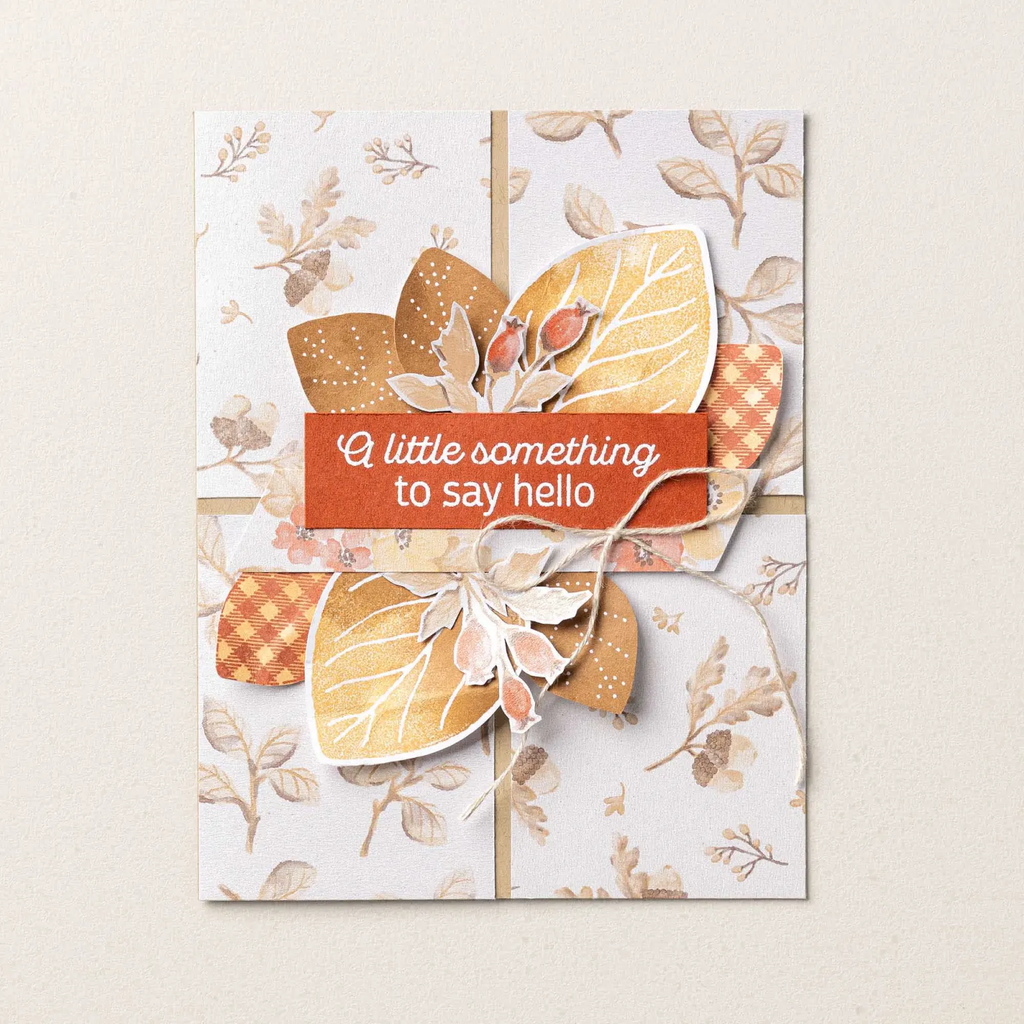
    I just received my gorgeous Golden Glow DSP and WOW; it’s amazing! It’s so soft and shimmery in person. I cannot wait to play with it.

    The Glow of Harvest 12″ x 12″ Specialty Designer Series Paper is the exclusive Product of the Month for August 2026! Only available until stocks run out—don’t wait to get yours! See it here.

    Once your order hits the $75 mark you can add it on for just $5. Such a deal!

    It includes these colors: Cajun Craze, Crumb Cake, Early Espresso, Golden Glow, Pecan Pie Each page has a soft, shimmery background.

    I think what I like the most about this pretty DSP is that it’s so soft in color. Many autumn papers are dark, deep with rich colors; this is so unique!

    Leave a Reply

    Your email address will not be published. Required fields are marked *


Notice: LeeAnn Greff, Independent Stampin’ Up! Demonstrator, Manager. The content of this website is my sole responsibility as an independent Stampin’ Up! demonstrator and the use of, and content of, the classes, services, or products offered on this website is not endorsed by Stampin’ Up! Copyright 2025